When you click on links to various merchants on this site and make a purchase, this can result in this site earning a commission. Affiliate programs and affiliations include, but are not limited to, the eBay Partner Network.
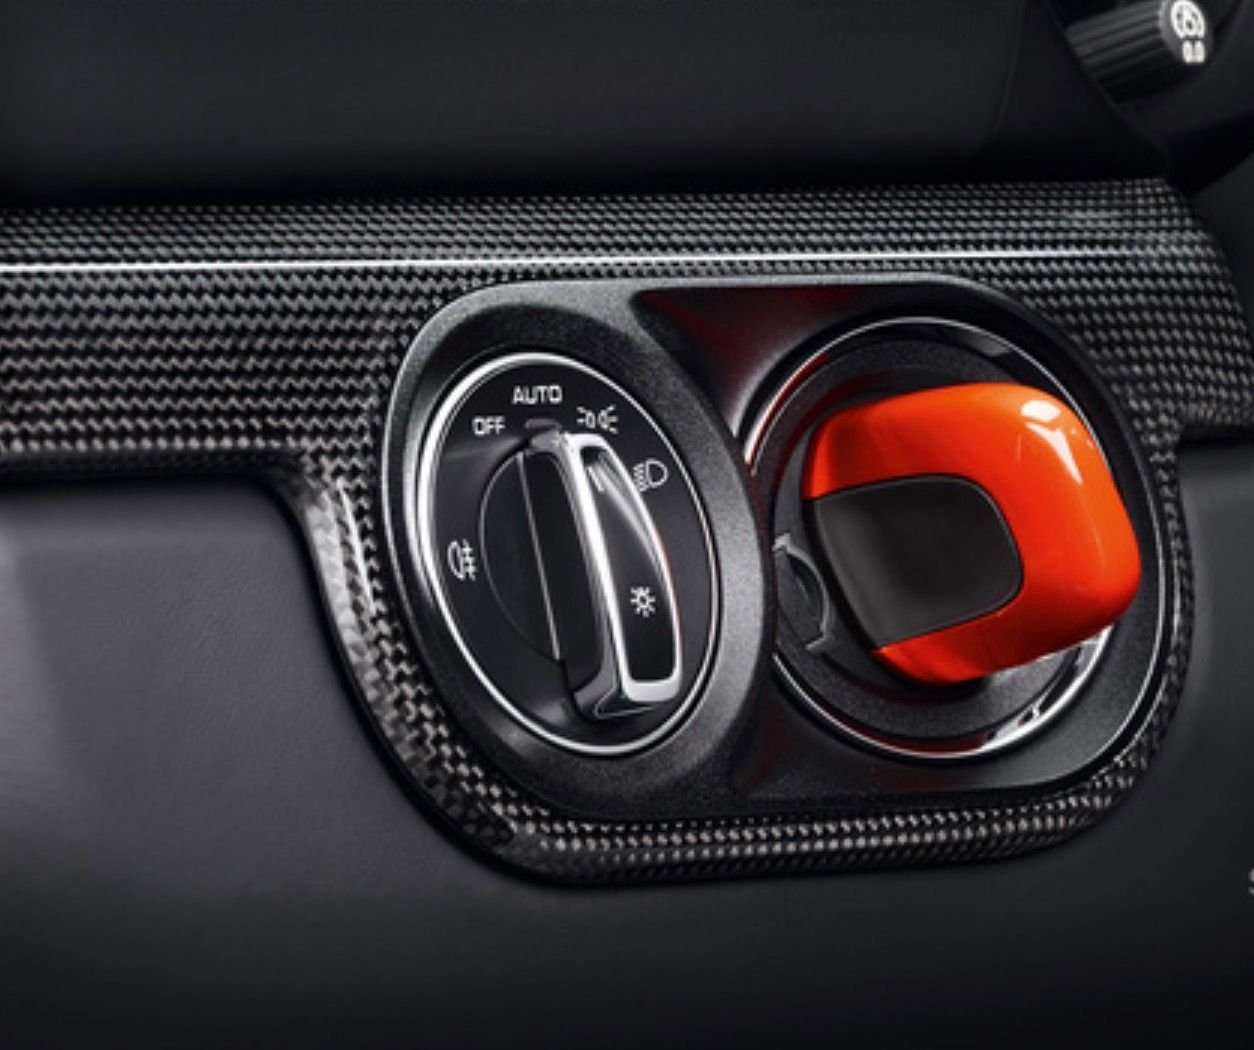
I have a PTS car and want to paint a Keyless go Dummy key to match my car. Porsche doesn't sell them in my color and neither does Suncoast.
Wondering if any of you guys has any idea how the aluminum cover/casing can be removed for painting without destroying it.
You may be better off just masking up the parts you don't want to paint rather than trying to take it apart. I have not heard of or seen a way to do it. Suppose you can play with it and see if it can be popped off and if you ruin it, a new one from suncoast is about $25, I think.
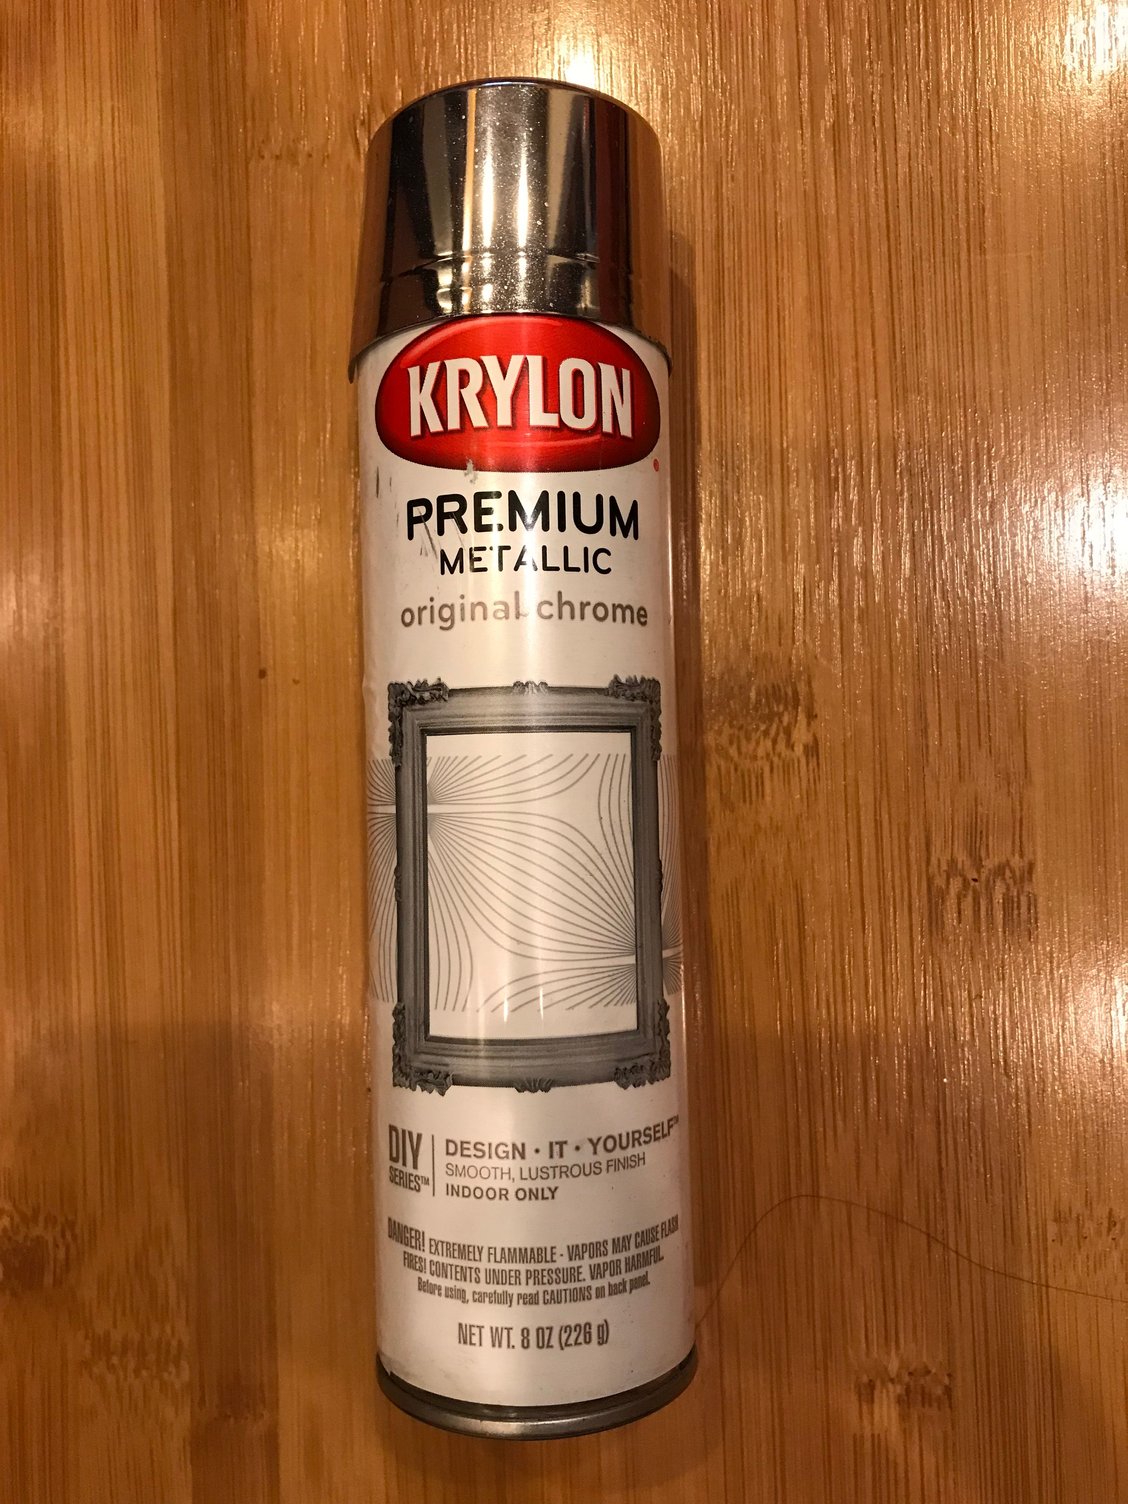
If plasti-dip has a green you like, you can spray that on and just peel off the parts you don't want colored.
Masking will be the only other option, but there has to be a way to do it properly. Lets see if anyone knows a way before I destroy it or mask it off which won't be ideal..
Maybe someone has more knowledge than I do. I wasn't able to take it apart, so I just masked it and painted. I'm pretty OCD/ **** and it turned out pretty good (better in person than in the pics). Good luck!
I don't believe there is a good way to take it apart without screwing up the piece. You can try and if it it goes wrong cheap to replace.
I think painters tape to mask and the paint might be the best option.
Another idea, which I have done before, is to vinyl wrap it. Lots of vinyl colors available and am sure you can find a green you like. Wrap it, stretch it use a hairdryer of heat gun to shape it, and easy to cut off excess with a sharp xacto knife. Did mine in carbon fiber and it came out great.
Previous car, and I did the inside and not the outer edge, but you get the idea. This was before Porsche came out with the chrome trim.
Maybe someone has more knowledge than I do. I wasn't able to take it apart, so I just masked it and painted. I'm pretty OCD/ **** and it turned out pretty good (better in person than in the pics). Good luck!
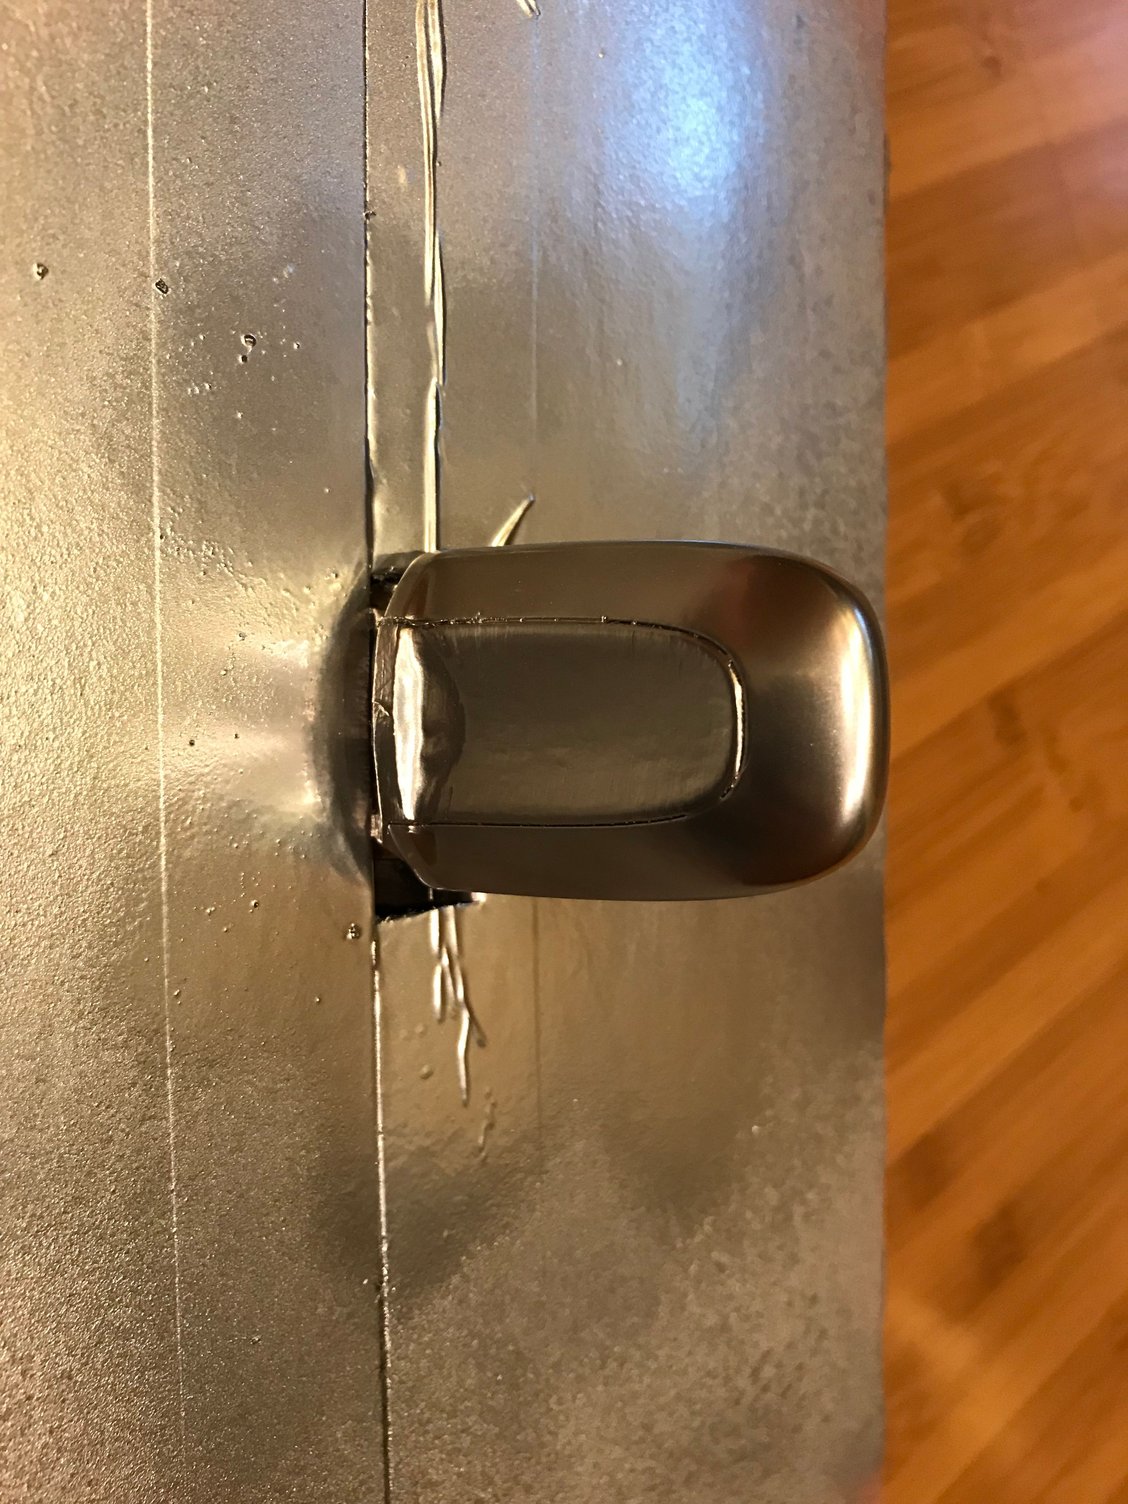
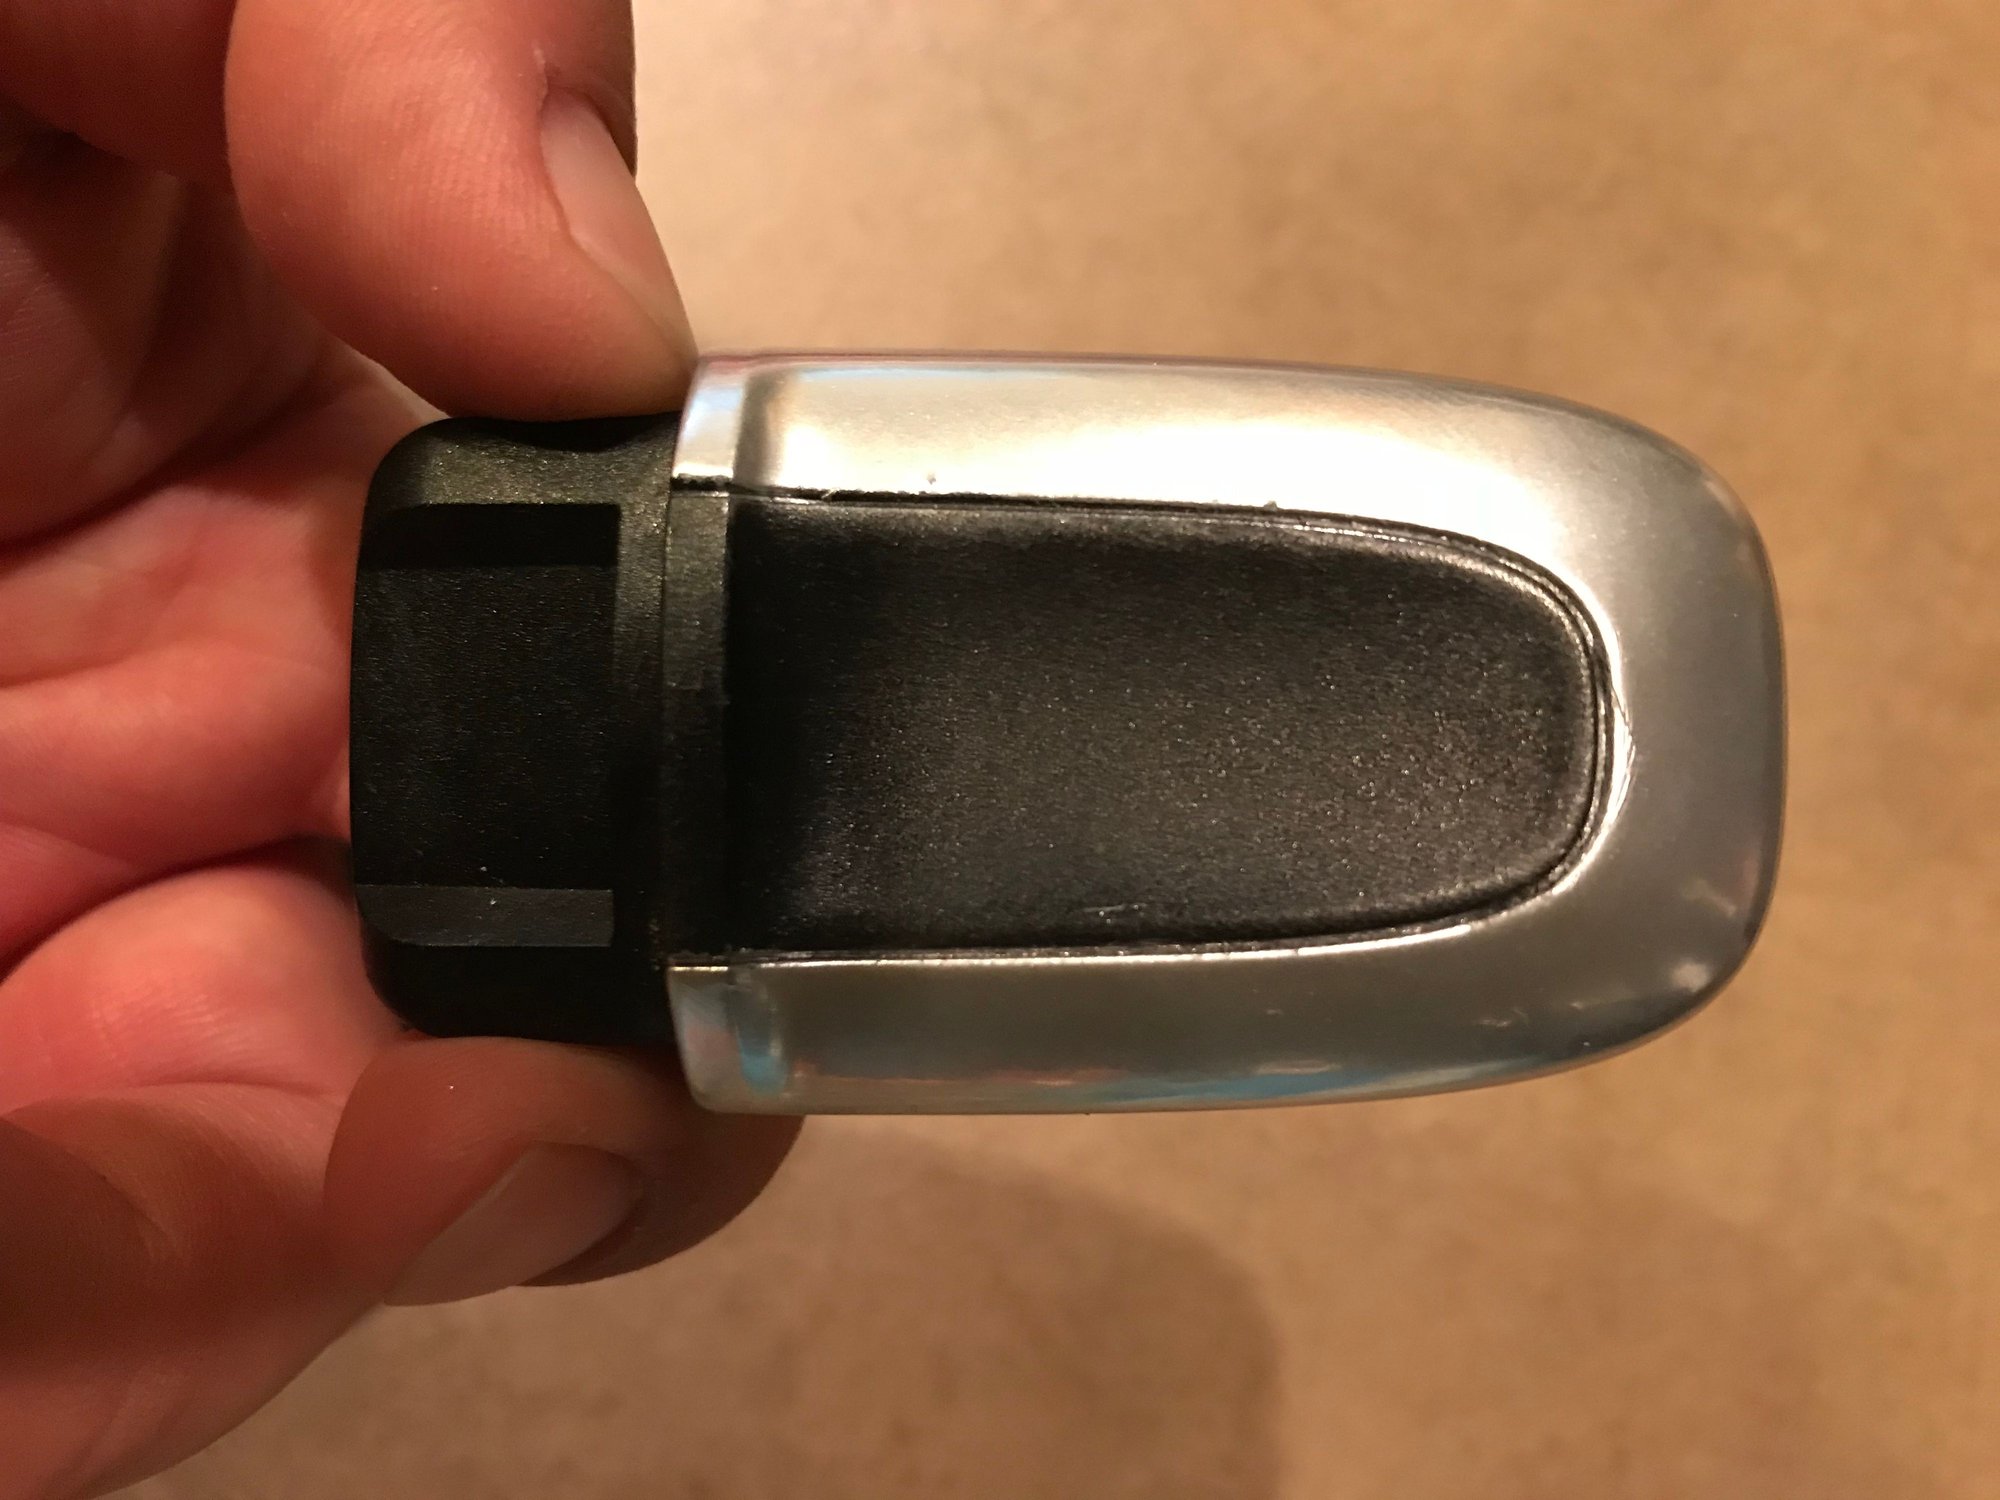
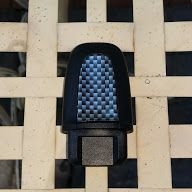
Wanted to let you all know the cover is removable and to show anyone interested where the clips are to remove it. Hope this helps someone, we didnt destroy any plugs in doing this mod
The chewed up plastic was sanded with fine sandpaper and now shows no evidence of tampering. Most of what you see is also covered when the painted cap is installed. Also, the material is not aluminum it is indeed plastic as evidenced by a sanding of the cap showing opaque plastic. Next pics will be painted cap and final results..

 05-31-2018, 11:10 AM