When you click on links to various merchants on this site and make a purchase, this can result in this site earning a commission. Affiliate programs and affiliations include, but are not limited to, the eBay Partner Network.
Musicar Stage III Audio Upgrade Release for 991 – Project Club Coupe
With the overwhelming response we got from the "High-End Tweeter Upgrade" for the 991 and 981 platforms, we decided to push through some development for the more involved sound system upgrades that we've installed for local clients.
These are specifically designed for the Sound Package Plus factory systems in the 991.1 and 981 only. That OEM system is classified as a 225W 9-Speaker System with an external amplifier. If a 911 was optioned without a Bose or Burmester system, this is likely the setup it has. Most GT cars also came with this setup if the upgraded PCM was optioned over the CDR Radio.
We've structured the upgrade in stages, with each stage being a fairly linear jump from the prior – here's how they tier out:
Stage I
High-End Tweeter Upgrade
Stage II
High-End Tweeter Upgrade
Premium Italian Amplifier & Processor
Stage III
High-End Tweeter Upgrade
High-End 100mm Midrange Speaker Upgrade
High-End 220mm Door Bass Driver Upgrade
Premium Italian Amplifier & Processor
We've done a handful of Stage II & III systems locally, but we still wanted to work on validating the upgrades as a "field installable" solution. To help with that, we were able to connect with a fellow Rennlist member that was tired of living with the Sound Package Plus in his 991.1 Club Coupe. We worked on a plan for the project and ended up with a very successful execution on a Stage III upgrade. Here are the notes on how all that went down!
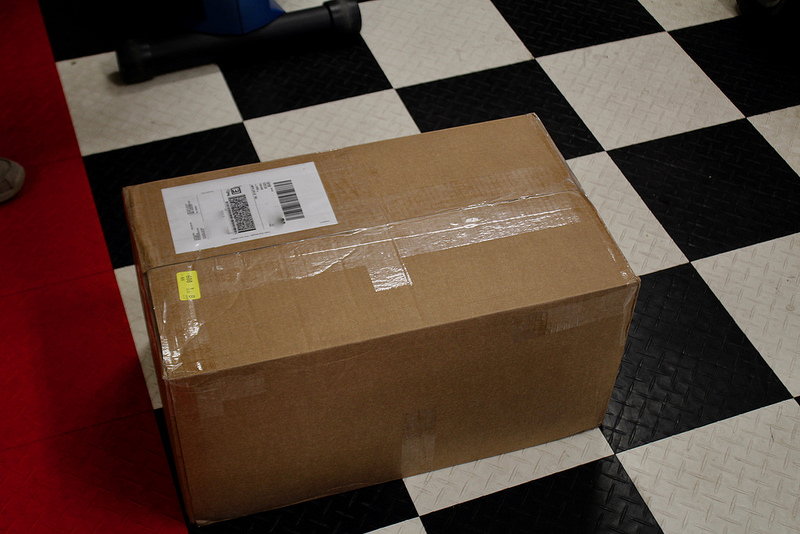
After a few emails back and forth, we worked out a general plan that involved building the "kit" for the upgrade here at our shop in Portland, Oregon and shipping out a full solution to his house in Southern California. Once the parts arrived, I personally flew out to perform the installation, just to make sure if there were any hiccups with the remote install, I could figure those out and work my way through it.
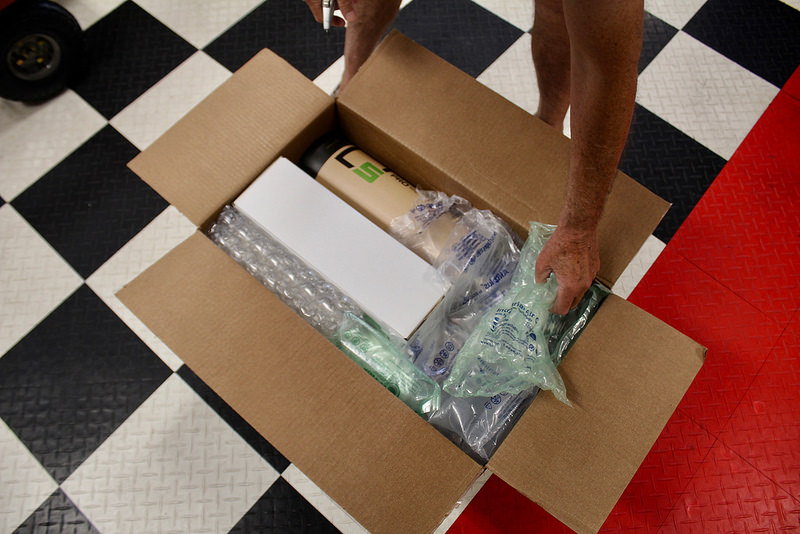
Phase One Fabrication and Assembly
An efficient installation all starts with the prep work – fabricating the mounting systems, assembling the wiring harnesses, and testing all of the components before they ship. We started with the speakers and worked our way to the amplifier.
Speakers
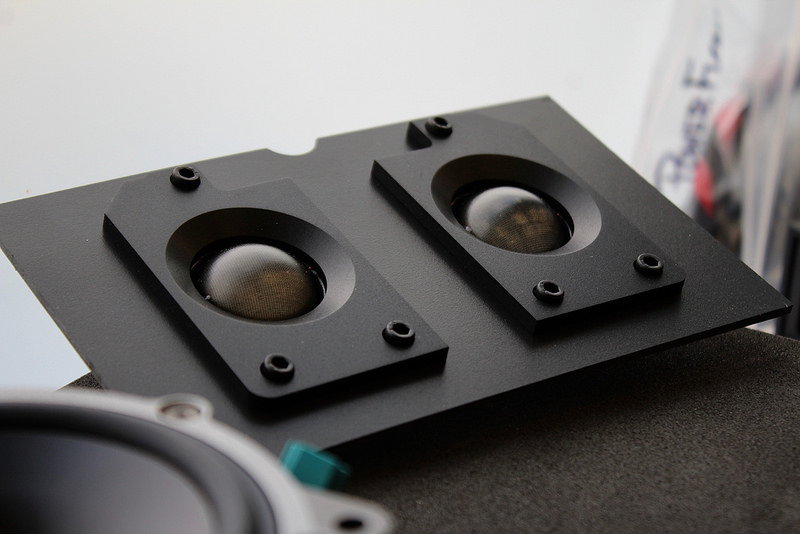
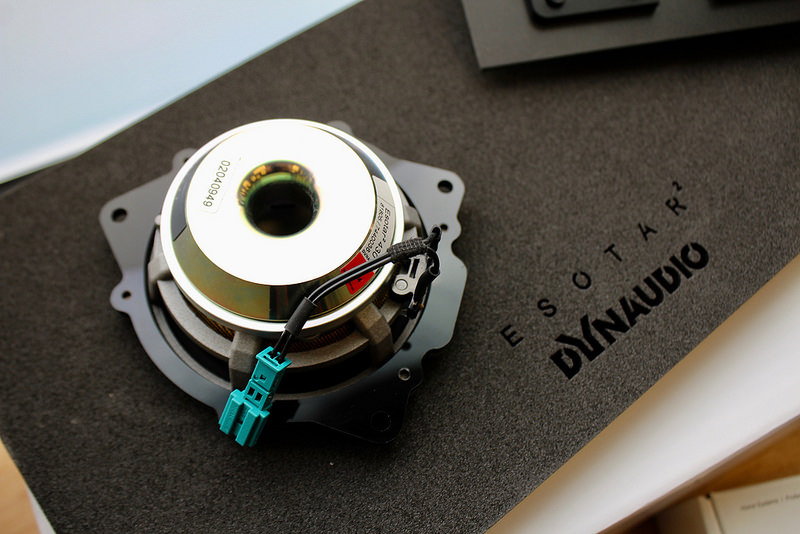
The tweeters are identical to the upgrade you all have seen in the past. If you're not familiar with that, check out this link. The only difference you'll see is the wiring connection, and that's due to the new wiring configuration. The factory midrange in the door and tweeter on the dash are actually using the same amplifier channel on the OEM system. To get more power and better control, we want to separate those channels. I'll go over how we do that in the amplifier side, but for now, here are a couple photos of the tweeters in this kit:
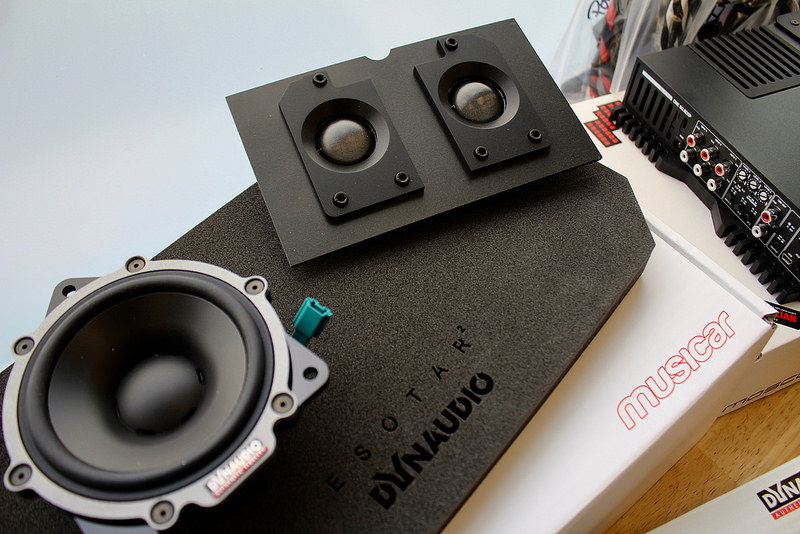
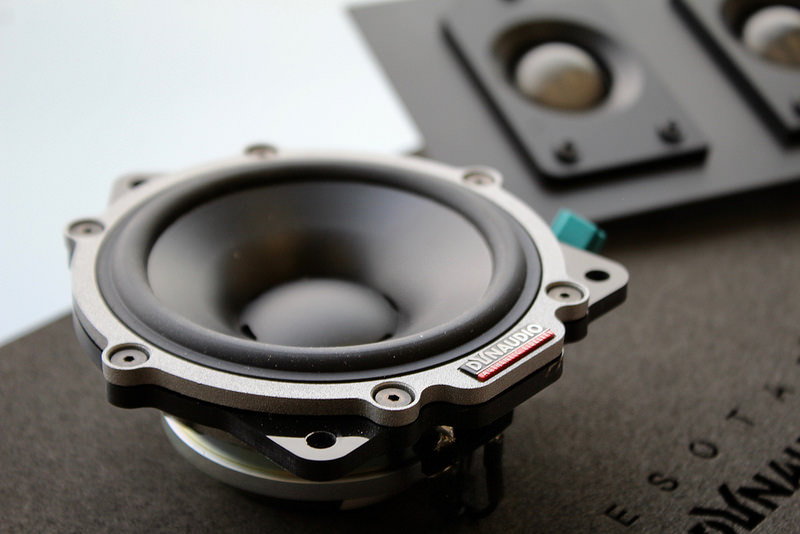
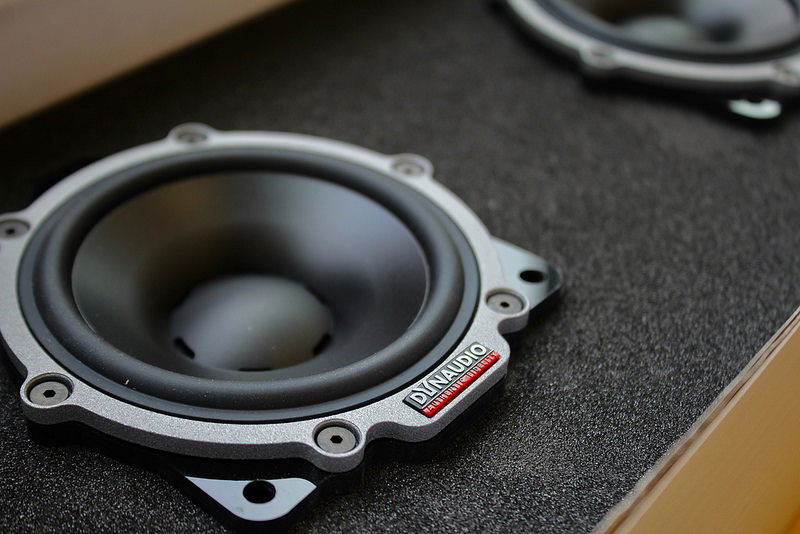
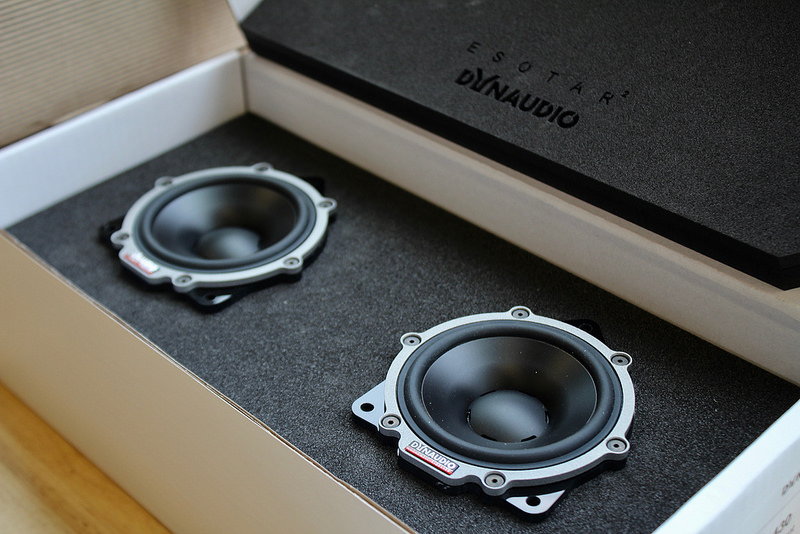
The second speaker you see in that last photo is one of the Dynaudio Esotar midrange speakers – arguably the most pure and authentic sounding speaker made for an automotive environment. It's going to yield a much more rich and natural tone than the factory versions, giving us vastly improved detail in the vocals and midrange instruments.
We fabricate a mounting adapter using cast acrylic, allowing the new midrange to bolt in with the factory hardware. We also use an adapter for the wiring for a plug and play solution.
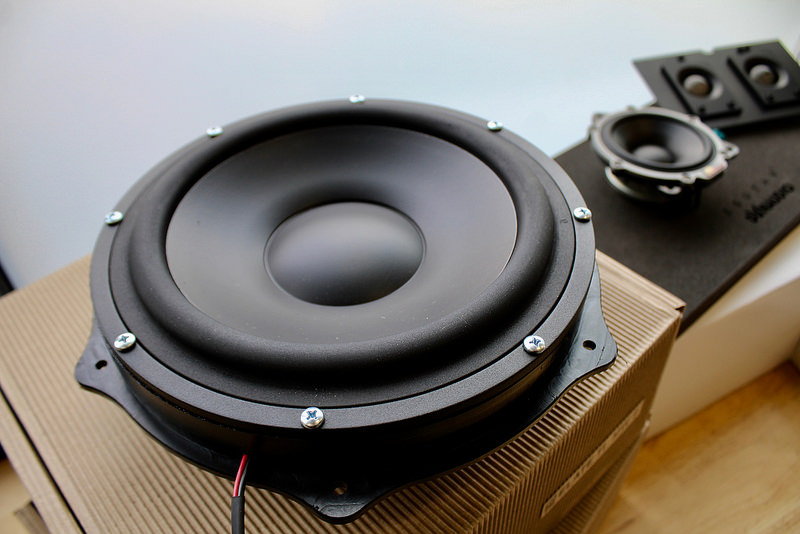
Finally, the last in the speaker lineup, a pair of 220mm(yes, almost 9in) bass woofers from Morel of Israel's Elate Titanium series to replace the 8" factory drivers at the base of the doors. These woofers are much more powerful and a lot more resolute. The response we get from them is articulate, natural, and well defined. Transient response is one of the most difficult elements to reproduce in a car. More often than not, the bass section ends up being muddy and distorted. These driver's do a phenomenal job of recreating the immediacy of a drum kit's strike and the dynamics of a bass guitars pluck, yielding a final sound that's much more true to the recordings we play.
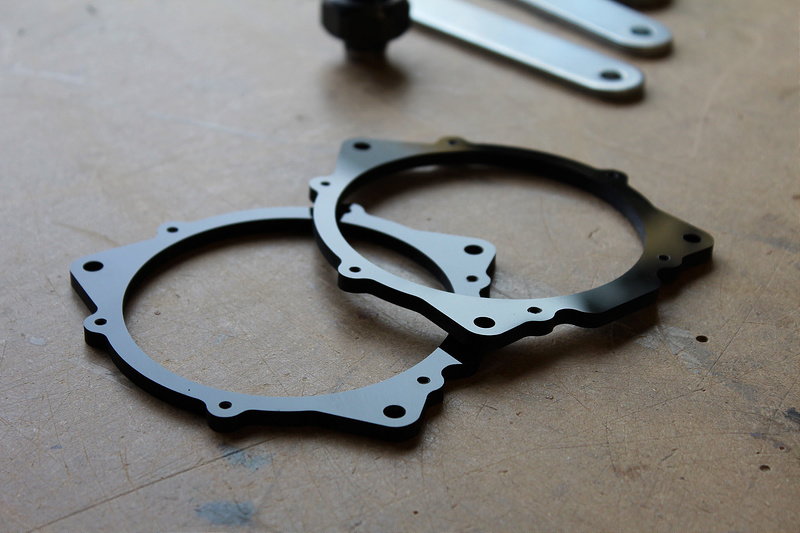
To adapt them to the car, we hand-machine a pair of adapters using high-density polyethylene. The adapters put the speaker in the perfect position for the best performance and just like the midrange, utilize the factory hardware.
Amplifier
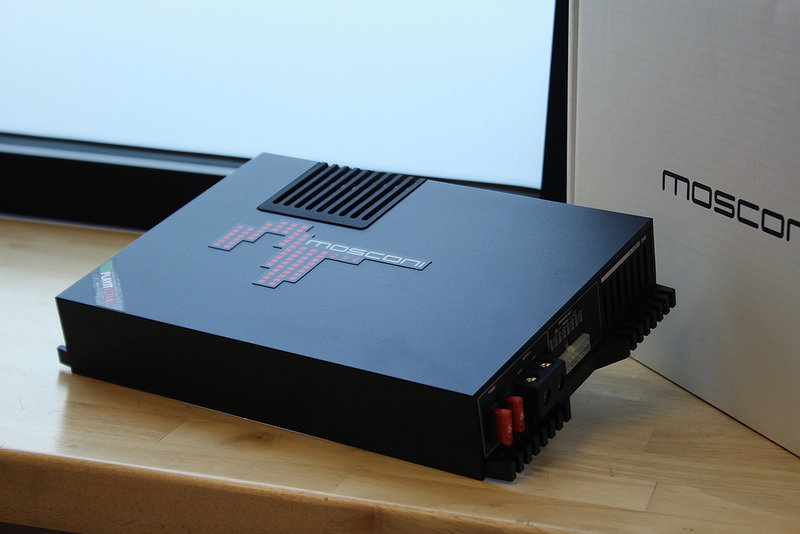
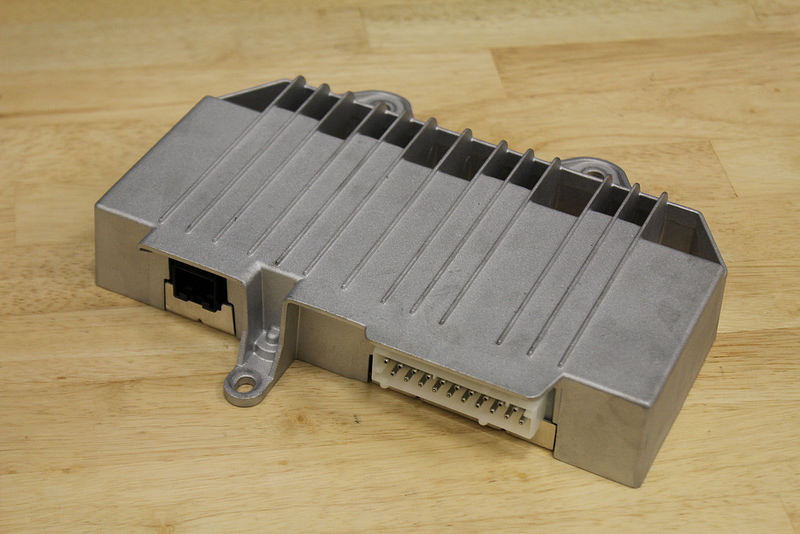
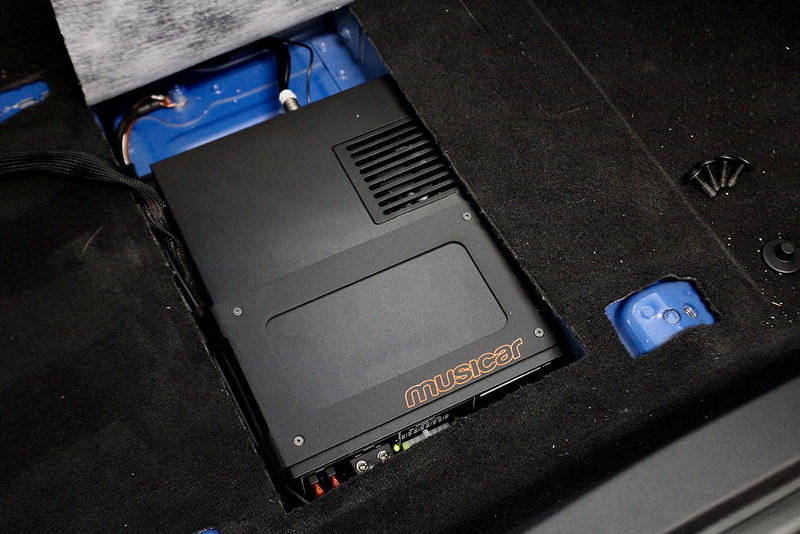
The factory amplifier is located under the passenger front seat. It took a long time to figure out which replacement amplifier was the best fit for that location, as well as the best compliment to the well-crafted speakers we'd be installing at the same time. The ONE-Series from Mosconi of Italy ended up winning the shootout by a good stretch.
This amplifier in particular is one that's modified specifically for use in the Porsche platform. It accepts the analog input from the PCM directly into it's built-in Digital Signal Processor(DSP). That DSP chip plays an important roll when it comes to our final response. It allows us to tune each speaker independently with it's own equalizer, level adjustment, and time correction. All of these functions help us compensate for the major shortcomings of the acoustics in the car, revealing a much more emotionally engaging experience similar to what you'd find in a high-end home two-channel system.
The amplifier section itself is a staggered 6-channel configuration, giving us 45w to each tweeter, 60w to each midrange, and 120w to each woofer – the perfect amount of power for this system. Most amplifiers in this category are digital, which is a sacrifice in sound quality to gain a smaller physical footprint. This amplifier is the ONLY model in the market that is analog AND has a DSP chip built-in. The analog sound is much warmer and natural than it's digital counterpart.
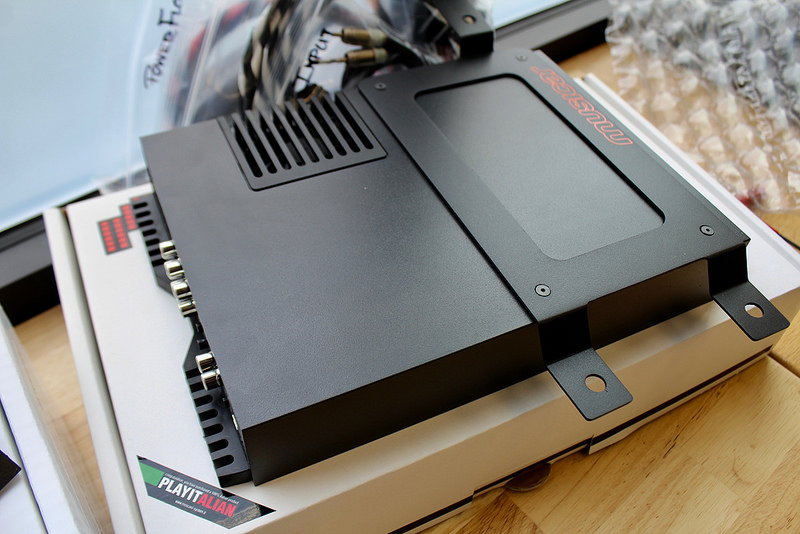
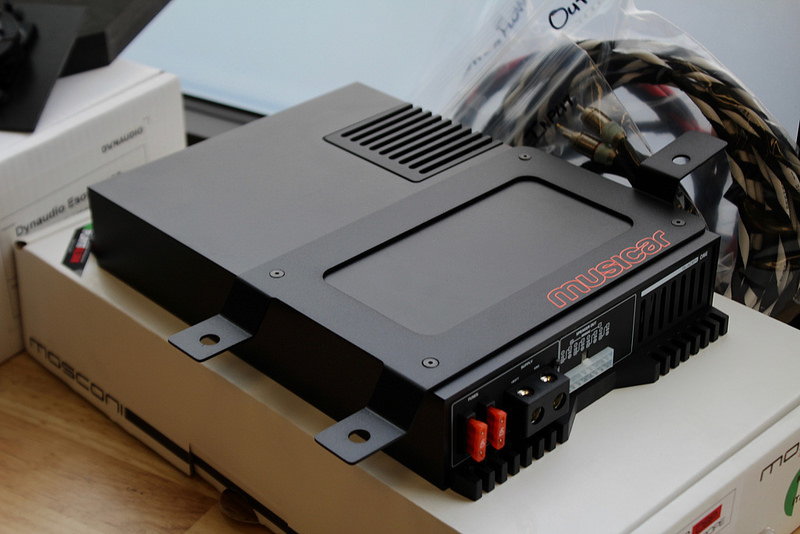
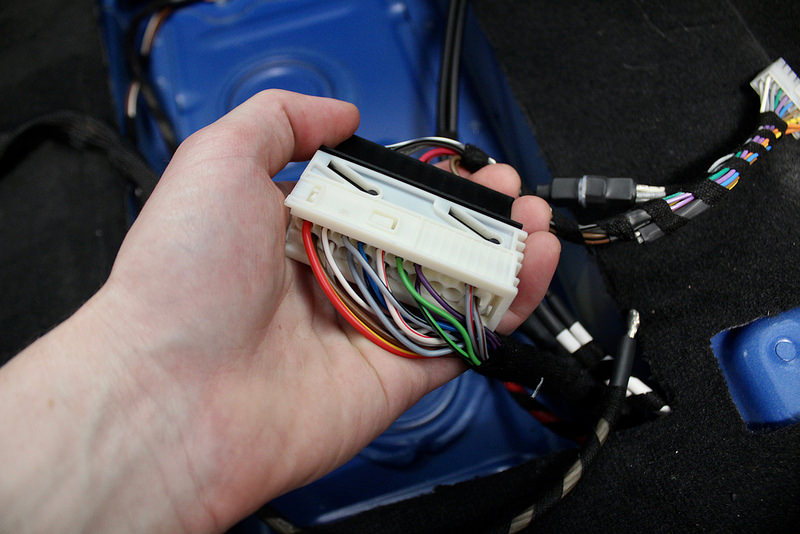
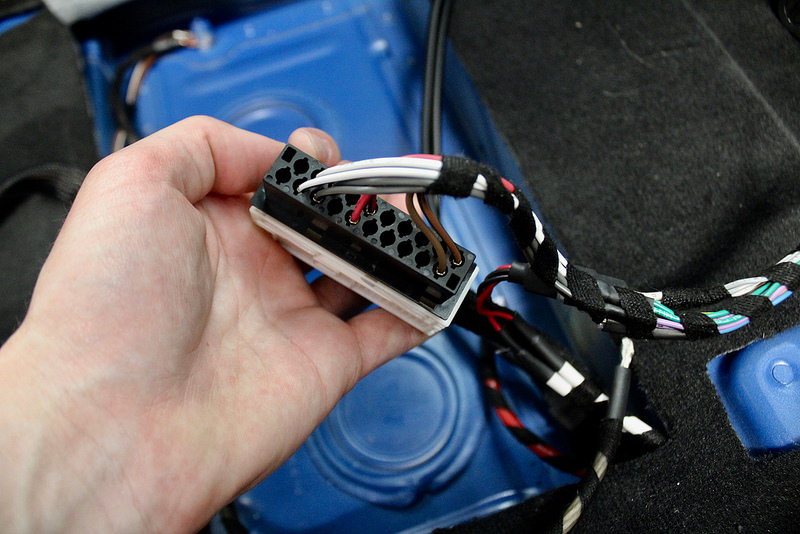
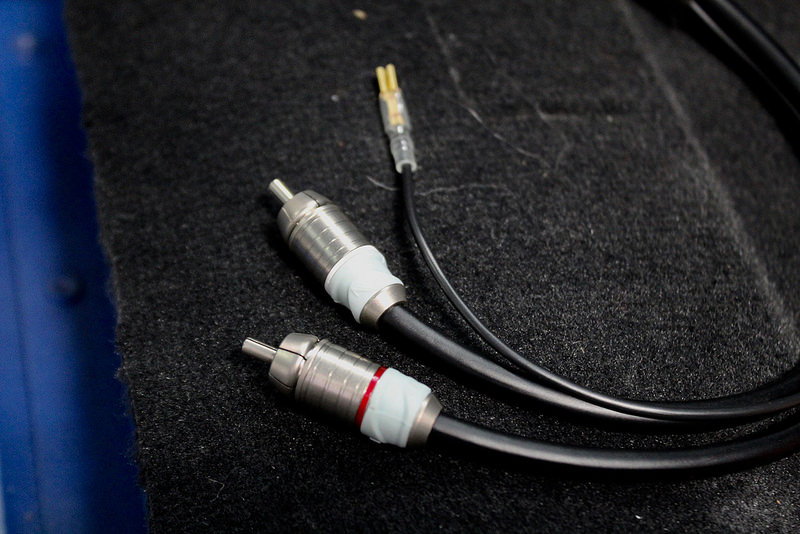
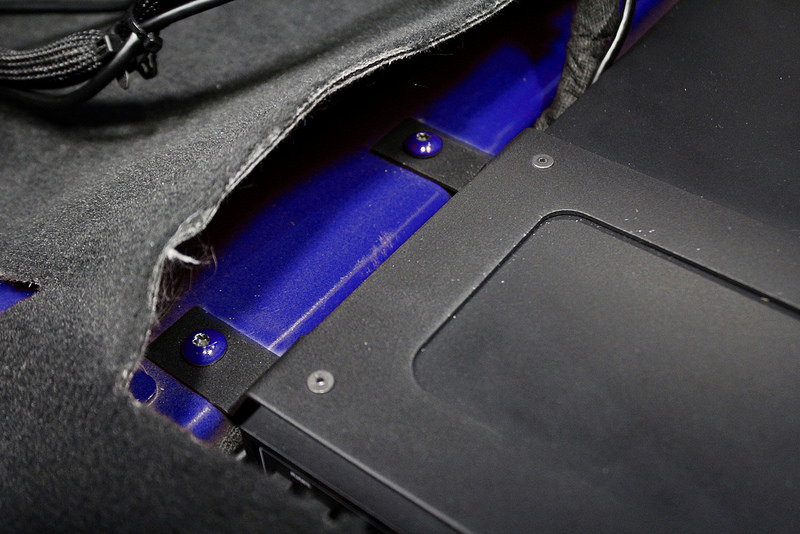
We do a lot of work on the prep side to make this thing work in the Porsche. For starters, we don't want to cut a single wire or drill a single hole to install it, so we manufacture a couple of wiring harnesses and a mounting system that create a plug and play/bolt-in experience.
The mounting system is hand-machined aluminum frame that holds the amplifier to the car much like a battery tie-down. It uses the three factory bolts that hold the original amplifier in place.
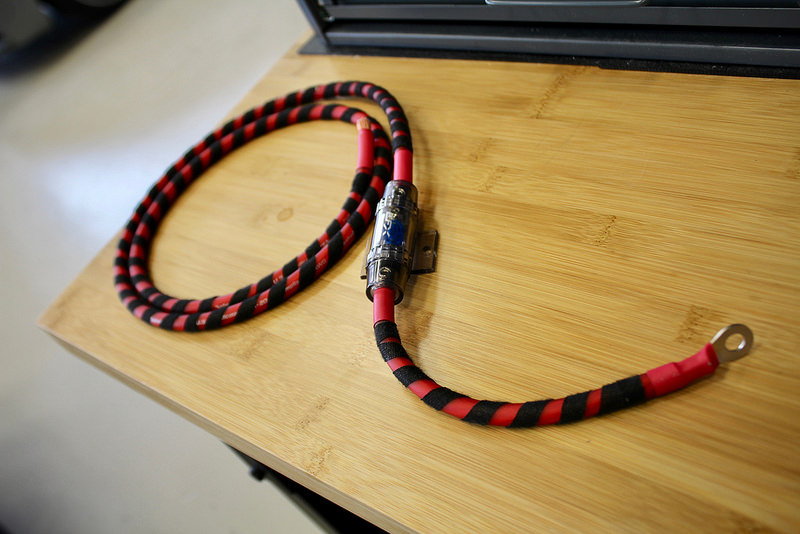
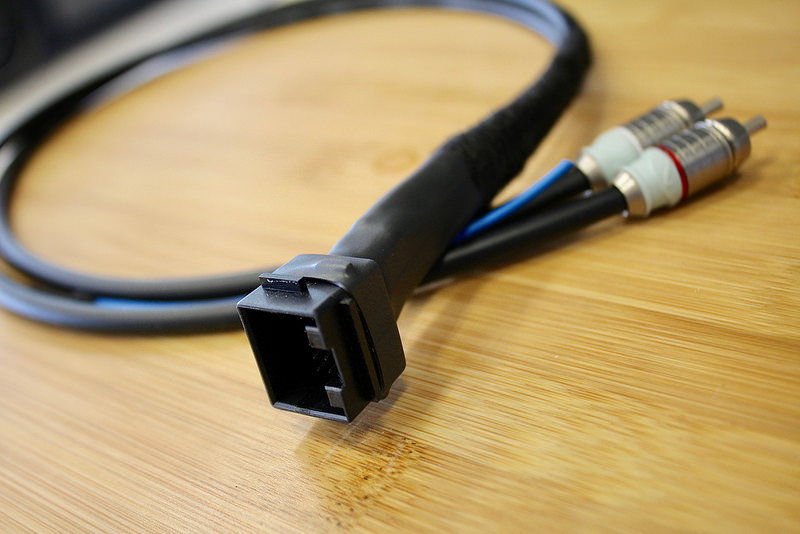
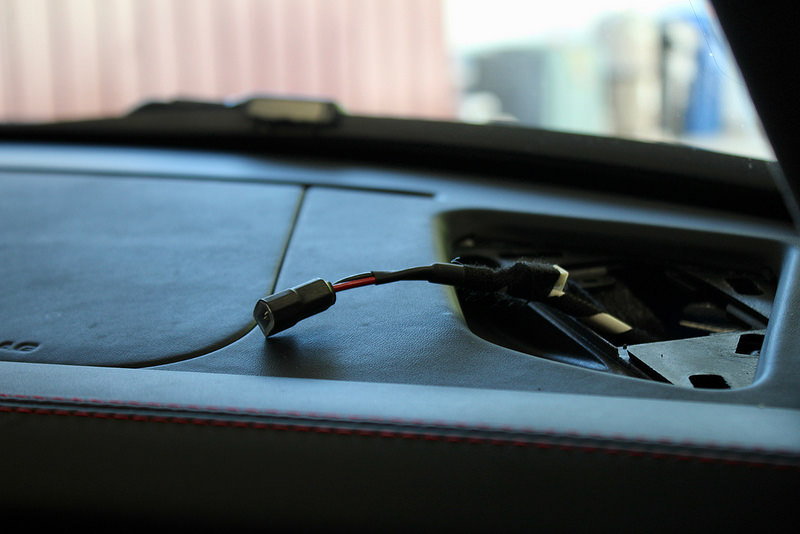
The wiring is all prepped and cut to length for a seamless install. There are two plugs at the factory amplifier – one that takes the input from the PCM, and another that outputs to the speakers. Our kit includes both of those adapters to make it plug and play. Since the factory power and ground leads are much too small to support the new power, we'll include a direct power harness that connects to a junction in the passenger footwell.
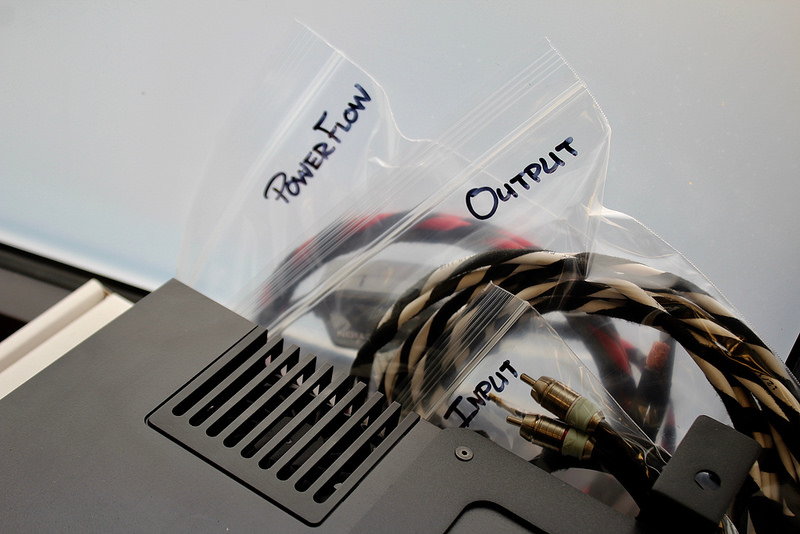
That's pretty much the entire kit. Once we got all this done it was boxed up and sent on it's way down to California along with a few of our tools to help with the install. I'm still compiling the photos of the installation process, but I'll get those posted up soon along with details on the process itself.
Nick, excellent! Looking to upgrade my Sound+ in my 981 Spyder for a while, but no one really figured it out with this attention to detail as you do!
I do not have the PCM but the CDR+ which looks 100% like PCM but without navigation. hope the rest is the same so it can be used in my car. Also it is a European car, hope also no big difference to the US cars.
Again, great stuff!
Glad you like what you see so far. As long as you optioned the Sound Package Plus you should be fine, and I don't think the European car would make a difference. There are a couple qualifiers we can run through to verify the fitment just in case – Feel free to shoot me over an email to chat: nick.akin@musicarnw.com
I should have the install log up by tomorrow sometime so you can get a peek at the installation side. Although, depending on where you are in Europe, feel free to fly me out for a personal installation!
Had some time today to get all the photos off the camera and put them together....
Phase Two Amplifier Installation
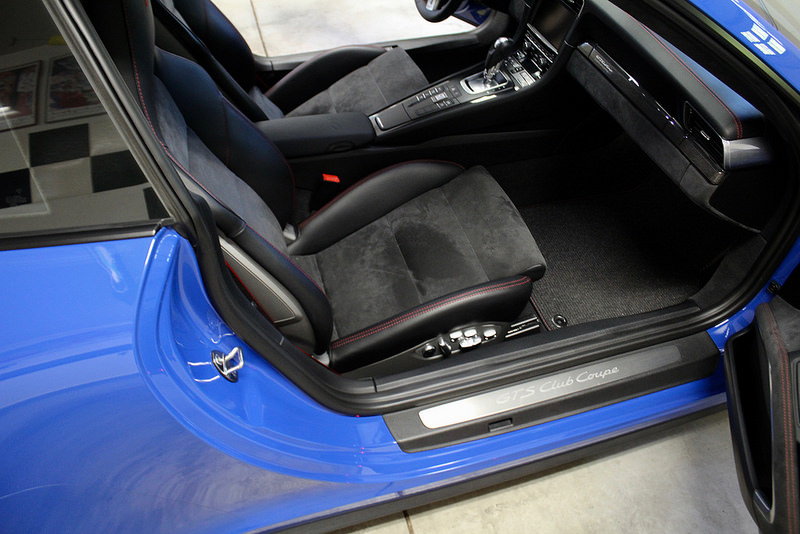
The first and most important part.... I needed to get to the car. So Saturday morning I hopped on a plane down to beautiful Southern California to meet up with the owner and get started on the install. We started off with a quick inspection of the car followed by setting up the buffet of parts and tools I sent down earlier that week.
One of my biggest concerns on this car was that Porsche was going to throw us a curveball and somehow make this car's audio setup slightly different than the handful of others we'd seen up in Oregon. So of course, I started with the amplifier to put my fears at rest.
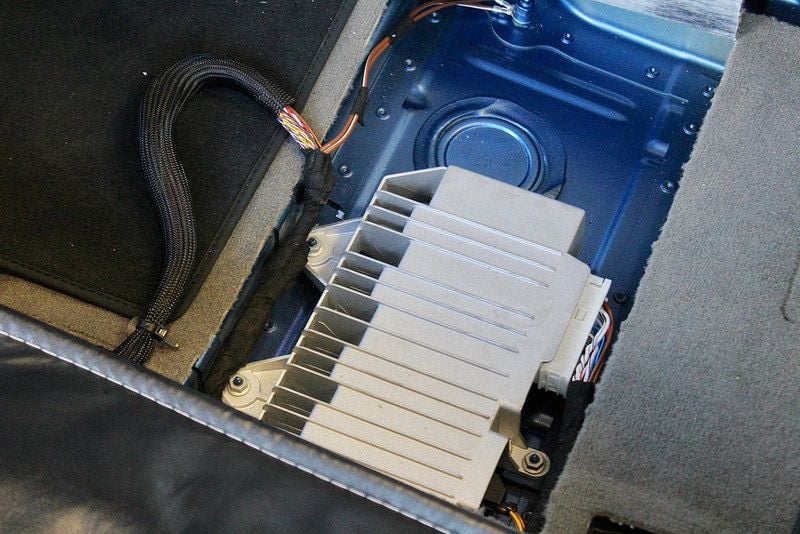
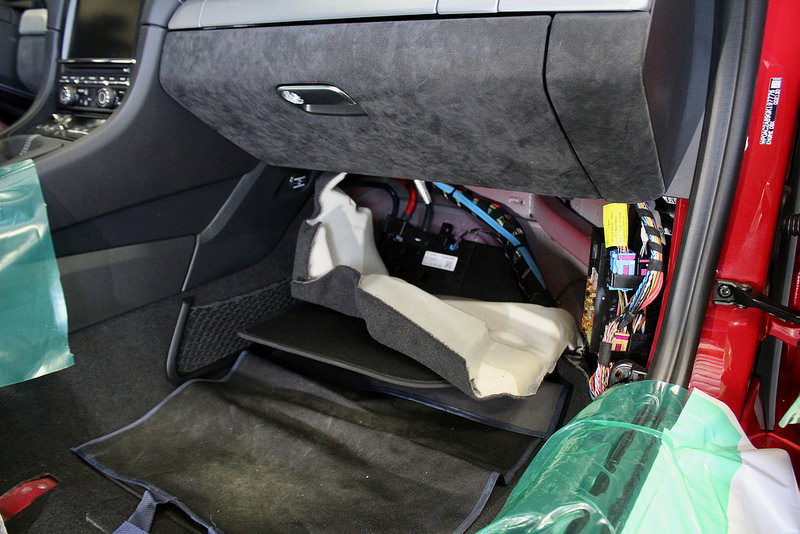
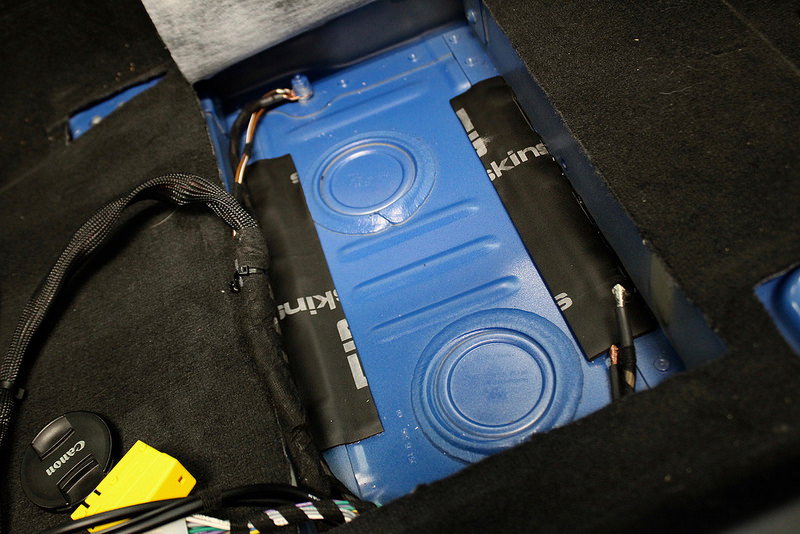
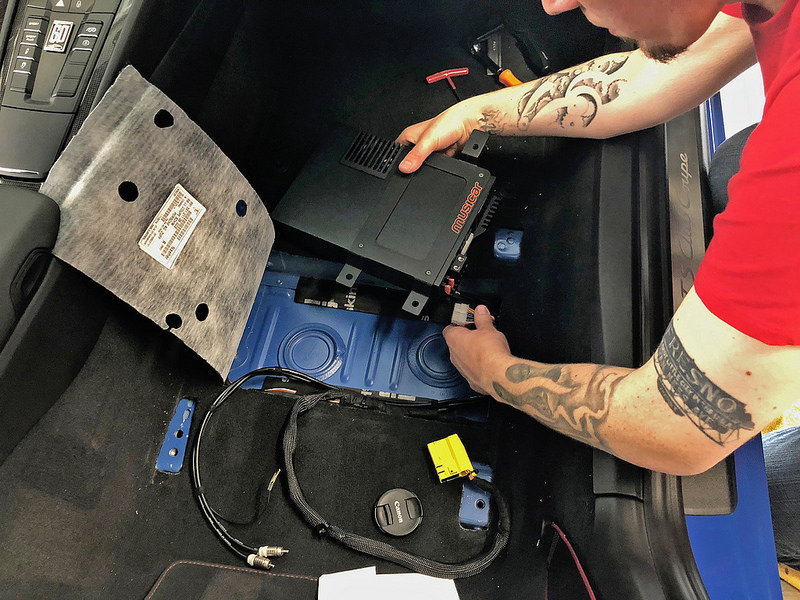
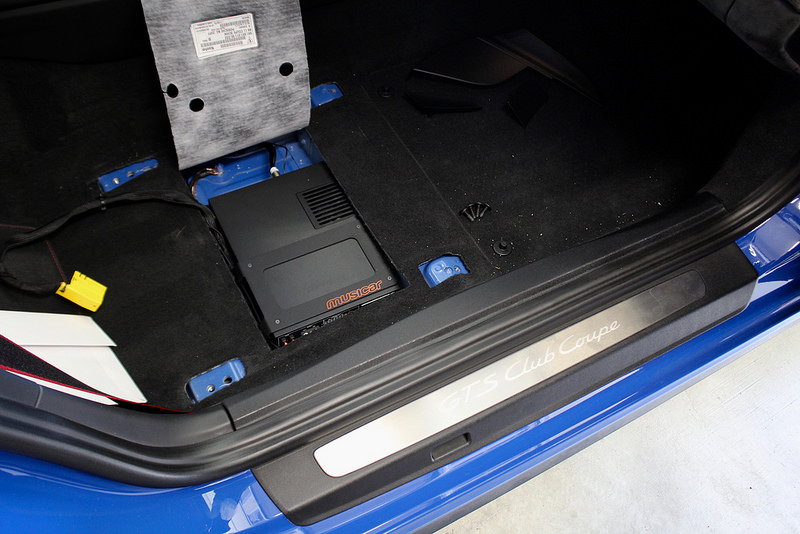
The factory amplifier in the 991(regardless of package) is in a dedicated well beneath the passenger seat. The seat can be unbolted and leaned back to swap the amplifier, but with a little bit of cautiousness and finesse, removing the seat from the car completely makes life a lot easier.
The factory amplifier is small, underpowered, and has a terrible-sounding digital processor inside. Luckily, our Italian power is going to remedy those ailments. Once we have the factory amplifier removed, we can work on the wiring. For the main inputs and outputs, we've already pre-built the plug and play adapters. Because of this, there's no need for cutting the factory wires for any reason.
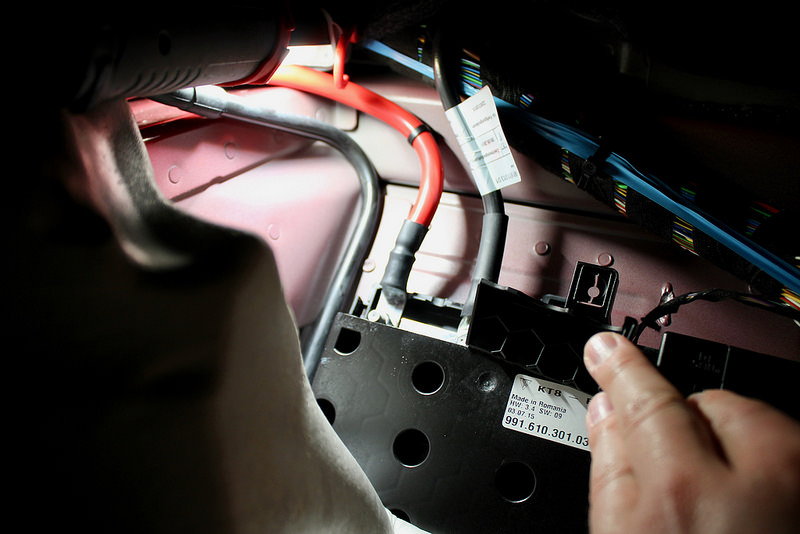
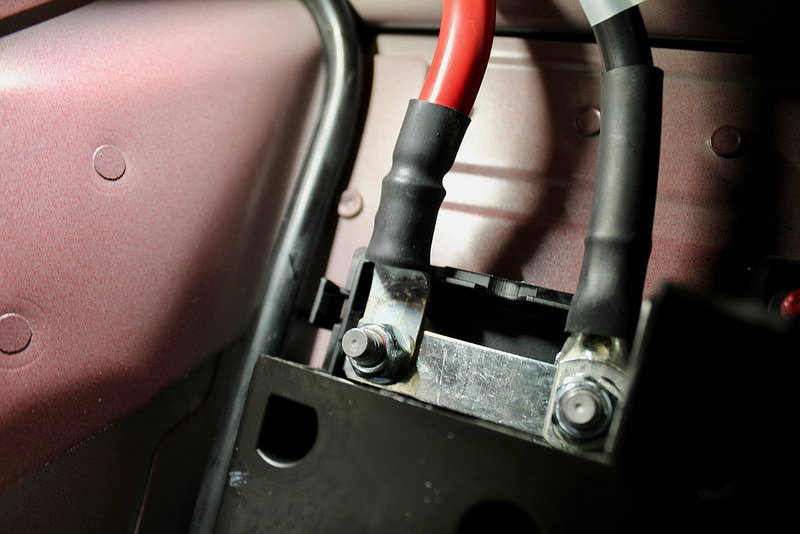
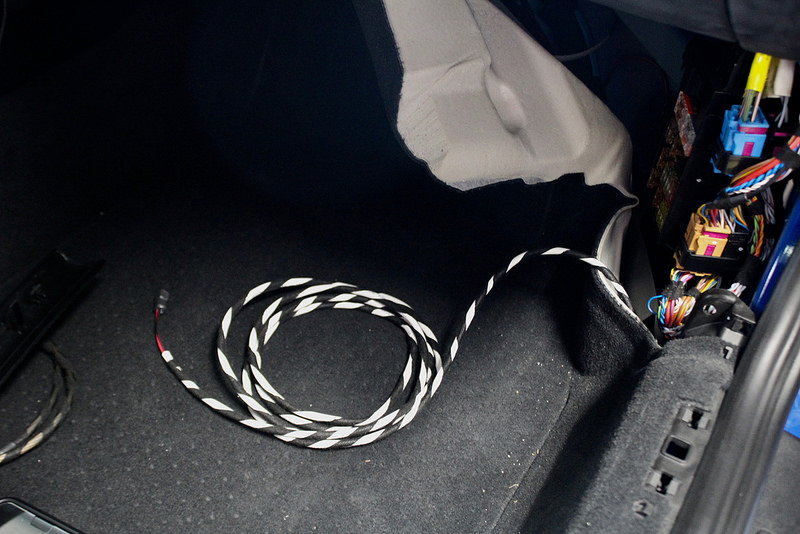
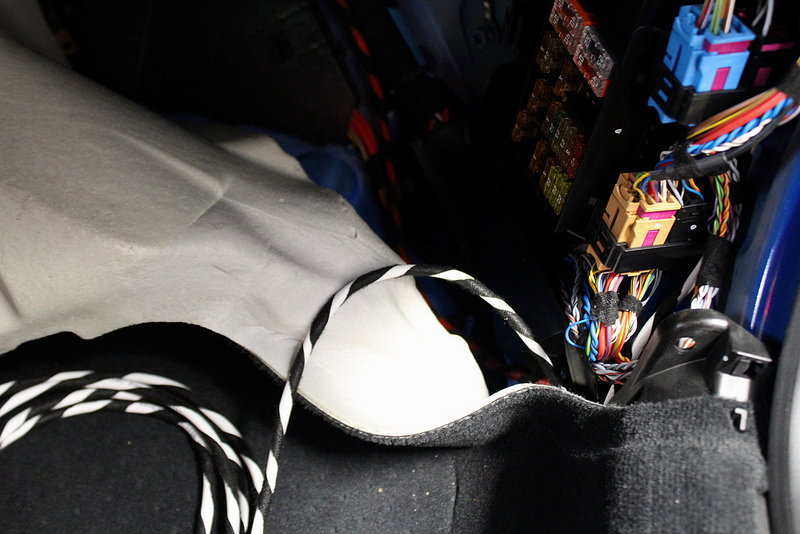
There is some light wiring that needs to be independent of the factory wiring. For starters, we have a much more powerful amplifier and the factory amp's power lead just won't support that properly. To augment, we ran a dedicated power lead to the distribution box at the passenger footwell. I neglected to take photos while in there, but I'll use one I took from a GT4 that's identical. We also use the existing ground lug in the amp cavity for our new upgraded ground cable.
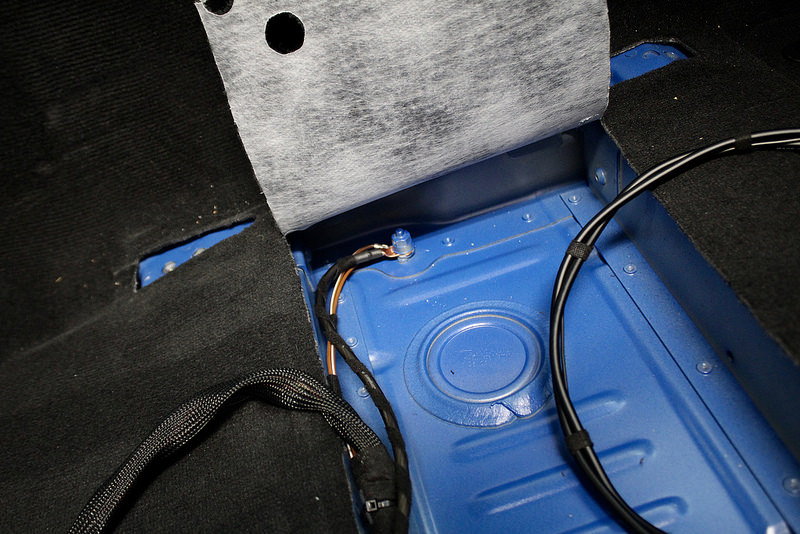
Lastly, we need to run new wires to each tweeter in the dash. Like I said before, the factory door midrange and dash tweeter share an amplifier channel. Our new system is configured to power those speakers with discreet channels. The tweeter wiring, like all the others, is a pre-made harness cut to length that took about 15min to run to each dash corner. The wiring hides below the carpet easily and blends with the OEM look under the surface.
Now that all the wiring is in place it's time to set the amp in place. If you look at the photo of the OEM amp in the car(which is definitely from a different 991, lol. I forgot to snap that photo while I was there), you can see that the amp mounts with three nuts attached to Z-shaped brackets that mount on the taller surfaces above the amplifier cavity. Since our new amplifier is a bigger footprint, we'll be using those upper mounting locations. I also placed a tiny bit of sound deadening material in the cavity for the amp to rest on as a vibration damper.
I could have put the seat back in at this point, but I wanted to get the speaker installation complete and test the sound before I covered everything up – just in case. Speaker installation details coming up next, should have all those photos put together real soon!
Glad you like what you see so far. As long as you optioned the Sound Package Plus you should be fine, and I don't think the European car would make a difference. There are a couple qualifiers we can run through to verify the fitment just in case – Feel free to shoot me over an email to chat: nick.akin@musicarnw.com
I should have the install log up by tomorrow sometime so you can get a peek at the installation side. Although, depending on where you are in Europe, feel free to fly me out for a personal installation!
This I had in mind, funny enough! A group buy and have you run the install here in Europe. Nice!
Very nice work! Do you guys set up a tune in the dsp for DIY customers? Thinking this would be great for diy guys wanting the best sounding system and since all 991’s have very similar interiors one tune should work pretty well.
For those who don’t know tuning a multi channel fully active system in an automobile is not a simple matter. An ametuer tune can make a great system sound like poo.


 10-30-2017 | 07:58 PM