When you click on links to various merchants on this site and make a purchase, this can result in this site earning a commission. Affiliate programs and affiliations include, but are not limited to, the eBay Partner Network.
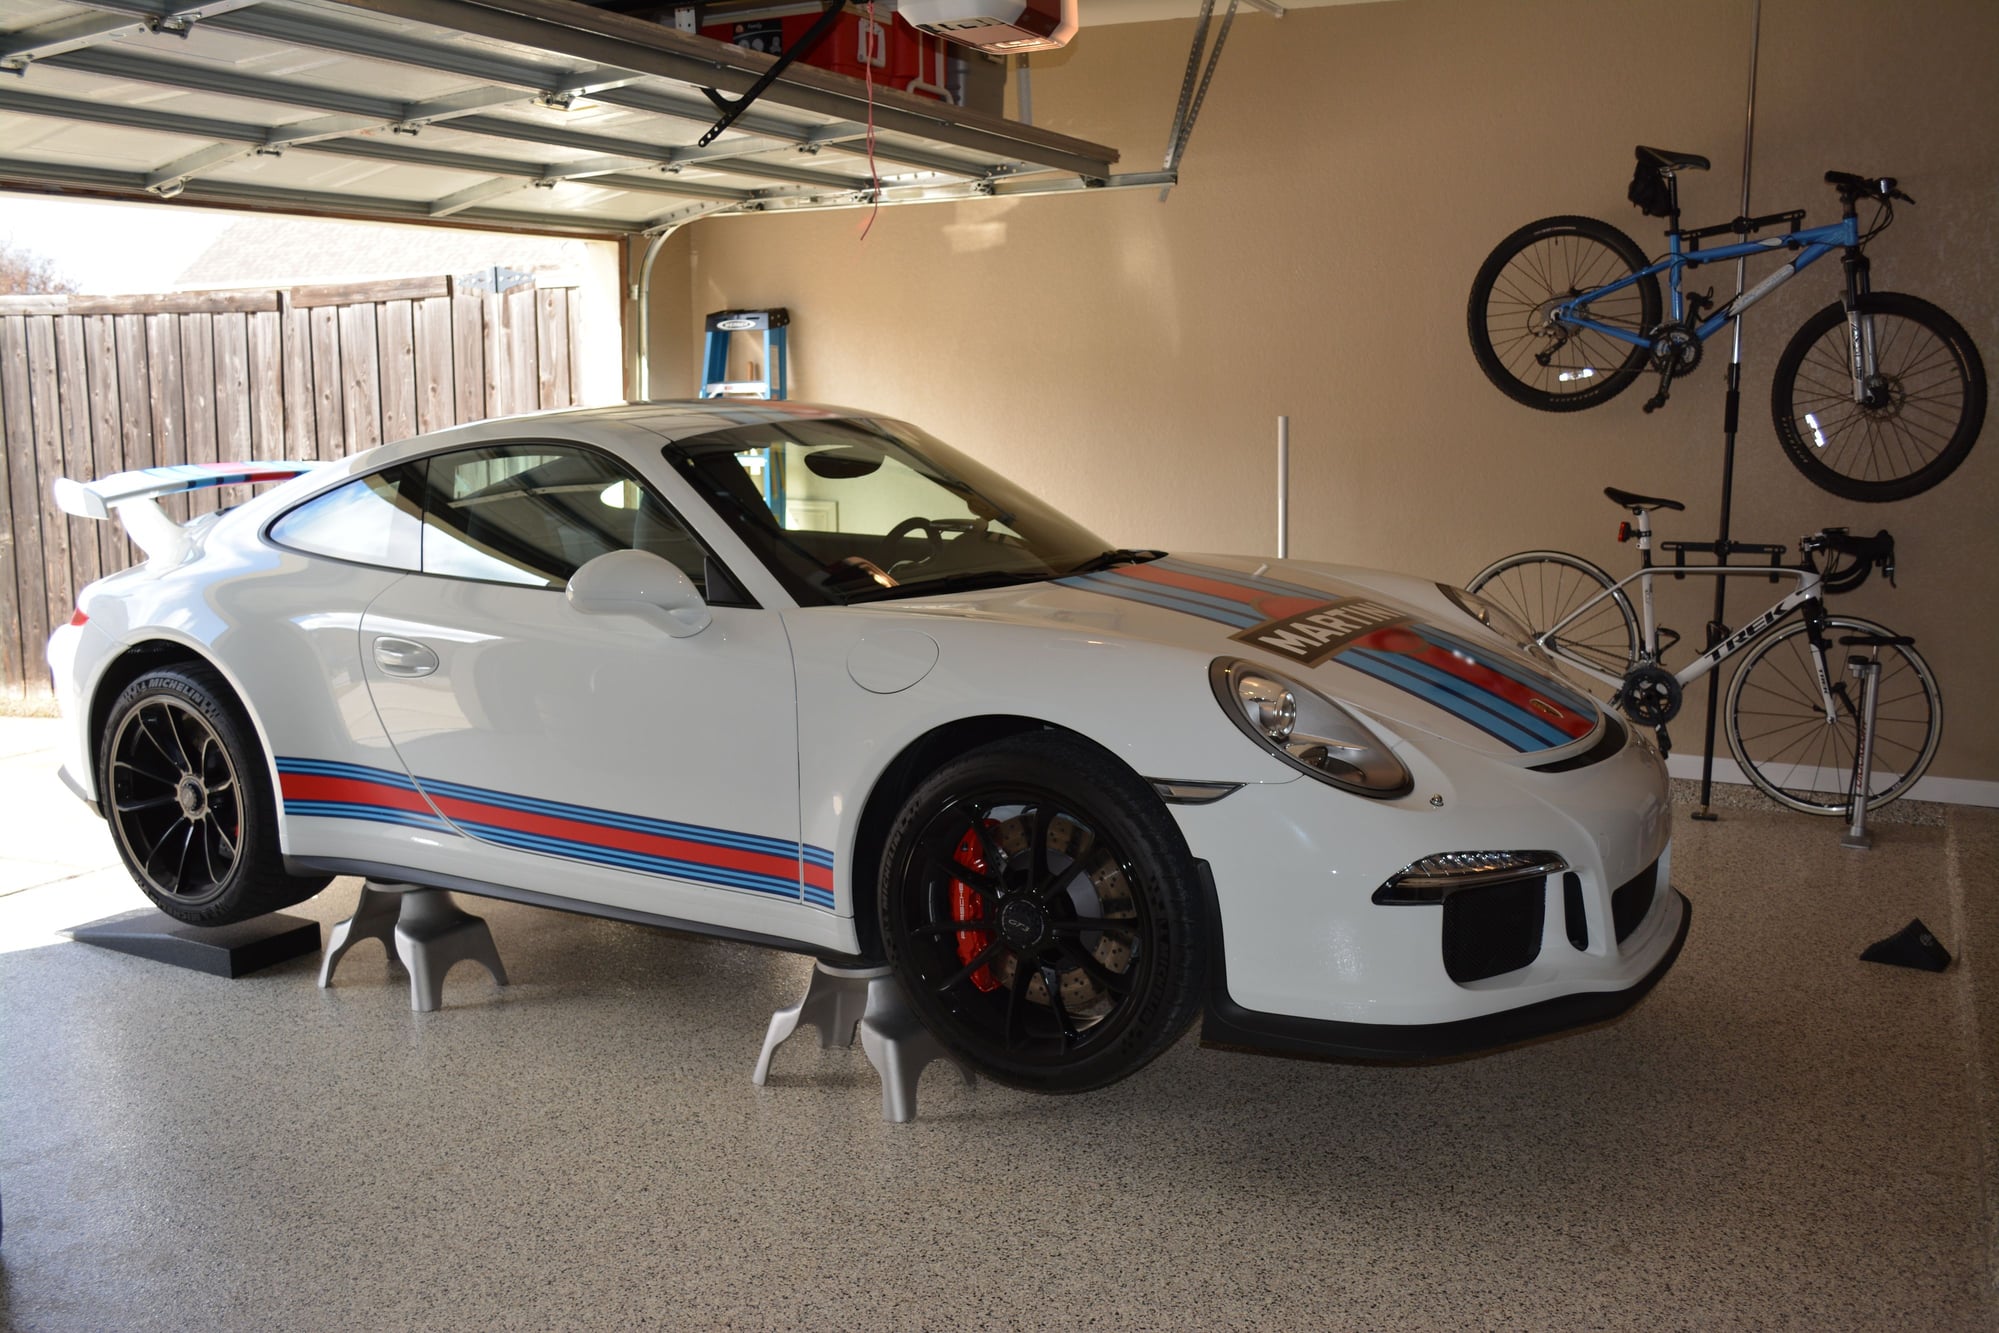
Well I popped my CL cherry! I did a complete 4 wheel CL change yesterday to put on my O.Z HLT's and learned quite a bit along the way. Thanks to Mike and Mike for all of the great info and direction! I'm no videographer but did the best I could to document this in a video.
Some overall impressions.
1. As Mike in CA says, this is not rocket science. It does seem intimidating at first but if you take your time initially and READ YOUR MANUAL as well as review the other CL info available, The video has a section on hub and wheel inspection and what to look for, It's nearly as easy as any wheel change. If you have basic shop/auto knowledge this really will be a breeze.
2. Rear wheels do not require the use of applying the brake via use of an extra person or clamp, the parking brake does a good job.
3. The front wheels can be done alone. At first I had a hard time getting enough brake pressure to keep the fronts from turning but then I started the car and pumped the brakes before applying the clamp and all was good. They will move around a bit on you as well if you are applying any force in L or R direction but it is really manageable if you start with the wheels perfectly straight and apply your force evenly and on a vertical plane.
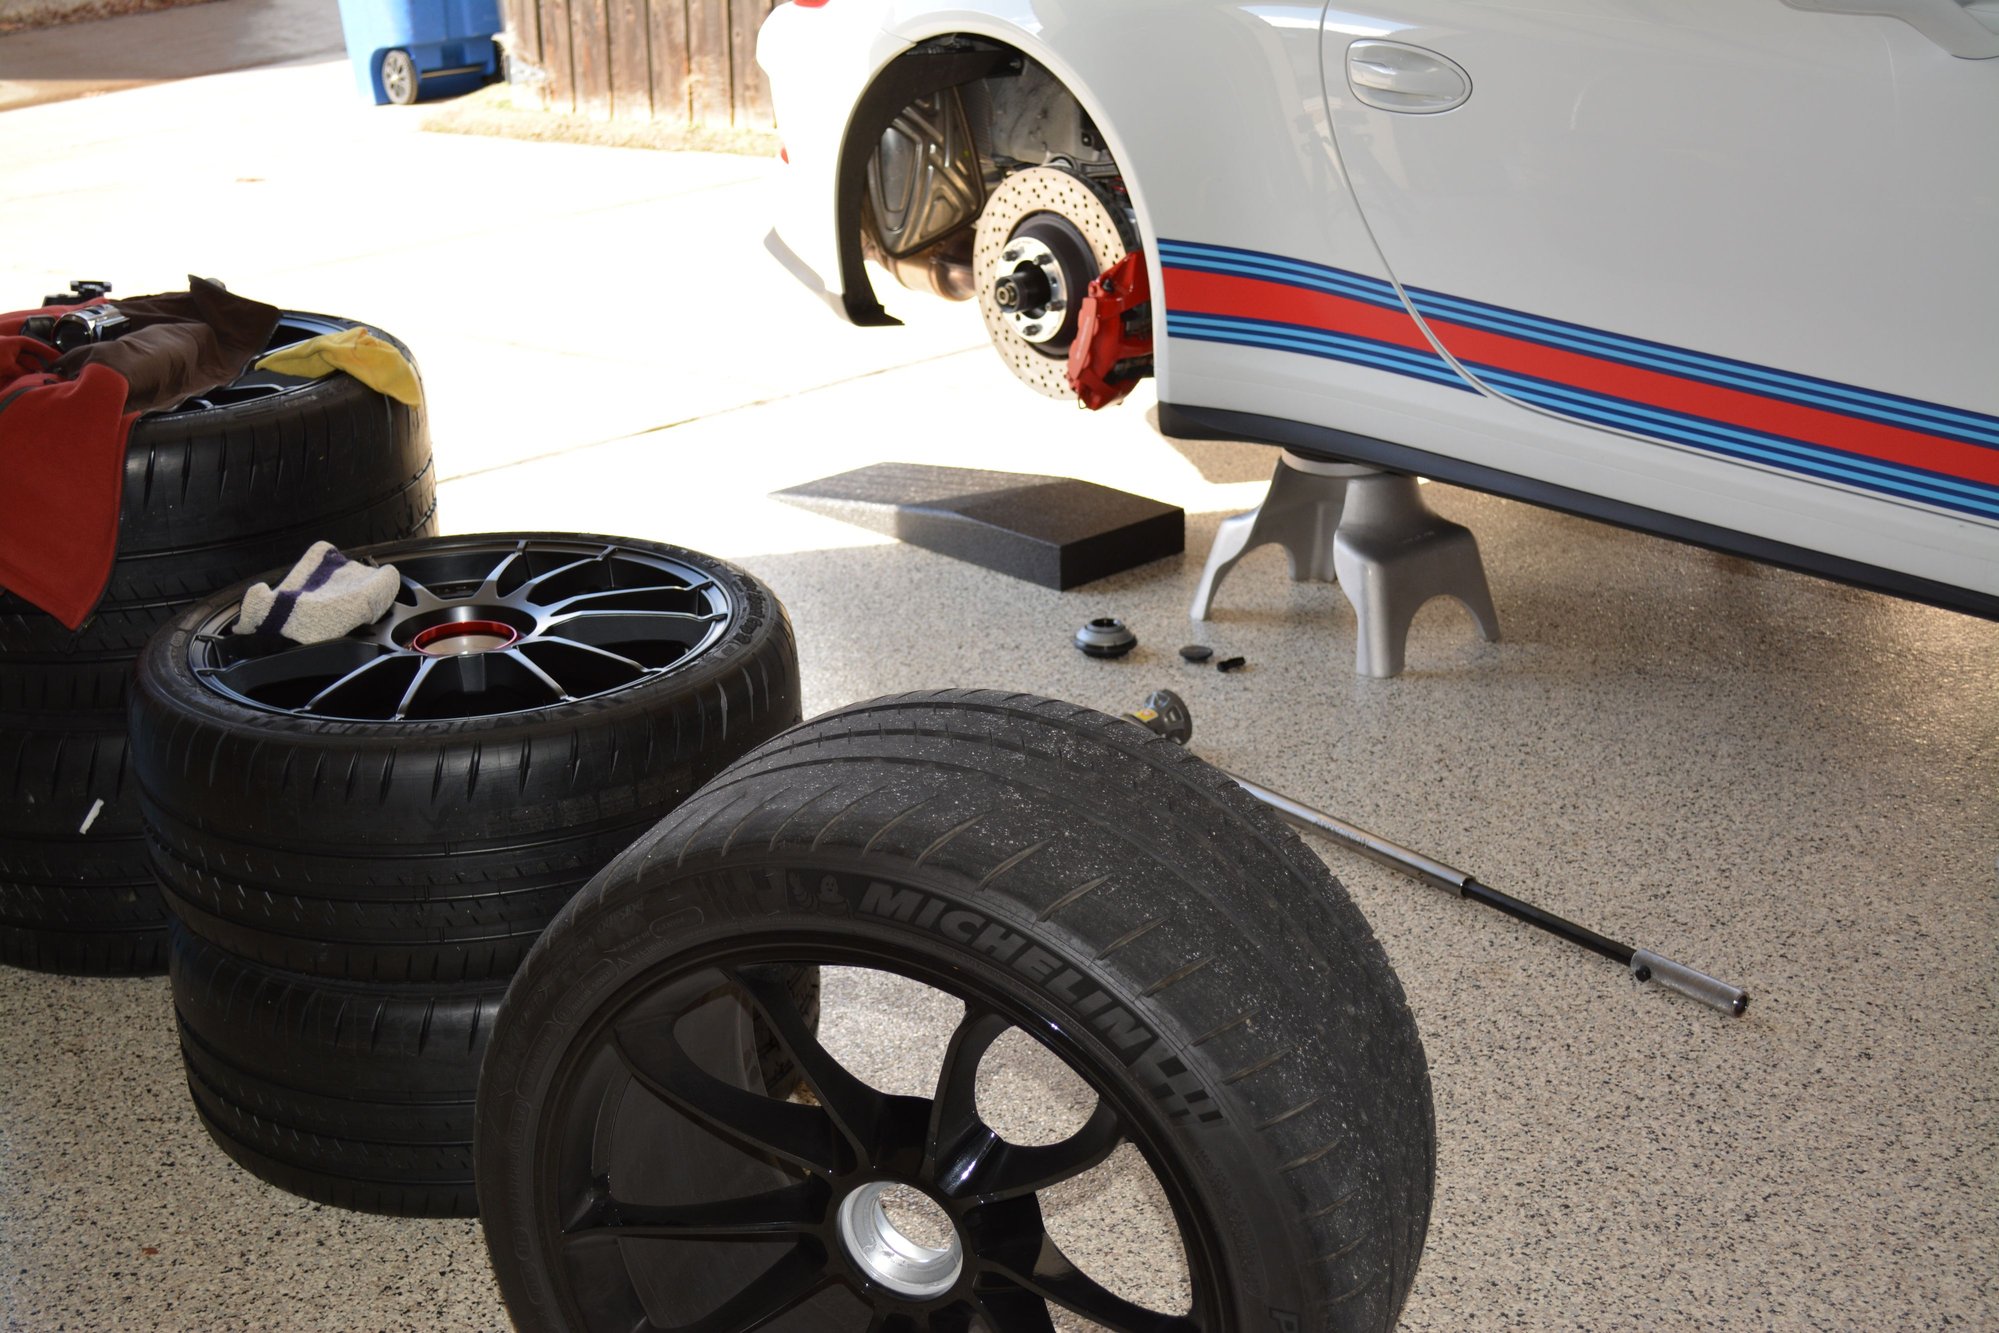
4. The paste is a mess, USE GLOVES. Period.
5. The jackpoint stands work great and were completely rock solid throughout. I highly recommend these.
6. In all not something I see as a big deal at all, From the time I grabbed the jack till the time I was done and scrubbing in my new tires, about an hour and 45 mins. That including fumbling with a video camera, reading and re reading the manual and other docs, and just being generally OCD. As long as you are prepared with the right tools, DID I MENTION GLOVES FOR THE PASTE, it really should take you no longer than 30-40 mins to do all 4 wheels given average experience. The process would go alot faster if you have 2 sockets and a dedicated breaker bar and torque wrench which I will be ordering shortly.
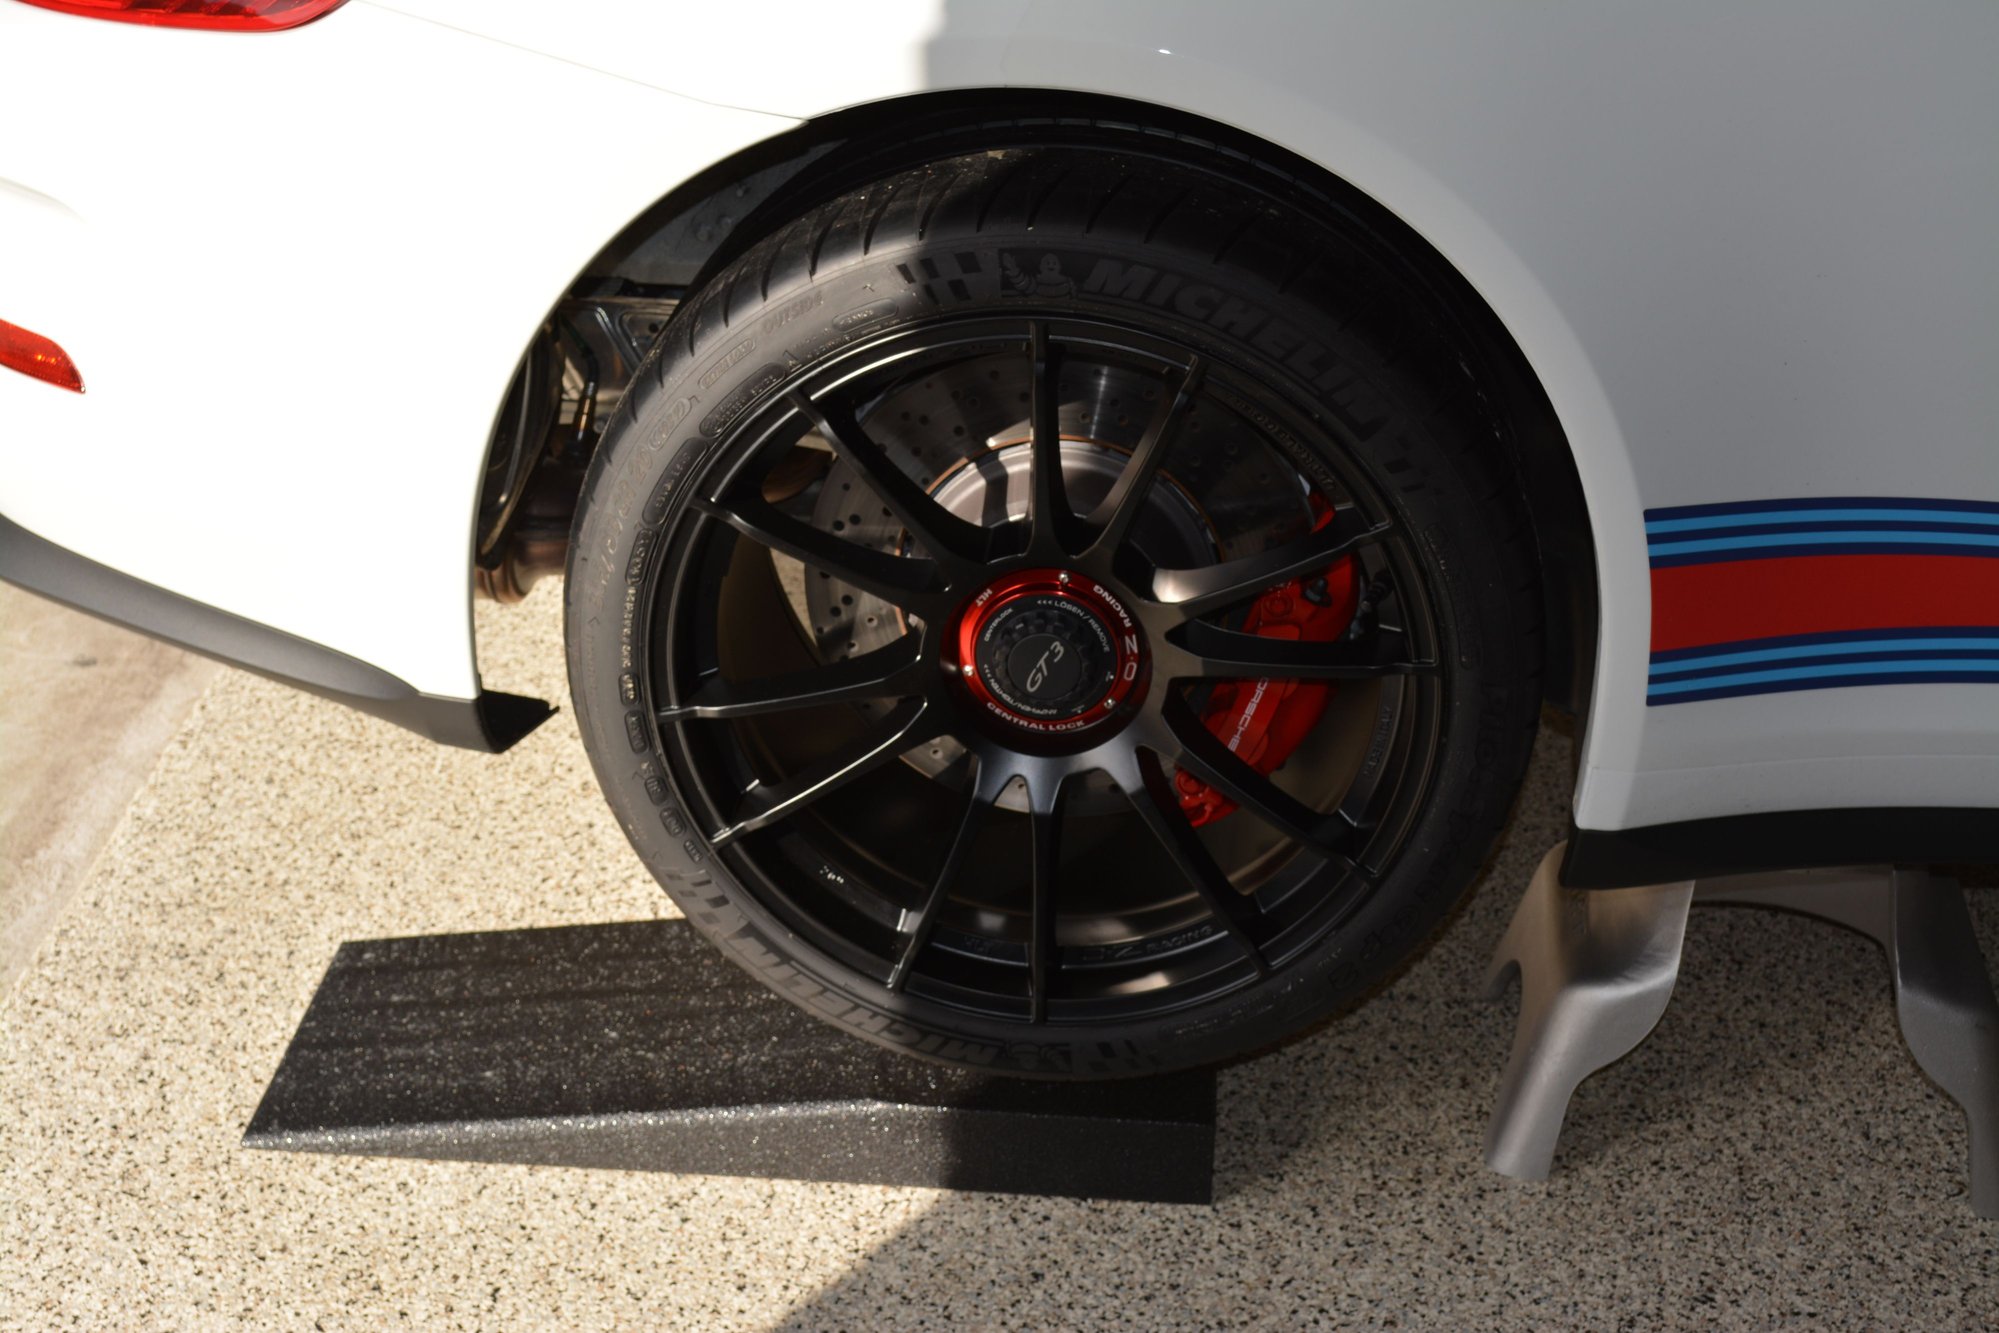
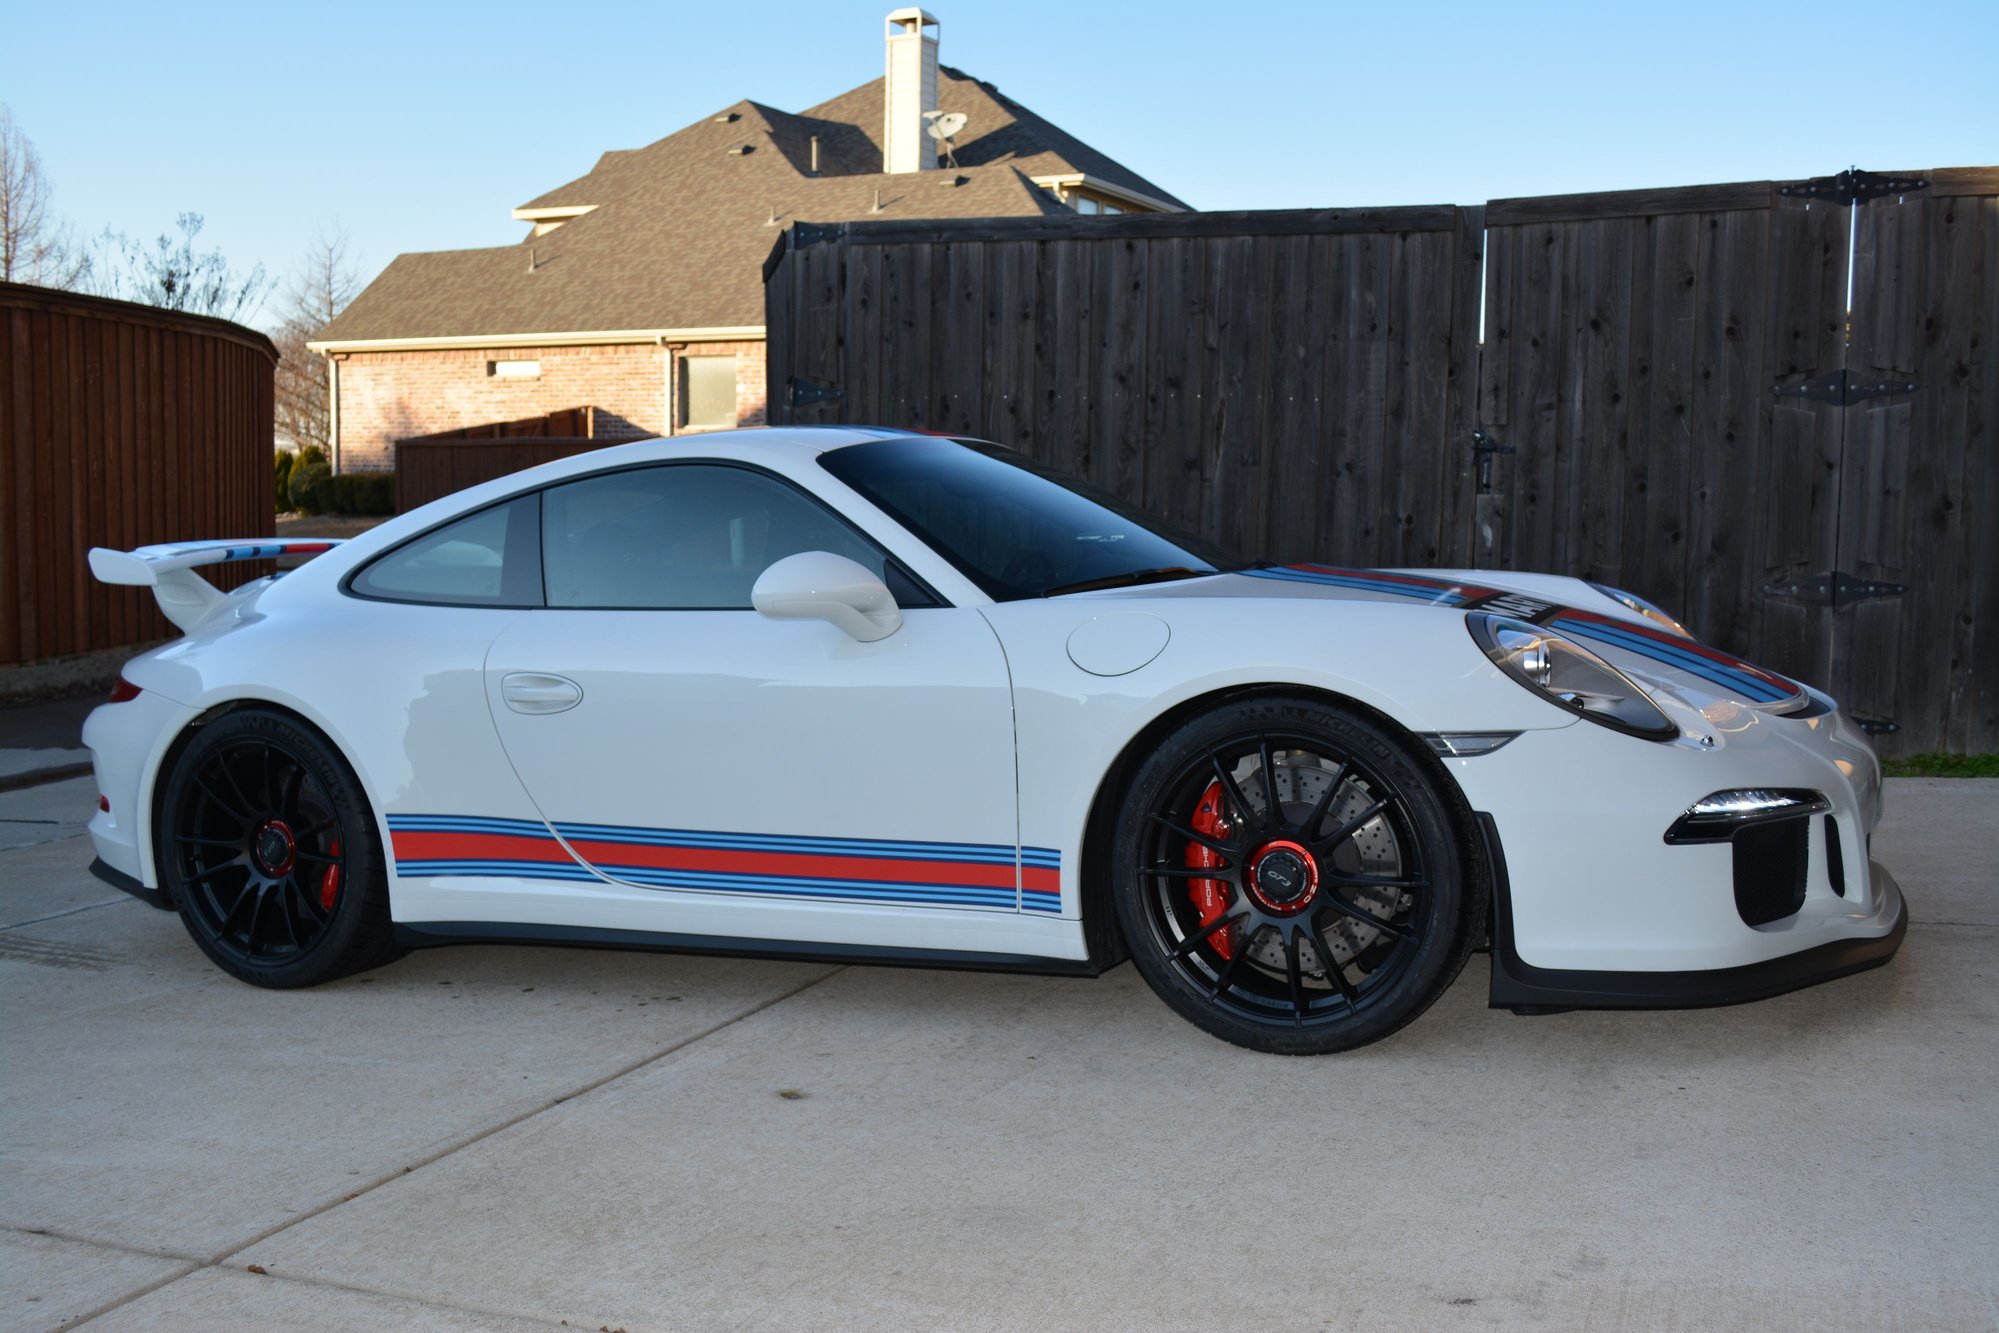
I really like the look of the O.Z HLT's as well, My GR inbound has the stock grey wheels so it will be cool to have both colors.
Well I popped my CL cherry! I did a complete 4 wheel CL change yesterday to put on my O.Z HLT's and learned quite a bit along the way. Thanks to Mike and Mike for all of the great info and direction! I'm no videographer but did the best I could to document this in a video.
Some overall impressions.
1. As Mike in CA says, this is not rocket science. It does seem intimidating at first but if you take your time initially and READ YOUR MANUAL as well as review the other CL info available, The video has a section on hub and wheel inspection and what to look for, It's nearly as easy as any wheel change. If you have basic shop/auto knowledge this really will be a breeze.
2. Rear wheels do not require the use of applying the brake via use of an extra person or clamp, the parking brake does a good job.
3. The front wheels can be done alone. At first I had a hard time getting enough brake pressure to keep the fronts from turning but then I started the car and pumped the brakes before applying the clamp and all was good. They will move around a bit on you as well if you are applying any force in L or R direction but it is really manageable if you start with the wheels perfectly straight and apply your force evenly and on a vertical plane.
4. The paste is a mess, USE GLOVES. Period.
5. The jackpoint stands work great and were completely rock solid throughout. I highly recommend these.
6. In all not something I see as a big deal at all, From the time I grabbed the jack till the time I was done and scrubbing in my new tires, about an hour and 45 mins. That including fumbling with a video camera, reading and re reading the manual and other docs, and just being generally OCD. As long as you are prepared with the right tools, DID I MENTION GLOVES FOR THE PASTE, it really should take you no longer than 30-40 mins to do all 4 wheels given average experience. The process would go alot faster if you have 2 sockets and a dedicated breaker bar and torque wrench which I will be ordering shortly.
I really like the look of the O.Z HLT's as well, My GR inbound has the stock grey wheels so it will be cool to have both colors.
Strimdog,
Excellent vid, thanks for the effort.
Where did you get the paper manual that you refered to? I'd love to have that for reference the first time.
Well I popped my CL cherry! I did a complete 4 wheel CL change yesterday to put on my O.Z HLT's and learned quite a bit along the way. Thanks to Mike and Mike for all of the great info and direction! I'm no videographer but did the best I could to document this in a video.
Some overall impressions.
1. As Mike in CA says, this is not rocket science. It does seem intimidating at first but if you take your time initially and READ YOUR MANUAL as well as review the other CL info available, The video has a section on hub and wheel inspection and what to look for, It's nearly as easy as any wheel change. If you have basic shop/auto knowledge this really will be a breeze.
2. Rear wheels do not require the use of applying the brake via use of an extra person or clamp, the parking brake does a good job.
3. The front wheels can be done alone. At first I had a hard time getting enough brake pressure to keep the fronts from turning but then I started the car and pumped the brakes before applying the clamp and all was good. They will move around a bit on you as well if you are applying any force in L or R direction but it is really manageable if you start with the wheels perfectly straight and apply your force evenly and on a vertical plane.
4. The paste is a mess, USE GLOVES. Period.
5. The jackpoint stands work great and were completely rock solid throughout. I highly recommend these.
6. In all not something I see as a big deal at all, From the time I grabbed the jack till the time I was done and scrubbing in my new tires, about an hour and 45 mins. That including fumbling with a video camera, reading and re reading the manual and other docs, and just being generally OCD. As long as you are prepared with the right tools, DID I MENTION GLOVES FOR THE PASTE, it really should take you no longer than 30-40 mins to do all 4 wheels given average experience. The process would go alot faster if you have 2 sockets and a dedicated breaker bar and torque wrench which I will be ordering shortly.
I really like the look of the O.Z HLT's as well, My GR inbound has the stock grey wheels so it will be cool to have both colors.
Nice work. My tool kit is the exact clone of yours....
Great job, but I am more impressed with your garage!
Thanks! I love my garage! The floor is my favorite part, and that was the least expensive part!
Originally Posted by armbar
Strimdog,
Excellent vid, thanks for the effort.
Where did you get the paper manual that you refered to? I'd love to have that for reference the first time.
Just PM me your e-Mail address and I will send them to you.
Originally Posted by Zulu Alpha
Thoroughly impressed Mr. Strimdog! Well done!
Thanks Zulu!
Originally Posted by rockitman
Nice work. My tool kit is the exact clone of yours....
Thank you sir! Actually, MY tool kit is a clone of yours!

 01-04-2015, 09:20 AM