When you click on links to various merchants on this site and make a purchase, this can result in this site earning a commission. Affiliate programs and affiliations include, but are not limited to, the eBay Partner Network.
Yes, I've driven it, no real rattlles, it all assembles pretty well, and honestly I tightened the bolts tighter than they were. I do have one small squeek, but it's one of those things you don't really notice until you pay attention. It was probably there before.
Does your old one have any tape applied at all on the underside areas that could rub? Just wondering if the factory applies any squeek prevention measures. Again, well done. This gives me more confidence to tackle this one.
Does your old one have any tape applied at all on the underside areas that could rub? Just wondering if the factory applies any squeek prevention measures. Again, well done. This gives me more confidence to tackle this one.
Thanks. Some of the interfaces has rubber gaskets between the surface. A pillars are a good example There are little rubber gasket between a pillar and metal.
However, the majority of the interfaces are plastic on plastic, hence I think it would good to tighten the bolts. They were fairly "loose" from the factory during diassembly.
I put it back together exactly as it came. I made sure to keep track of bolts. I had zero left over after reassembly, a win.
IF you're replacing the dash, one option too is to pull it and send it to a company like Exclusive Option to recover. They did not respond to me in time, so I bought a new one.
We both have Porsche�s with the EXACT same leather dash issues. If I took pictures of my 2016 GTS dash they would be almost identical to yours. We�re neighbors BTW� I�m in Camas.
I�m also going to live with it for now, but leaning towards finding a used/maybe new dash replacement and doing the swap myself. Keep me posted on what you decide with yours!
Jeff
Sorry, I haven�t kept up
on this thread. I ended up repairing mine using the syringe and glue method and I am pretty satisfied with the results. Time will tell if this is a permanent fix. I did a lot of research on the type of the adhesive to use. I selected Weldwood contact adhesive for landu top and trim, as it has excellent adhesion, especially in hot conditions. I sprayed the adhesive into a new eye drop bottle then filled a syringe. I injected about six different locations, spread the glue with a towel, then weighted down over night. I probably injected about 4-5 ml total.
Qq � more out of curiosity - How did you inject? Underneath by lifting up the leather on the windshield sicr (yes?) but not actually through the leather with the needle� is that right? The word inject threw me a bit!
Qq � more out of curiosity - How did you inject? Underneath by lifting up the leather on the windshield sicr (yes?) but not actually through the leather with the needle� is that right? The word inject threw me a bit!
I injected the cement at about a 30 degree angle piercing the leather just under the skin, then sliding the 23 gauge 3ml/cc needle all the way in to fill the areas where the original glue had failed. Then, I used a microfiber towel to spread the glue. It�s almost impossible to see the puncture marks in the leather that the needle made. I think the hole self-healed as the cement sealed the puncture hole. I took rubbing alcohol to remove any excess cement coming out of the puncture holes. T cement dries in minutes, so you have to work fast.
The result is almost perfect, given the fact the leather was shrunk by too much exposure to the sun.
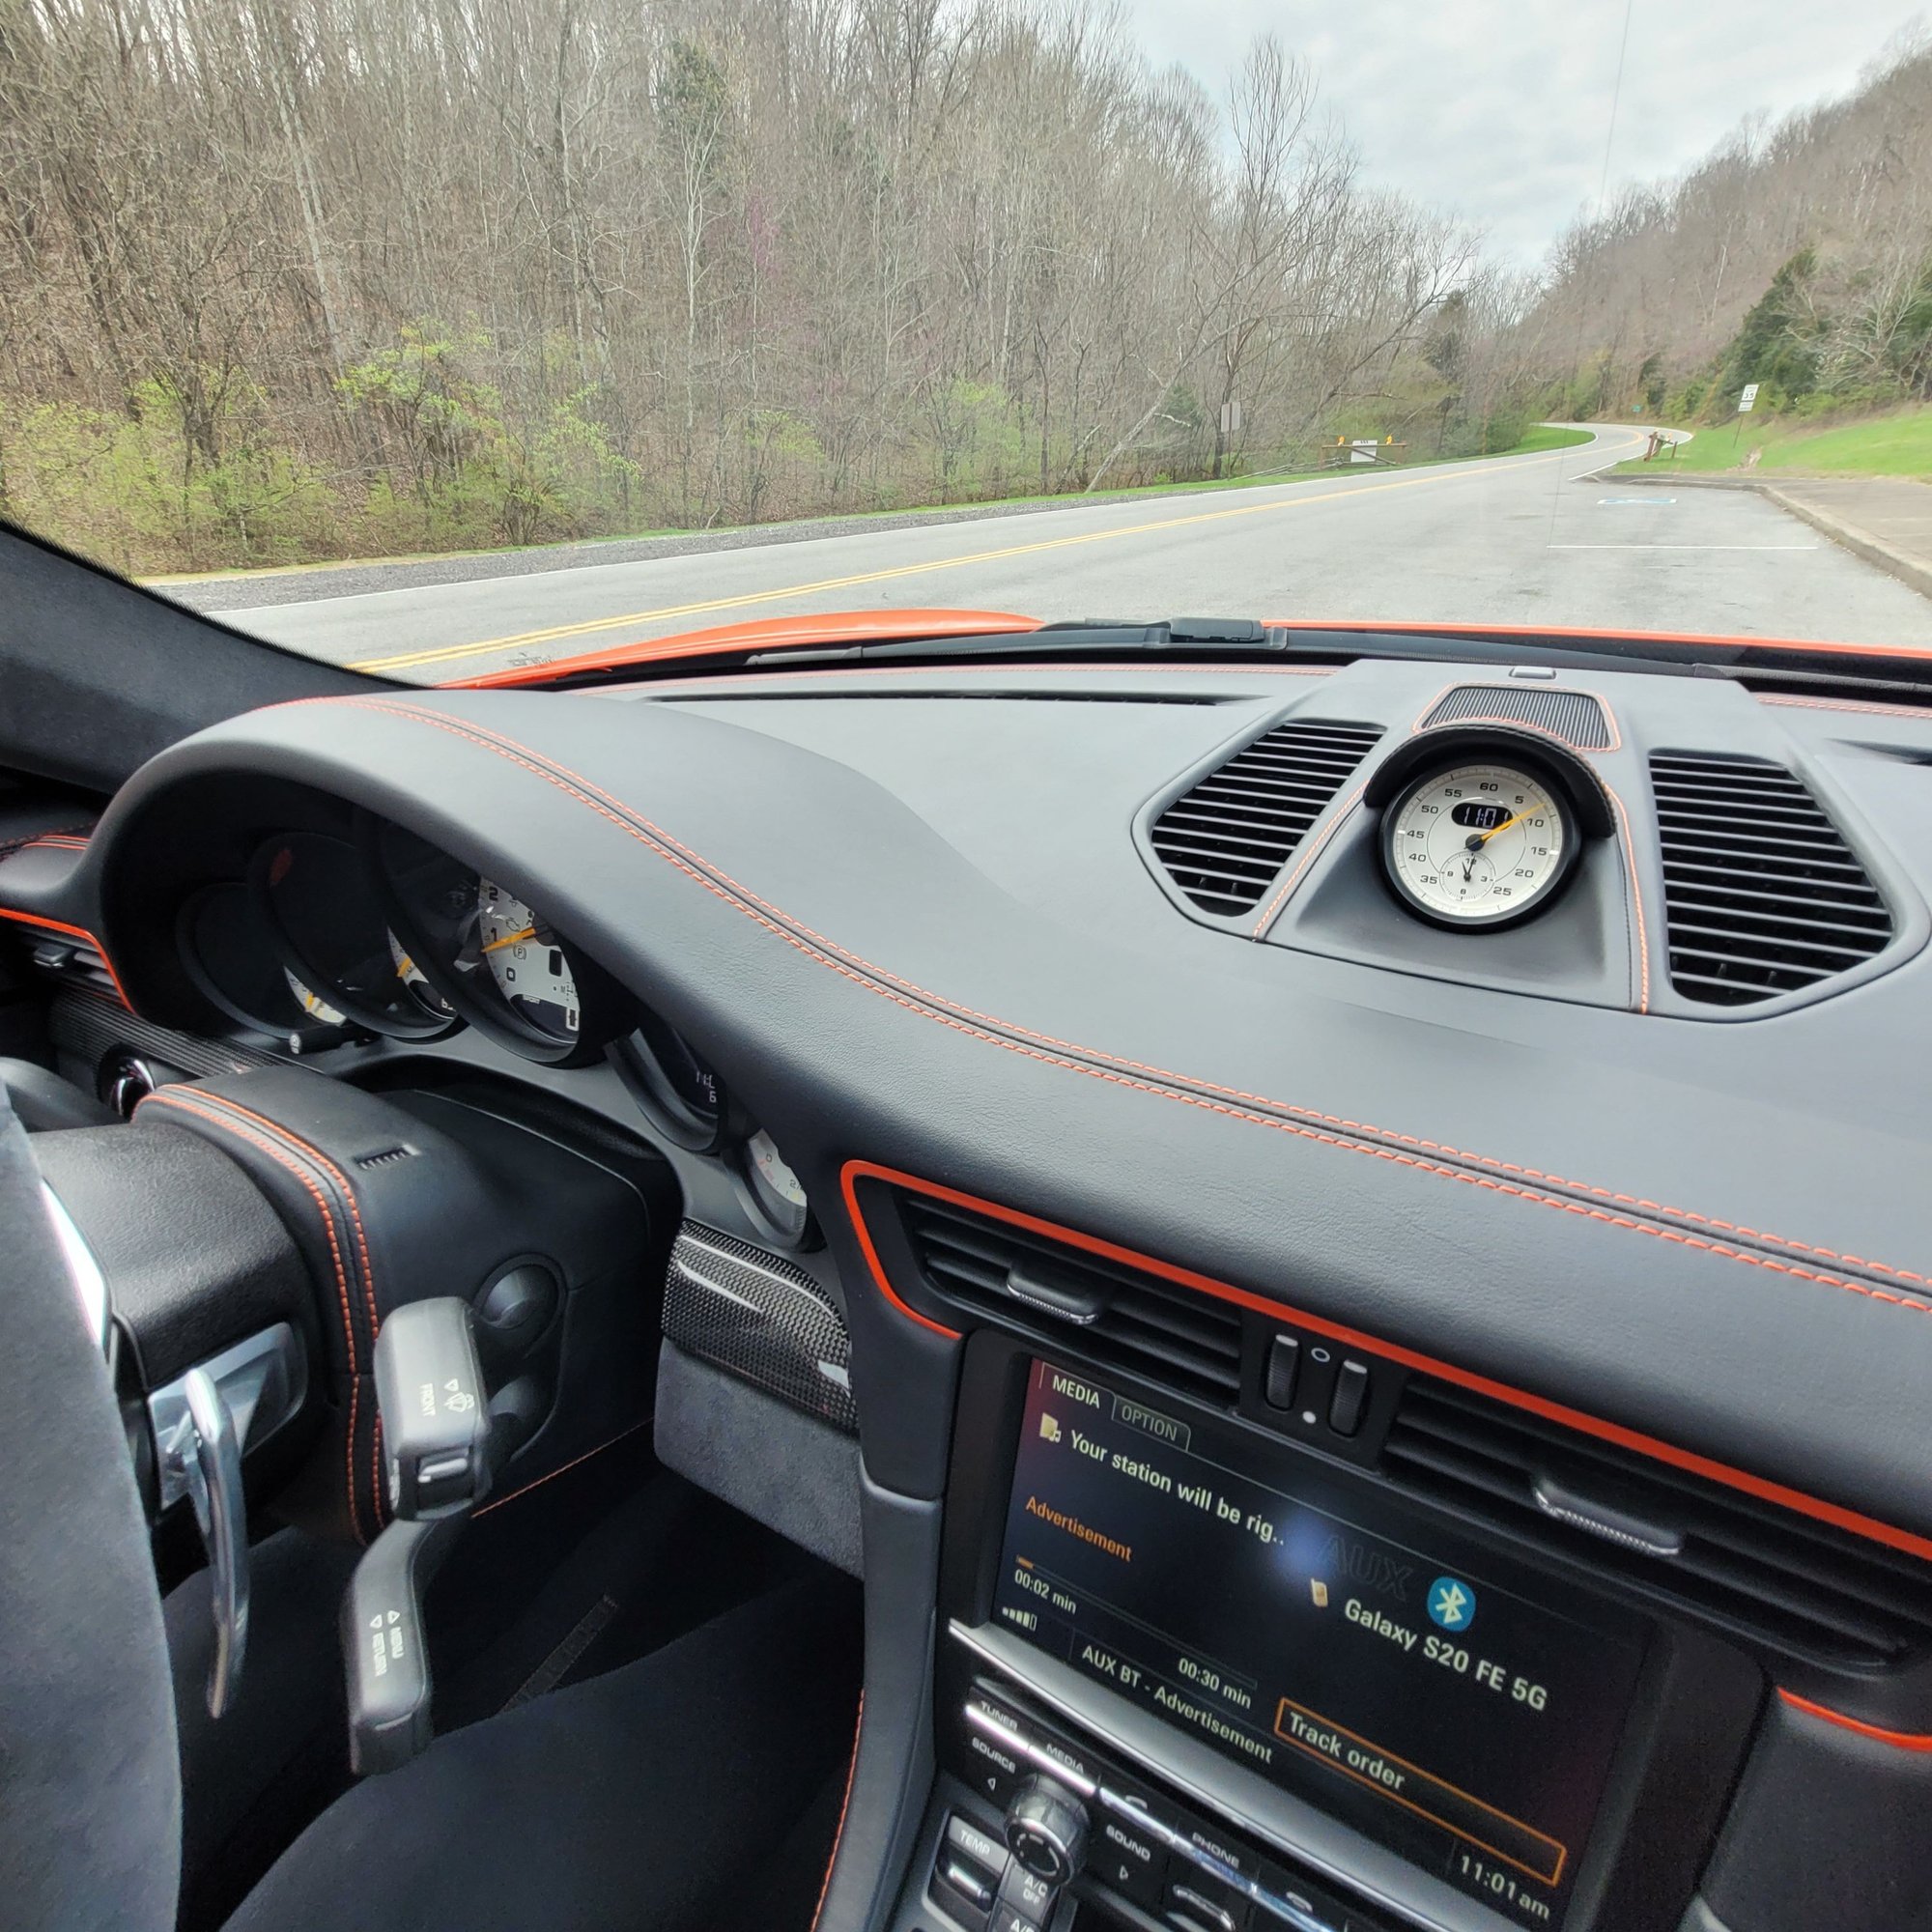
I myself fell down the Exclusive Option dash upgrade. Went with the clock, speakers, dash vents, steering wheel cover, and floor matts. Slippery slope!
Wow! You did a really excellent job! Your dash looks so good with the stitching accents. I have been trying to decide whether to live with my dashboard or replace. I am pretty satisfied with my results, assuming that it will hold-up. All the leather is now attached firmly, but the leather is not as supple as would be the case with a new dashboard. My OCD kicks-in and I vacillate between replacing or just living with it. Most people would think it looks fine. My problem is that I know I can replace it myself, but have little time to do it.
The dealer wants about $4K in labor. I would have them replace it but wouldn�t trust their work quality.
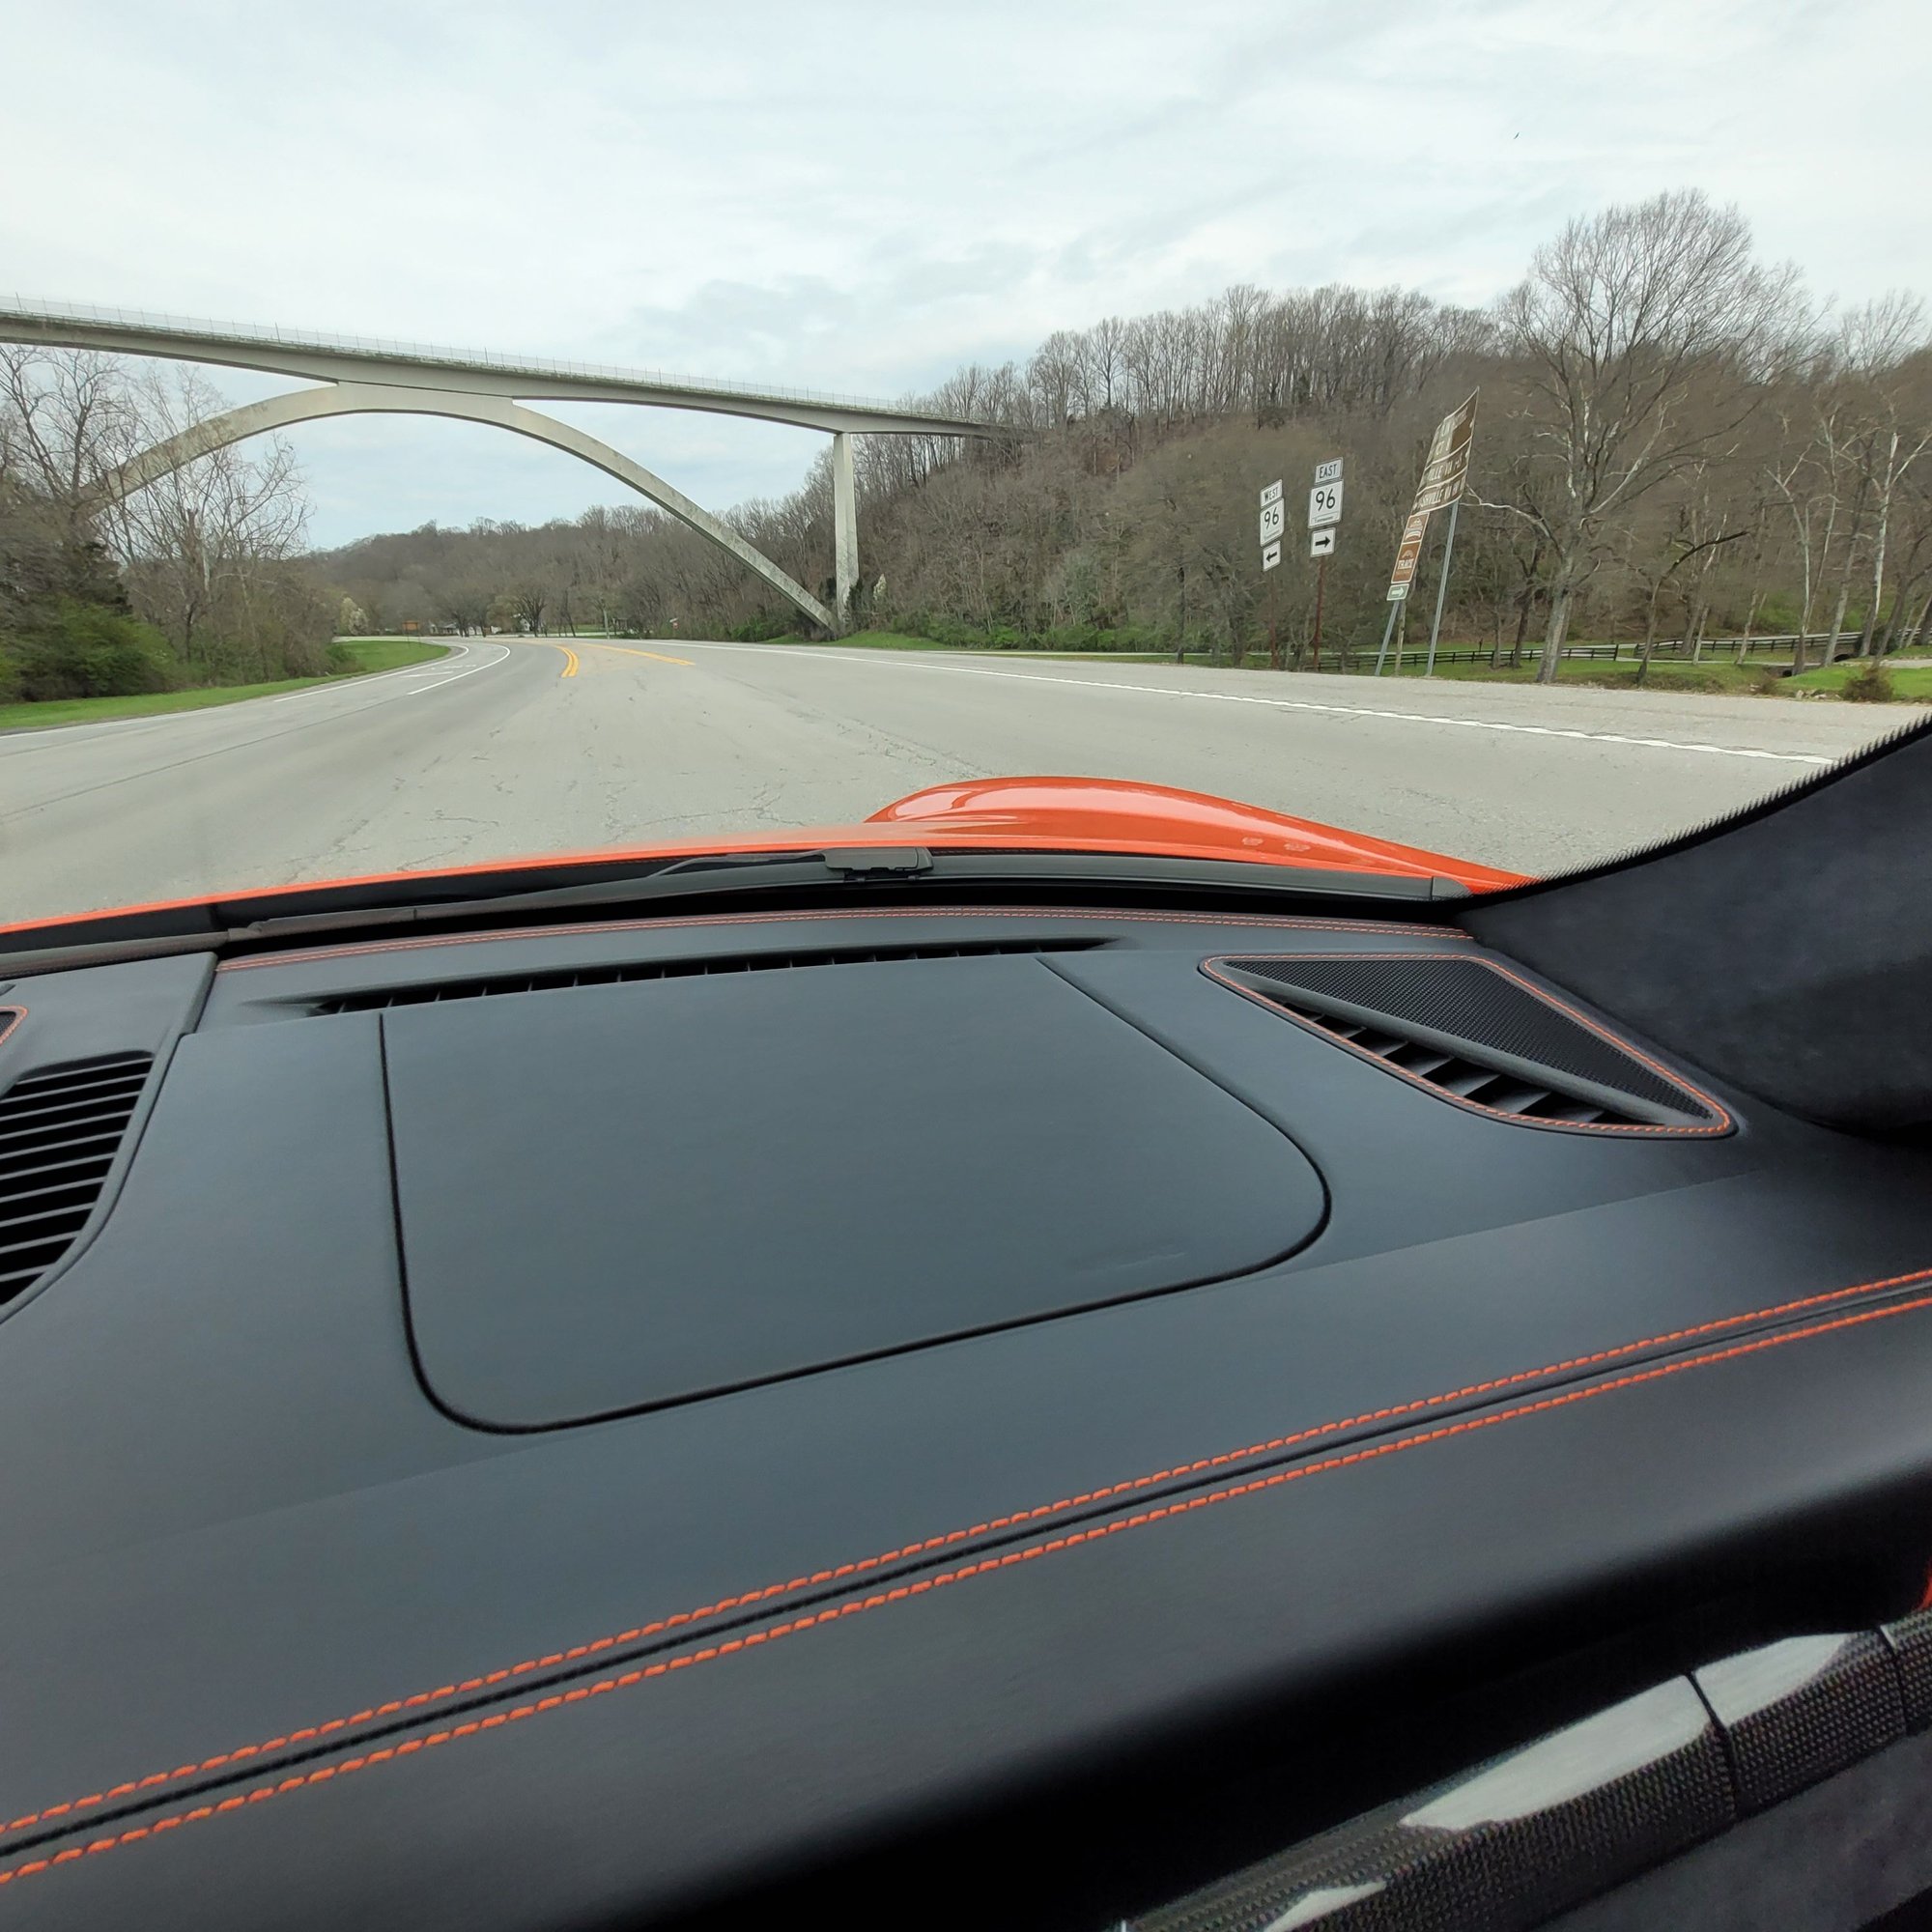
Did this dashboard swap and mostly finished it (Joyeauto carplay retrofit is a huge pain to put back). Huge kudos to Indyxc for his write-up. Super helpful and my experience is about the same
Overall, not too bad. It took me maybe 6-7 hours of real work and I asked a friend to help remove and install the actual dashboard piece. I highly recommend getting a second person to help support the removal and positioning of the new dashboard as that's the hardest part. Also when you disconnect the battery, remember to not shut the frunk. Took me an additional hour just to open back the frunk. I think this is about the a tad more difficulty and time as lowering springs on most cars but the real challenge is not to ding up the interior and cause collateral damage. Don't recommend it if you're not super limber as you will be working inside a tight interior with a bunch of stuff around (especially if you don't fully remove things like PCM, glovebox, wheel, etc)
The real question now is how to protect the dashboard going forward. Debating if tinting the windshield is a good idea as I don't want it to change the vision through it that much
Some extra tips for anyone else attempting this.
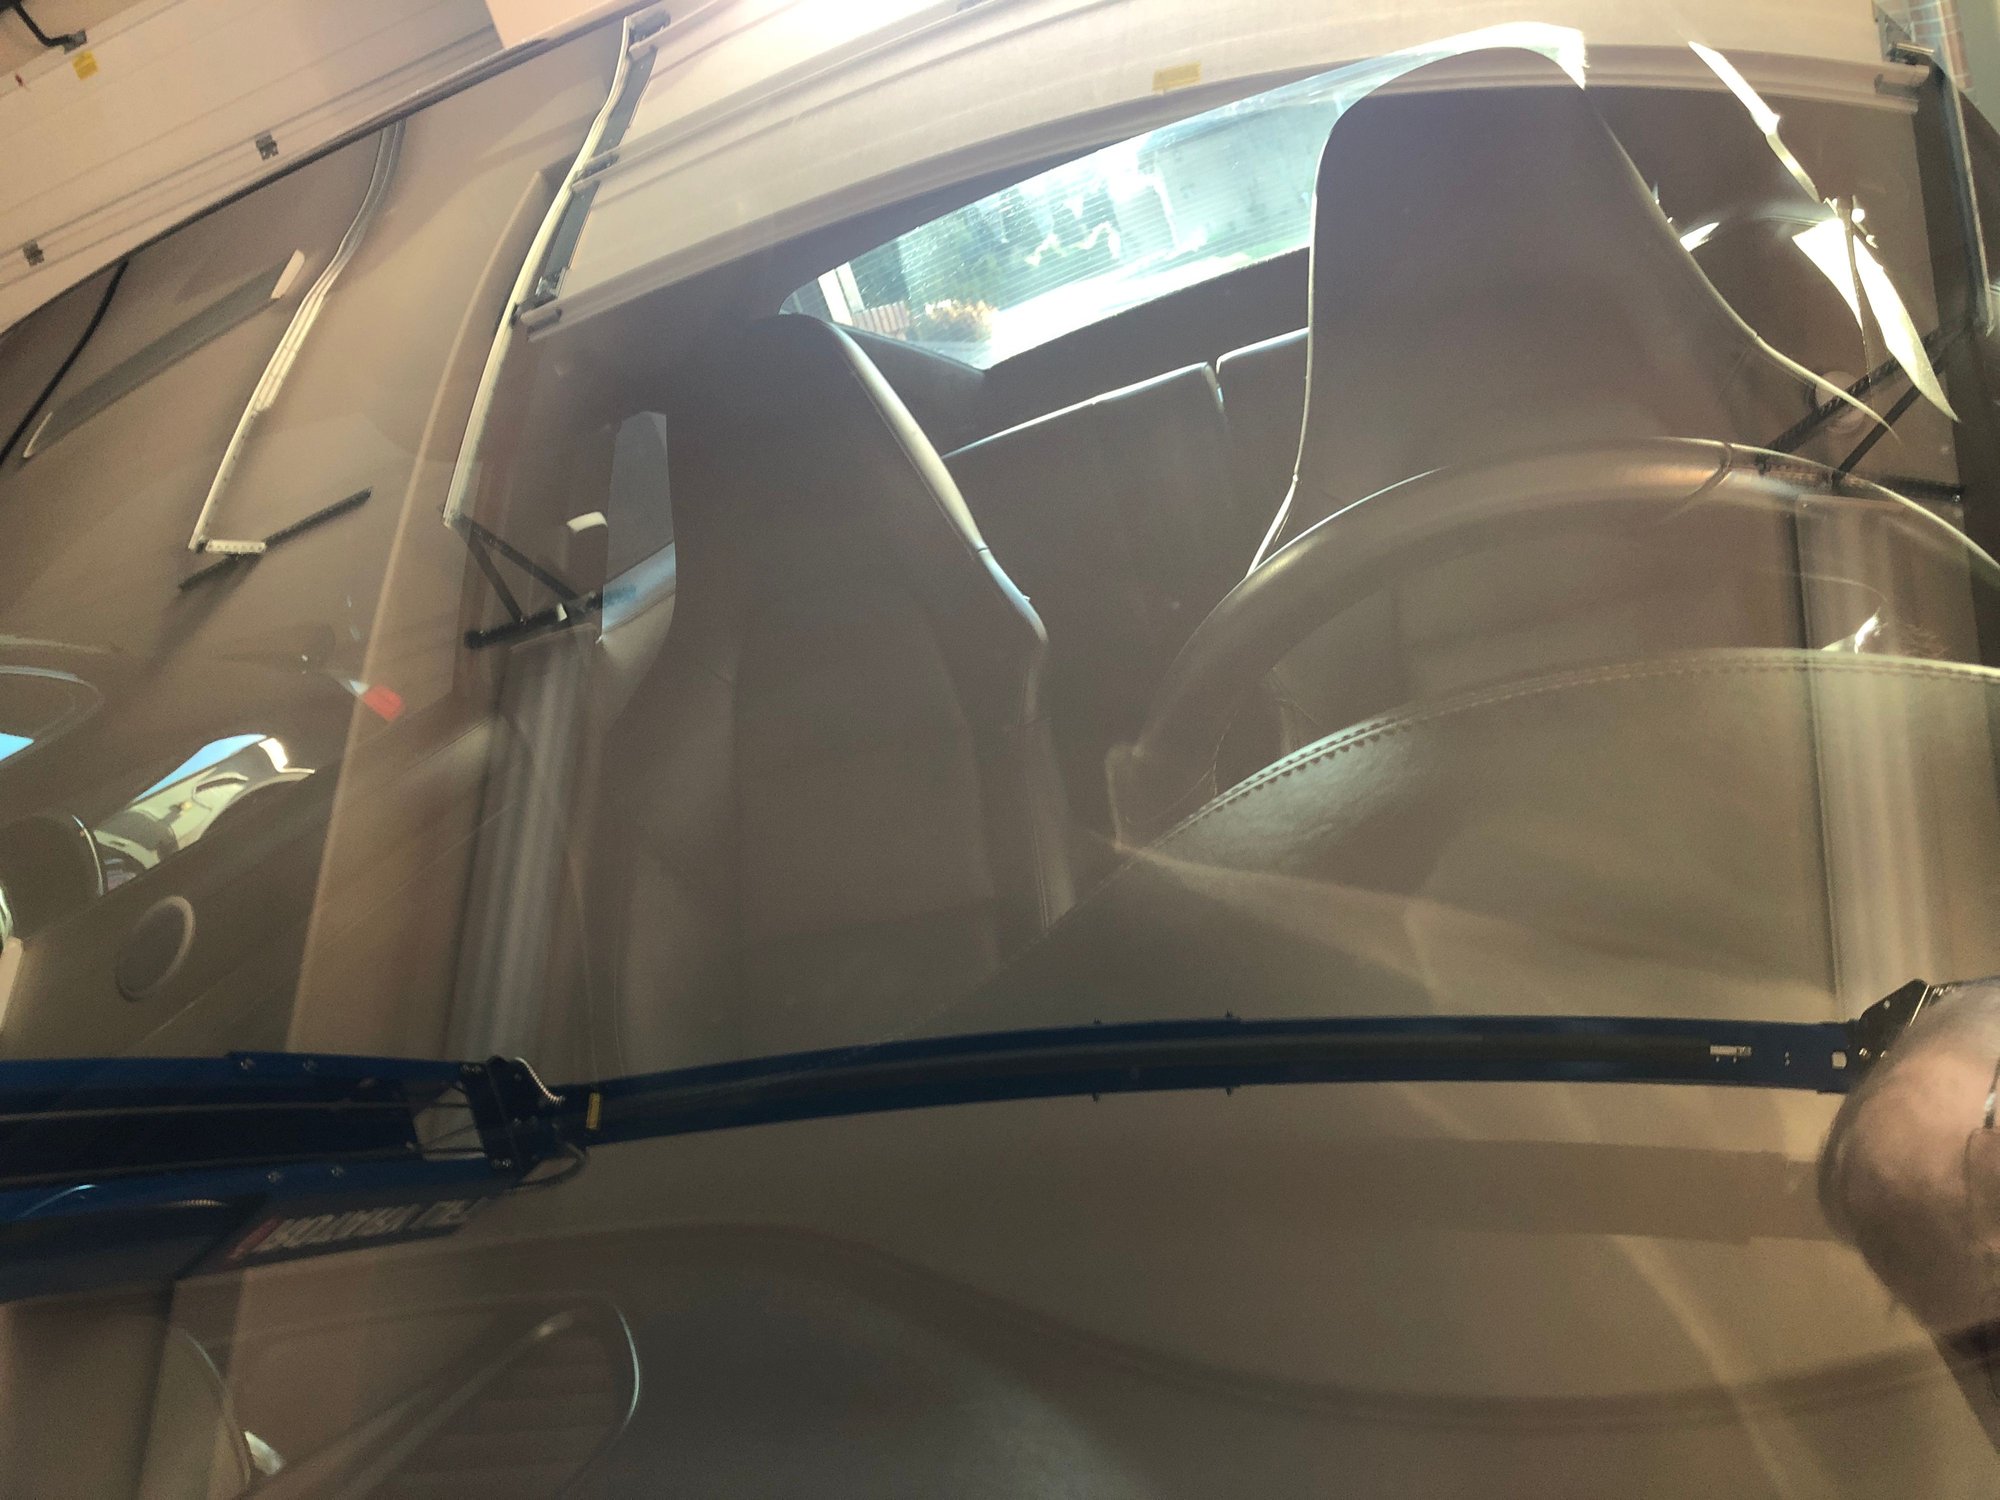
Highly recommend taking pictures during removal or organizing fasteners (there is like ~30, but luckily there only like 3 different types)
When installing the new dashboard, make sure to align clips at the front near the windshield
The hardest part about removing and installing a new dashboard is that the dashboard and PCM bracket somewhat collide and need a lot of jiggling/coercing <- probably the hardest part
Echoing the write-up, be extra careful when installing the new dashboard, and do not have it get ding by the A-pillar hardware <- probably the 2nd hardest part
Recommend removing the steering wheel. I didn't do this but this would have made it so much easier
Also not sure if anyone had trouble installing the airbag into the new dash but the bottom bracket doesn't fully fit but after screwing down the bolts, there's enough flex in the dash to fit.
Did this dashboard swap and mostly finished it (Joyeauto carplay retrofit is a huge pain to put back). Huge kudos to Indyxc for his write-up. Super helpful and my experience is about the same
Overall, not too bad. It took me maybe 6-7 hours of real work and I asked a friend to help remove and install the actual dashboard piece. I highly recommend getting a second person to help support the removal and positioning of the new dashboard as that's the hardest part. Also when you disconnect the battery, remember to not shut the frunk. Took me an additional hour just to open back the frunk. I think this is about the a tad more difficulty and time as lowering springs on most cars but the real challenge is not to ding up the interior and cause collateral damage. Don't recommend it if you're not super limber as you will be working inside a tight interior with a bunch of stuff around (especially if you don't fully remove things like PCM, glovebox, wheel, etc)
The real question now is how to protect the dashboard going forward. Debating if tinting the windshield is a good idea as I don't want it to change the vision through it that much
Some extra tips for anyone else attempting this.
Highly recommend taking pictures during removal or organizing fasteners (there is like ~30, but luckily there only like 3 different types)
When installing the new dashboard, make sure to align clips at the front near the windshield
The hardest part about removing and installing a new dashboard is that the dashboard and PCM bracket somewhat collide and need a lot of jiggling/coercing <- probably the hardest part
Echoing the write-up, be extra careful when installing the new dashboard, and do not have it get ding by the A-pillar hardware <- probably the 2nd hardest part
Recommend removing the steering wheel. I didn't do this but this would have made it so much easier
Also not sure if anyone had trouble installing the airbag into the new dash but the bottom bracket doesn't fully fit but after screwing down the bolts, there's enough flex in the dash to fit.
Good addition to the write up. I did not have an issue with the airbag, mine went in and out easily.
For protecting the new dash, I would recomend a sunshade. I don't daily drive or park my GT3 RS outside, so I haven't gotten one, but would if I did.
Did this dashboard swap and mostly finished it (Joyeauto carplay retrofit is a huge pain to put back). Huge kudos to Indyxc for his write-up. Super helpful and my experience is about the same
Overall, not too bad. It took me maybe 6-7 hours of real work and I asked a friend to help remove and install the actual dashboard piece. I highly recommend getting a second person to help support the removal and positioning of the new dashboard as that's the hardest part. Also when you disconnect the battery, remember to not shut the frunk. Took me an additional hour just to open back the frunk. I think this is about the a tad more difficulty and time as lowering springs on most cars but the real challenge is not to ding up the interior and cause collateral damage. Don't recommend it if you're not super limber as you will be working inside a tight interior with a bunch of stuff around (especially if you don't fully remove things like PCM, glovebox, wheel, etc)
The real question now is how to protect the dashboard going forward. Debating if tinting the windshield is a good idea as I don't want it to change the vision through it that much
Some extra tips for anyone else attempting this.
Highly recommend taking pictures during removal or organizing fasteners (there is like ~30, but luckily there only like 3 different types)
When installing the new dashboard, make sure to align clips at the front near the windshield
The hardest part about removing and installing a new dashboard is that the dashboard and PCM bracket somewhat collide and need a lot of jiggling/coercing <- probably the hardest part
Echoing the write-up, be extra careful when installing the new dashboard, and do not have it get ding by the A-pillar hardware <- probably the 2nd hardest part
Recommend removing the steering wheel. I didn't do this but this would have made it so much easier
Also not sure if anyone had trouble installing the airbag into the new dash but the bottom bracket doesn't fully fit but after screwing down the bolts, there's enough flex in the dash to fit.
Fantastic. Thank you so much for the update. I�m planning on tackling this soon!
 02-06-2024, 08:23 PM