When you click on links to various merchants on this site and make a purchase, this can result in this site earning a commission. Affiliate programs and affiliations include, but are not limited to, the eBay Partner Network.
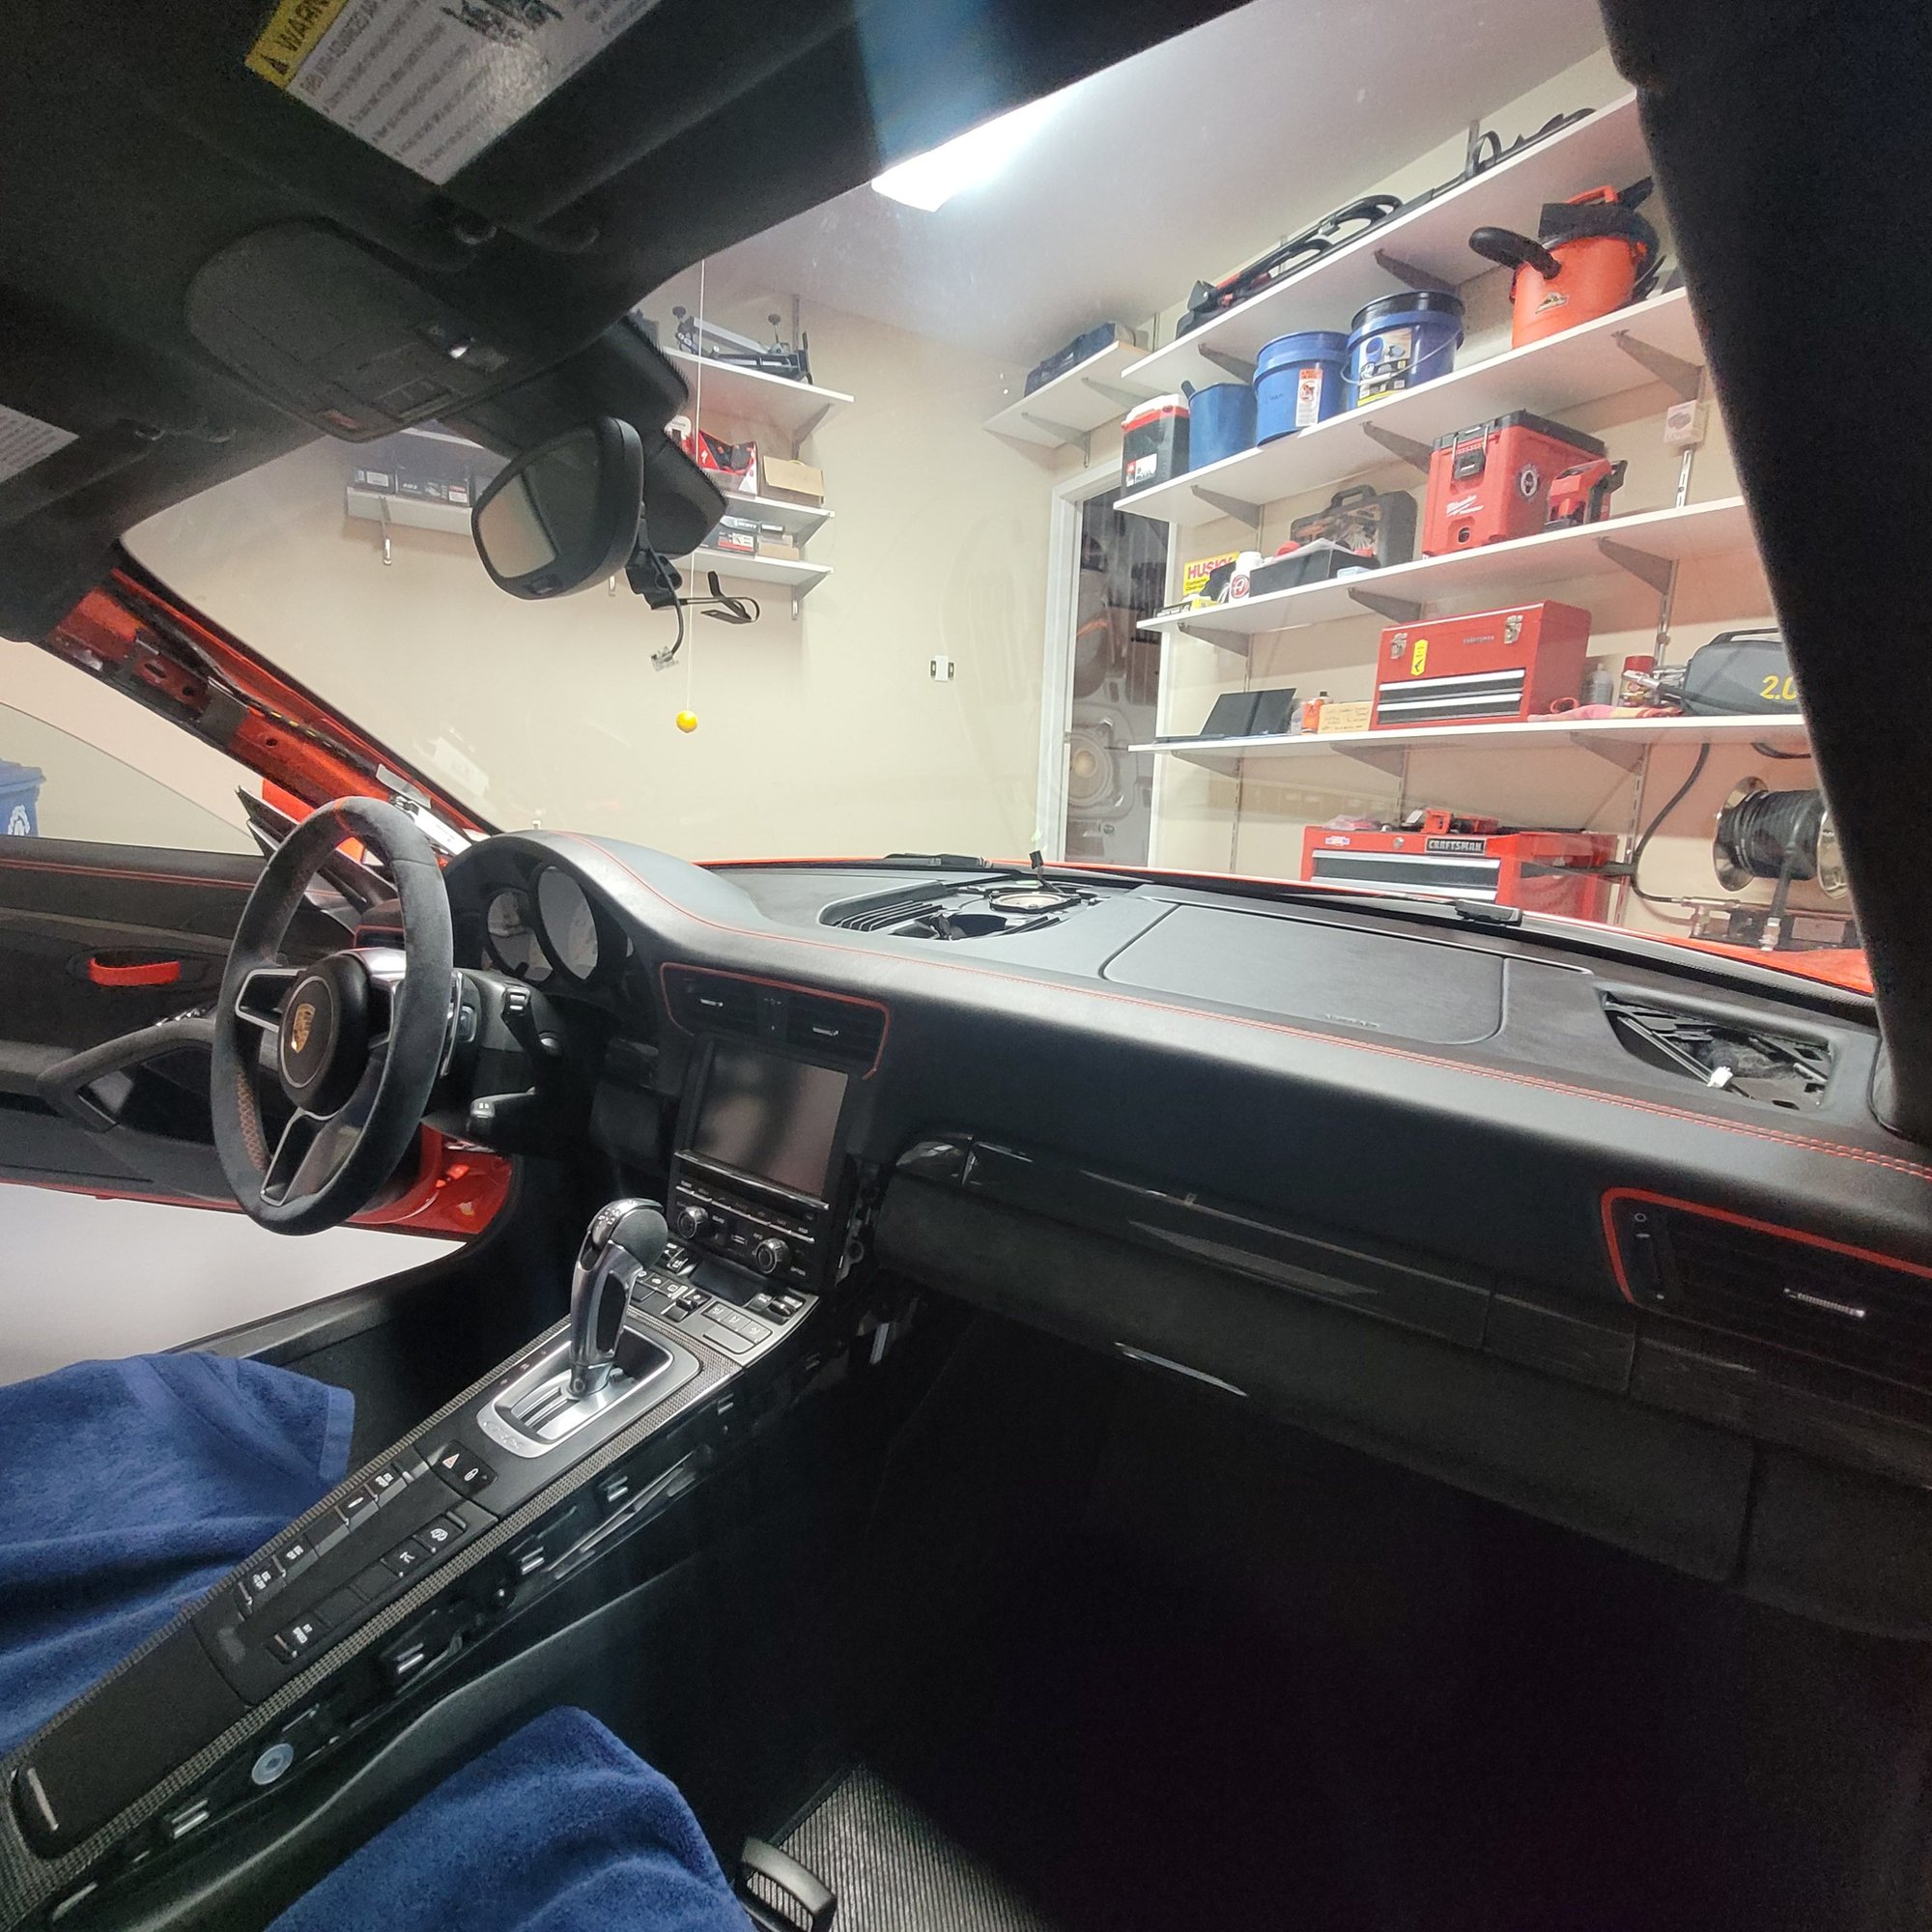
So decided to remove the center clock today and small panel infront of the the dash to check if my dash staples could be pushed back down. No chance, the entire panel underneath got deformed. That being said, the clips on the bottom of the clock are super SHARP. it will scratch your dash leather...
That being said I am about to order a new dash from Germany, 6-8 weeks (Thanks lava orange). Anything else I need to order with it?
Thanks
Could be a good time to go ahead and install the laser cannon� control module could be neatly hidden under that shiny new dash!
Also� I�d really like to see pictures and/or video of this process as I�ll likely be doing the same dash replacement before long.
Front windshield tint will help with sun damage on the leather...
Correct. But fair warning from my experience. I had my front windshield tinted (essentially clear) to protect against UV damage inside an SVR Range Rover, and they used so much water or 'slip fluid' (?) to install it, the next day the leather on the dashboard peeled up. Was none too pleased about it. Ultimately covered under warranty but it might be good to be specific with your tint installer on covering the dash w/ plastic. I think the fluid might get everywhere by nature.
Well,
New dash came and and I replaced it, thought I'd recap the work, with a couple of tips / pitfalls. Took about 6 hours to remove, 4 hours probably to put back together. All back togehter, minus the parts I am sending off to get stiching put on them.
I would rate the job 6 out of 10 difficulty. If you're not handy, this is not the job for you. An oil change is a 1 out of 10. Tranmission rebuild being a 10. It's not a hard job, just requires finese, patience, detailed work.
All but 4 of the fasteners are either T25, or E8 external torx, which is really nice. Porsche did a nice job using common fasteners, and not making a mess off it. Pay attention to where they go.
4 bolts that hold the airbag bracket are T30. Only these 4 are different.
Go very slow, if you remove the pieces properly (specific angle, pry in the right spot), you can remove all the pieces without damage.
Most of the pieces remove in a specific sequence and angle. Most come out fairly easily, the videos I posted for reference do a good job showing the work. The ones they gave me trouble are:
A Pillars: Pull the top half in towards the centerline of the car, then pull the bottom piece out of the dask straight back. (NOT shown in any videos)
Speaker Grill covers: These were a pain to remove, my clips just did not cooperate.
Dash defroster vents don't have to be removed. They can come out with the dash.
If you buy a new dash, there are a few pieces you have to transfer off the old dash
Little wing clips by that cover the front dash engagement clips
Under the PCM there are two little plastic pieces that you need to transfer over.
Transfer over the vent ducts out of the car before you put the dash in, much easier.
Be very careful with scratch damages. High risk moments:
Removing the PCM, cover center console with towels.
Edges of the leather dash can scratch against the a pillar bolts, cover them with a towel.
You don't have to pull the windshield
Pulling out the upper steering wheel cover makes it easier to get the gage cluster out.
You don't actually have to remove the glove box completely, you can drop it on car floor, the wires are long enoogh.
You don't have to remove the drivers side below the wheel panel. You can let it hang on the wires, I removed mine to make it easier.
The electrical connetors are variabled. Most use small tab that locks into the female tab. You have to press in the tab, or what I found easier is insert a small screw driver to push the tab in, inline with the plug.
A couple plugs use latches. (PCM, driver lower panel).
Videos I used that were helpful, but did not cover 1. Air Bag Removal, 2 A pillar removal.
ut to order a new dash from Germany, 6-8 weeks (Thanks lava orange). Anything else I need to order with it?
BTW impressive that your lead time was only 6-8 weeks. I have a new dark brown (Espresso) headliner on order from Porsche and it's 18-26 weeks (apparently they have to make it to order... which I'm guessing is just like these dashboards)
Also, I'd be quite interested in a ton of pics of the removed dashboard at the failure area. I still haven't really wrapped my head around why the staples show (and I've seen this on used cars w leather dashes I've looked at in past couple years).
BTW impressive that your lead time was only 6-8 weeks. I have a new dark brown (Espresso) headliner on order from Porsche and it's 18-26 weeks (apparently they have to make it to order... which I'm guessing is just like these dashboards)
It actually turned out to be 3 weeks. I ordered it at the end of December, and I arrived 3rd week of Jan. The dash shows a "datum" aka date of 2018, so it has been in a warehouse in the box since then. Based on the labels they put it on a United airliens flights from Germany and sent to to the USA!
Also, I'd be quite interested in a ton of pics of the removed dashboard at the failure area. I still haven't really wrapped my head around why the staples show (and I've seen this on used cars w leather dashes I've looked at in past couple years).
It looks like they take a piece of leather, glue it between it, and the foam pad underneath, and then staple the edges to keep them from pulling up.This works fine until...
When the dash gets hot, the leather shrinks, the adhesive softens, and then it pulls the staples in the foam upwards. It's a pretty straightfoward event. I am suprised it's not happening to pretty much any leather dash Porsche, parked in the heat.
After seeing this dash, if I were buying a daily driver Porsche, I'd get a rubber dash. I am also buying a sun shade for the rare moments I park my car outside in the summer.
Well done. I�m gonna tackle this project eventually. Have you driven much since? Any rattles or squeeks?
Yes, I've driven it, no real rattlles, it all assembles pretty well, and honestly I tightened the bolts tighter than they were. I do have one small squeek, but it's one of those things you don't really notice until you pay attention. It was probably there before.
 12-18-2023, 10:18 PM