When you click on links to various merchants on this site and make a purchase, this can result in this site earning a commission. Affiliate programs and affiliations include, but are not limited to, the eBay Partner Network.
I have been receiving a ton of requests to upload all of the progress on my R build so here it goes. You can also follow my build on Instagram @ EHPracing
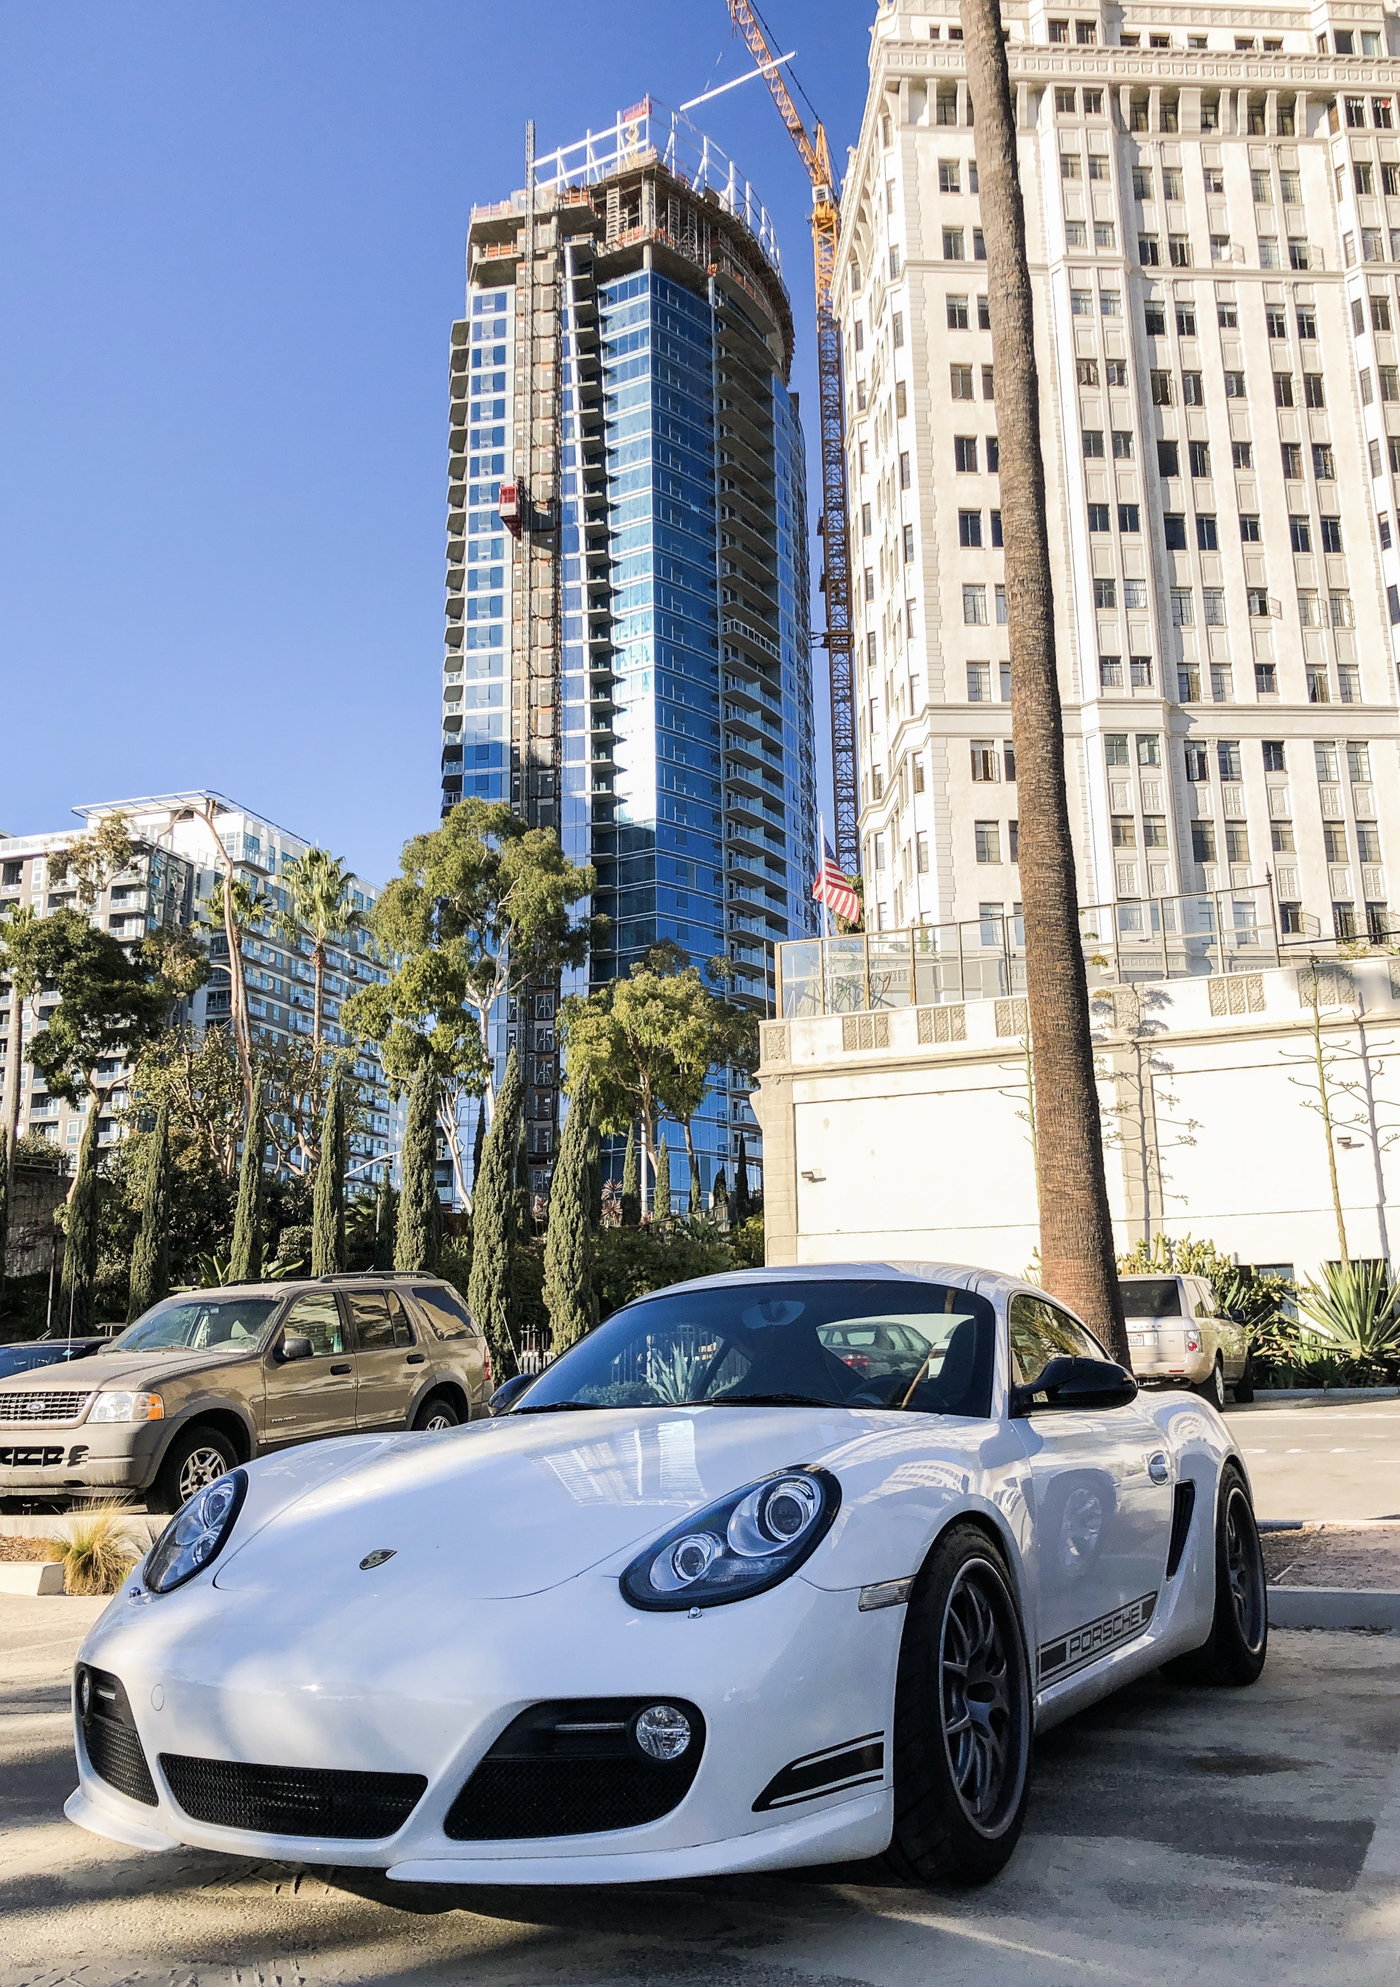
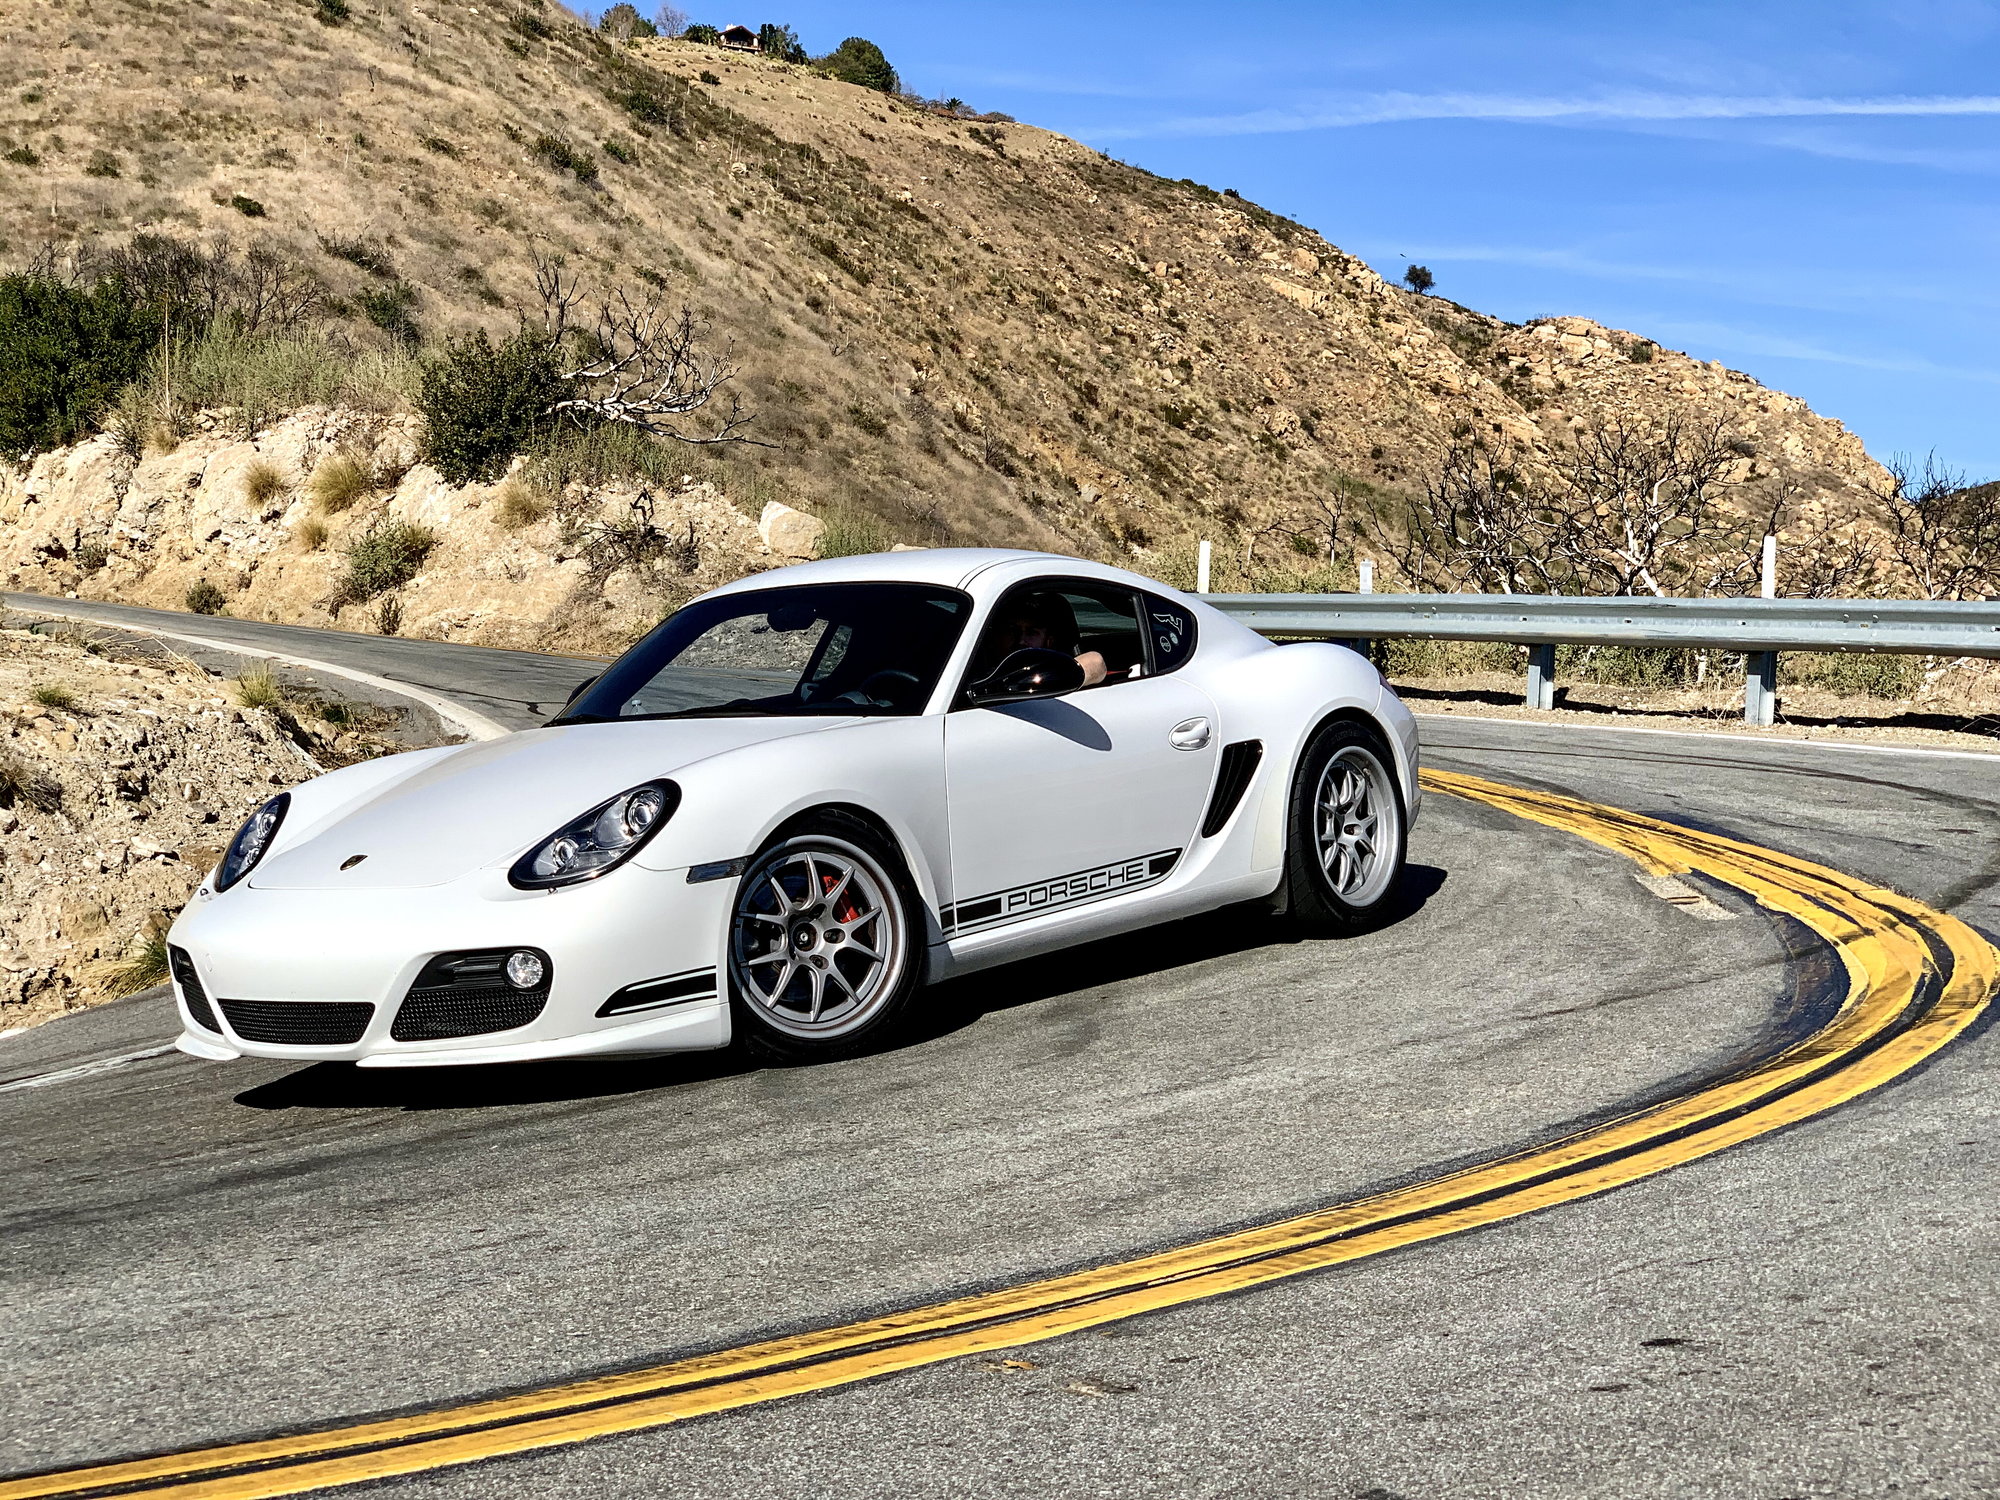
My initial search for a cayman began with a 987.1 due to pricing but quickly realized that with my intentions to track/daily the car, a 987.2 would be the better option for the 9A1 engine. I posted a wanted ad on Facebook and received a message from a now good friend who happened to have a Cayman R he would be willing to let go. Upon receiving photos and the mod list, I immediately fell in love. At the time I had just sold my Subaru STI and was in the process of selling my Miata track build. Once sold, I made a trip down to Long Beach and purchased the car on December 5th, 2020. The seller just happened to have purchased a 997.1 GT3, boy did that car drive great..
The mod list of the car upon purchase was as follows:
ENGINE
Capristo Valved Full Headerback Exhaust
IPD Plenum
GT3 throttle body
EvoMS intake and filter
EvoMSit tune for 91
3RD Radiator with GT2 Duct
SUSPENSION/WHEELS
Ohlins R&T Coilovers 400F/458R
Tarrett drop links
Tarret front and rear sway bars
996 GT3 front control arms
Forgeline GA3R
Hankook RS4
DRIVETRAIN
Rennline F&R Subrame Stabilizer
Rennline Tie downs/ jack plates
Numeric Racing shifter
Numeric Racing cables
Function First orange engine mount
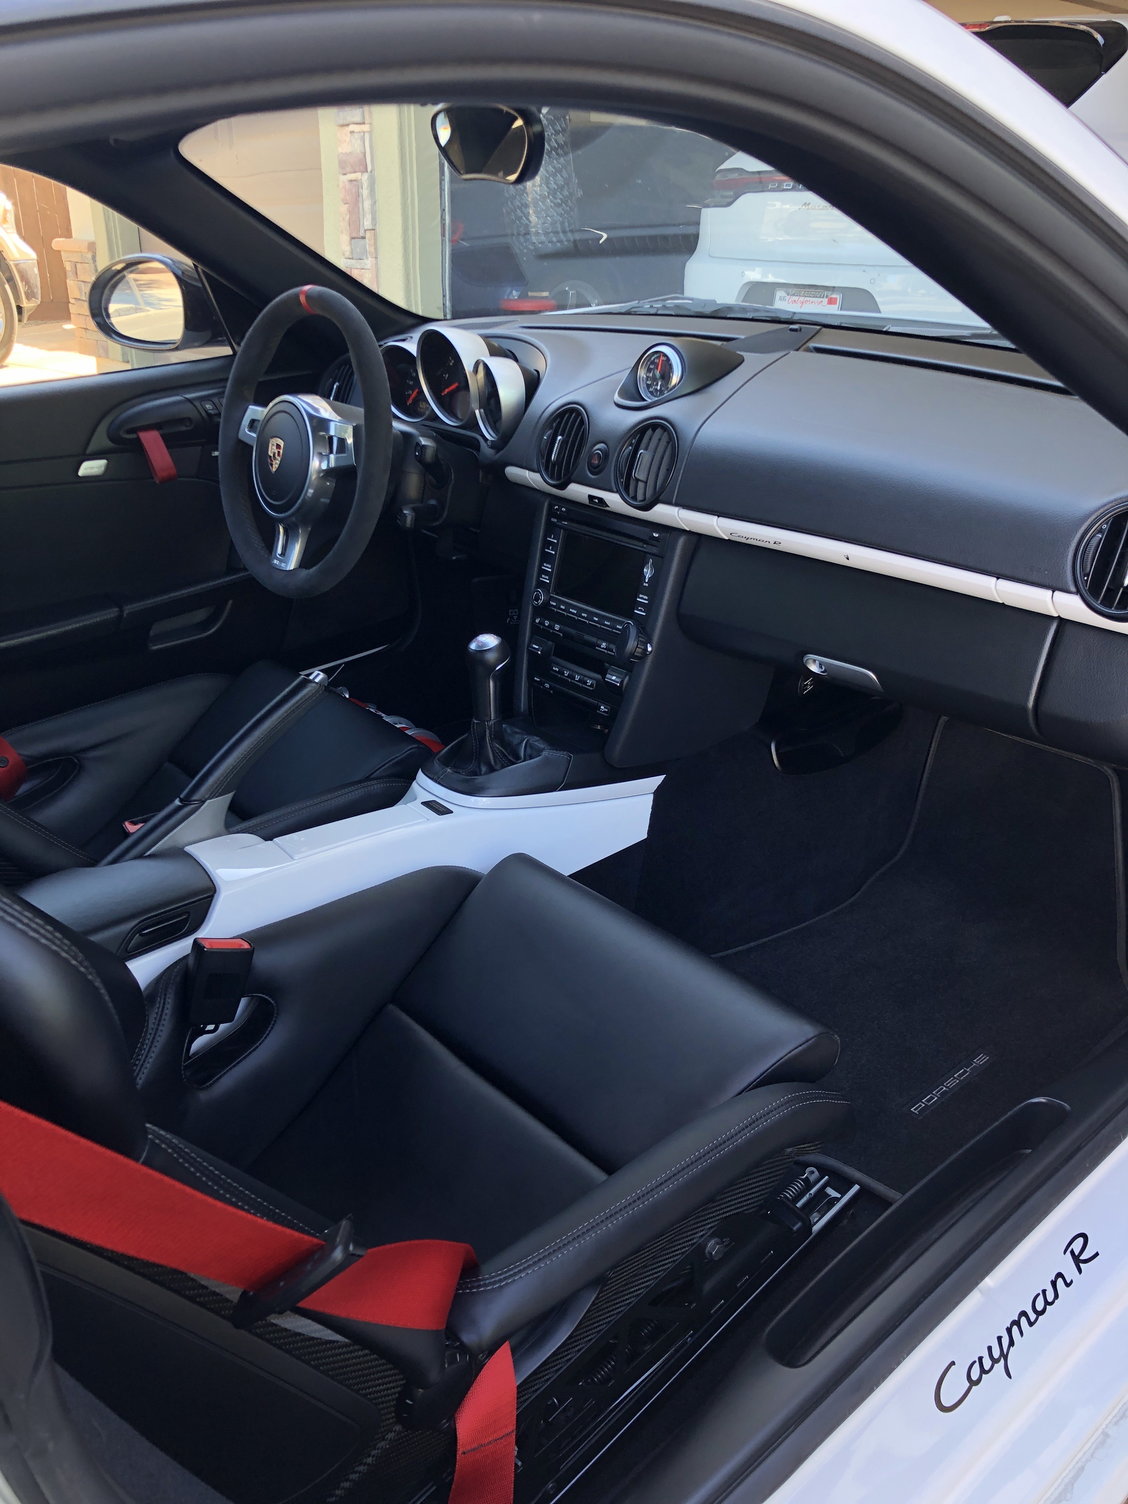
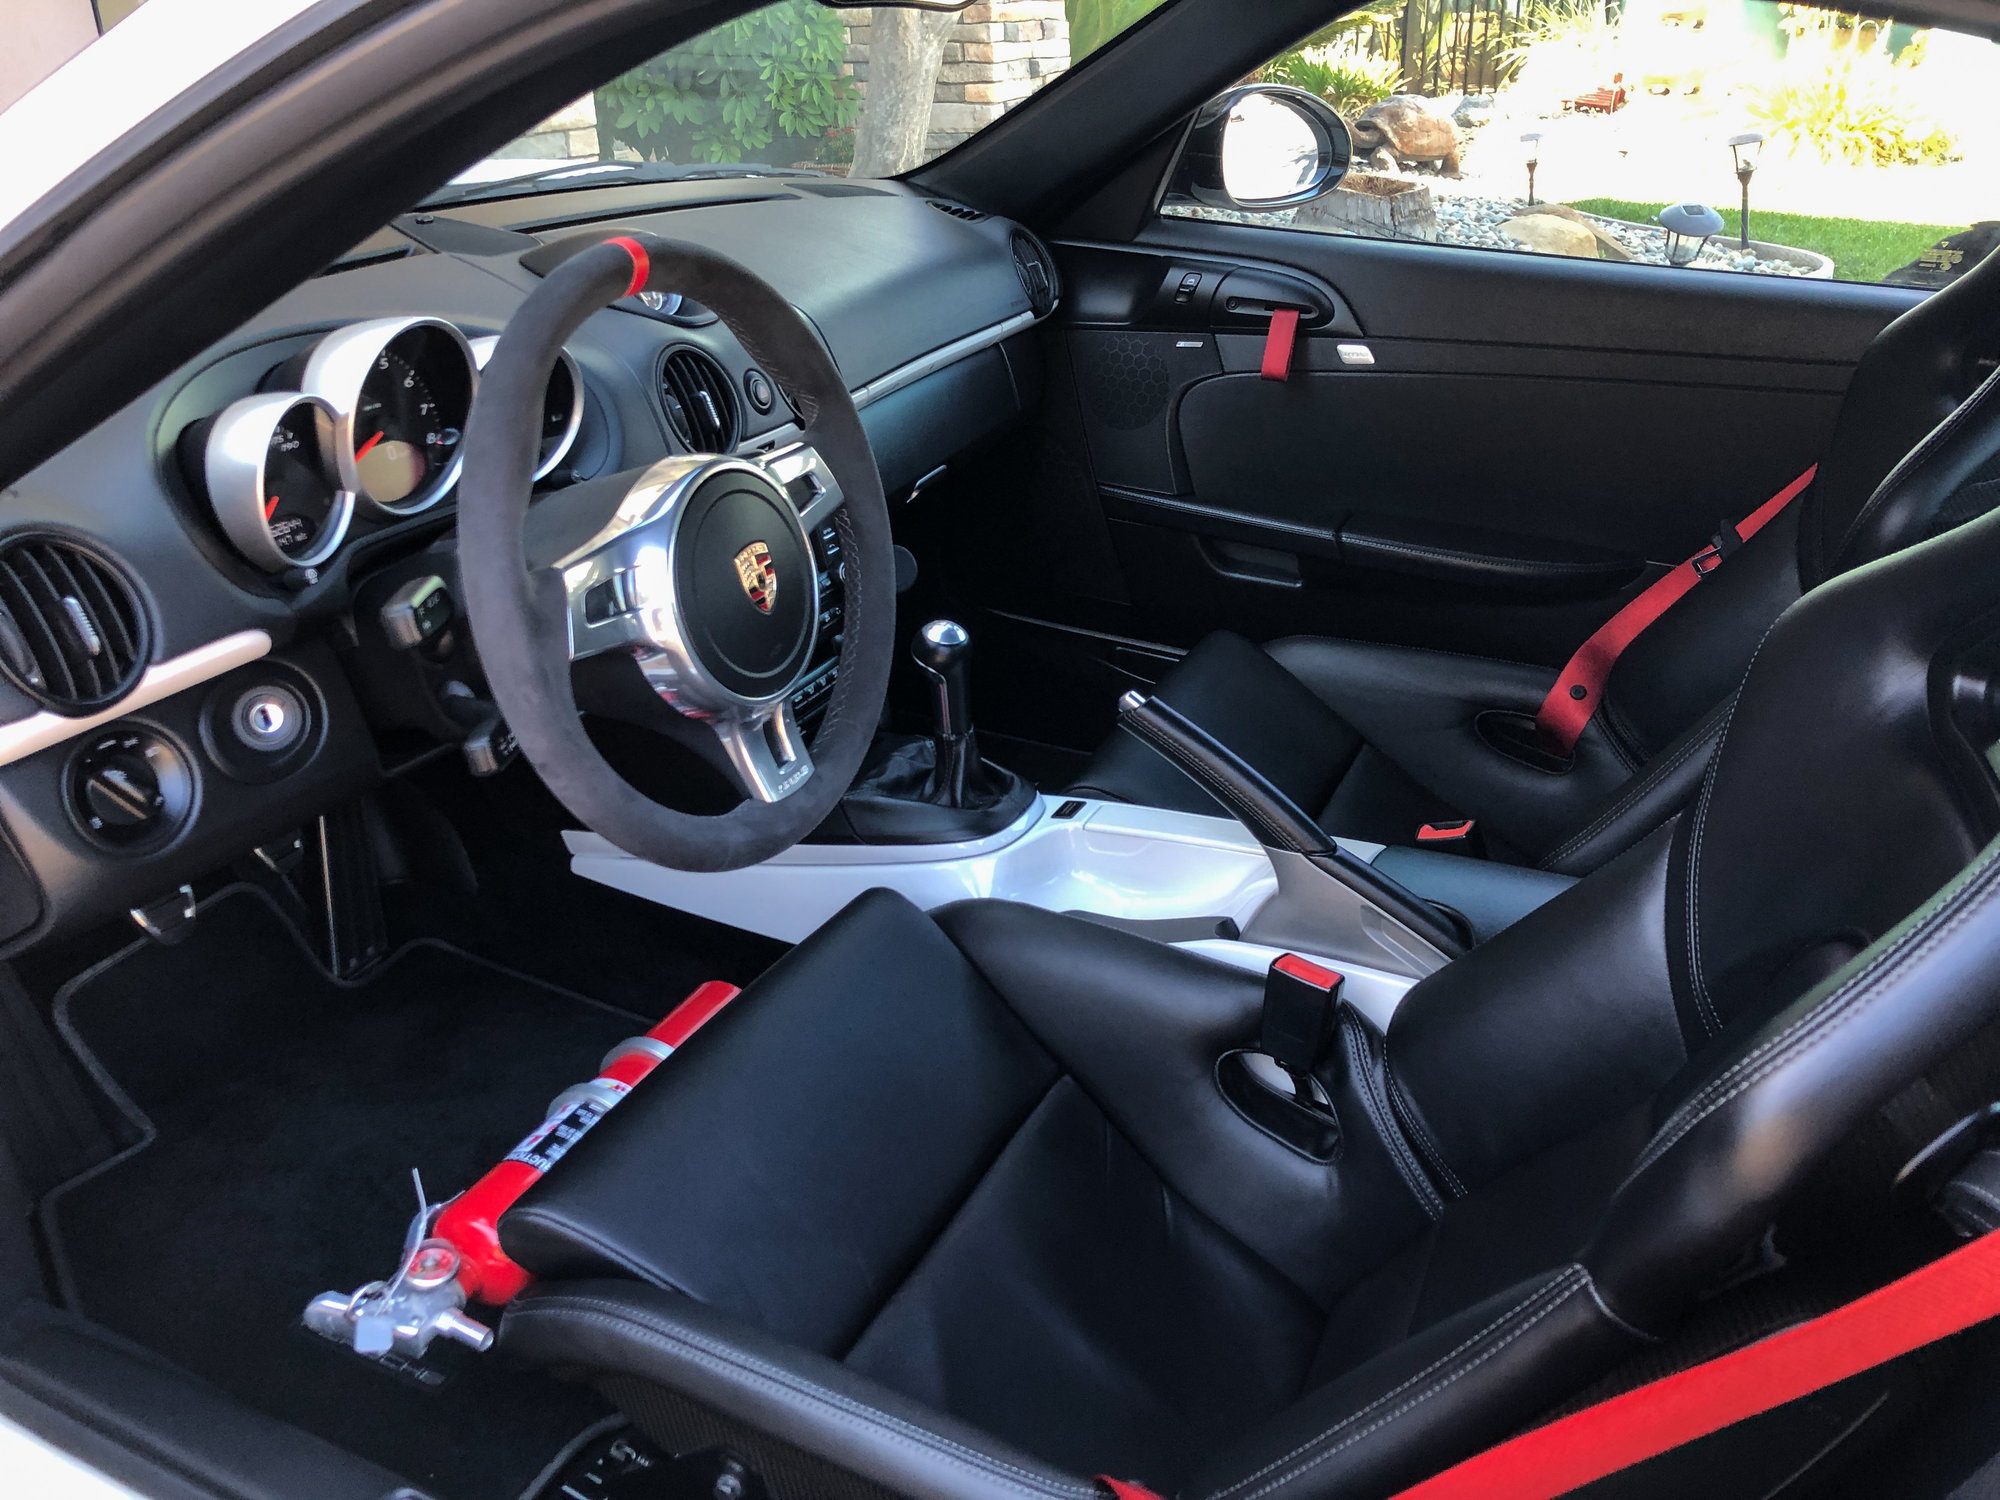
INTERIOR/EXTERIOR
997 GT2 CF Bucket seats
Rennline fire extinguisher/mount
Driver seat tilt bracket
Schroth profi 2x2 Porsche gt3 harnesses
Clear Side Markers
Zunnsport grills
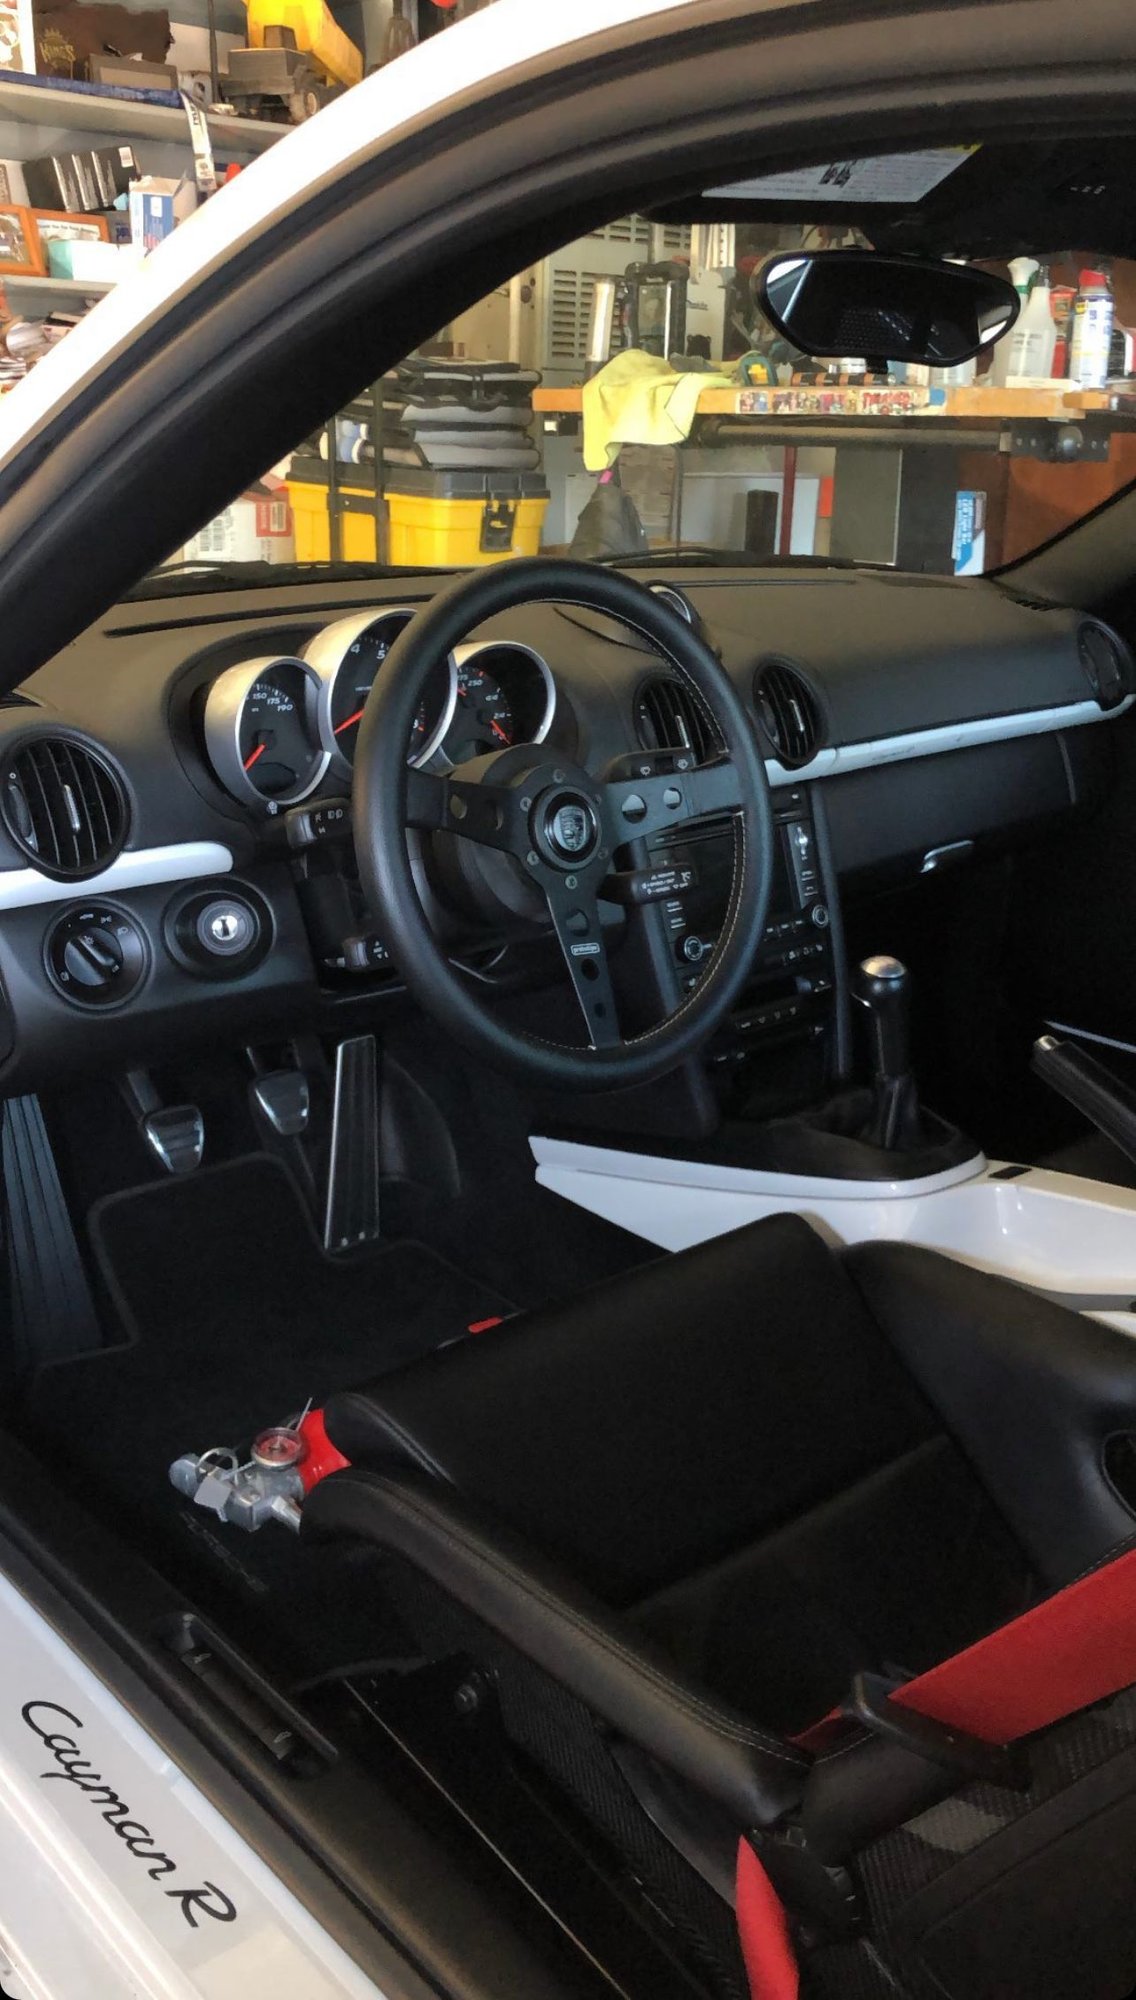
Momo prototipo steering wheel
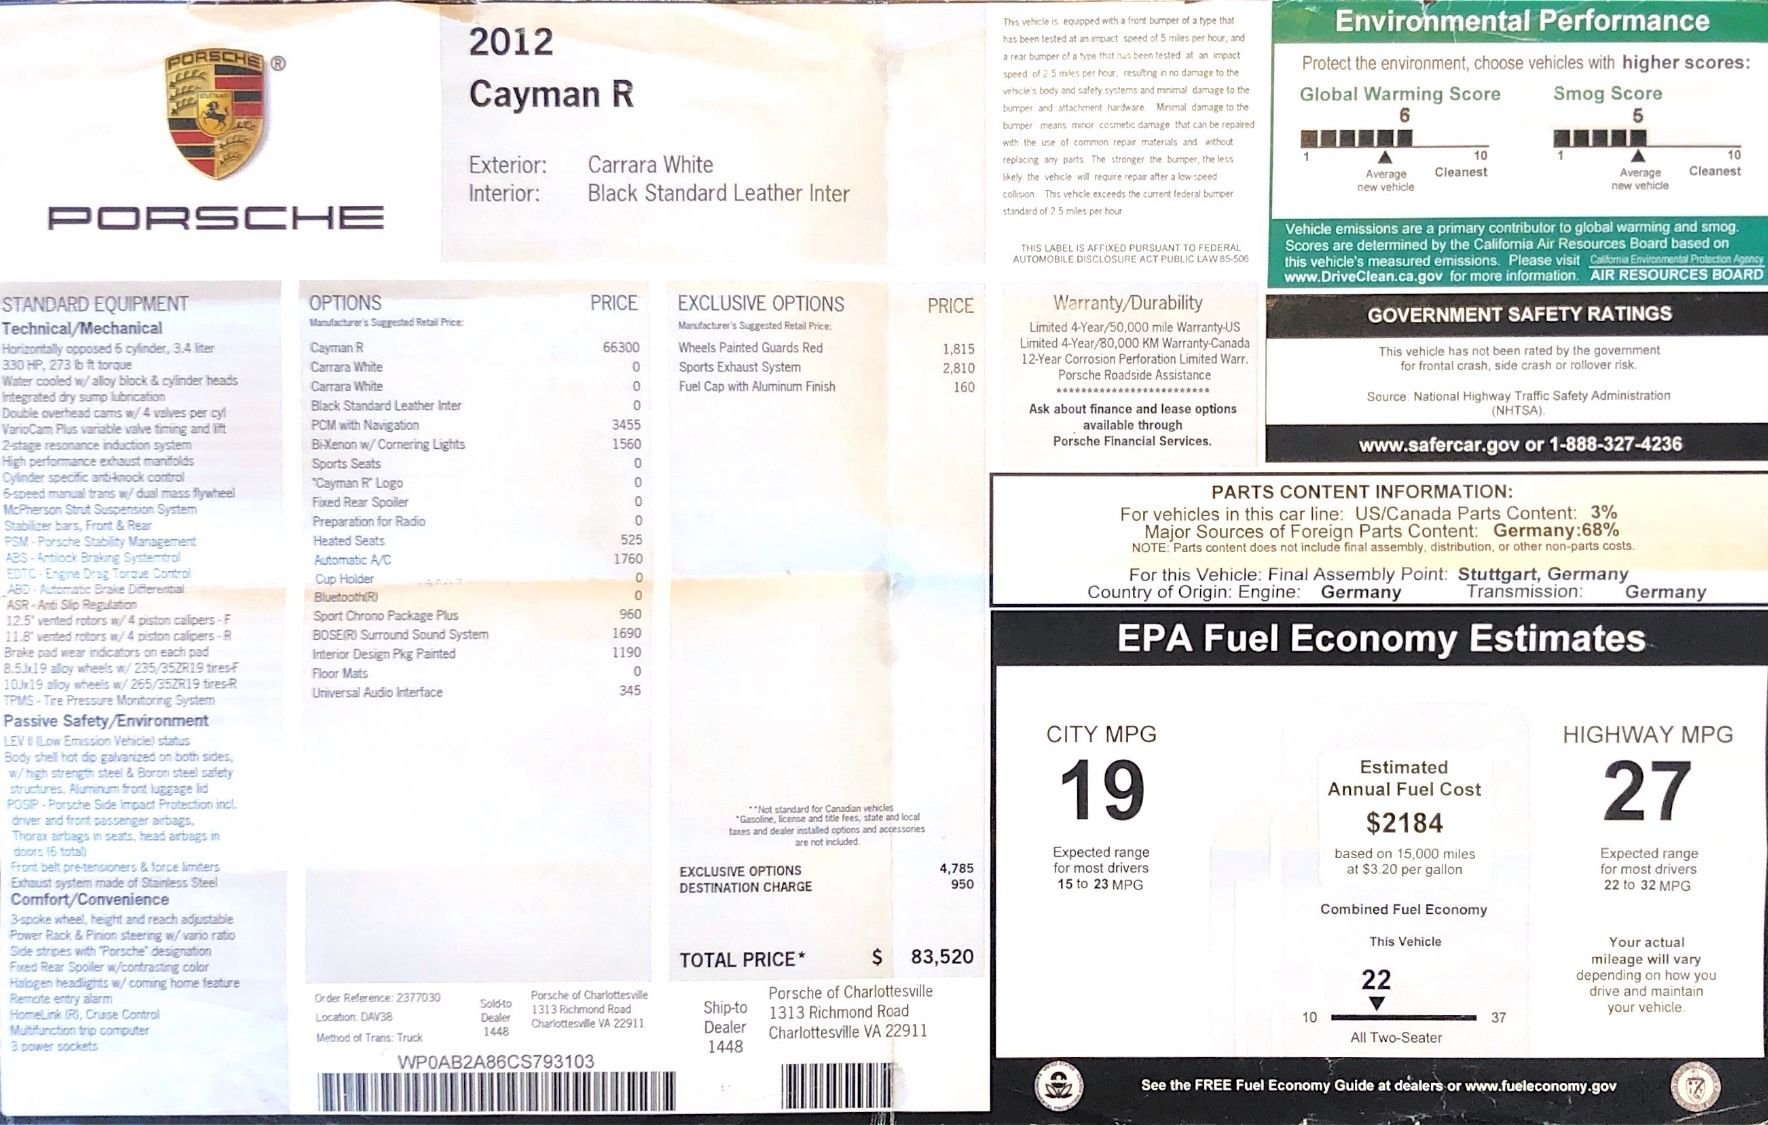
The original window sticker Car signed by Legendary Hurley Haywood
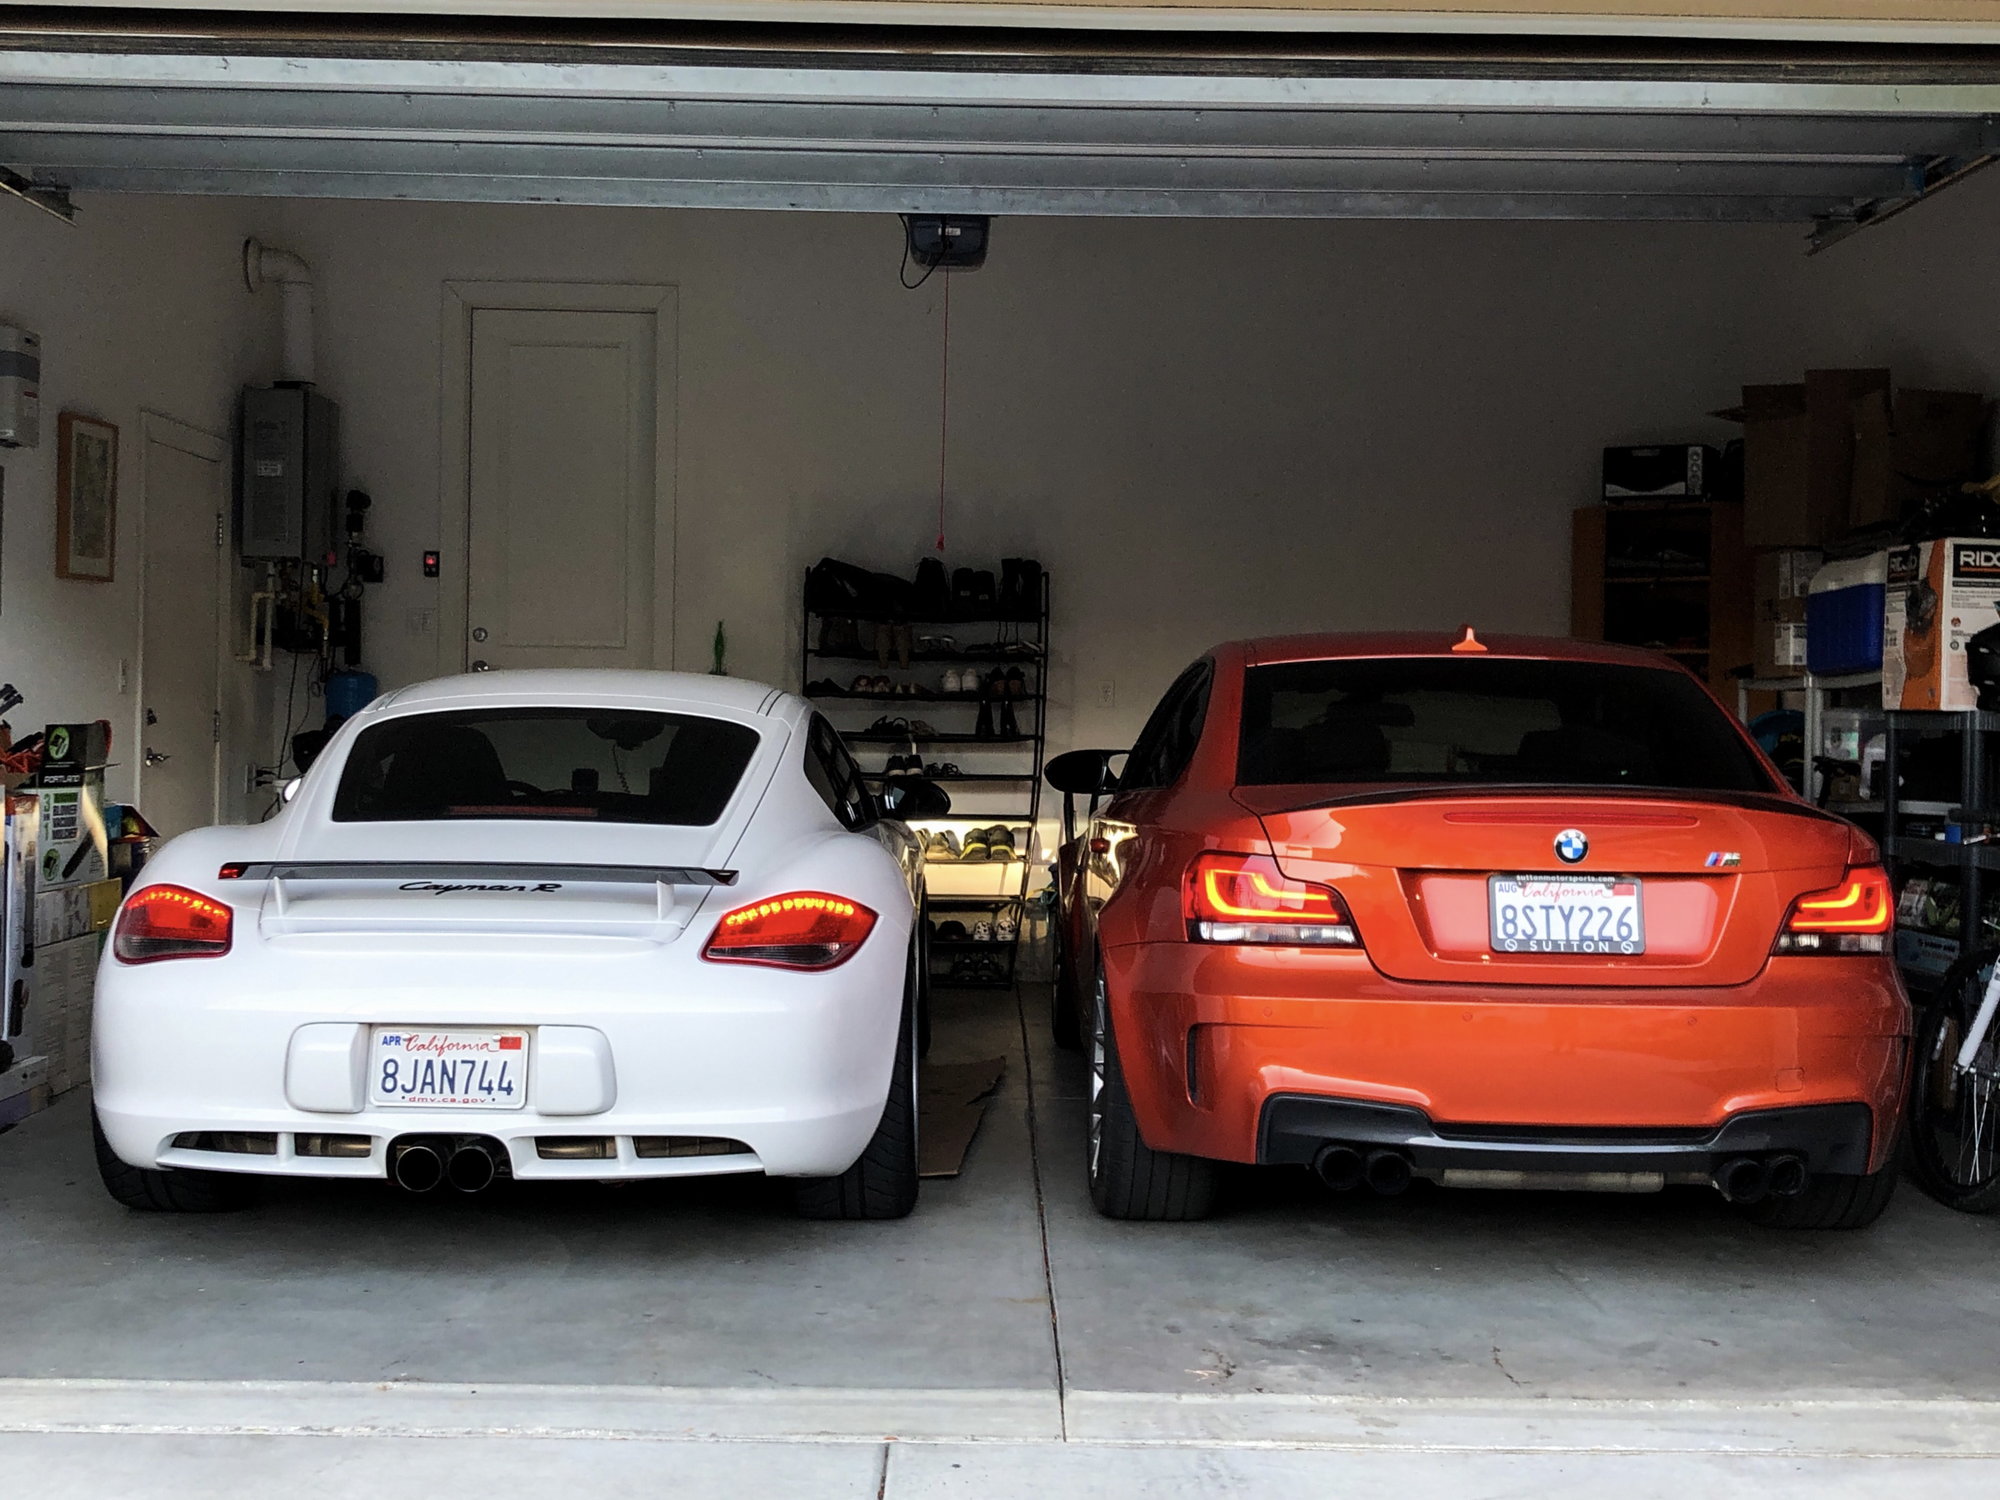
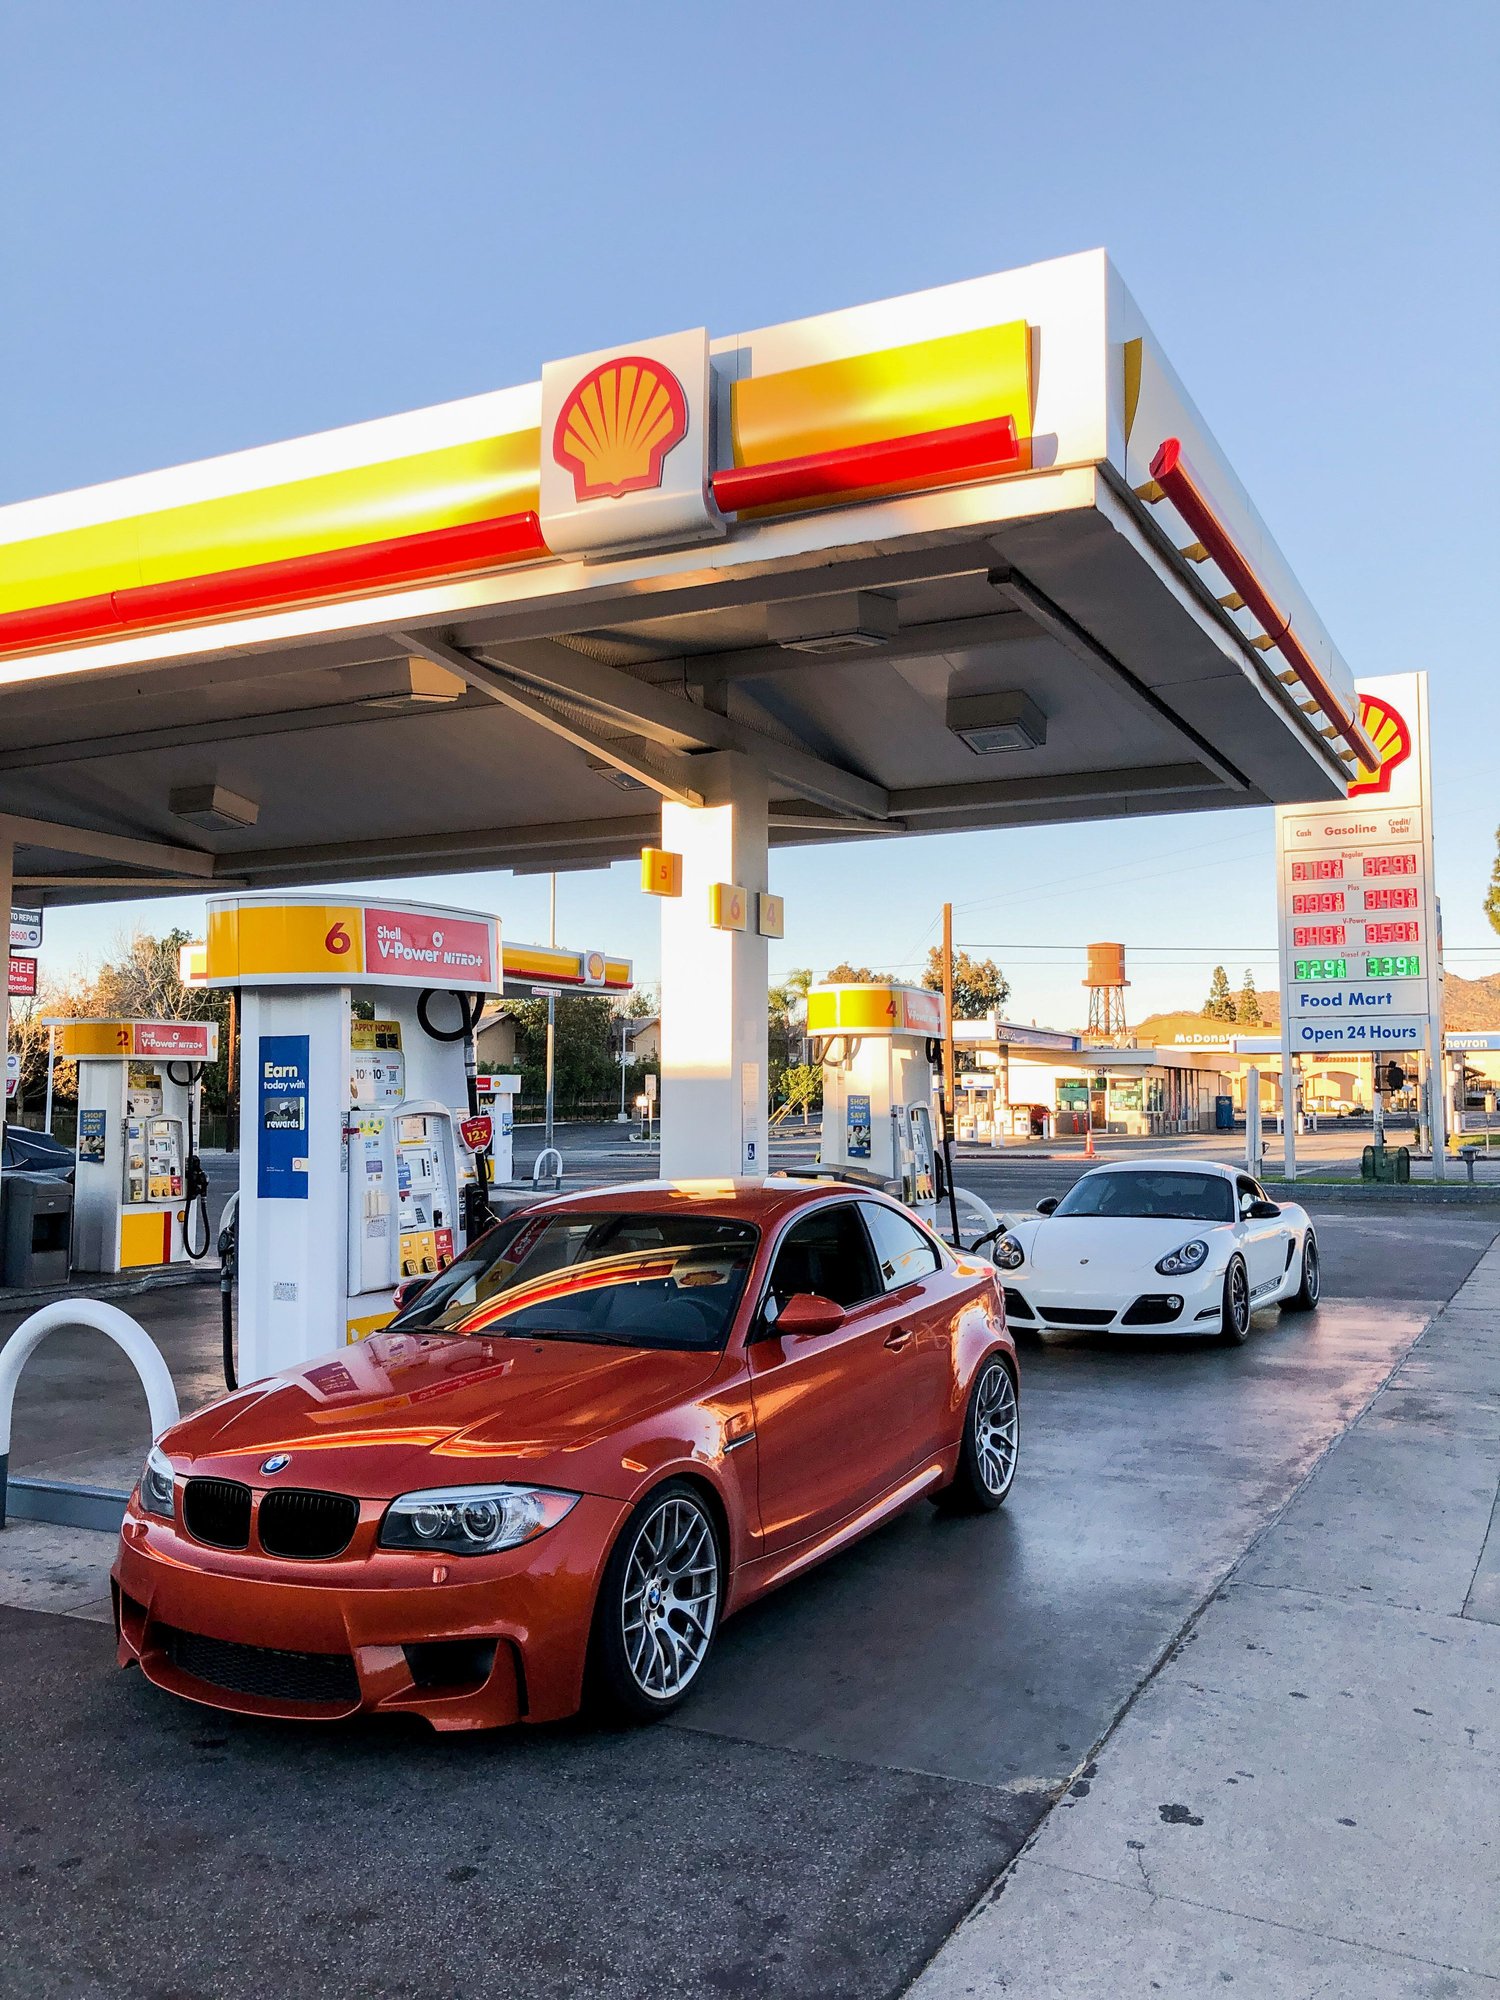
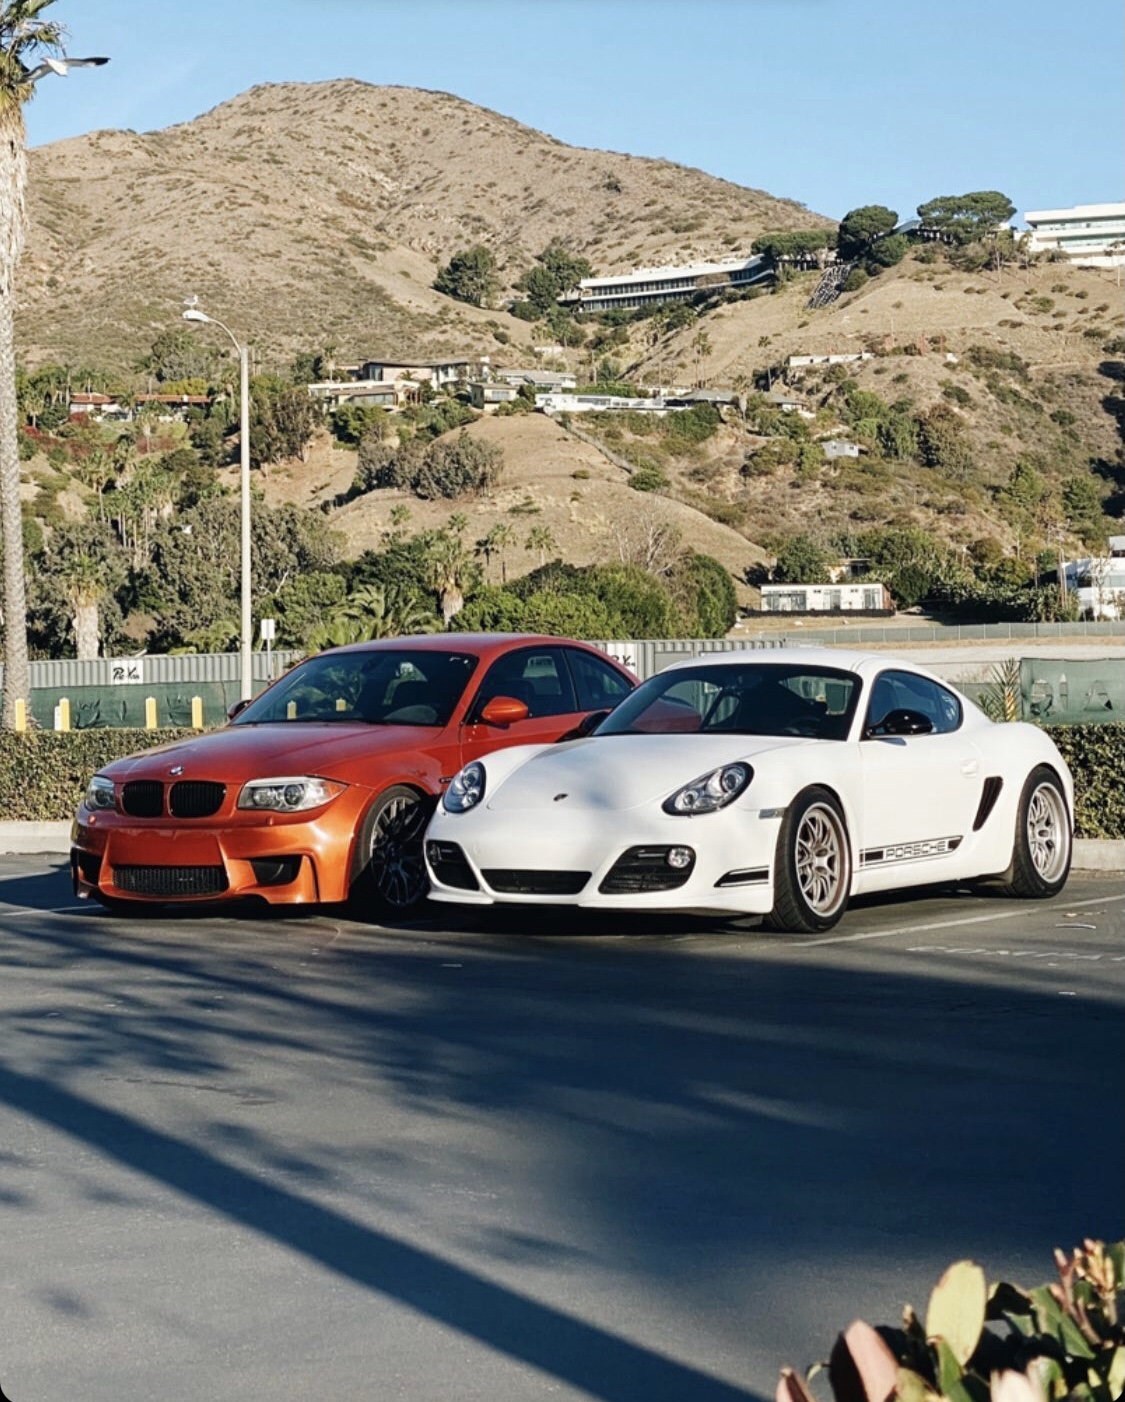
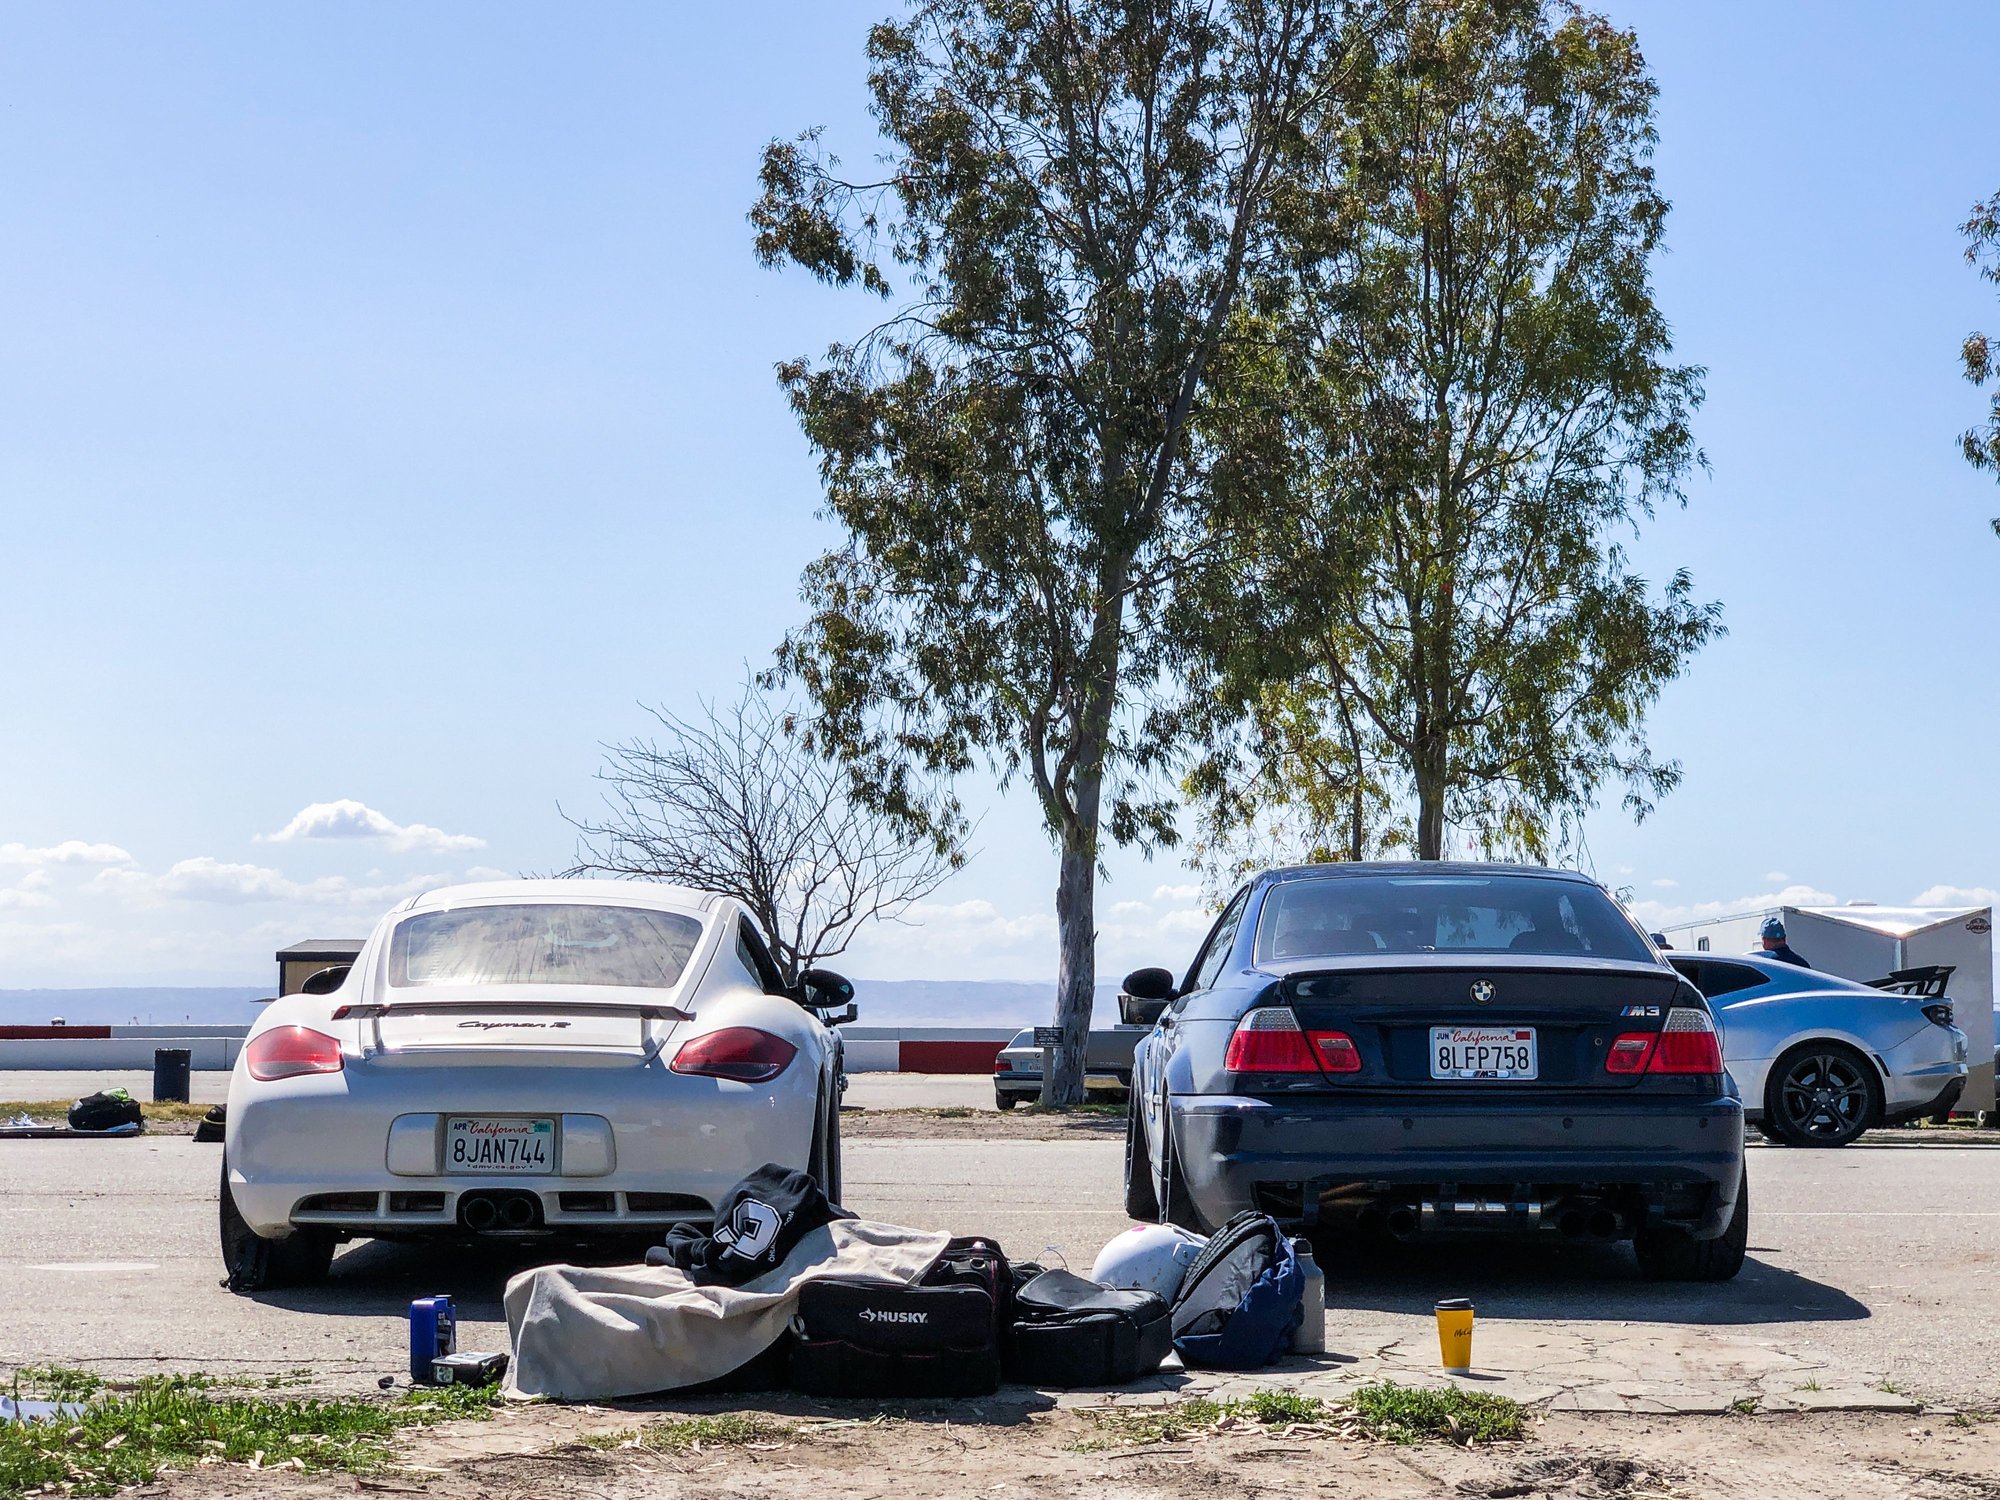
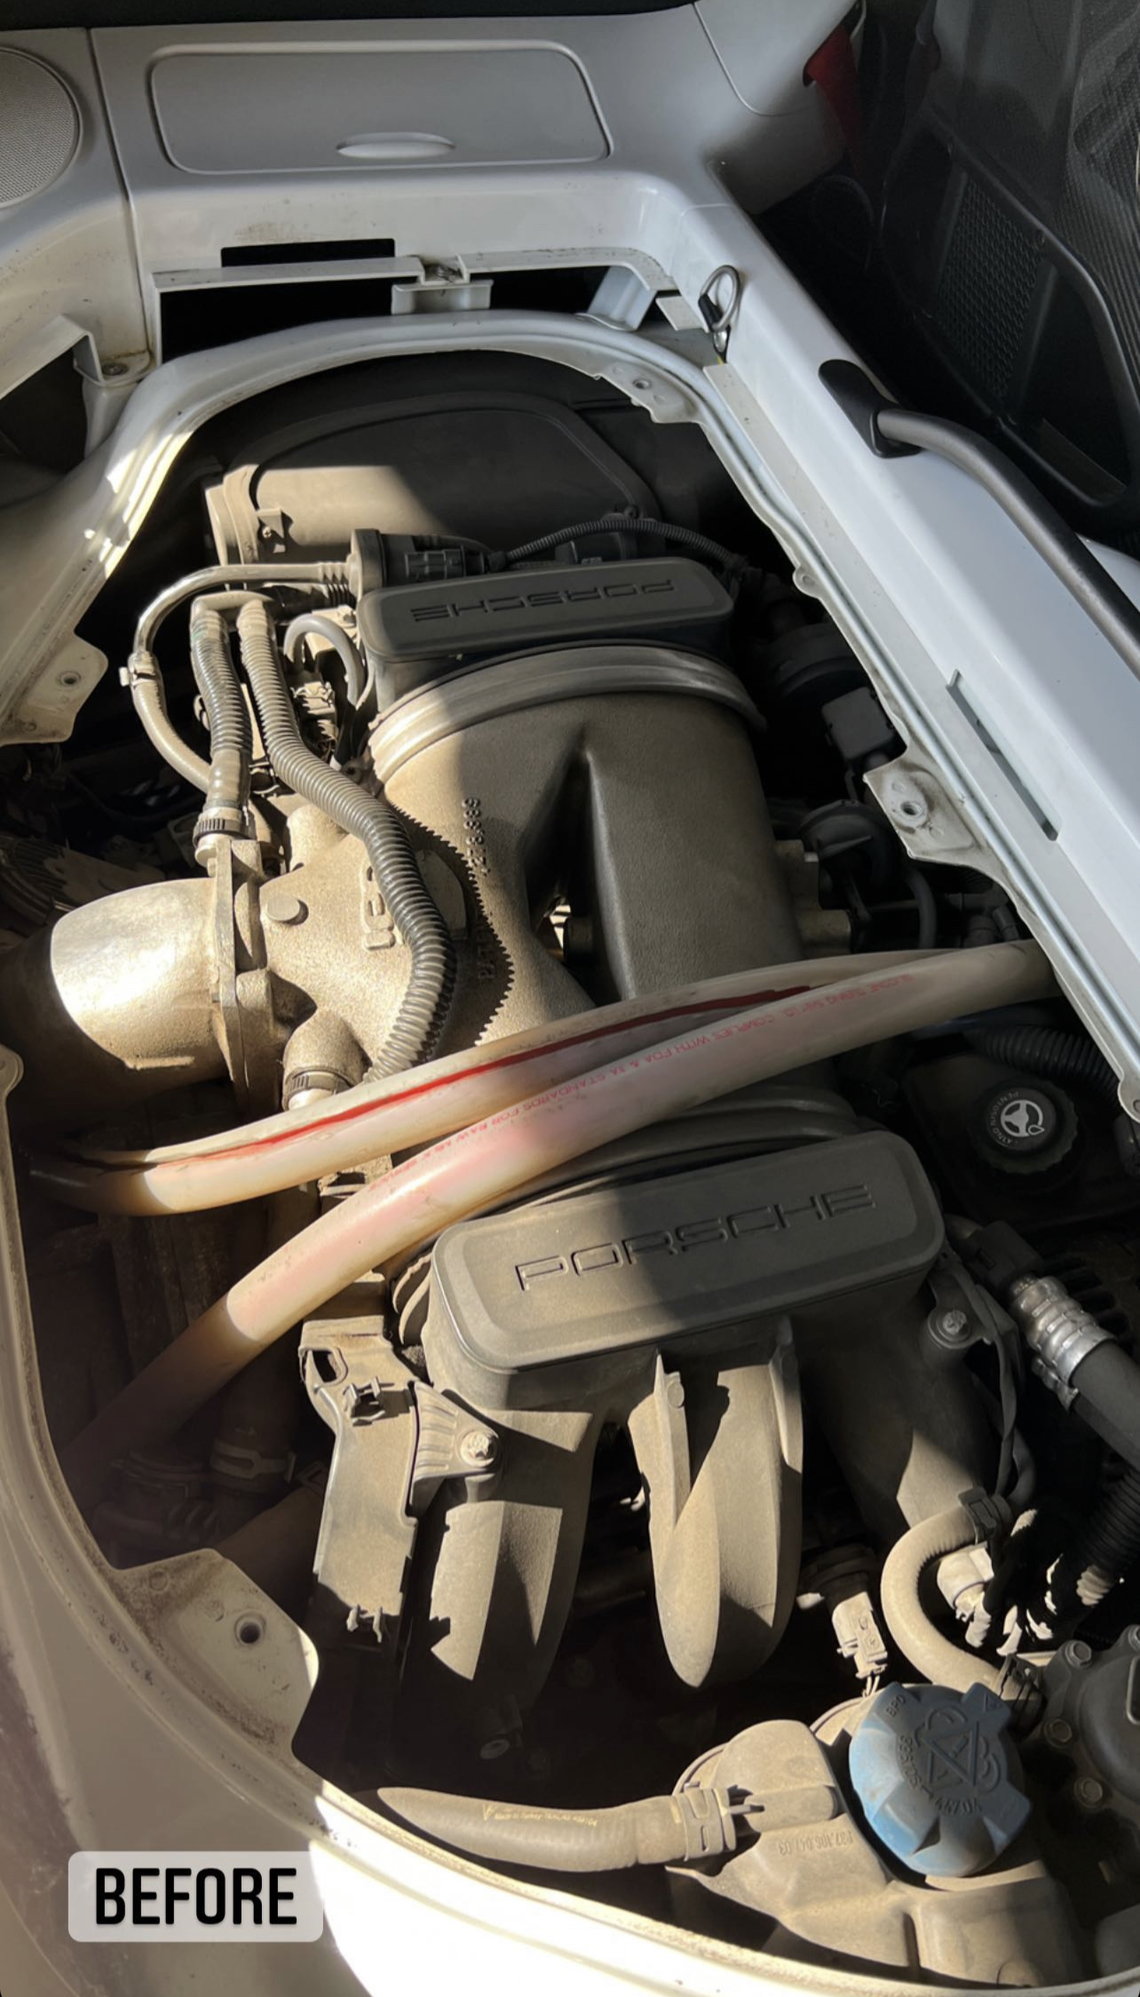
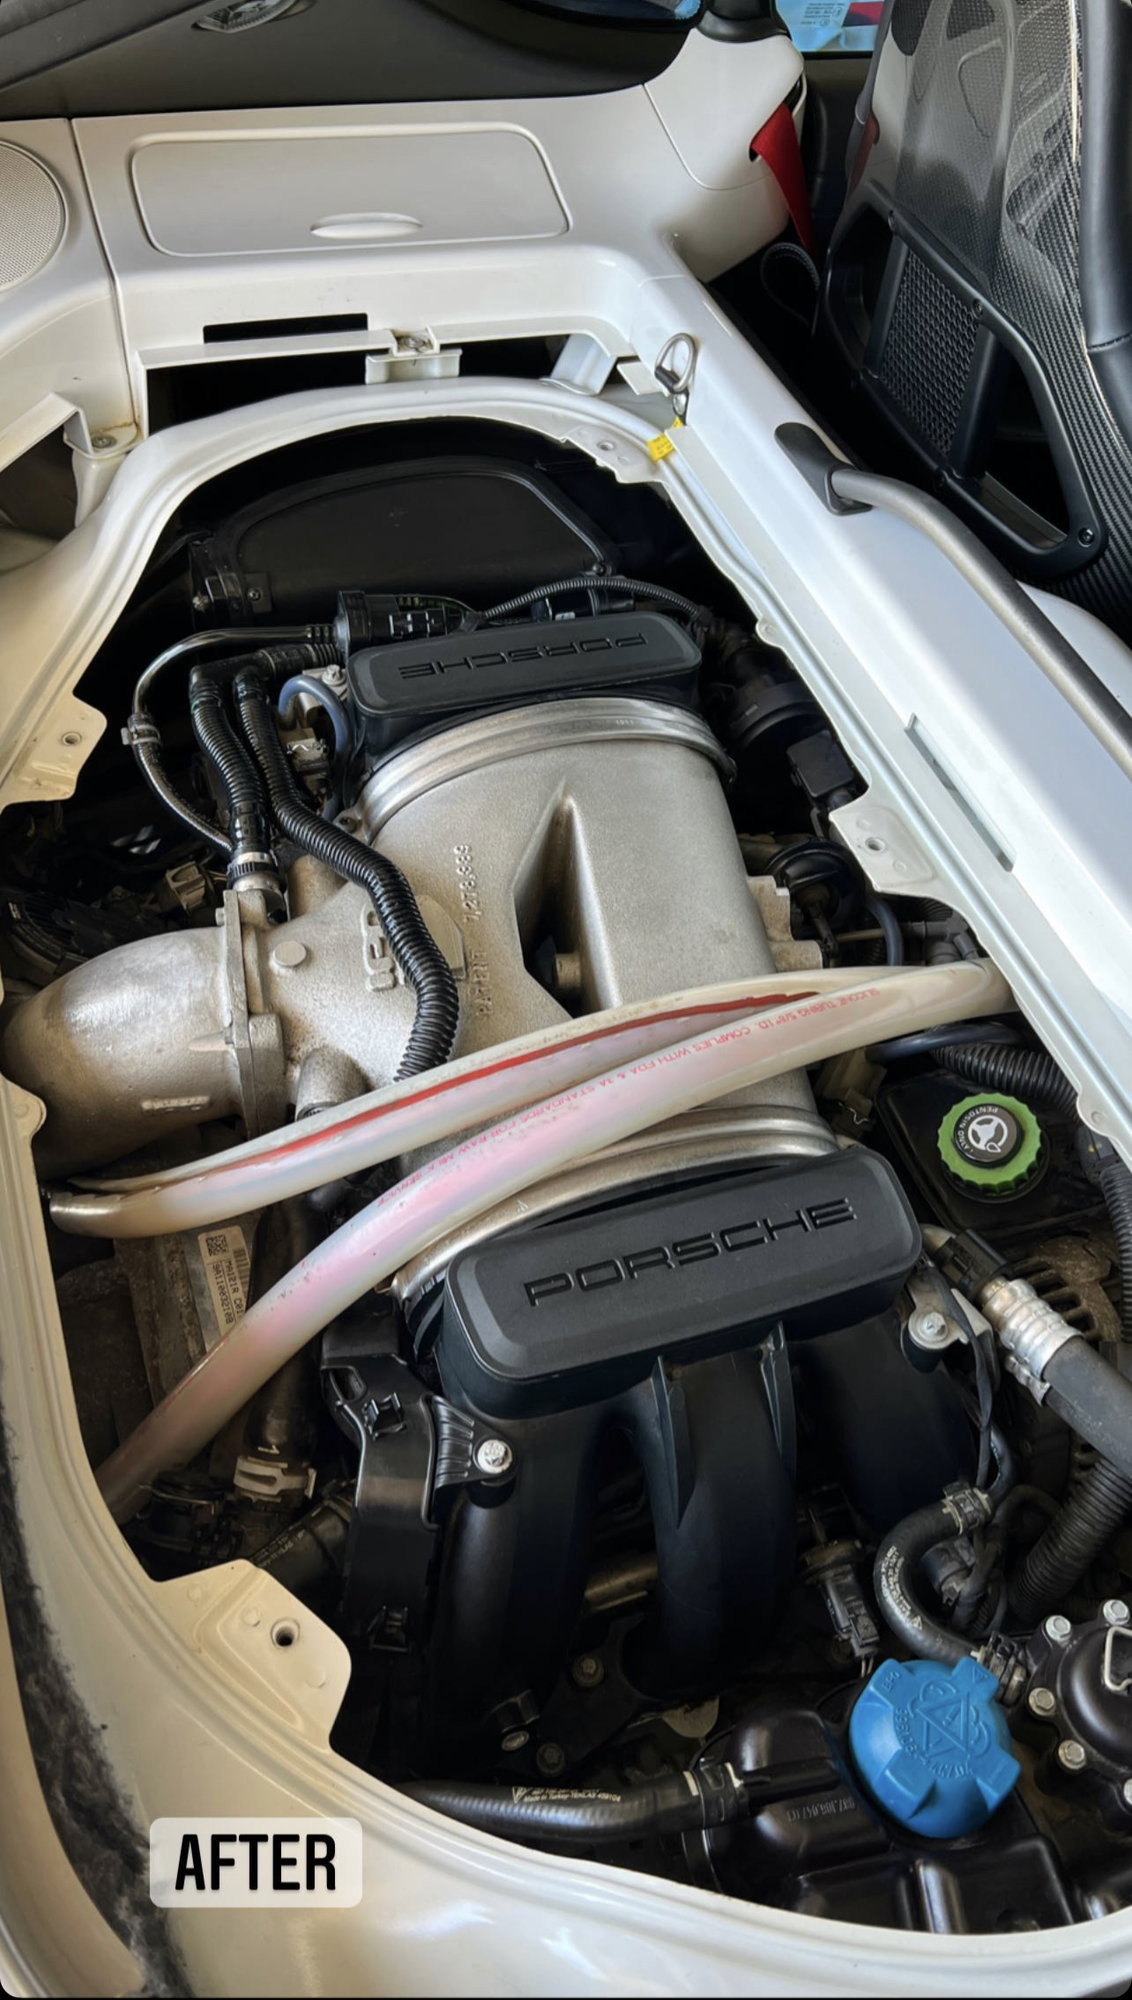
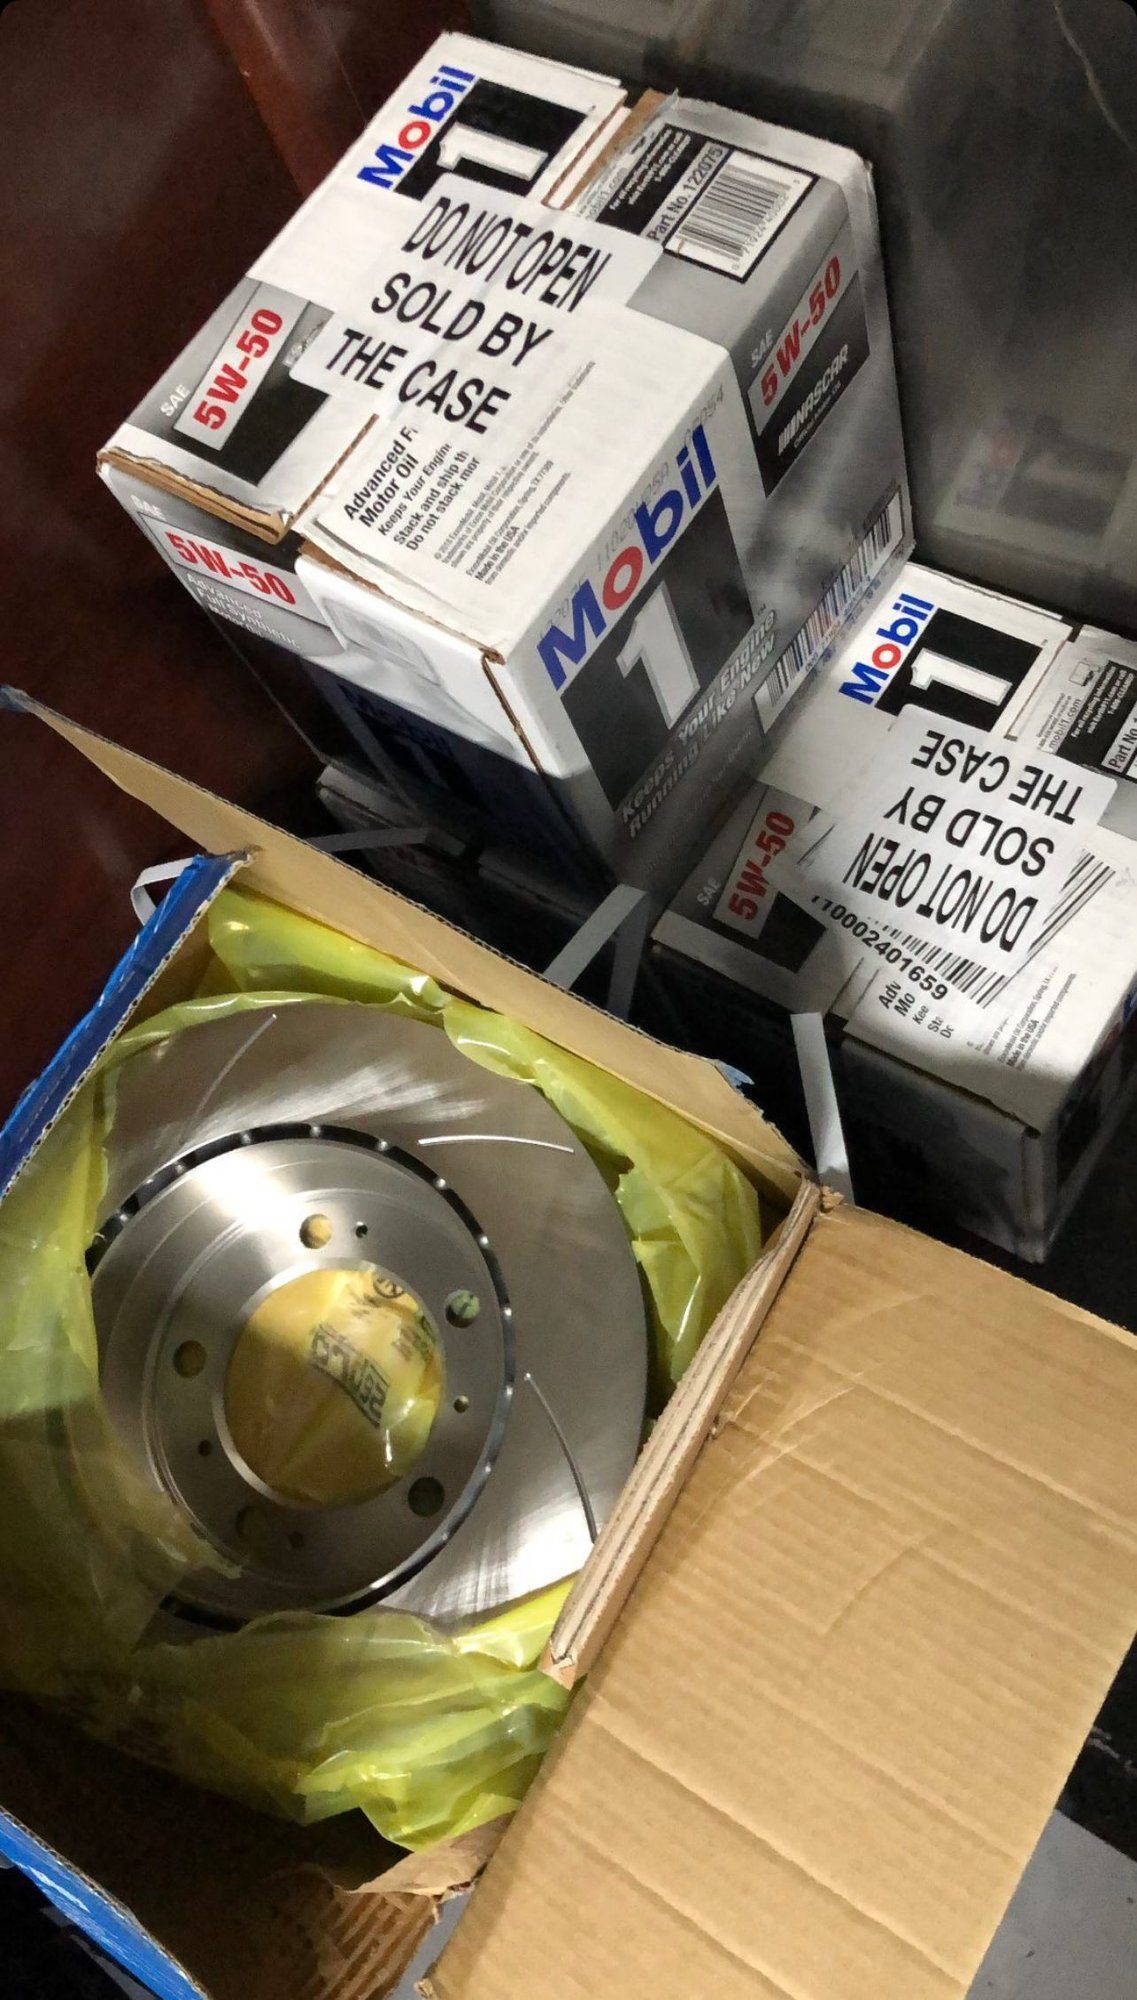
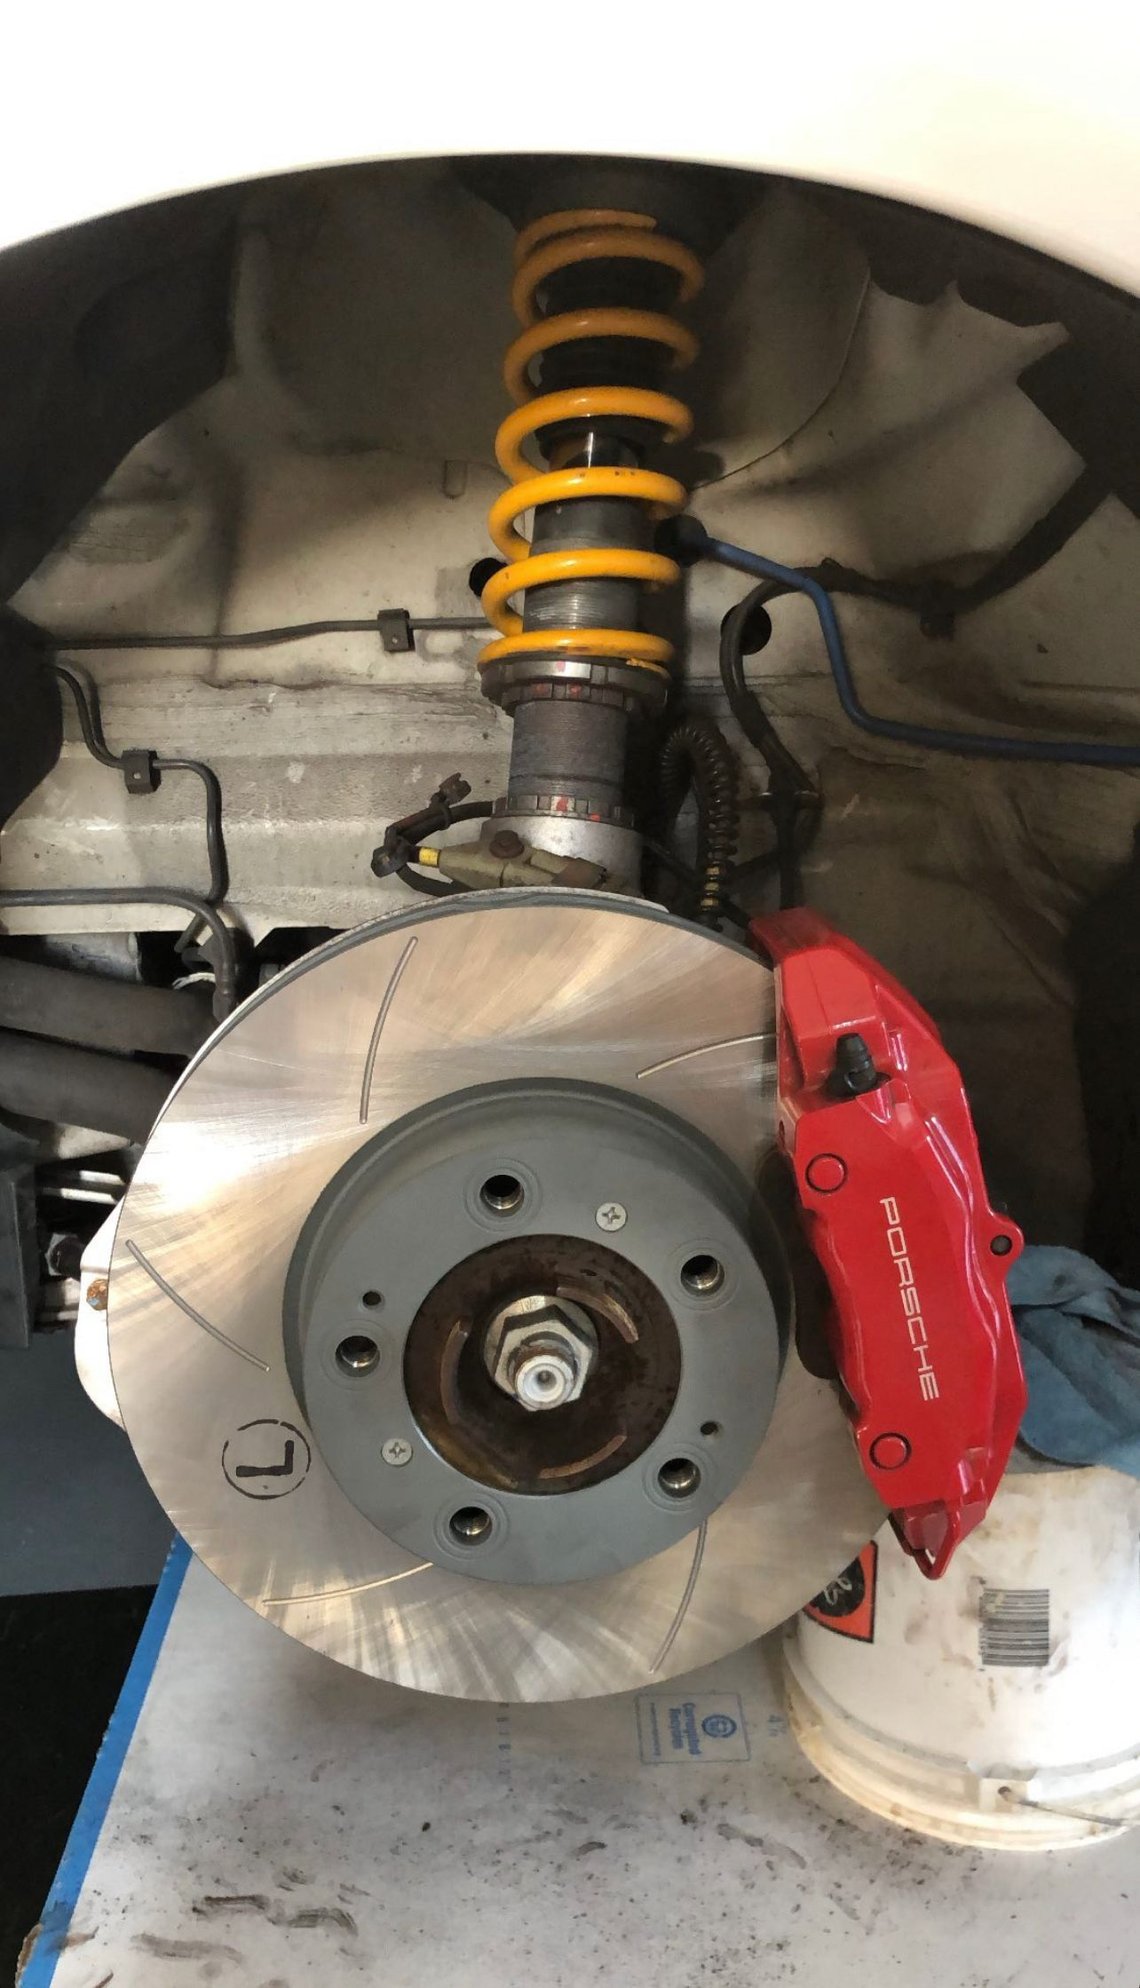
Gave the car a full detail and started planning for the future of the car. The first order of business was maintenance. Lucky for me, the PO had just given the car a major service including the serpentine belt, AOS, trans/diff/brake fluid, cleaned the water channels and radiators. I ordered a few parts including Sebro slotted rotors, Ferodo DS11.1 brake pads, and a ton of Mobil 5w-50 in preparation for track days. Ended up going on a road trip to drive all the nice roads up in LA with a buddy of mine who also happens to have a "Unicorn".
BMW 1M in Valencia Orange!
Last edited by EHP Racing; 01-02-2022 at 12:00 AM.
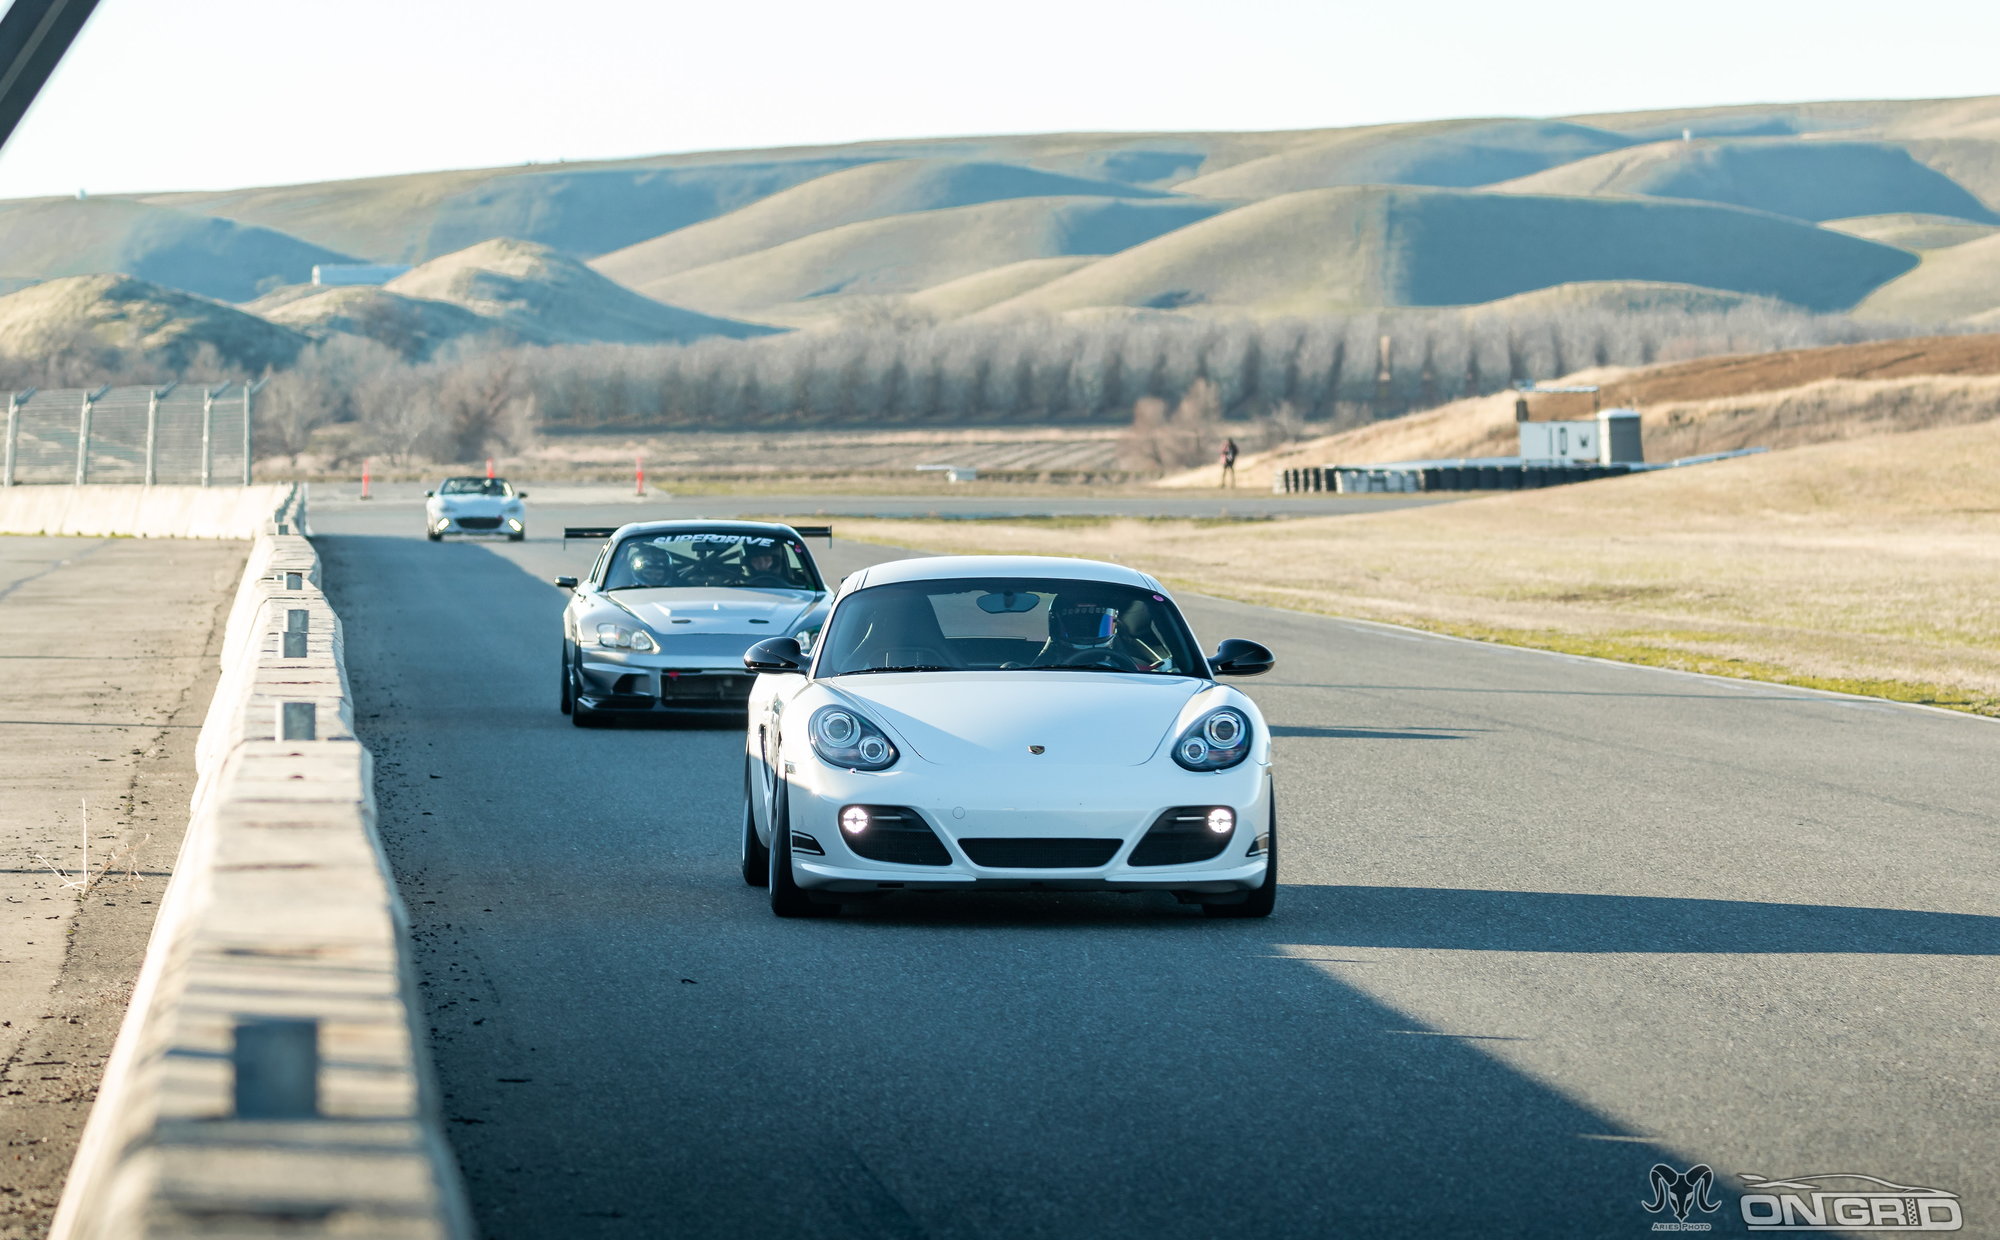
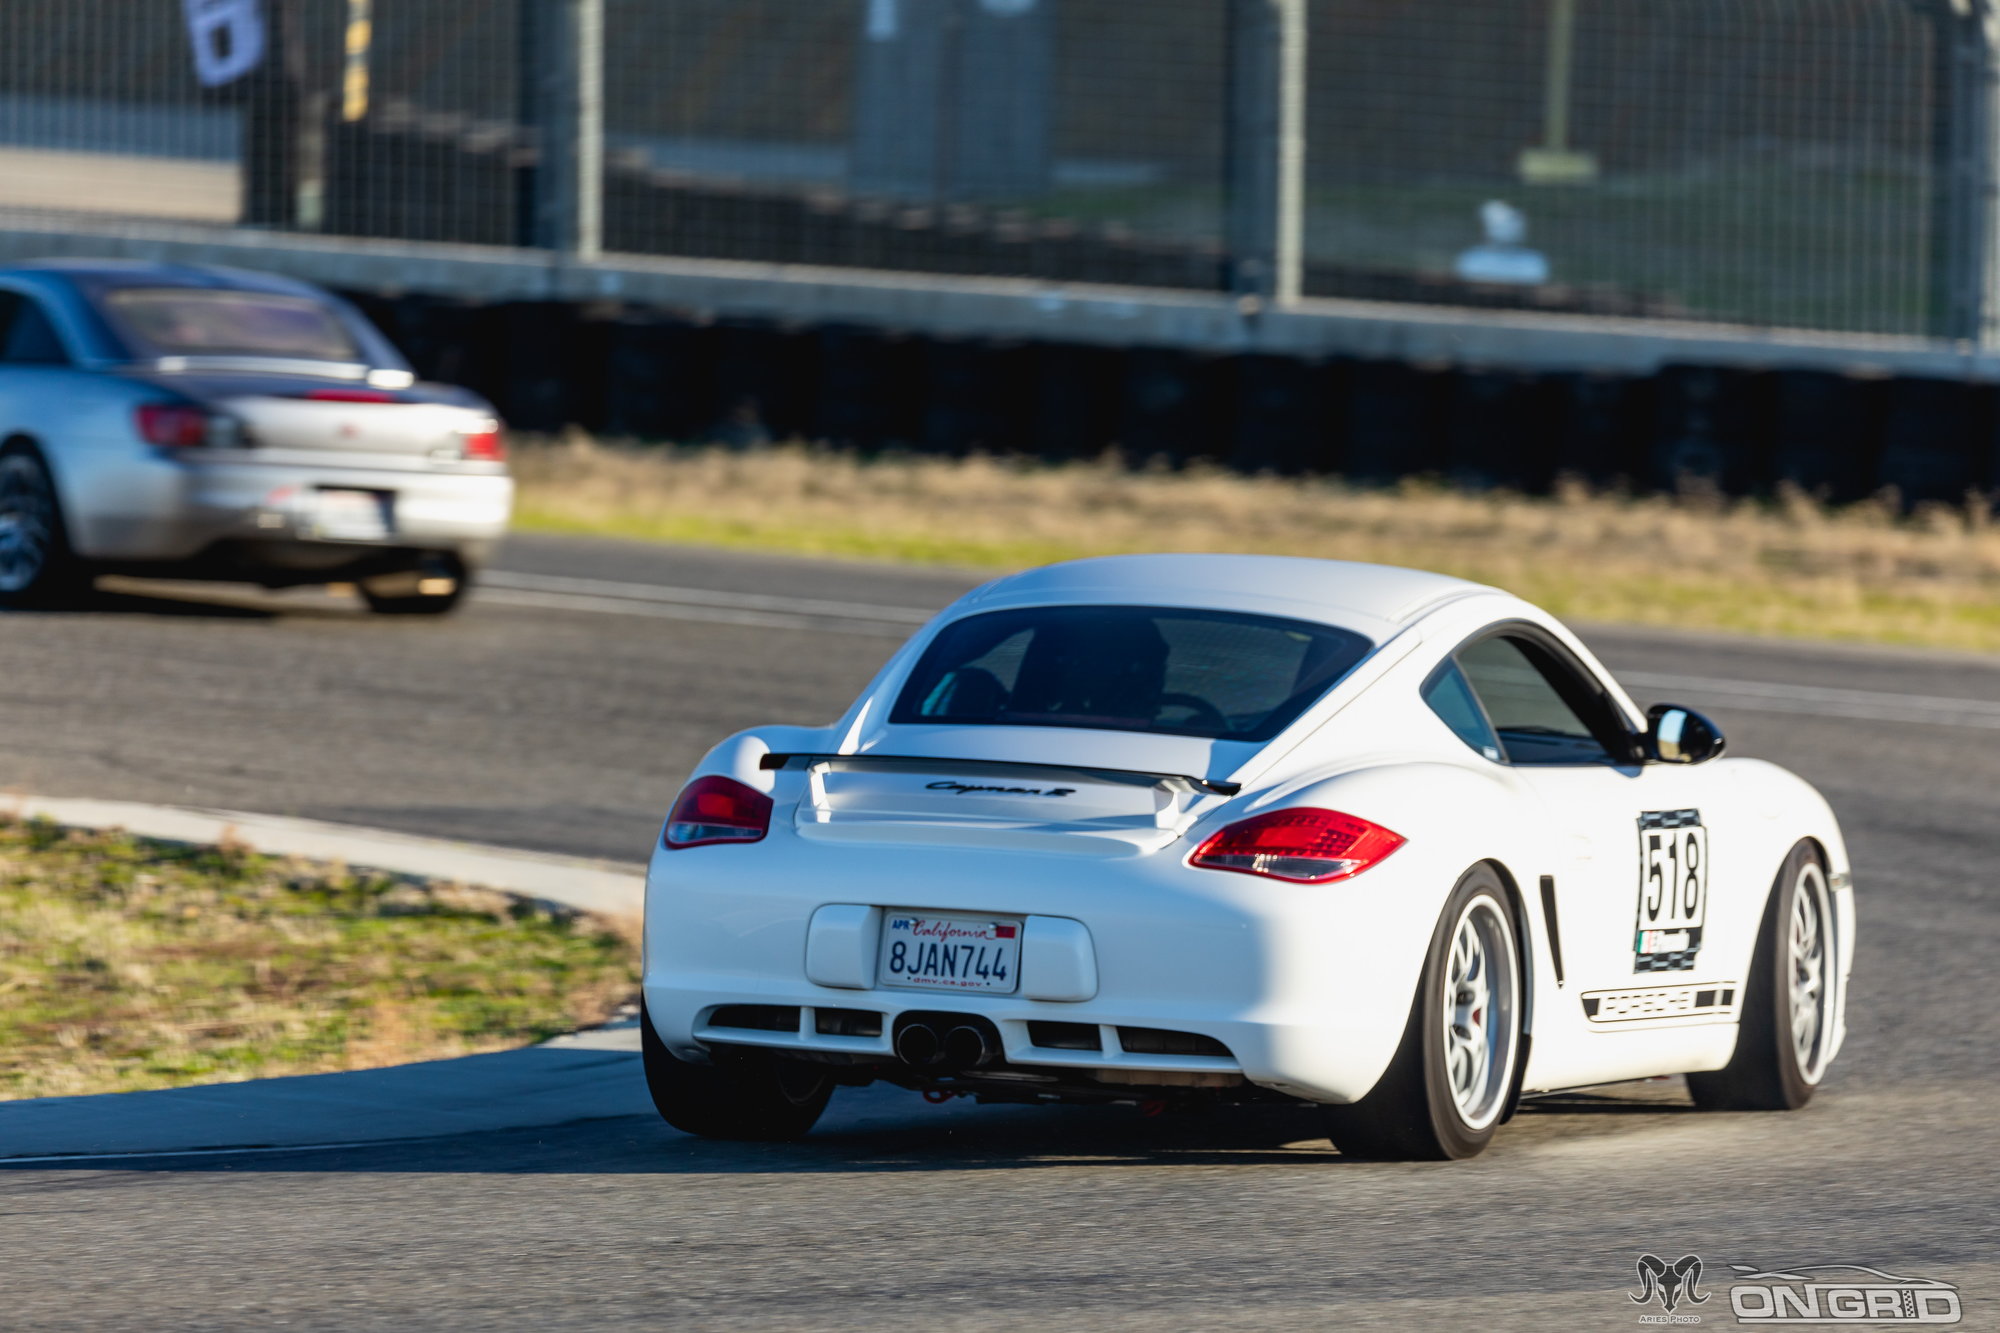
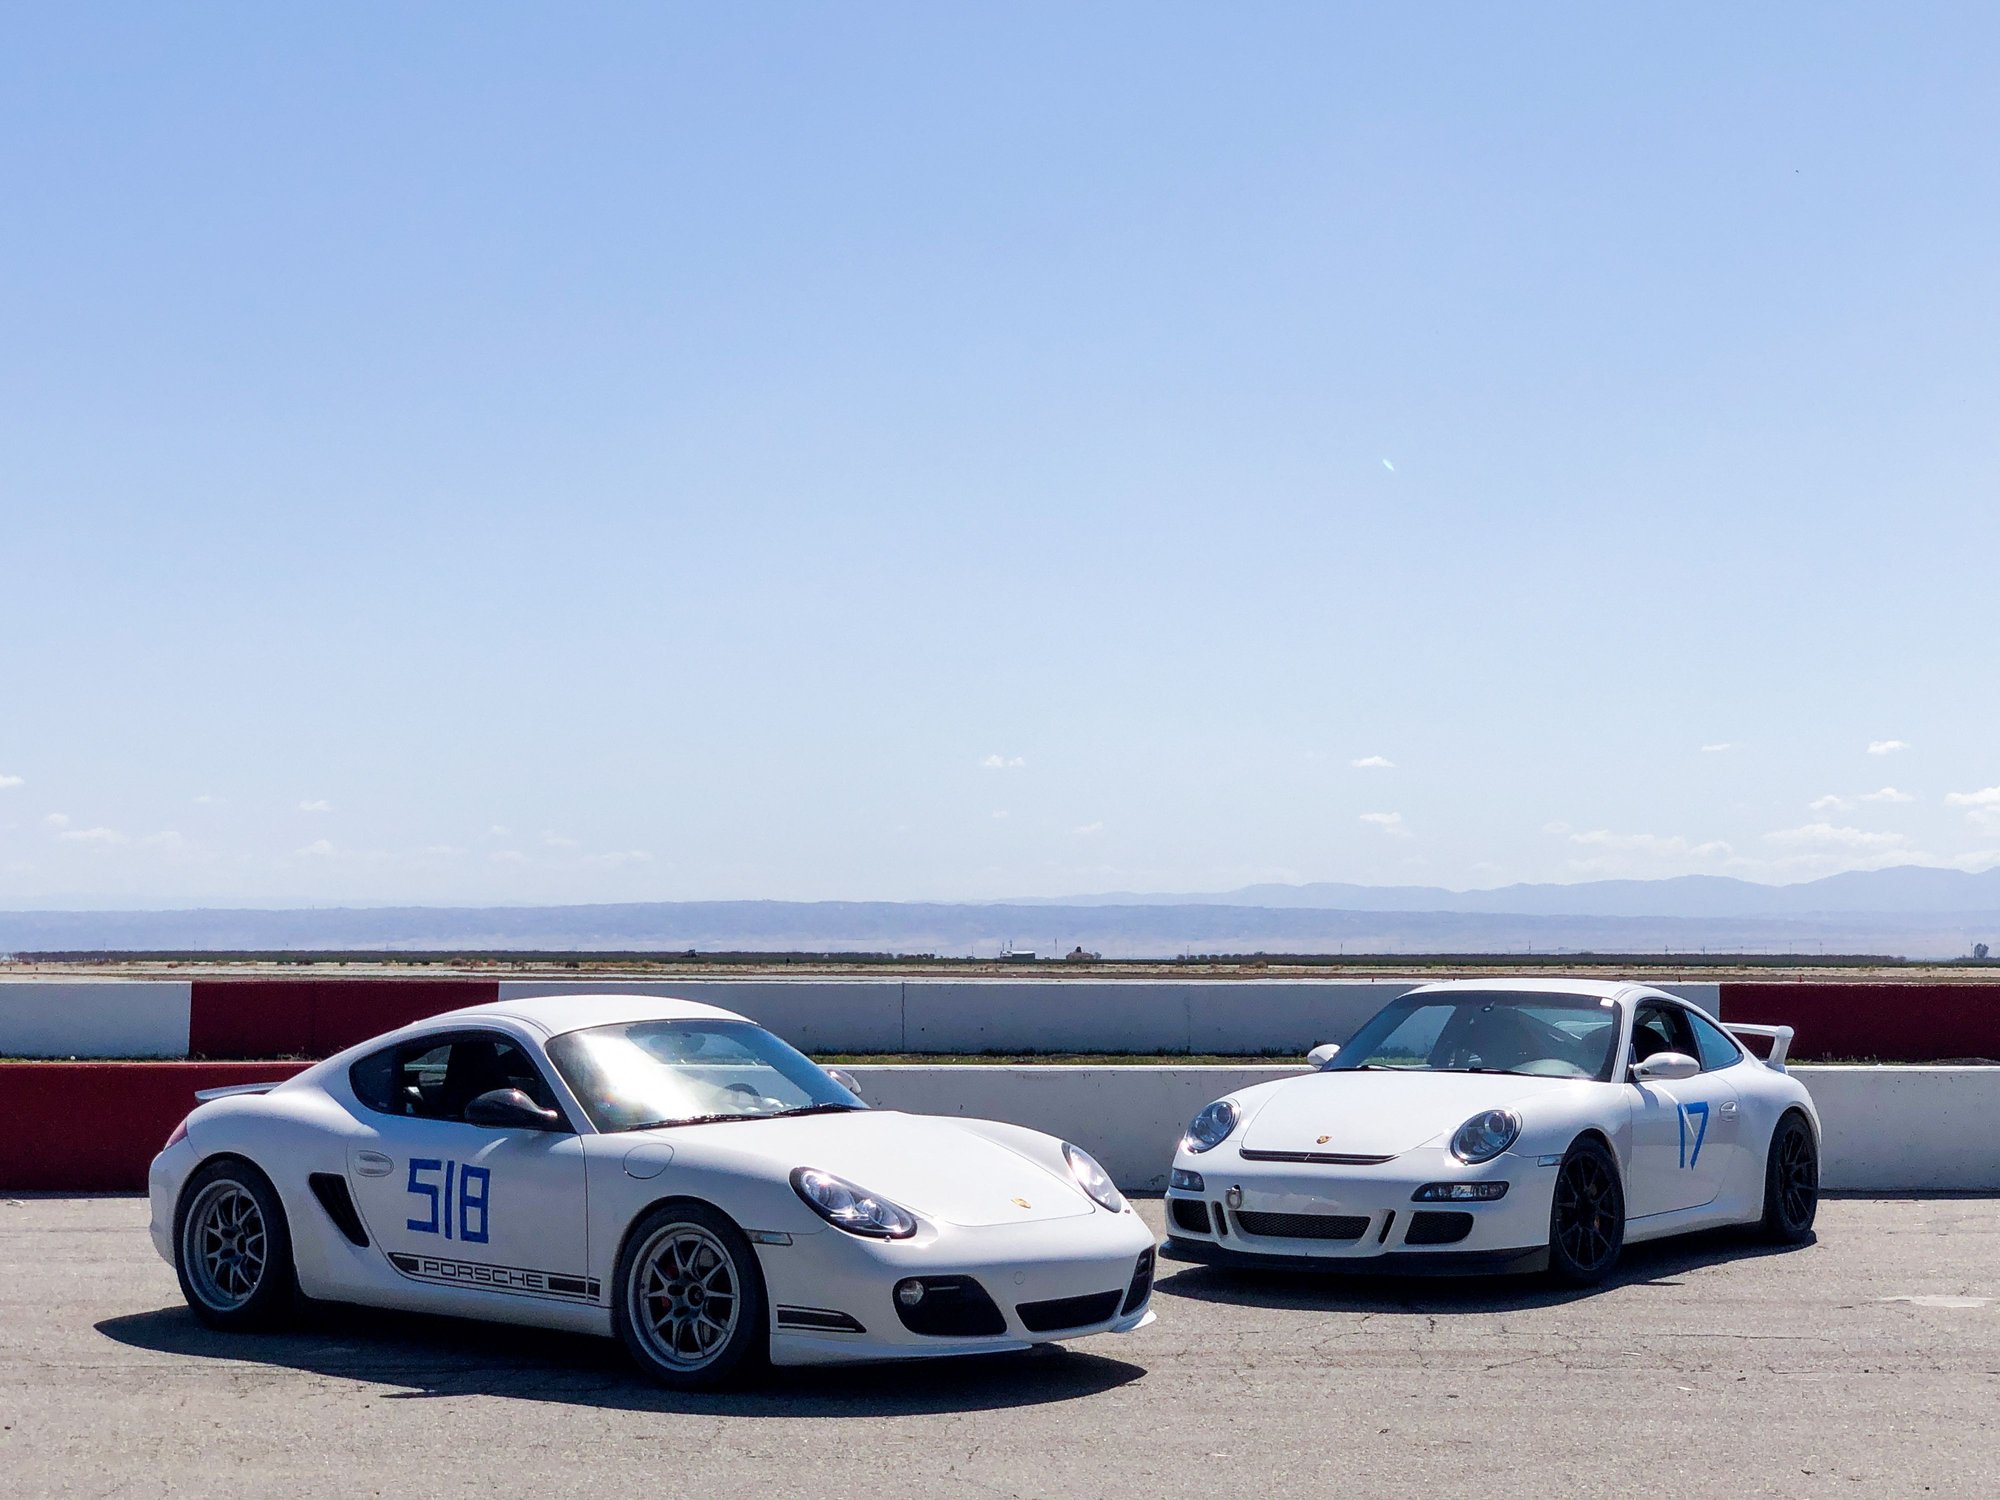
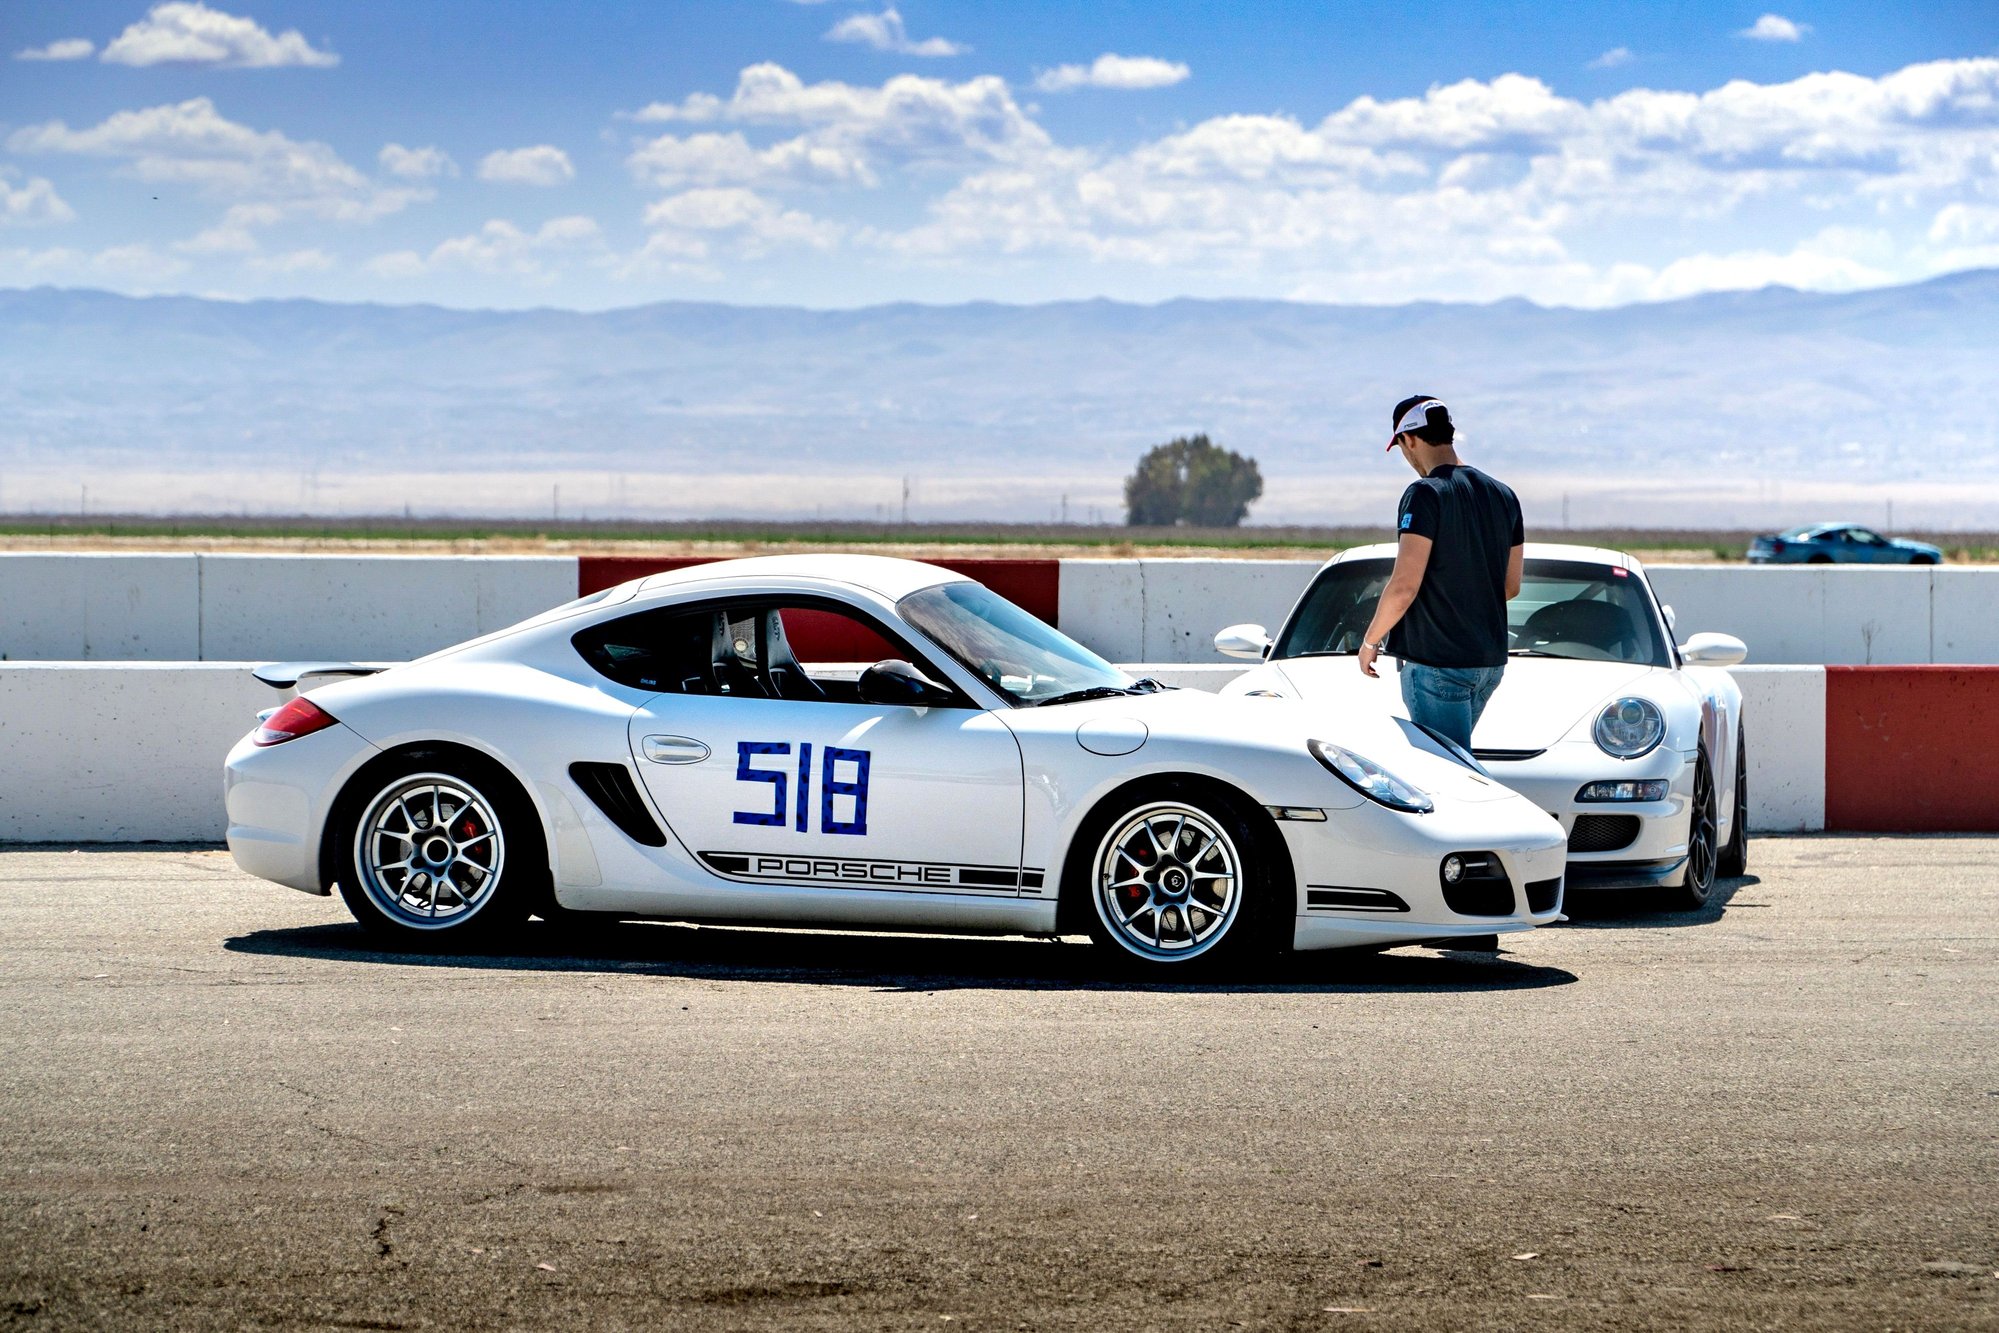
Most of 2021 was fairly normal with the car. A road trip here and there, two track days at Thunderhill West and Buttonwillow, and overall just getting used to the car and enjoying it as is.
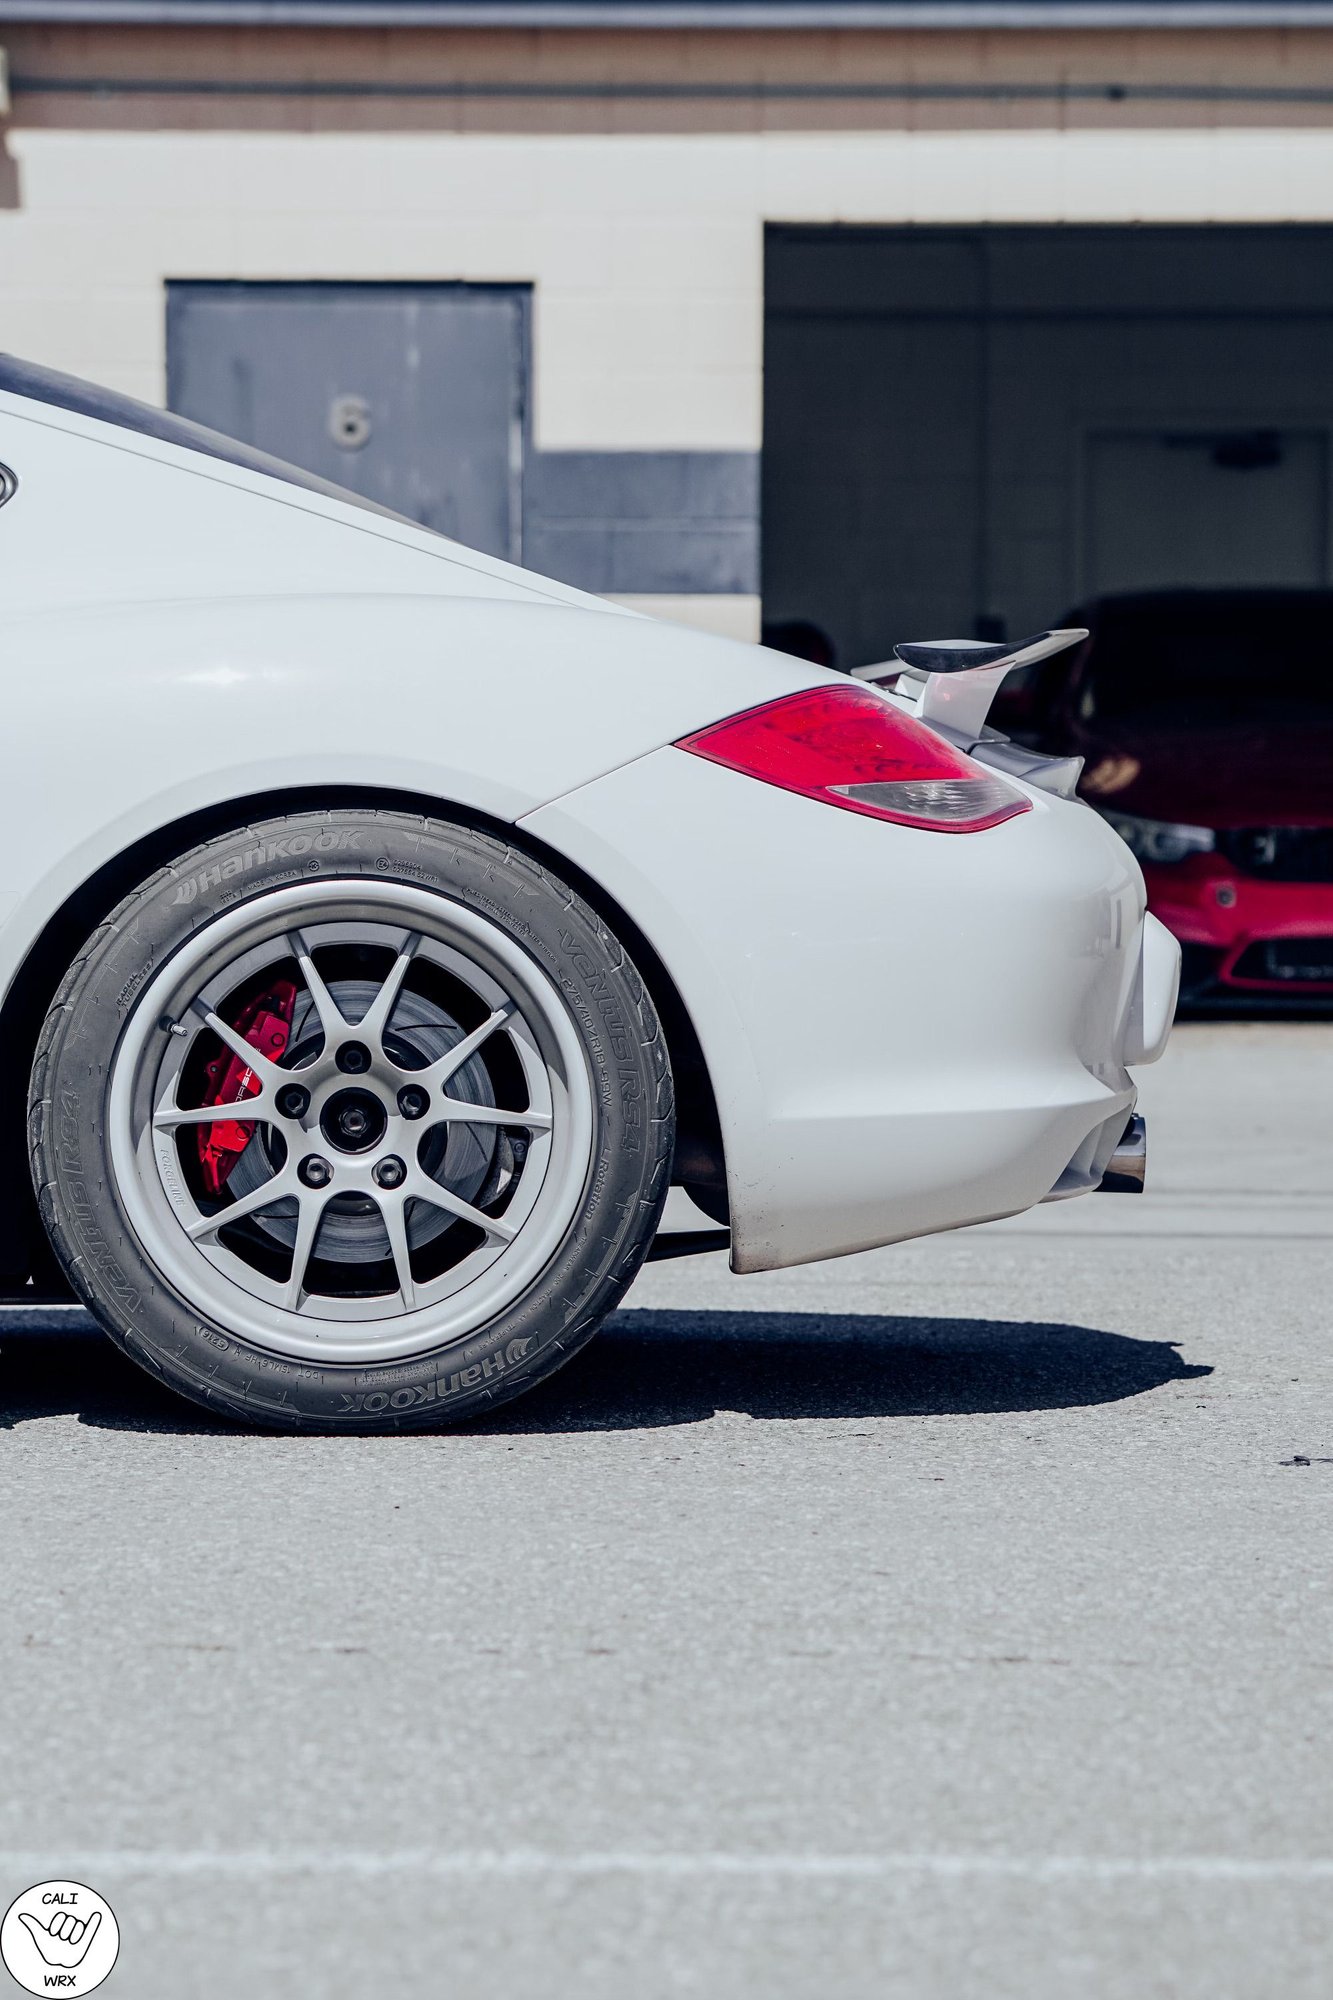
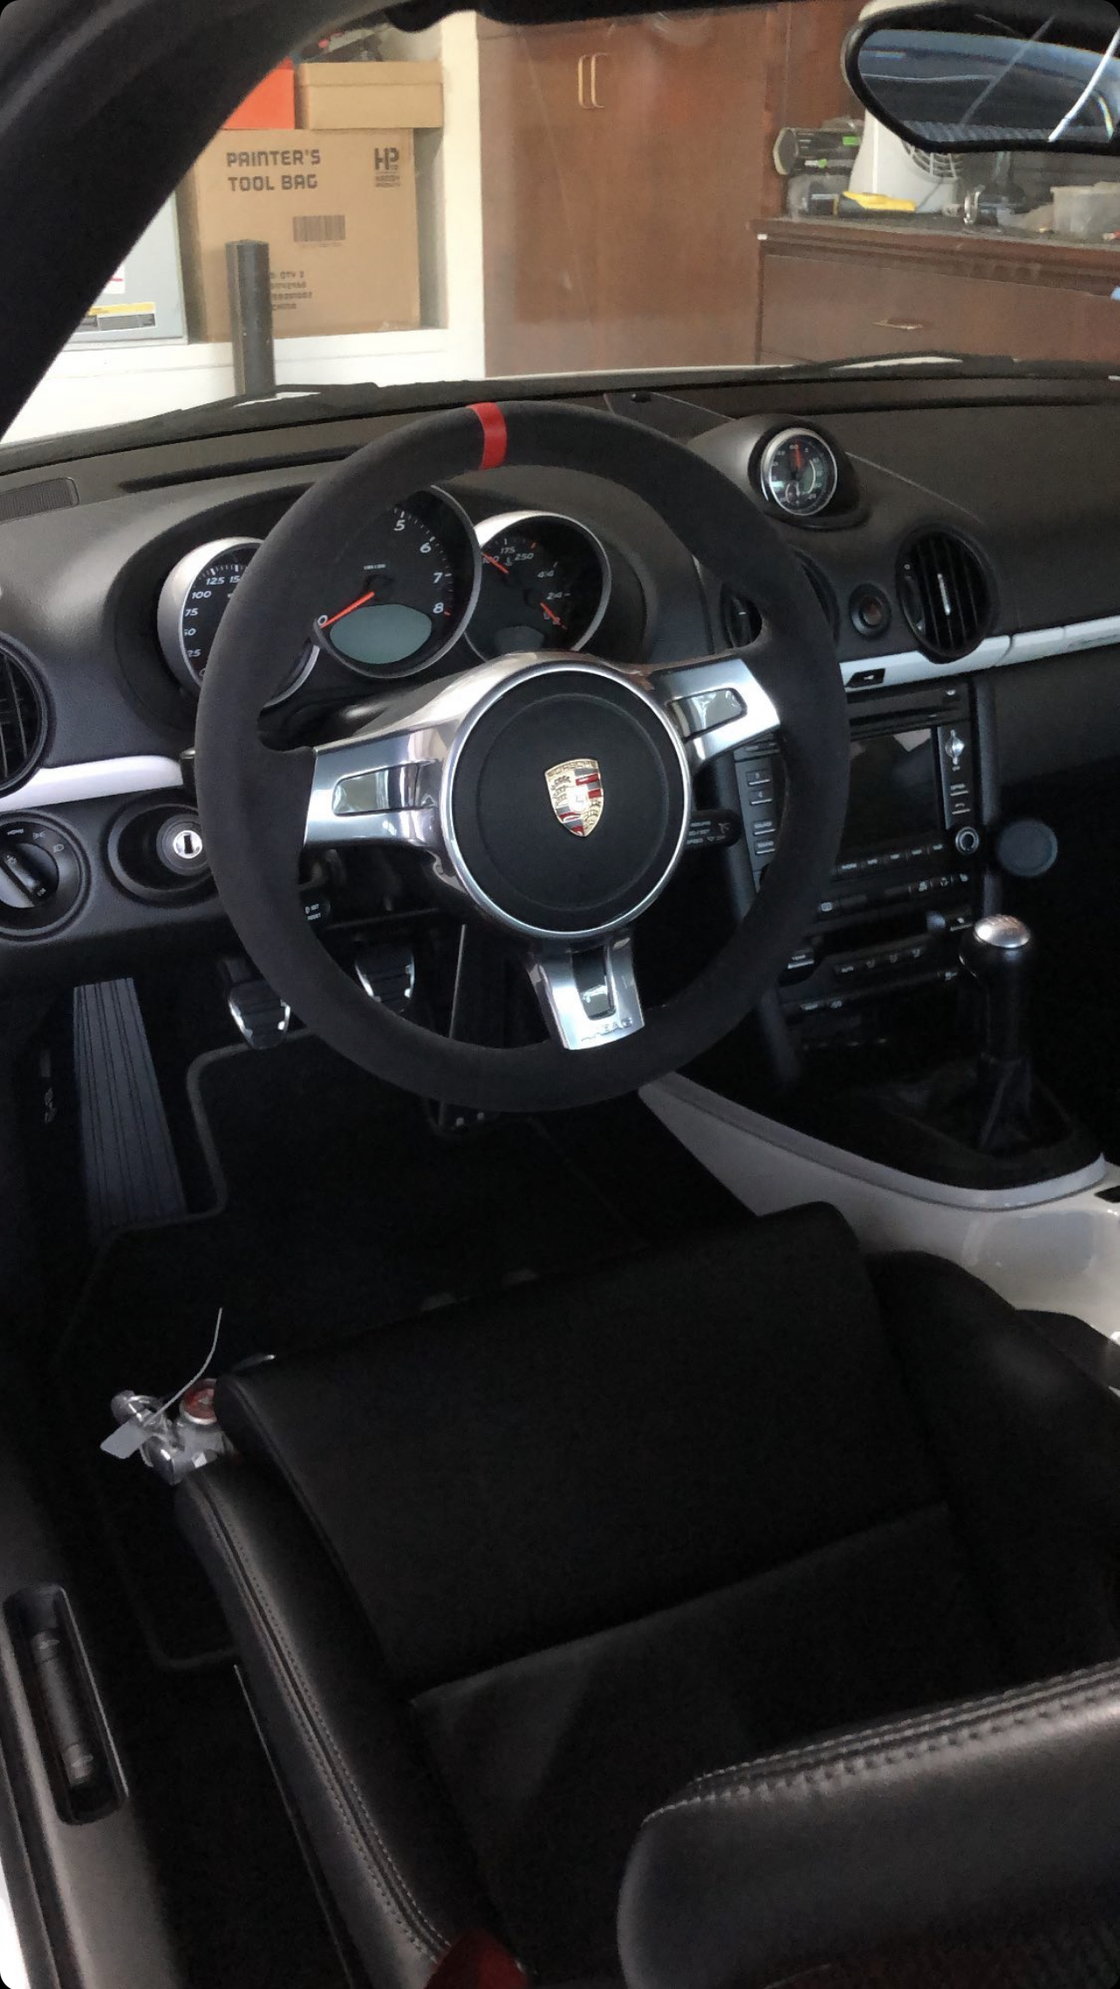
Maintenance performed between the track days and driving included two oil changes, a full undercarriage/engine bay detail, and added a few parts including an alcantara steering wheel and a set of Apex SM-10 wheels in 18x9+46 front and 18x10+36 rear
Last edited by EHP Racing; 12-05-2021 at 12:55 AM.
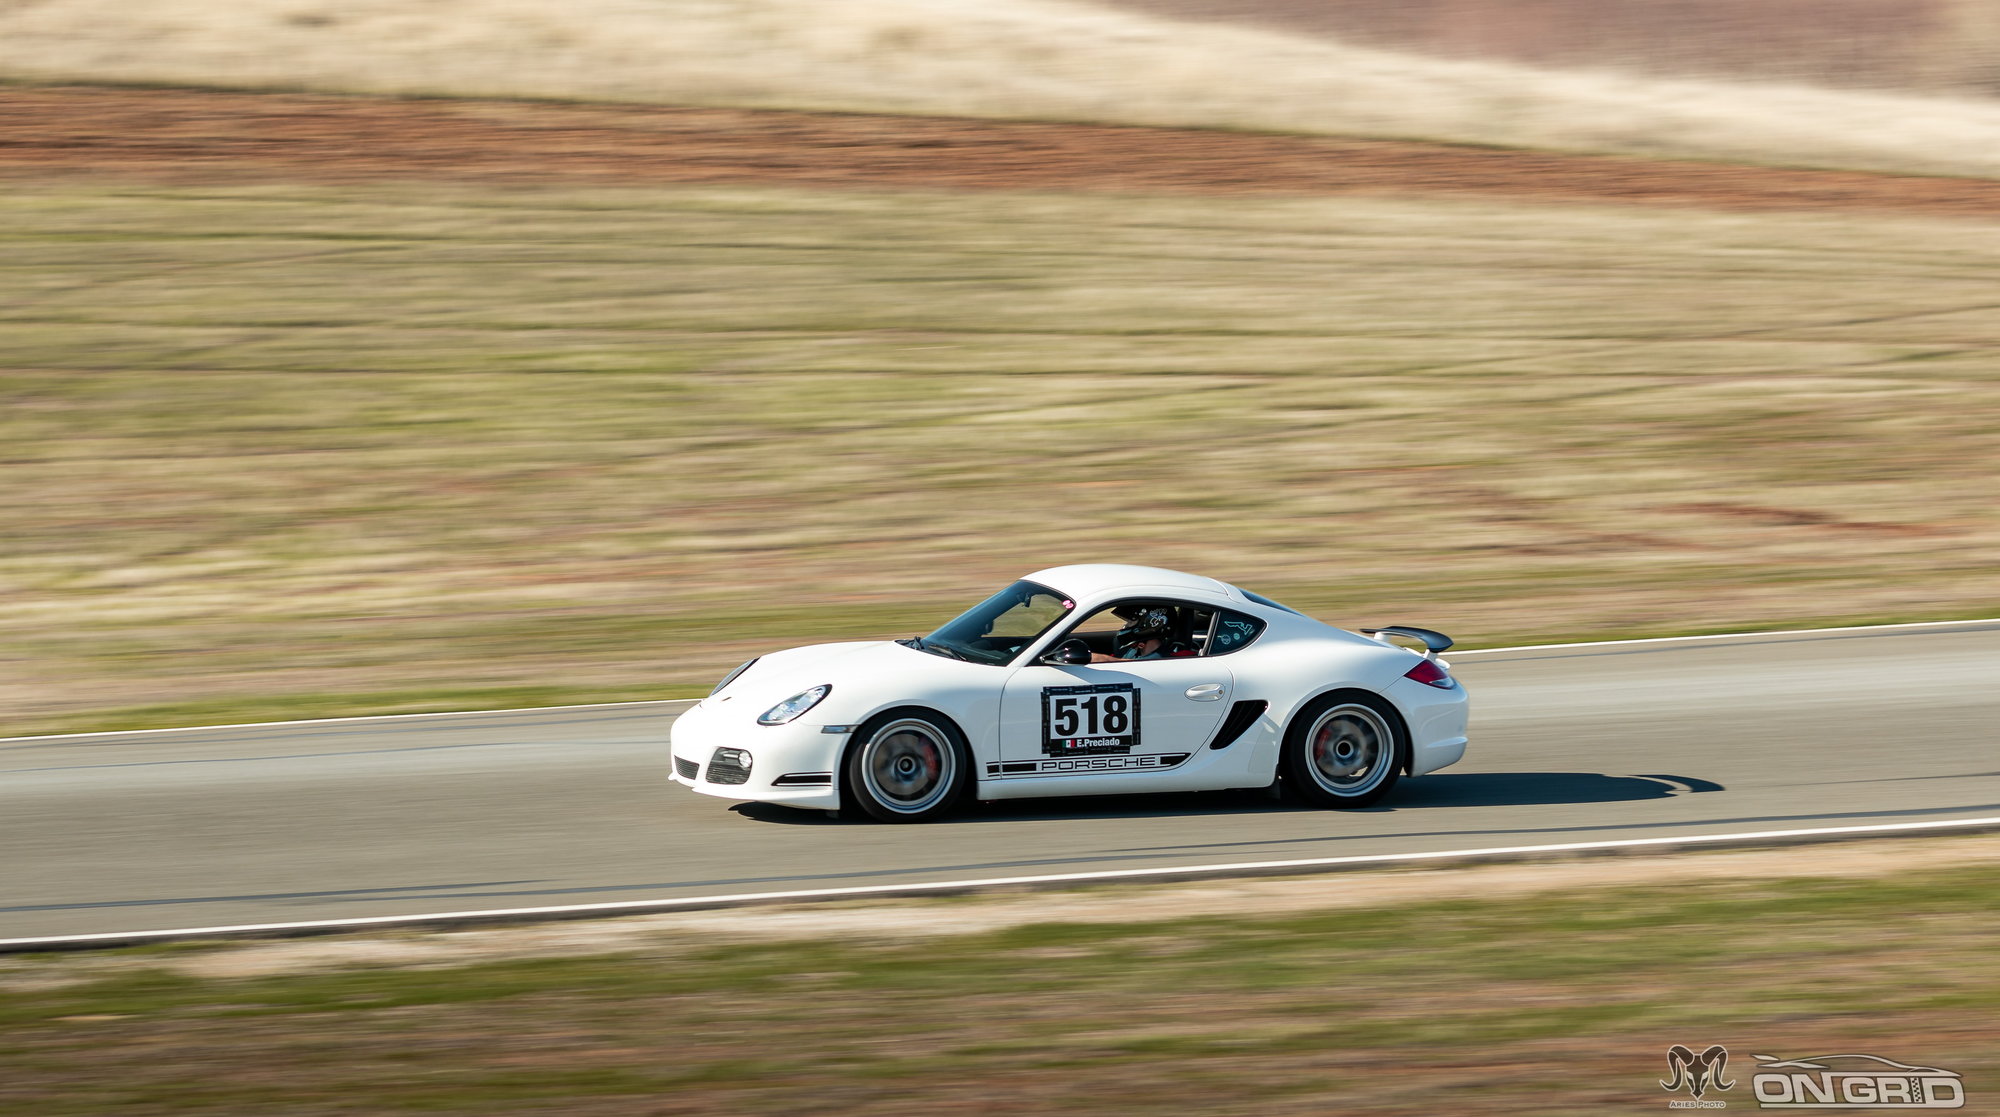
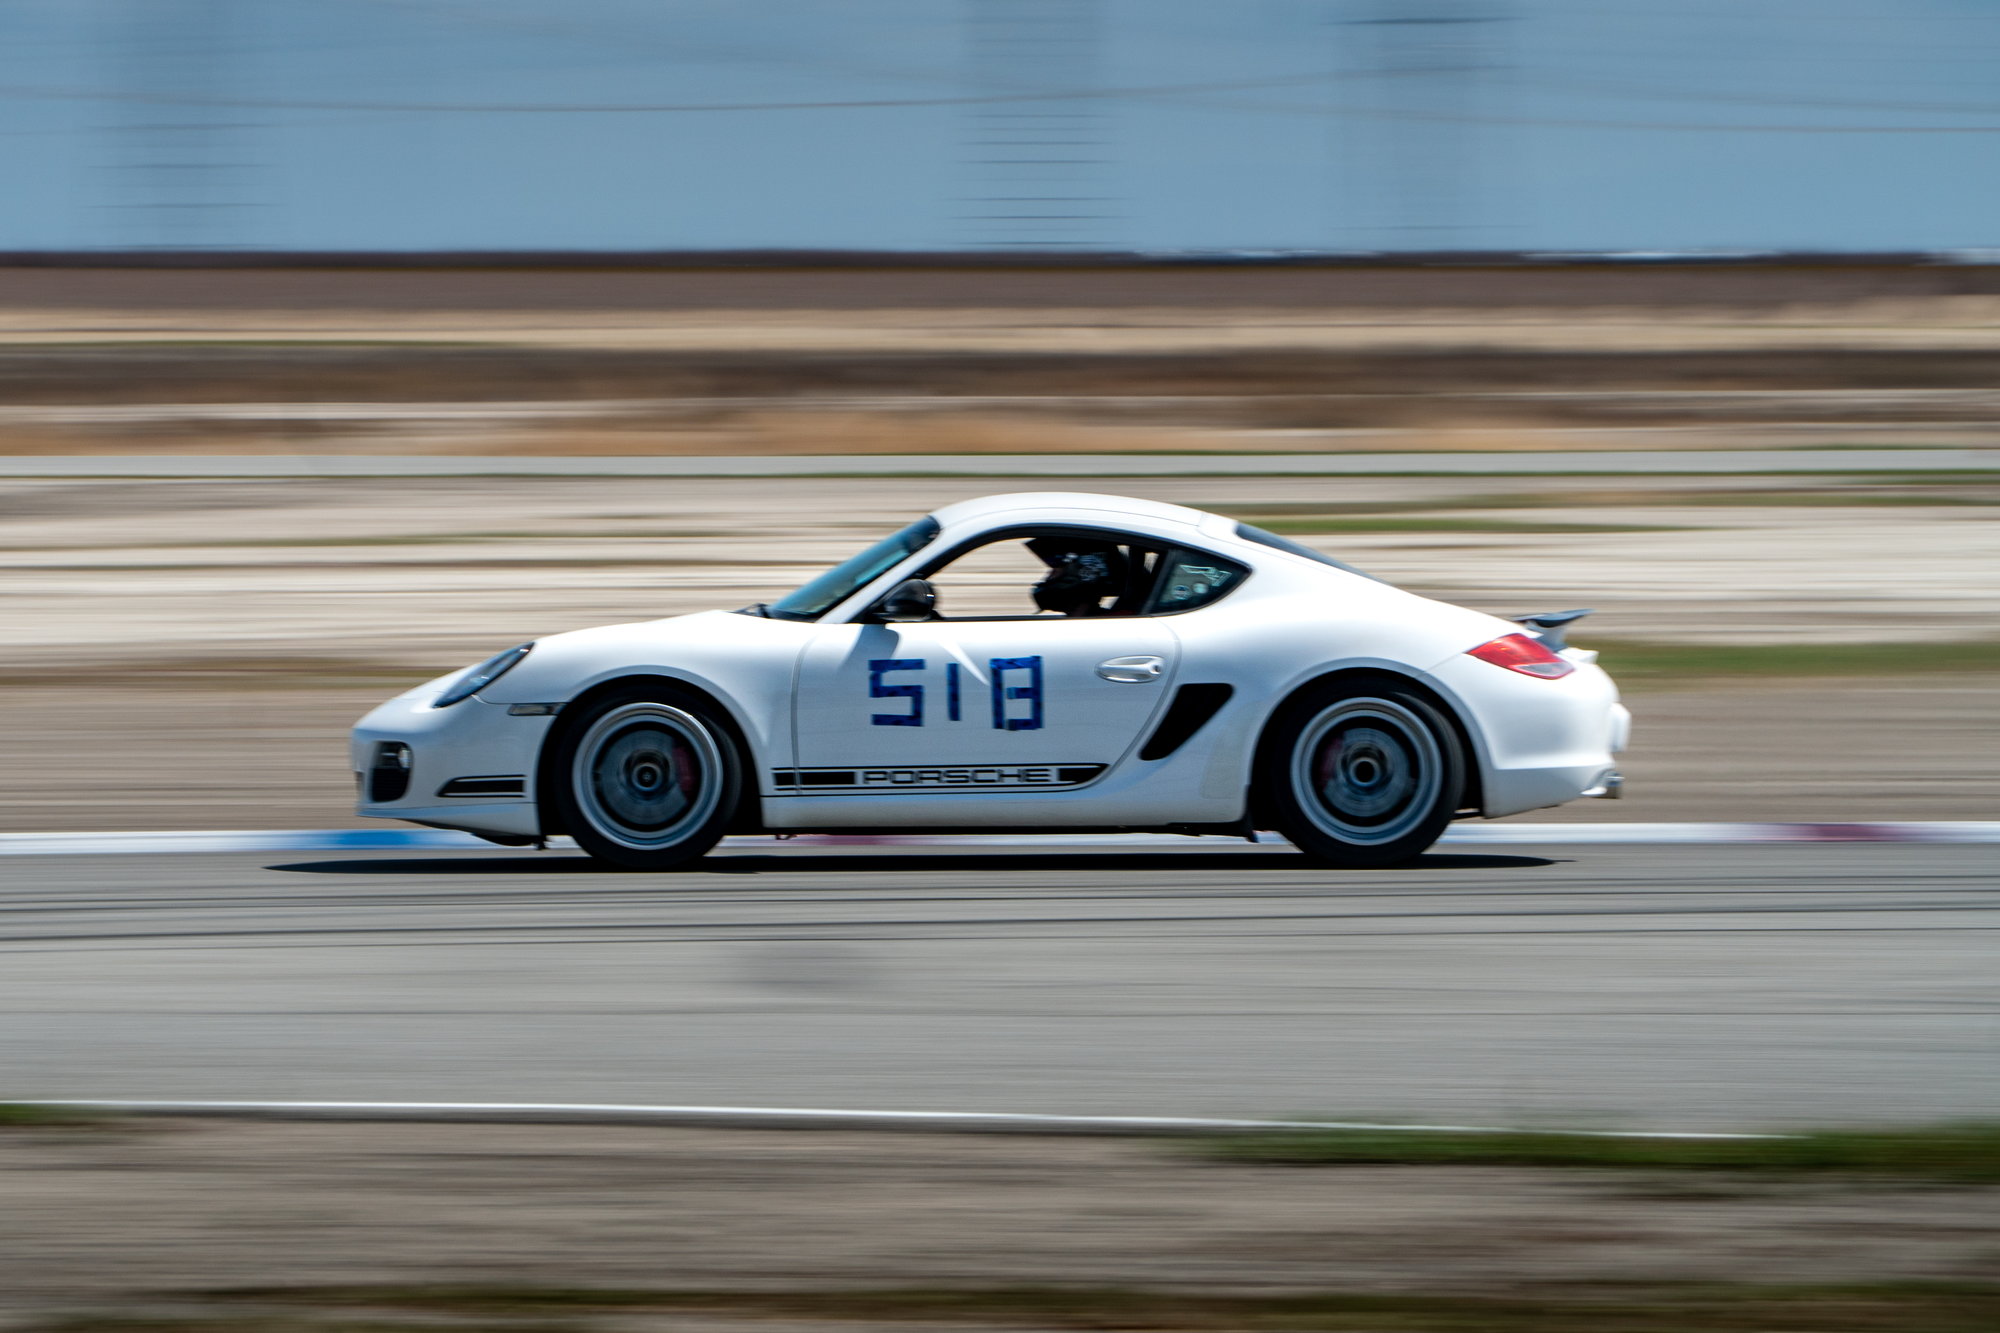
Around august is when things got a bit serious for the car. With all the driving I had done, I had fallen for the chassis, its incredible driving characteristics, the sound, and the steering feel. The modifications greatly improved the way the car handled, as if it should have come this way from the factory. Power I felt was the perfect amount with the addition of all the engine mods and only missing intake runners to be "FBO". One thing that I wasn't too convinced about were the looks/aerodynamics of the vehicle. Specifically, through my track days and driving I felt as if the car could use a bit more downforce like the RS 997 variants. The factory aero kit wasn't much help over the stock aero on 987s. At Buttonwillow, I was fighting for grip on all of the high speed corners. Granted, I was on RS4s which aren't the stickiest of 200tw tires, but every corner I was counter steering on exit, fighting to keep the car straight. The feeling of being at the absolute limit of grip was not great, especially since I don't plan on driving at 9 or 10/10ths with this car on track.
Now, that could have been a result of tire pressures, alignment settings, and/or driver error. Camber is only -2.5F and -2R which isn't very aggressive compared to some setups I've seen on here (over -3). I could mess with the alignment to suit track driving more (increase camber, more toe in, some caster, stiffer springs etc) but that would in turn cost me in my every day driving. I would eat up tires and the car will just be too "harsh" on the road.
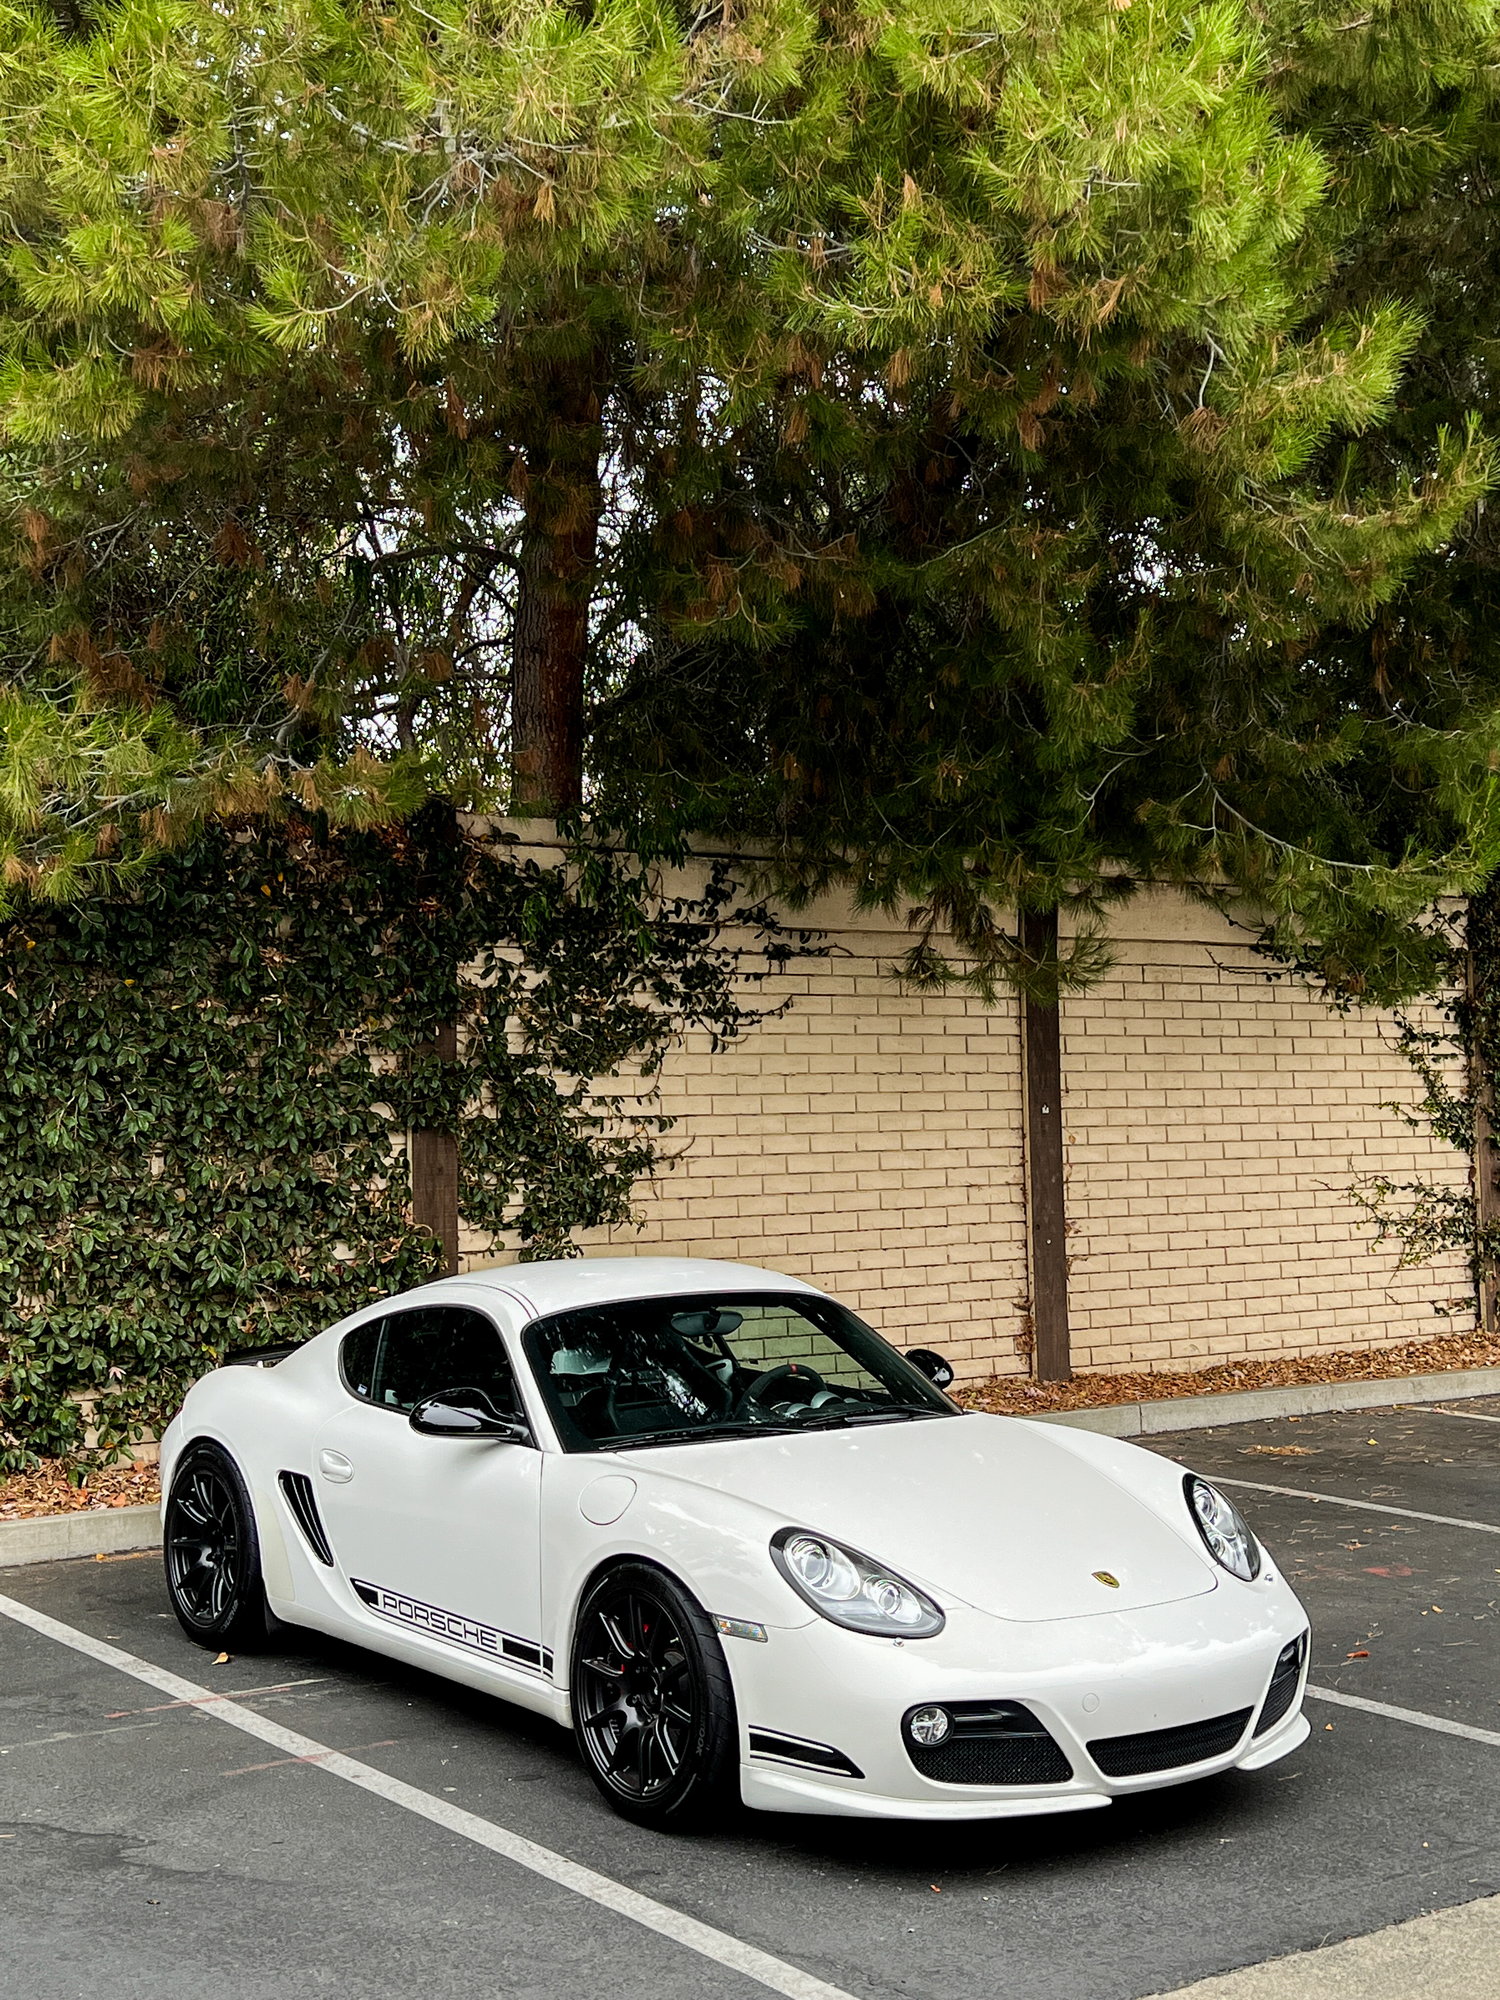
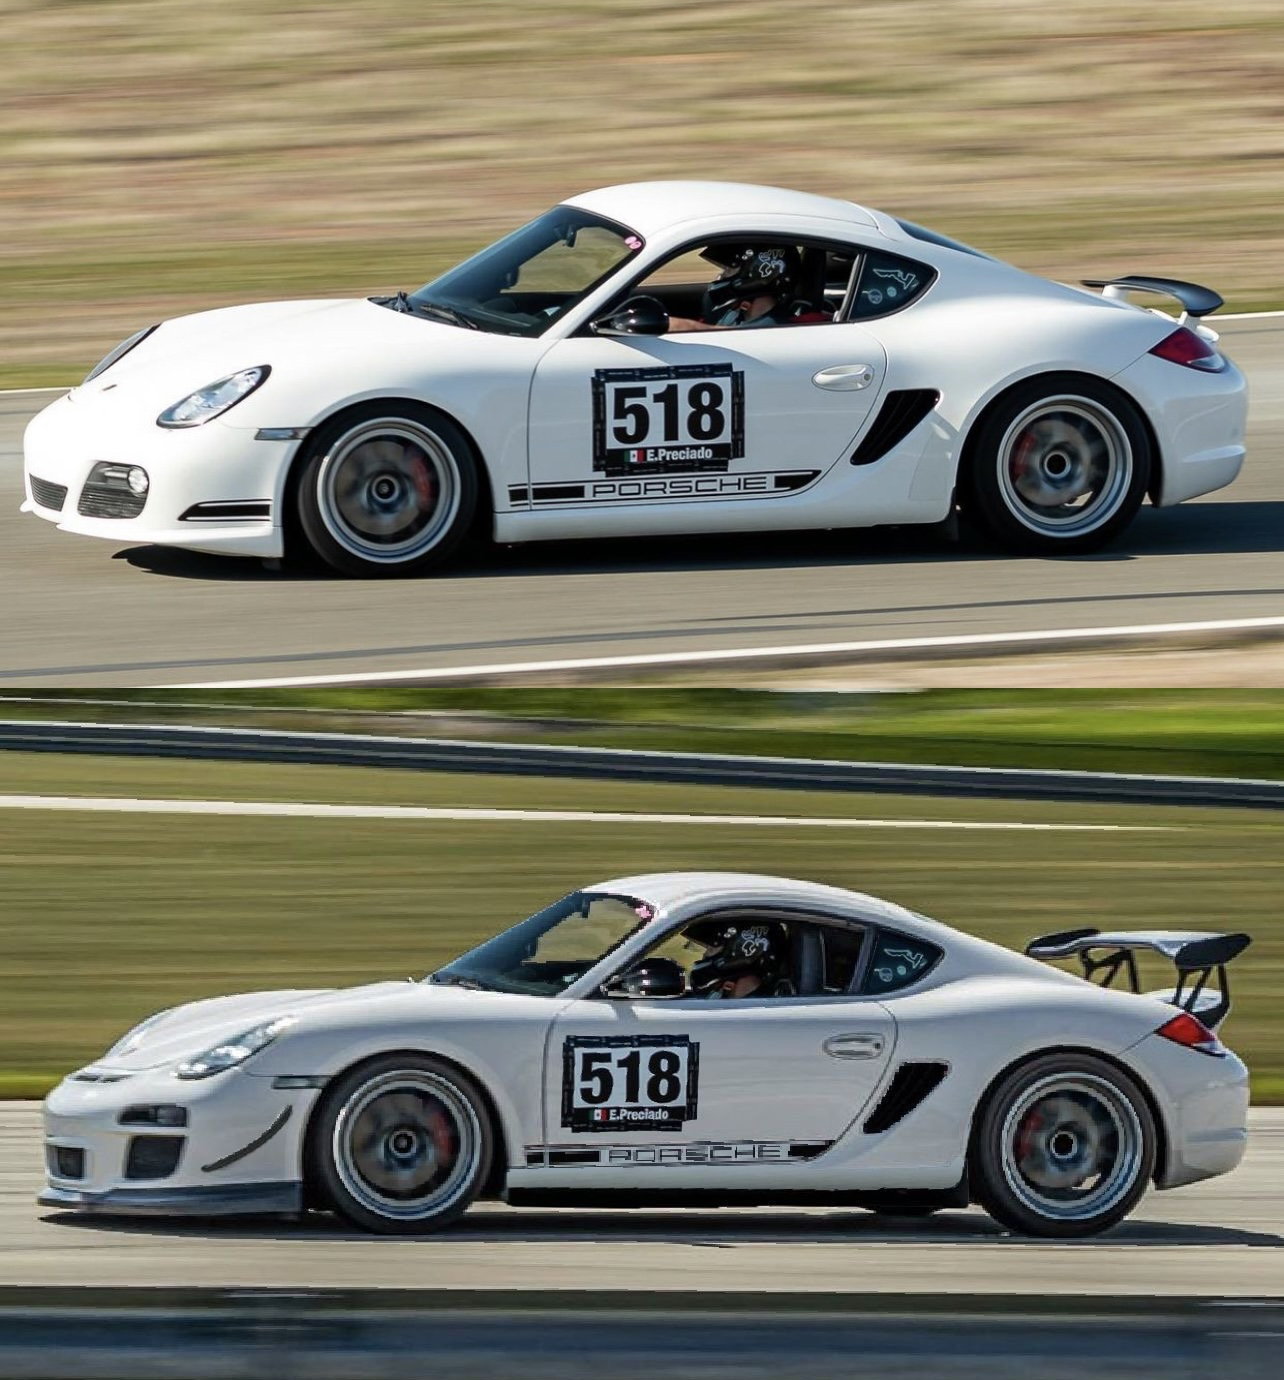
After taking sometime to think of what direction I wanted to go with, I came to a conclusion. I wanted to build a Cayman "RS", essentially giving it the RS treatment GT3 cars received. This would give the car a more aggressive look and provide more downforce as well as increase safety, improve vehicle dynamics, and match the rest of the mods on the car. The mod list is as follows:
Rennline wheel stud conversion
997.2 GT3 Cup Front bumper
997.2 GT3 CUP OEM Splitter
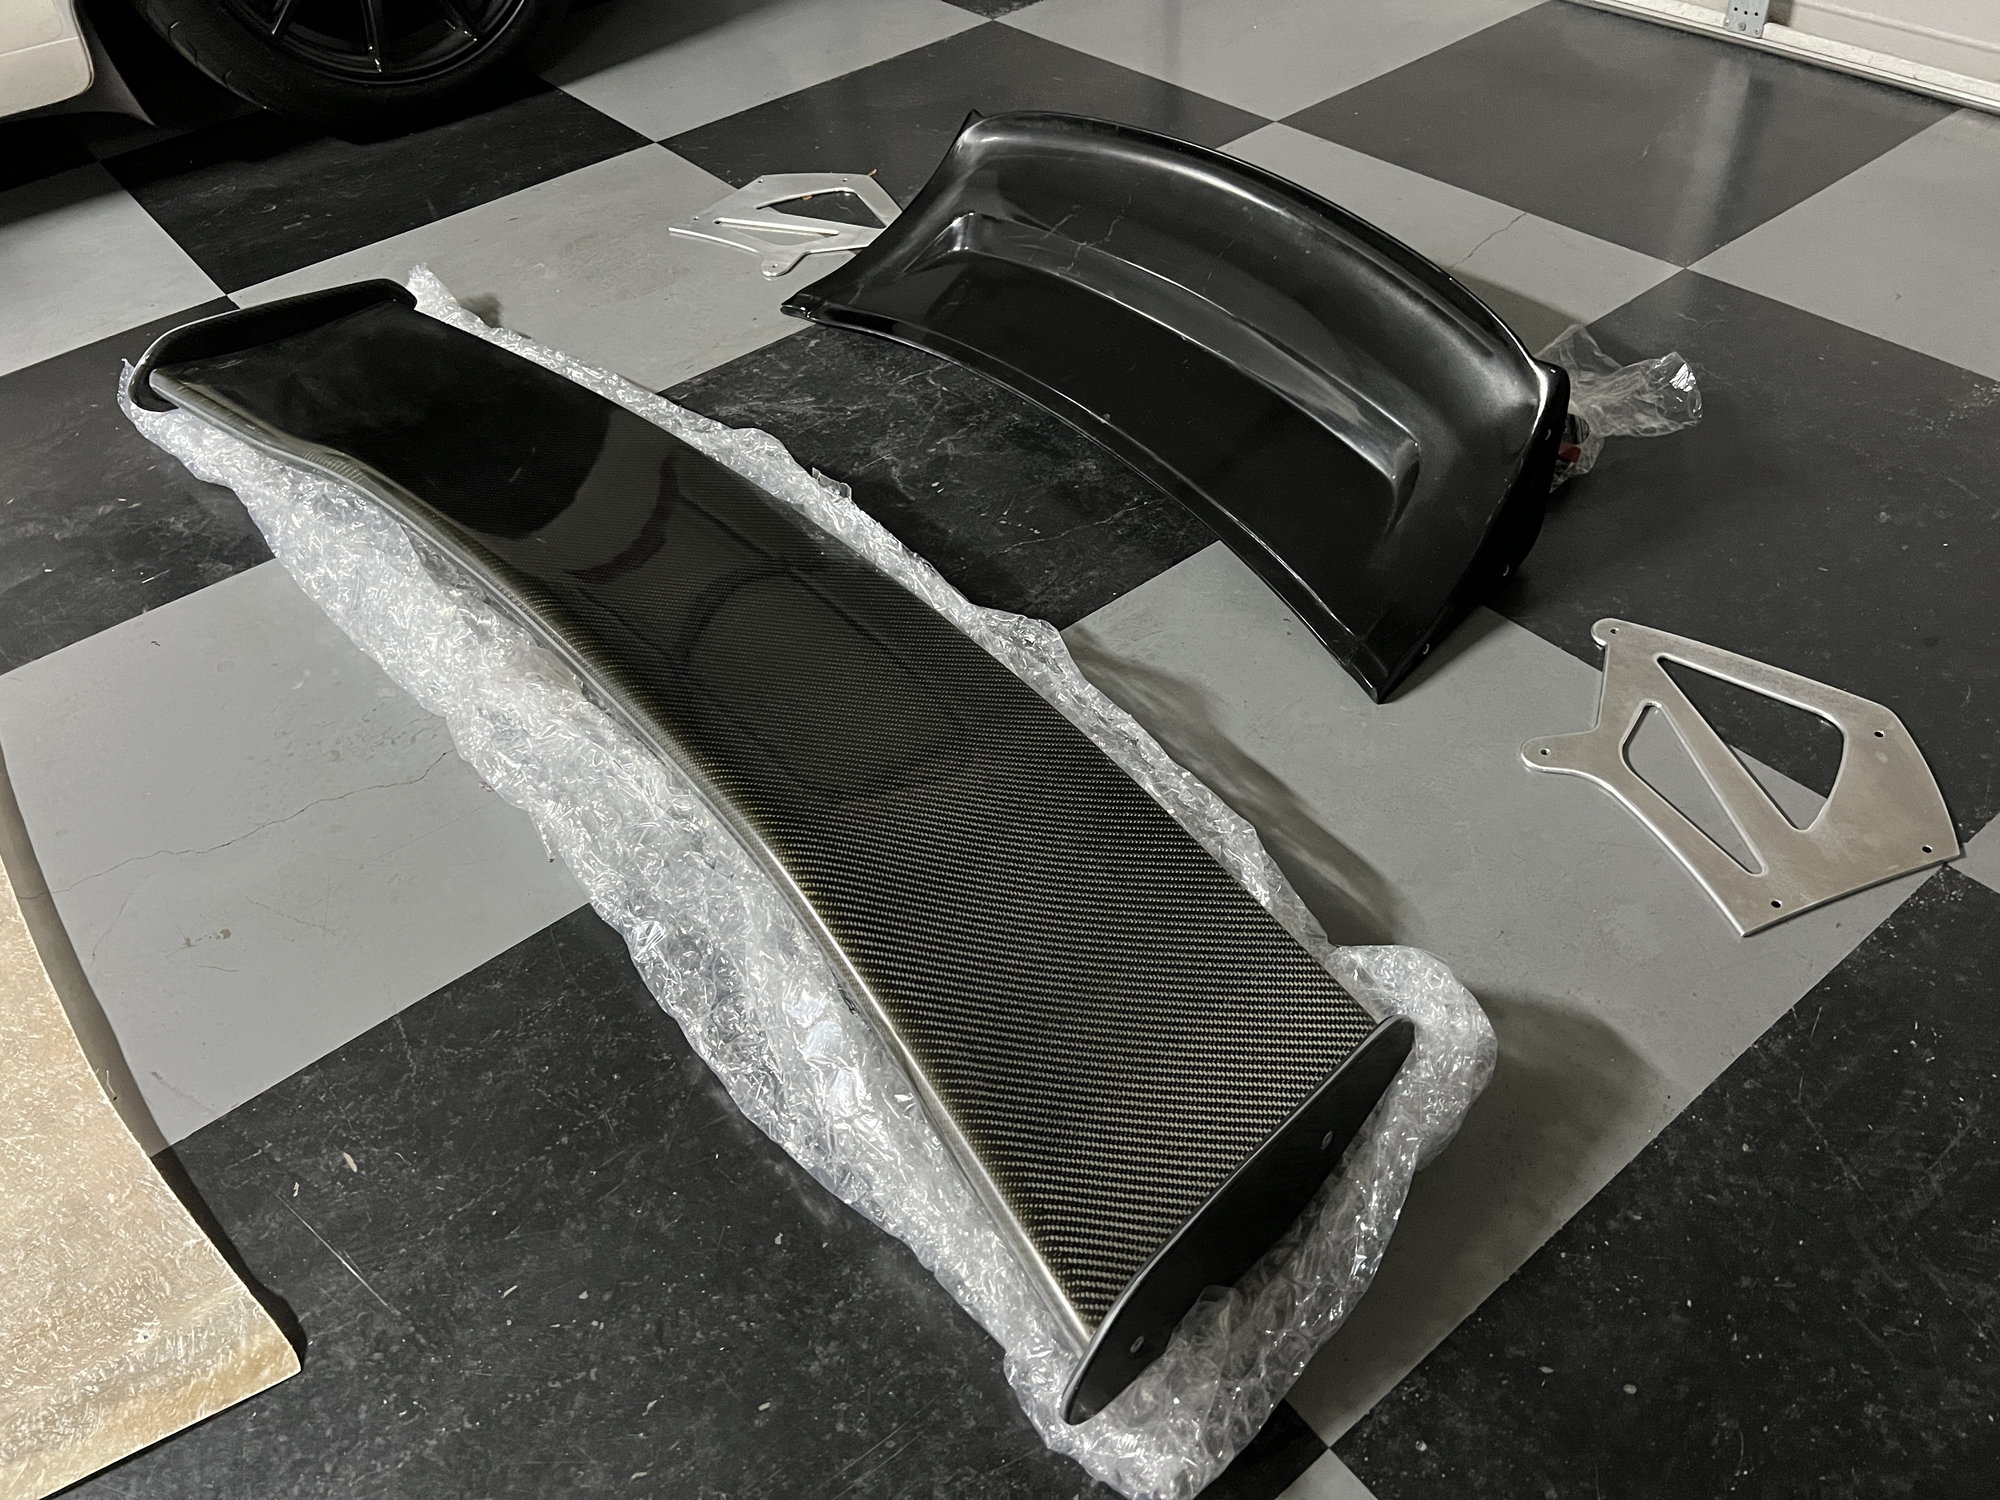
997.2 GT3 RS Wing Assembly
RS Flares
RS Canards
RS Side Markers
GT3 Cup Carbon Brake Ducts
JRZ RS Pros
GMG or Cantrell Roll Bar
AP Racing BBK
The GT3 aero kit is purchased from Getty Design, Canards from Joe Toth, and flares are RS replicas. Suspension will come later once I get an idea of how the car reacts to the added aero but the JRZ RS Pros will significantly improve the entire suspension setup of the car, allowing me to control both compression and rebound and have improved dampening over the Ohlins R&T coilovers. The roll bar will provide increased safety, add rigidity to the chassis, and allow me to finally mount my harnesses for on track driving. The AP BBK will come much later and be of great help for all of the track driving. Below is a photoshop of what my car will look like once complete
Last edited by EHP Racing; 11-24-2021 at 03:36 PM.
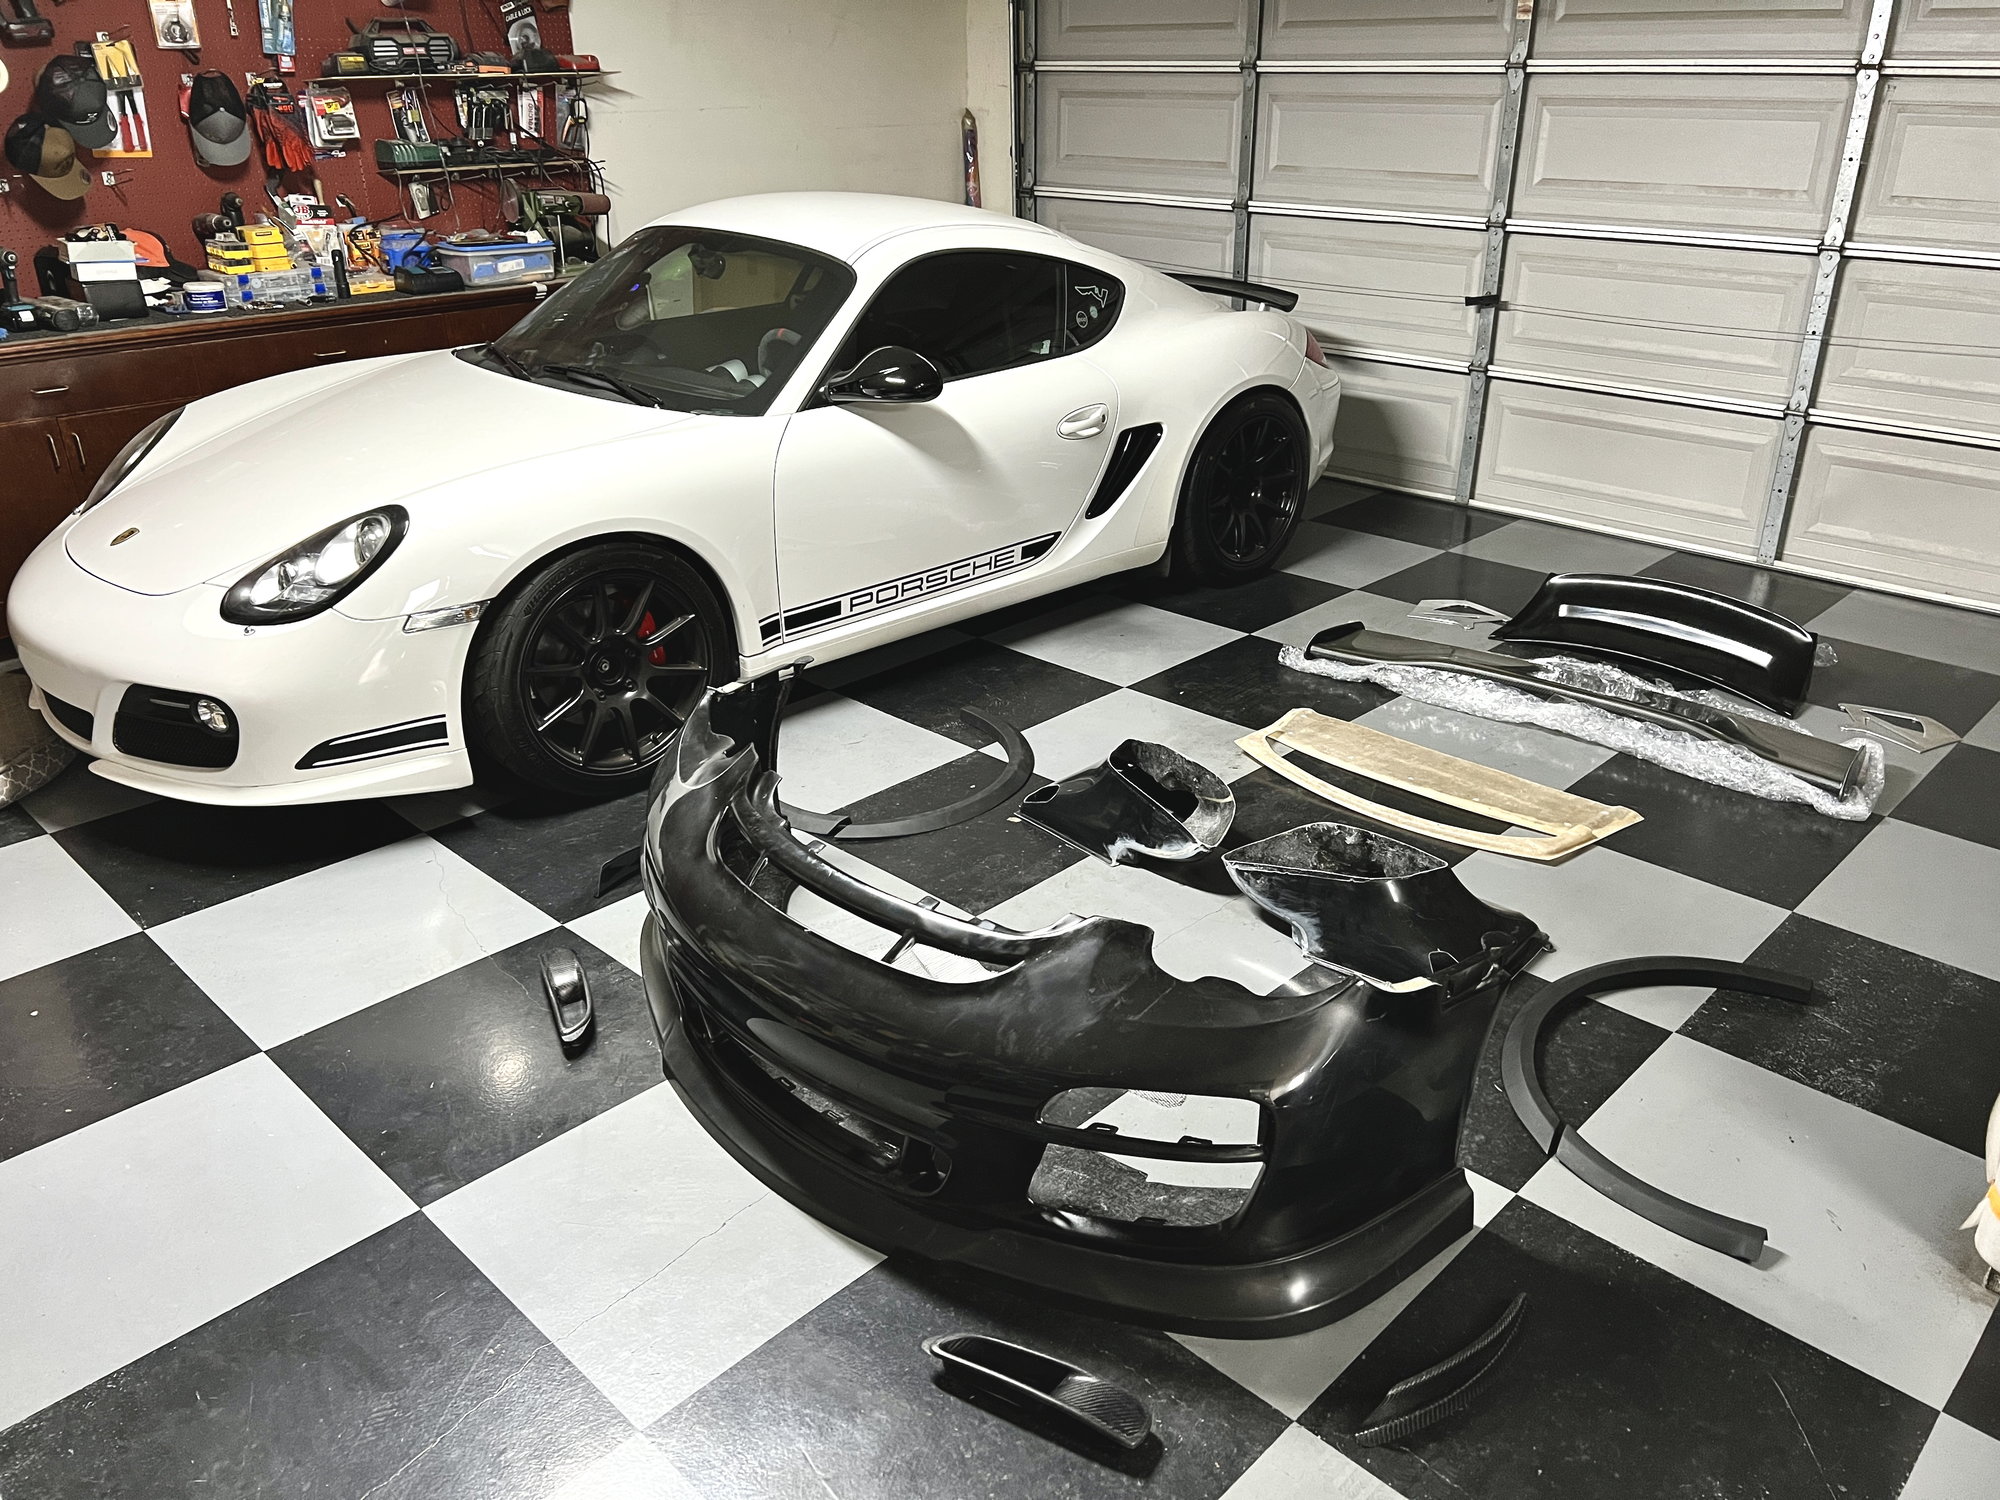
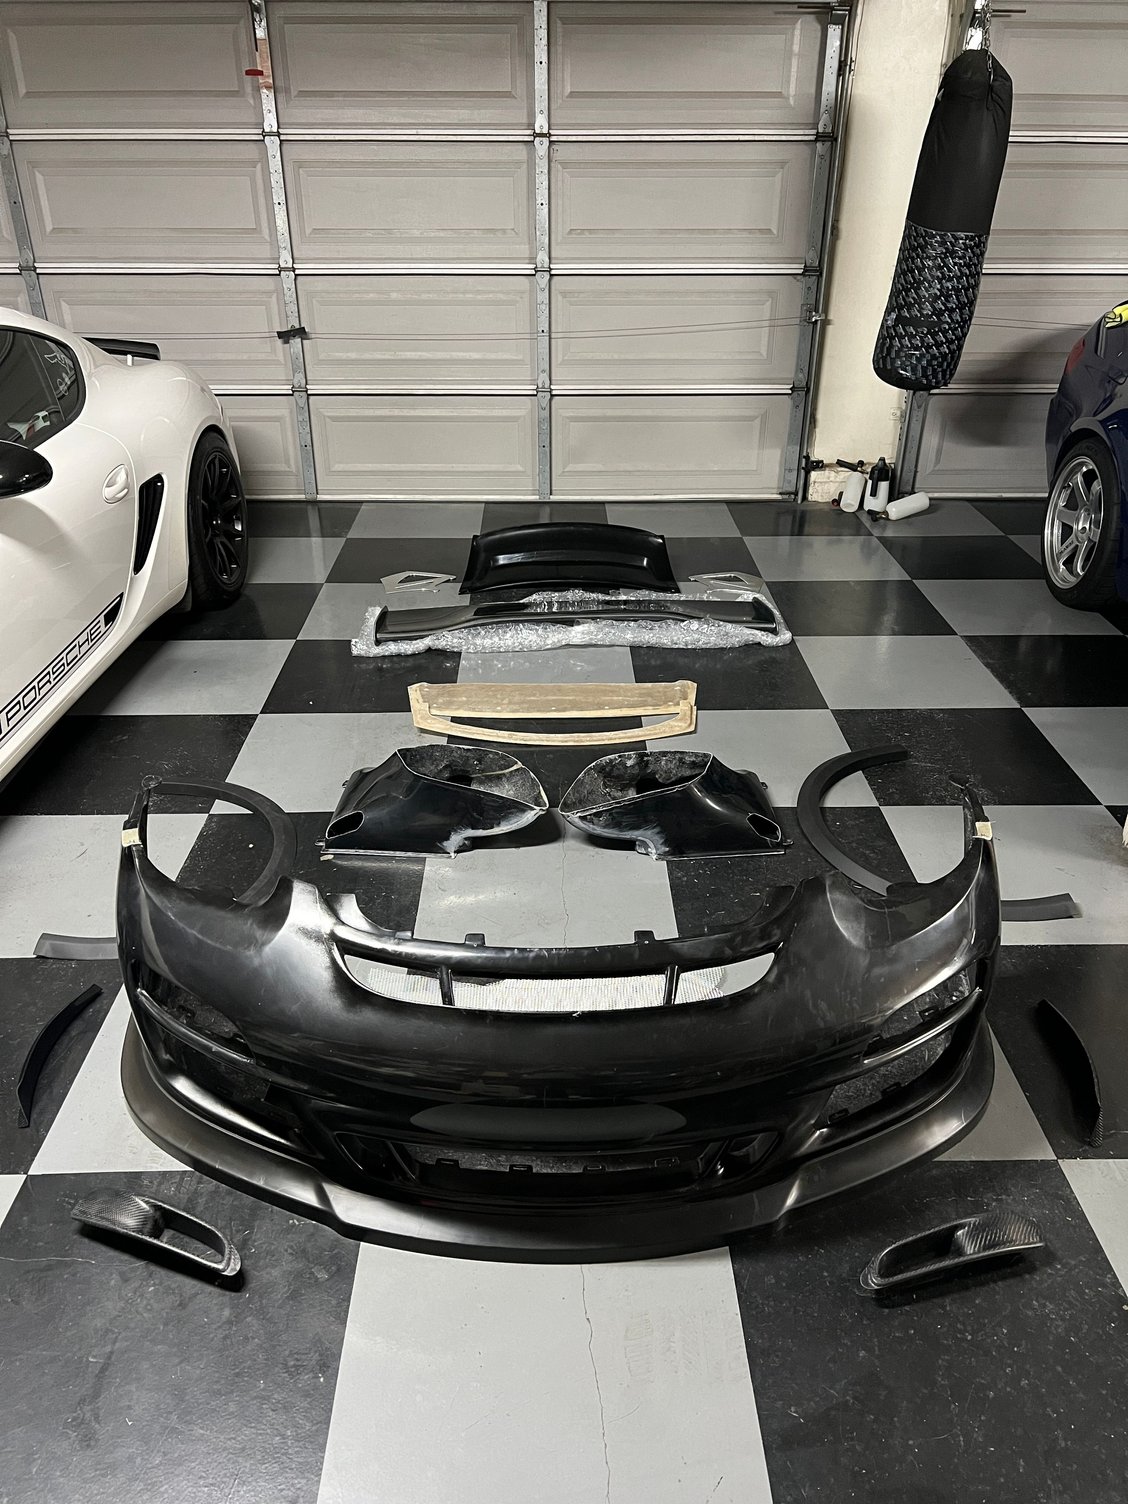
Now the fun begins. I have not been able to find another 987 that has done an entire RS kit. There are a couple with the bumper and wing combo, some with cup flares such as the Winning Formulas track car, and plenty others. I know of one person who has done RS flares on a stock body 987 without the GT3 bumper. That said, its been hard to find information online regarding install, problems you will run into, etc etc. Luckily I have had a few people give me some tips such as Peter Karla, Bernard Nguyen, Ryan Stewart, Sebastion Simonsson, Duc Trinh, Dj Simpson and James Paick.
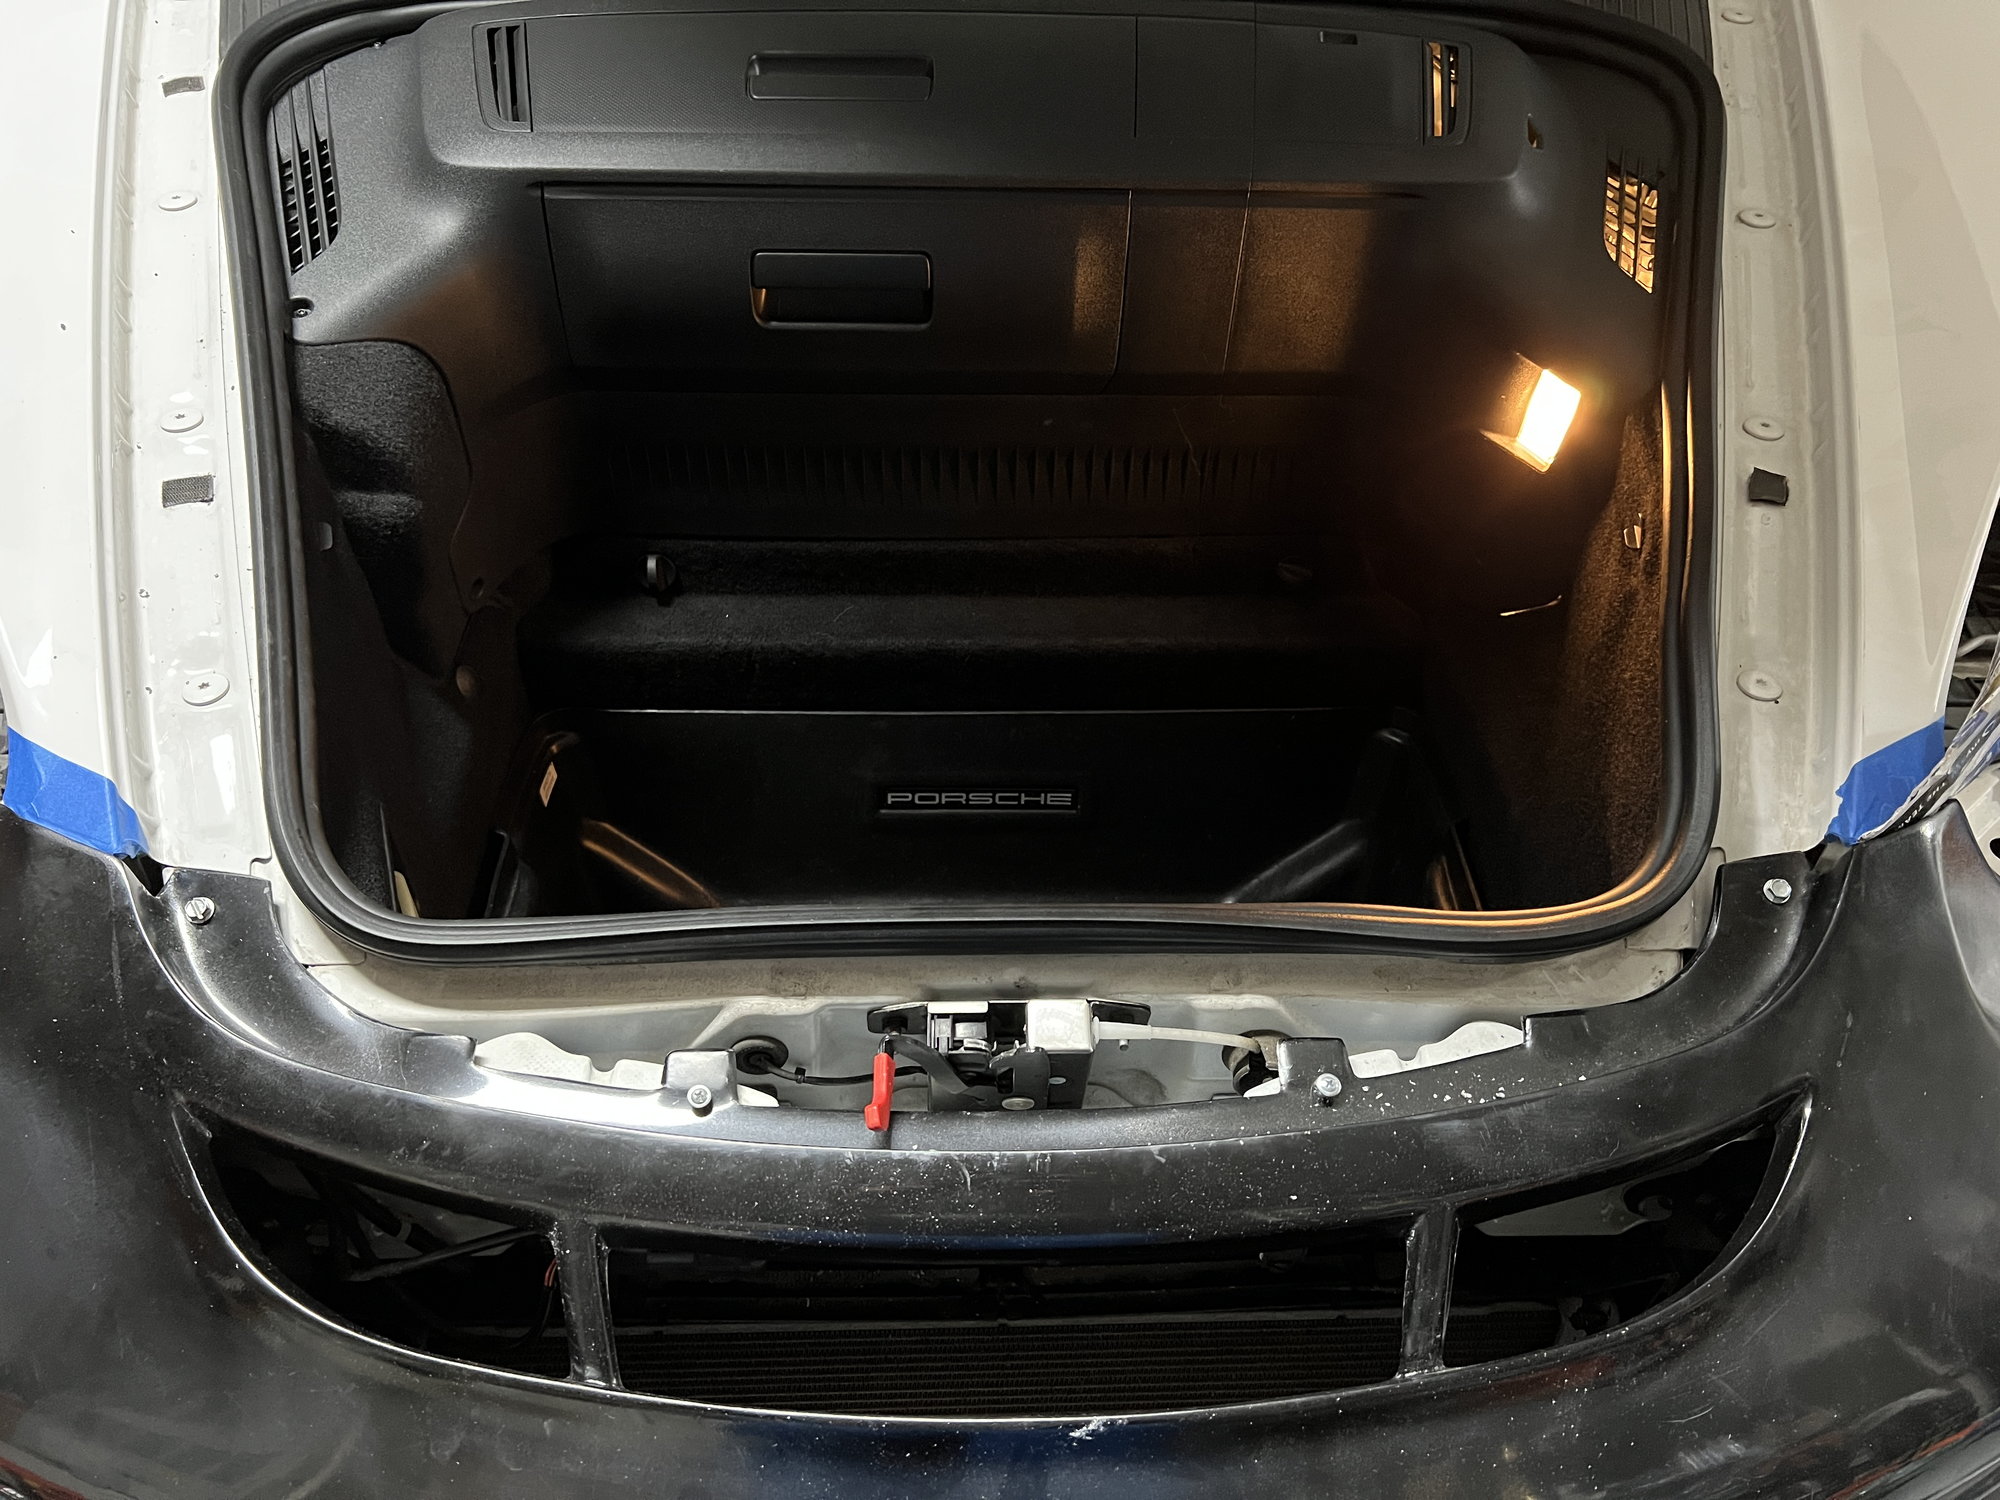
Up first is to install all of the parts to perfect the fit then prep them for paint. Most important thing to remember is, measure a million times and cut/drill once. The front bumper will require you to drill 4 new holes on the chassis of the car and 4 new holes on the bumper. The wing requires 7 holes on top of the hatch and 5 in the bottom. Its only 5 because there are two large pre existing holes where the trunks rubber stops sit. Simply remove those inserts and you'll gain access.
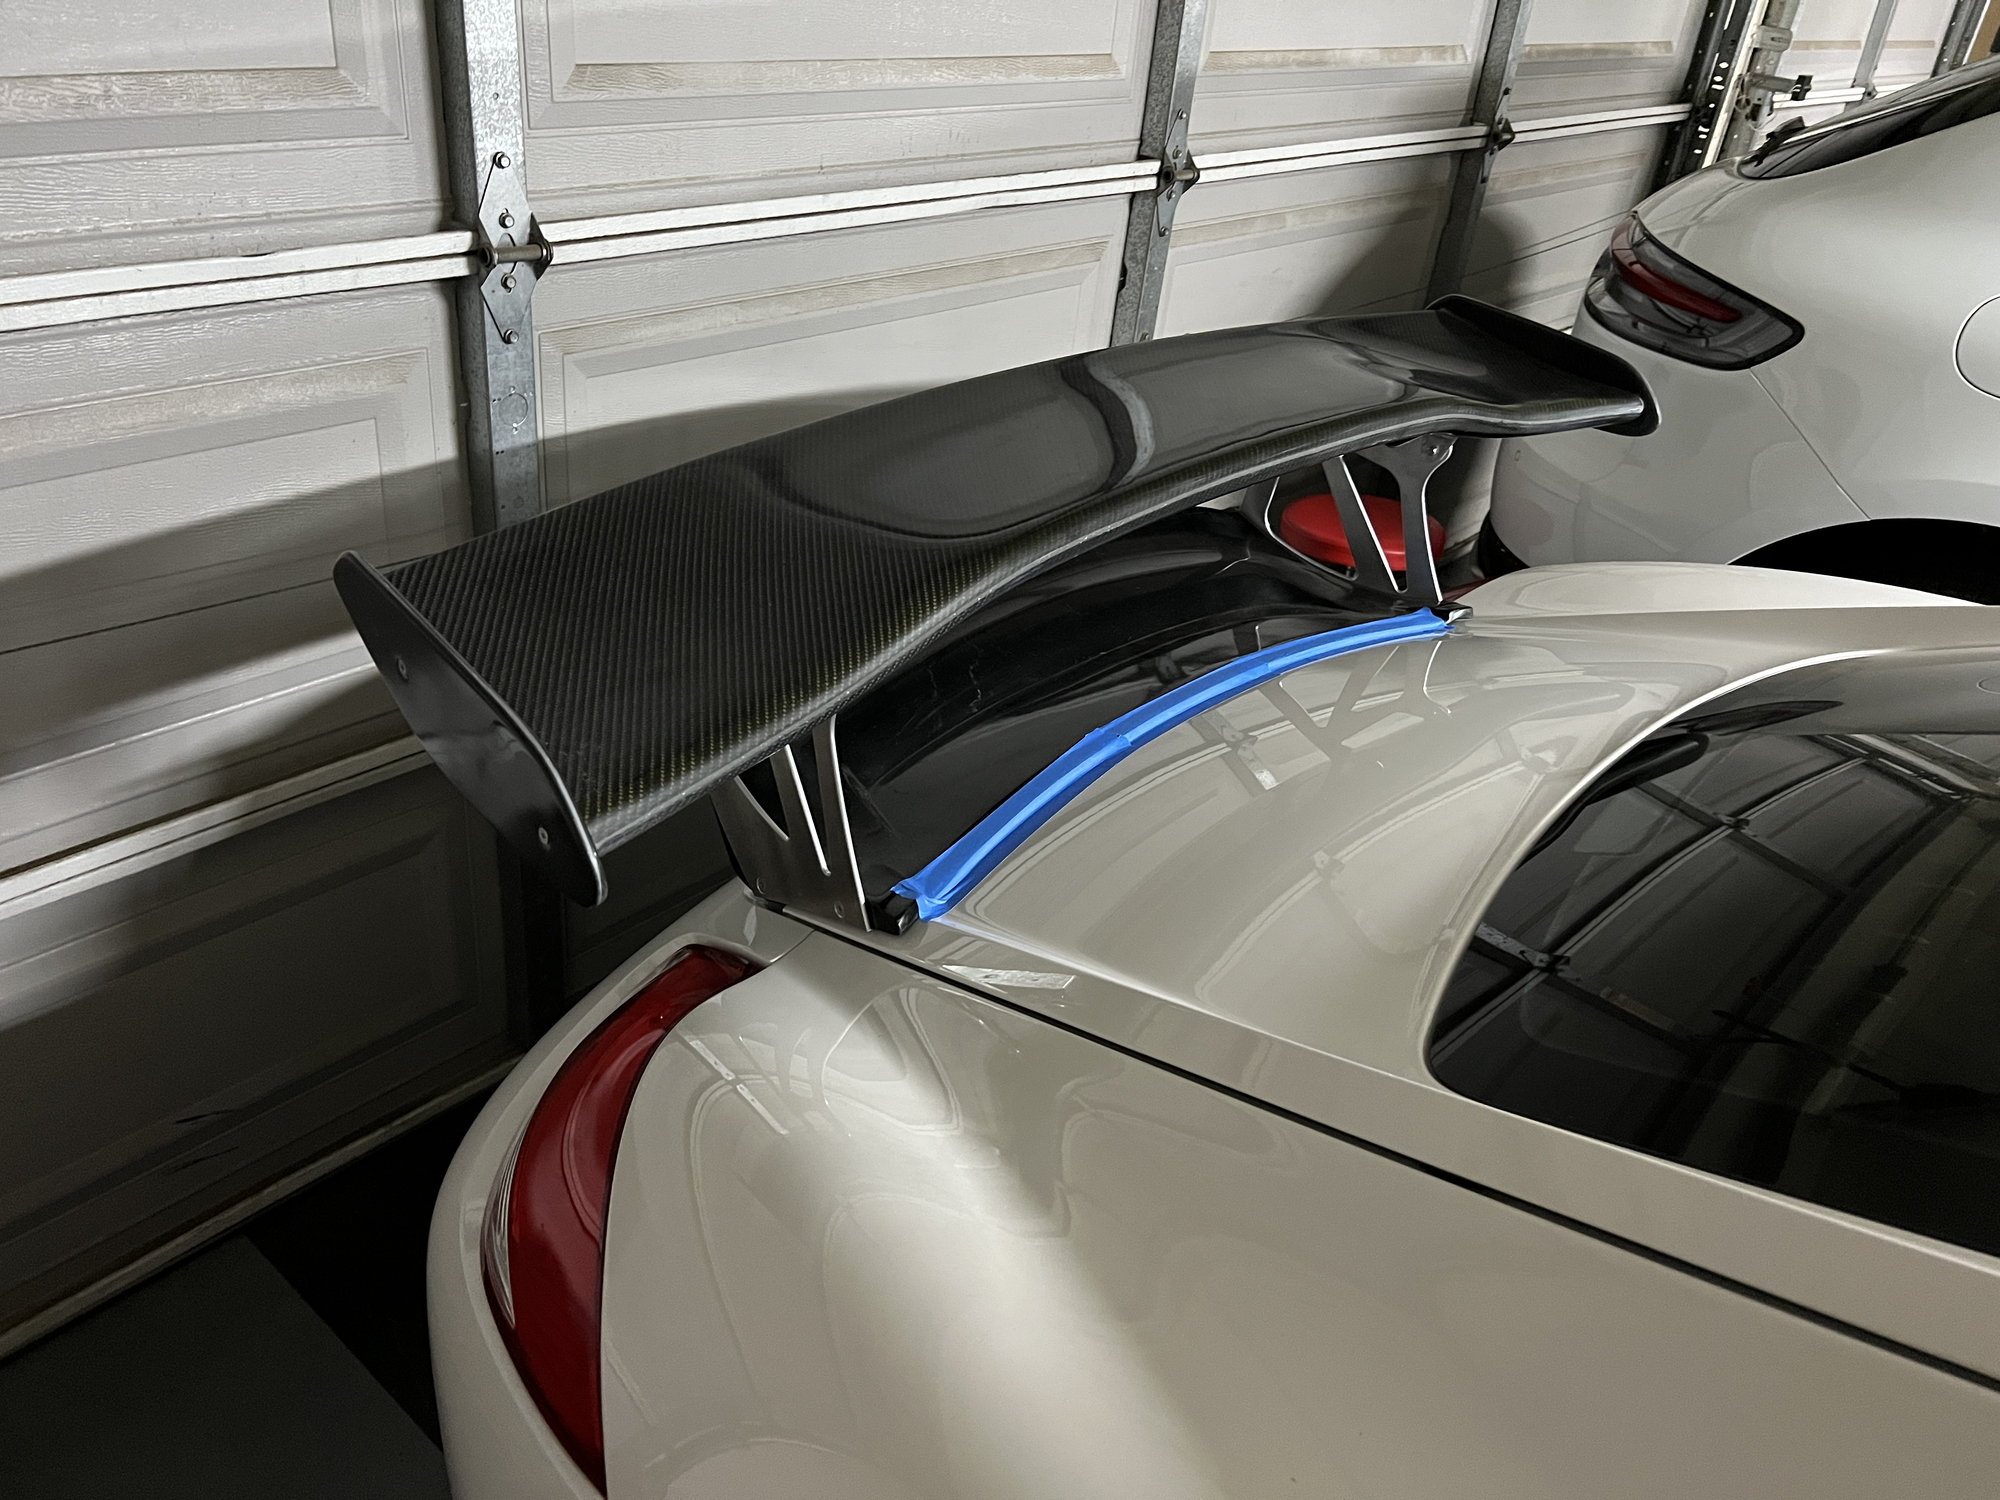
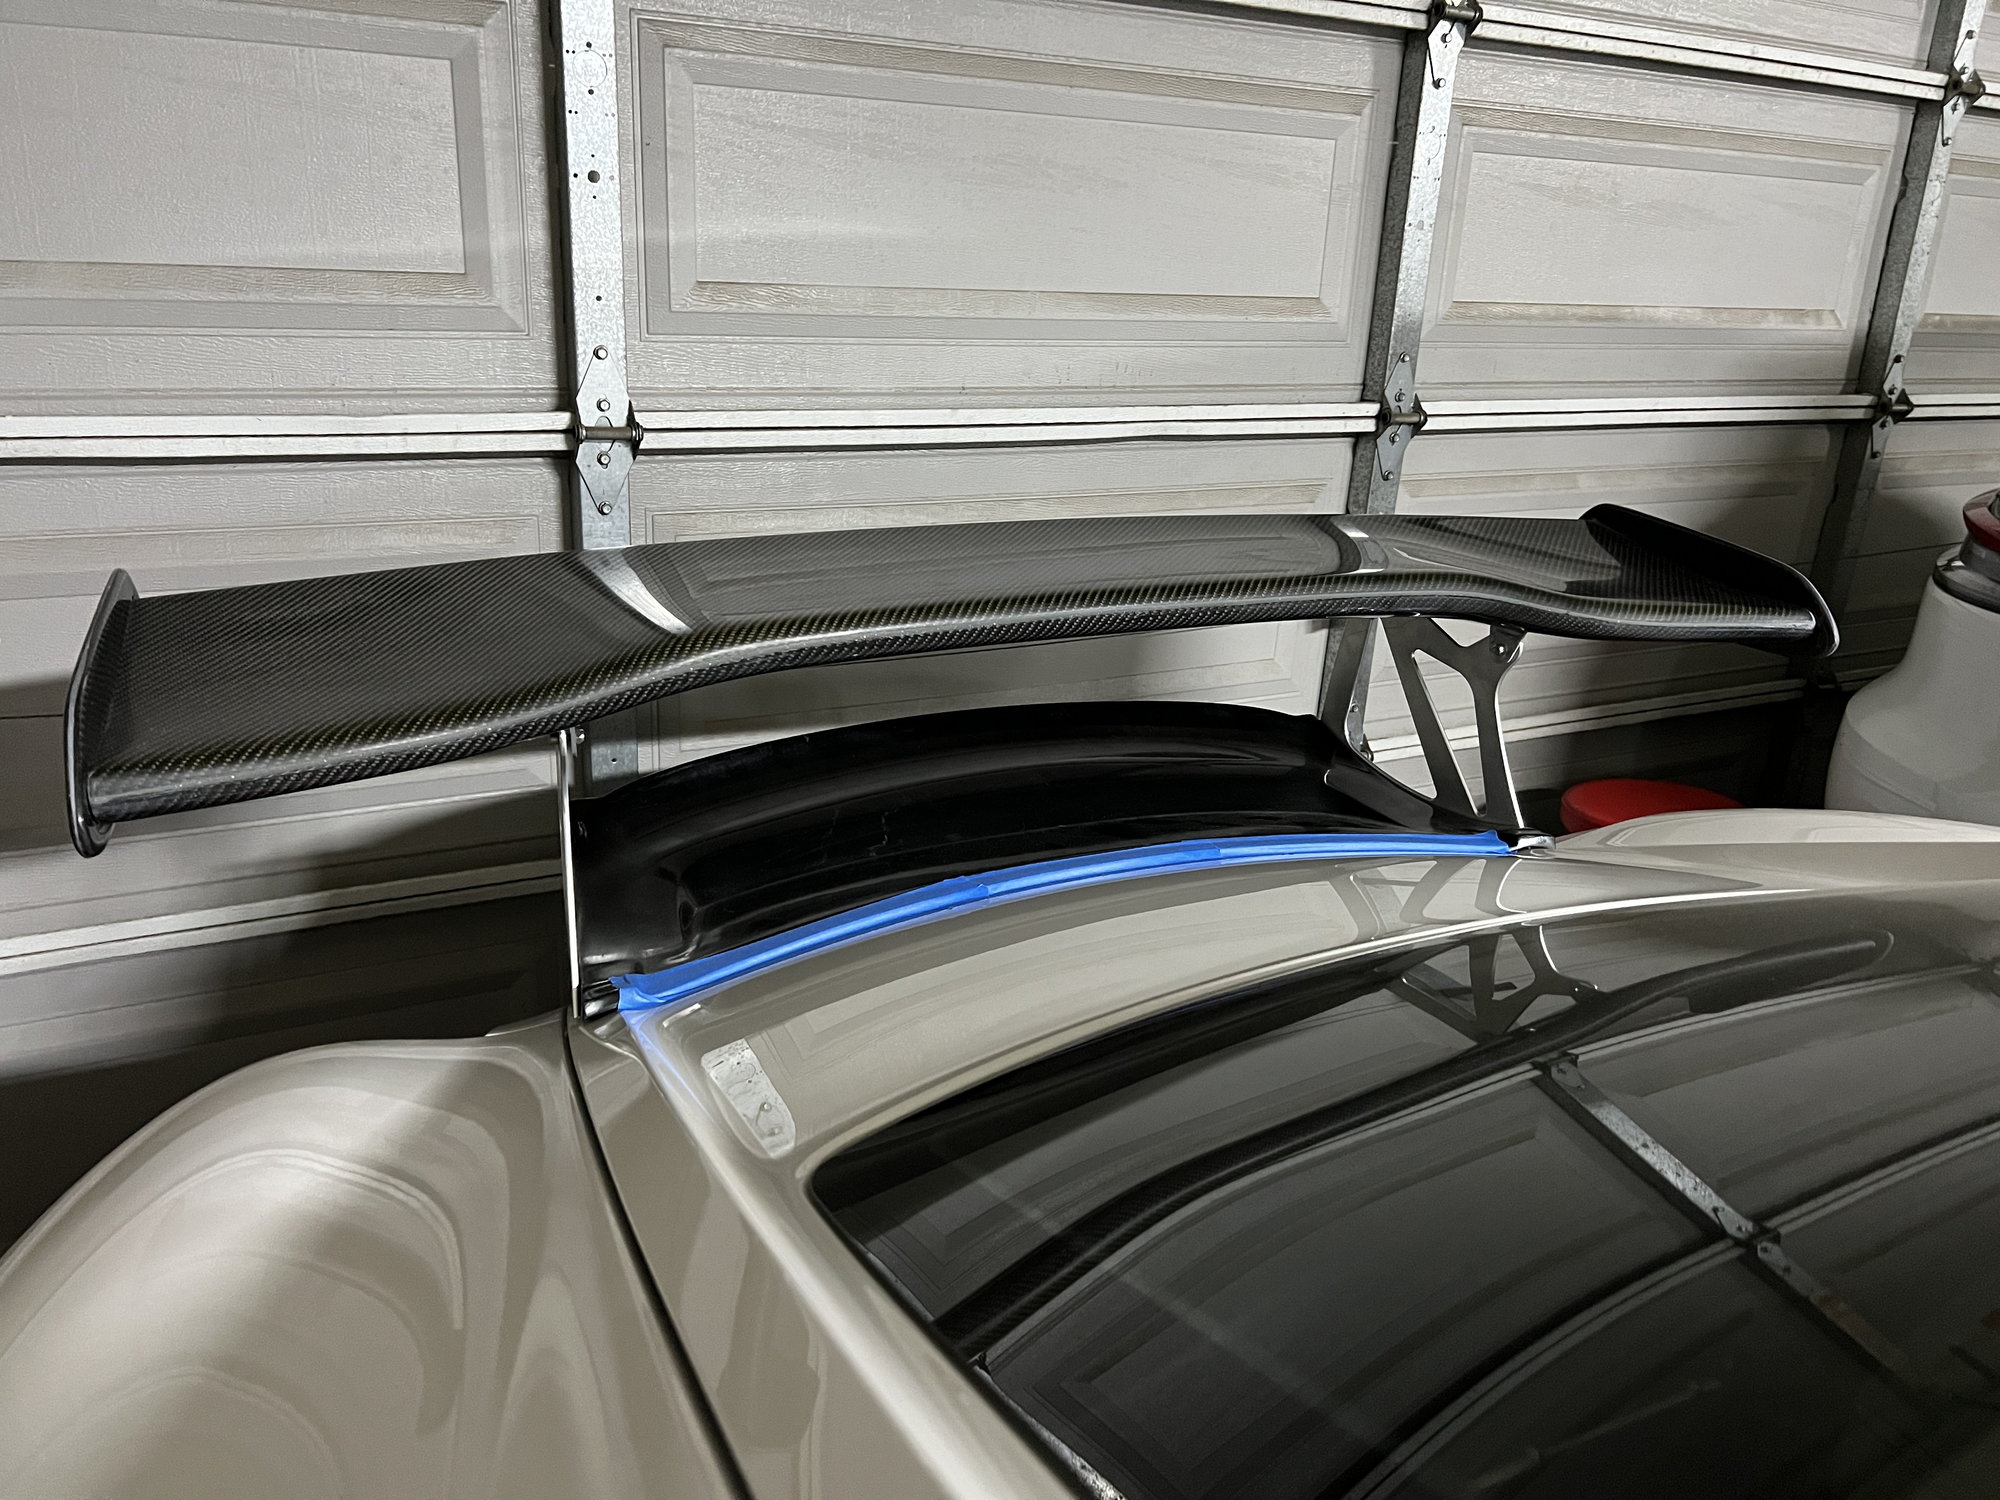
Initial mock up of the wing. Removing the stock R wing required removing the rear bumper to undue two bolts that hold in the "filler" piece that goes in place of the stock 987 wing. Then I had to open the hatch, slightly undue the plastic trim and remove the four bolts that hold on the R wing. It can then be pulled off once you remove the double sided adhesive. (I used floss to get in between the wing and popped the wing off using this
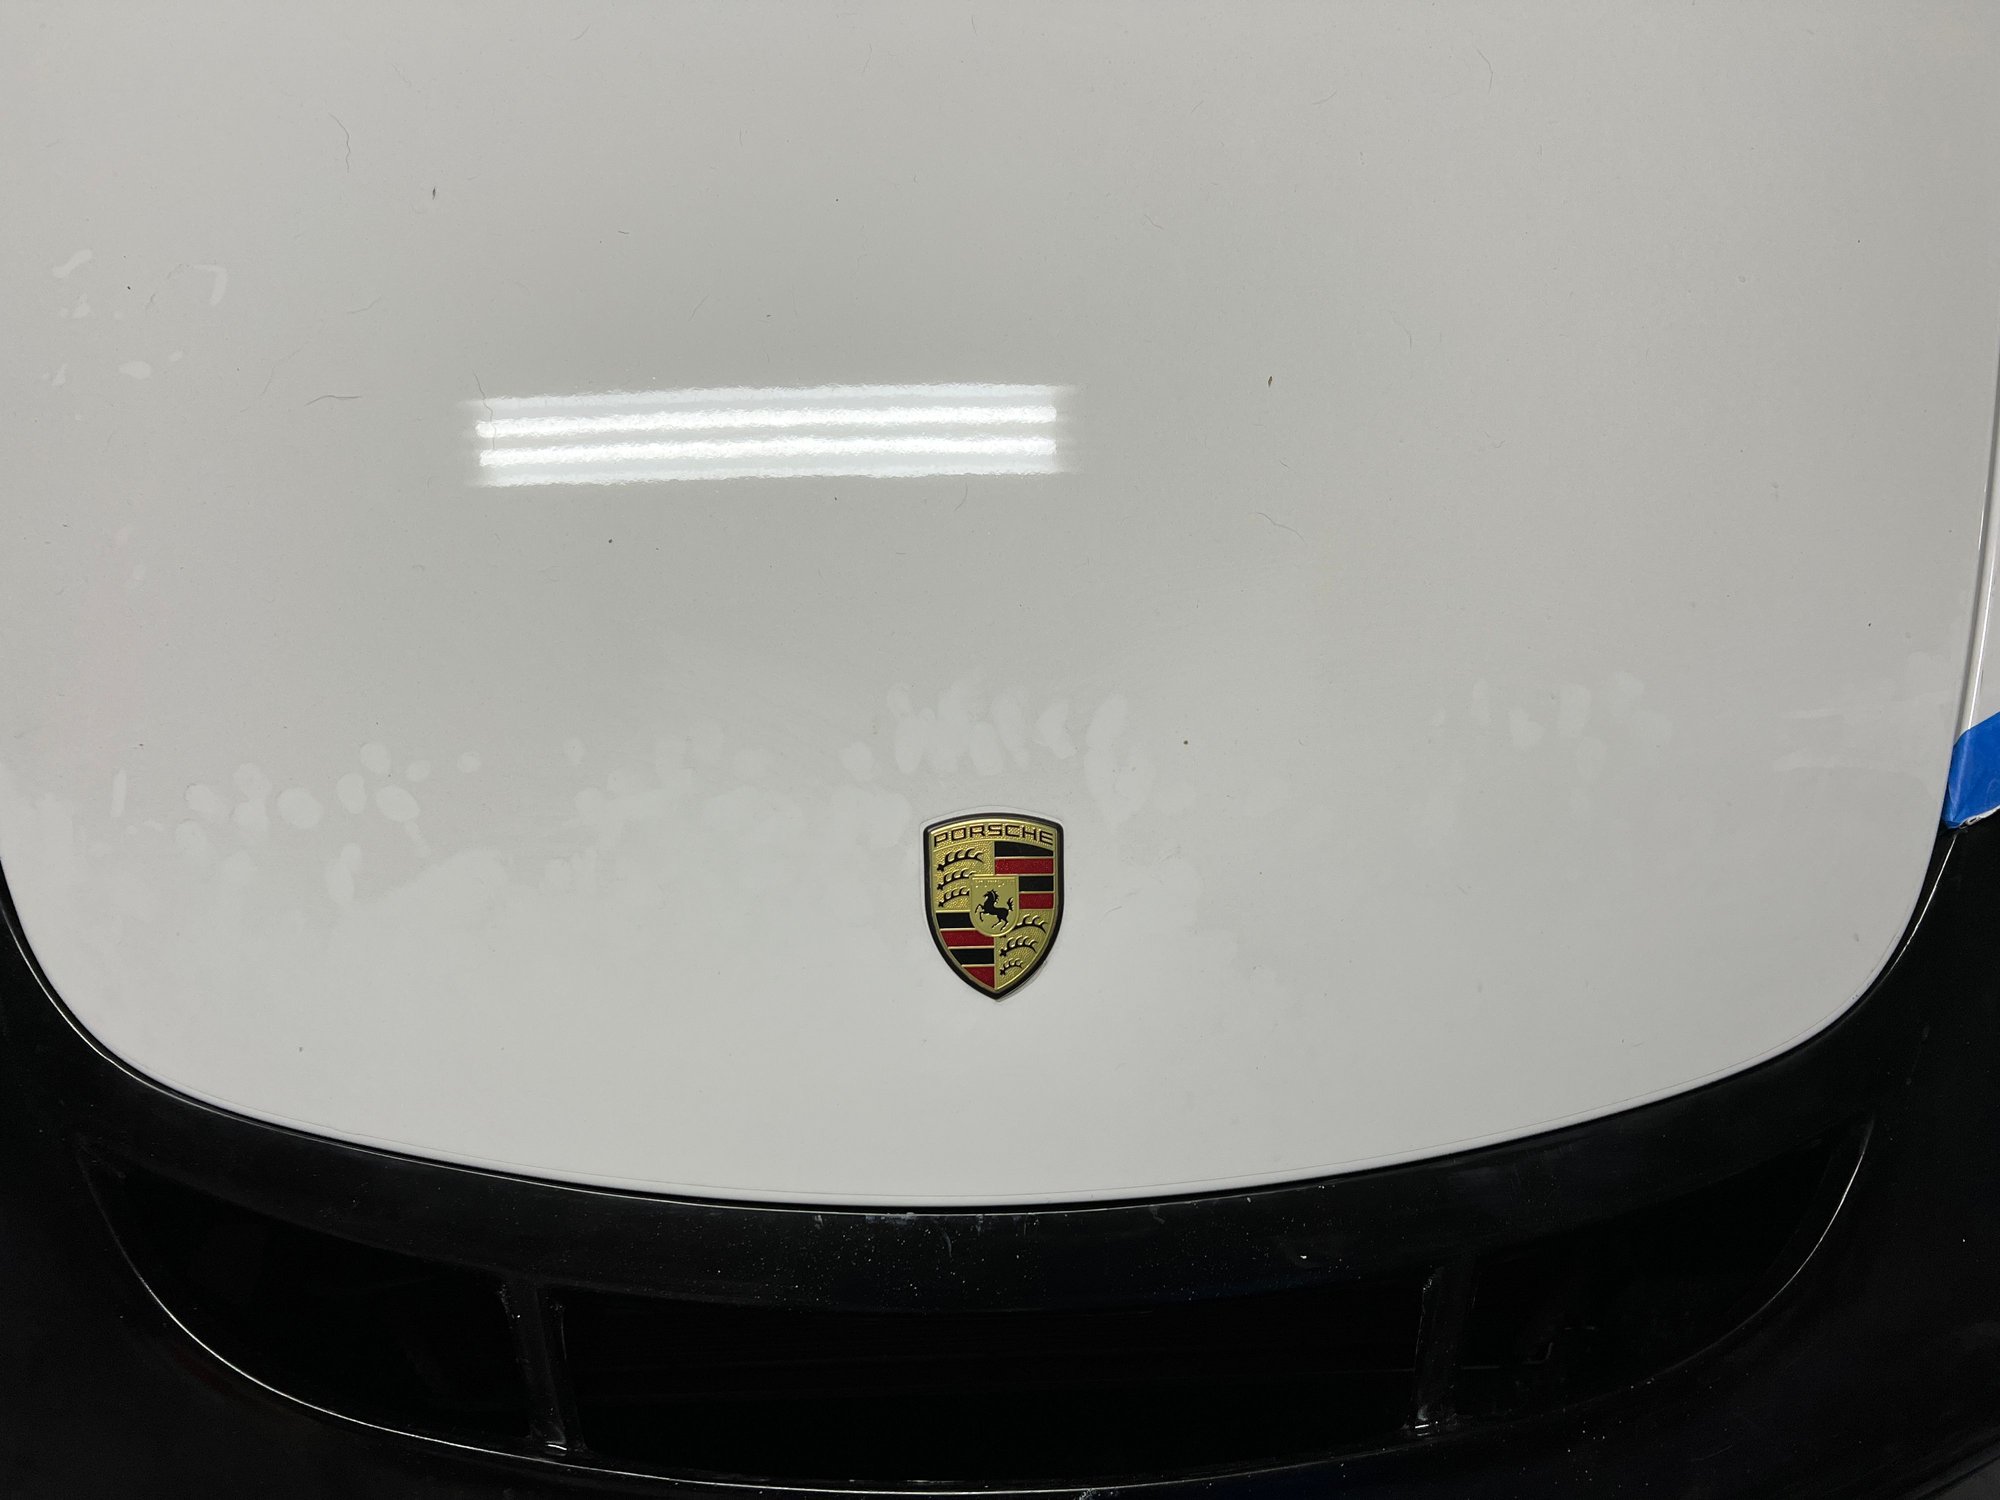
I held the wing in place with tape. I will be going back and cleaning all of the left over adhesive from the wing and emblems. Once all the parts are painted I will be paint correcting and ceramic coating the car.
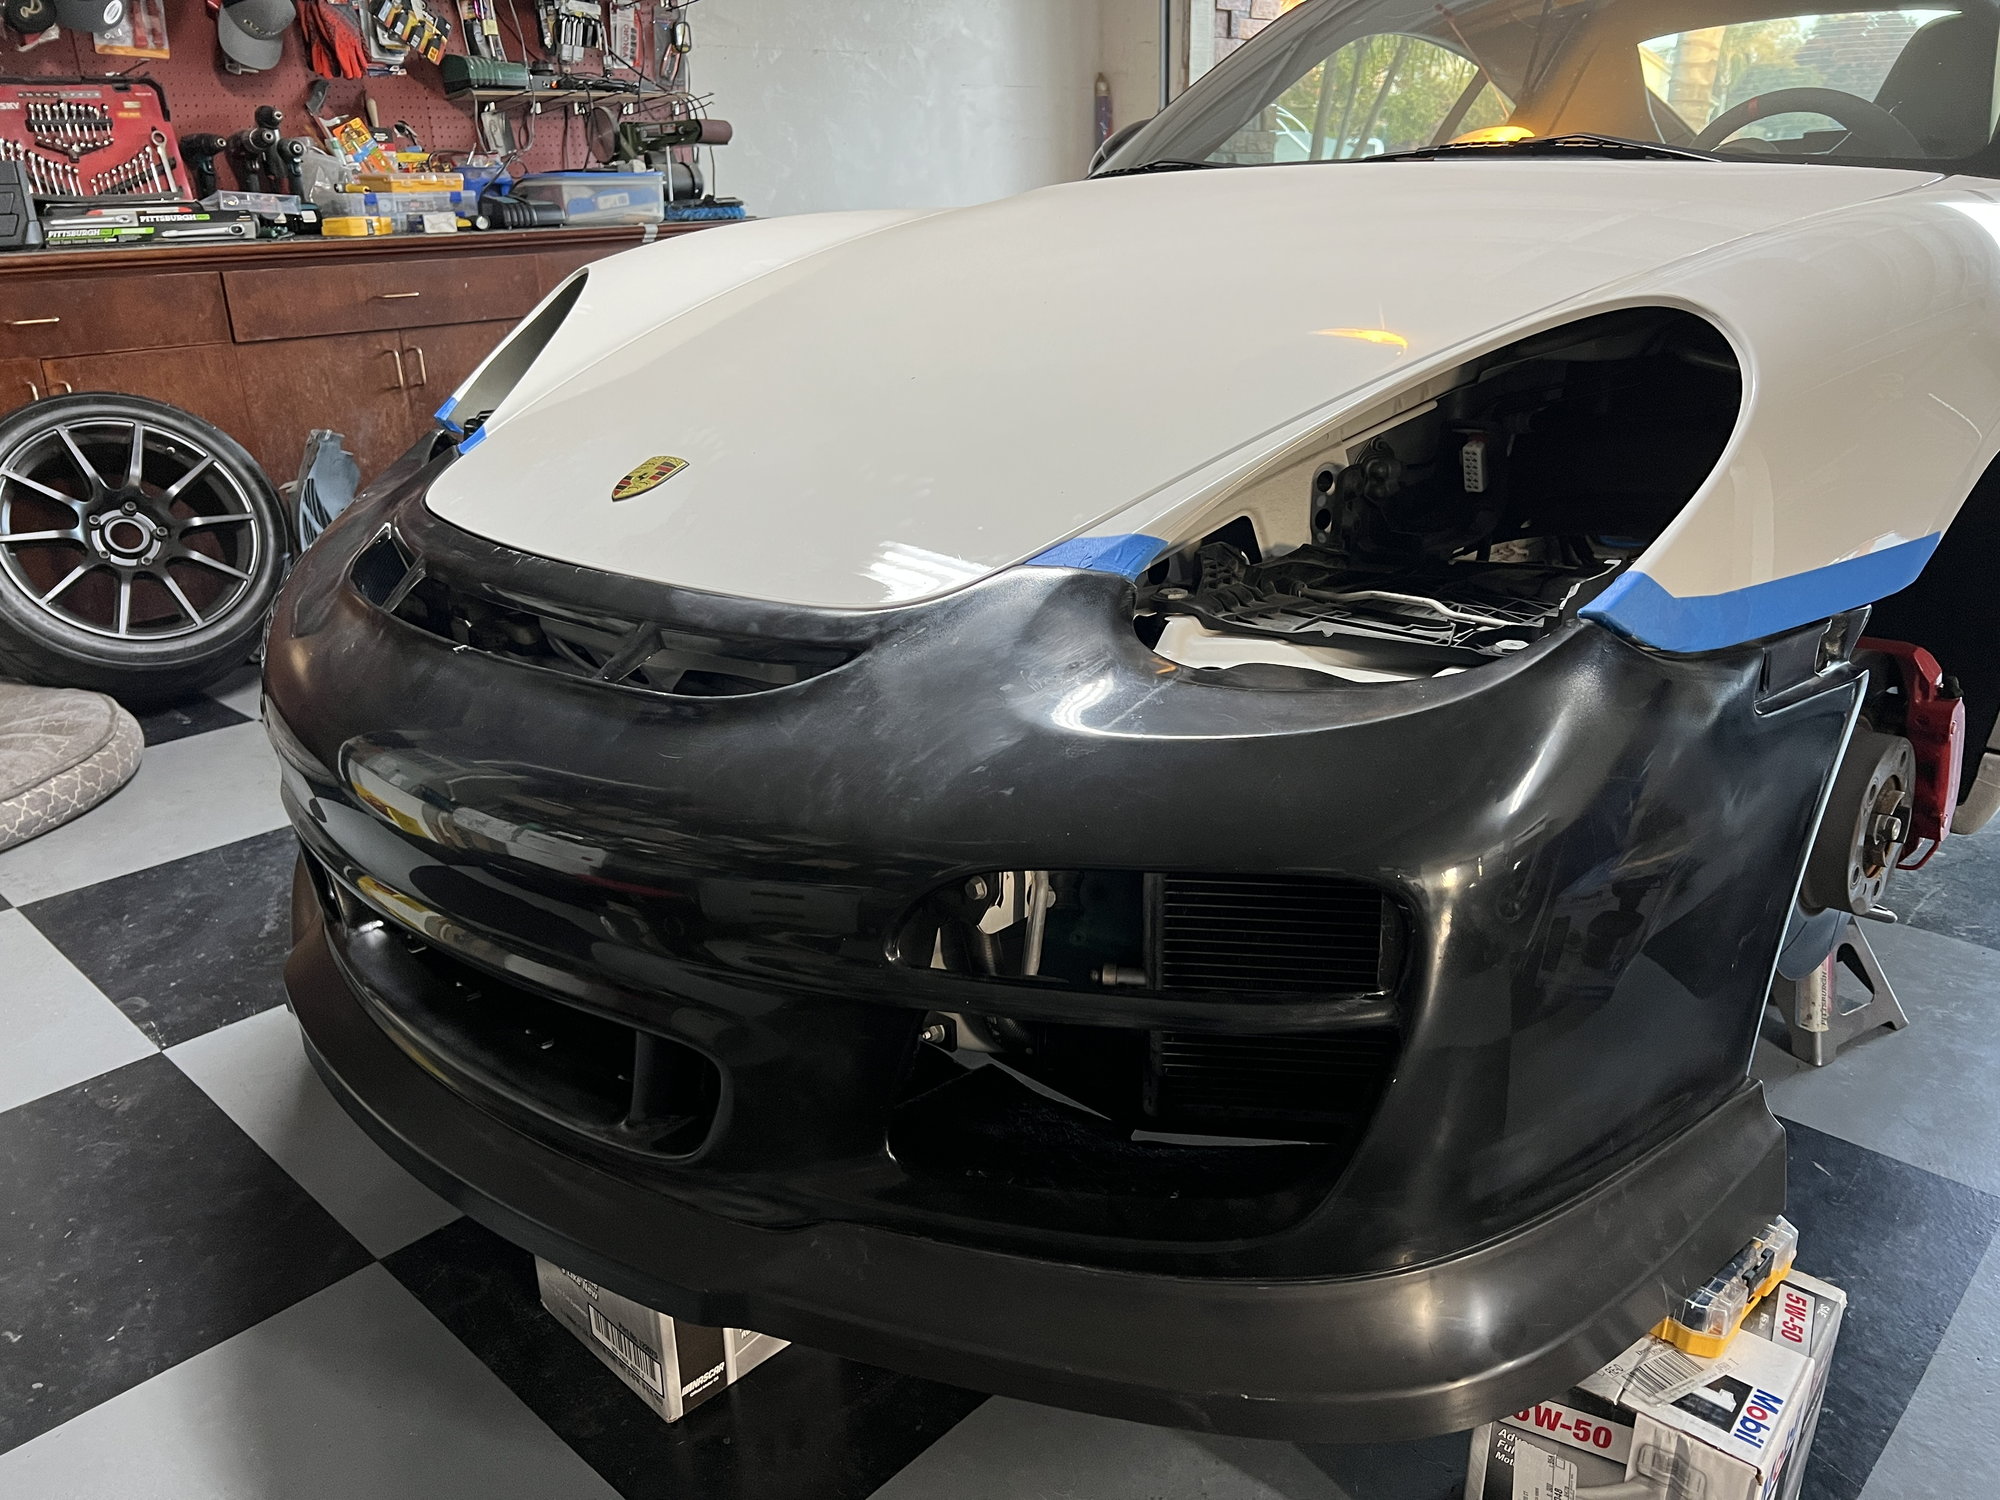
Headlights and bumper were pulled off, the rubber trim around the trunk was removed, all of the wiring disconnected, and the first mock up began
I placed tape on all the edges to avoid scratching the paint when trying to do the mockup. Below are the install instructions from Getty with what order to drill the holes in. I followed this and it worked out great.
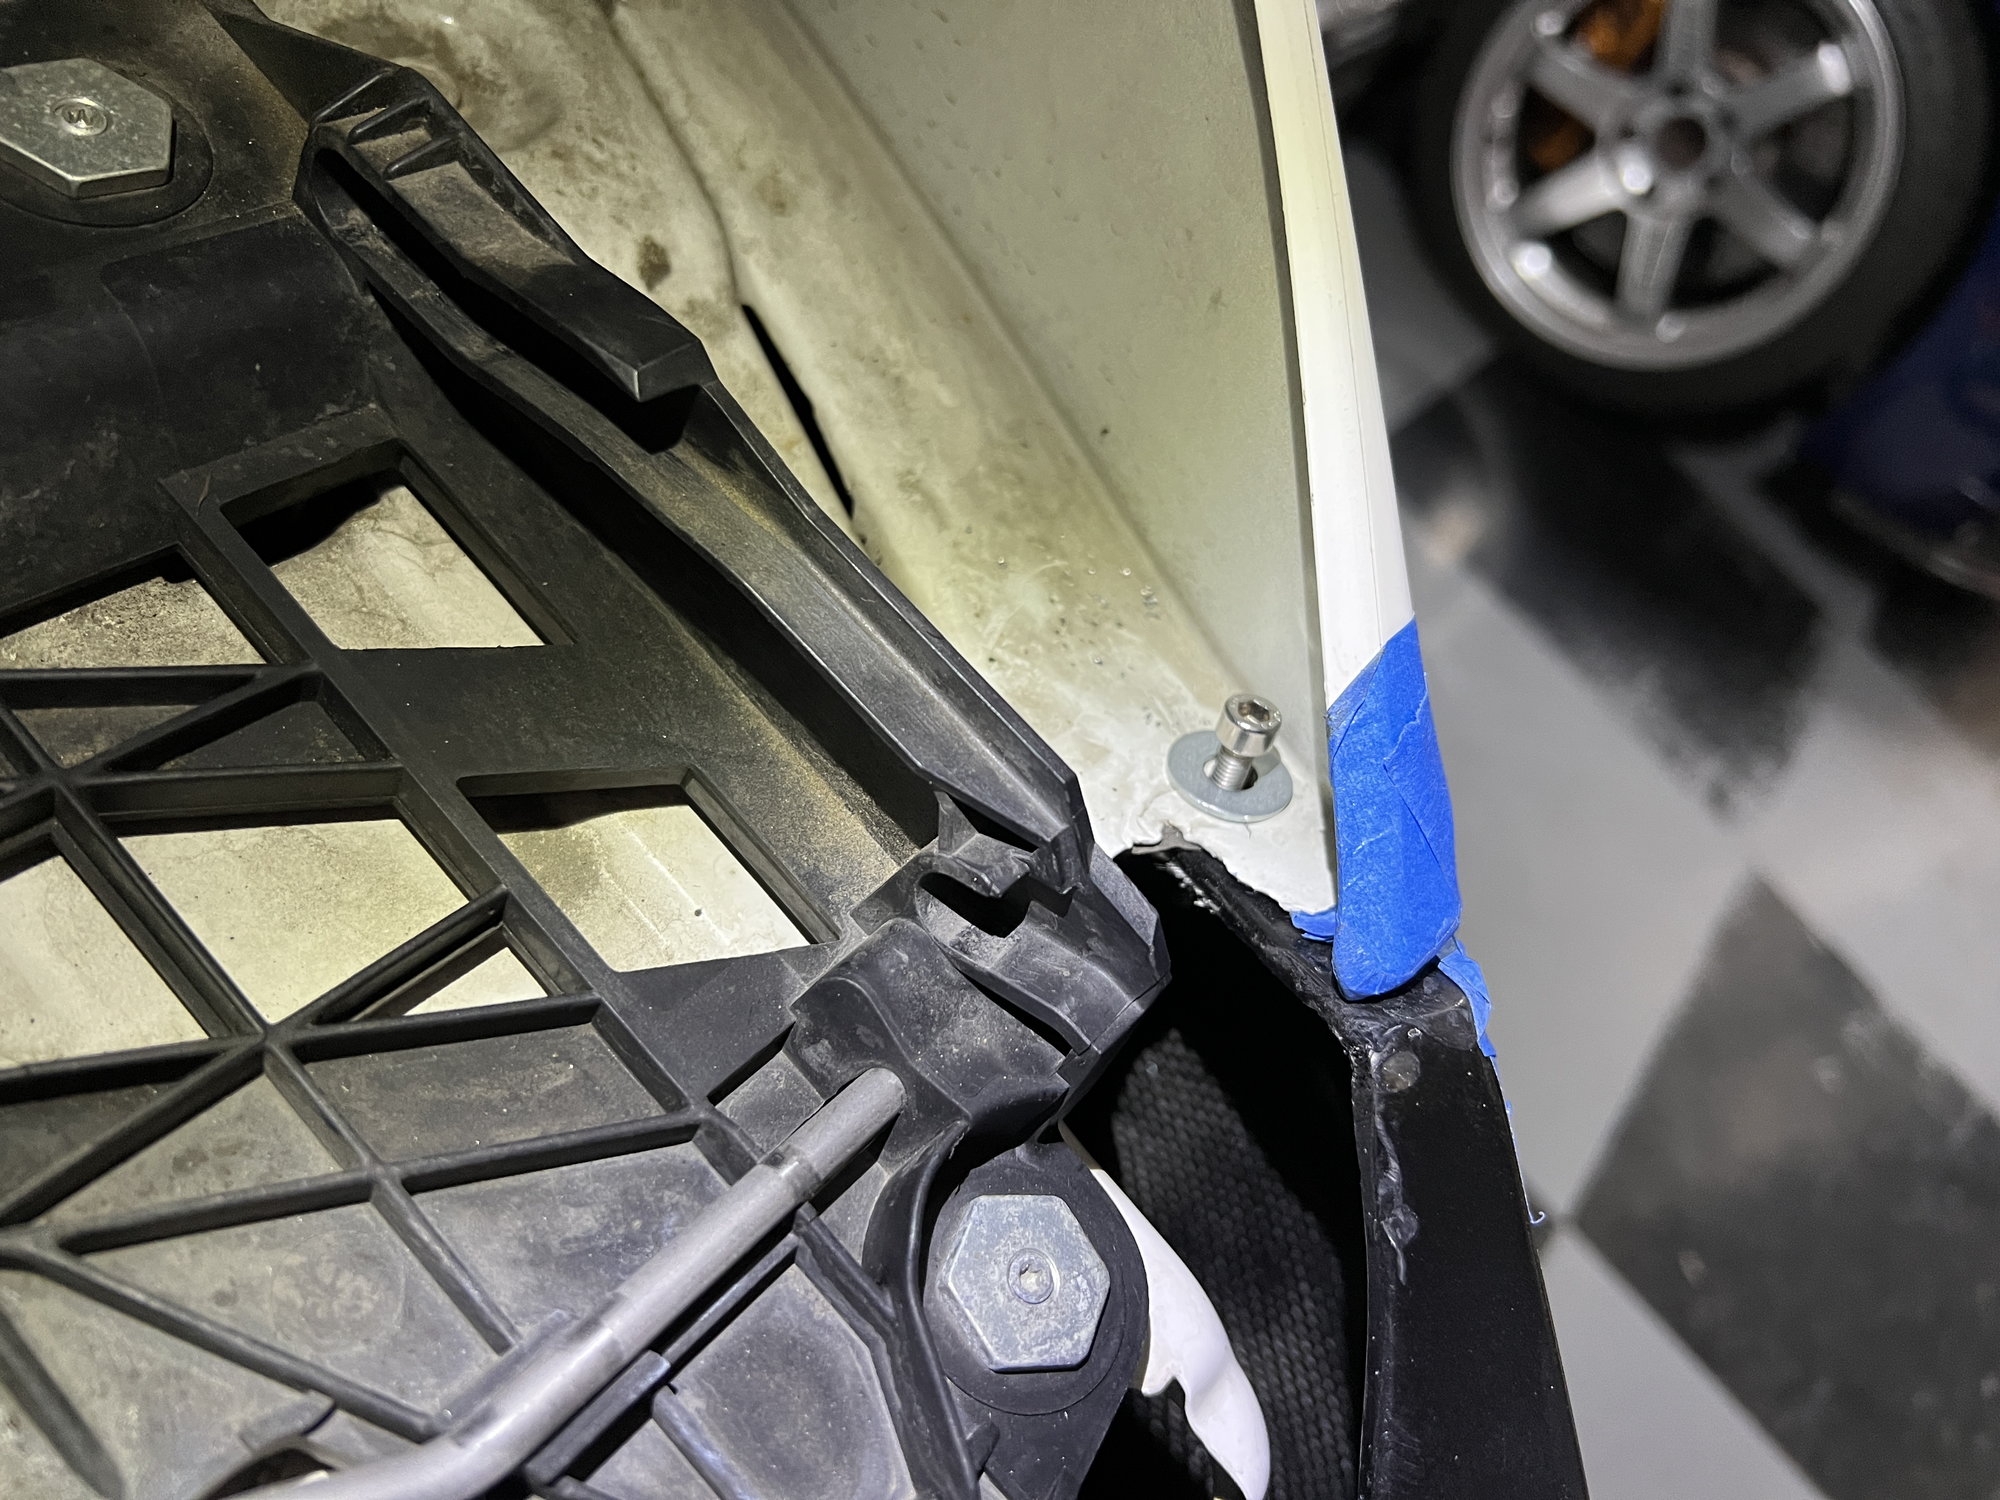
Getty includes hardware and these fiberglass templates that sit where the bolt lines up to the bumpers edge. I put it in place, taped it down, pushed the bumper up against the edge, then taped it to the fender. This gave me the position of where to drill the hole for this mounting point.
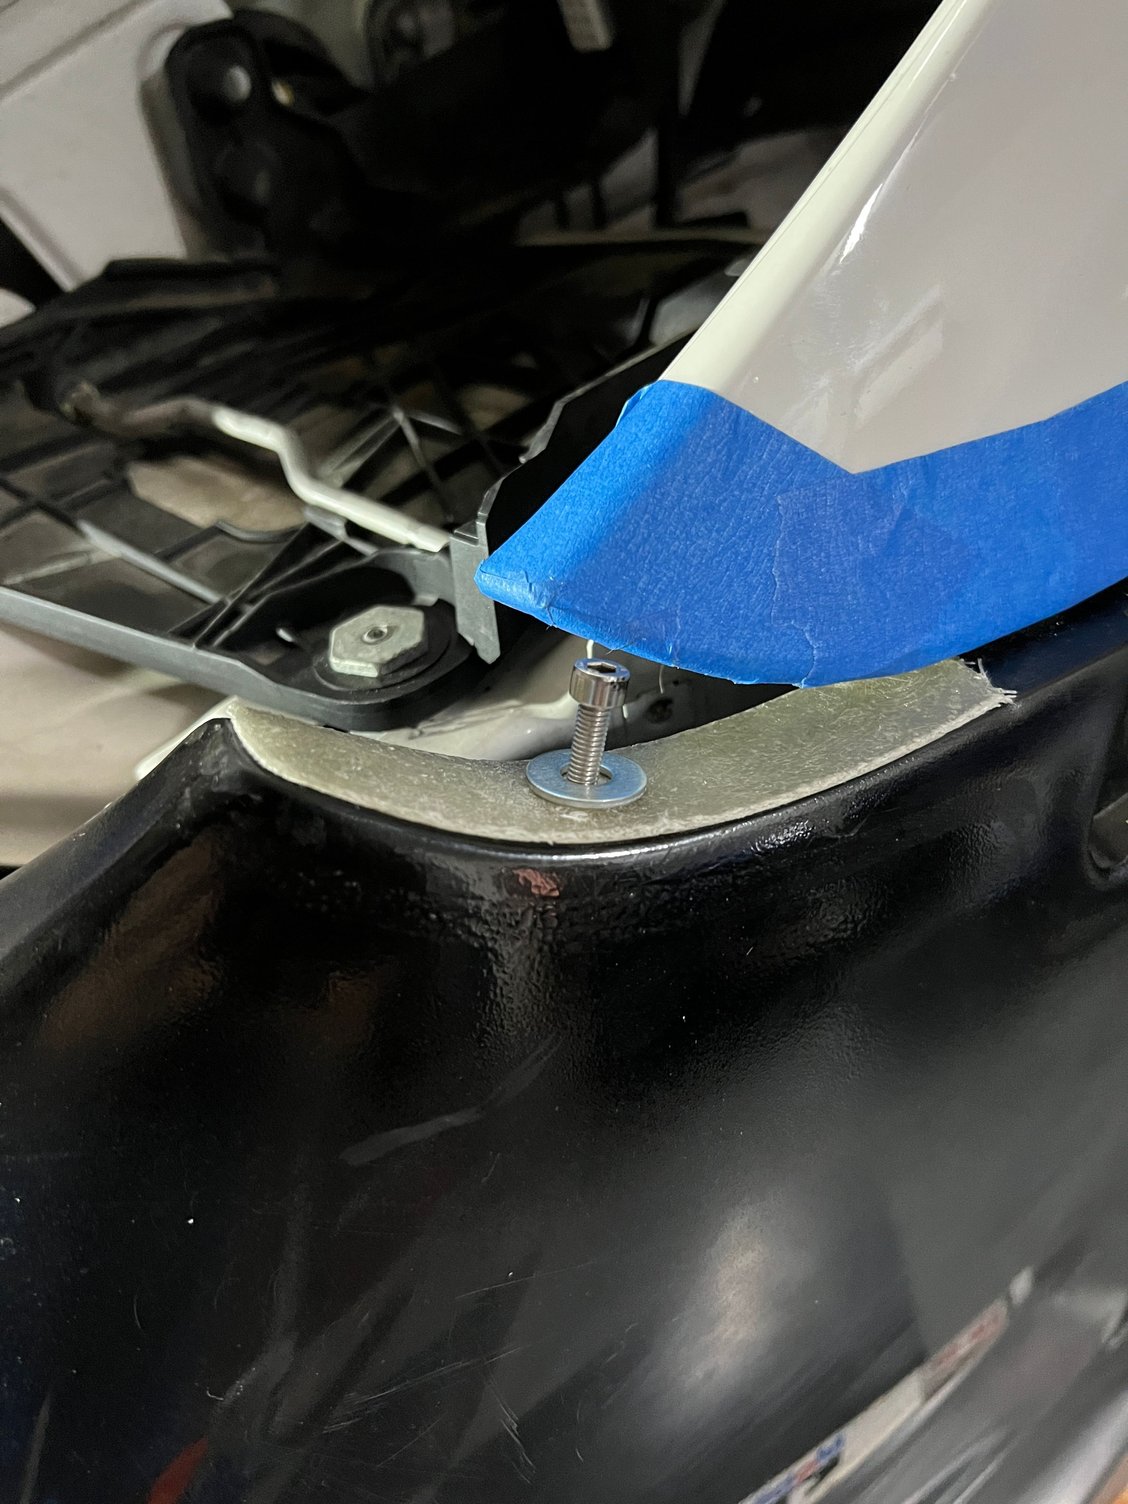
Getty lists to remove the latch mechanism however, I found it was not necessary if you were drilling the holes carefully, making sure not to drill into the mechanism box. You can see the 4 bolts on the top. The two outer bolts line up with two pre existing holes so you only have to drill the holes on the bumper to ensure they line up. The two center holes do have to be drilled into the chassis. In the rear near the wheel well, I drilled holes in the bumper so that they lined up to the pre existing holes in the chassis that retain the factory bumper. I removed the insert that holds in the factory screws and used a nut/bolt/washer combination which is a lot more secure. The factory tab was loose and I wouldn't want it to come loose while driving.
Making sure hood is able to close
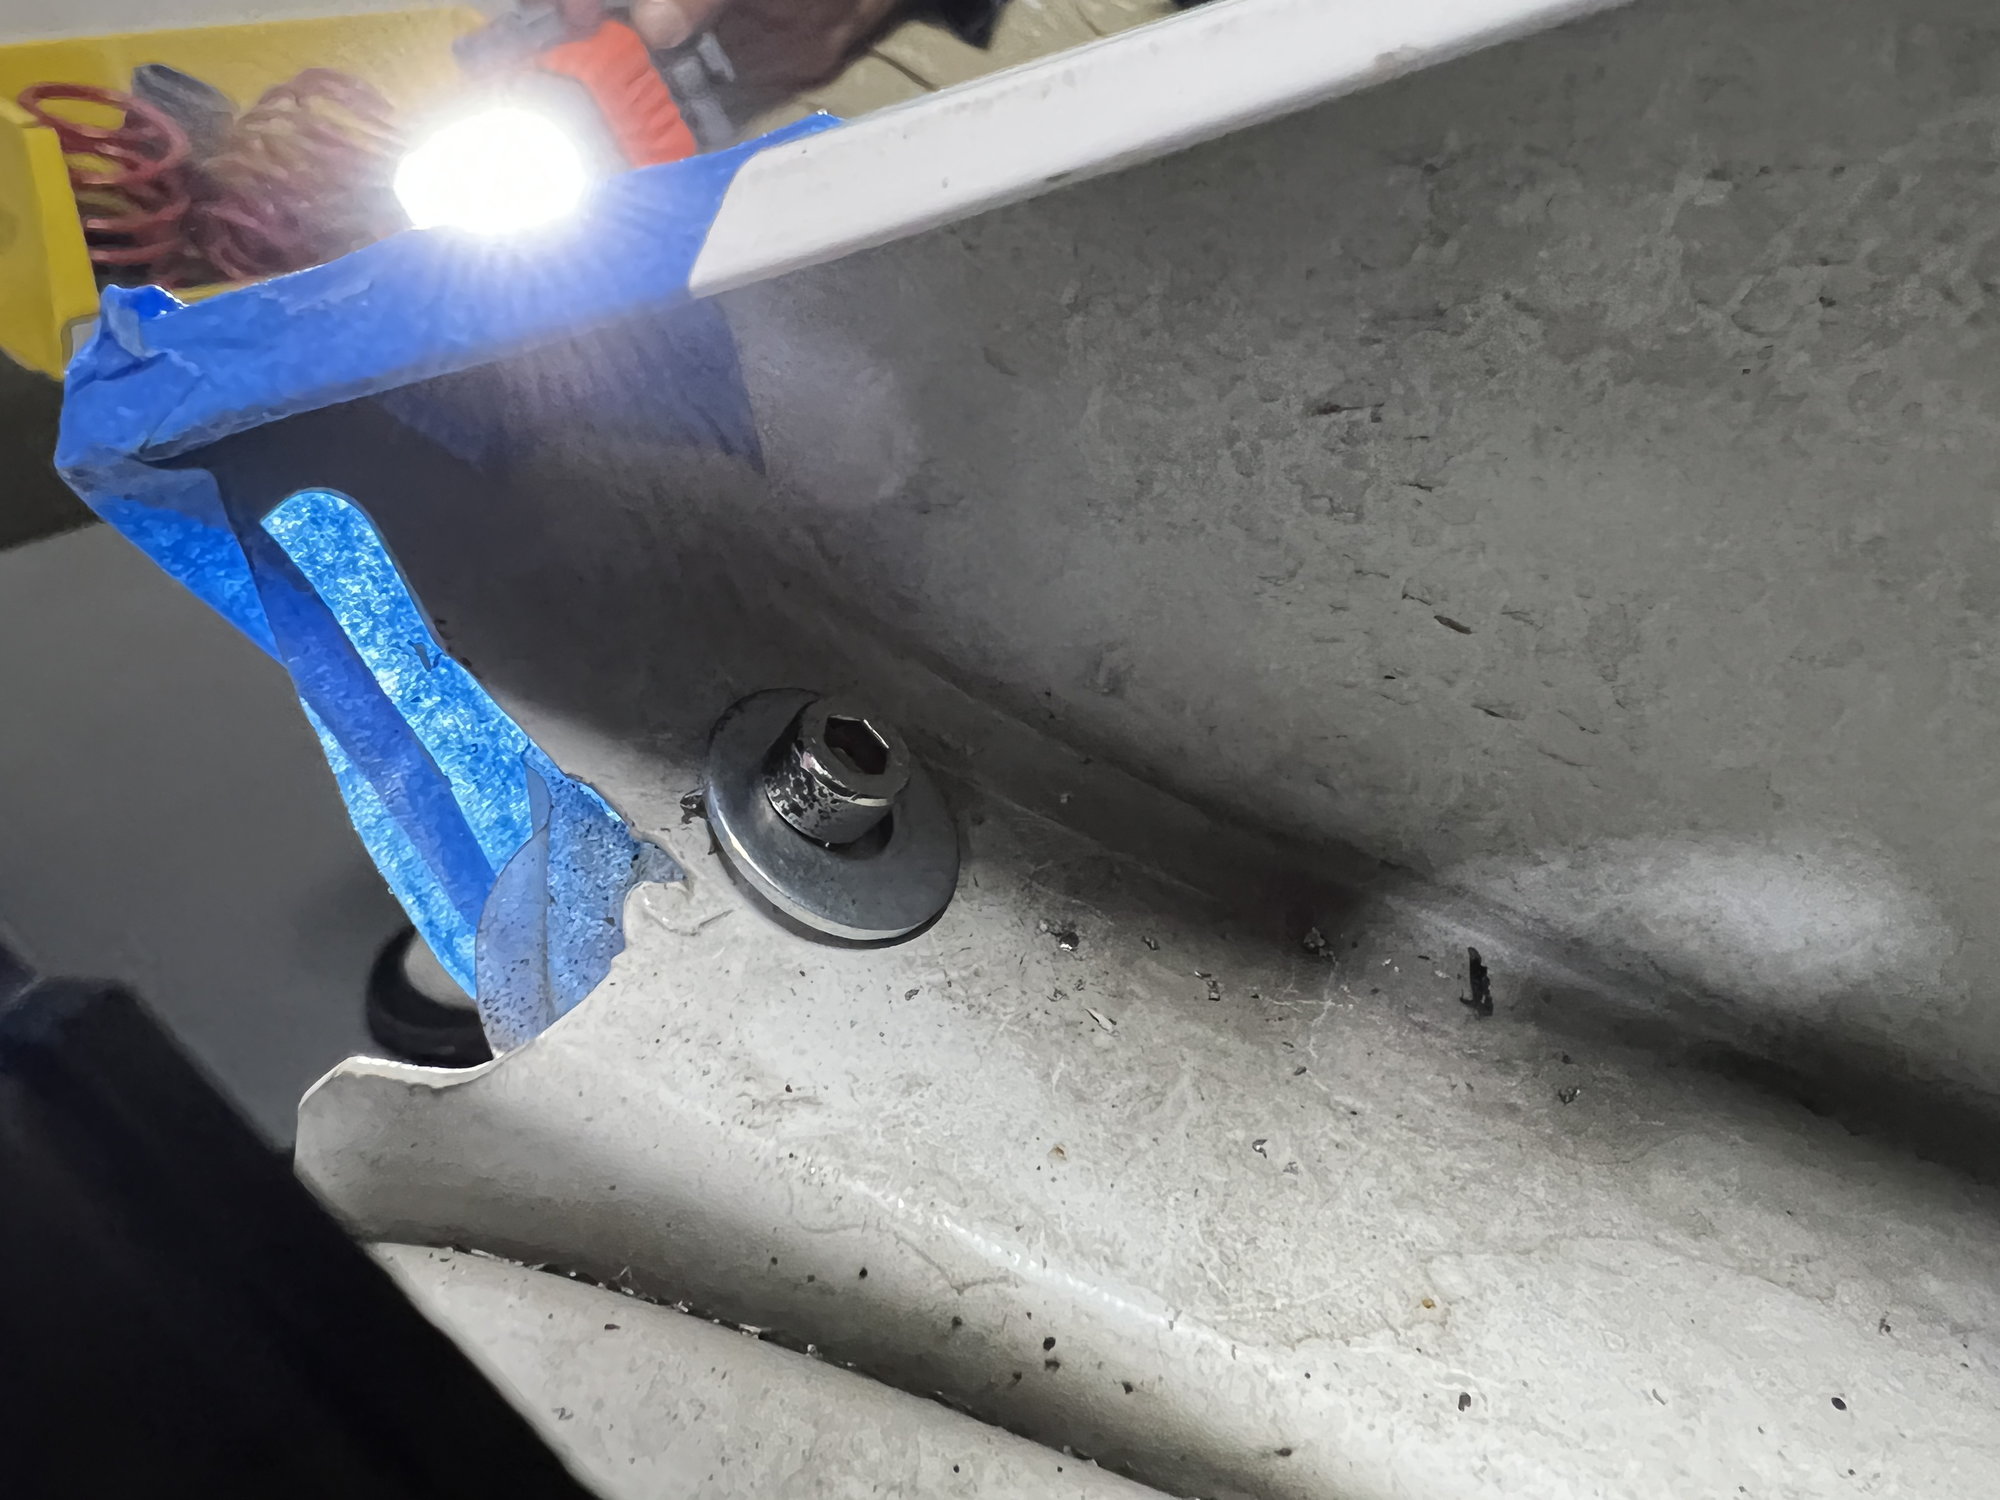
Picture of the drilled hole
Hardware in place
Also went ahead and test fitted the flares and canards
Last edited by EHP Racing; 11-24-2021 at 04:50 PM.
Took a break from the bumper and moved onto the wing. First was to tape the hatch to not scratch it up while working. I also placed a large mat in the trunk to catch metal shavings from the drilling
Taped the underside as well
With the template in place I marked all the holes where I would need to drill. I measured a ton of times to ensure the holes were all the same distance and centered
I then used a center punch tool to avoid "walking" of the drill bit. Started with a very small pilot hole and then enlarged the holes with a step bit. SummitLife has a great video on how he installed the wing which I used for reference. Link here:
I used a step bit and drilled the large holes underneath to allow for the bolt and washer to pass through
I ensured the holes underneath matched the top holes and made sure to avoid scratching the plastic trim so I taped that up as well
The plastic inserts provided by Getty to cover the holes. I will be painting the drilled holes as well as these inserts white to make everything look oem
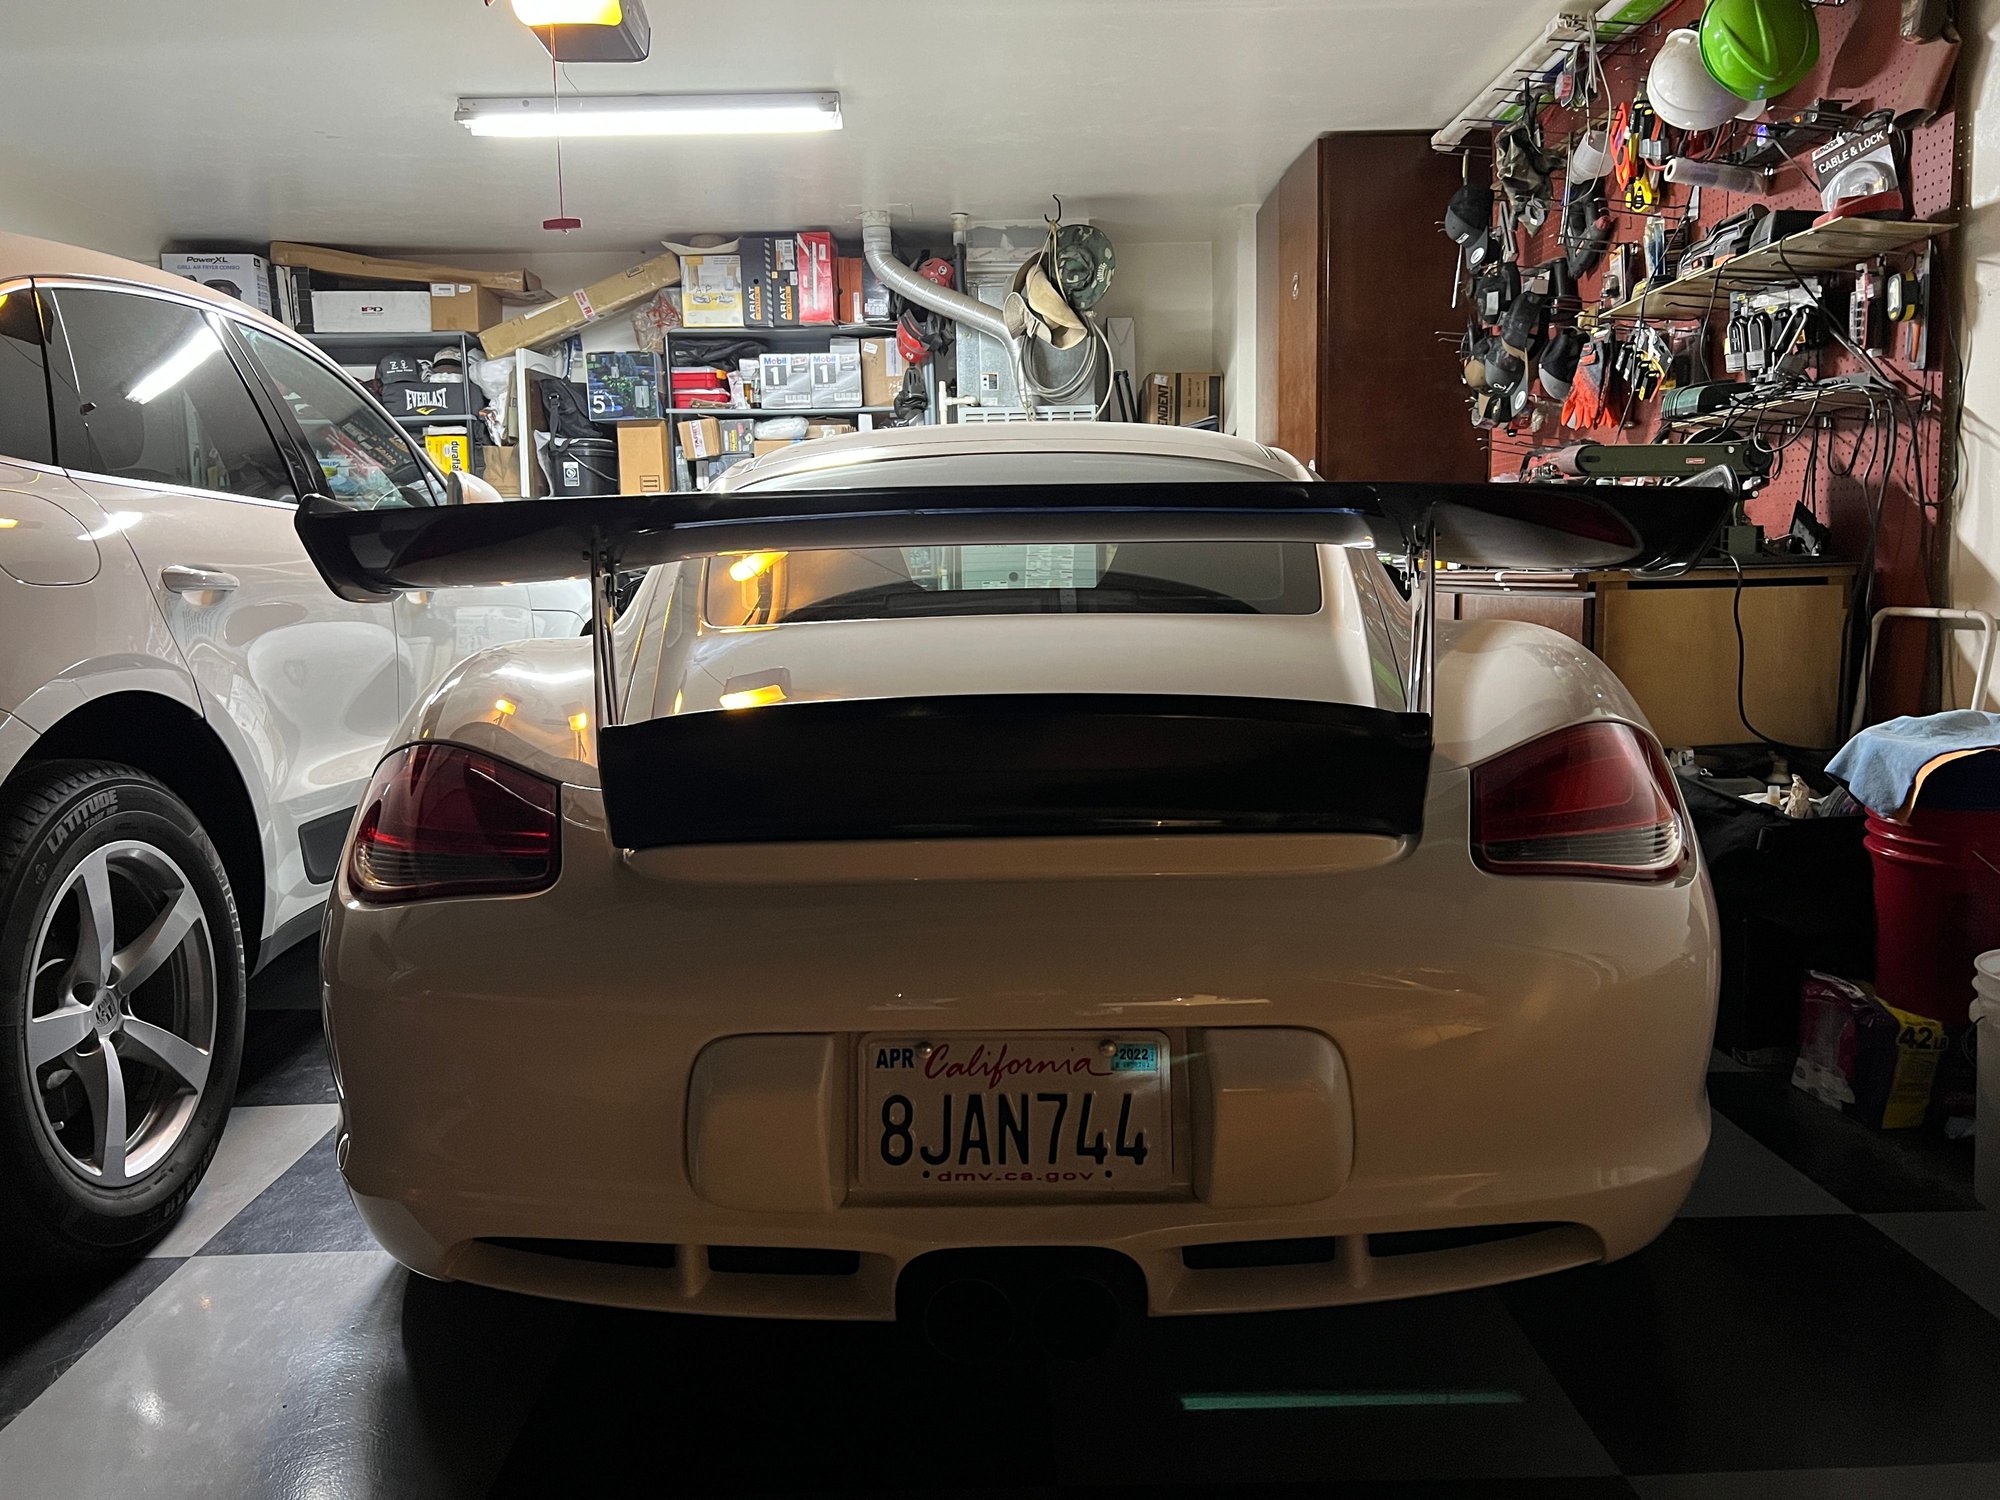
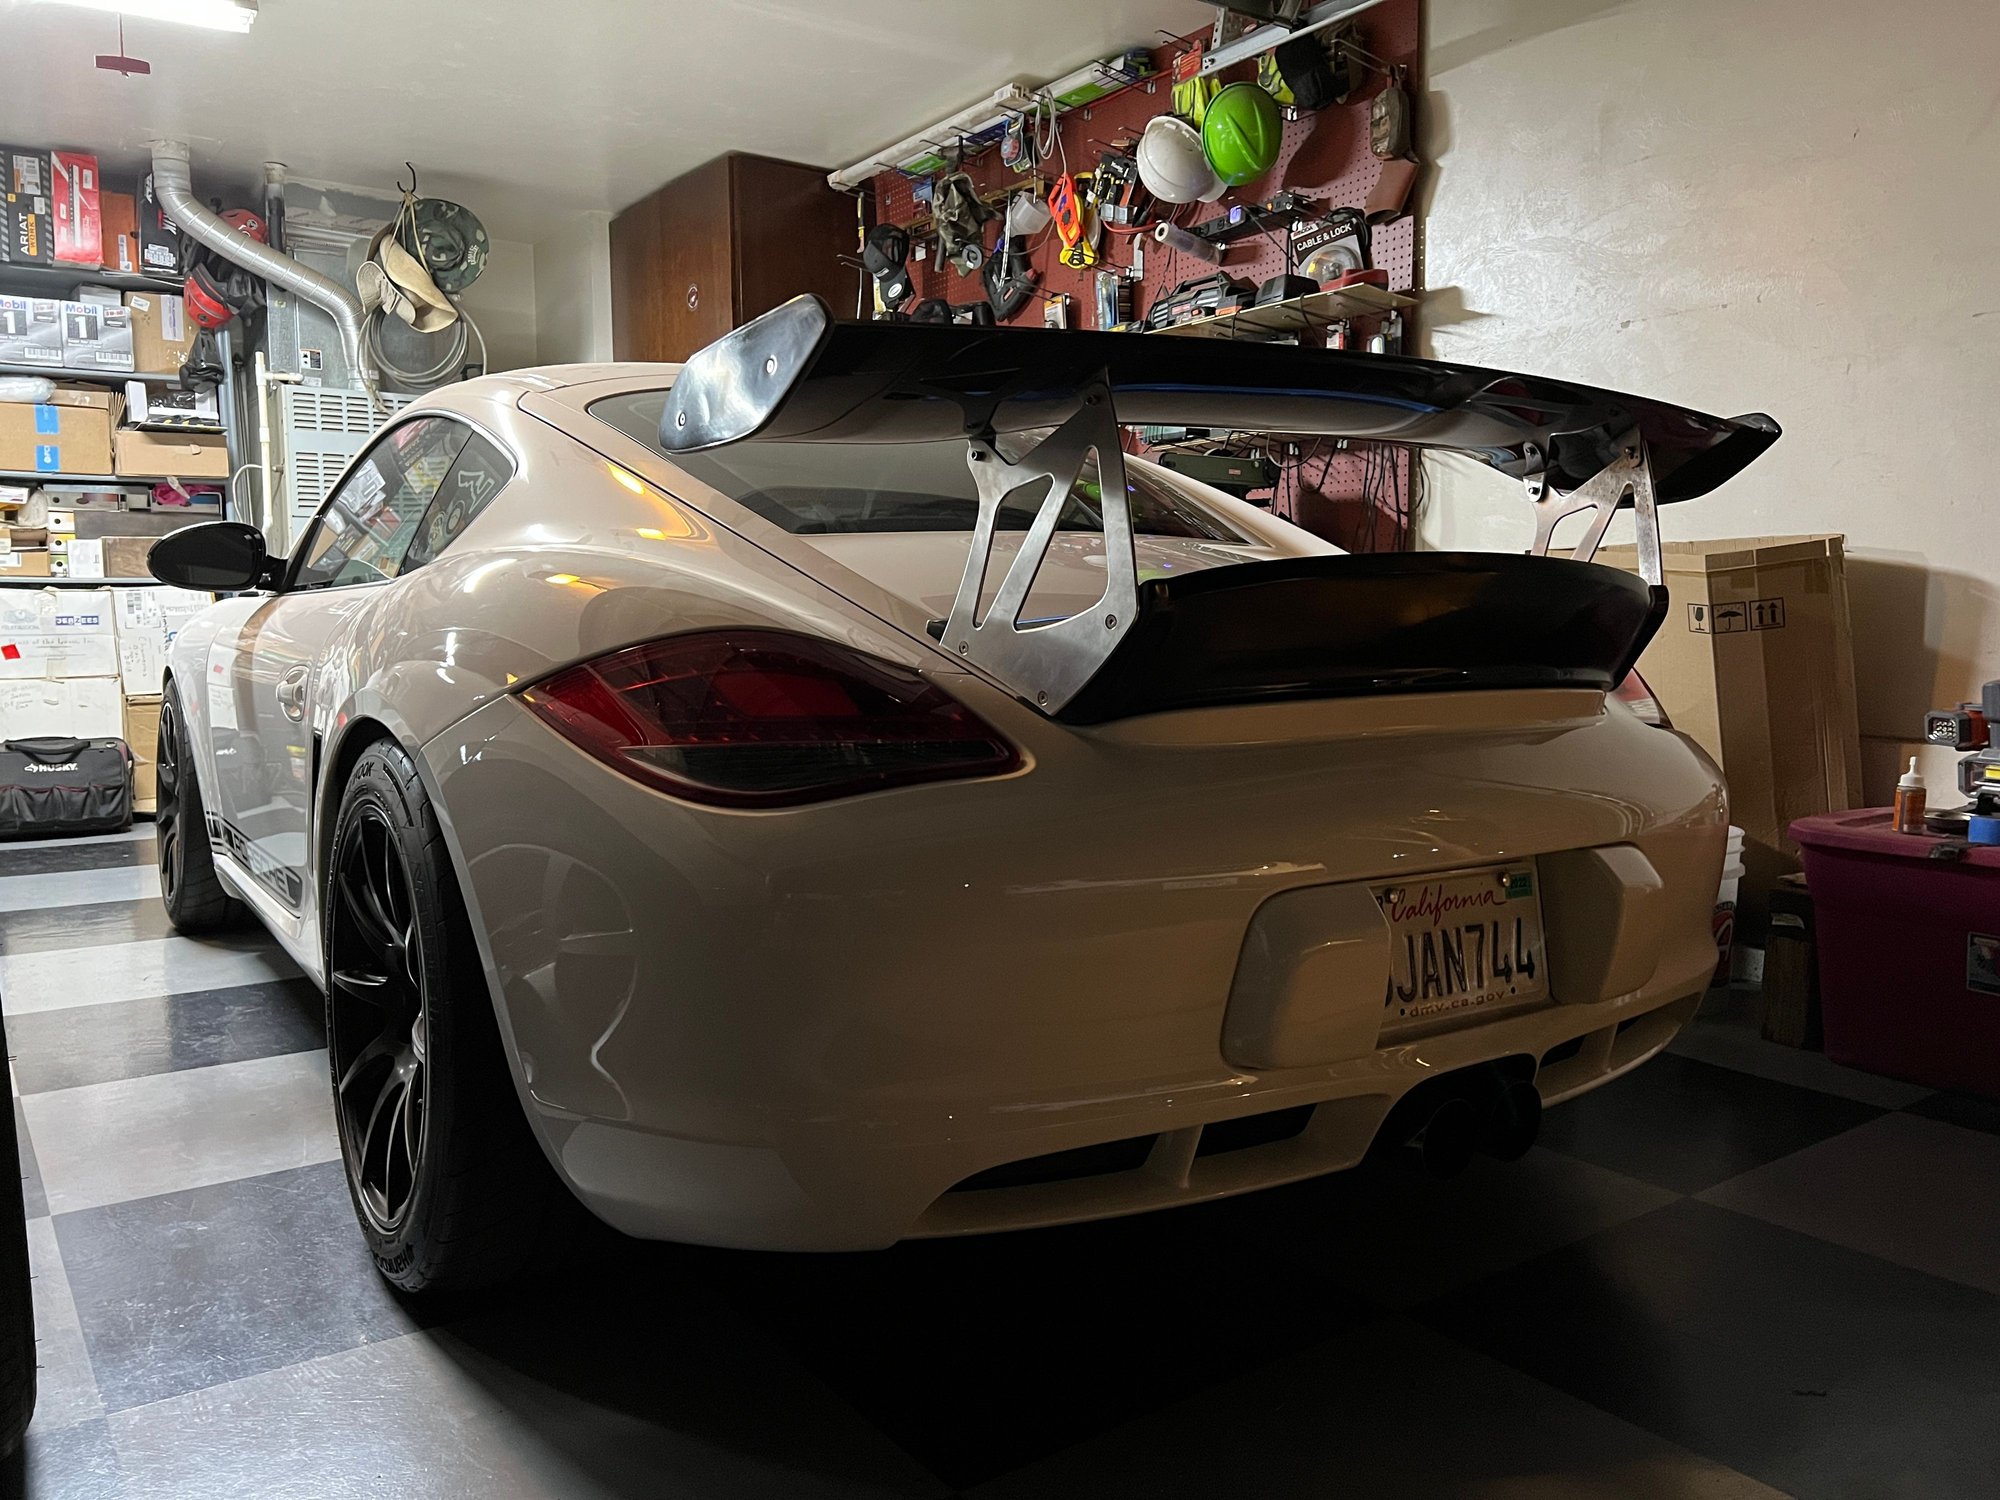
Wing is on!
Everything lined up and fit perfectly and the wing looks great.
Last edited by EHP Racing; 11-24-2021 at 04:44 PM.
Back to the bumper. I removed the wiring harness from the bumper that connected to the headlight washer and foglight because that also holds the wiring that belongs to the side markers. I just zipped tied it to pre existing holes on the chassis to hold it in place for now
I had to remove the foglight cover, screen mesh, foglight and DRL, and then removed two screws on the inside of the bumper. Then you have to undue all the tabs that hold in the entire assembly to get enough clearance to pull the plastic up and remove the harness.
I went back and installed nutserts in place of the drilled holes to make for a very clean front bumper install. I painted the holes with paint matched touchup paint to avoid any rusting and clean everything up
Temporary screw to hold bumper in place before getting matching hardware
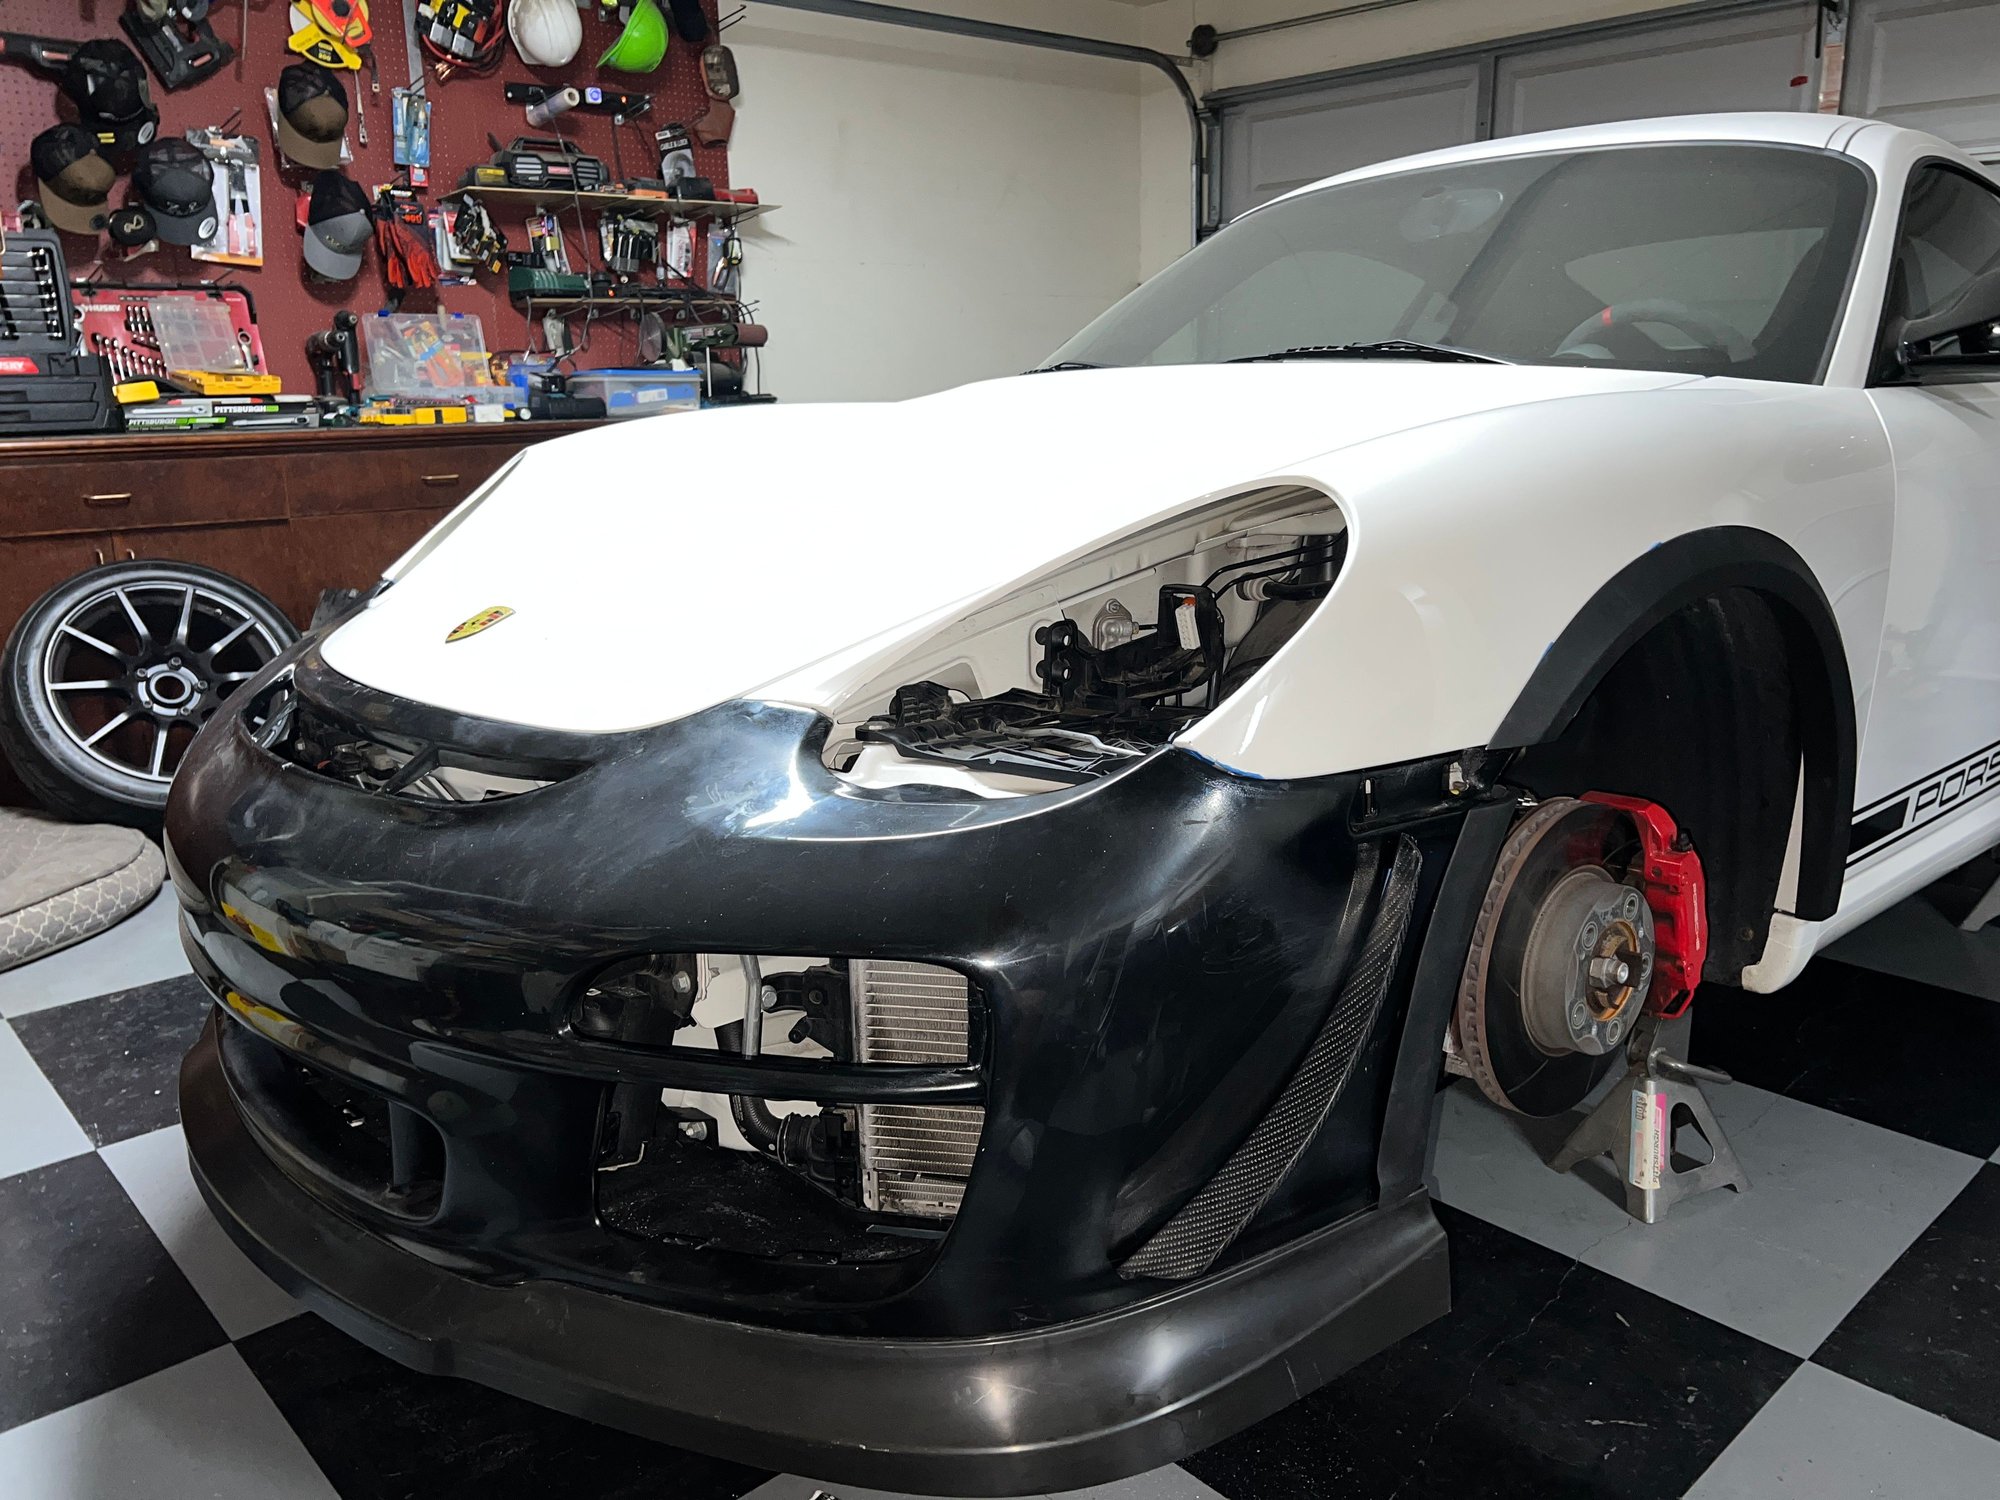
How the OEM ducts fit in the bumper
Pictures of how all the gaps are when installed
Here I am drilling the holes underneath where they attached to the bottom of the car. I essentially repeated what I did with the fender holes and just drilled at a point where everything lined up.
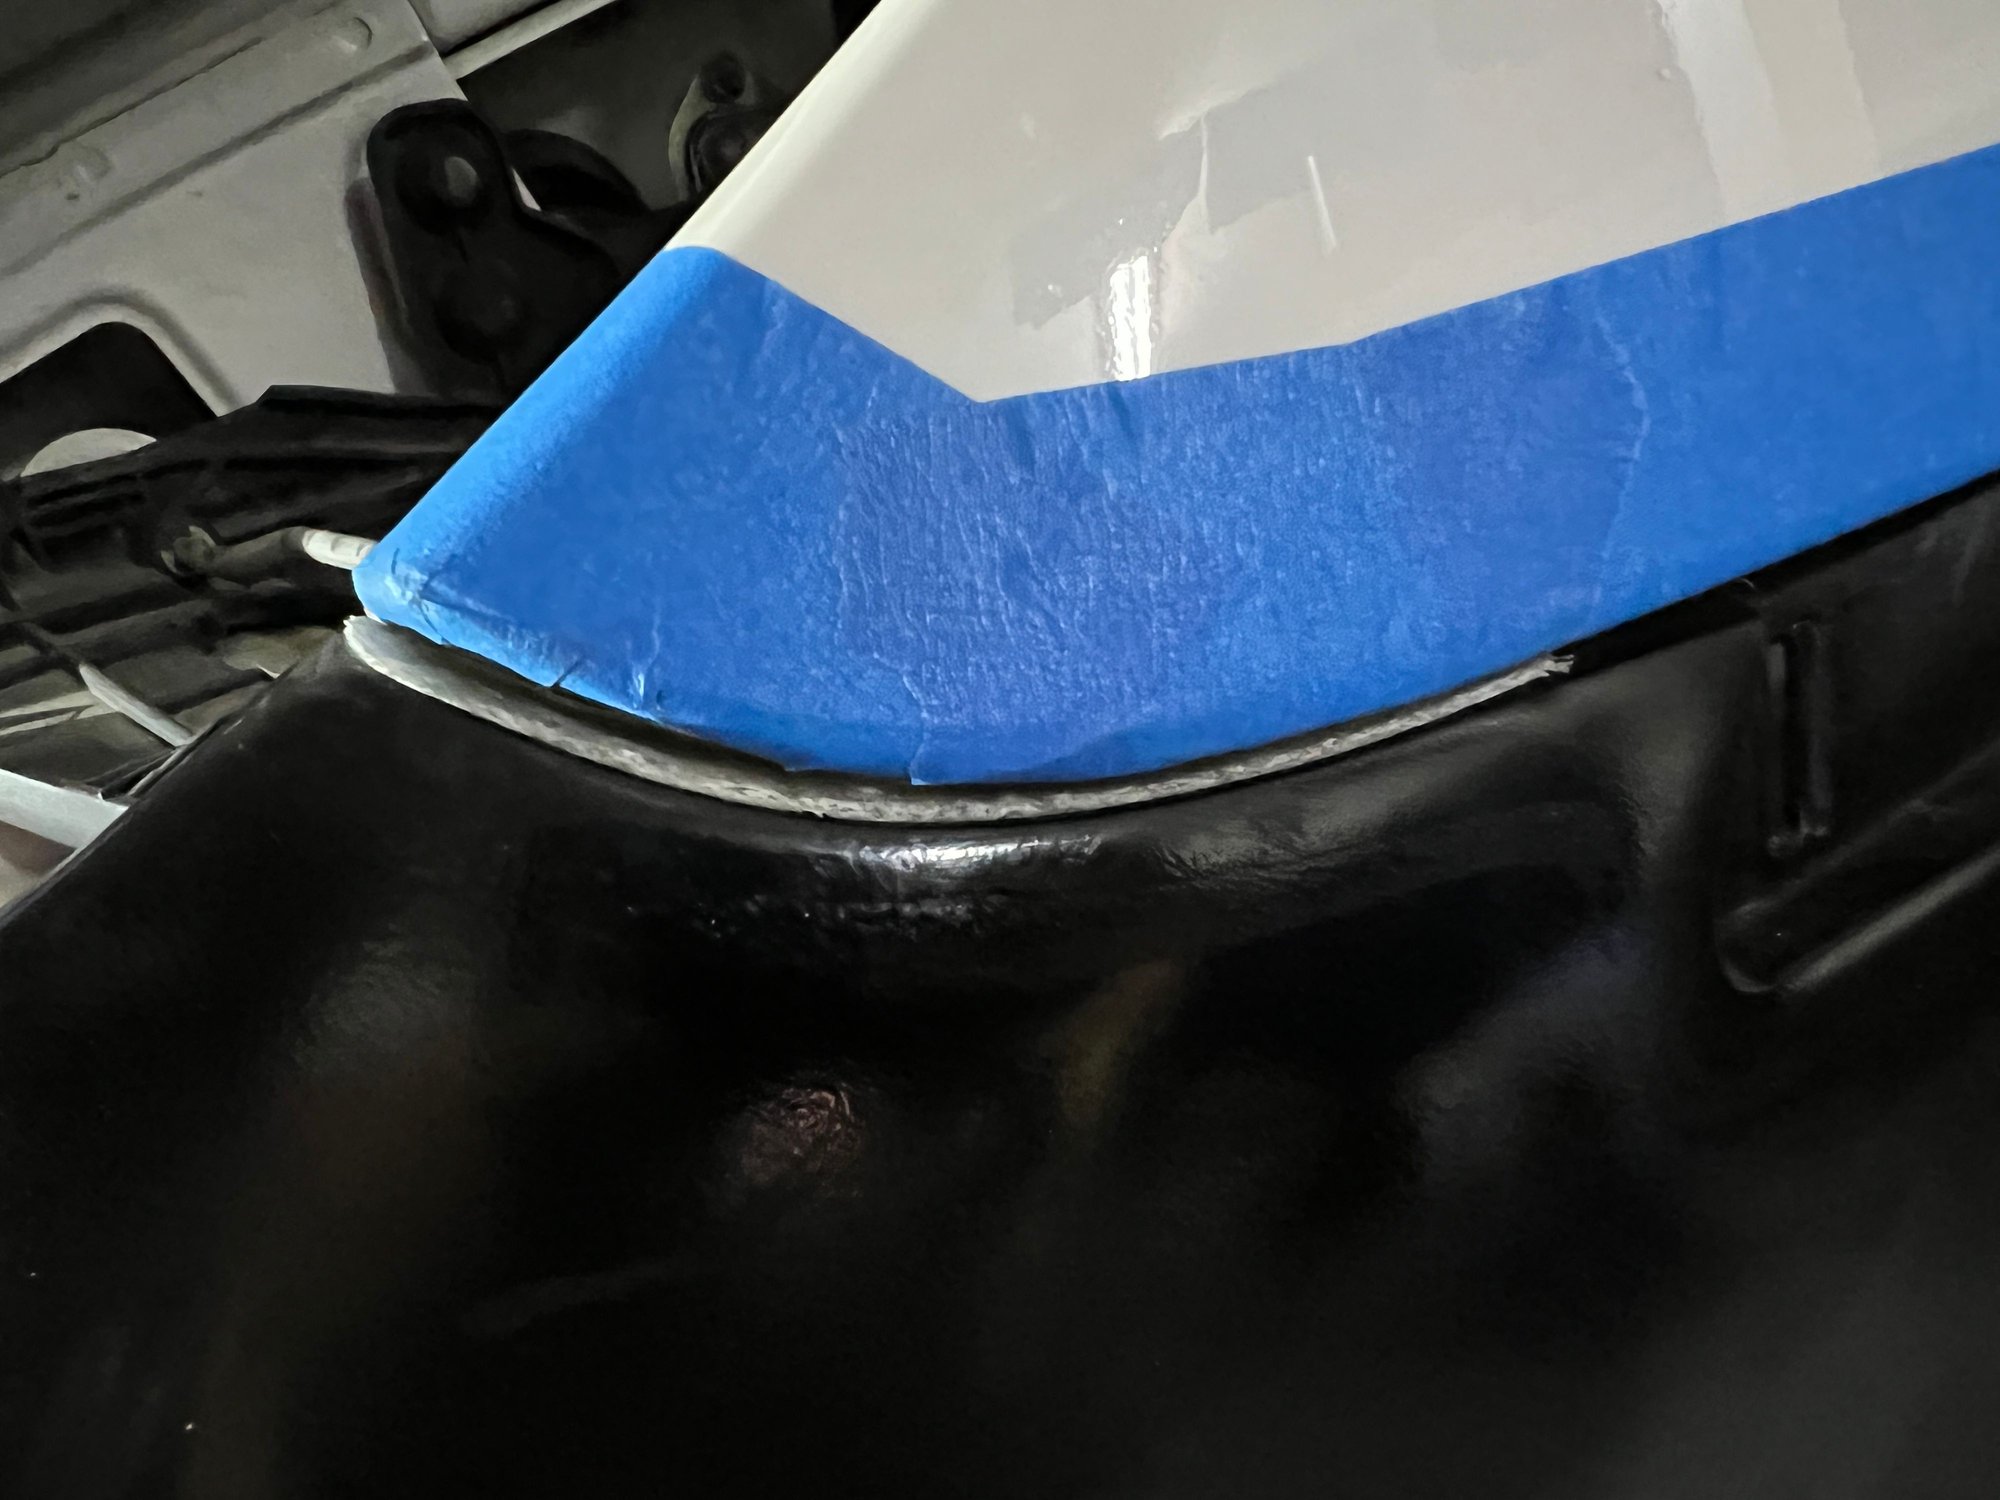
Onto sanding! I went back and sanded all the edges with #40 grit to get everything to line up as if it was OEM. I simply loosened up the bolts holding in the bumper which gave me enough room to slide sand paper in-between the crevices.
The rubber stops on the hood interfere with the bumper when trying to close it. So I taped them, added a dab of paint, then closed it softly to print onto the bumper where I had to trim
Here is where the rubber stops landed on the bumper so that section was trimmed off.
Before sanding
After sanding Fit of the bumper once all the sanding was finished. Gaps are very OEM like and im extremely happy with how the bumper fits.
Last edited by EHP Racing; 11-24-2021 at 03:48 PM.
I went back and sanded the entire bumper with #150 grit to smooth all the rough edges down. I also went ahead and sanded the flares, canards, and brake ducts.
Fitment is perfect
The green taped line is about 1/4" from the splitter edge. This is because I decided to trim the splitter to allow for more ground clearance since I will daily the car
The flares needed quite a bit of sanding to get them to fit. Due to the differences in 911 and 987 fender, there is a small gap towards the rear of the flare. Once all the parts are installed, I’m going to 3D scan that particular section of the flare, design, and 3D print a filler piece that will have a cutout through the center and a diffuser at the end that way it can help get some of the wake produced from the tire straightened out and away from the car.
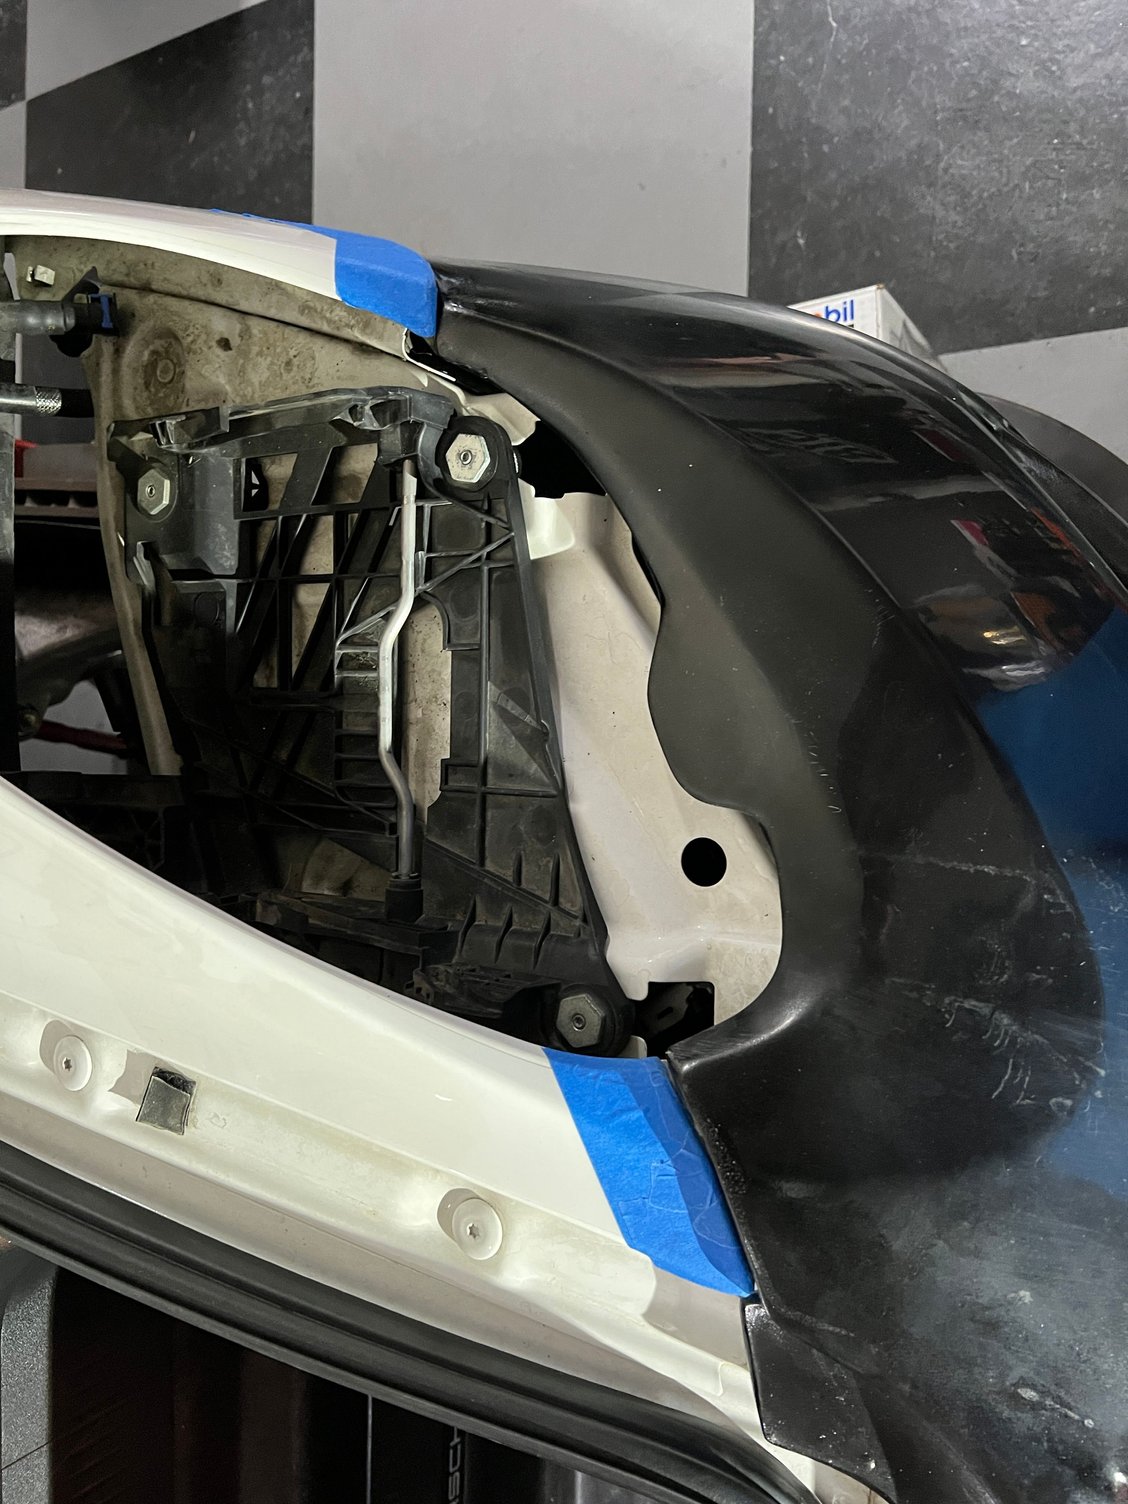
I noticed there was a gap on in the bumper once the headlight is on. Quickly realized that this is normal after talking to people who have the same bumper. I will fit some rubber seals to make everything nice and tighty
Fitting of the side markers and lots of sanding to get everything to fit nice and flush
Making sure both the left and right side are perfectly even. I did quite a lot of sanding in the pockets for it to fit flush
The 987 uses a different harness/bulb than the RS cars so the solution was to sand the RS side marker bulb hole to allow for the larger 987 bubble to fit. This would allow for the retention of the oem harness.
Last edited by EHP Racing; 11-24-2021 at 05:09 PM.
Before paint I went ahead and fitted the mesh to avoid scratching the bumper once painted. I simply held it in place, put tape around the spots that lined up with the bumper tabs, and trimmed them to allow for clearance.
Pictures of the brake ducts and canards after being wet sanded with #400
The car is now just awaiting paint. As seen in pictures posted earlier, the oem radiator ducts don't quite fit the profile of the new bumper but the included GT3 radiator ducts need quite a lot of modification to make them fit like OEM. I will be merging the OEM and GT3 duct to retain the oem fitment on the chassis but also mate up to bumper. The idea here is to keep everything as sealed as possible to avoid any spillage of air that would be used to feed into the radiator. Proper radiator ducting is essential in maintaining optimal water temps when driving on track and air spillage is one of the main reasons for overheating issues when driving hard.
Last edited by EHP Racing; 11-24-2021 at 06:43 PM.
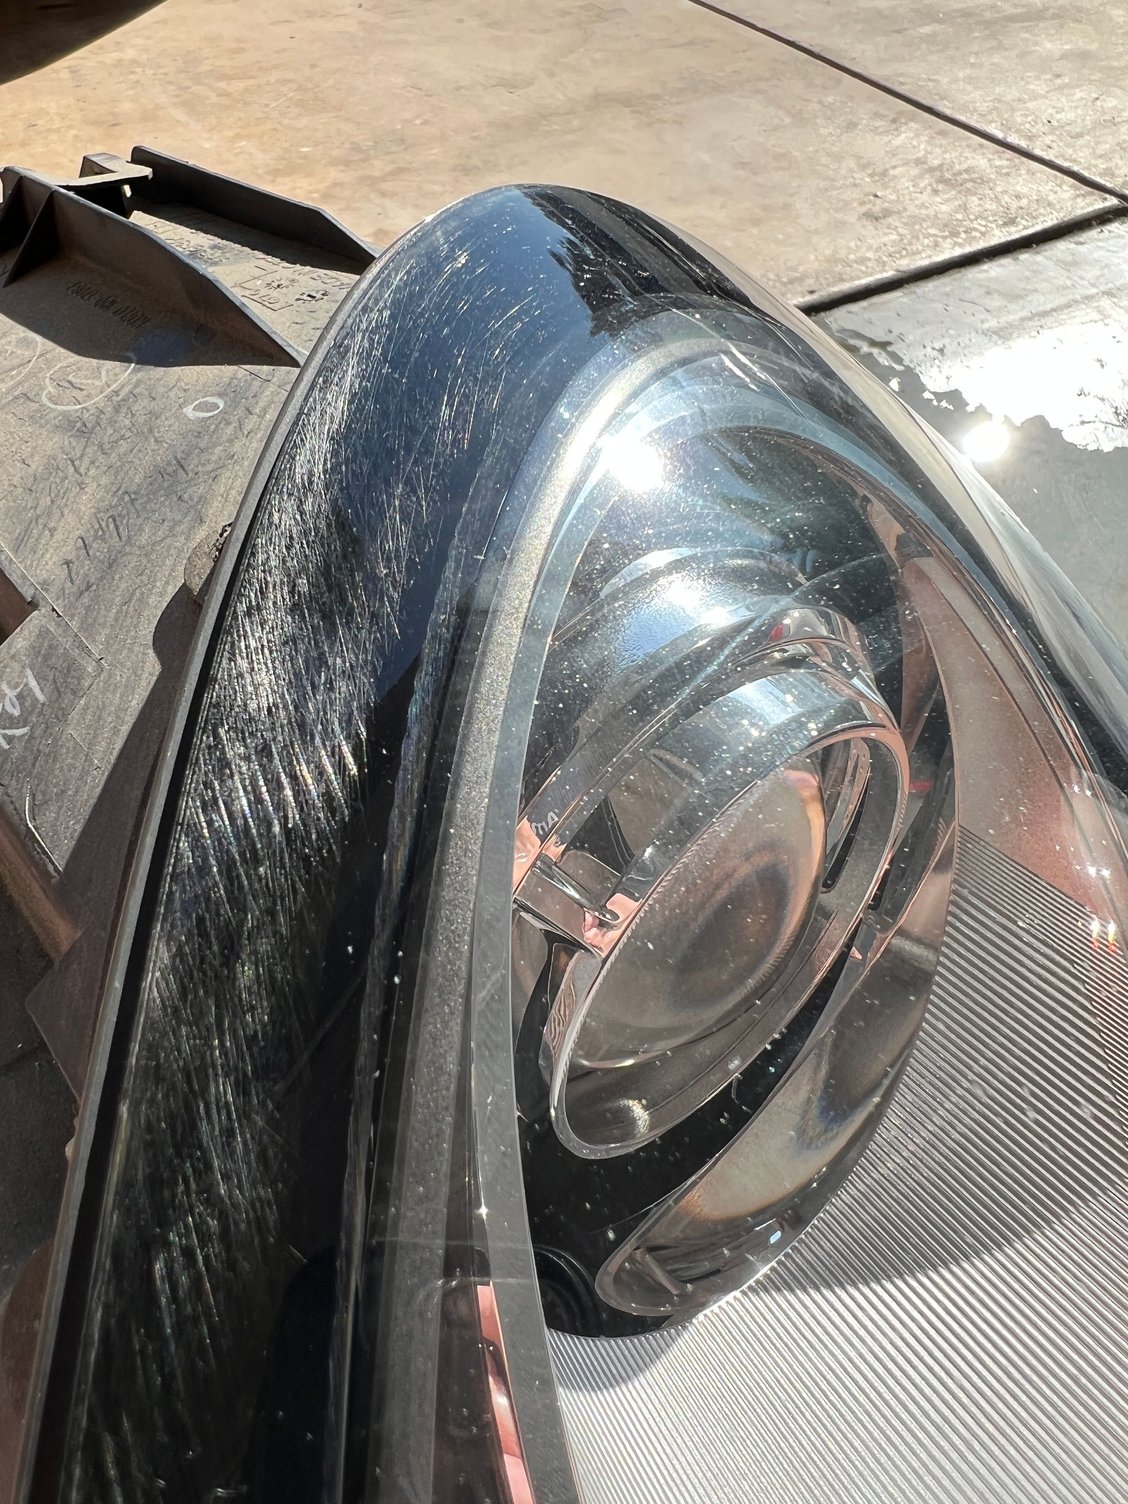
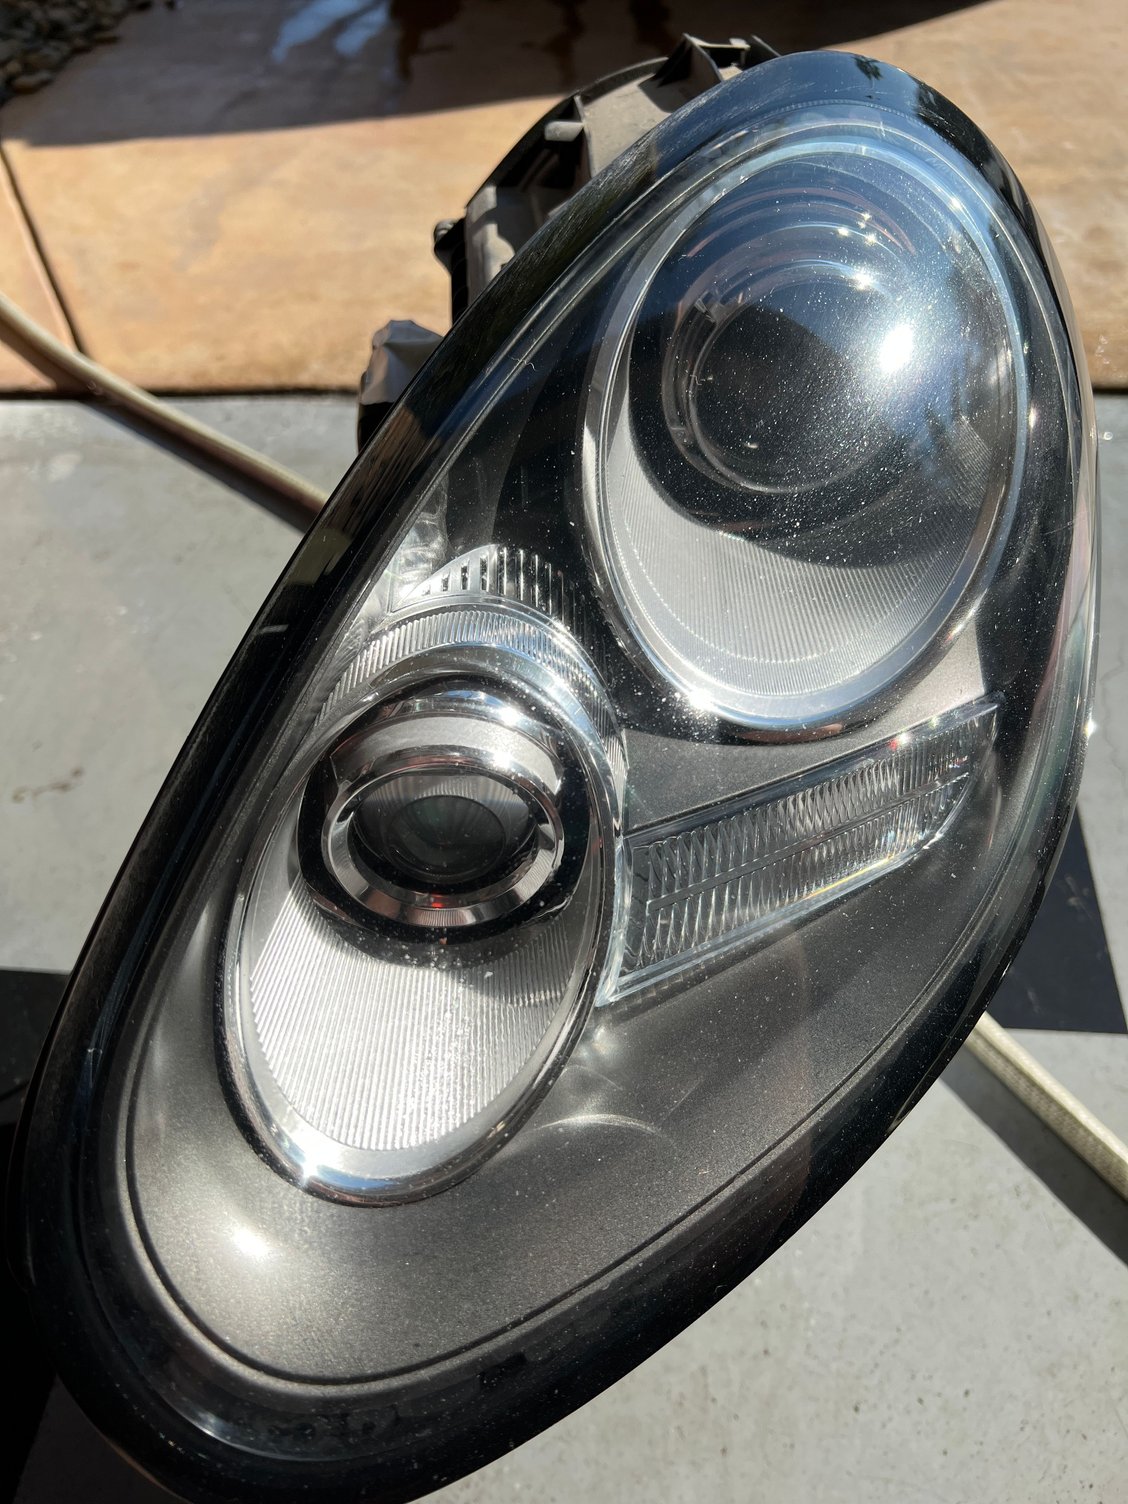
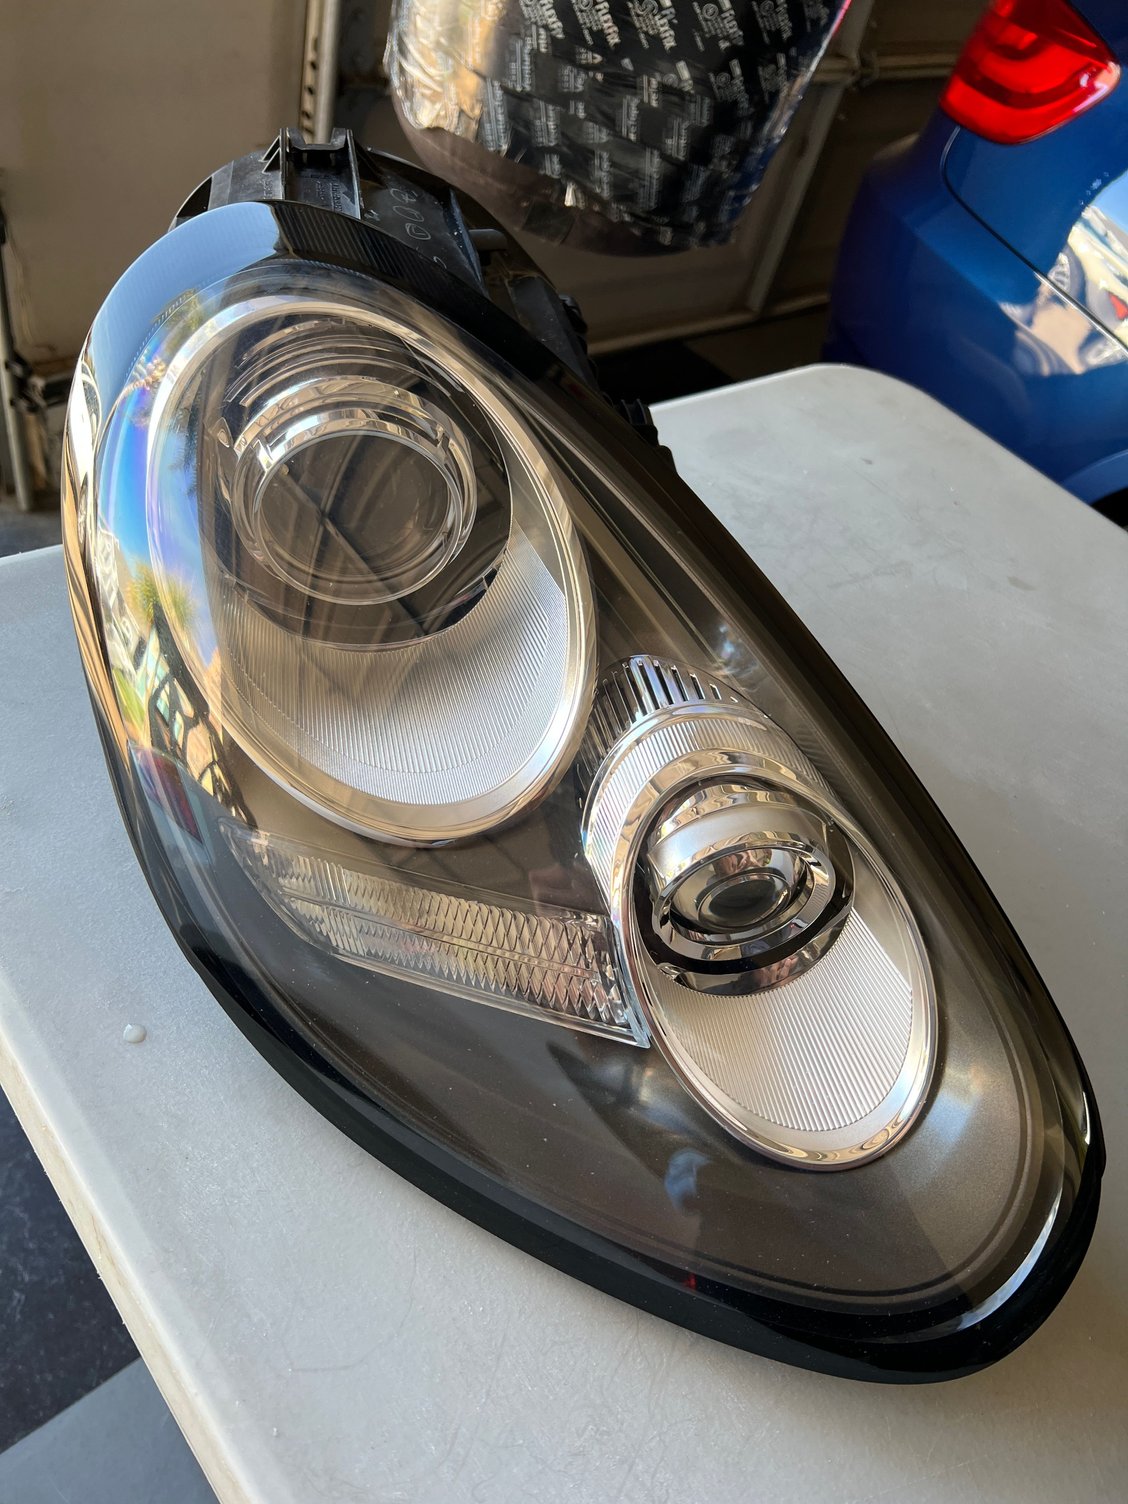
For those looking to clean up your pitted, scratched, or oxidized headlights, here is what I do on personal and customer cars when detailing. Figured with the headlights out I may as well clean them up.
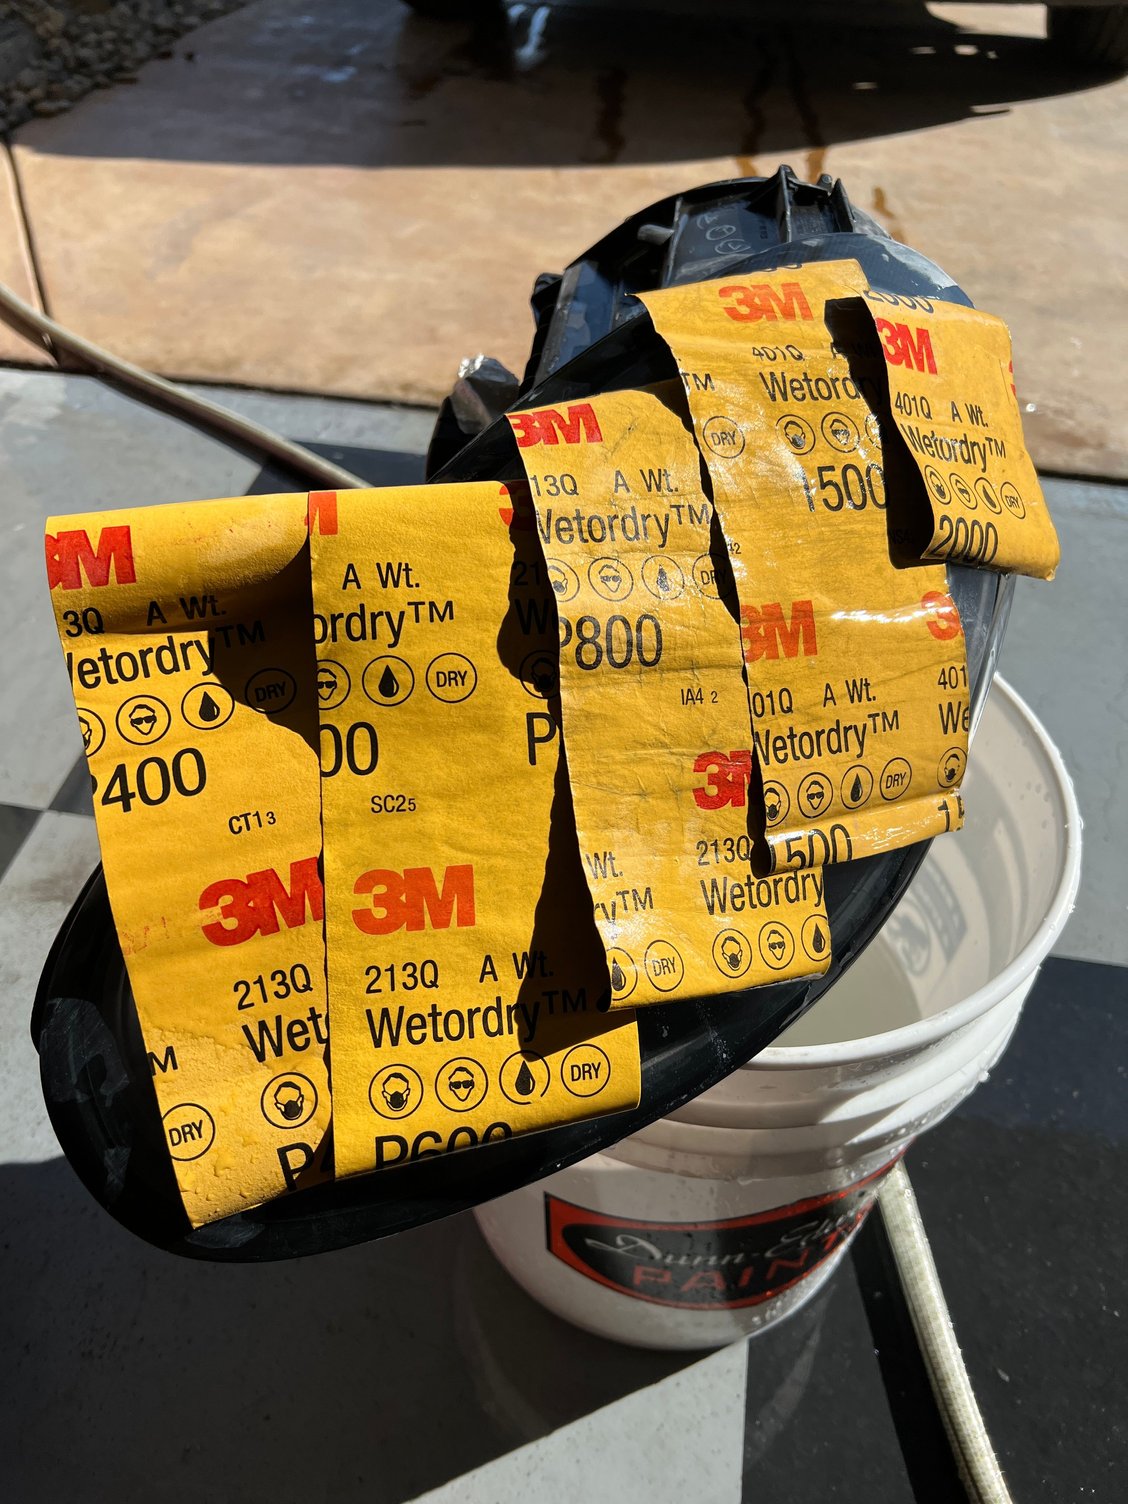
Wet sand starting with #400 grit if they�re really bad. You can skip to #600 if it�s light damage. Then work your way up the grits doing #600 > #800 > #1200-#1500 > #2000-#2500 all wet sand.
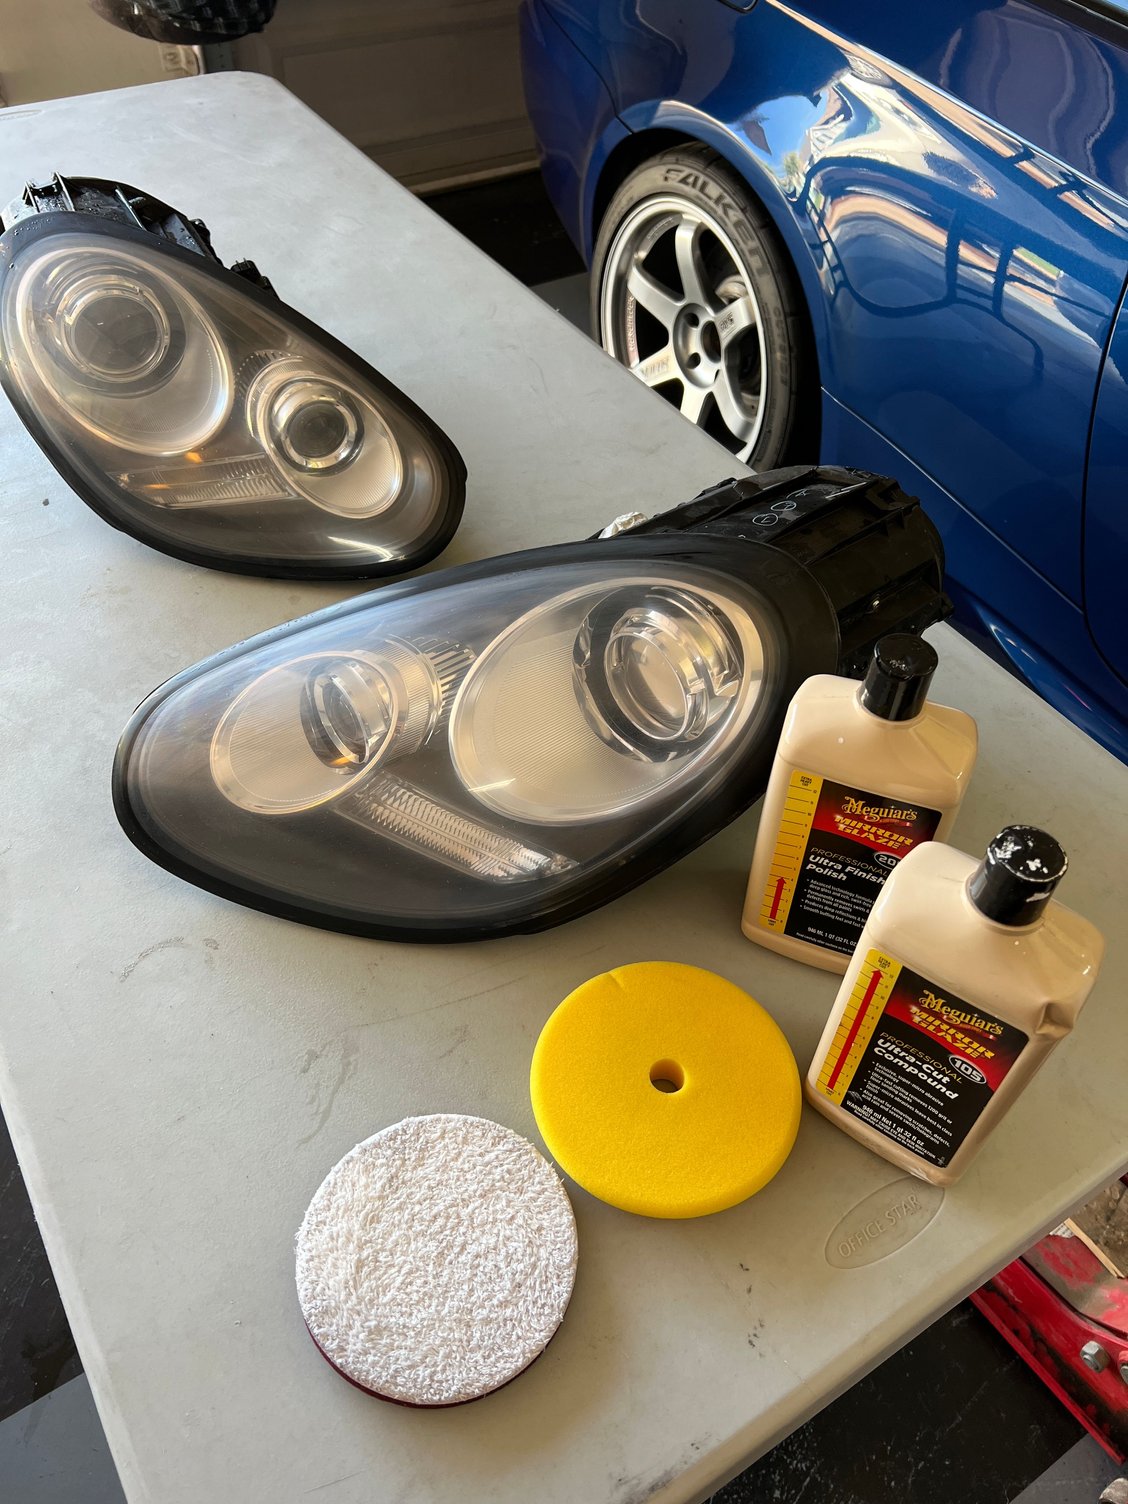
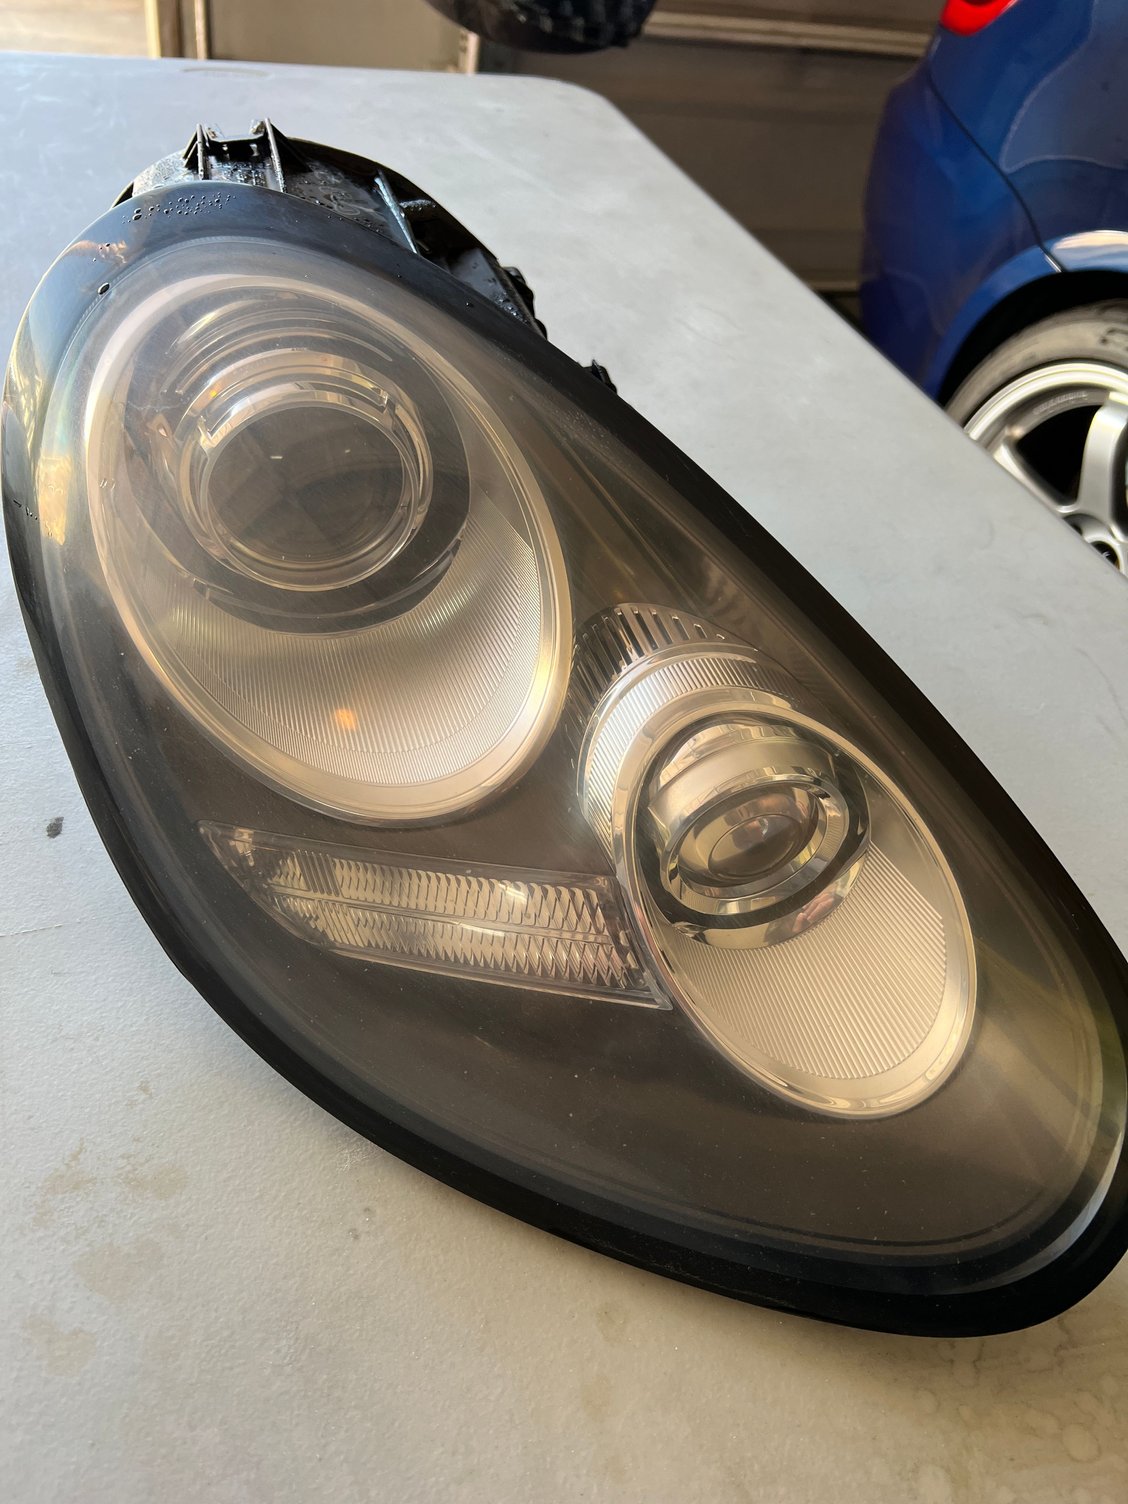
Then I cut using a foam or microfiber cutting pad and meguiars M105 followed by polishing with a yellow or white polishing pad and meguiars M205
You can then seal with a UV coating or take them in to get professionally clear coated which Is what I recommend. For clear coat, #600 provides enough abrasion for the clear to adhere properly

 11-24-2021, 01:36 PM


 Very nice attention to detail