When you click on links to various merchants on this site and make a purchase, this can result in this site earning a commission. Affiliate programs and affiliations include, but are not limited to, the eBay Partner Network.
Picked these up today. Might be a temp solution but need harnesses so they were the easiest and cheapest solution that I could fit in and have all three of us meet safety requirements. If I decide to stay with them I can always recover them easily enough and cheaper than going full leather at nearly $2k each. In the upcoming weeks the GT4 will get a cage harnesses seats etc. The Nardo fabric seems durable for track duty but this will be a street track compromise.
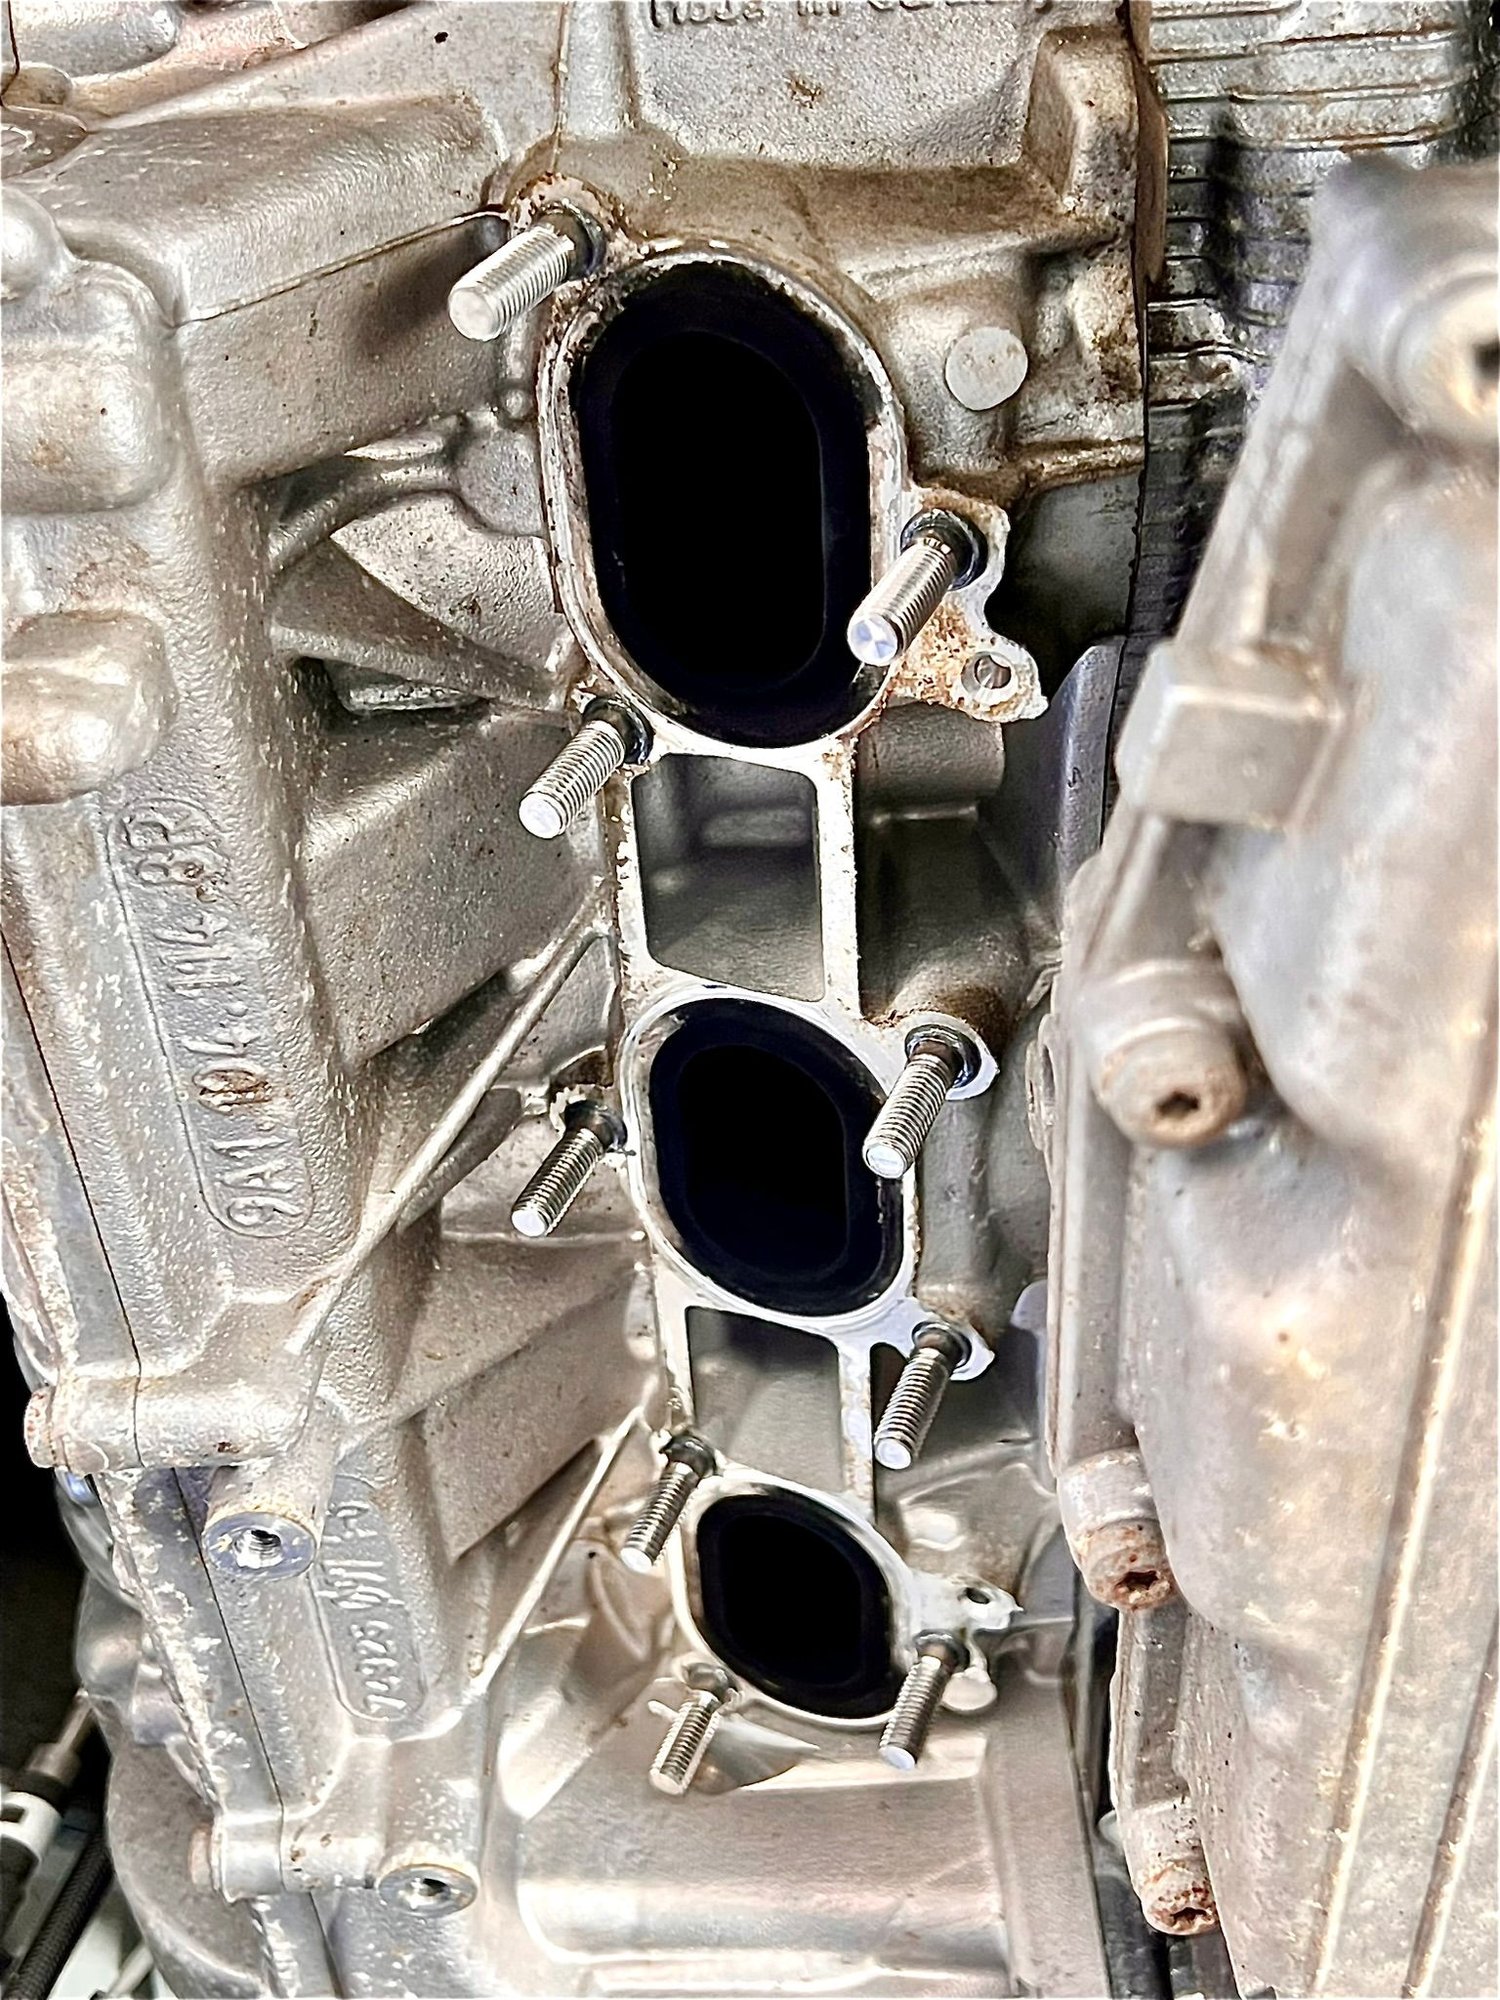
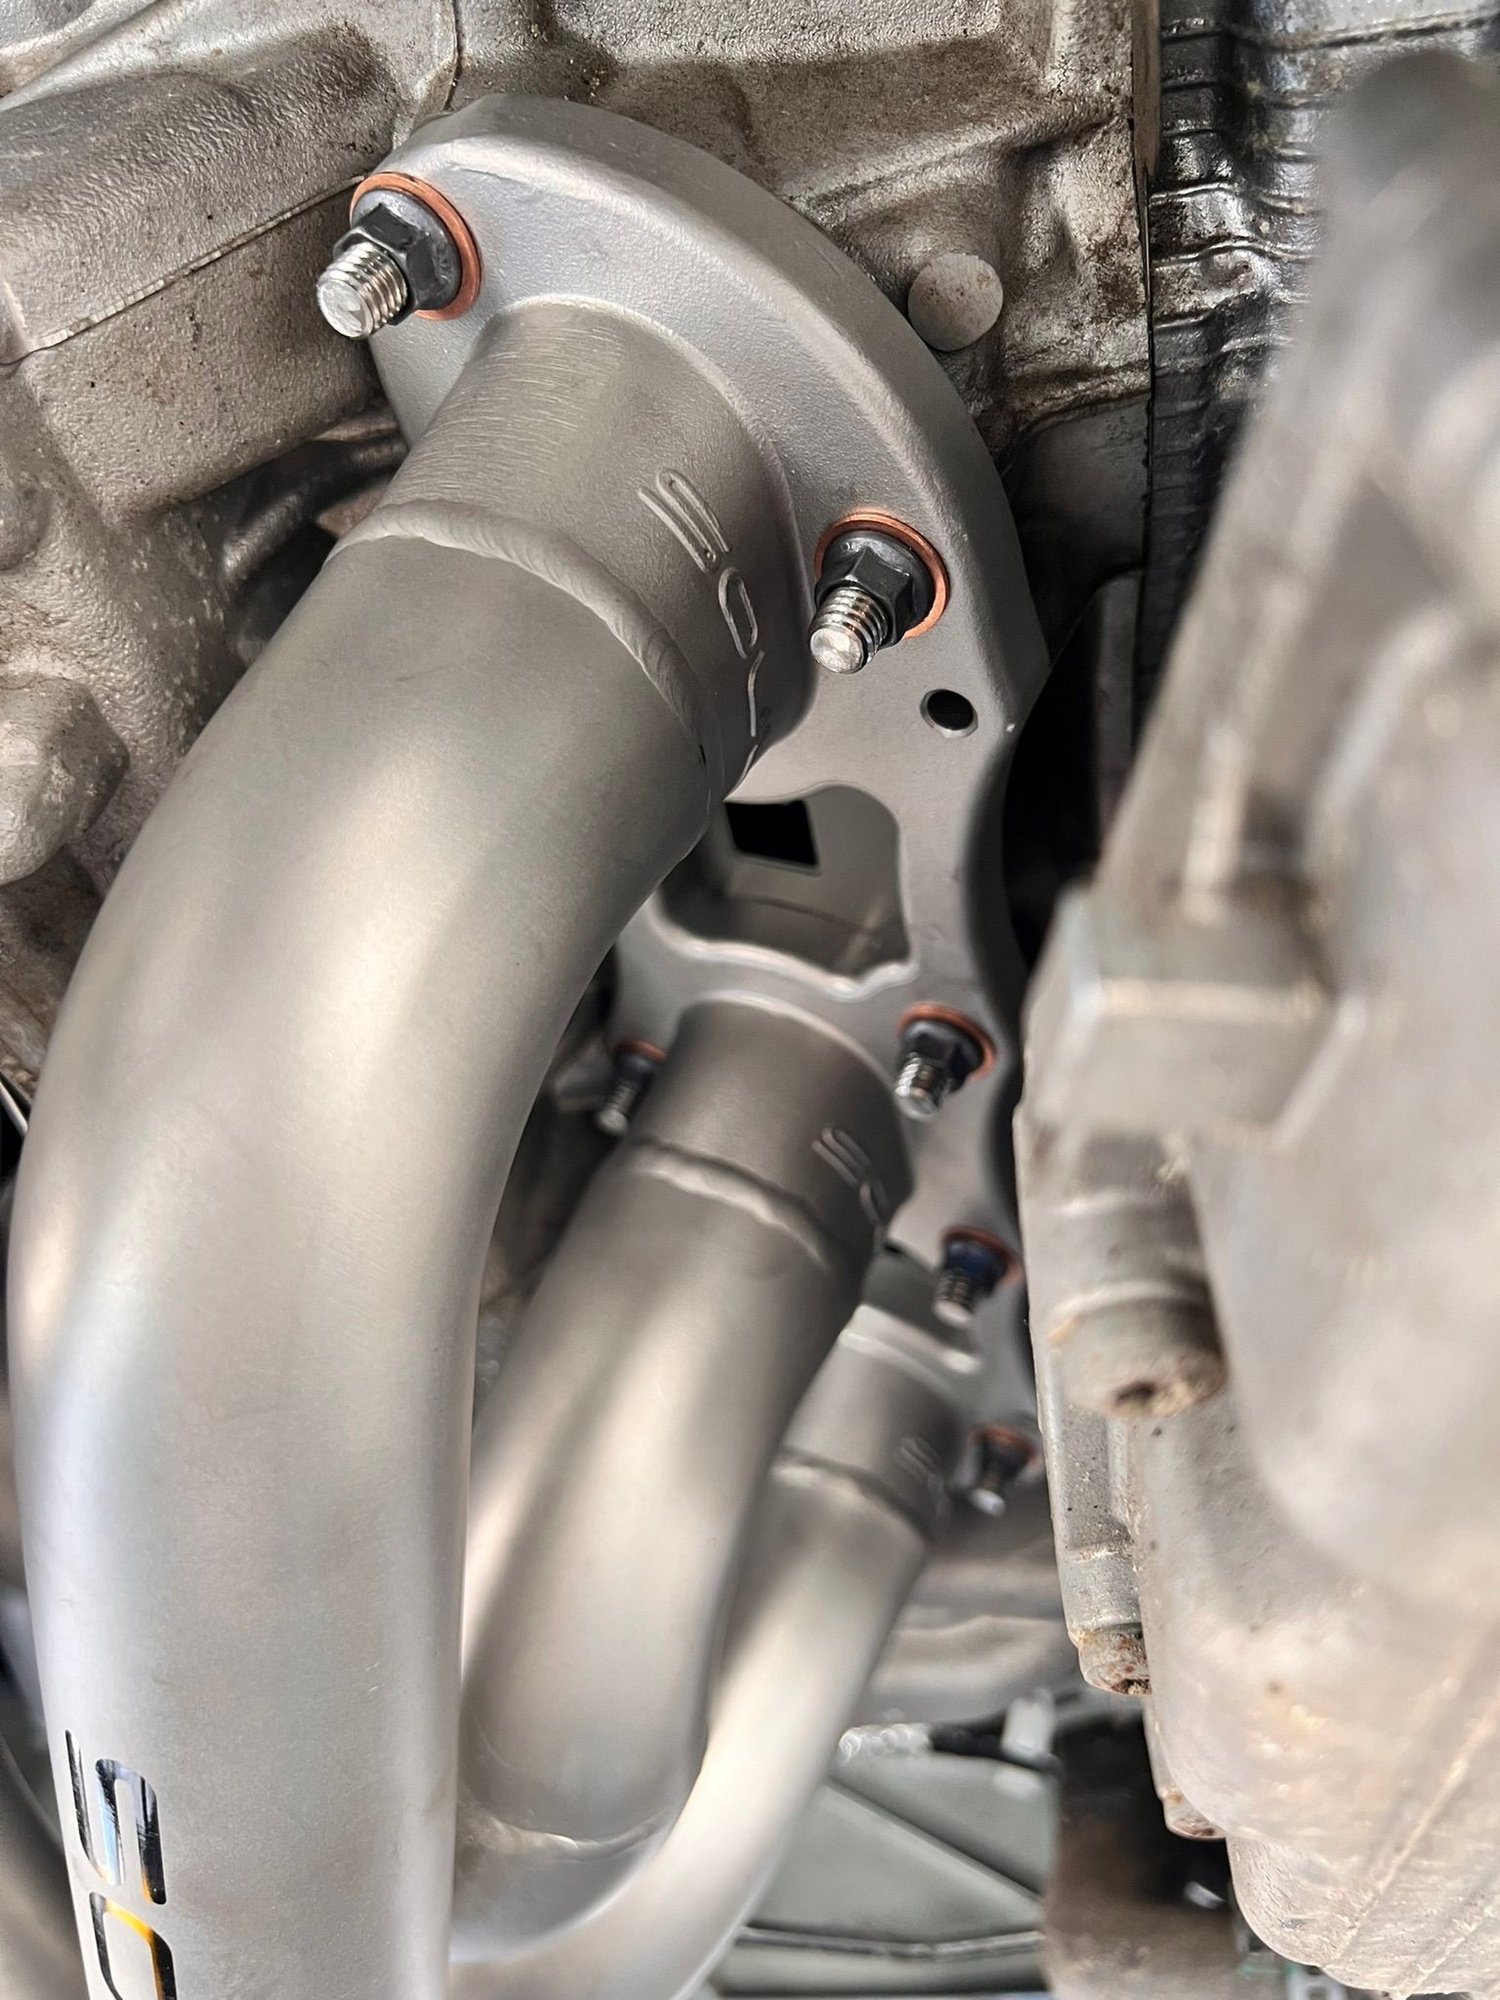
No photos, sorry. I kinda followed the guide linked below. You have to remove the brackets shown on page 4, or the OE headers will not come out due to clearance issues.
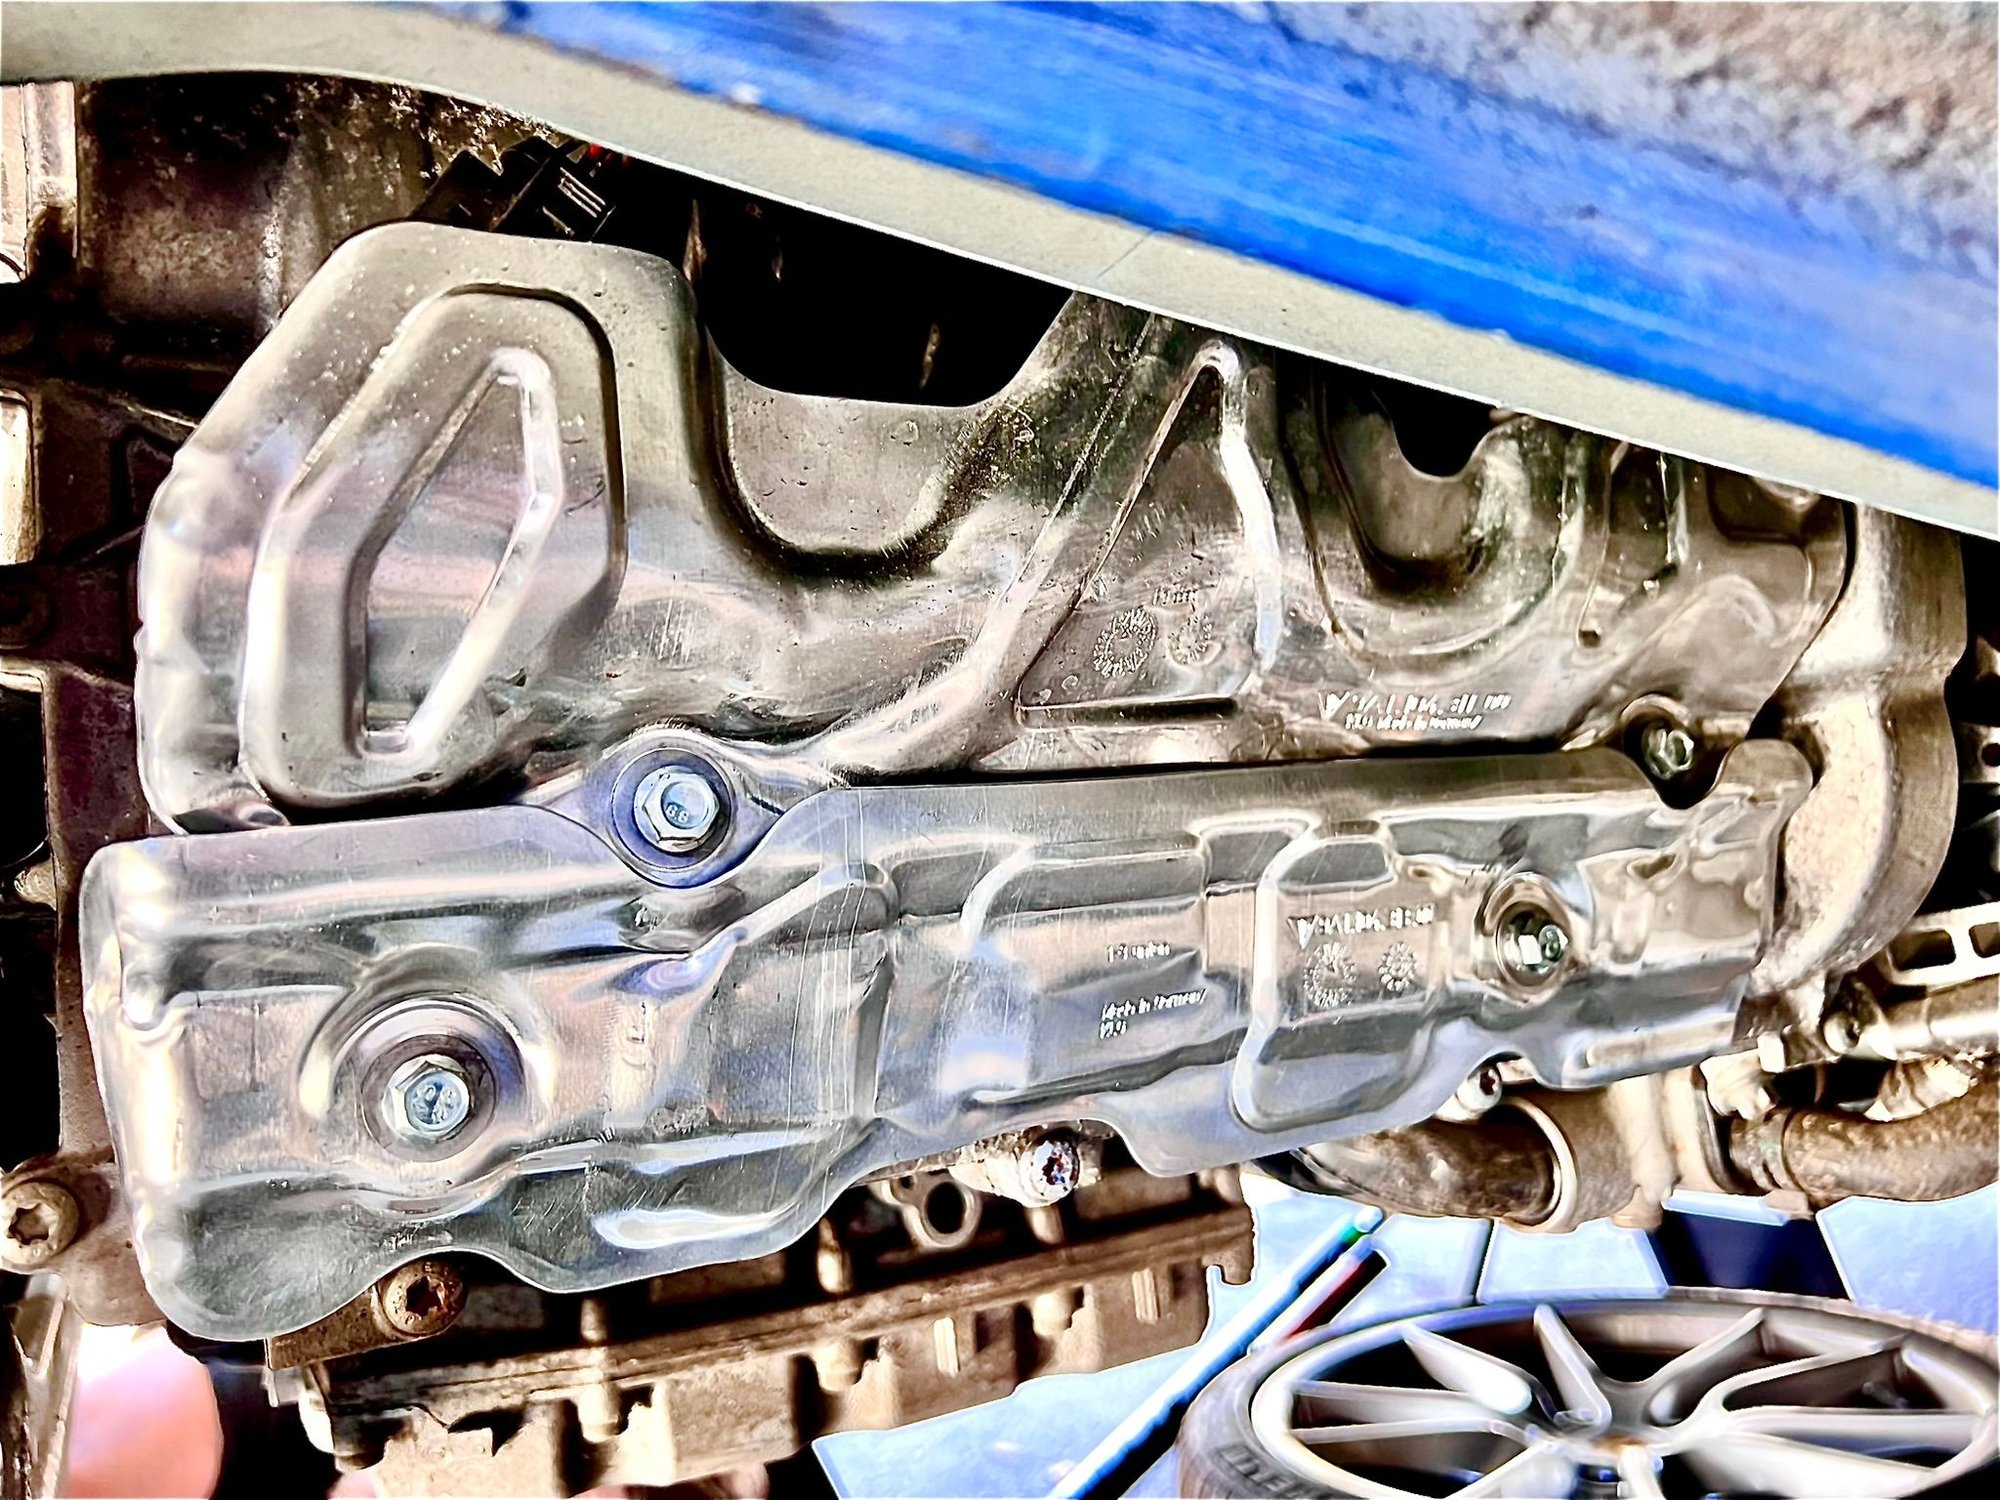
Install shouldn�t take more than 3-4ish hours if you do things right the first time. I didn�t think to remove the black under panel before raising the car and couldn�t remove it once in the air thanks to the Quickjack, so pulling the left header was a giant PITA. Installing the Cargraphic headers was simple�the only difficult part was installing the forward most bolt to the head. I ended up using one of the shorter bolts from the bracket I removed earlier, but I still wasn�t able to torque it.
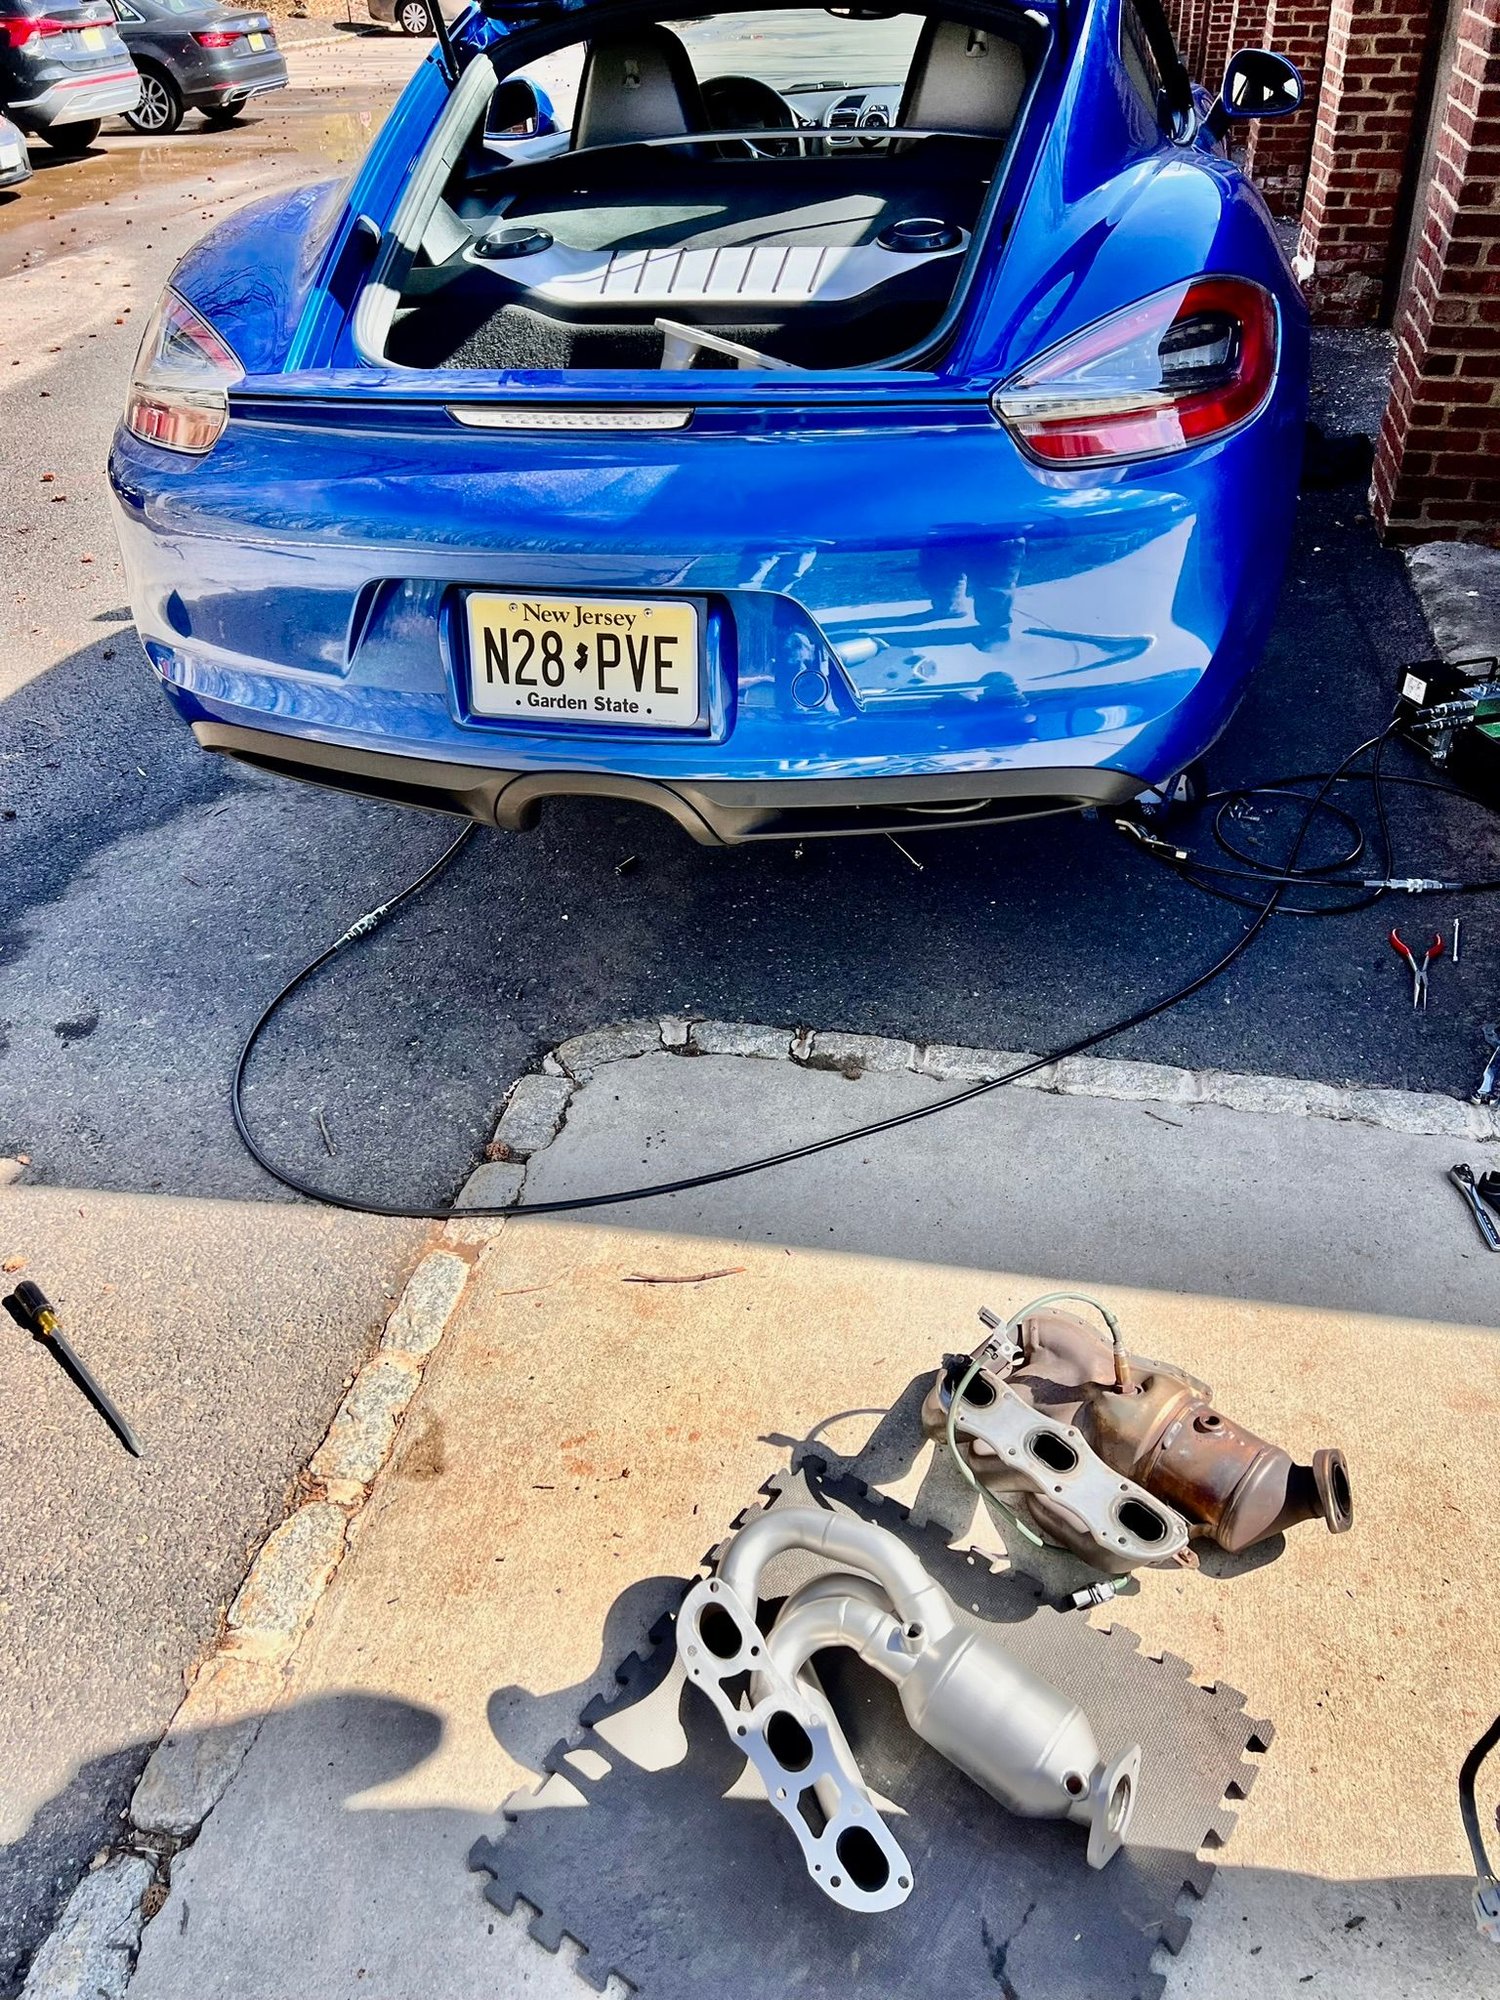
To my eyes, Cargraphic and the TopGear headers seem to be the best looking design (with cats) out of the ones I have seen.
I also like the fact that I can swap the catted section out for a catless section for track days. Just need to get over the fear of ruining the PCCBs and I�ll be set lol.
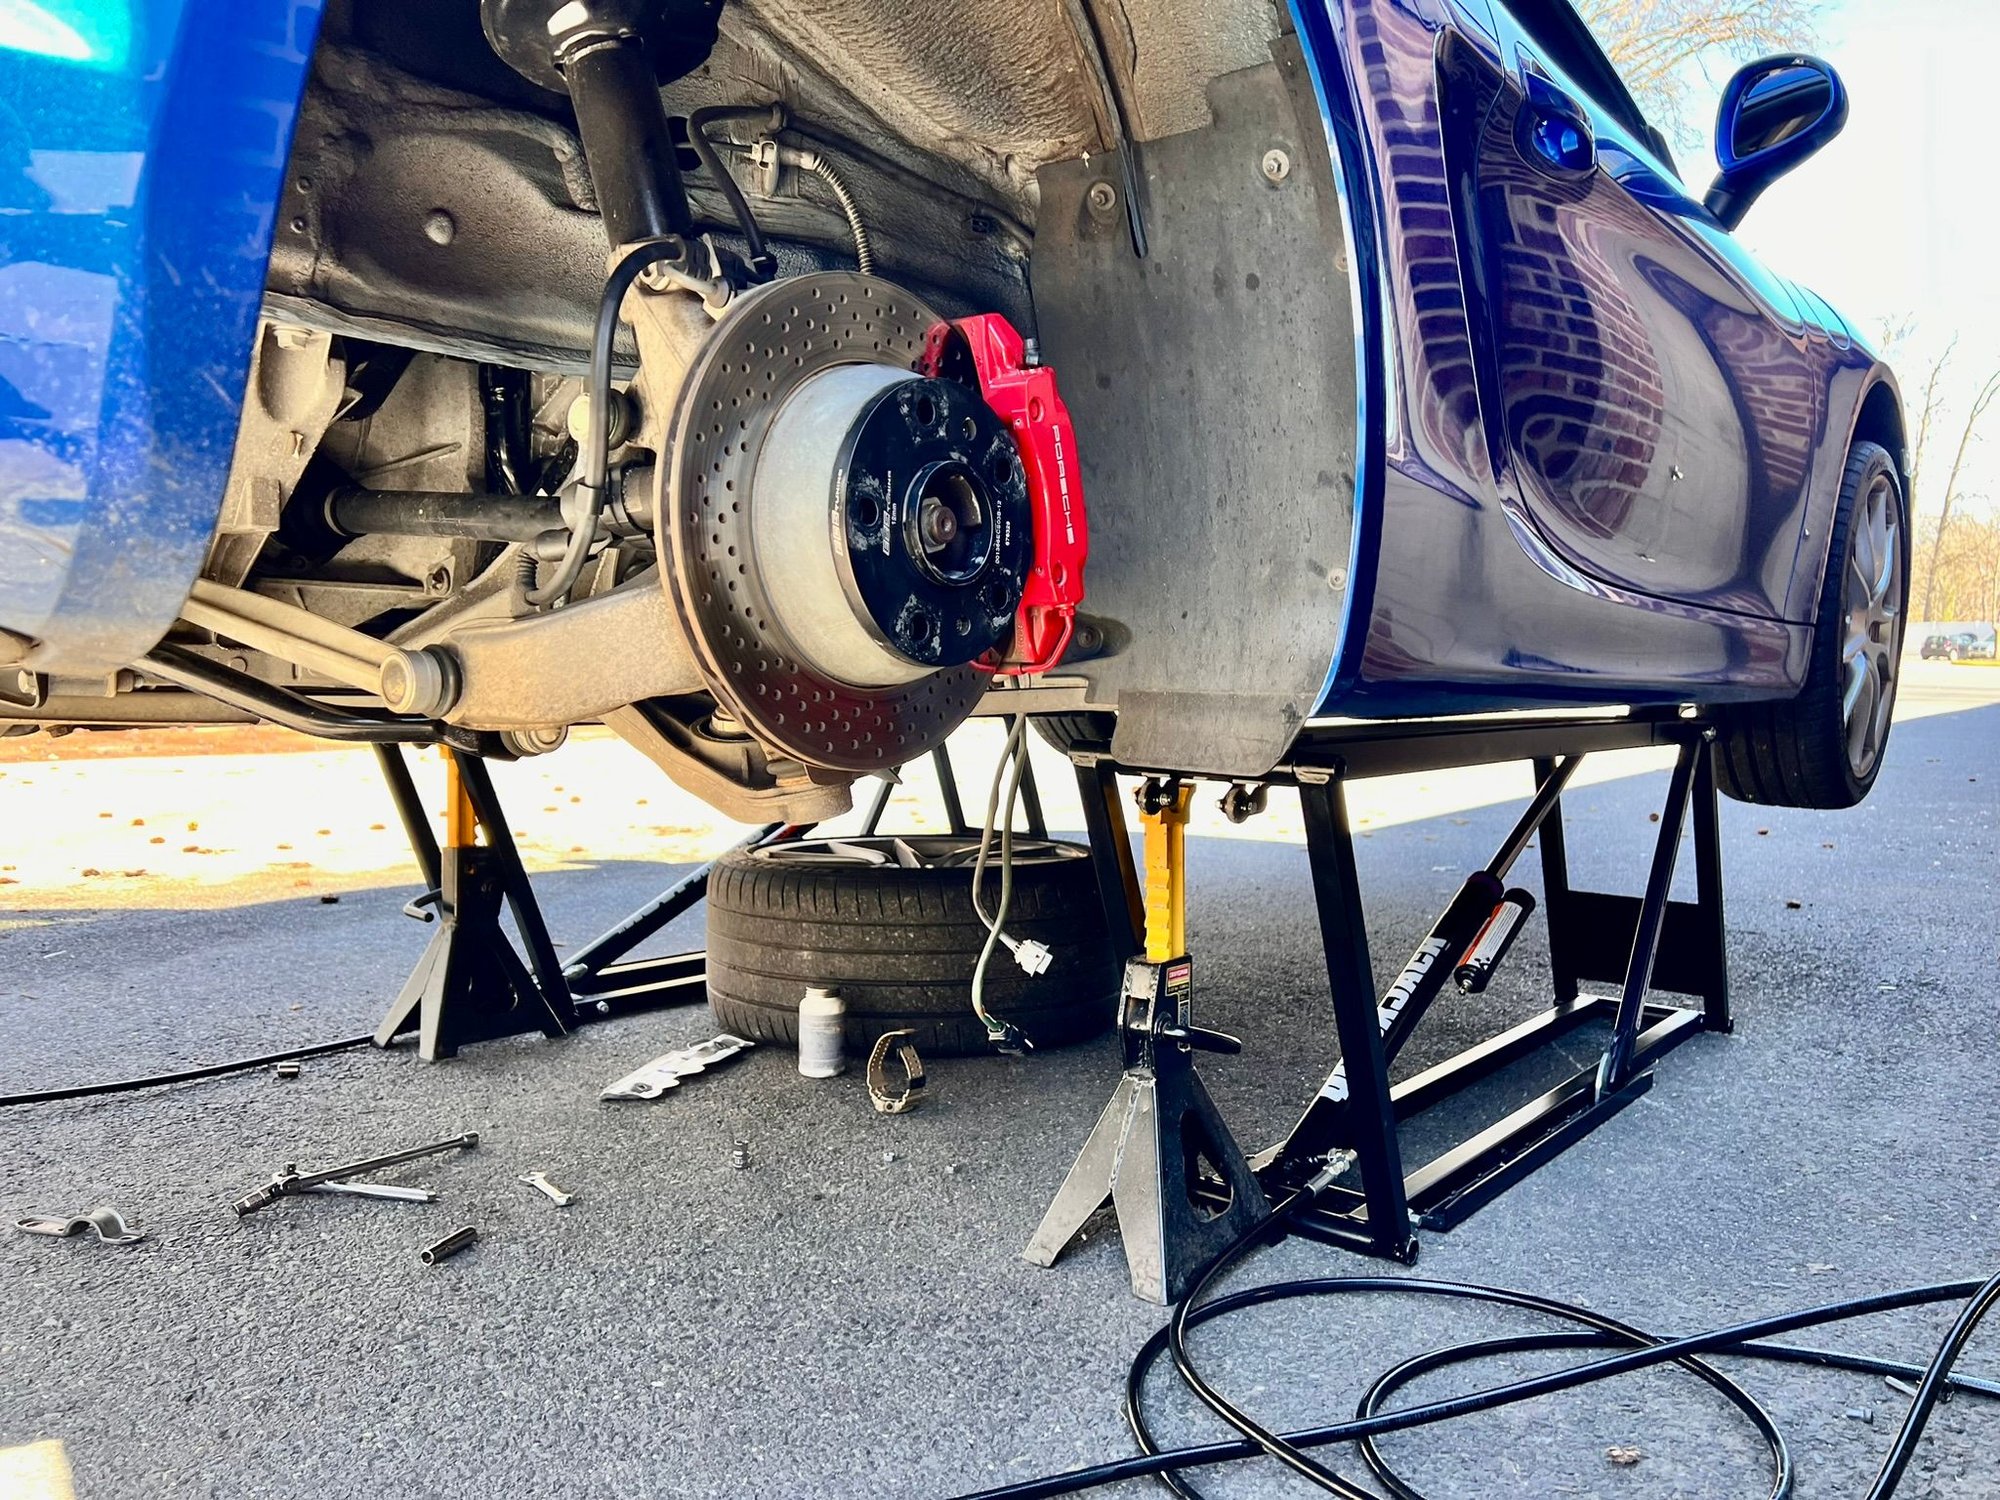
As for putting these cars up on a quick jack, I loosen all of the bolts and nuts that I can before it goes on the jack, lift it up, remove the center nuts and bolts, put it down, remove the panel, and you’re ready to access anything you need. It is not as tedious as it sounds described.
No photos, sorry. I kinda followed the guide linked below. You have to remove the brackets shown on page 4, or the OE headers will not come out due to clearance issues.
Install shouldn�t take more than 3-4ish hours if you do things right the first time. I didn�t think to remove the black under panel before raising the car and couldn�t remove it once in the air thanks to the Quickjack, so pulling the left header was a giant PITA. Installing the Cargraphic headers was simple�the only difficult part was installing the forward most bolt to the head. I ended up using one of the shorter bolts from the bracket I removed earlier, but I still wasn�t able to torque it.
Also...out of curiosity, do you think one side is easier to do than the other?
The left side is harder to do, IF you don�t remove the under panel. There�s like 1-2� less of space to wiggle the stock headers thru when the panel is installed, but it should be a breeze if it�s off. The pre-cat O2 sensors are a little difficult to access on both sides, even with the wheels off. So you could just disconnect the sensors at the harness, and swap them over to the new headers once removed from the car.
The left side is harder to do, IF you don’t remove the under panel. There’s like 1-2” less of space to wiggle the stock headers thru when the panel is installed, but it should be a breeze if it’s off. The pre-cat O2 sensors are a little difficult to access on both sides, even with the wheels off. So you could just disconnect the sensors at the harness, and swap them over to the new headers once removed from the car.
Originally Posted by Cyclman
As for putting these cars up on a quick jack, I loosen all of the bolts and nuts that I can before it goes on the jack, lift it up, remove the center nuts and bolts, put it down, remove the panel, and you’re ready to access anything you need. It is not as tedious as it sounds described.
I removed the splash guard yesterday. Super easy. Didn't even bother w/ the QJ for that part. Just popped up the passenger side w/ a floor jack and got all the nuts/bolts, aside from the 2 closest to the rocker panel on the driver's side. Didn't even lift up that side. Undid those 2 and dropped the panel.
Header install today. Will post up some pics later.
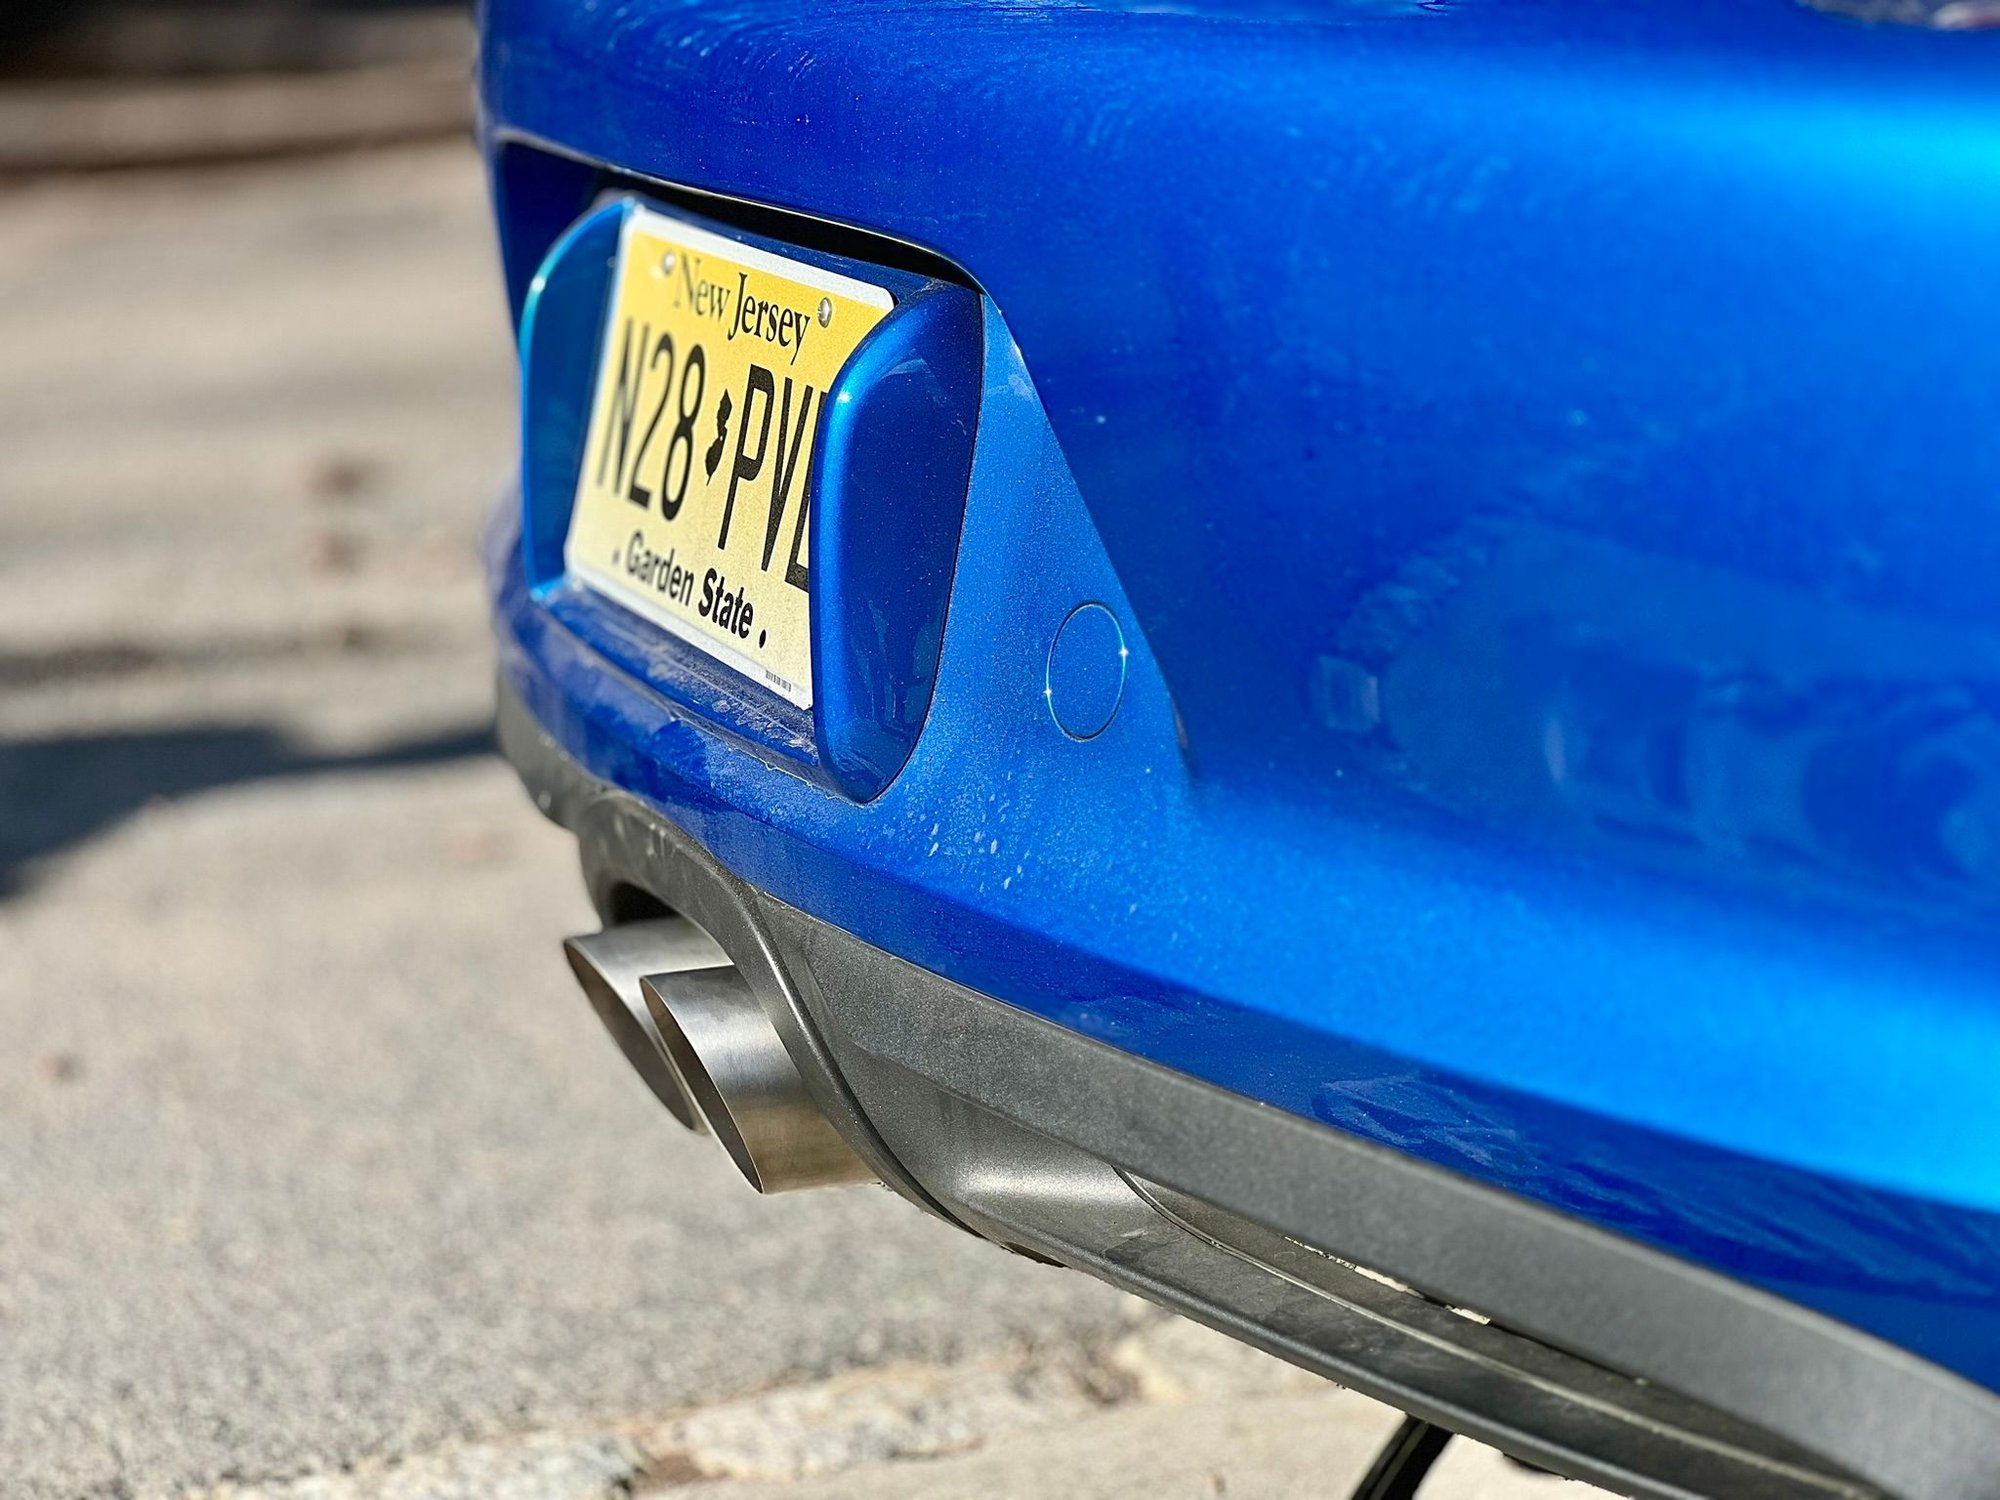
All done. Easy install. Sounds great. I do have a vibration or maybe the way it resonates now at 2800-2900 rpms. Can be overlooked but a little annoying. Only during those 200 rpms. Accel or deceleration.
I'm currently wrestling with that same air bag light thing as well.
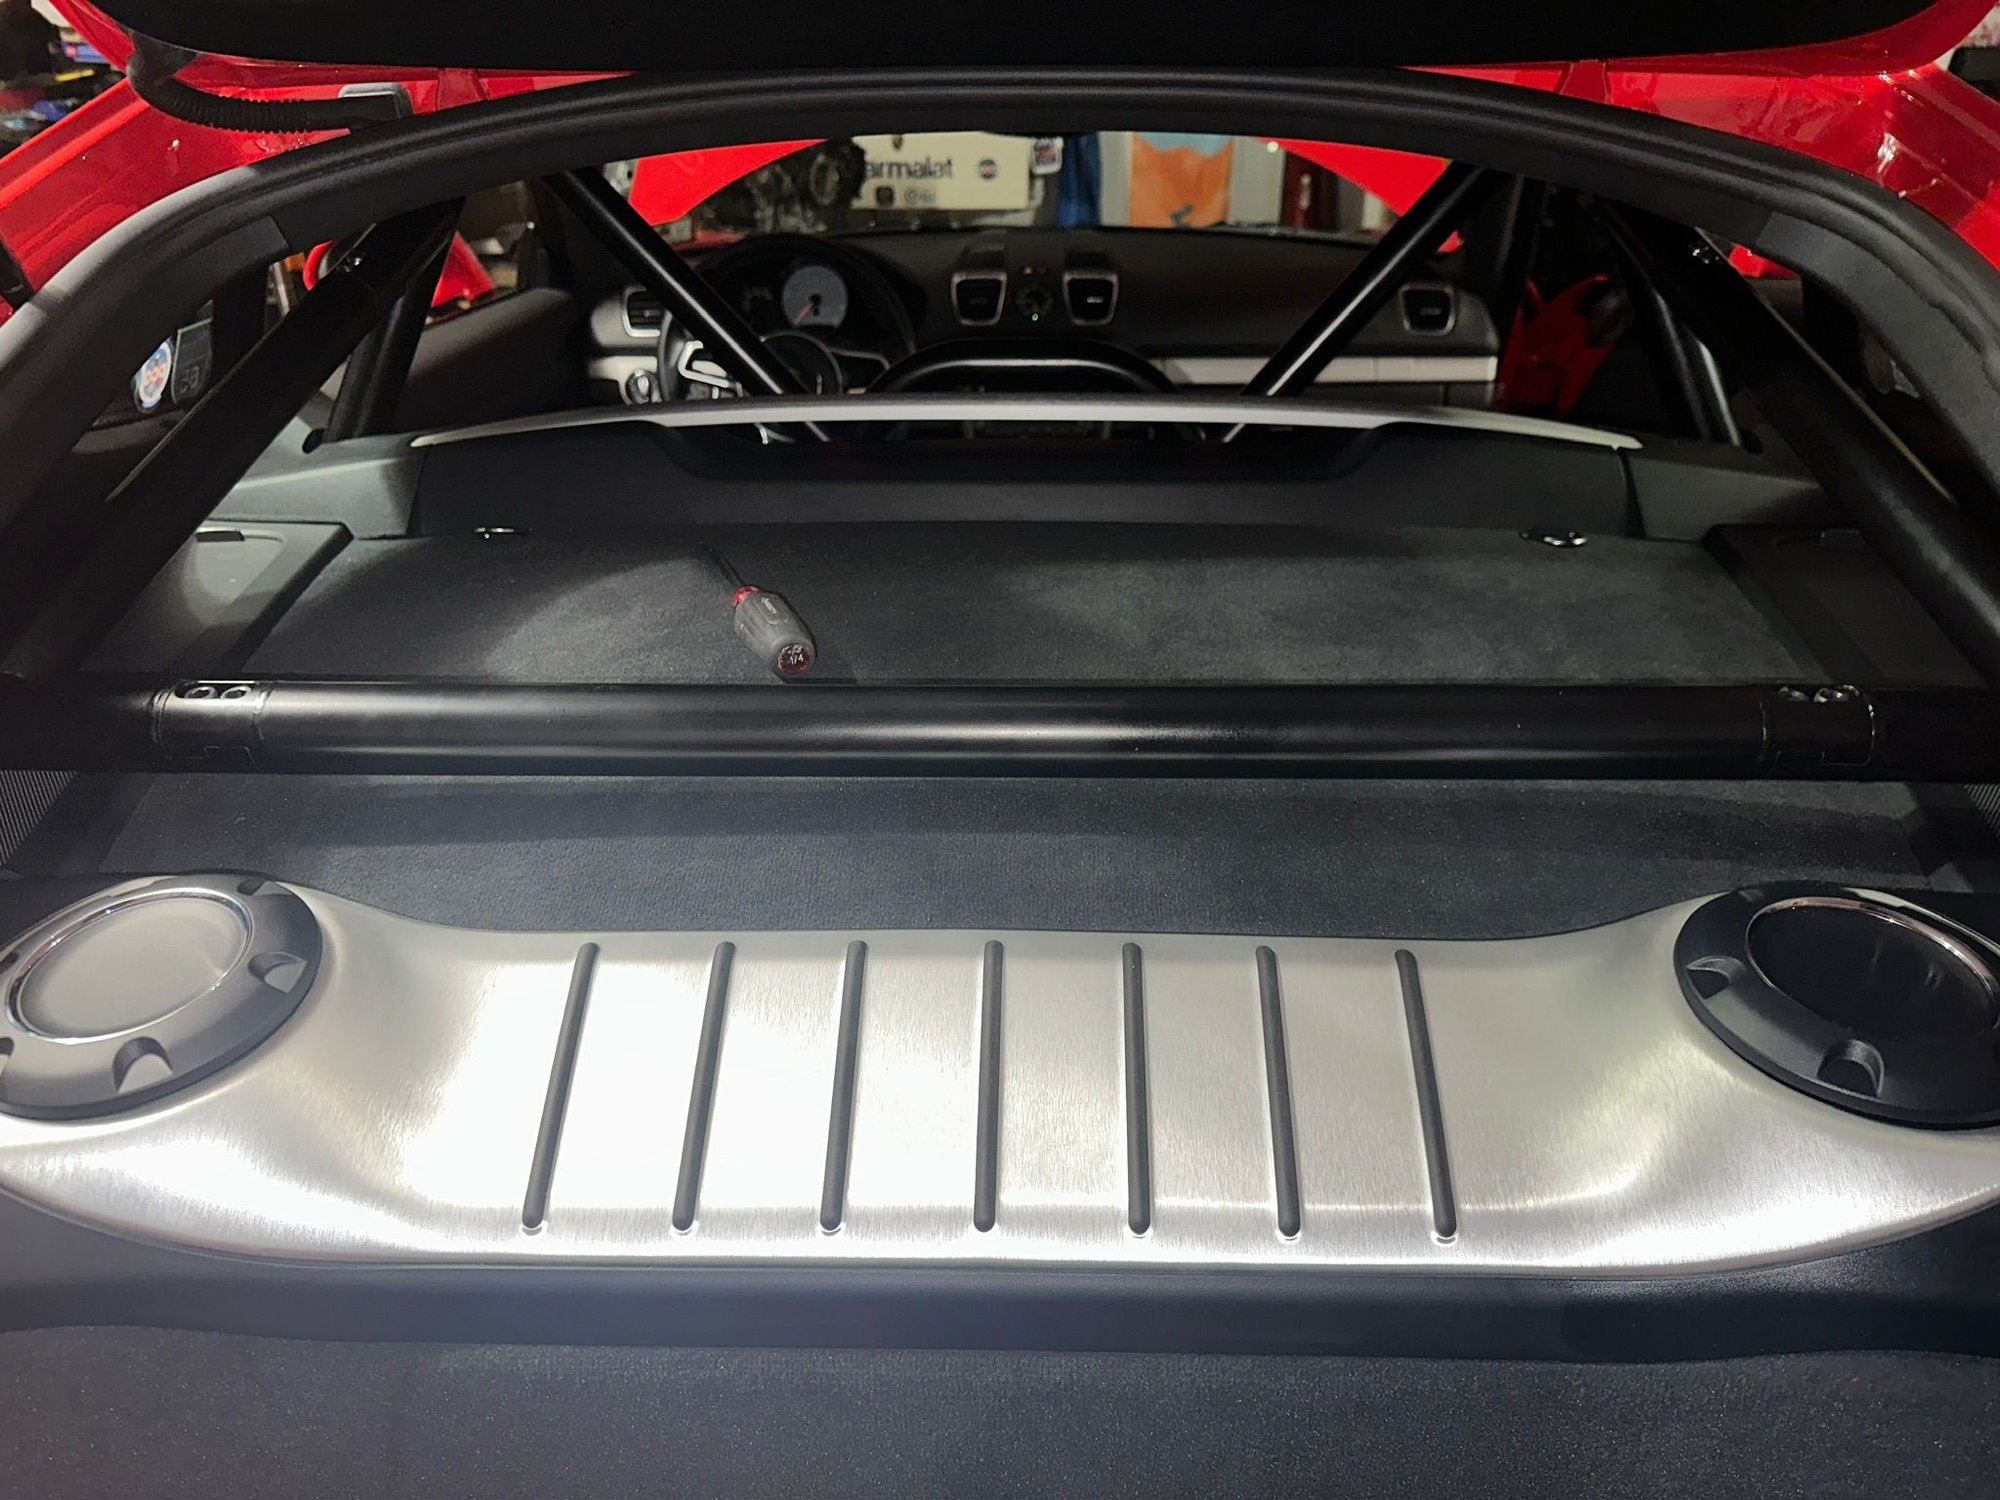
BTW, what brand of roll bar is that?
It is CMS. Nice product a bit of work to install and you have to drill into the rear cross member to mount it. If you don't get the holes perfect it can be an issue. The install was easier than the carpet trimming. A little trimming of the back carpet is need to fit but nothing that is seen. I also wouldn't pay up for their pre cut plastic pieces. I wasn't impressed and will be cutting my original ones. The parts aren't that expensive to replace if you decide to revert back.
 03-14-2024, 09:52 AM