

DIY - Camshaft chain, tensioner pads


Rennlist Member

Joined: Apr 2016
Posts: 247
Likes: 19
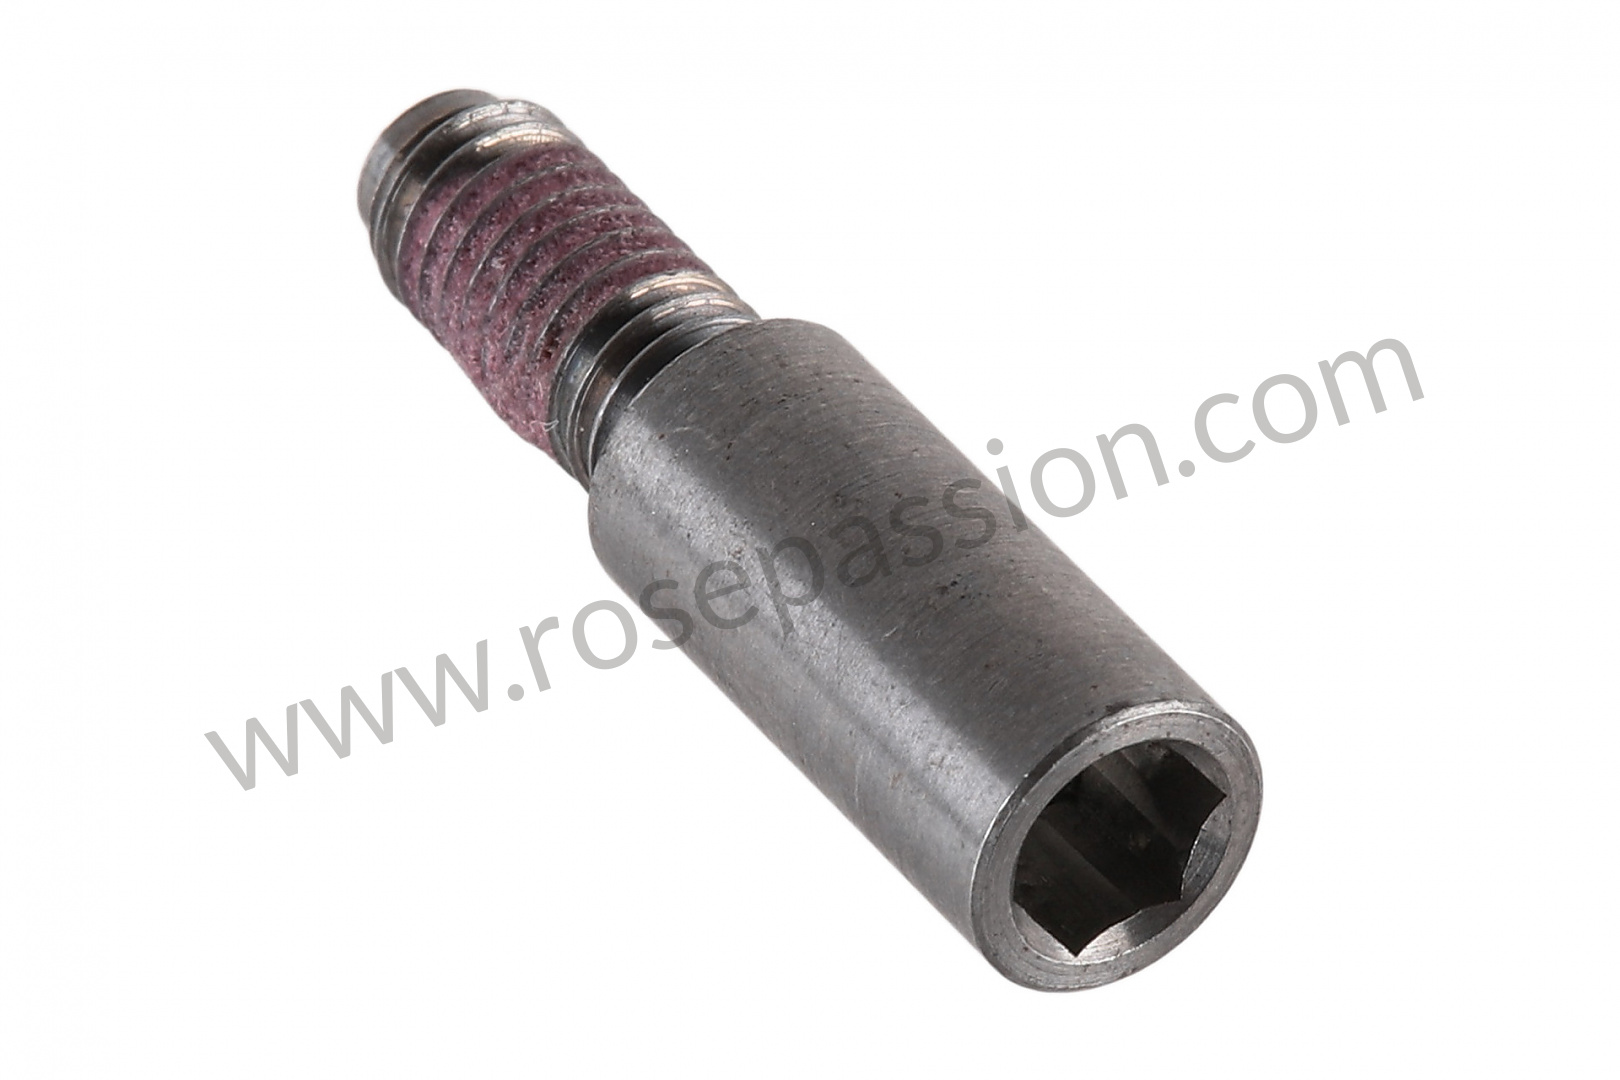
944-105-507-00 "threaded pin"
See Paulzebo's post here he indicates it keeps the check valve closed in certain conditions (Variocam feed line check valve). Mine is definitely missing I was very careful to use a magnet when removing the feed line check valve.
Mystery part in oil pan - Pelican Parts Forums
On the check valve in the bottom left corner, I can't get the M6 "3 mm Allen" set screw out (999 218 035 02). Been soaking it in acetone based brake cleaner, using a gloved finger to hold liquid in place for a couple of minutes at a time. Wonder how much loctite they put on . . .
Last edited by LTDzak; Nov 20, 2024 at 10:06 PM.
Three Wheelin'
Joined: Oct 2021
Posts: 1,810
Likes: 417
From: Central MD & Southern WI - 89 S2 Megasquirt
944-105-507-00 "threaded pin"
See Paulzebo's post here he indicates it keeps the check valve closed in certain conditions (Variocam feed line check valve). Mine is definitely missing I was very careful to use a magnet when removing the feed line check valve.
Mystery part in oil pan - Pelican Parts Forums
On the check valve in the bottom left corner, I can't get the M6 "3 mm Allen" set screw out (999 218 035 02). Been soaking it in acetone based brake cleaner, using a gloved finger to hold liquid in place for a couple of minutes at a time. Wonder how much loctite they put on . . .
See Paulzebo's post here he indicates it keeps the check valve closed in certain conditions (Variocam feed line check valve). Mine is definitely missing I was very careful to use a magnet when removing the feed line check valve.
Mystery part in oil pan - Pelican Parts Forums
On the check valve in the bottom left corner, I can't get the M6 "3 mm Allen" set screw out (999 218 035 02). Been soaking it in acetone based brake cleaner, using a gloved finger to hold liquid in place for a couple of minutes at a time. Wonder how much loctite they put on . . .
There is a machined sleeve with a small ball bearing inside that sits in a matching hole at the VC oil feed location. It acts as a check valve to keep oil from draining from the VC unit and sits where the oil feed tube connects to the VC unit. Surrounding it is a very small 1.5x8mm o ring. It is held in place by the oil feed line. Below that sleeve - according to the parts diagram is a pin - (#31, 944-105-507-00). I didnt see any way to remove that pin, and it stayed in place when I removed the VC check valve/sleeve. As you can see in the below photo, the pin isnt really clearly shown (because it sits pretty deep inside the recess for the check valve)

In terms of the head oil check valve:
999 218 035 02 is the threaded pin that holds the head oil check valve in place. I just removed that pin to replace the head oil check valve and it came out rather easy so mine wasn't threadlocked in place aparently.
Last edited by walfreyydo; Nov 21, 2024 at 10:17 AM.
Rennlist Member
Joined: Apr 2016
Posts: 247
Likes: 19
Thank you! I will have to check again, I put a larger allen key into the hole and encountered no resistance a quarter inch in. Maybe this pin doesn;t interact with the check valve (inside the variocam feed line)? Will post a picture of this pin later it also has an Allen on it.
Last edited by LTDzak; Nov 21, 2024 at 10:54 AM.
Three Wheelin'
Joined: Oct 2021
Posts: 1,810
Likes: 417
From: Central MD & Southern WI - 89 S2 Megasquirt
I see, I think this is where the confusion for me was, because I was not aware of any pin in the VC tensioner, but looking at the parts diagram I see there is some sort of pin #31. I literally had the VC tensioner apart last night and although the check valve came out quite easy, I didnt see any pin behind it, as its probably deep within that recess.
Last edited by walfreyydo; Nov 21, 2024 at 04:09 PM.
Rennlist Member
Joined: Apr 2016
Posts: 247
Likes: 19
Received 15 springs (minimum order) to replace the spring underneath the plunger that is underneath the solenoid. So if anyone needs a new one drop me a PM.
Here is the picture of the 7-00 set screw for the large oil control/check valve in the lower left courtesy of Rose Passion
Here is the picture of the 7-00 set screw for the large oil control/check valve in the lower left courtesy of Rose Passion
Last edited by LTDzak; Nov 21, 2024 at 09:55 PM.
Rennlist Member
Joined: Apr 2016
Posts: 247
Likes: 19
Is there a tool available to compress the variocam on the car? See Post 146 above, the first of Jurgen's videos linked there, around 12:15 mark, he shows a plate with three bolts acting on a piece of white plastic. He uses it to compress the variocam somewhat, on the car, prior to unbolting the cams.
Is this a tool from the 944 S2?
Is this a tool from the 944 S2?
Rennlist Member
Joined: Apr 2016
Posts: 247
Likes: 19
Raj is correct in his more recent post, I tried removing the Variocam with the cams in place (my chain has only 19 K miles on it) with no luck. I was able to compress it mostly by rotating the engine, then using a cam cover bolt and a forked interior panel remover and prying down, with a rag to cushion the chain, to fully compress the variocam. Used the factory clip to give best change of success. Tried removing the upper wear pad and rotating the engine to give maximum slack on the chain on top . . . and even with that there is simply not enough clearnace to swing the variocam up and out.
My next attempt, after marking the cams and chain, will be to remove the intake cam only. I have some Volvo cam cover hold down tools to assist in slowly relieving the pressure.
My next attempt, after marking the cams and chain, will be to remove the intake cam only. I have some Volvo cam cover hold down tools to assist in slowly relieving the pressure.
Last edited by LTDzak; Dec 2, 2024 at 10:01 AM.
Three Wheelin'
Joined: Oct 2021
Posts: 1,810
Likes: 417
From: Central MD & Southern WI - 89 S2 Megasquirt
The 944 S2 uses a completely different tensioner so I dont think so.
I just removed the VC tensioner and cams together by undoing all the cam caps (you do not need the special tool to do this as long as you loosen all the cam caps little by little, working your way around) and then removing both cams and the VC tensioner as a unit. I did not compress the VC tensioner for removal. From there, once it was out, I put a clamp over the VC tensioner (and chain), put the clip (special tool) in place, then removed the clamp and slid it out from between the chains.
After installing new pads, put the clamp back on, put the clip back in place and reinstall reverse of removal, obviously making sure that the cams are aligned and chain has the correct number of links between the markings.
Last edited by walfreyydo; Dec 2, 2024 at 10:30 AM.
Rennlist Member
Joined: Apr 2016
Posts: 247
Likes: 19
Update on my 968 - ended up pulling the cams and varicam the correct way, as I was only two cam caps away from pulling the intake cam as well.
Also, have disassembled, almost completely, the variocam itself and have measured for the o-rings associated with the outer, larger piston as well as a square cross section ring. Will take pictures shortly, I did end up removing both of the feet with a W140 puller available at NAPA and O-reillys and probably other parts places. There is a ring of oil varnish near the top of the travel of the outer piston (on the inner) that may cause sticking, I need to think through the exact position the unit would be in in the idle to 1500 rpm range where I was getting chain rattle) up all the way probably). Plan to clean that with acetone or if necessary MEK.
If anyone has gotten this far, can't seem to figure out how to remove the inner piston from the outer piston. Using said puller and prior to removing the bottom foot with 5/8s and 11/16 sockets, I used the puller to carefully move the inner piston all the way "down" through its travel but no snap ring was evident.
On this 1992 very well maintained but 184 K mile example, the greenish grey O rings on the inner piston were completely hardened and snapped installing upon a removal attempt. The inner square O-ring was pretty decrepitated though where it met the inner piston it was still intact.
A really clear cross section of the 968 variocam would be welcome, the ones on the video I found were blurry,


Rennlist Member
Joined: Jan 2018
Posts: 1,696
Likes: 225
From: San Francisco, Ca
Rennlist Member
Joined: Apr 2016
Posts: 247
Likes: 19
I may need to order a bunch of outer piston o-rings and inner piston square seals, especially the later may need to be a custom fabrication run. Since I have 9 more solenoid return springs than I need, perhaps some rebuild kits could be assembled. Still haven't been able to remove the inner piston from the outer piston. Will post pictures of the innards soon.
Last edited by LTDzak; Jan 12, 2025 at 06:16 PM.
Three Wheelin'
Joined: Oct 2021
Posts: 1,810
Likes: 417
From: Central MD & Southern WI - 89 S2 Megasquirt
I may need to order a bunch of outer piston o-rings and inner piston square seals, especially the later may need to be a custom fabrication run. Since I have 9 more solenoid return springs than I need, perhaps some rebuild kits could be assembled. Still haven't been able to remove the inner piston from the outer piston. Will post pictures of the innards soon.