Notices
968 Forum 1992-1995

Dash Removal Instructions?

Thread Tools
 
Search this Thread
 
Old 07-31-2023, 10:09 AM
  #1  
mferris
Rennlist Member
Thread Starter
 
mferris's Avatar
 
Join Date: Aug 2012
Location: North Carolina
Posts: 558
Received 237 Likes on 139 Posts
Default Dash Removal Instructions?

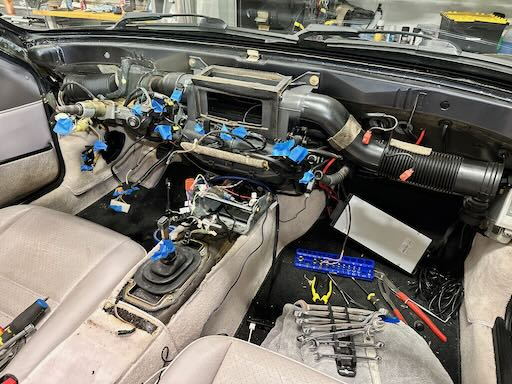
I know I saw detailed step-by-step instructions on 968 dash removal somewhere - but I can't find with a search here. Can someone point me to them?

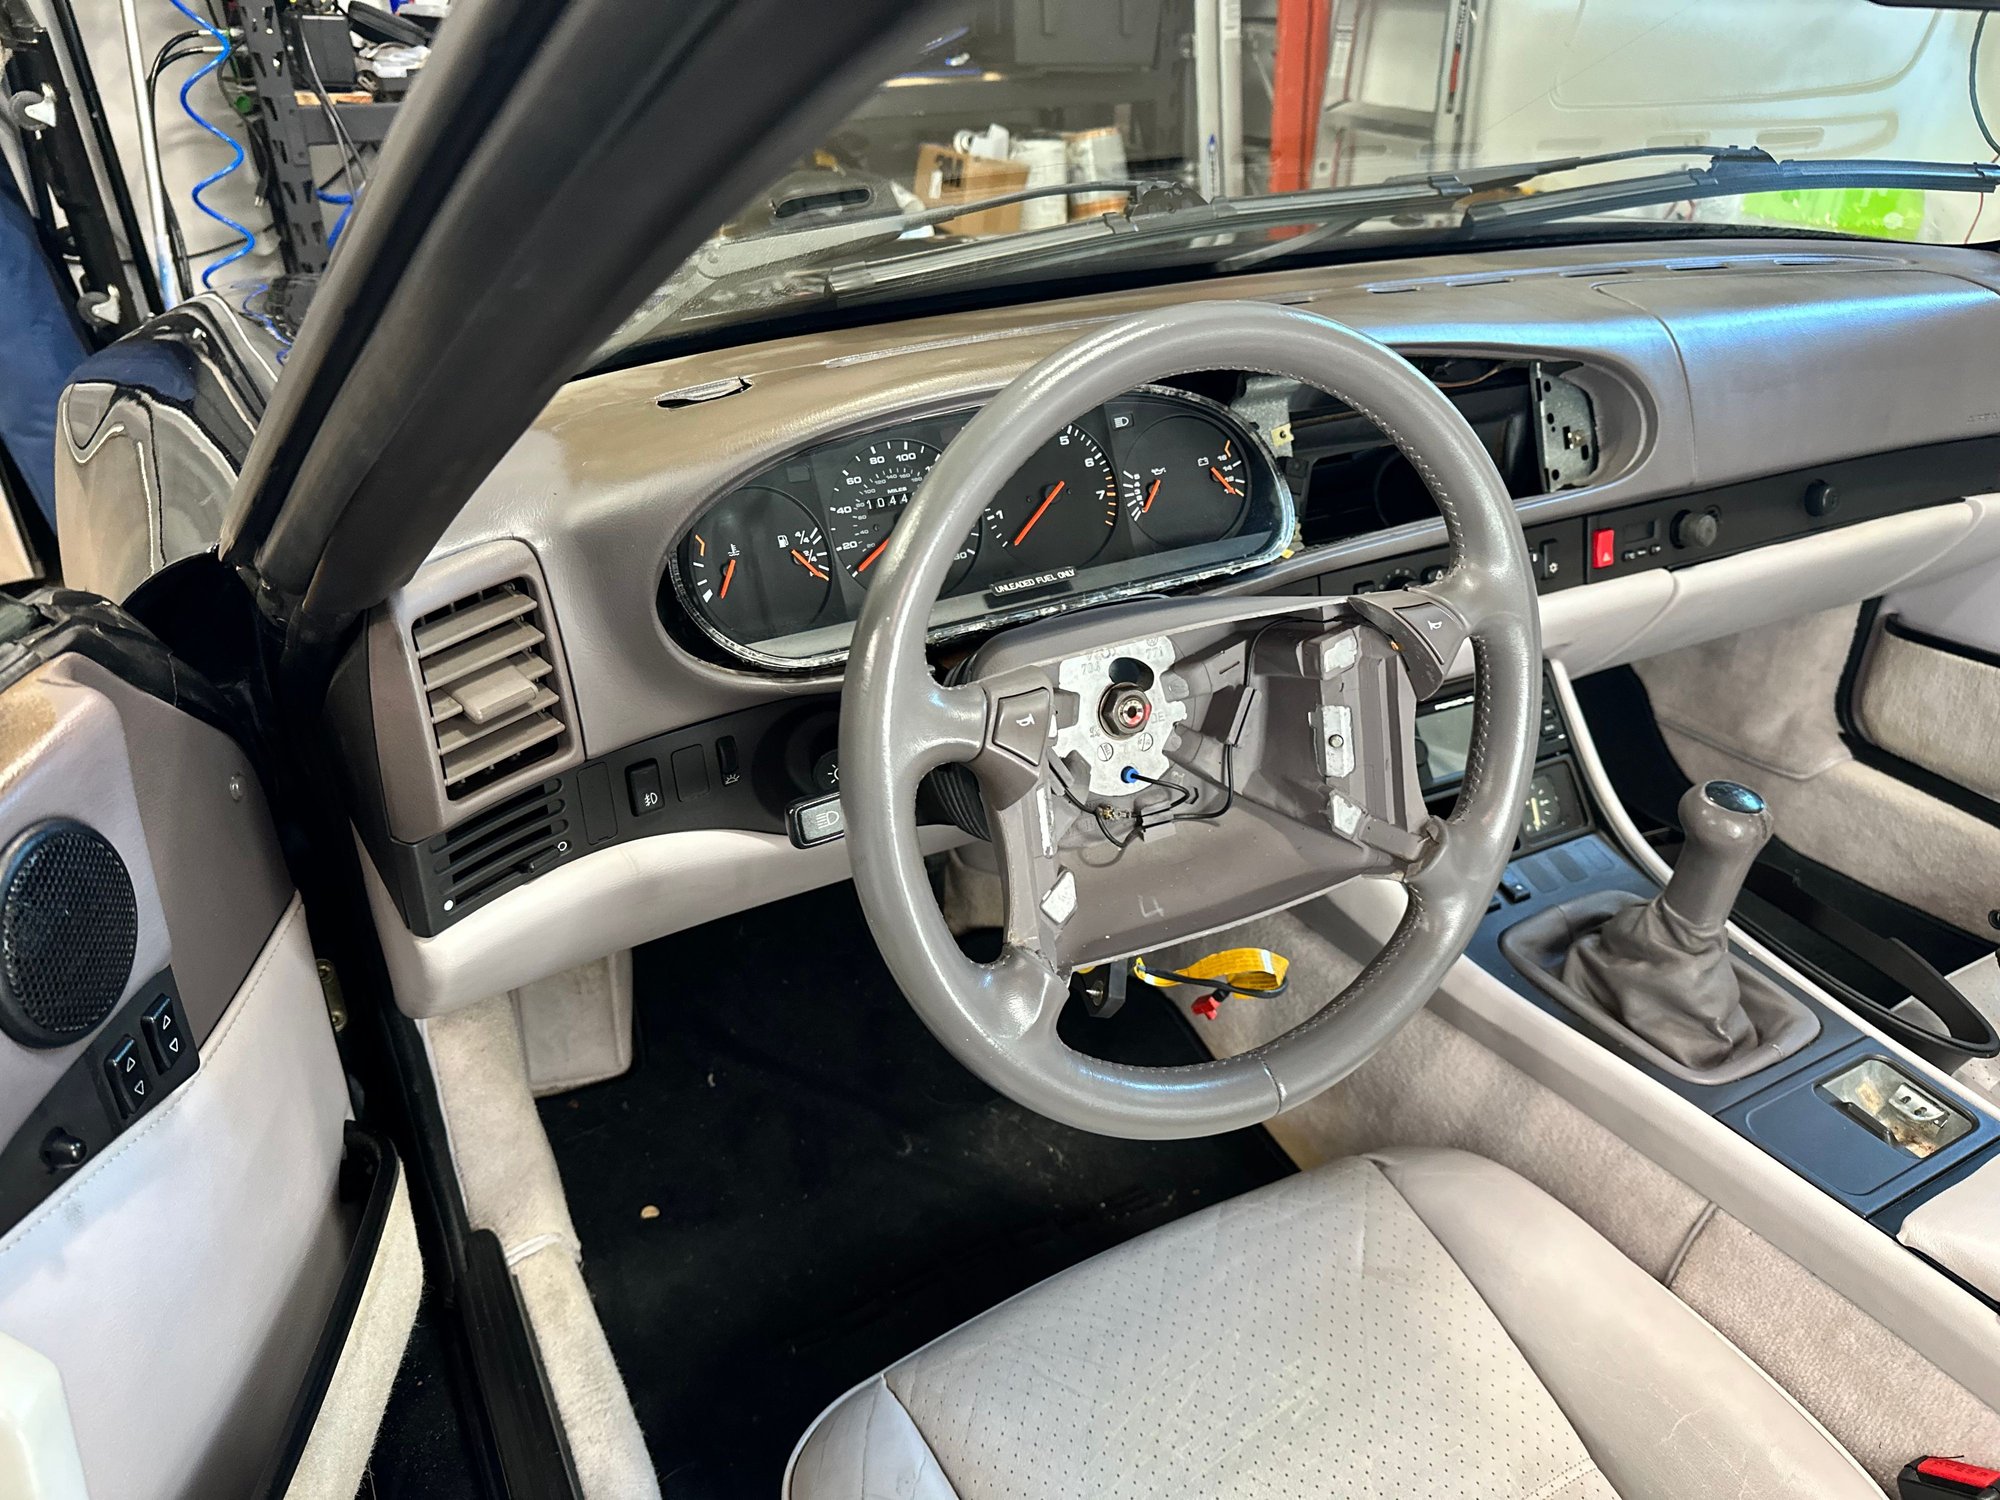
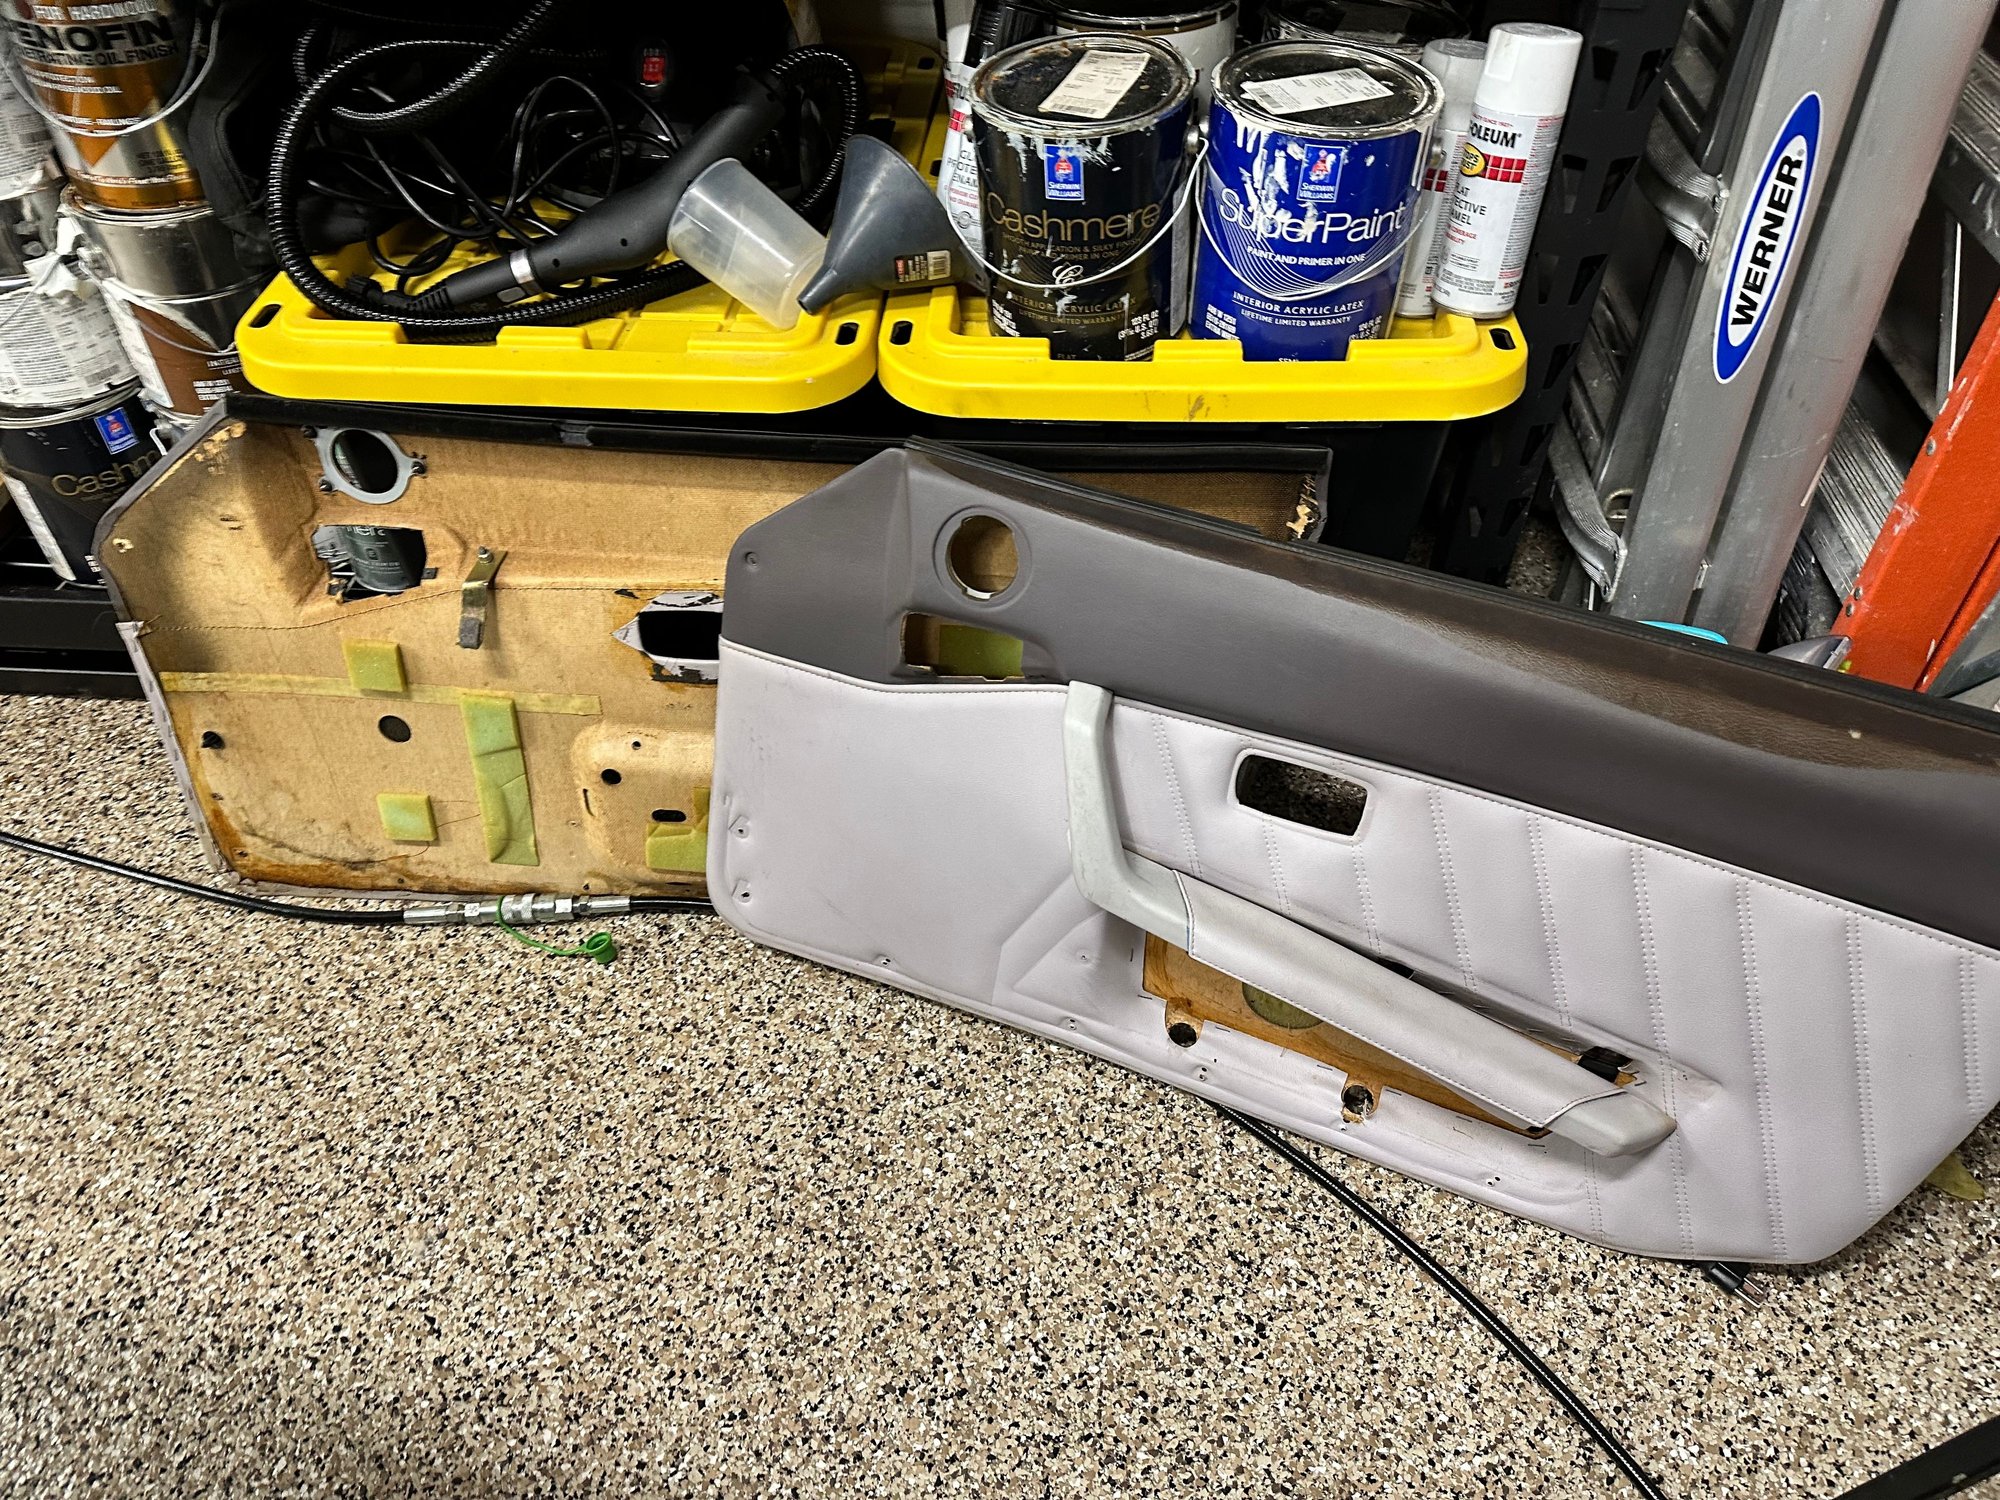
1993 968 Cab - took off the A-Pillar trim this weekend and repainted with SEM to such good effect that they look brand new so I've decided to remove my (slightly cracked, but sun bleached) dash and door tops and repaint them (even if I leave the crack in place since it's not worth $2K to have someone repair it - although I reserve the right to change my mind once I get it off).


Old 07-31-2023, 12:52 PM
  #2  
jeff968
Rennlist Member
 
jeff968's Avatar
 
Join Date: Dec 2003
Location: Connecticut
Posts: 4,561
Received 189 Likes on 128 Posts
Default

Google Clarks garage for good dash removal steps.

Classic grey color?
Old 07-31-2023, 02:13 PM
  #3  
mferris
Rennlist Member
Thread Starter
 
mferris's Avatar
 
Join Date: Aug 2012
Location: North Carolina
Posts: 558
Received 237 Likes on 139 Posts
Default

thanks for reminder about Clark’s!

Yea - I presume classic gray (seats are light gray, and I’ve already replaced the steering wheel and shifter with black). The dash and door panel tops are discolored and sunburned to no end. I like black (to minimize windshield reflections) and already painted the a pillars satin back and they look brilliant -so if I can figure out how to paint the AC vents black I will just convert everything to black.

Not original but I’ll keep it classy.


Old 07-31-2023, 02:39 PM
  #4  
jeff968
Rennlist Member
 
jeff968's Avatar
 
Join Date: Dec 2003
Location: Connecticut
Posts: 4,561
Received 189 Likes on 128 Posts
Default


It was another color option combination with the light grey.
Old 07-31-2023, 04:44 PM
  #5  
mferris
Rennlist Member
Thread Starter
 
mferris's Avatar
 
Join Date: Aug 2012
Location: North Carolina
Posts: 558
Received 237 Likes on 139 Posts
Default

Nice! That's the look I want (although mine may never be that clean). I'm getting there. Right now though - mine is still a gray/brown combination. (pictures are before the steering wheel/shifter/boot changes - during repainting of the instrument console and stereo installation)

The following users liked this post:
Jay Wellwood (08-08-2023)
Old 07-31-2023, 05:37 PM
  #6  
jeff968
Rennlist Member
 
jeff968's Avatar
 
Join Date: Dec 2003
Location: Connecticut
Posts: 4,561
Received 189 Likes on 128 Posts
Default


I had your interior in one of my previous 968s. It had the deviated carpet option to classic grey.
The following users liked this post:
Jay Wellwood (07-31-2023)
Old 07-31-2023, 08:22 PM
  #7  
mferris
Rennlist Member
Thread Starter
 
mferris's Avatar
 
Join Date: Aug 2012
Location: North Carolina
Posts: 558
Received 237 Likes on 139 Posts
Default

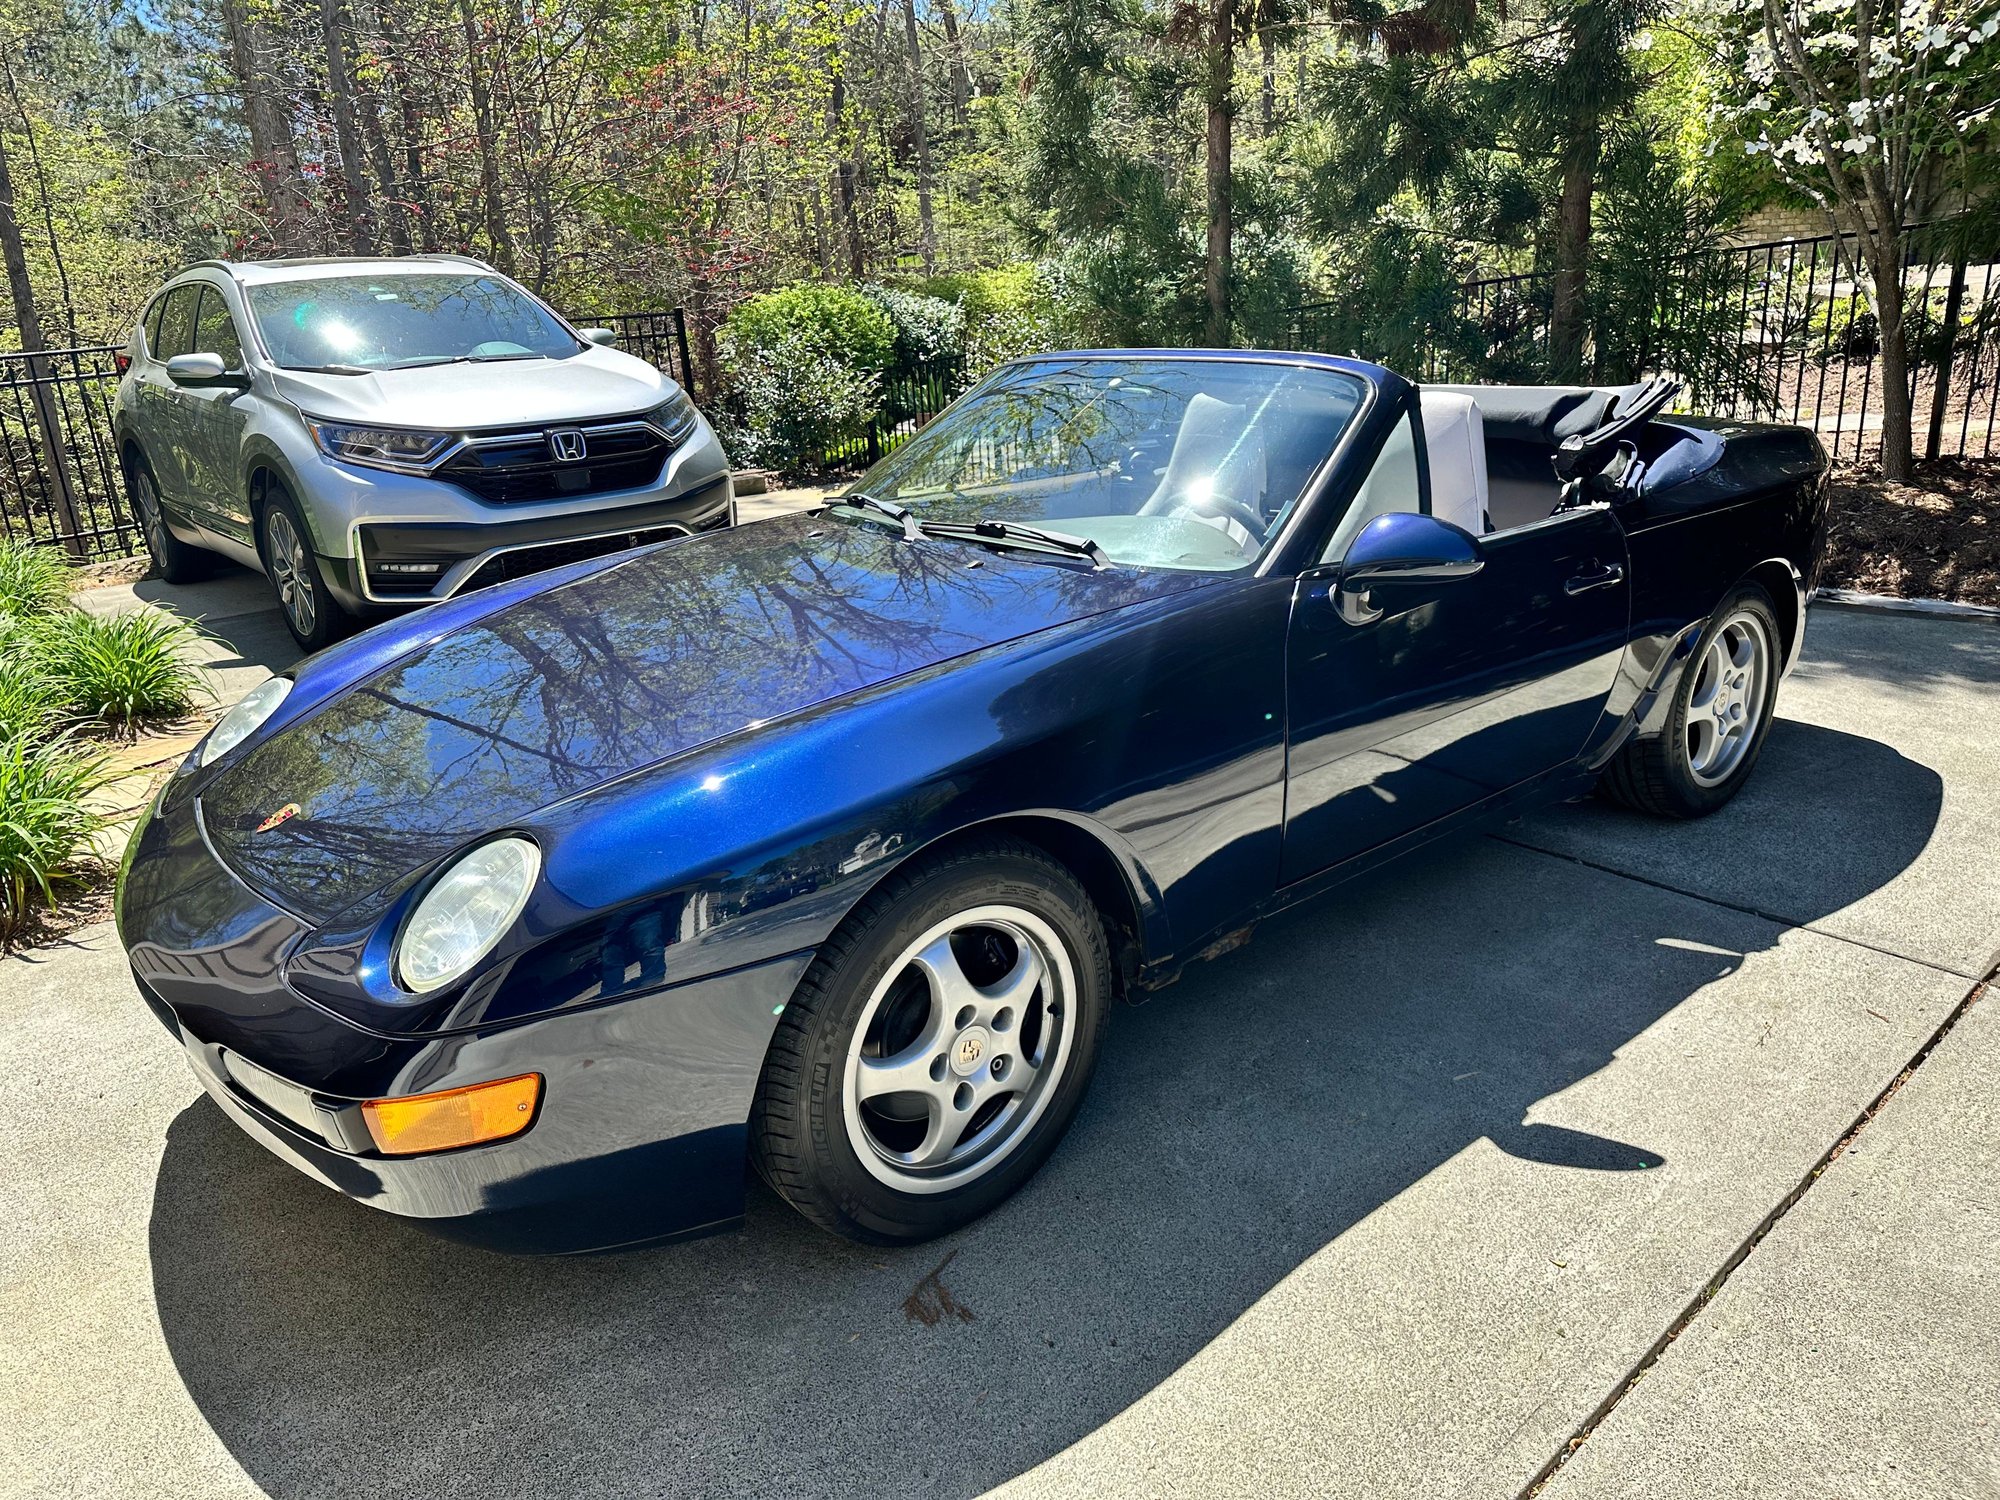
Dang your cars look great. My gray carpet under the (new) floormats has a nice red tint to it from the failed previous floormats I presume. The problem I have with my 968 is that it looks just good enough and drives just good enough for me to want to invest - but will never be perfect. I like improving it more than I like driving it though, so I keep it around mostly to work on.


Last edited by mferris; 07-31-2023 at 08:27 PM.
The following users liked this post:
Jay Wellwood (07-31-2023)
Old 07-31-2023, 10:00 PM
  #8  
jeff968
Rennlist Member
 
jeff968's Avatar
 
Join Date: Dec 2003
Location: Connecticut
Posts: 4,561
Received 189 Likes on 128 Posts
Default

Sharp!
Old 08-01-2023, 07:57 PM
  #9  
jsheiry
Rennlist Member
 
jsheiry's Avatar
 
Join Date: May 2011
Location: Alexandria, VA
Posts: 989
Received 217 Likes on 141 Posts
Default

Not that its a big deal but the Clarkes Garage dash info IIRC does not mention the 10mm nut/bolt behind the passenger side airbag....about the only difference. Good luck, Labor of Love. Have 3 more to do in my near future. Sigh
Old 08-01-2023, 09:41 PM
  #10  
mferris
Rennlist Member
Thread Starter
 
mferris's Avatar
 
Join Date: Aug 2012
Location: North Carolina
Posts: 558
Received 237 Likes on 139 Posts
Default

Thanks.

And if anyone has any recommendations on a quick way to mostly fix a crack without the full bondo treatment - would appreciate it. Not sure I can make the bondo look good enough (to replicate the dimpled look of the vinyl) and I don’t want to send it somewhere to have it recovered. The cut is only about 3” long and I can’t see it from either seat.
Old 08-01-2023, 11:48 PM
  #11  
dlearl476
Racer
 
dlearl476's Avatar
 
Join Date: Jan 2010
Location: Provo, UT
Posts: 387
Received 78 Likes on 64 Posts
Default

Originally Posted by mferris
Thanks.

And if anyone has any recommendations on a quick way to mostly fix a crack without the full bondo treatment - would appreciate it. Not sure I can make the bondo look good enough (to replicate the dimpled look of the vinyl) and I don’t want to send it somewhere to have it recovered. The cut is only about 3” long and I can’t see it from either seat.
I’d try Polyvance Plasti-Fix It comes in white and black. But I’ve been told (and suspect it’s true after using it) that it’s simple super glue and baking soda, but the pin oiler and molding bits that come in the kit are invaluable. You could also buy some of Polyvance’s extra thick super glue and use your own baking soda. If you go this route, get the fast activator spray, too.

How it works: Heat the molds in hot water, allow to set on grain, fill the crack, apply mold until it sets, remove mold.

I’ve used this stuff to make tabs on a motorcycle fairing and it make on as hard as the original plastic. (ABS in the case if my Triumph fairing)

Last edited by dlearl476; 08-01-2023 at 11:55 PM.
Old 08-02-2023, 06:40 AM
  #12  
mferris
Rennlist Member
Thread Starter
 
mferris's Avatar
 
Join Date: Aug 2012
Location: North Carolina
Posts: 558
Received 237 Likes on 139 Posts
Default

Brilliant. Thank you!
Old 08-02-2023, 06:34 PM
  #13  
dlearl476
Racer
 
dlearl476's Avatar
 
Join Date: Jan 2010
Location: Provo, UT
Posts: 387
Received 78 Likes on 64 Posts
Default

@mferris Also, Permatex makes some vinyl repair kits. You might want to look at them, too, once you get the crack filled.

Old 08-04-2023, 03:22 PM
  #14  
mferris
Rennlist Member
Thread Starter
 
mferris's Avatar
 
Join Date: Aug 2012
Location: North Carolina
Posts: 558
Received 237 Likes on 139 Posts
Default

Ok - so I think I got it all figured out...now to see if I can get it back together someday....


Last edited by mferris; 08-04-2023 at 07:29 PM.
The following users liked this post:
Ufnavy06 (08-23-2023)


Quick Reply: Dash Removal Instructions?


All times are GMT -3. The time now is 09:36 PM.