When you click on links to various merchants on this site and make a purchase, this can result in this site earning a commission. Affiliate programs and affiliations include, but are not limited to, the eBay Partner Network.
This looks great. My cluster seems to have a lot of little oxidation spots. Do you happen to remember which primer and paint combo you went with?
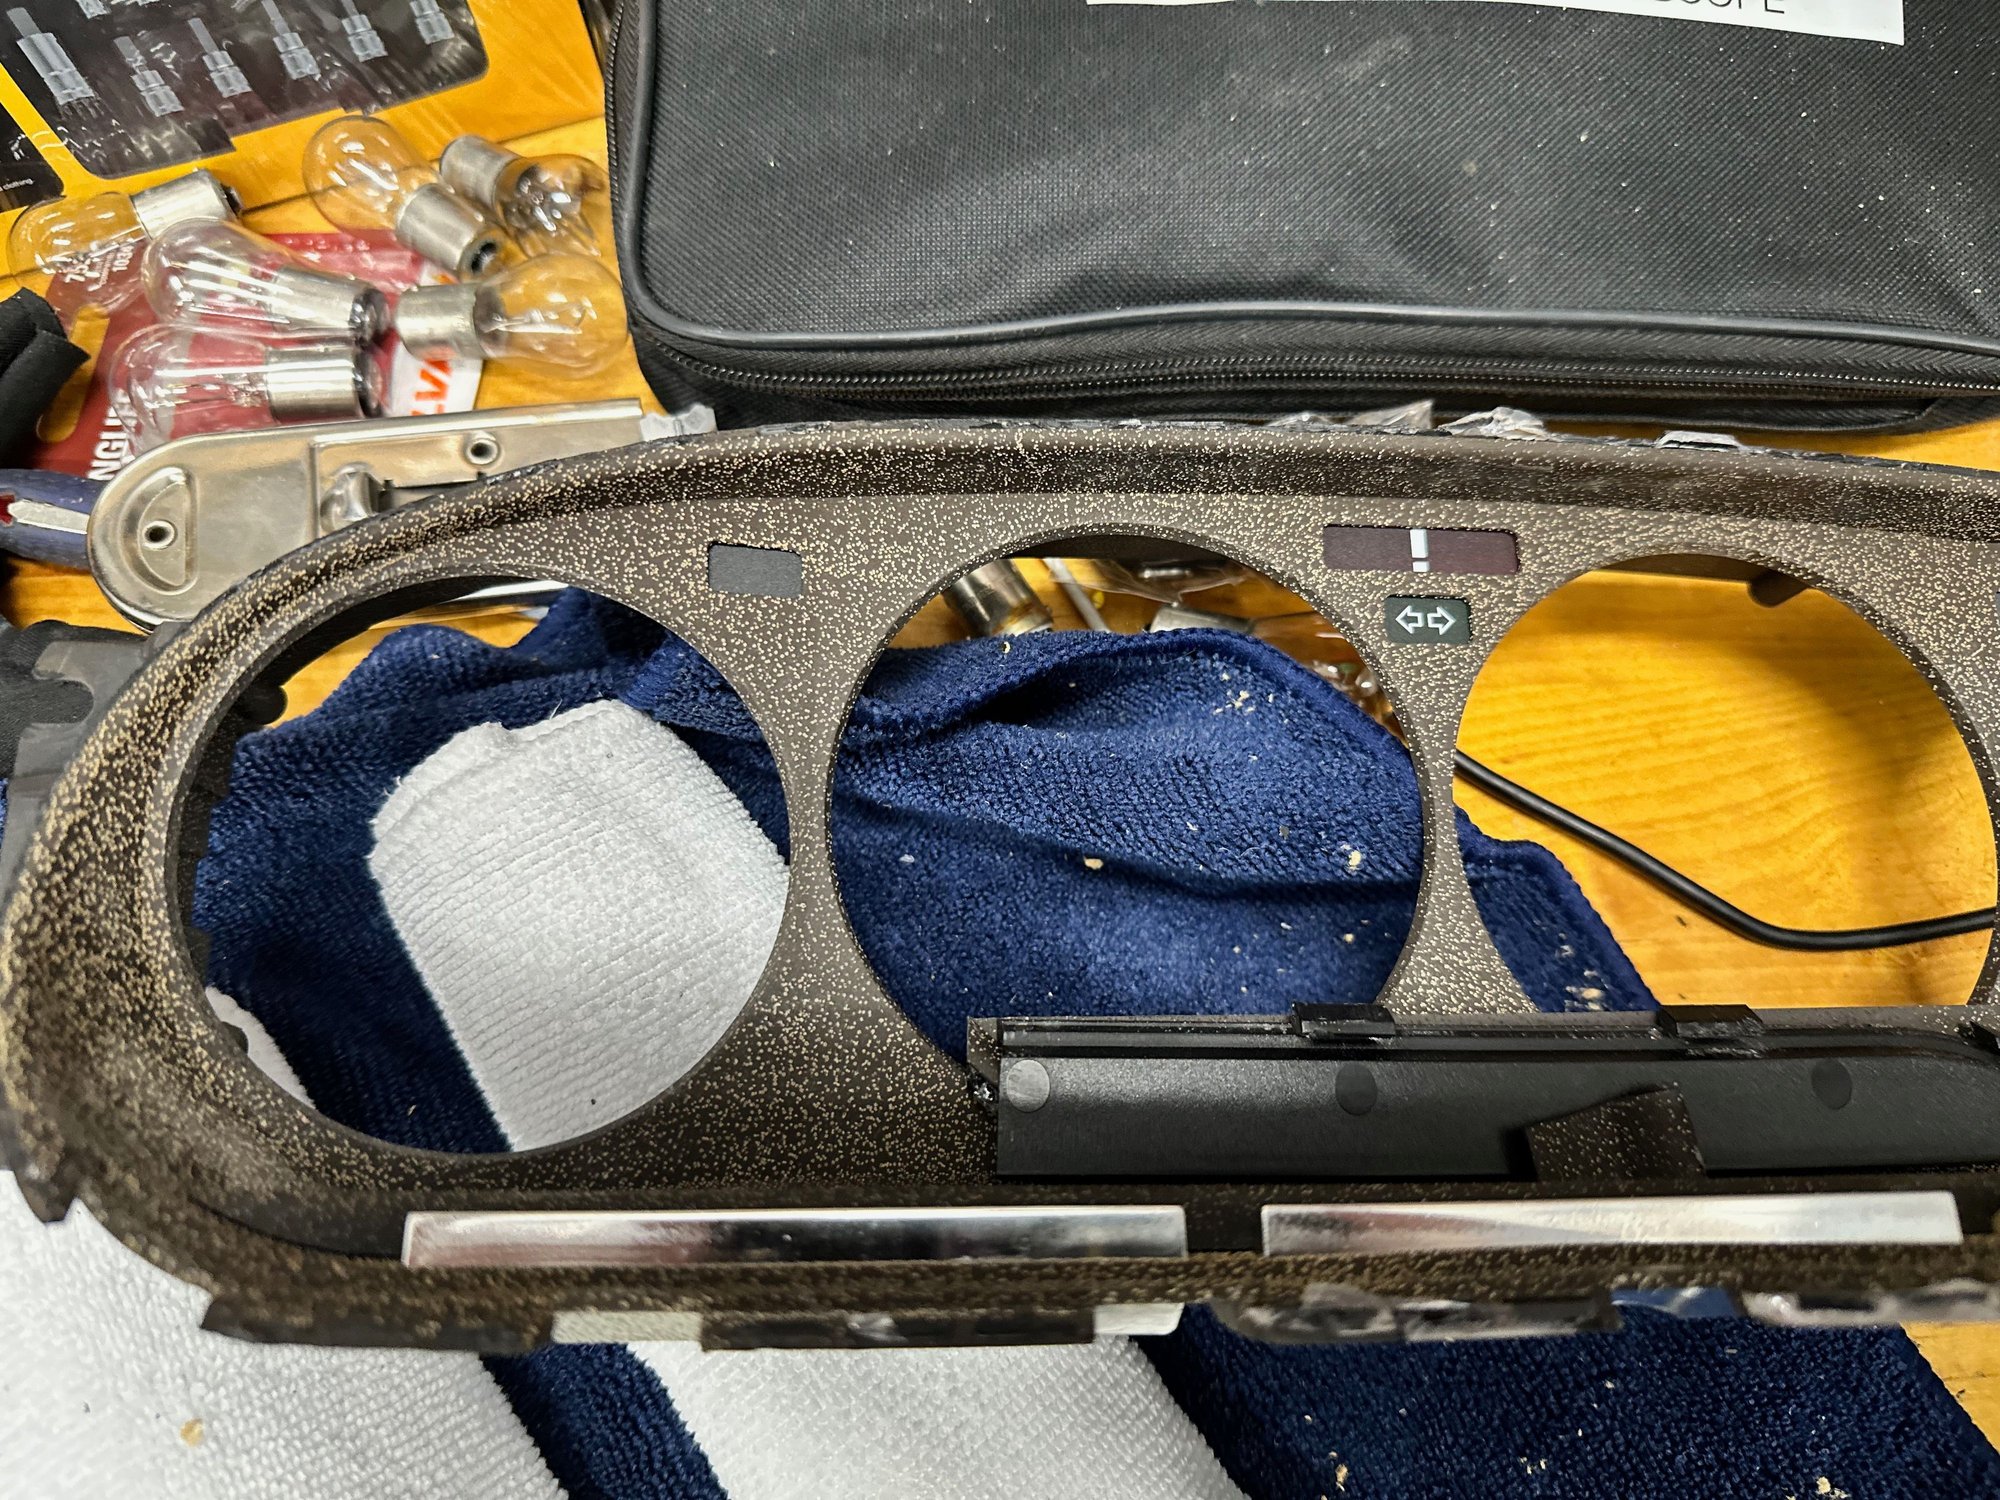
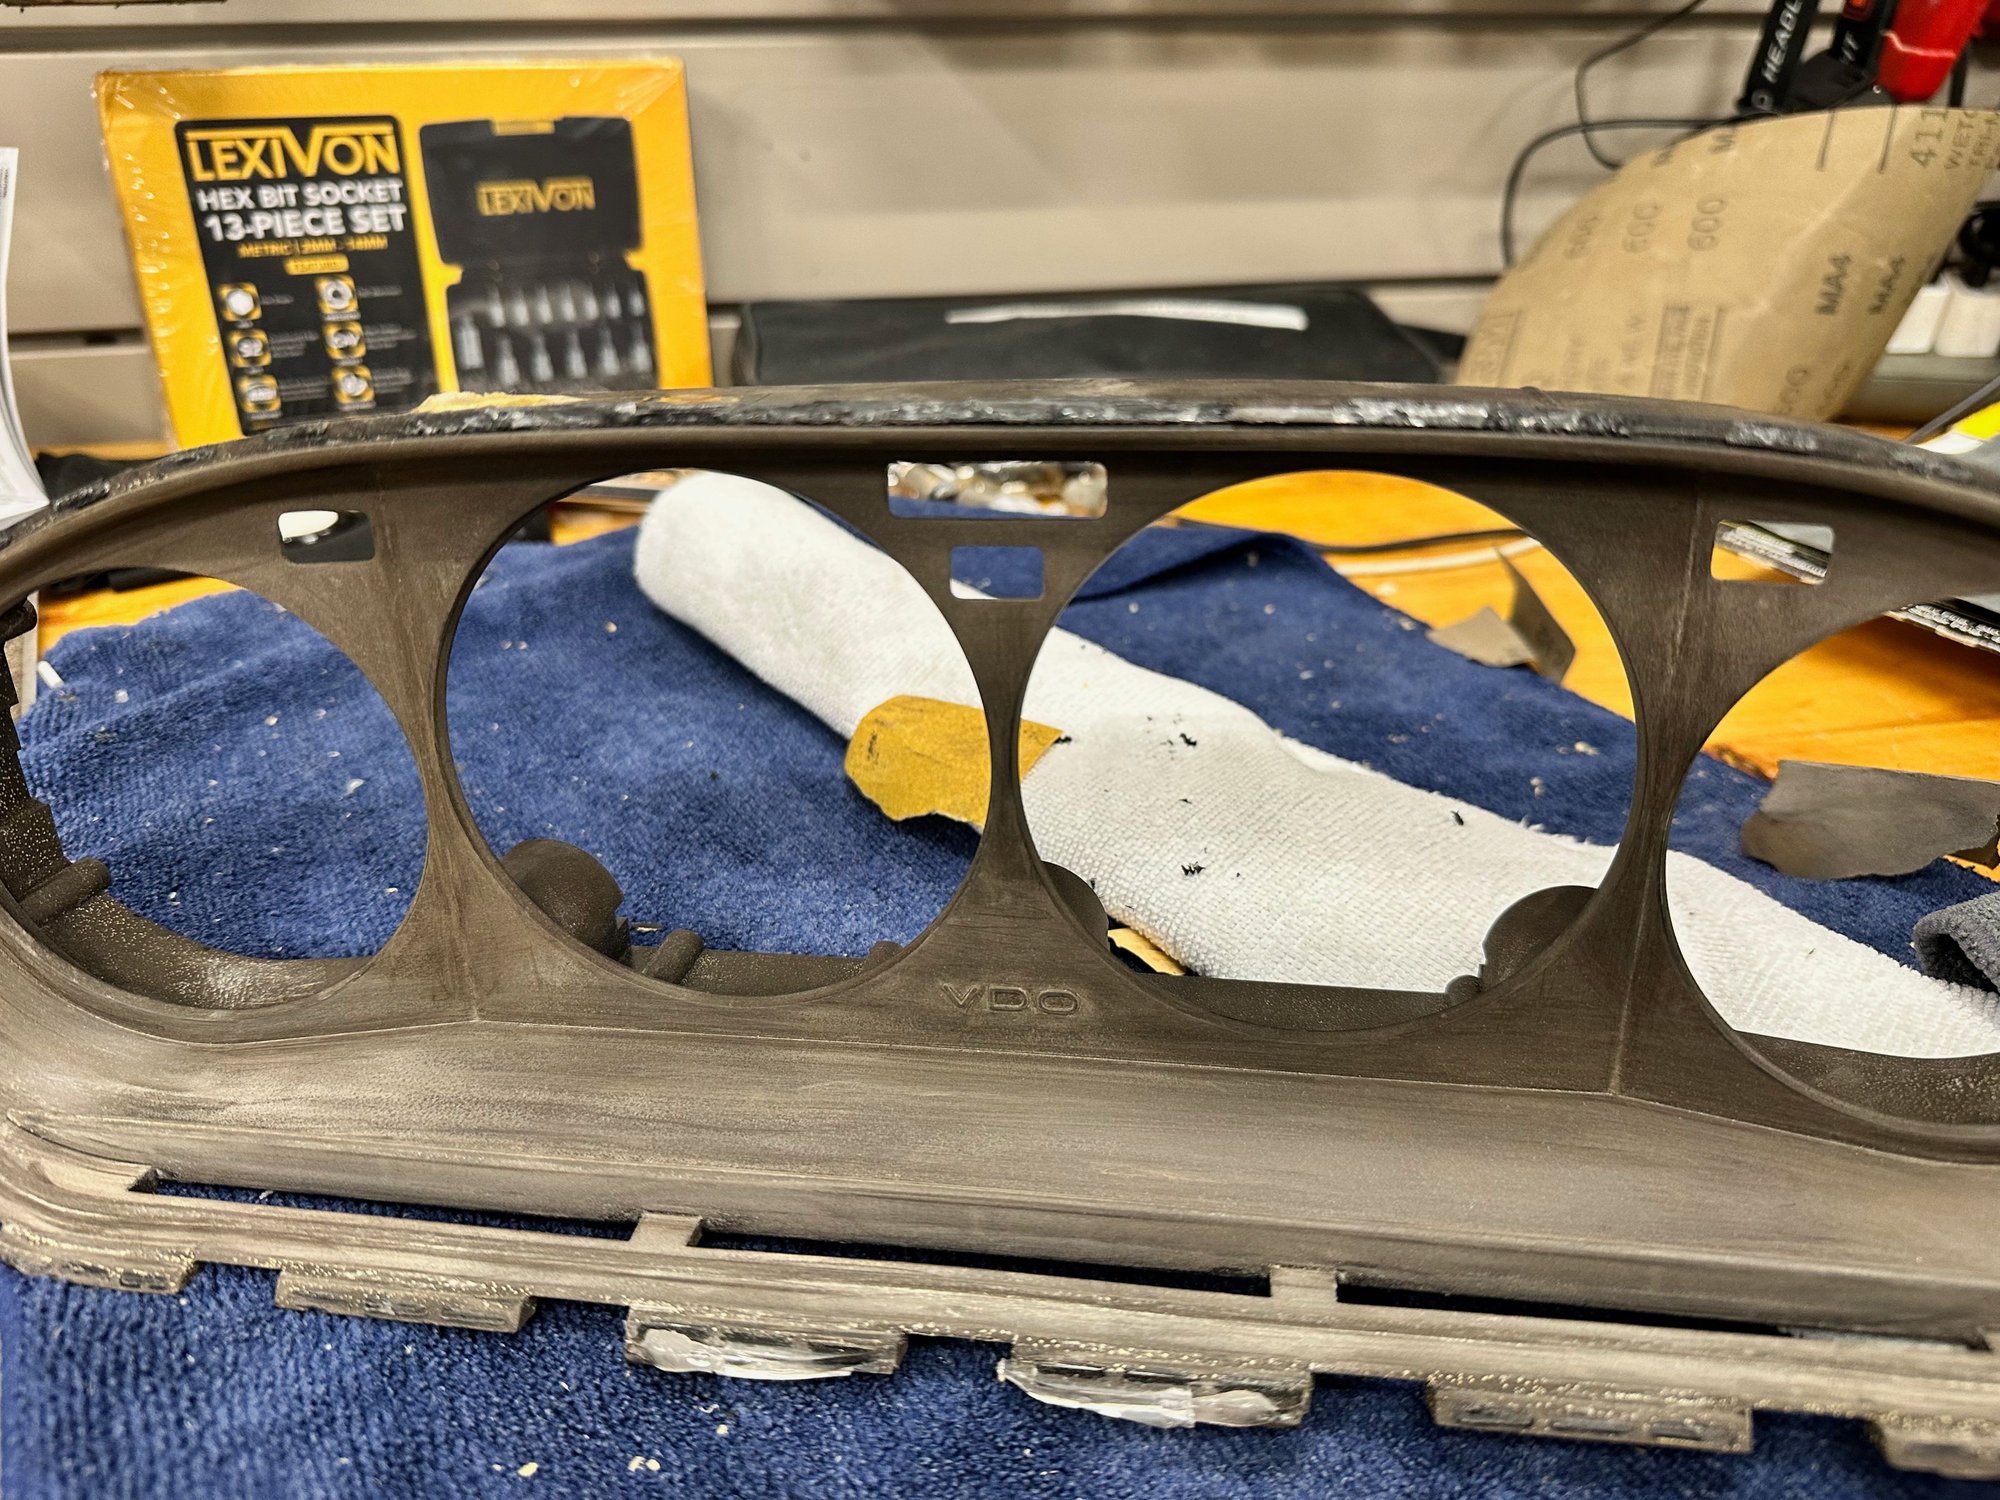
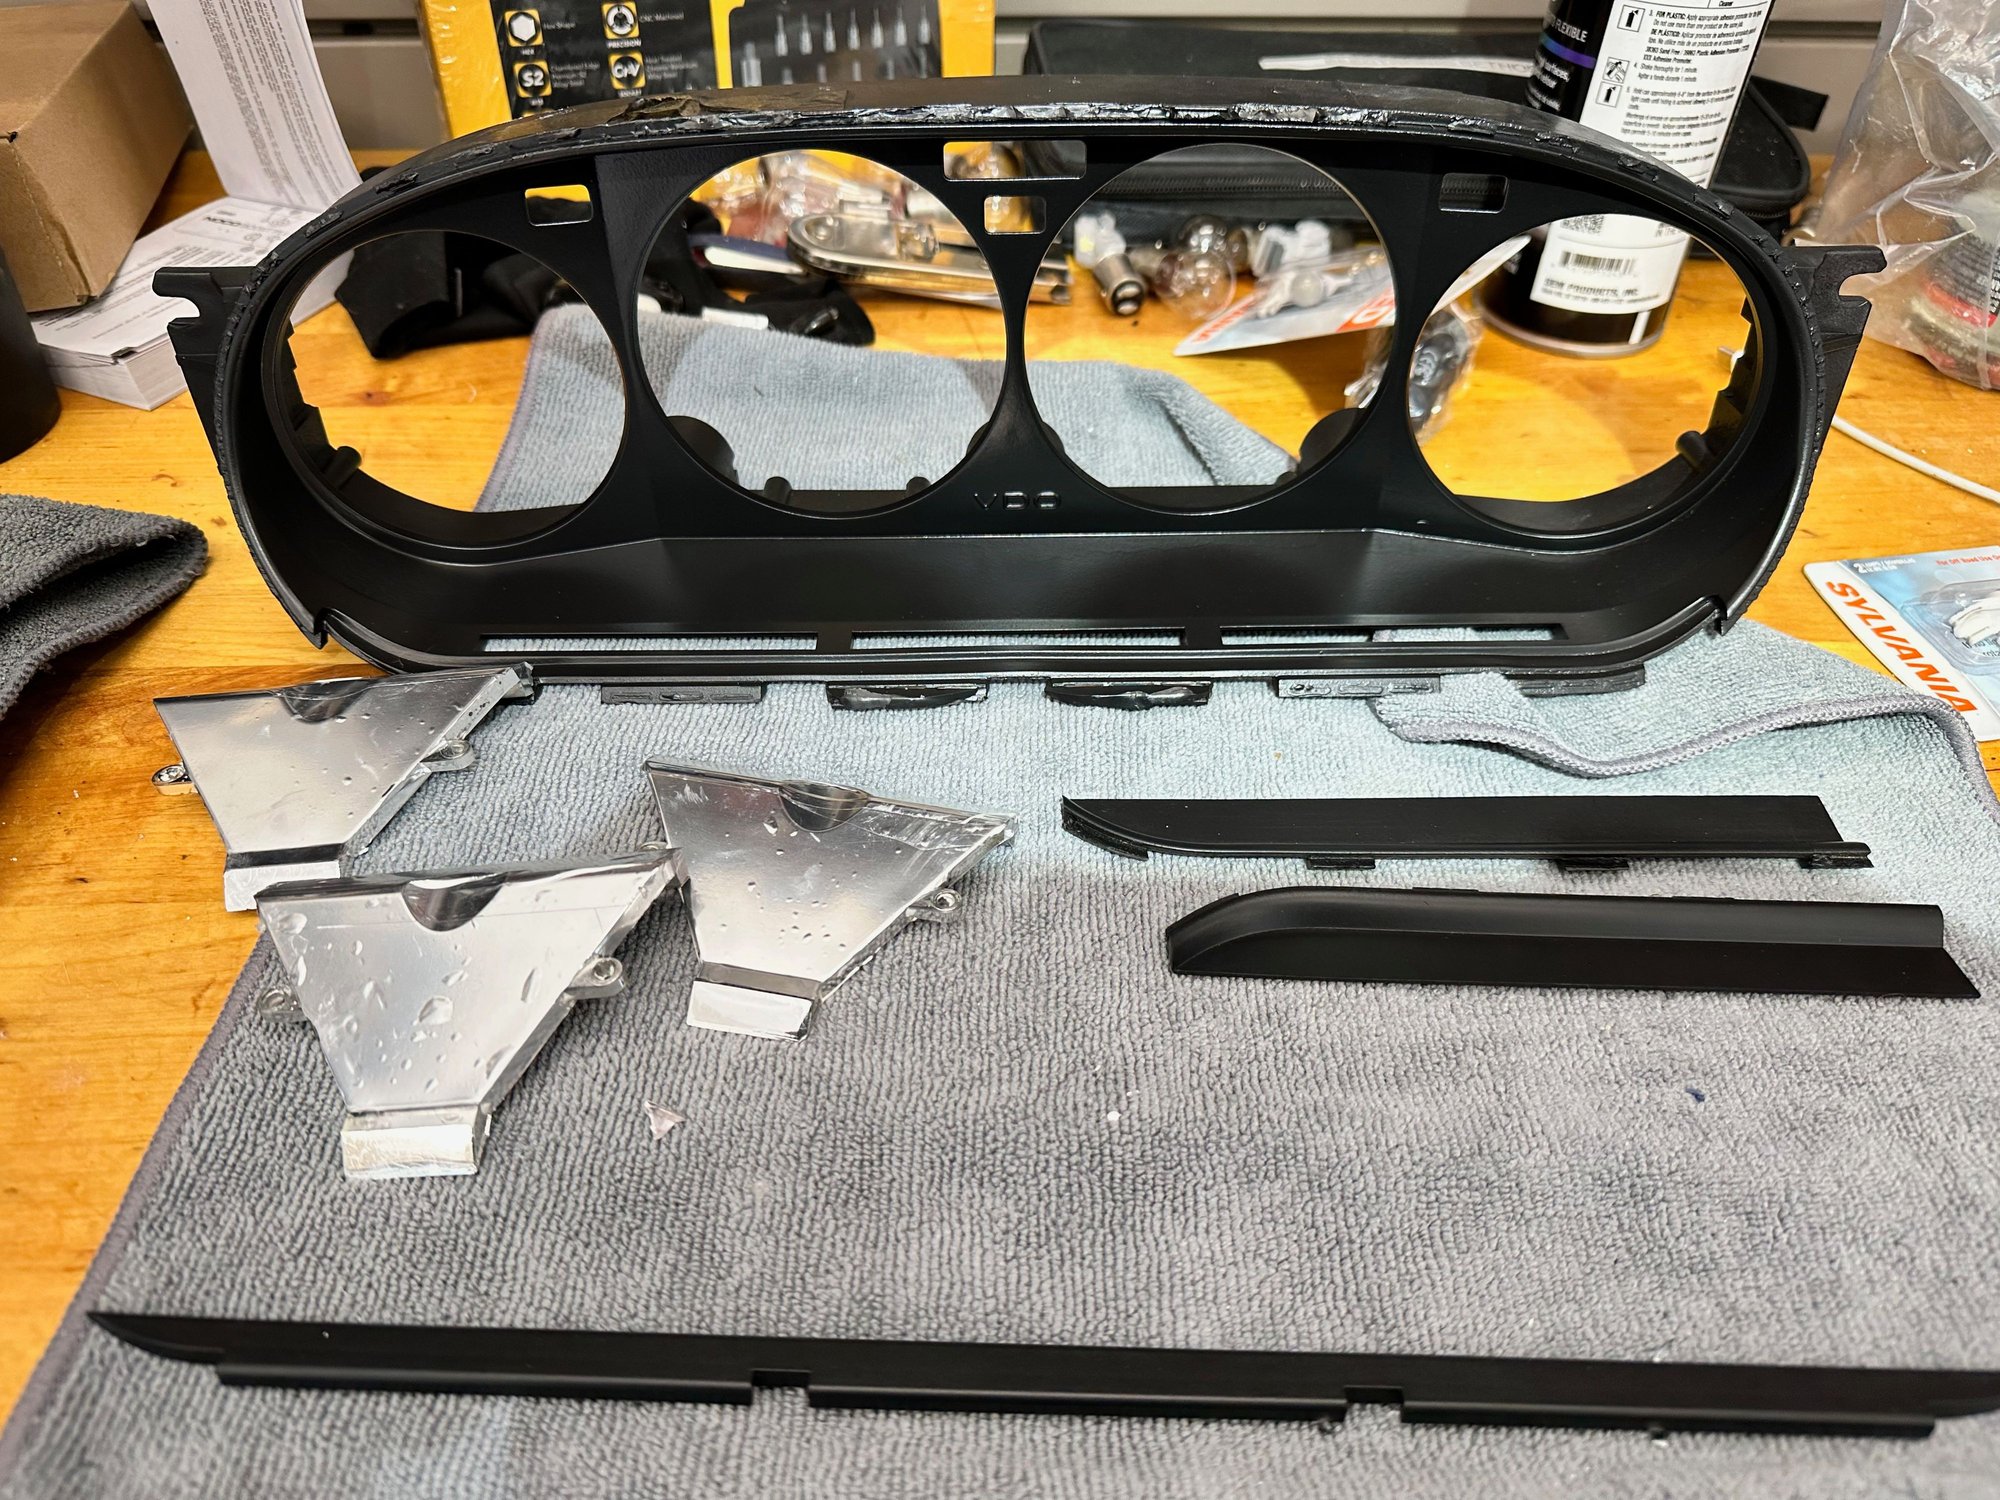
If I remember correctly, it was just standard rustoleum primer and flat black paint. I didn't use a plastic primer, but that doesn't seem to have been a problem, it's still adhering just like the day I sprayed it.
@DSMblue How did the Meguiars plastic products work? One thing that drives me nuts about my car is the swirls in the face of my instrument cluster. I�ve tried my usual go-to, Brillianize Plastic Polish, without much luck.
@DSMblue How did the Meguiars plastic products work? One thing that drives me nuts about my car is the swirls in the face of my instrument cluster. I�ve tried my usual go-to, Brillianize Plastic Polish, without much luck.
They did amazingly well. Lots of elbow grease, probably would have been easier if I had a 1" mini polisher, but I managed to make do with what I had.
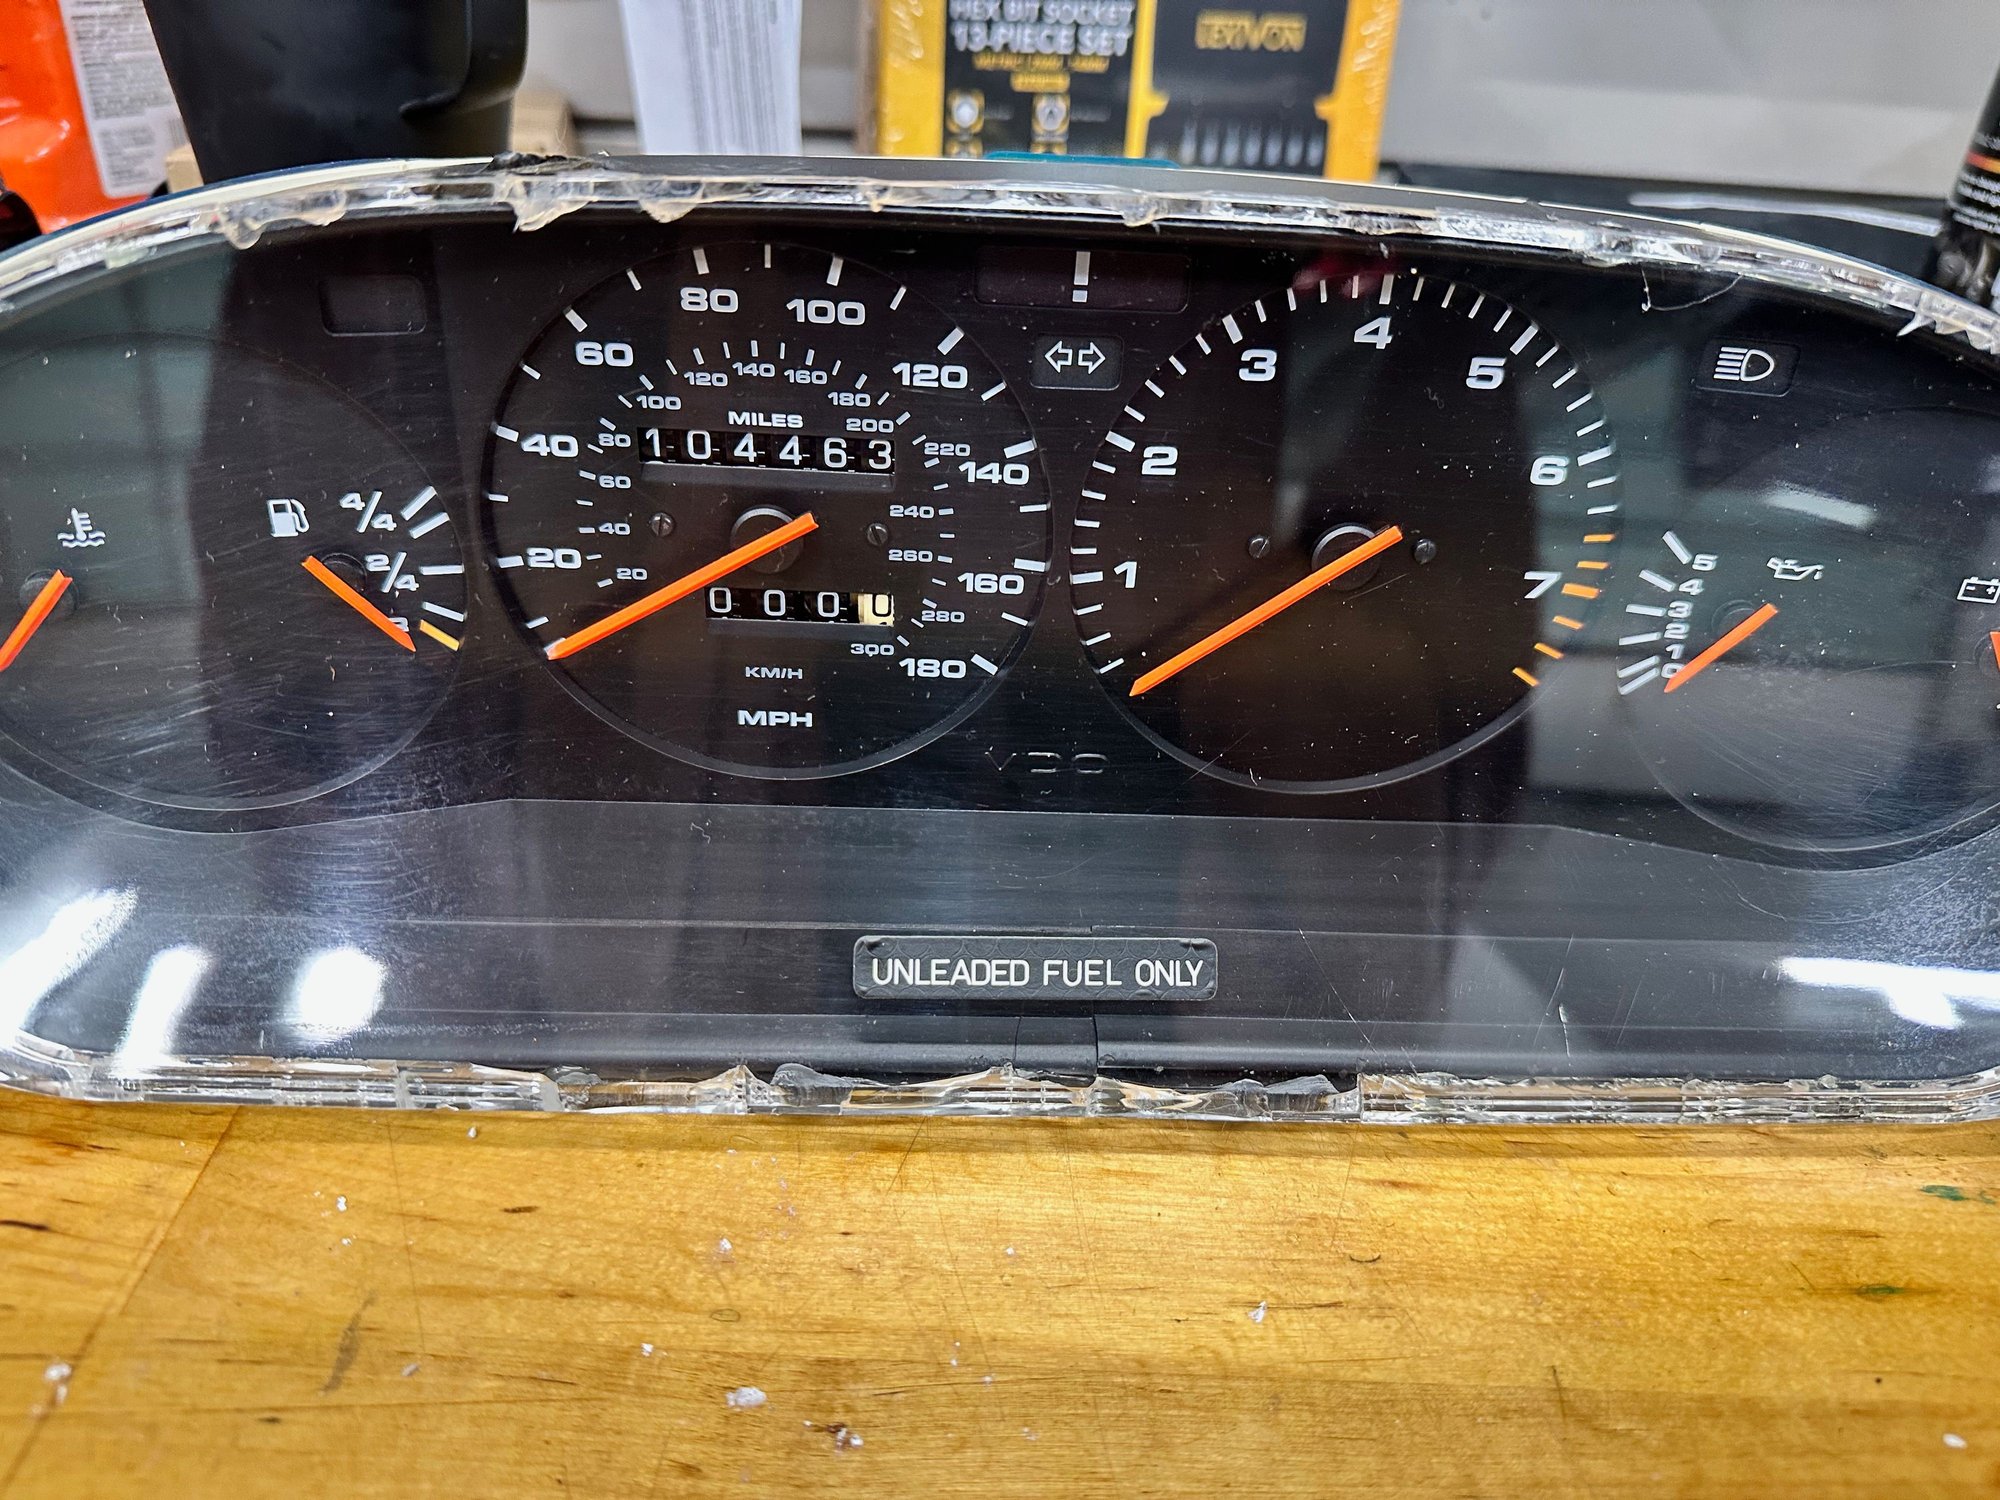
I’ve thought about taking a Dremel and a polishing disc to it but I’m afraid I’d destroy the “Unleaded Fuel Only” sticker. (Not that that really matters much)
I�ve thought about taking a Dremel and a polishing disc to it but I�m afraid I�d destroy the �Unleaded Fuel Only� sticker. (Not that that really matters much)
Those are still available from Porsche if it gets destroyed. Of course, a hair dryer and gentle lifting with a plastic razor blade can save the sticker before polishing, then reapply.
When I redid mine in the fall - I used SEM Vinyl Prep and SEM dye - (one of the blacks) - it turned out great. I cracked the edge of the clear in spots trying to pry it off - but that is not visible once installed. Of course now I'm realizing I should have polished the inside of the clear - but it's infinitely better than before. Meguire's polish on the outside worked great. I also sanded and covered the tunnels with shiny duct tape and it worked wonderfully. Also converted to LEDs but may convert back if I ever get to fixing the crack in the dash.
I'm sure that other products work well, as seen on this thread, but this is another option that folks on RL have recommended.
Cheers
We’ll, my first experiment netted mixed results. I wore my last pair of eyeglasses long past their expiration date. I figured I’d try to see if the Novus polish would take the scratches out of the lenses. It did, but it made a mess of the UV/anti-glare coating, and I burned a couple of divets in them by running the dremel too fast.
What I learned: hand polish only. Suck it up and use the elbow grease.
We�ll, my first experiment netted mixed results. I wore my last pair of eyeglasses long past their expiration date. I figured I�d try to see if the Novus polish would take the scratches out of the lenses. It did, but it made a mess of the UV/anti-glare coating, and I burned a couple of divets in them by running the dremel too fast.
What I learned: hand polish only. Suck it up and use the elbow grease.
Yes, Dremels can be very aggressive, since they are rotary tools. If you're going to use mechanical polishers, better to use a small DA polisher.
When I do my Spyder screen, I’ll use a foam pad on my random orbital saner. For the 968 cluster, I think I’ll just use elbow grease.
eta: I did a little bit of a test tonight while I watched the DMM on my battery with my solar charger hooked up to it. I did 1&2 on the left side with the included paper “cloths” and #3 with a microfiber towel. By the time I finished, the light was too poor to really tell, but it looks like it did pretty well. I’ll know more tomorrow in direct sunlight.
I’ll do the right side and then do the whole thing again with #2&3 and see how it looks.

 07-17-2023, 04:33 PM