Body Restoration
#106
Rennlist Member
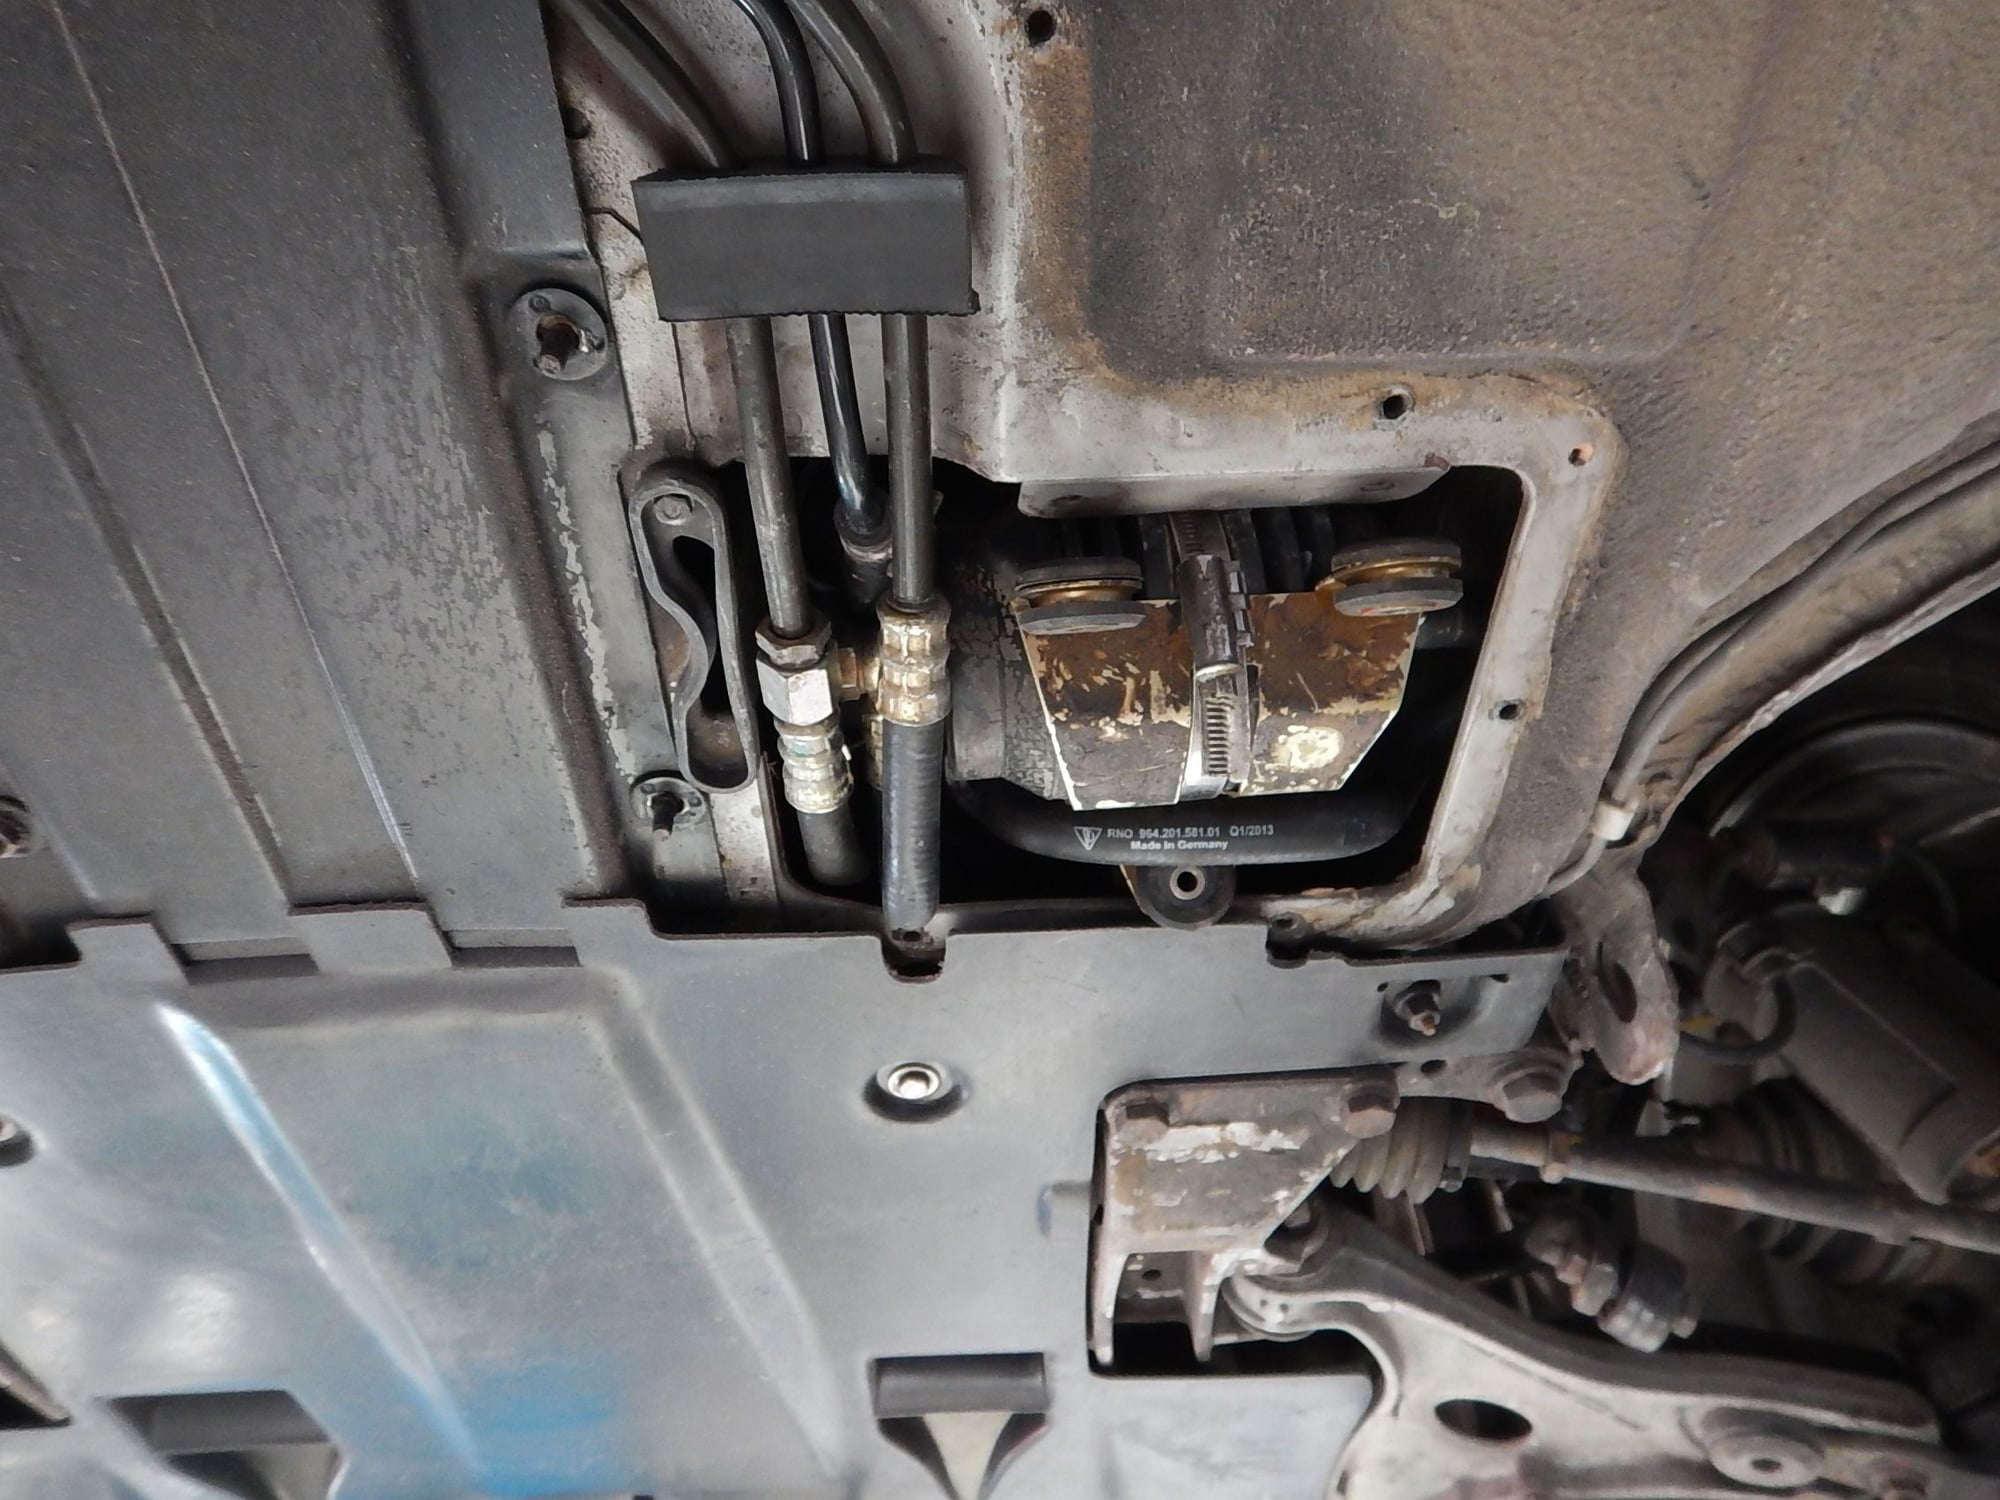
I had similar difficulties getting the tstat mount to line up after removing the entire tank, cooler, and all the lines in between. It took some fighting with, but eventually I got it secured. If your skirt wont fit, give it another go.
#111
Rennlist Member
Thread Starter
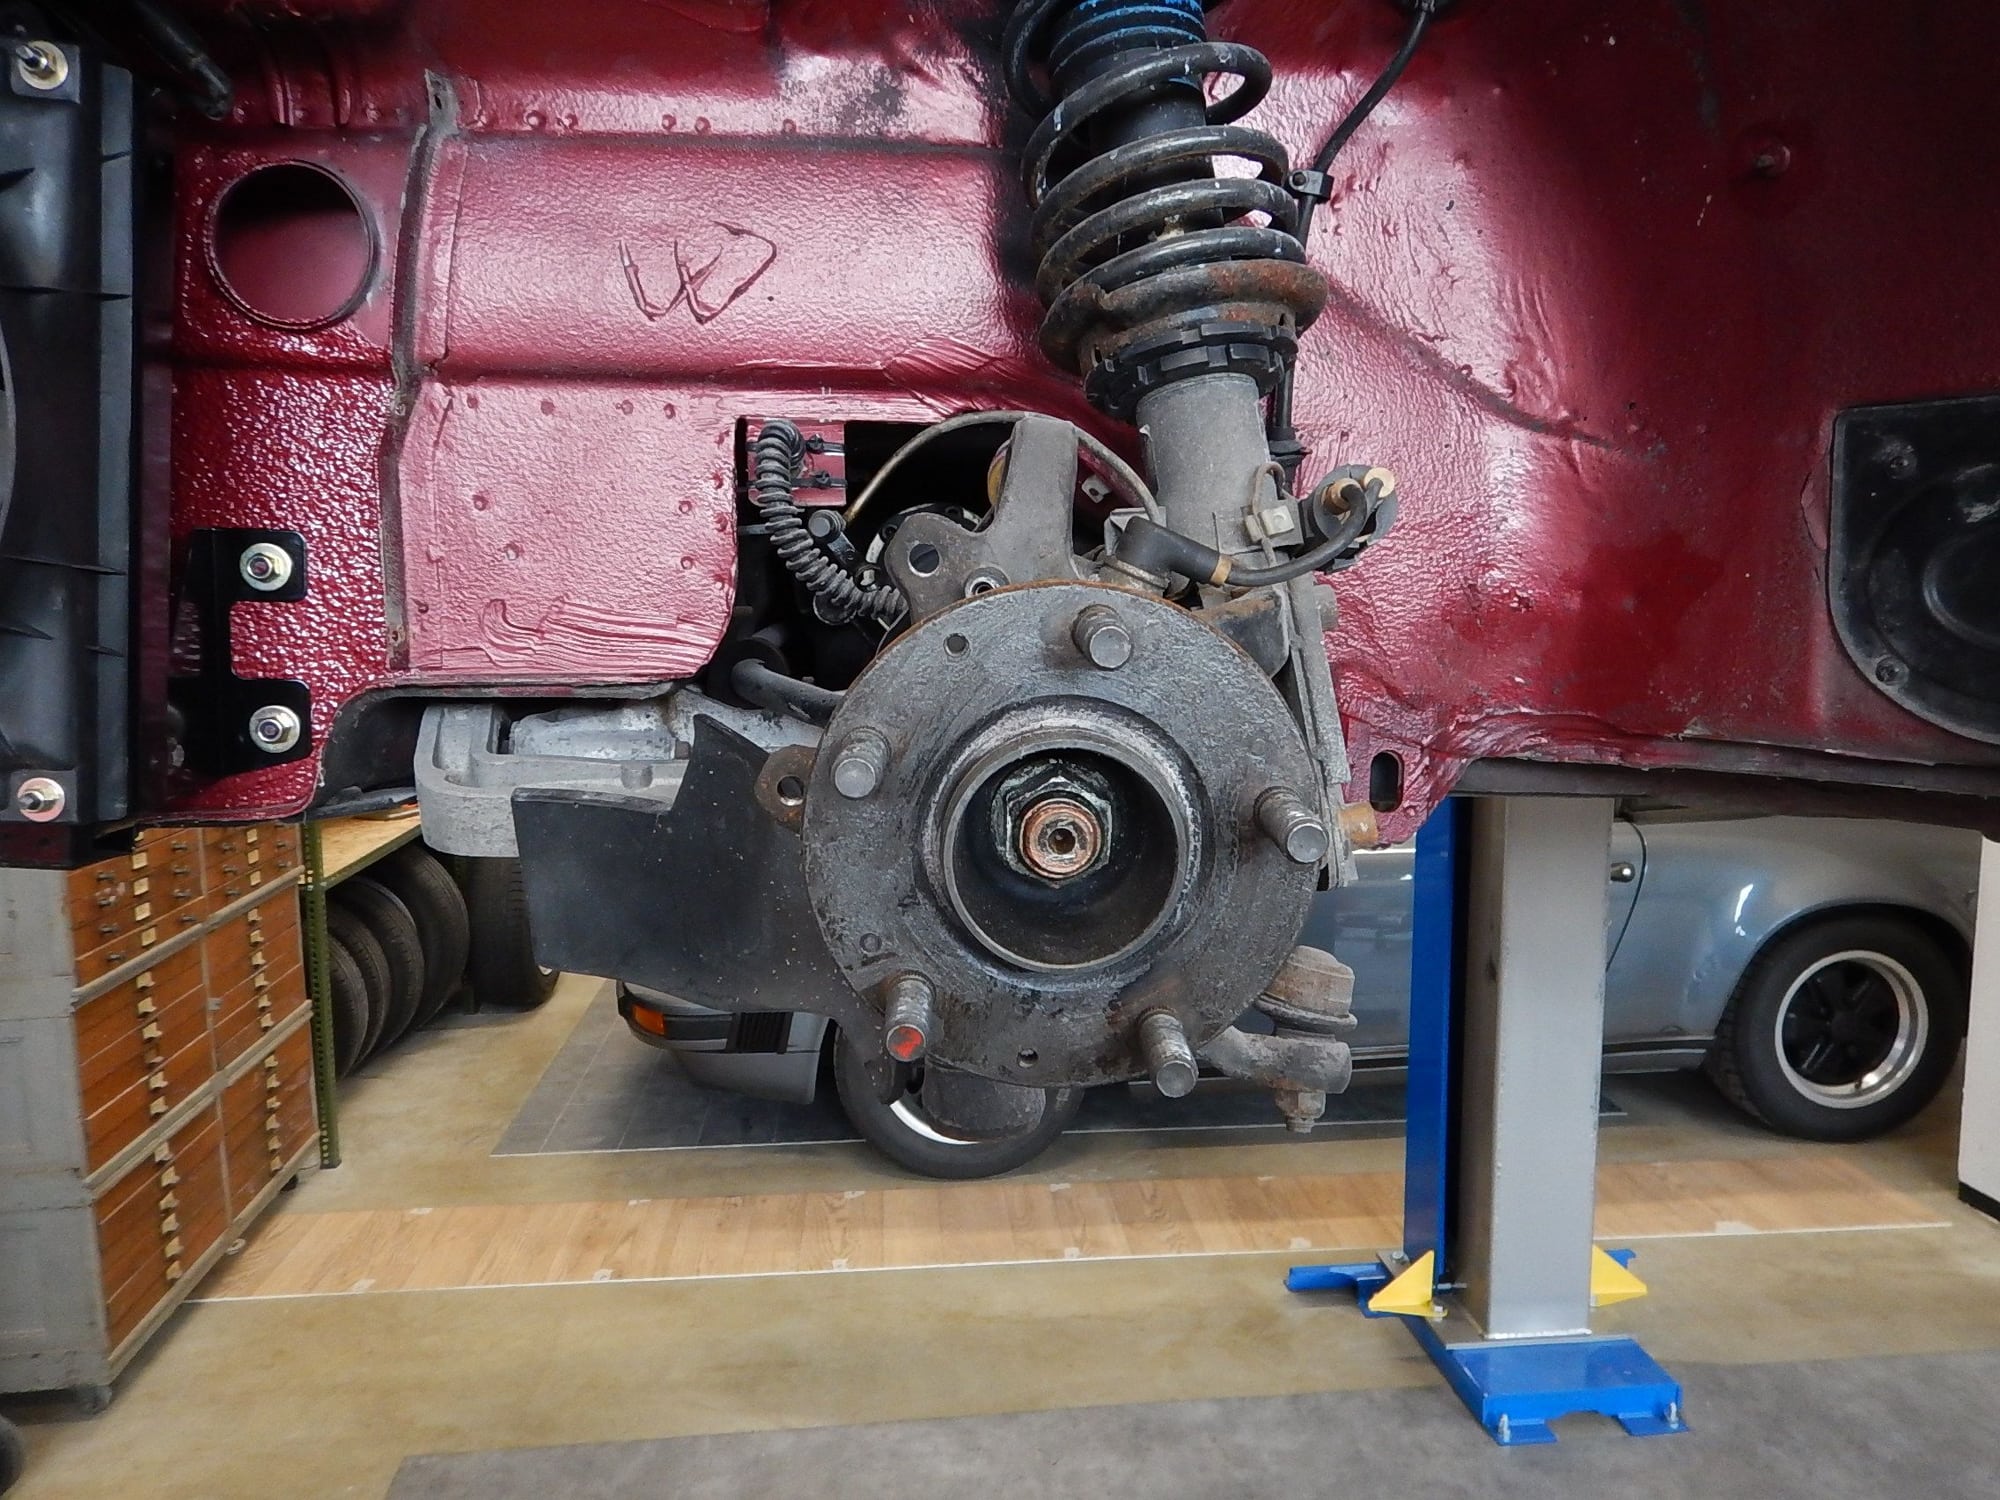
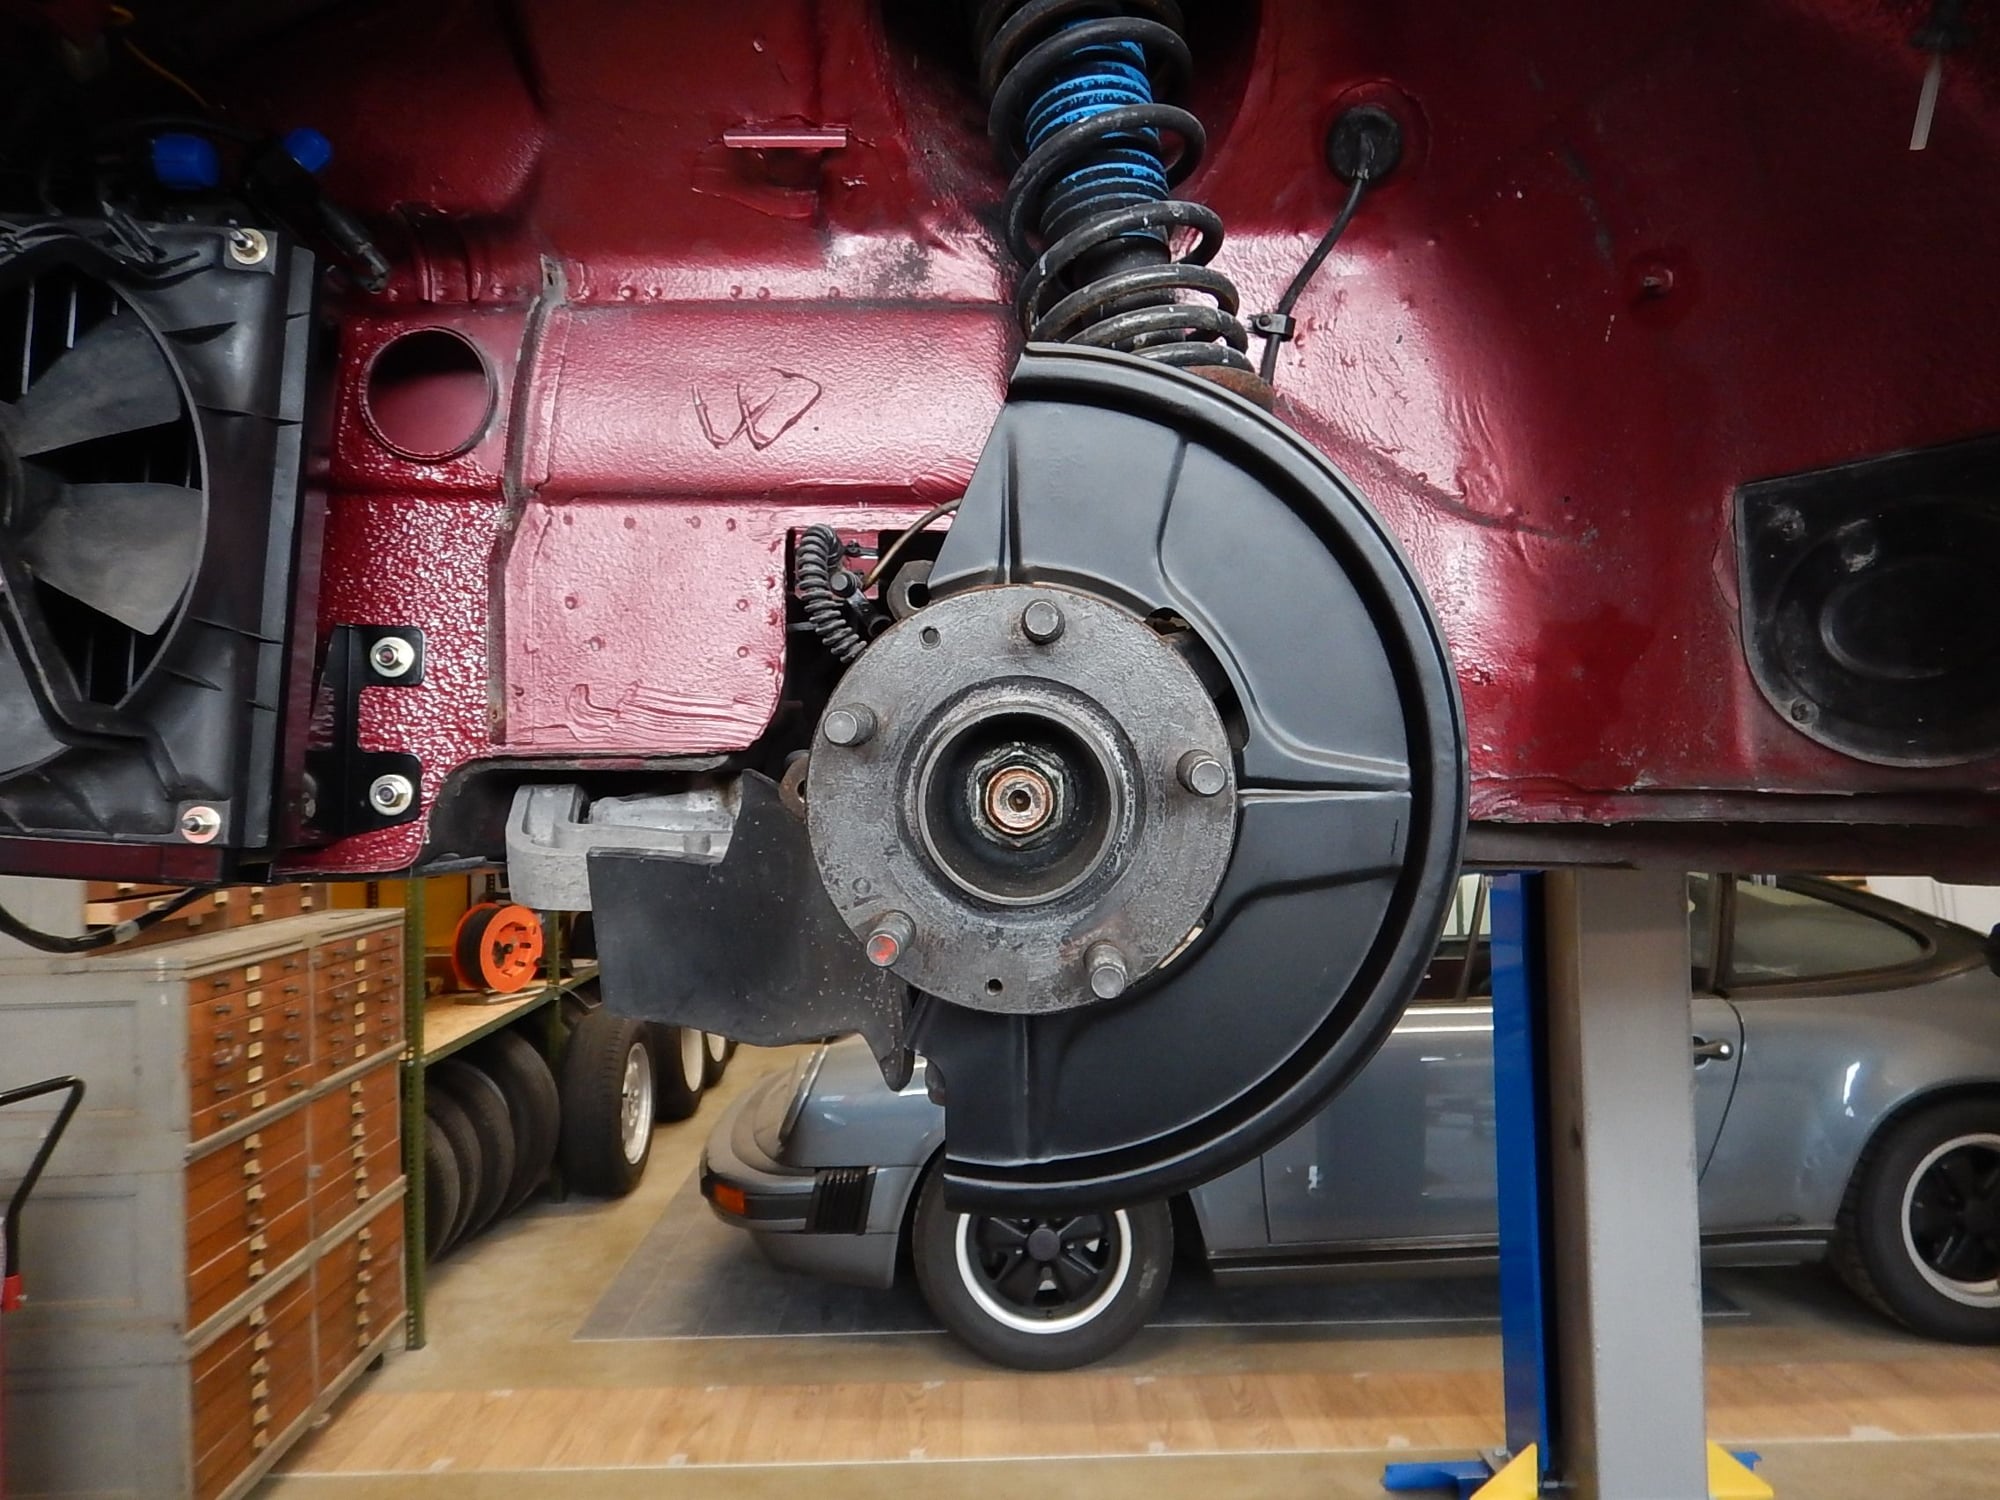
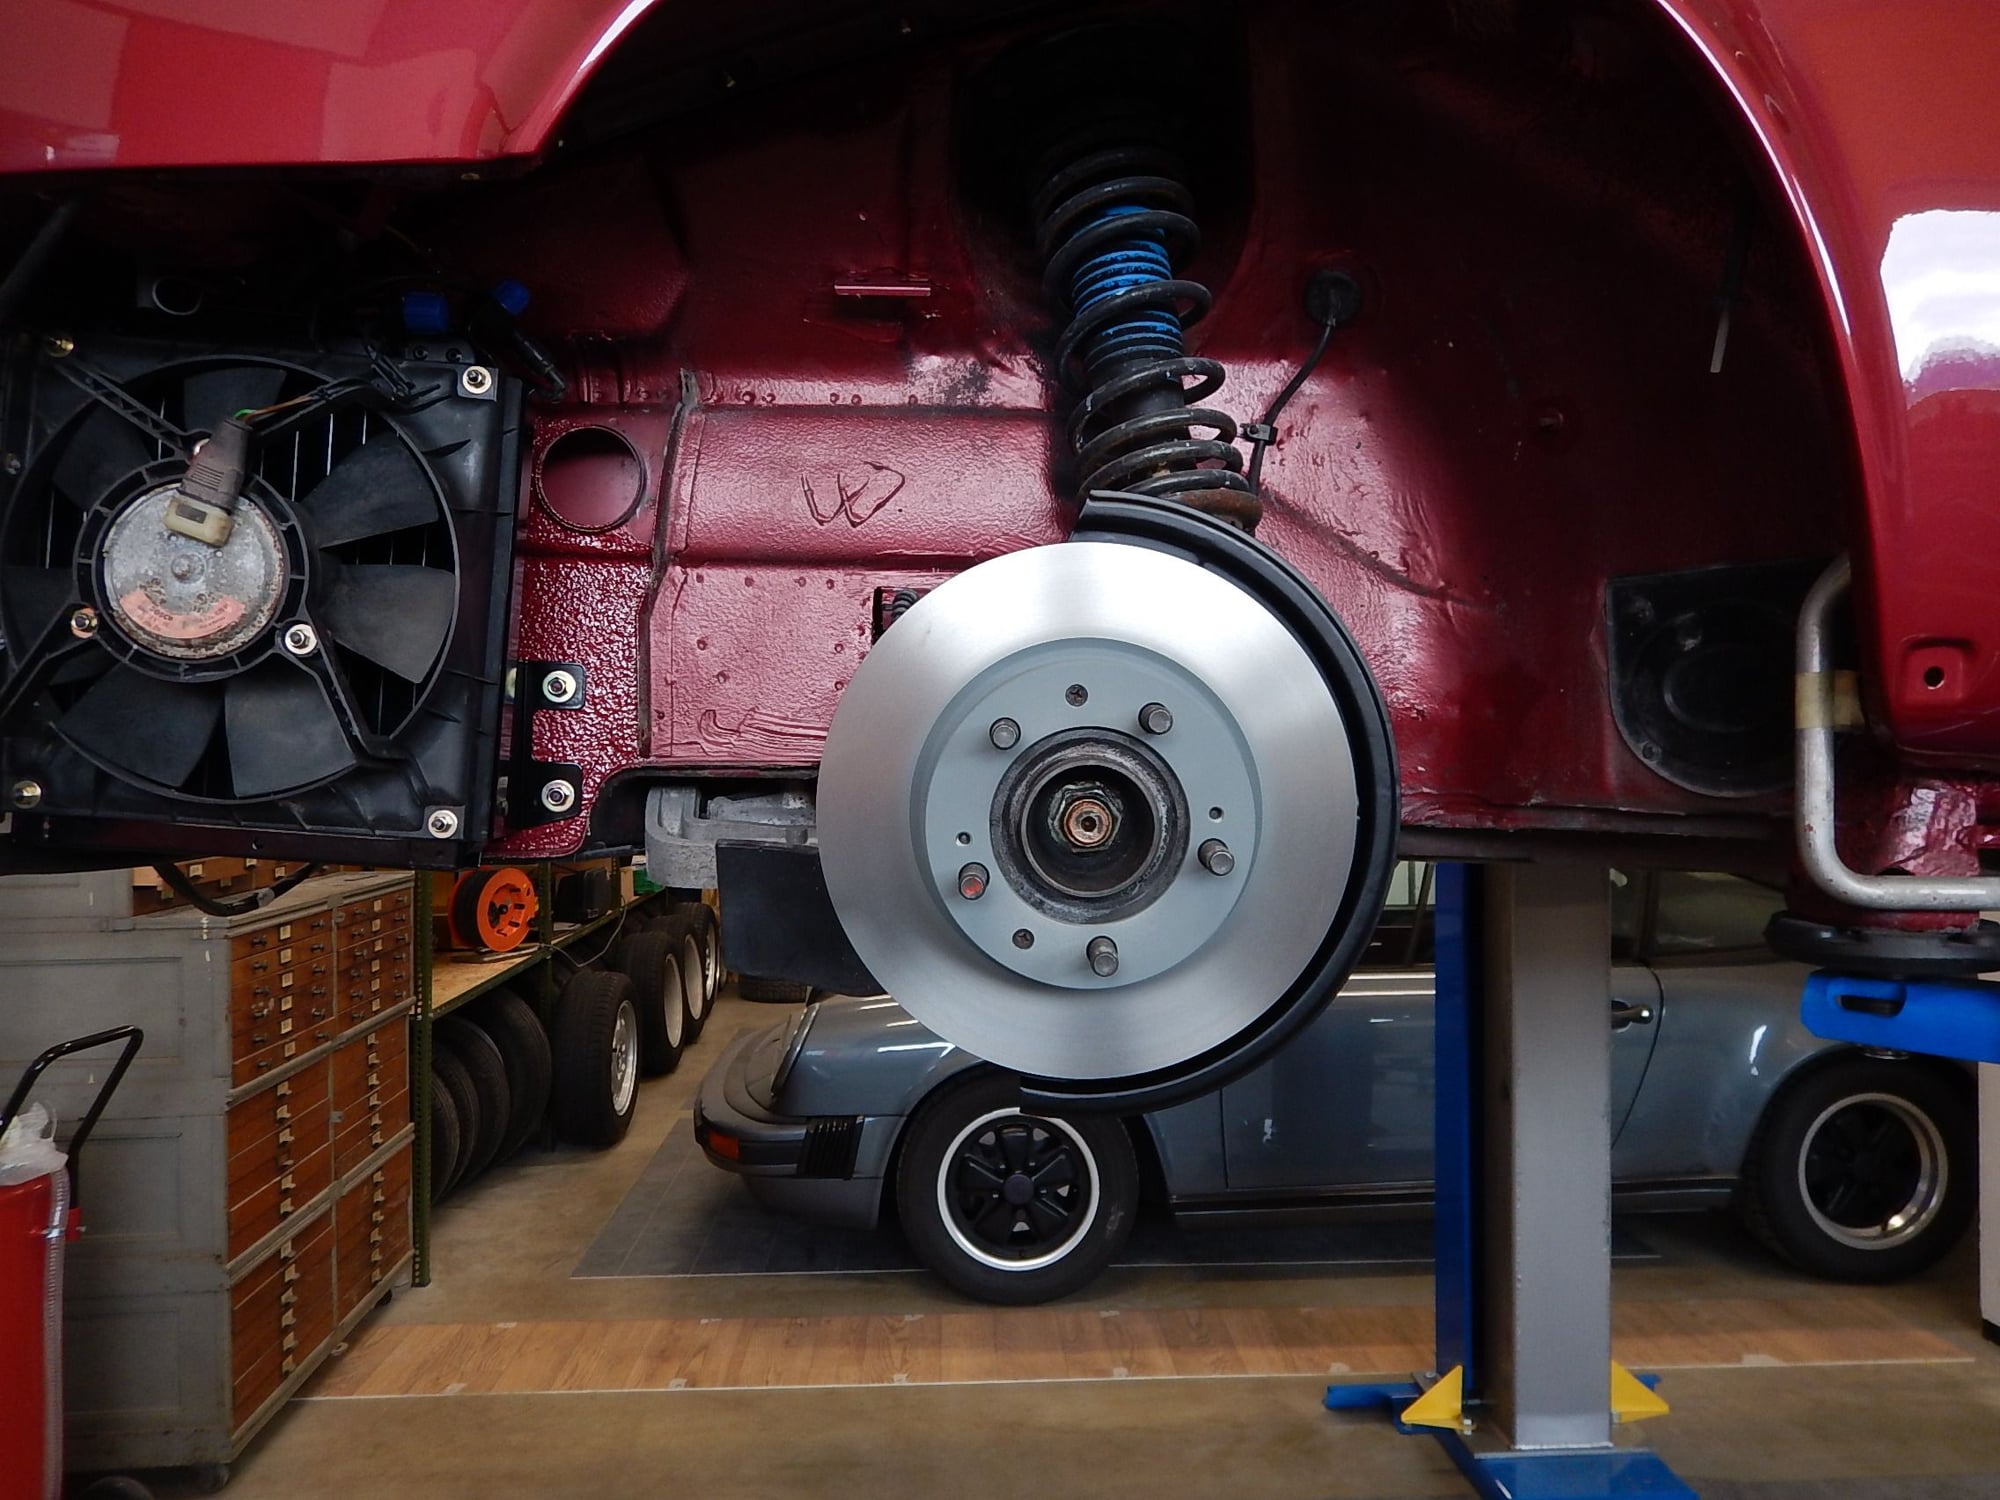
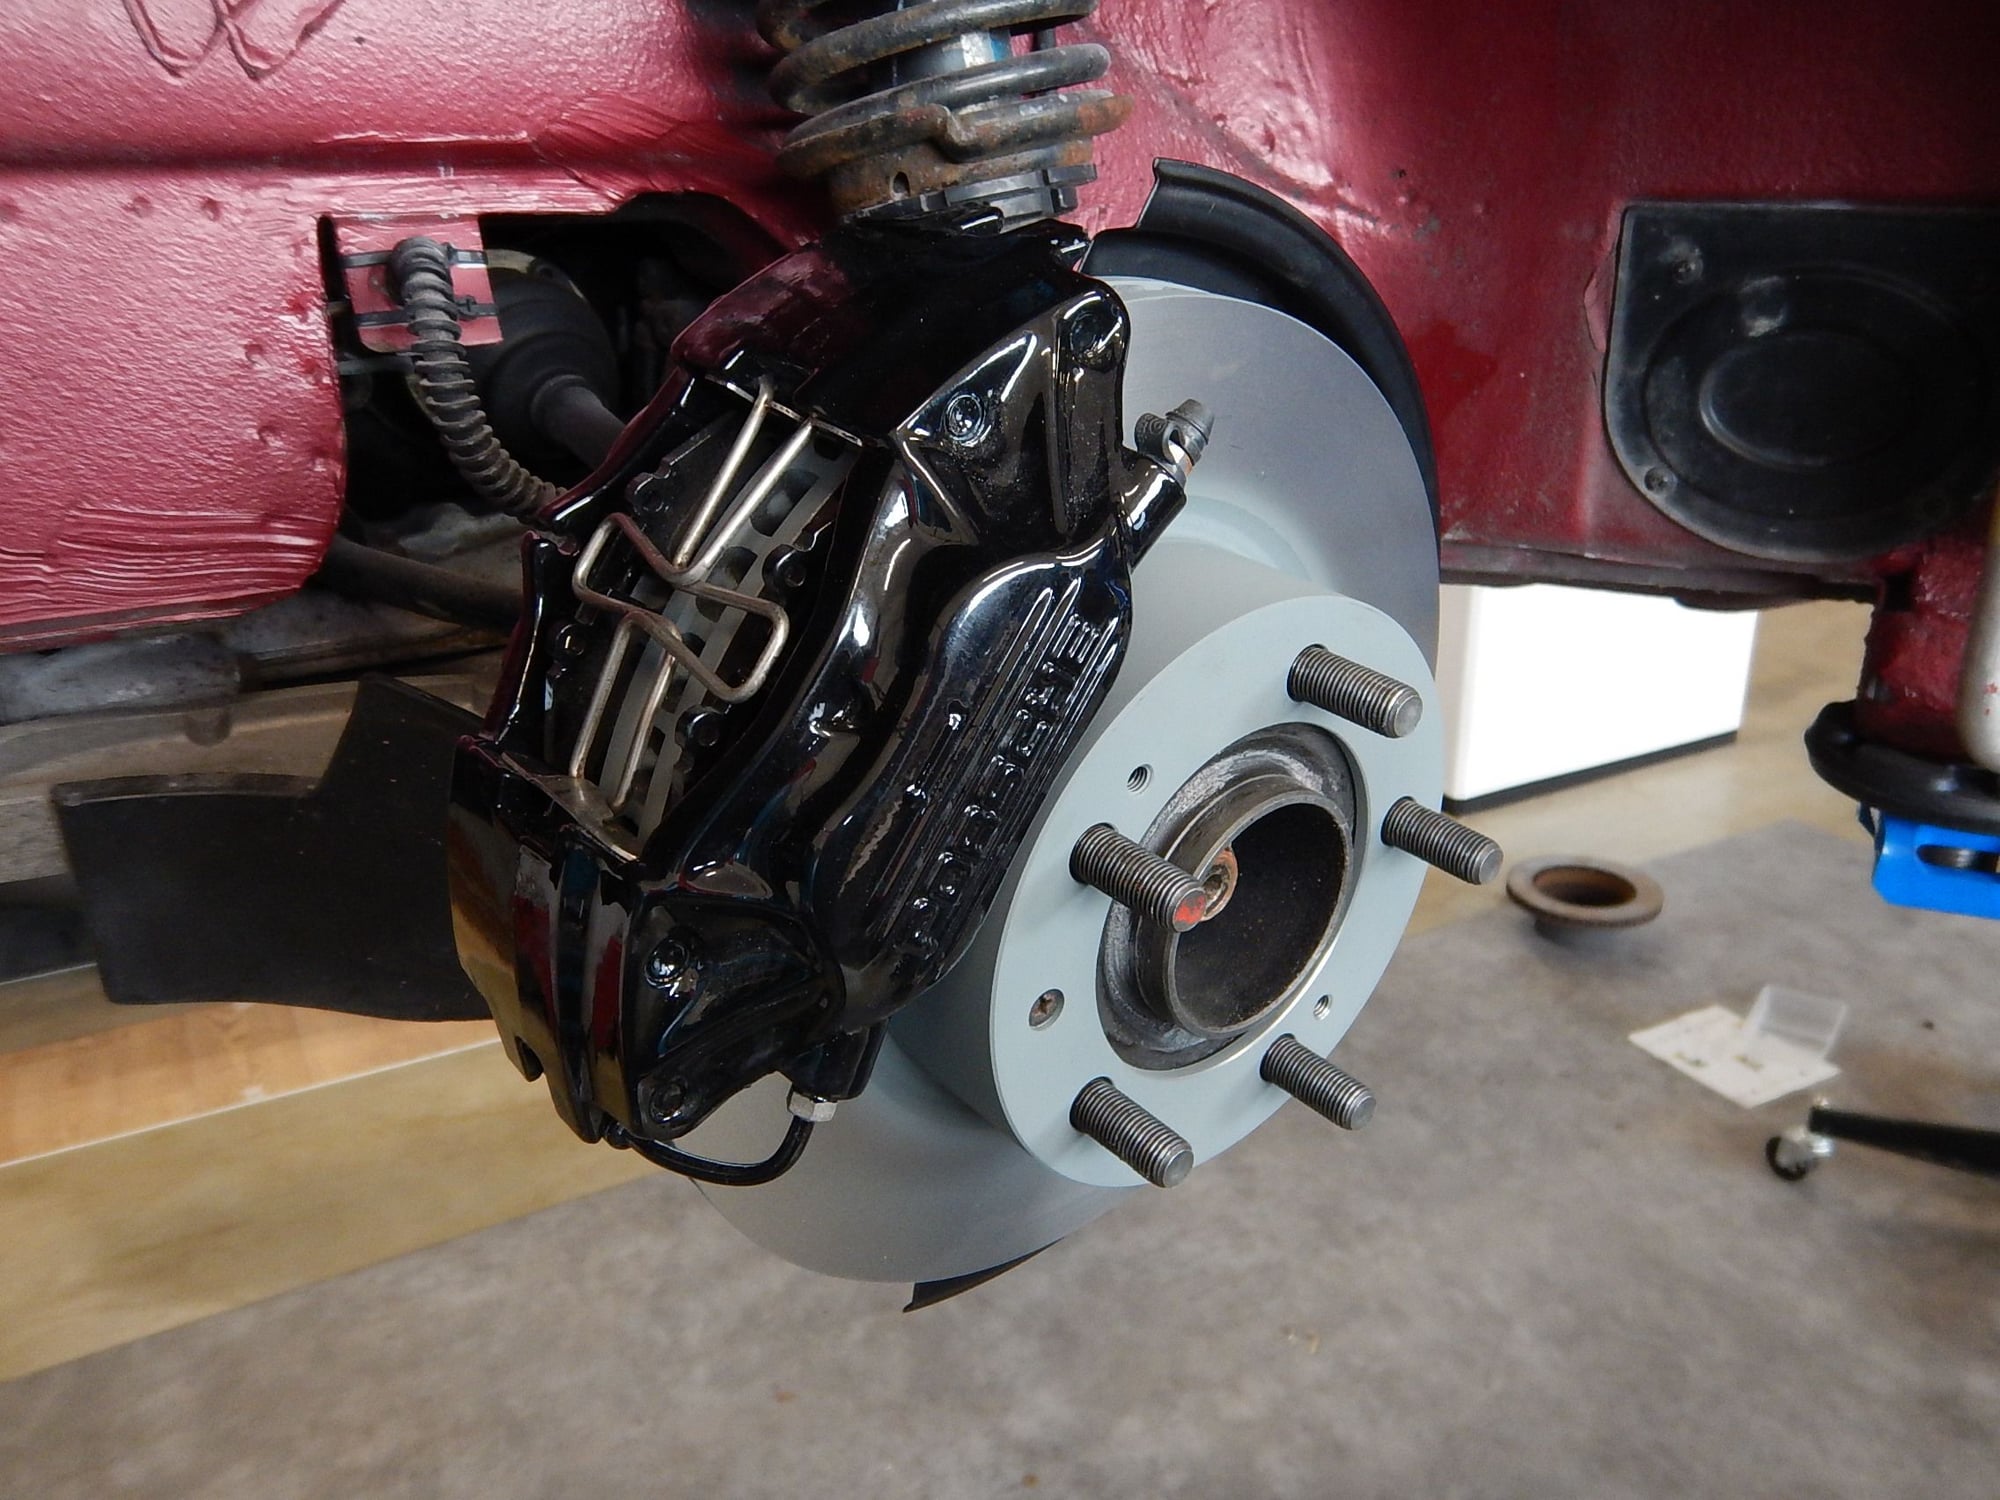
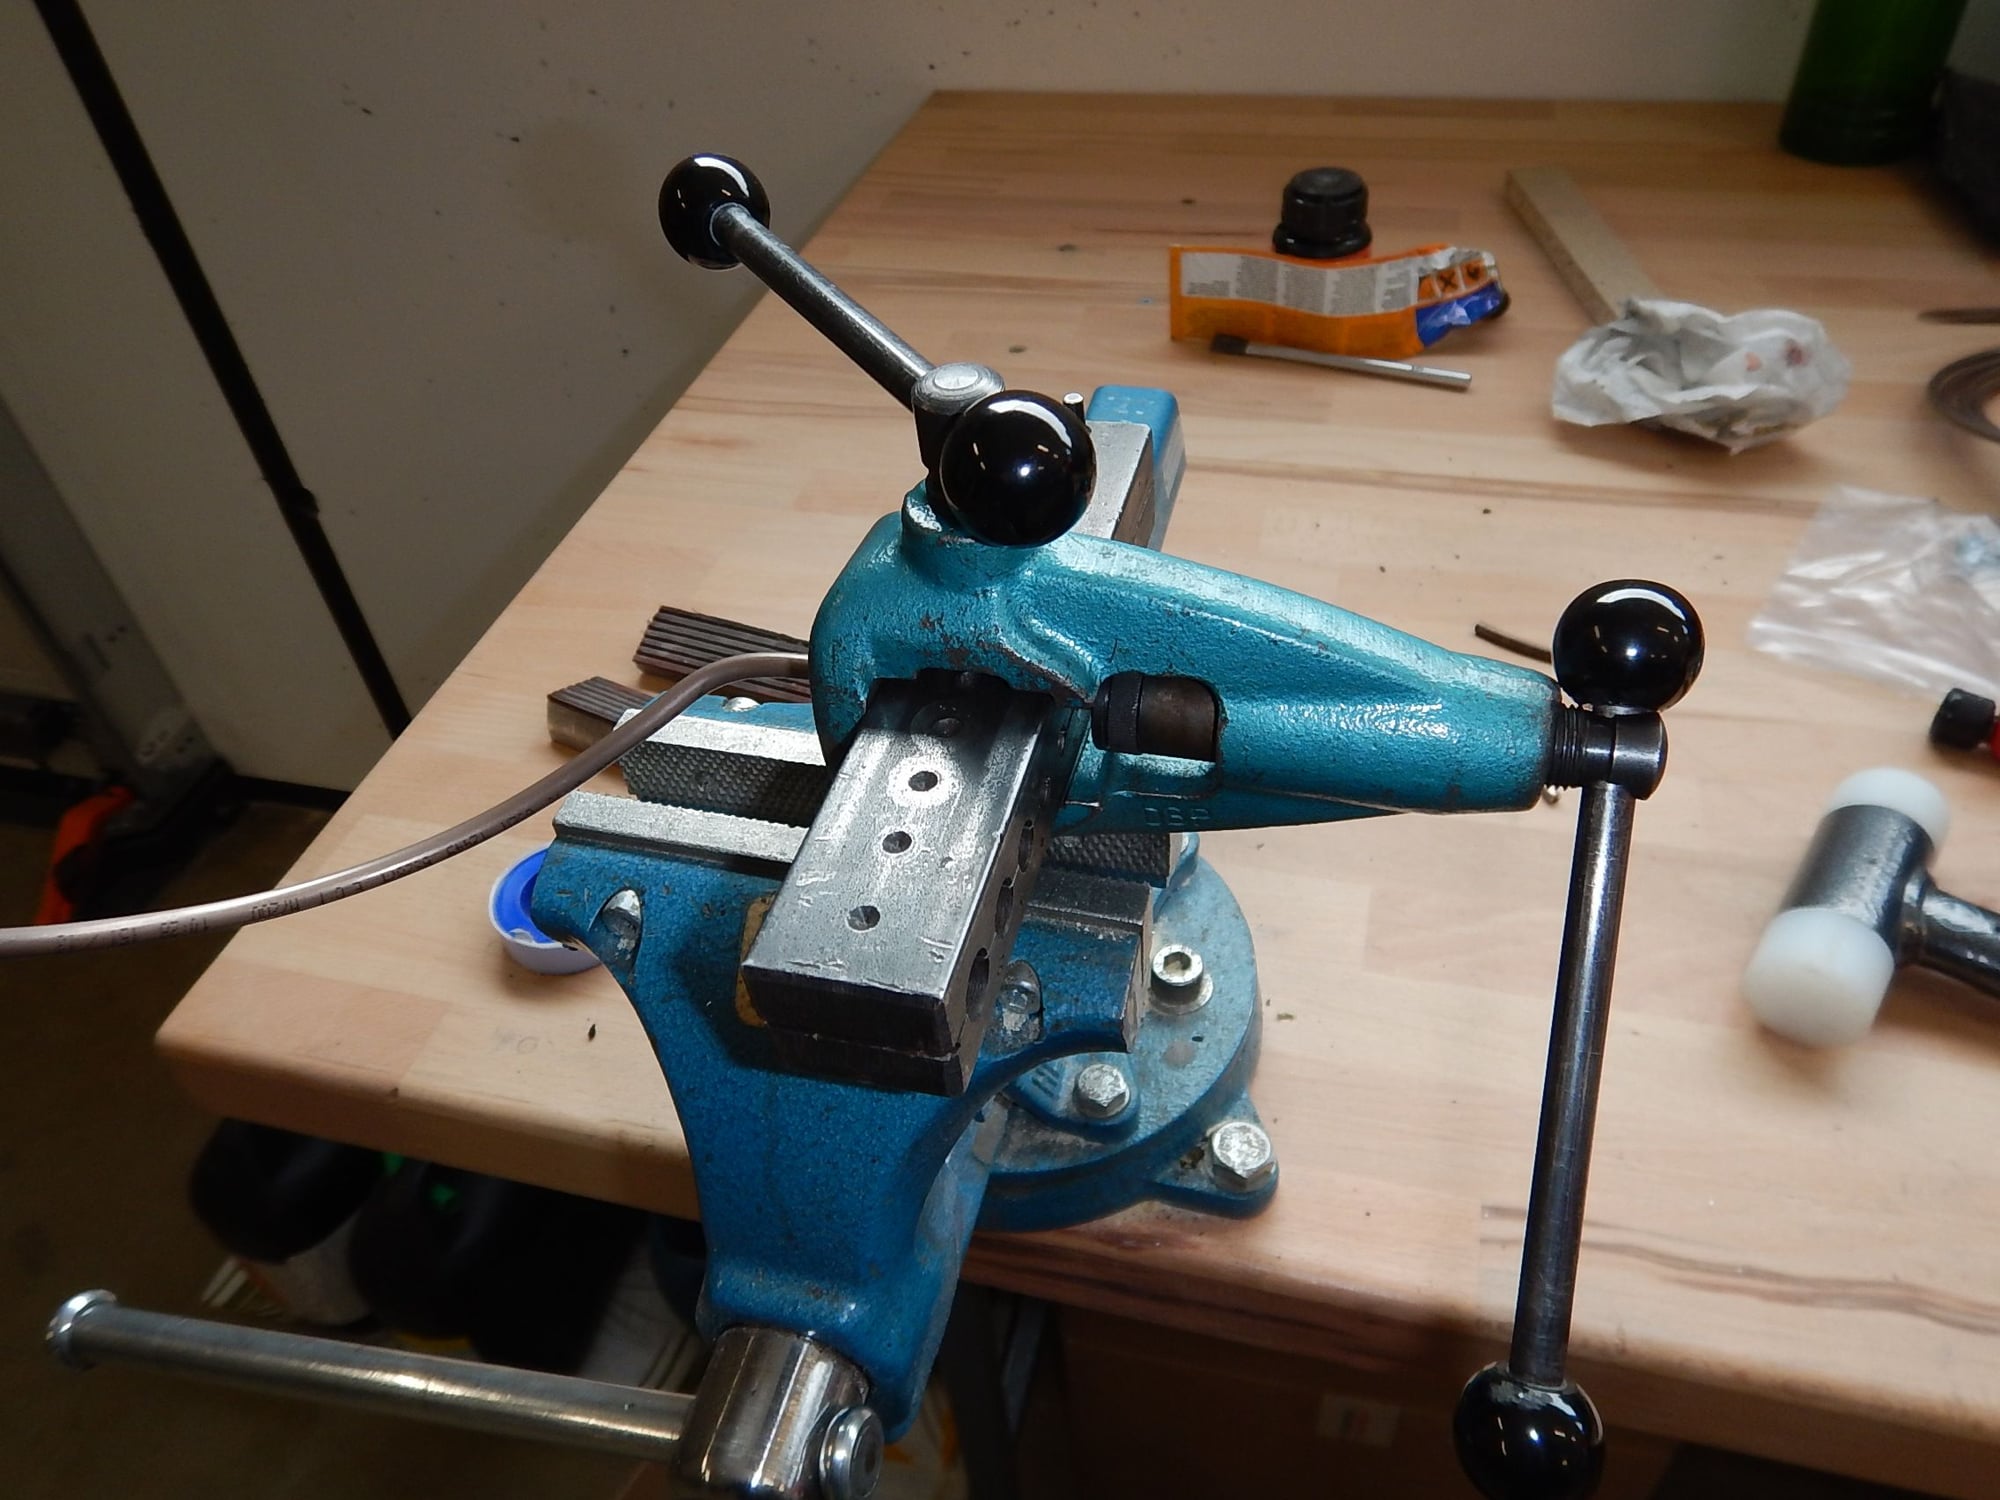
Starting on the brakes. Had to make new front lines, since I removed the 993 calipers. Nothing the old Hazet flare tool set can't manage.
Shield, disc, caliper, pads, line. Check.
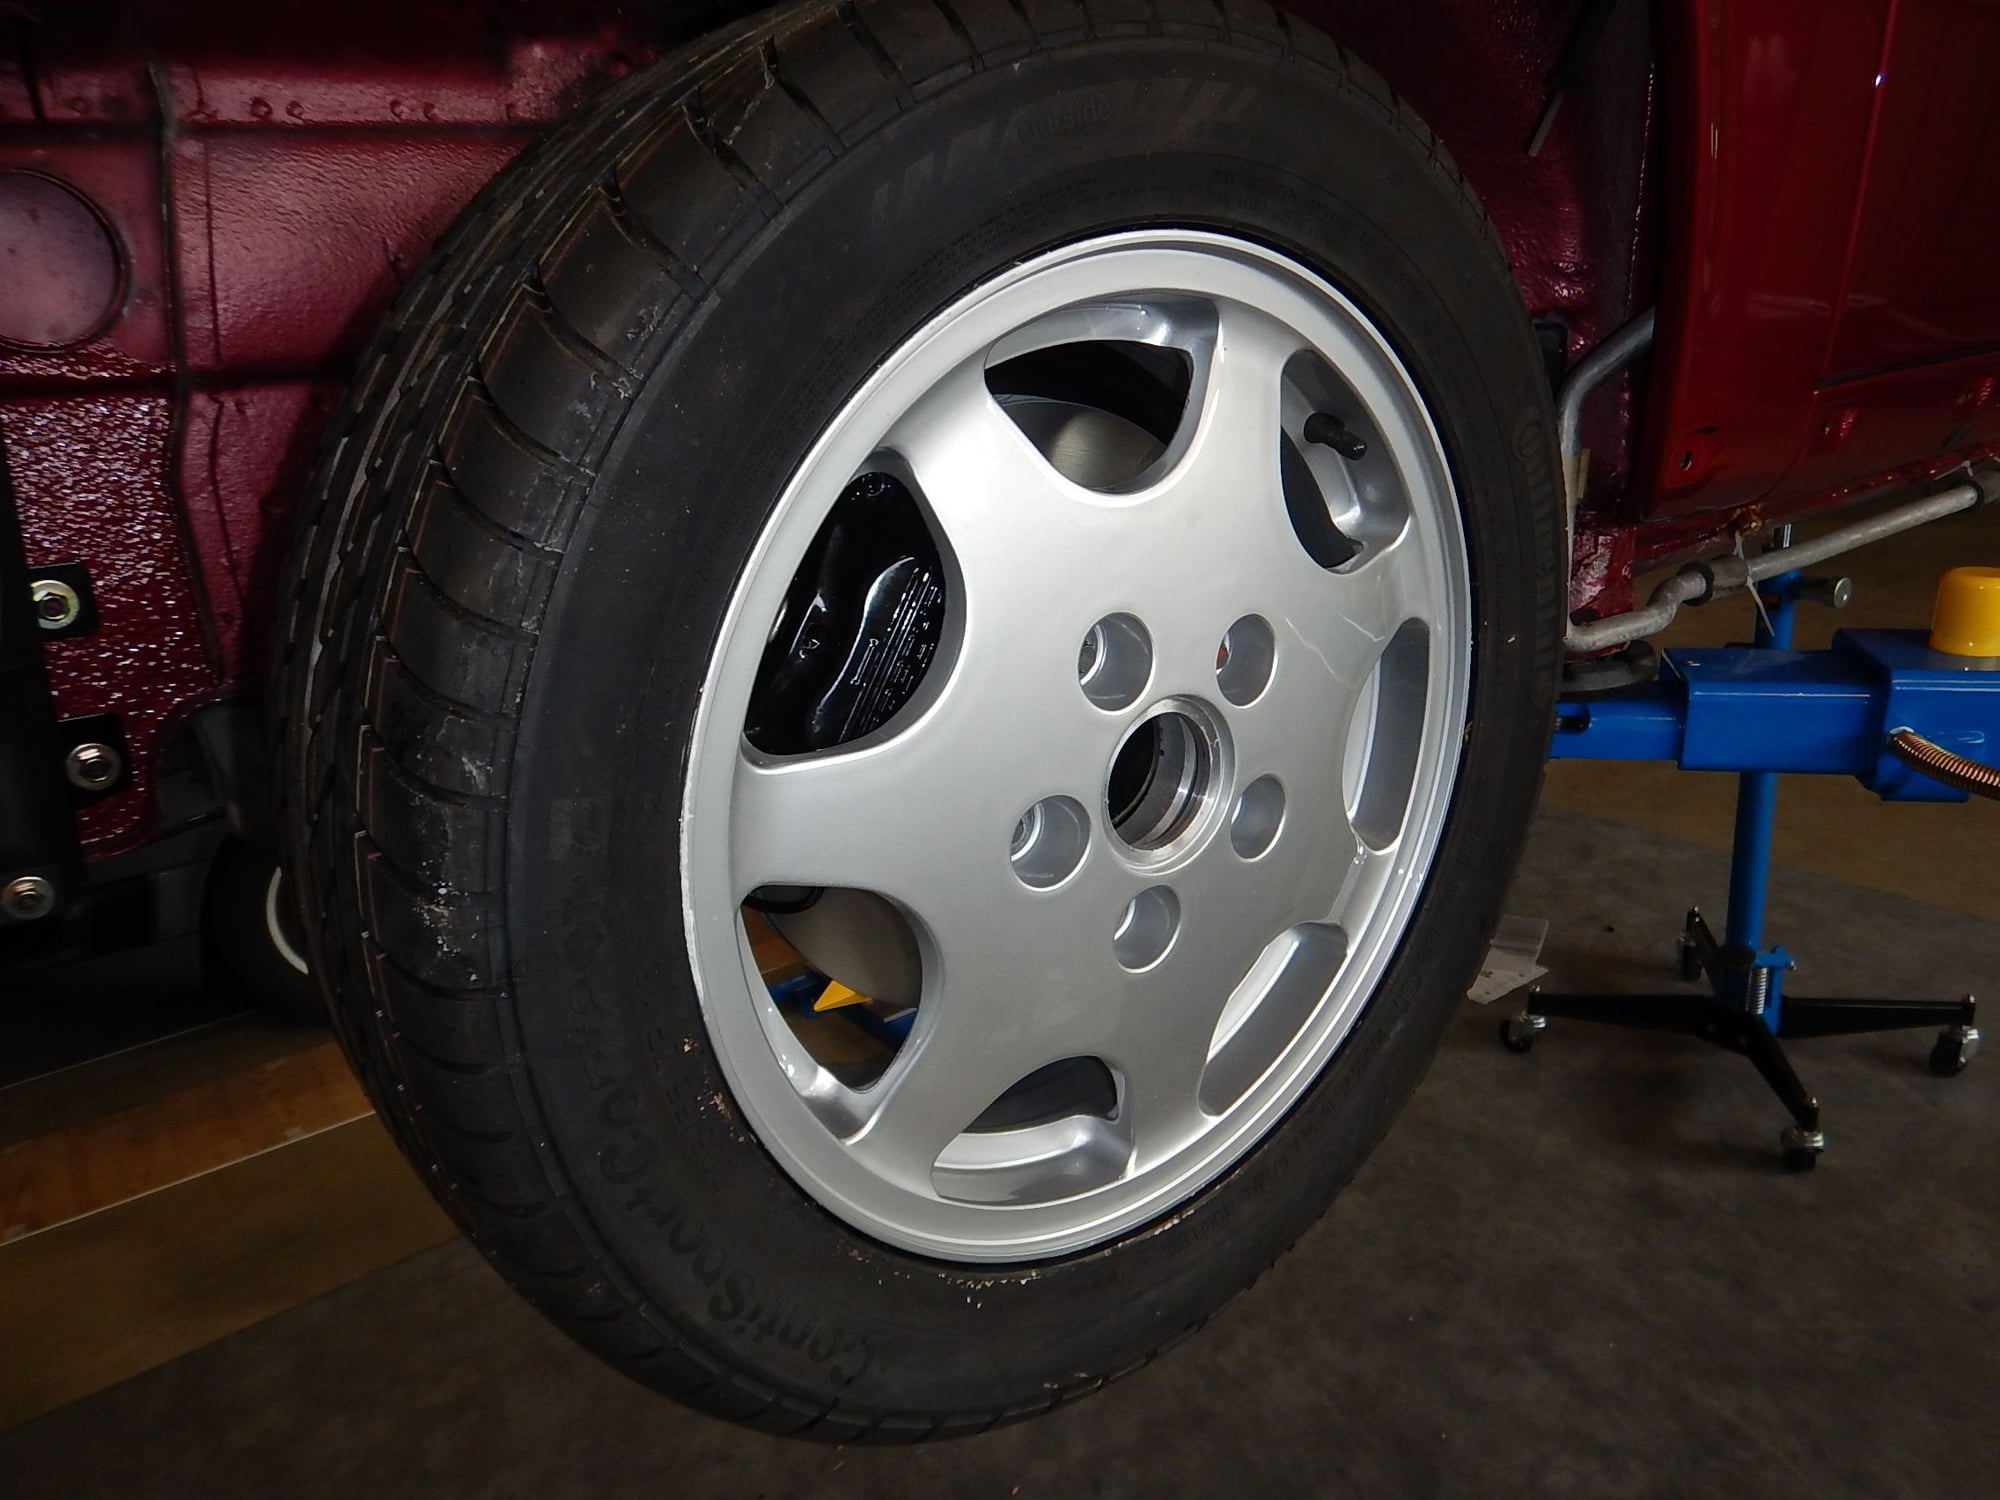
Edit: new pre-series wheels as well.
Shield, disc, caliper, pads, line. Check.
Edit: new pre-series wheels as well.
#113
Rennlist Member
Thread Starter
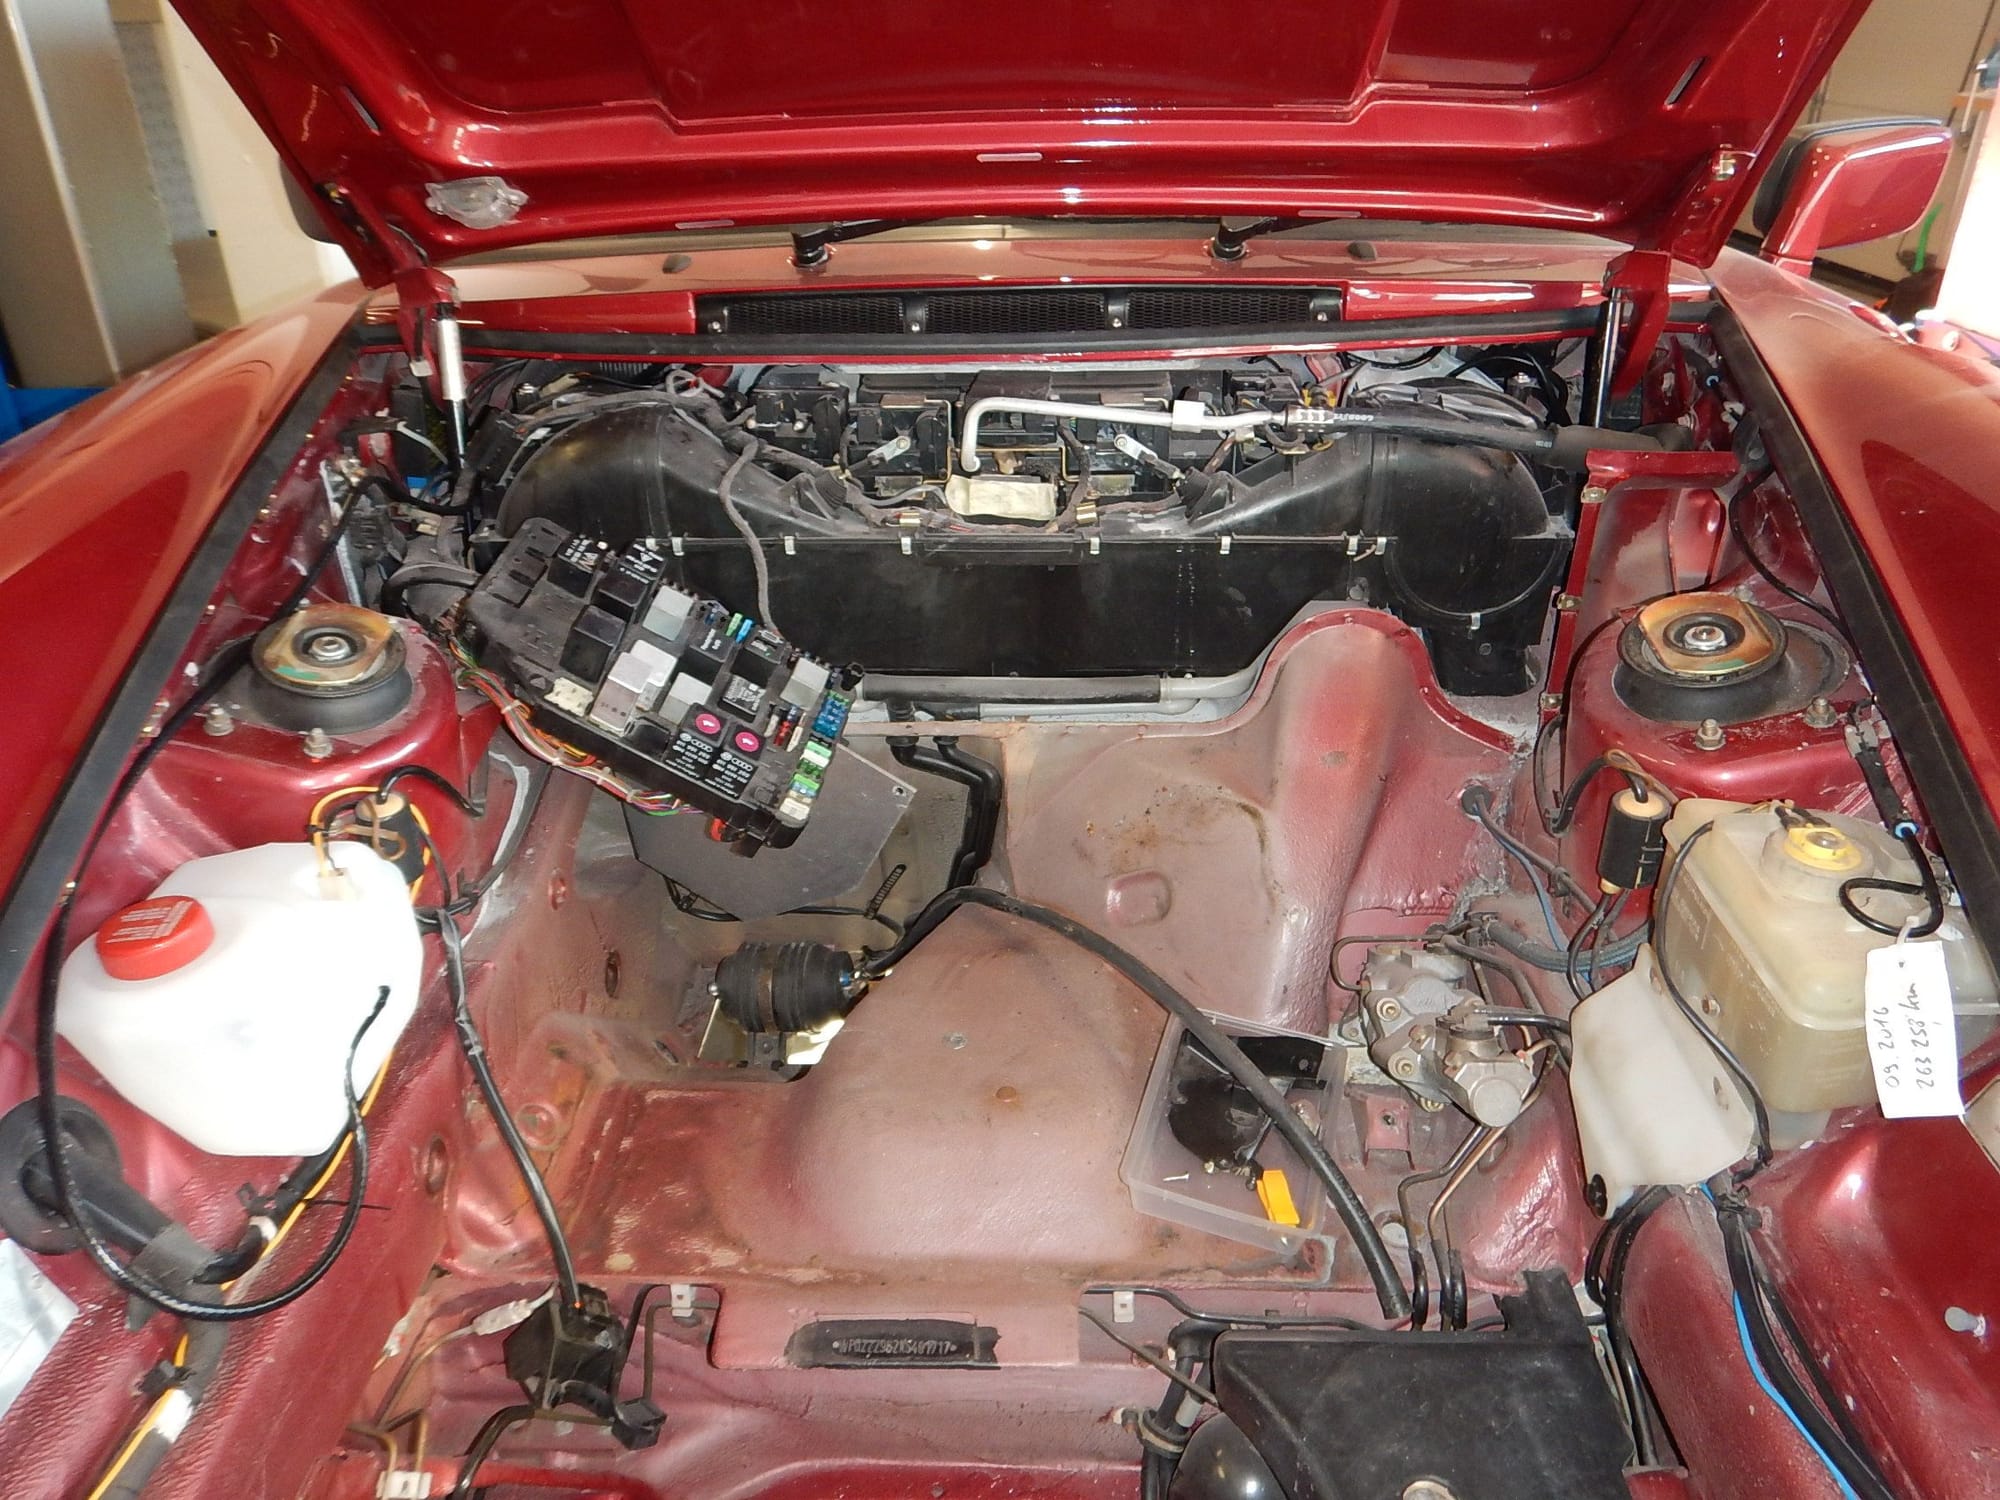
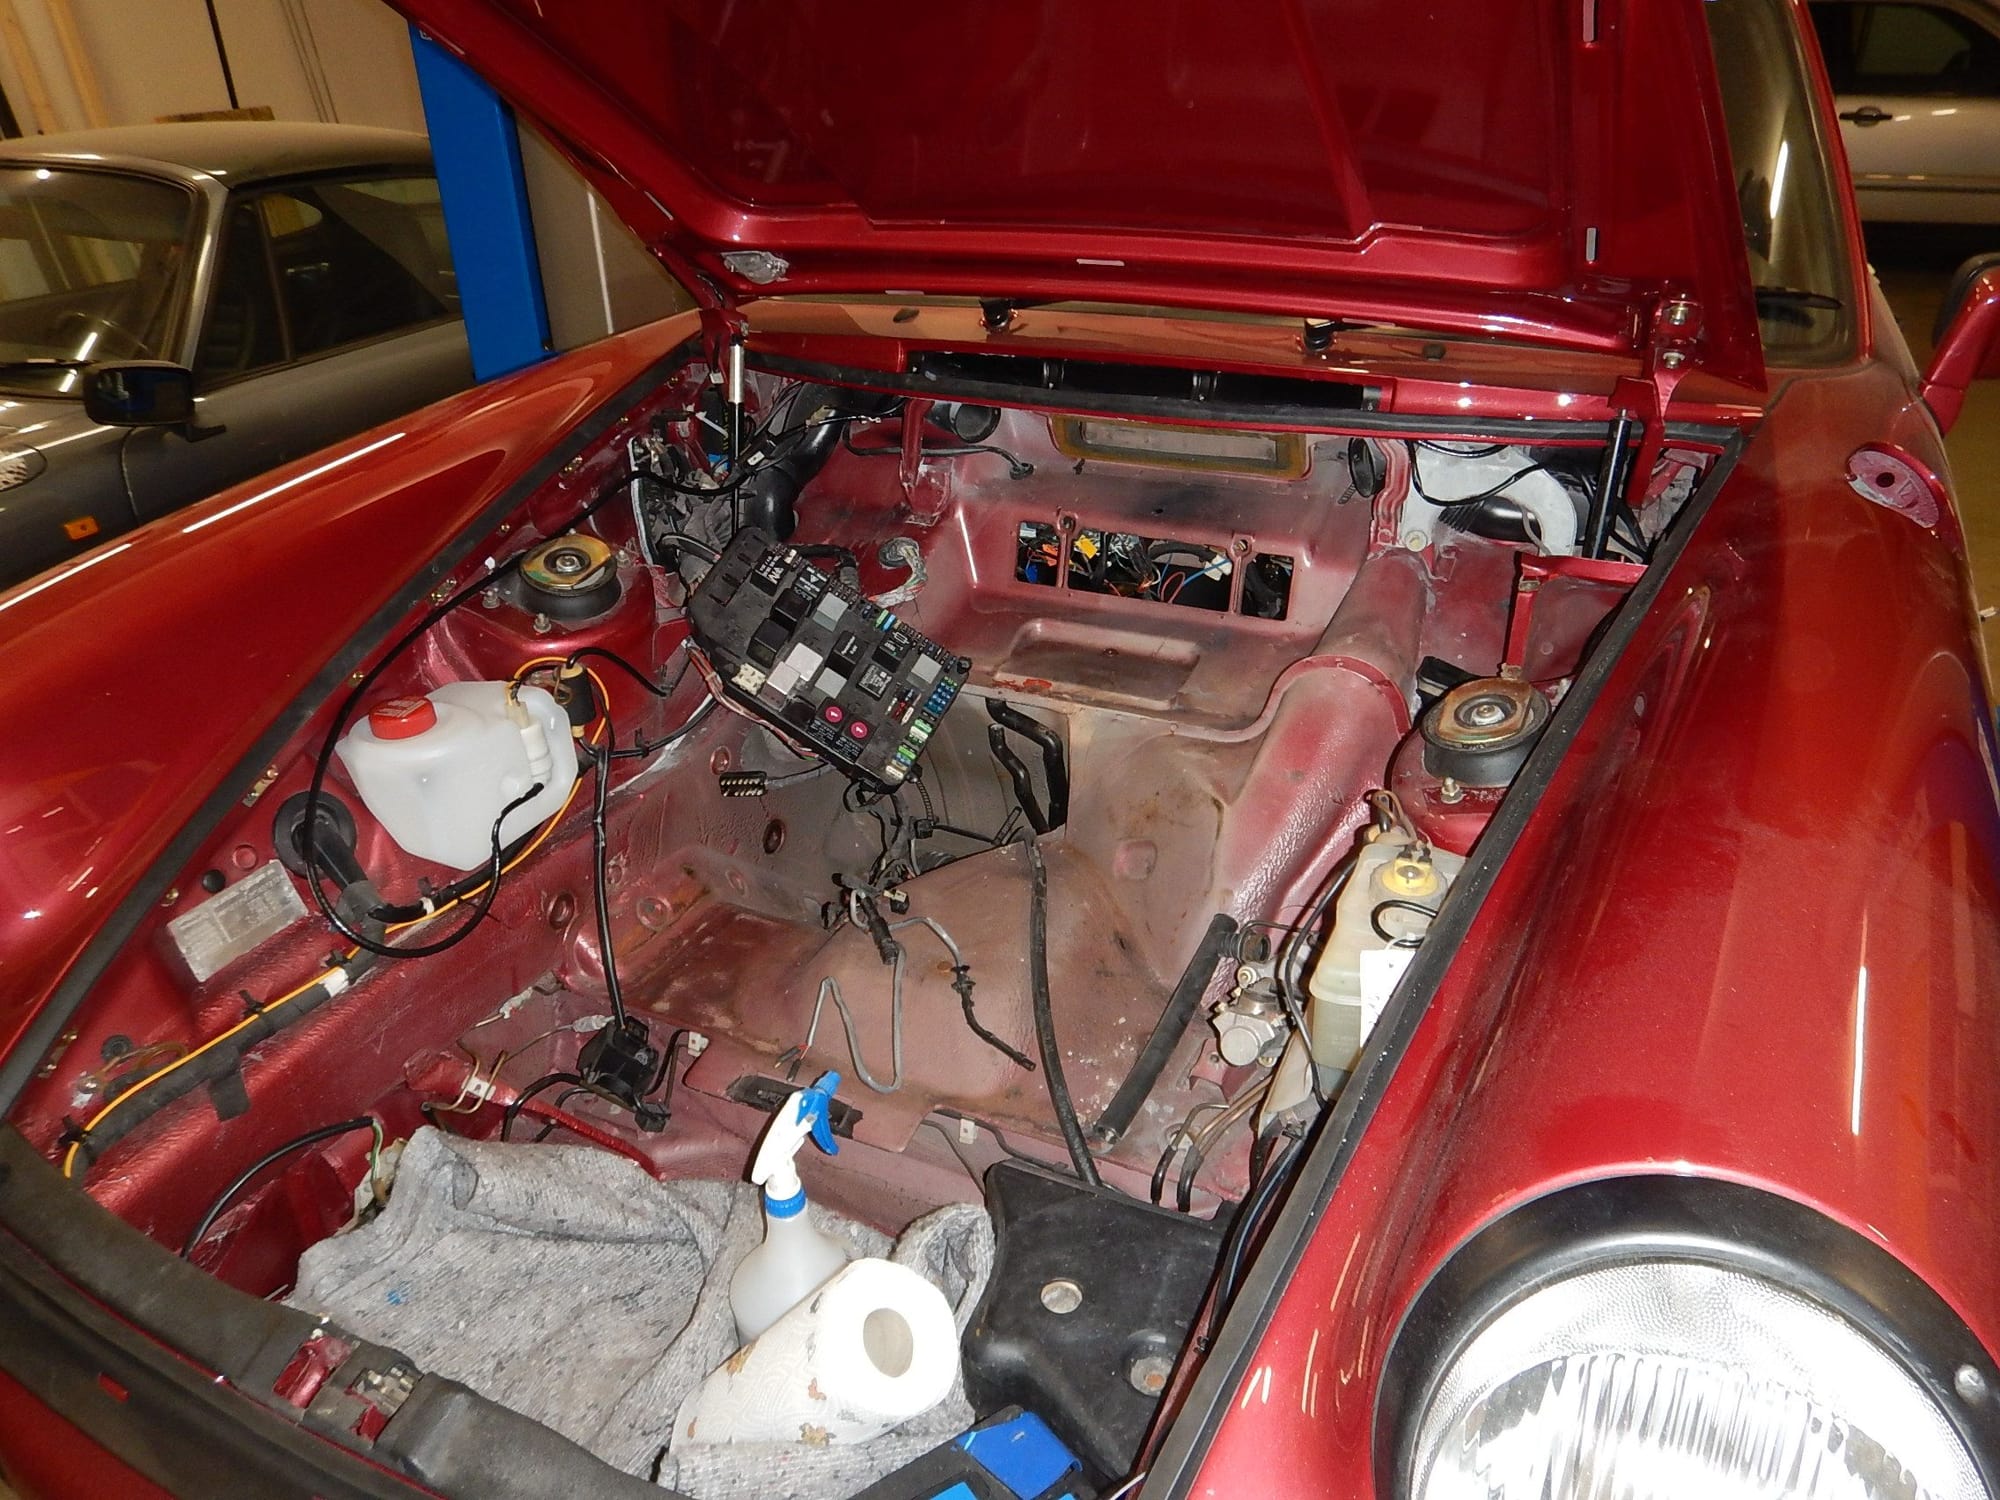
While waiting for the brake parts, I took out the ventilation suitcase, again. I had replaced the fan motors a few years (and not that many miles) ago, but an annoying whistling had developed, which I conld only trace to the front ventilation. I vacuumed out a lot of dust, some bigger debris, and the foam padding of the recirculation flap was crumbling. I replaced it with neoprene sheet.
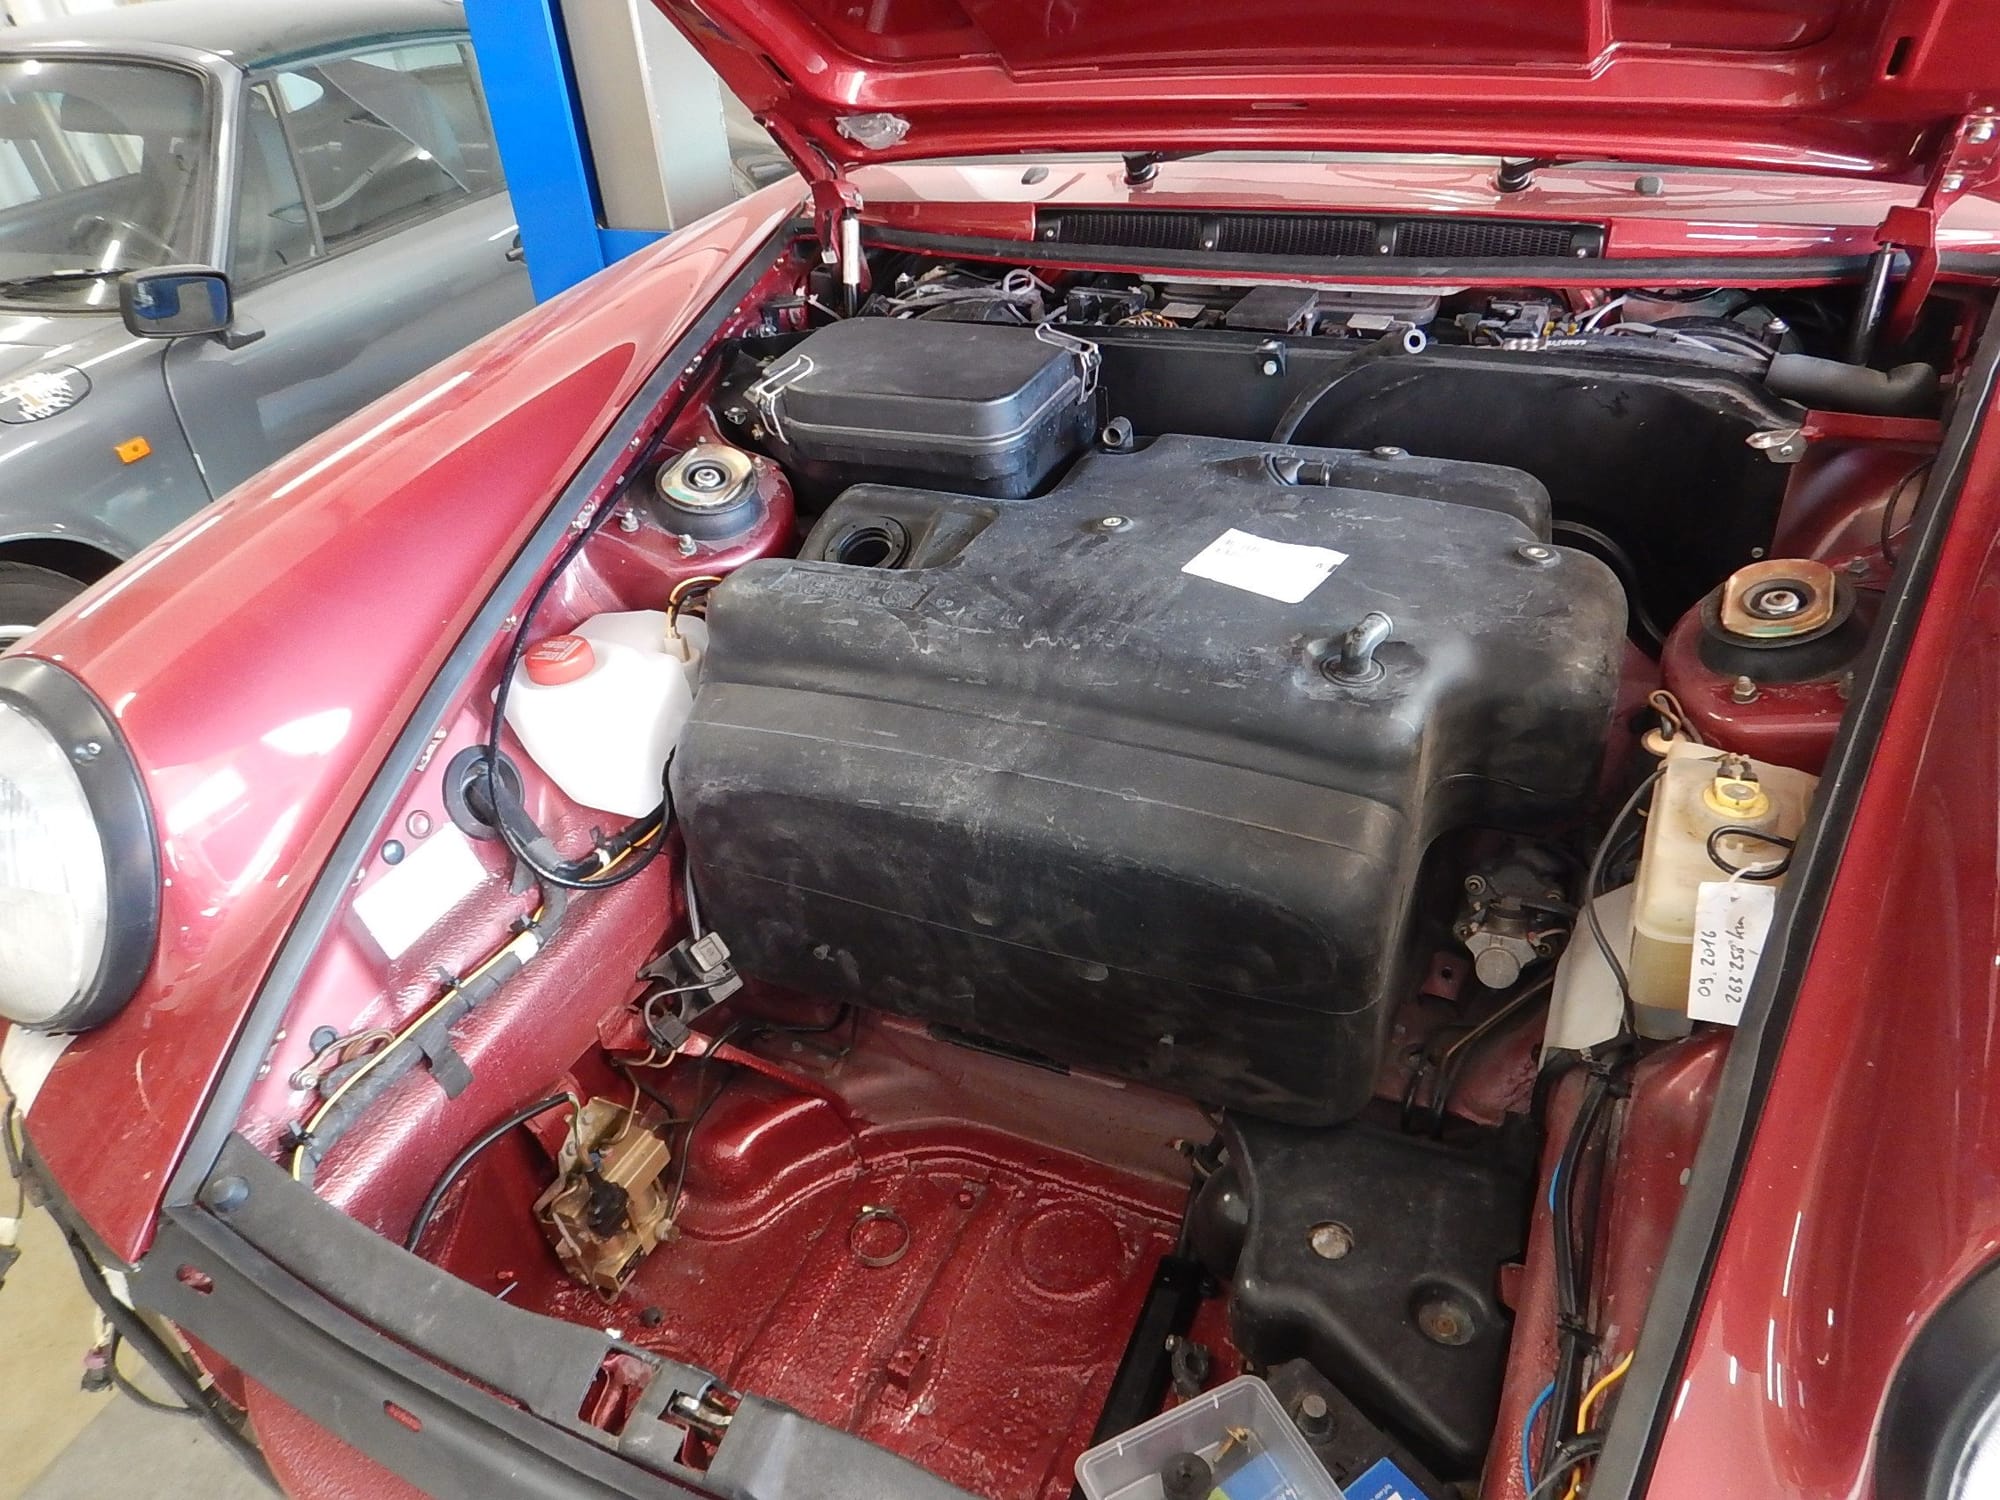
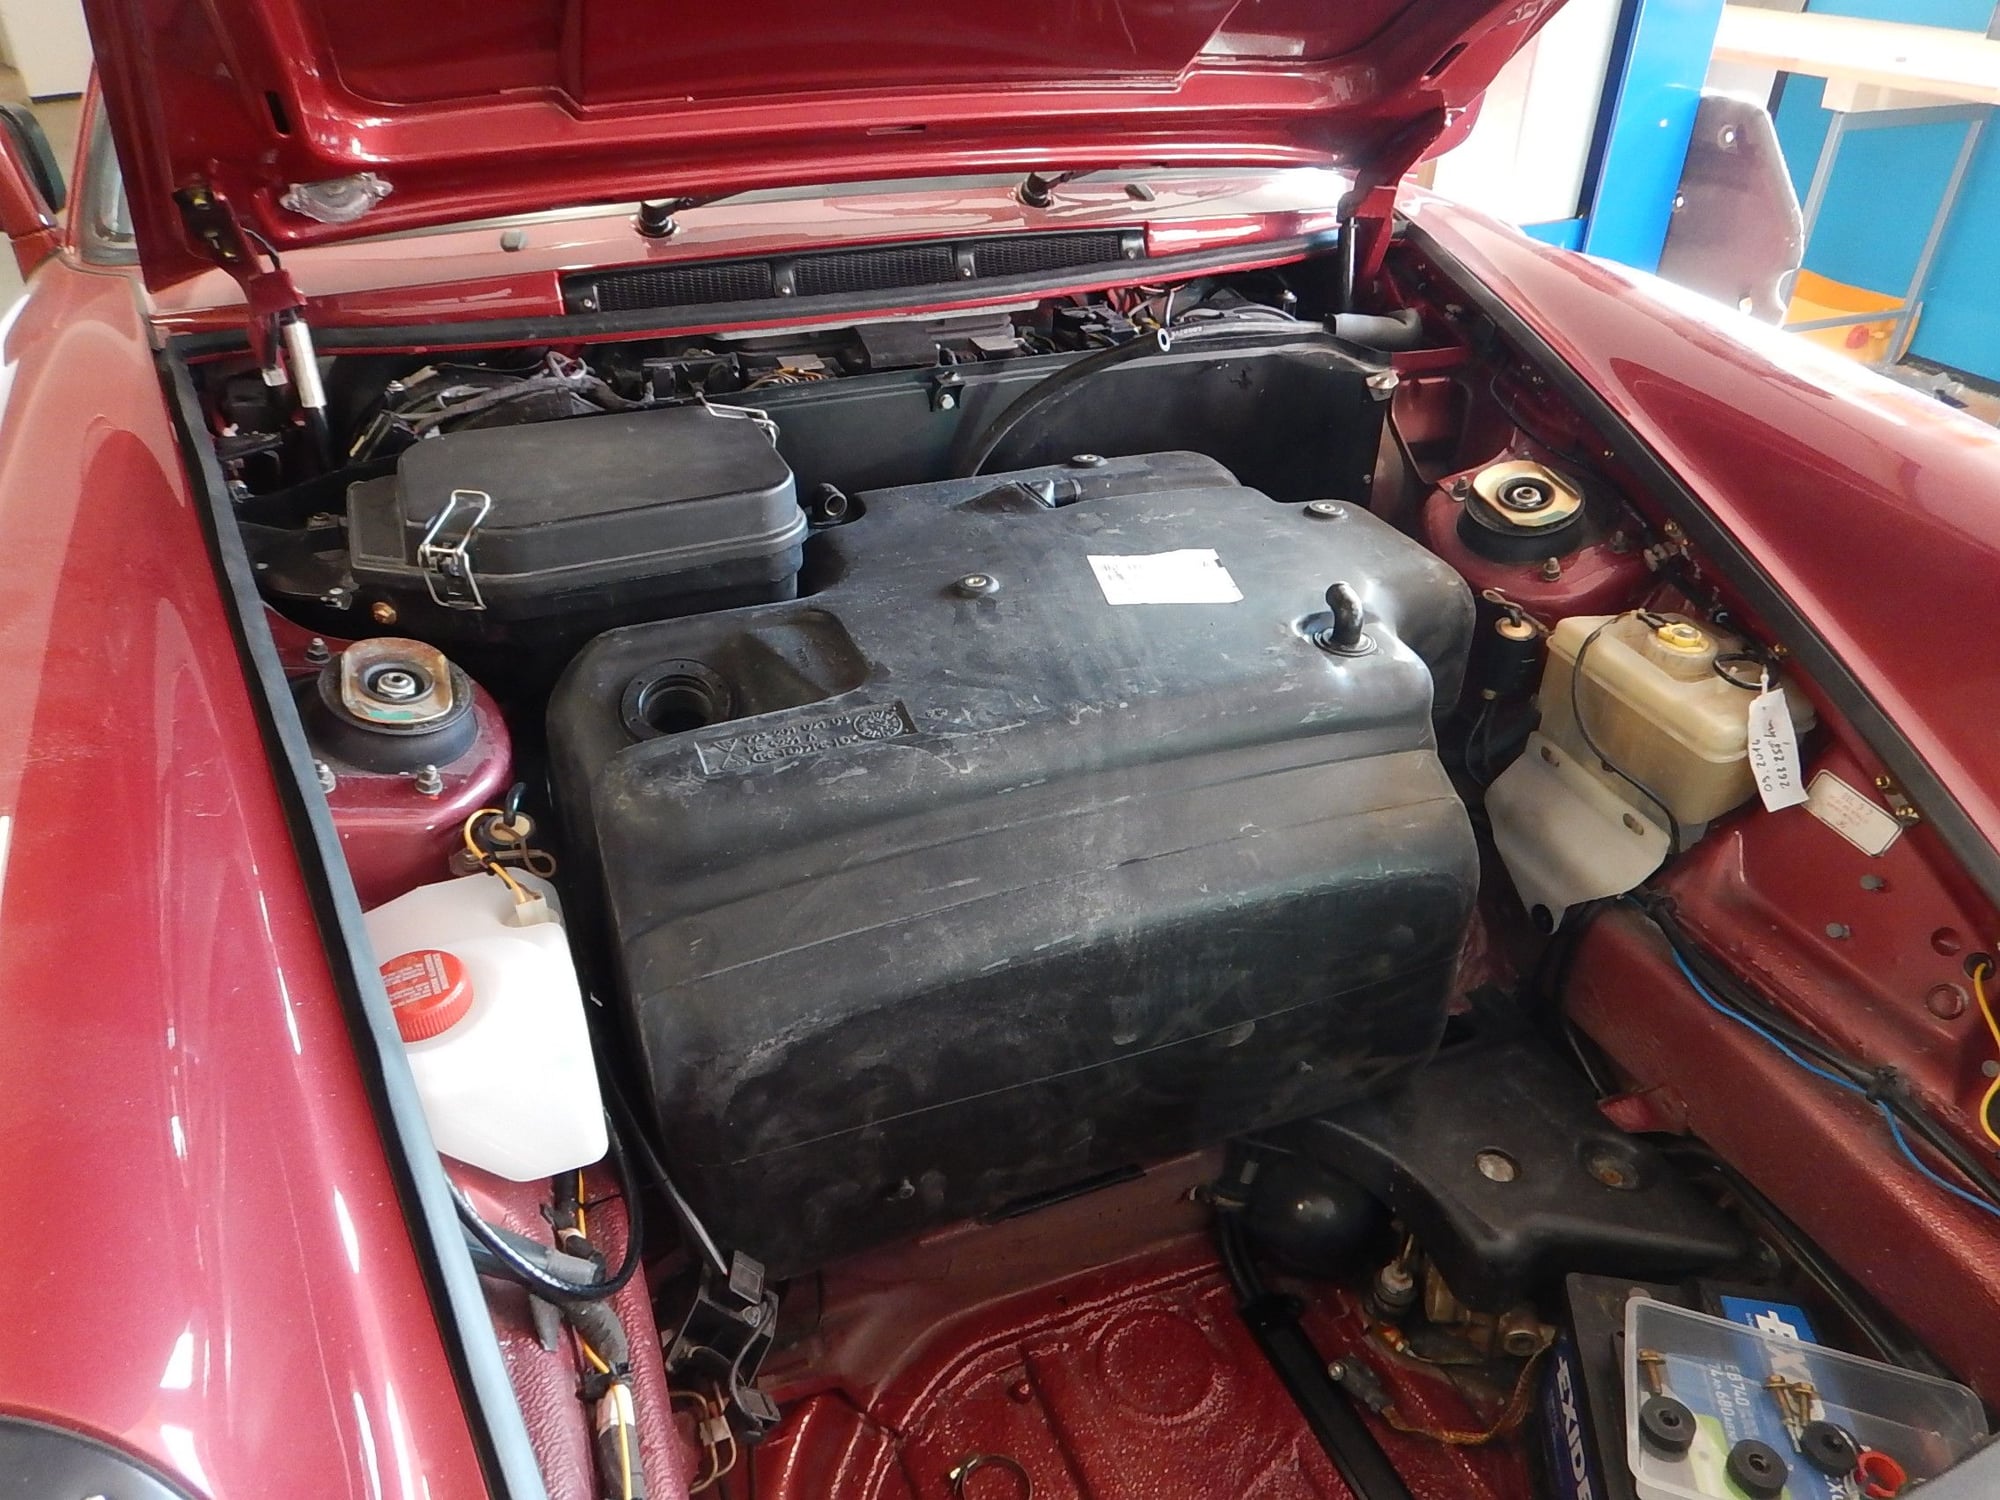
And, my own guilty pleasure, a 92 liter fuel tank will go back in.
And, my own guilty pleasure, a 92 liter fuel tank will go back in.
#115
Rennlist Member
Thread Starter
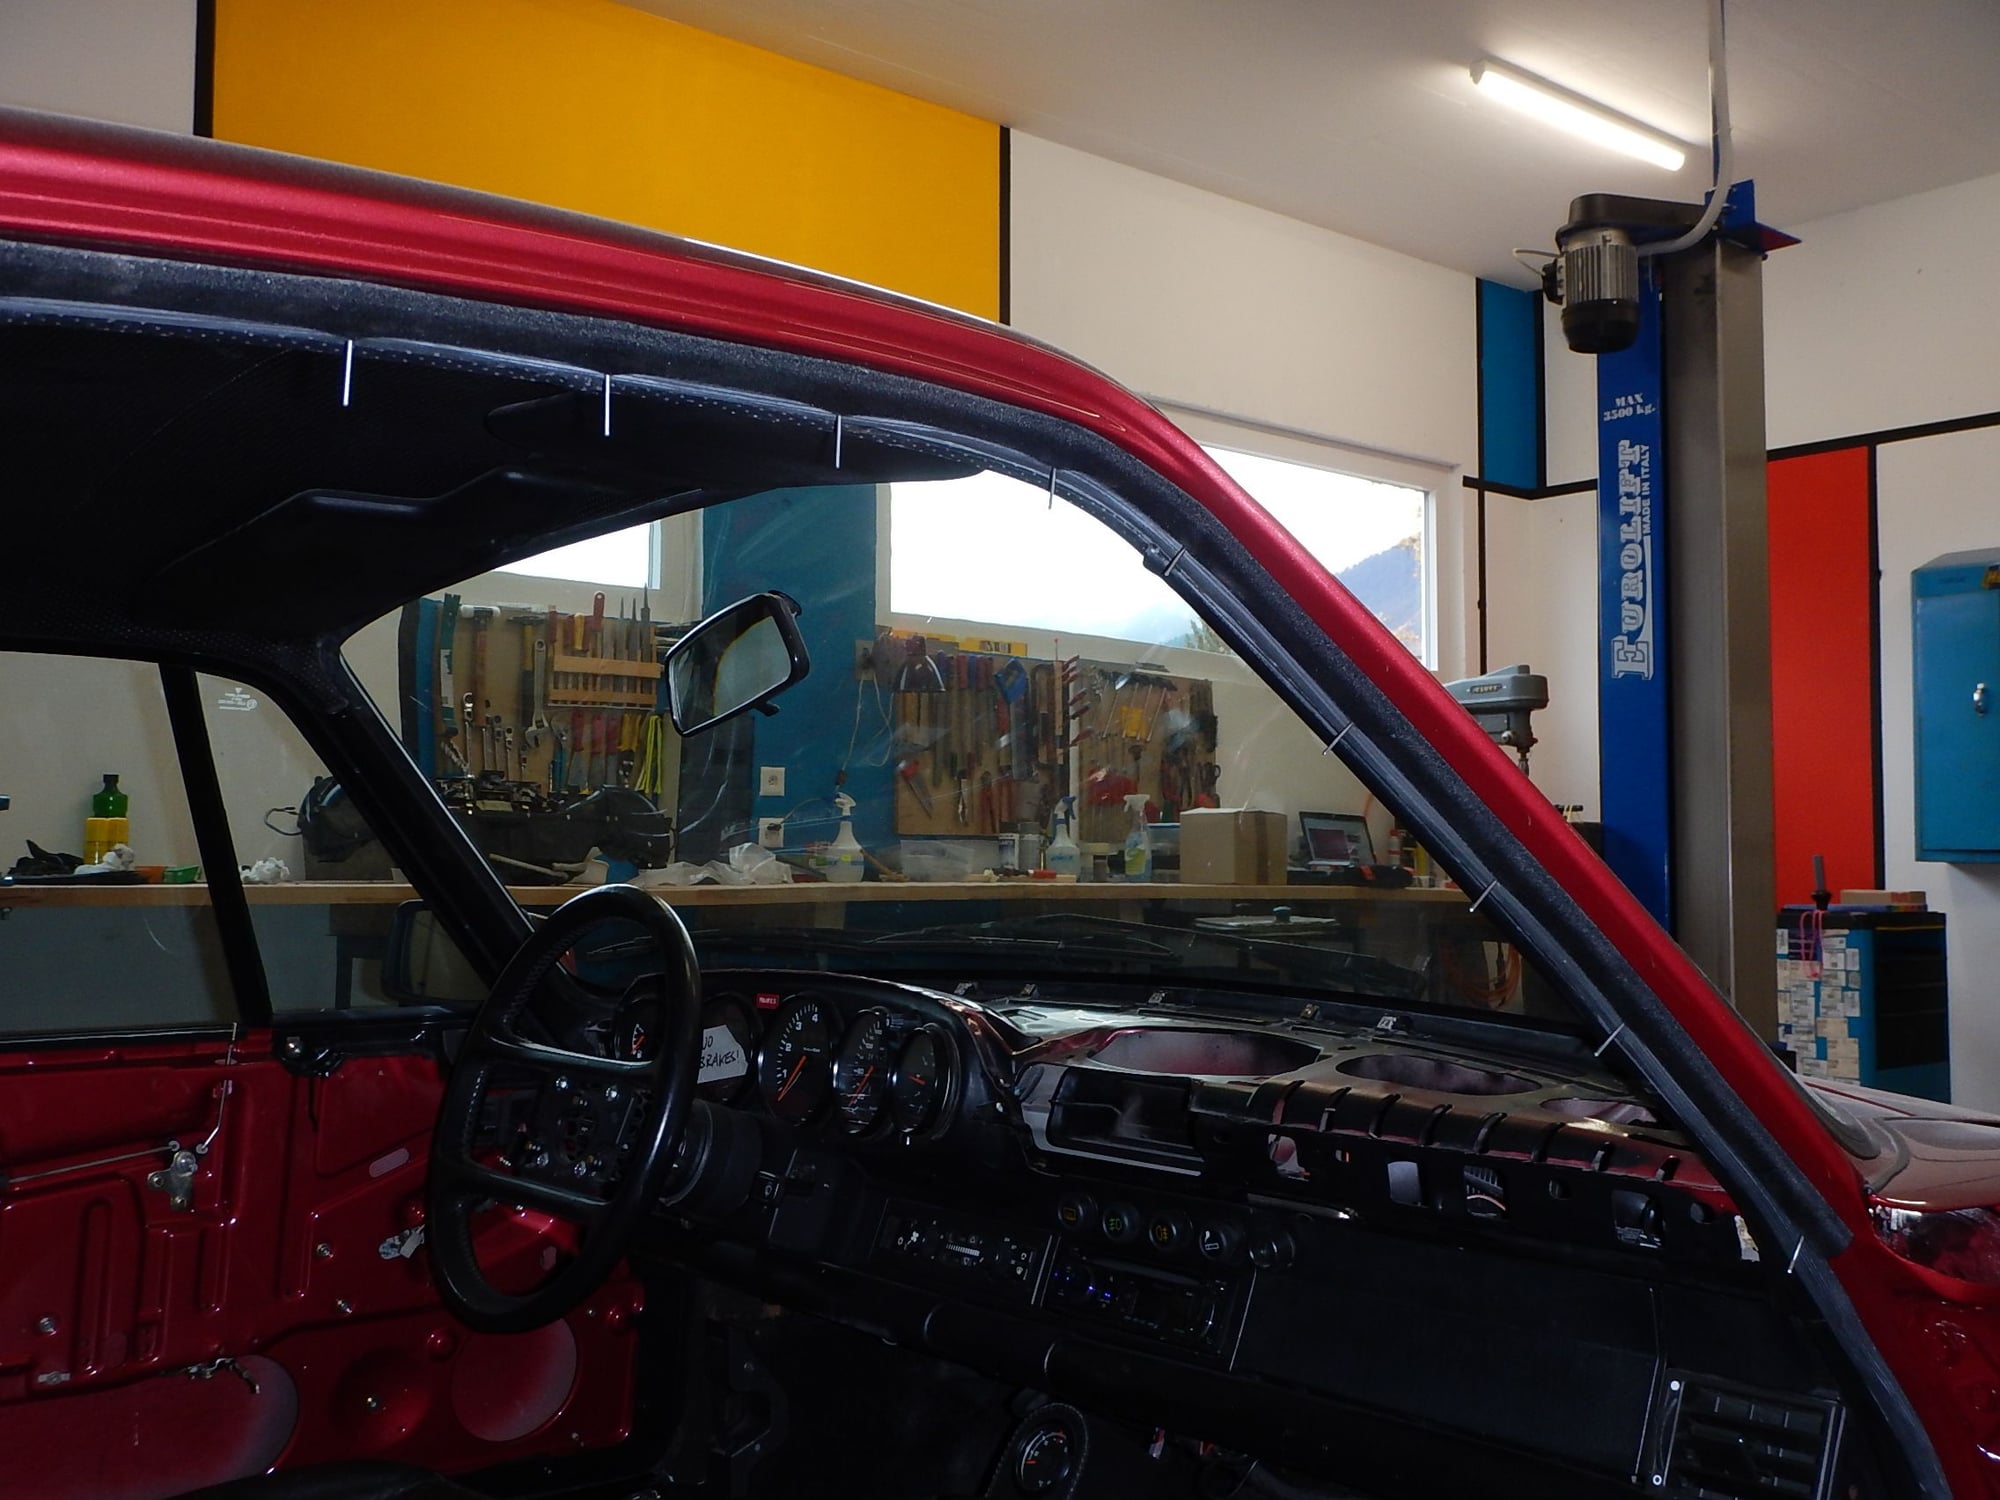
I fitted the (new) felt seals on top of the door openings. Tip: don't start riveting until you have all the rivets in place and aligned. Takes some shaping in the upper front corner.
Cleaned up and refitted the ventilation suitcase. Note: goes in much better if you remove the lid struts. Ideally should go in before the front lid, but I was not going to take it off.
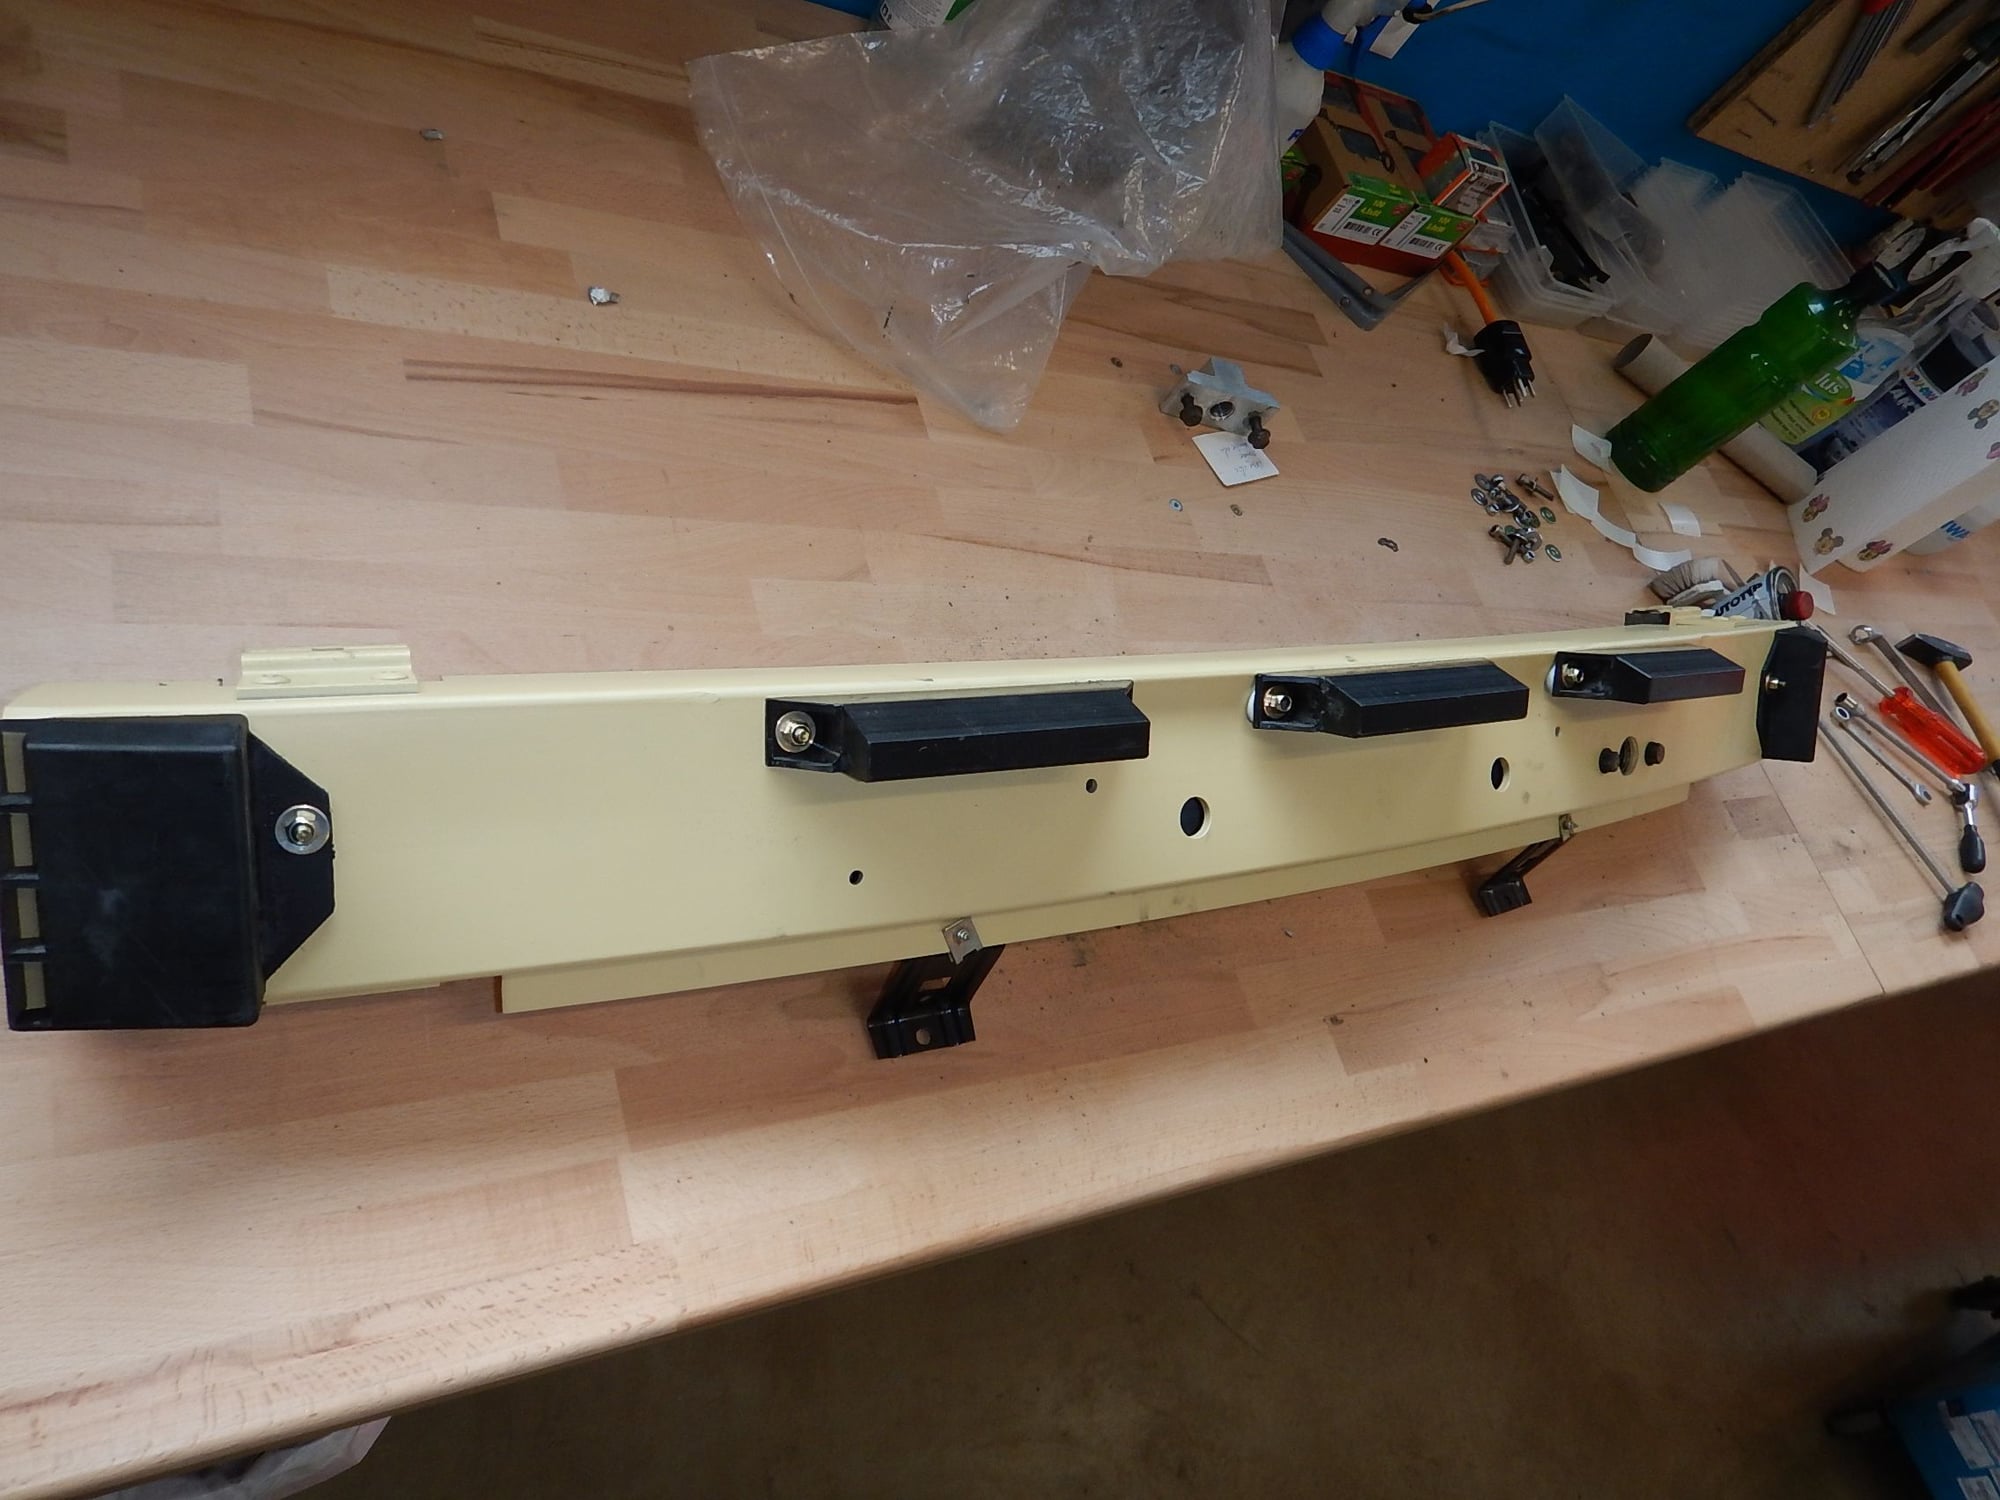
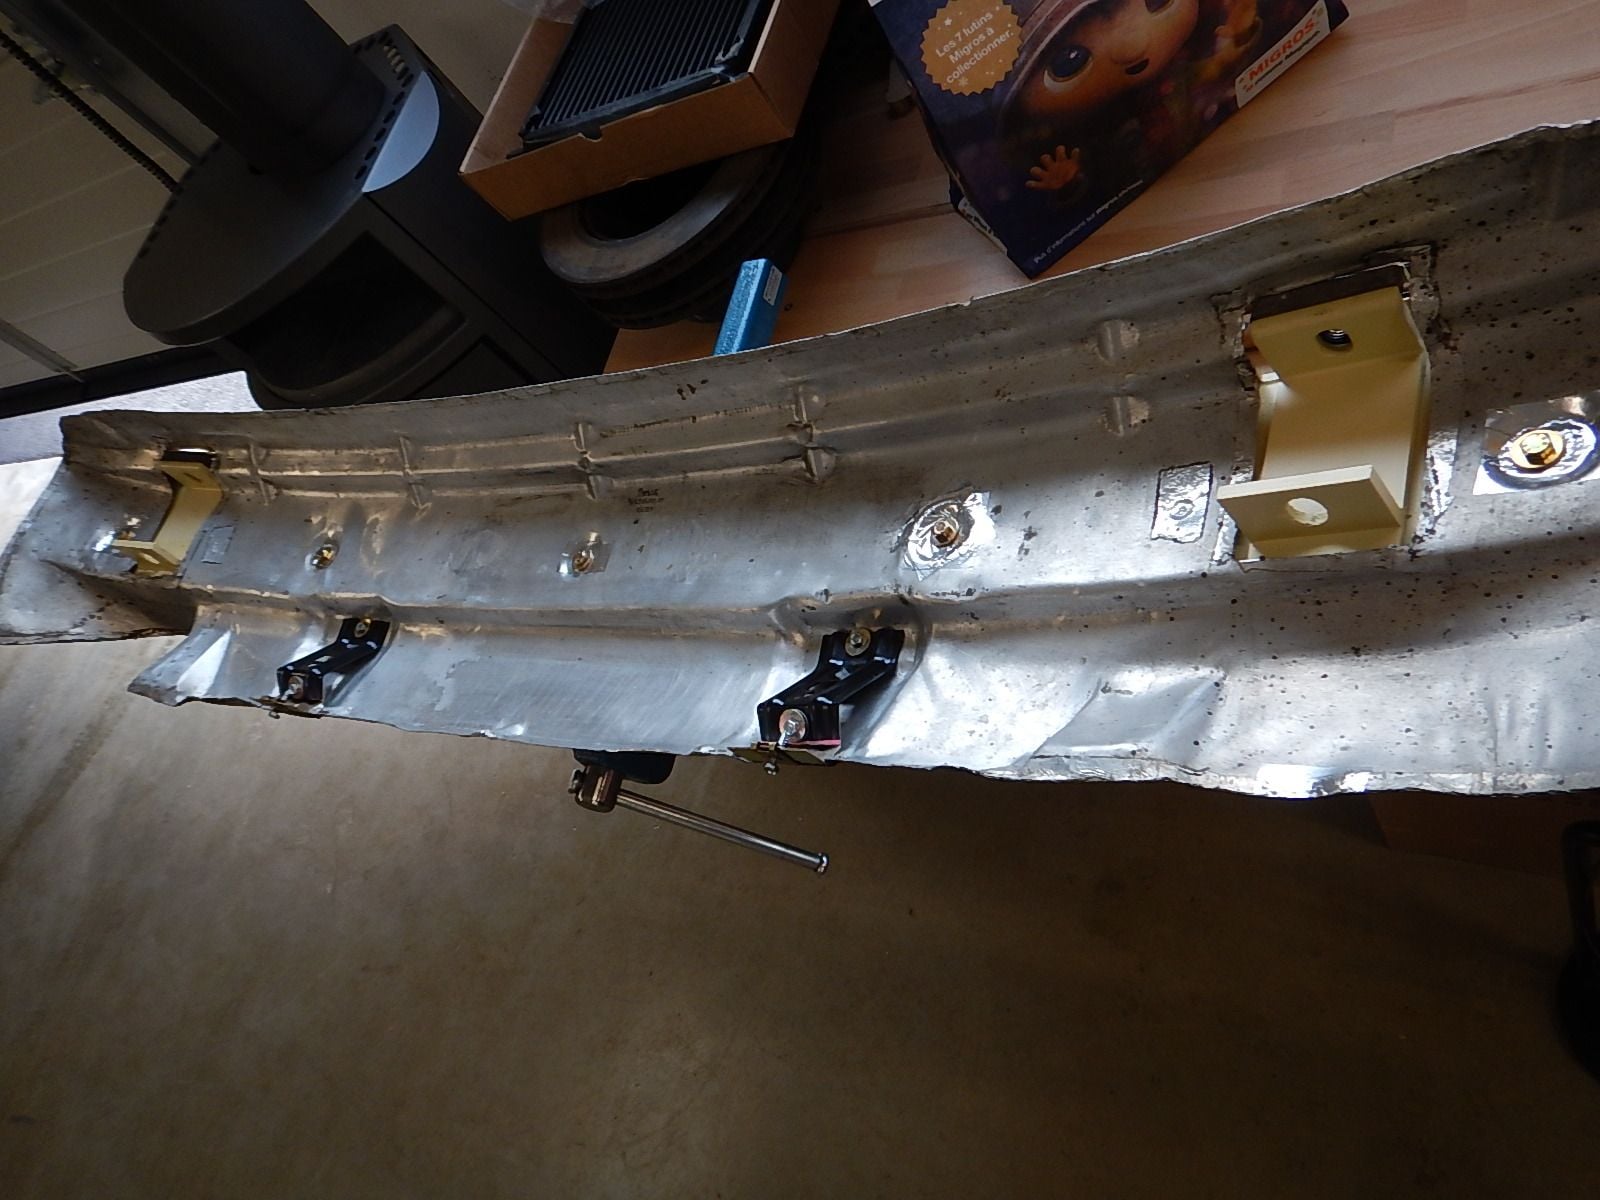
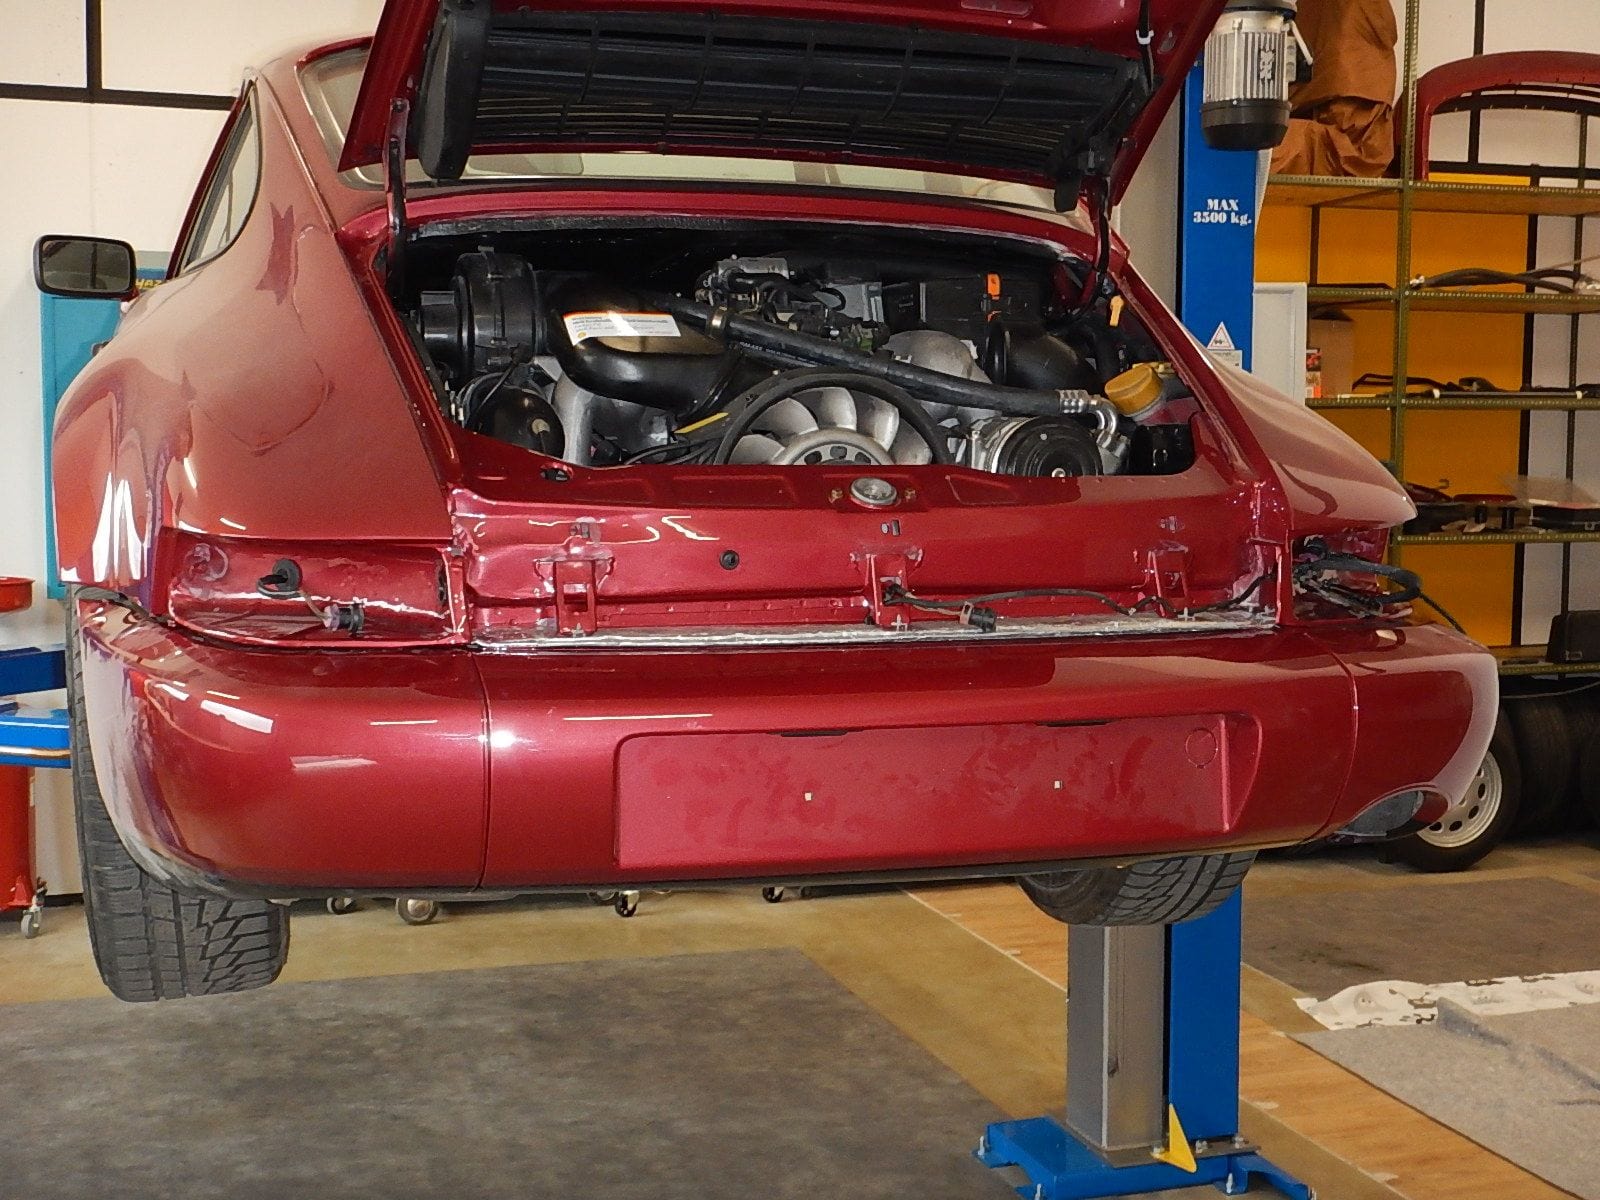
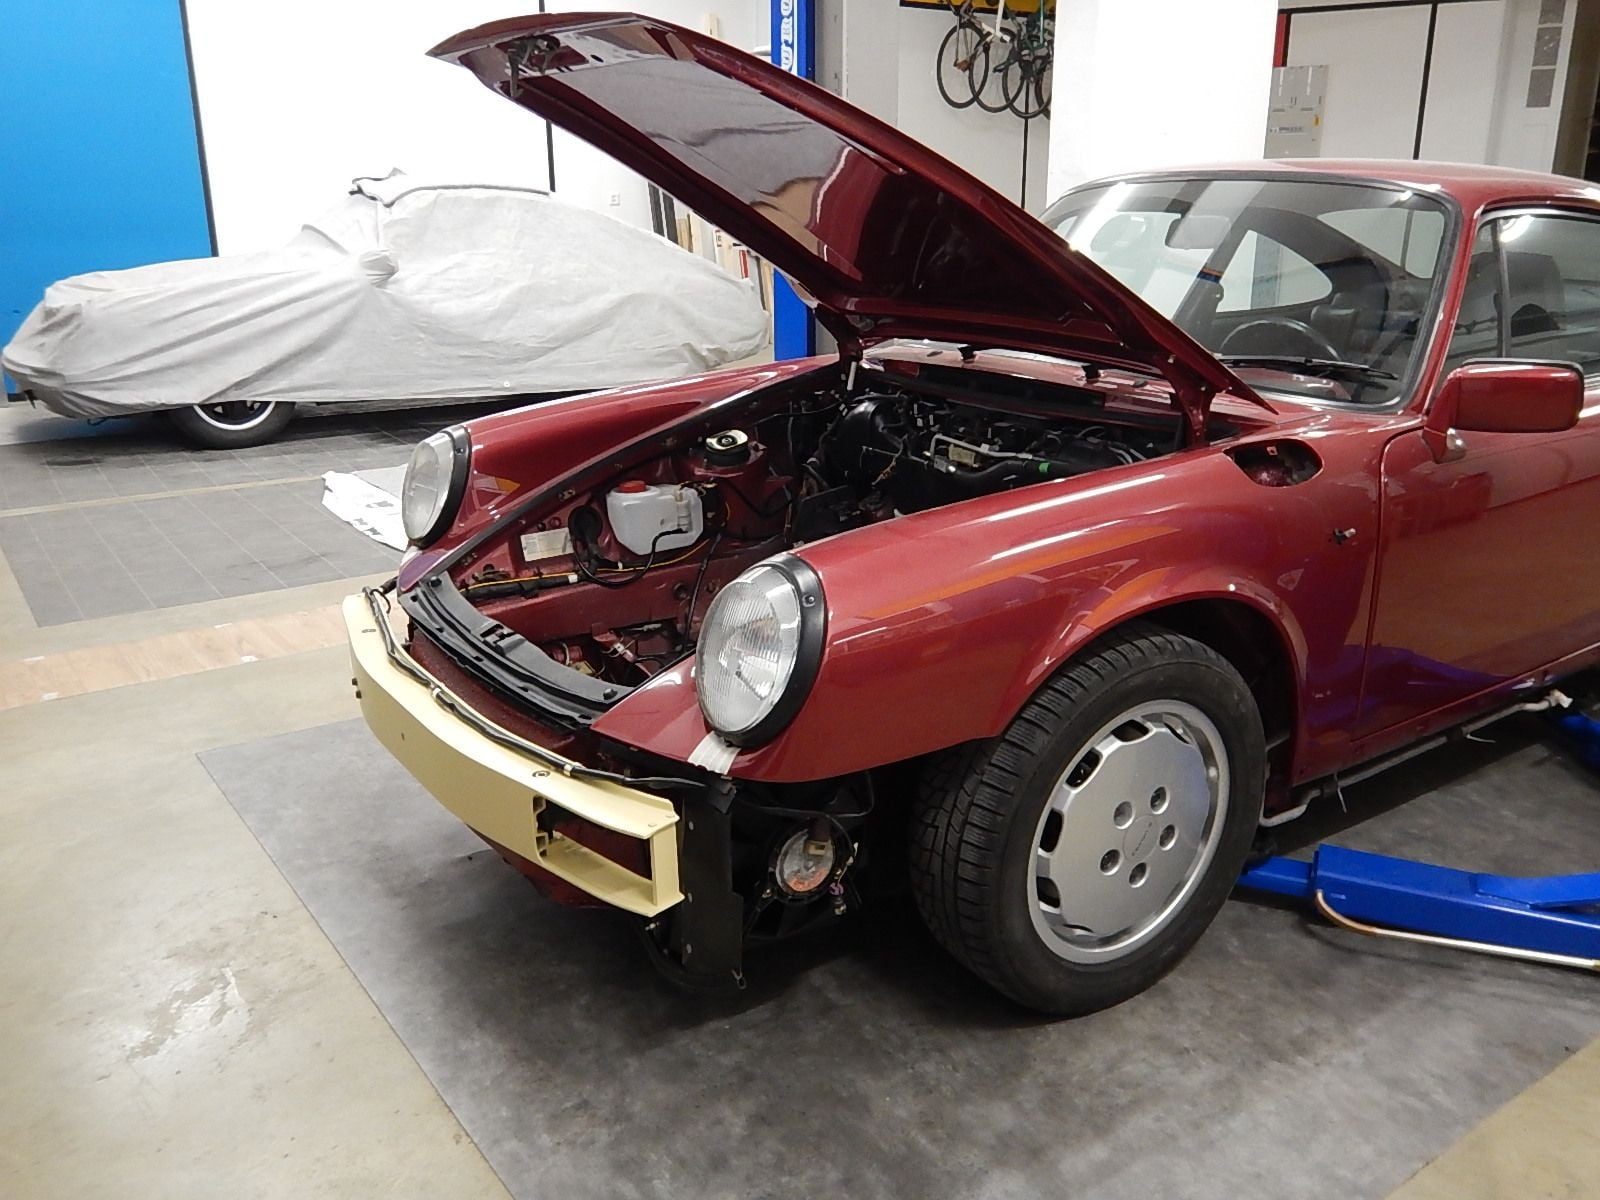
I had the front and rear bumper beams painted in 2K epoxy to fend off possible corrosion. The rear beam had been changed after a rear-ender about 3 years ago, and the new part is very poorly made. It showed significant corrosion and delaminating, hence the 2K paint. I also had to refit the std pads, since I am going back to the std center section after a while with the RS one.
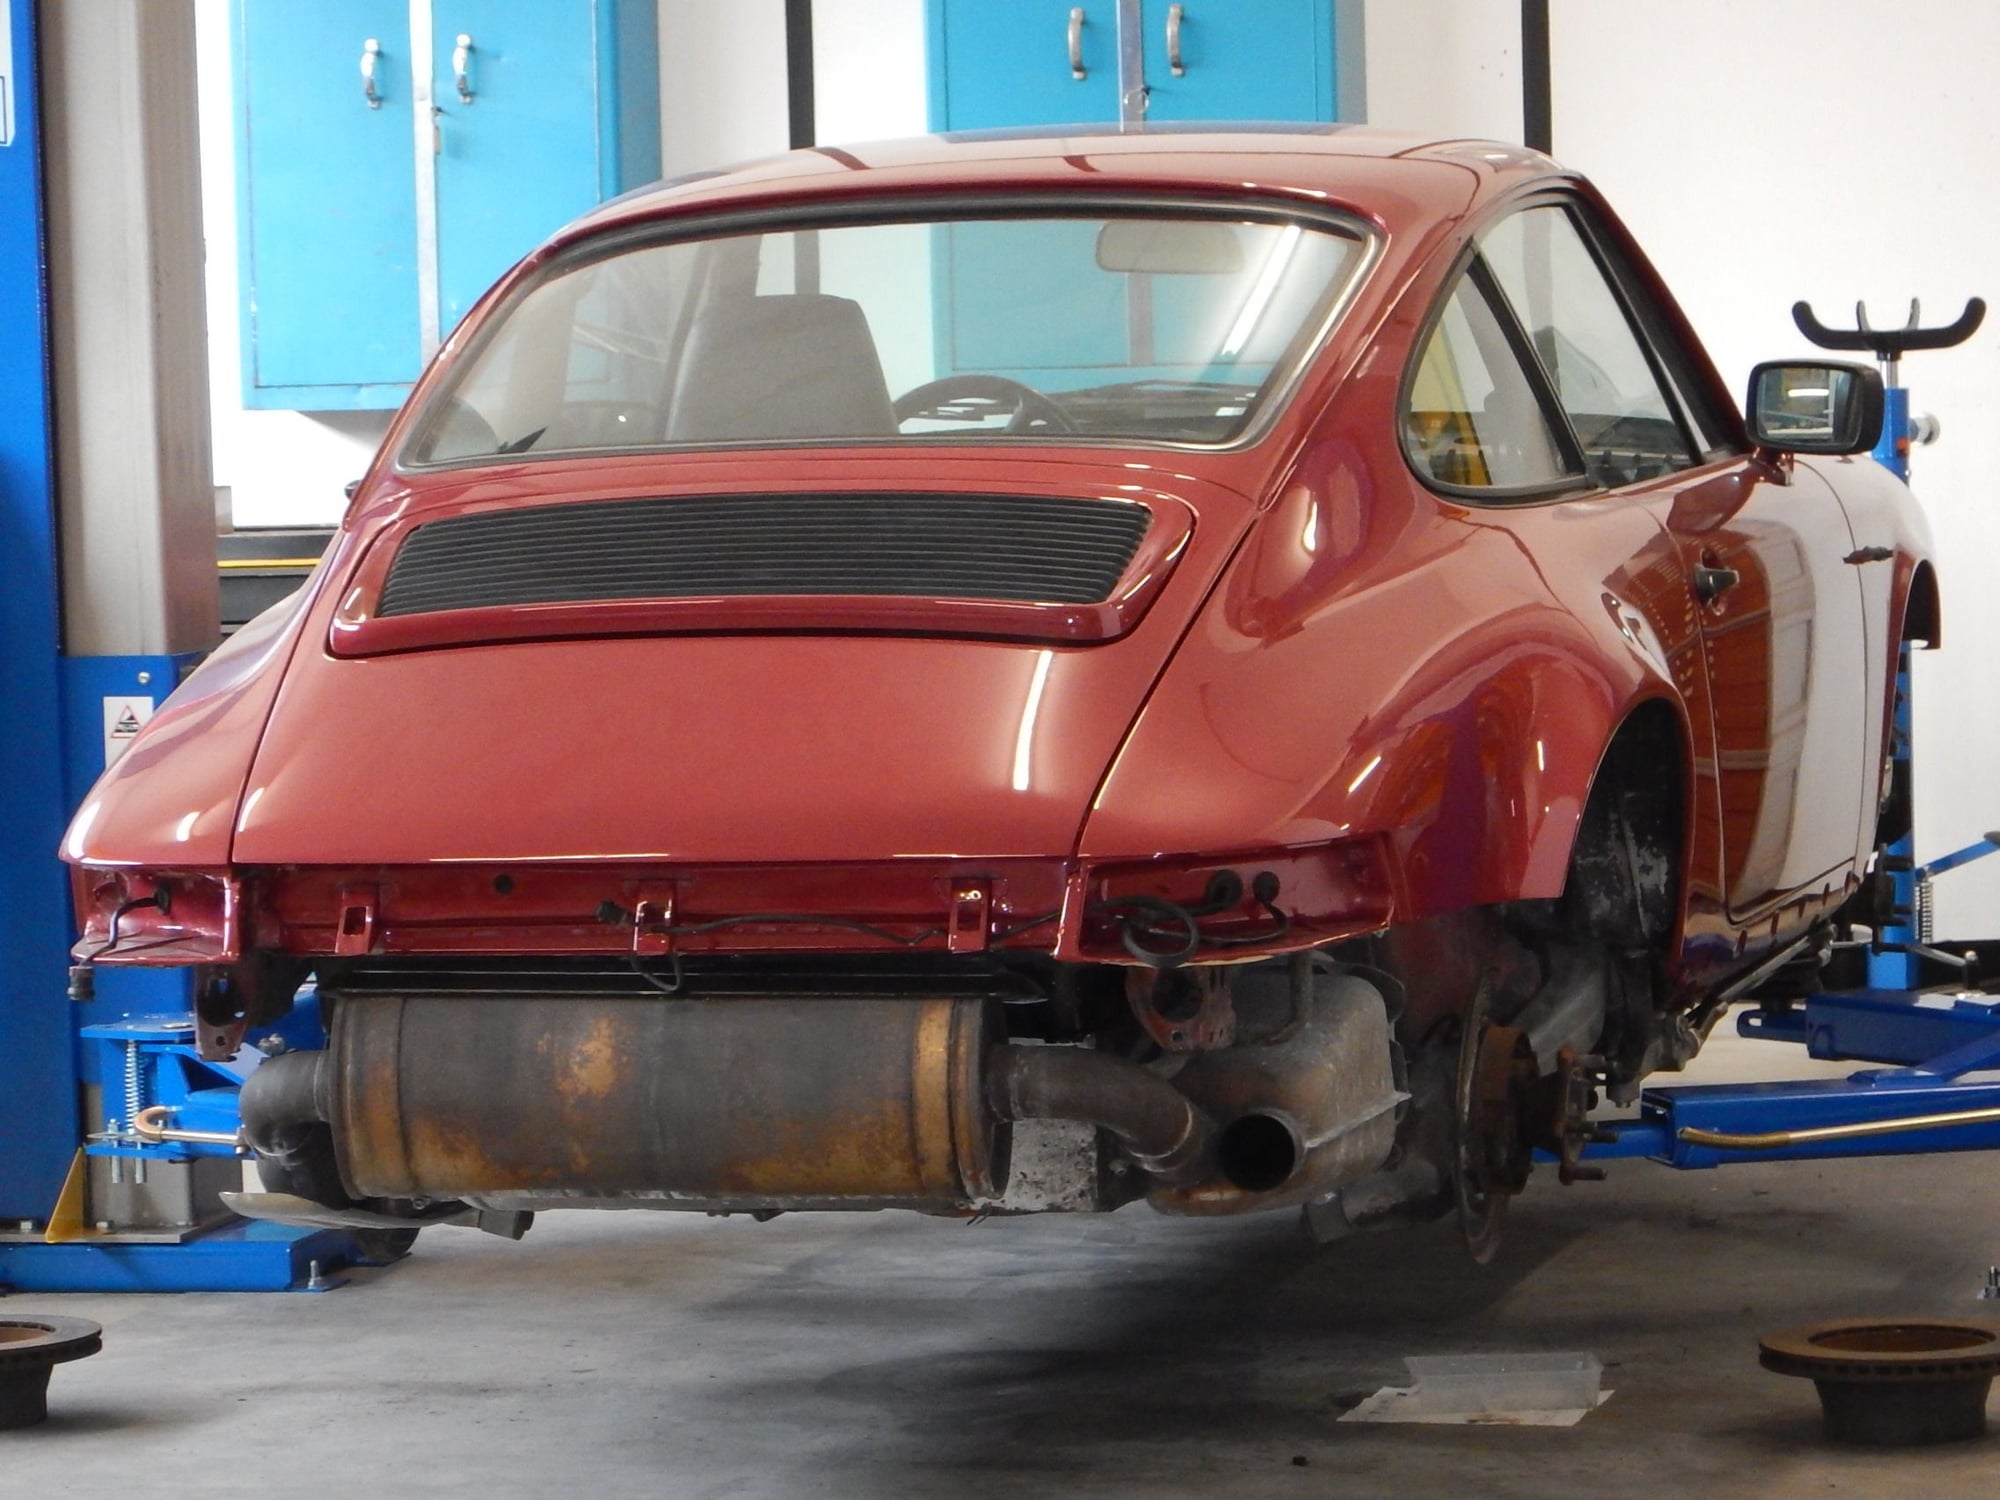
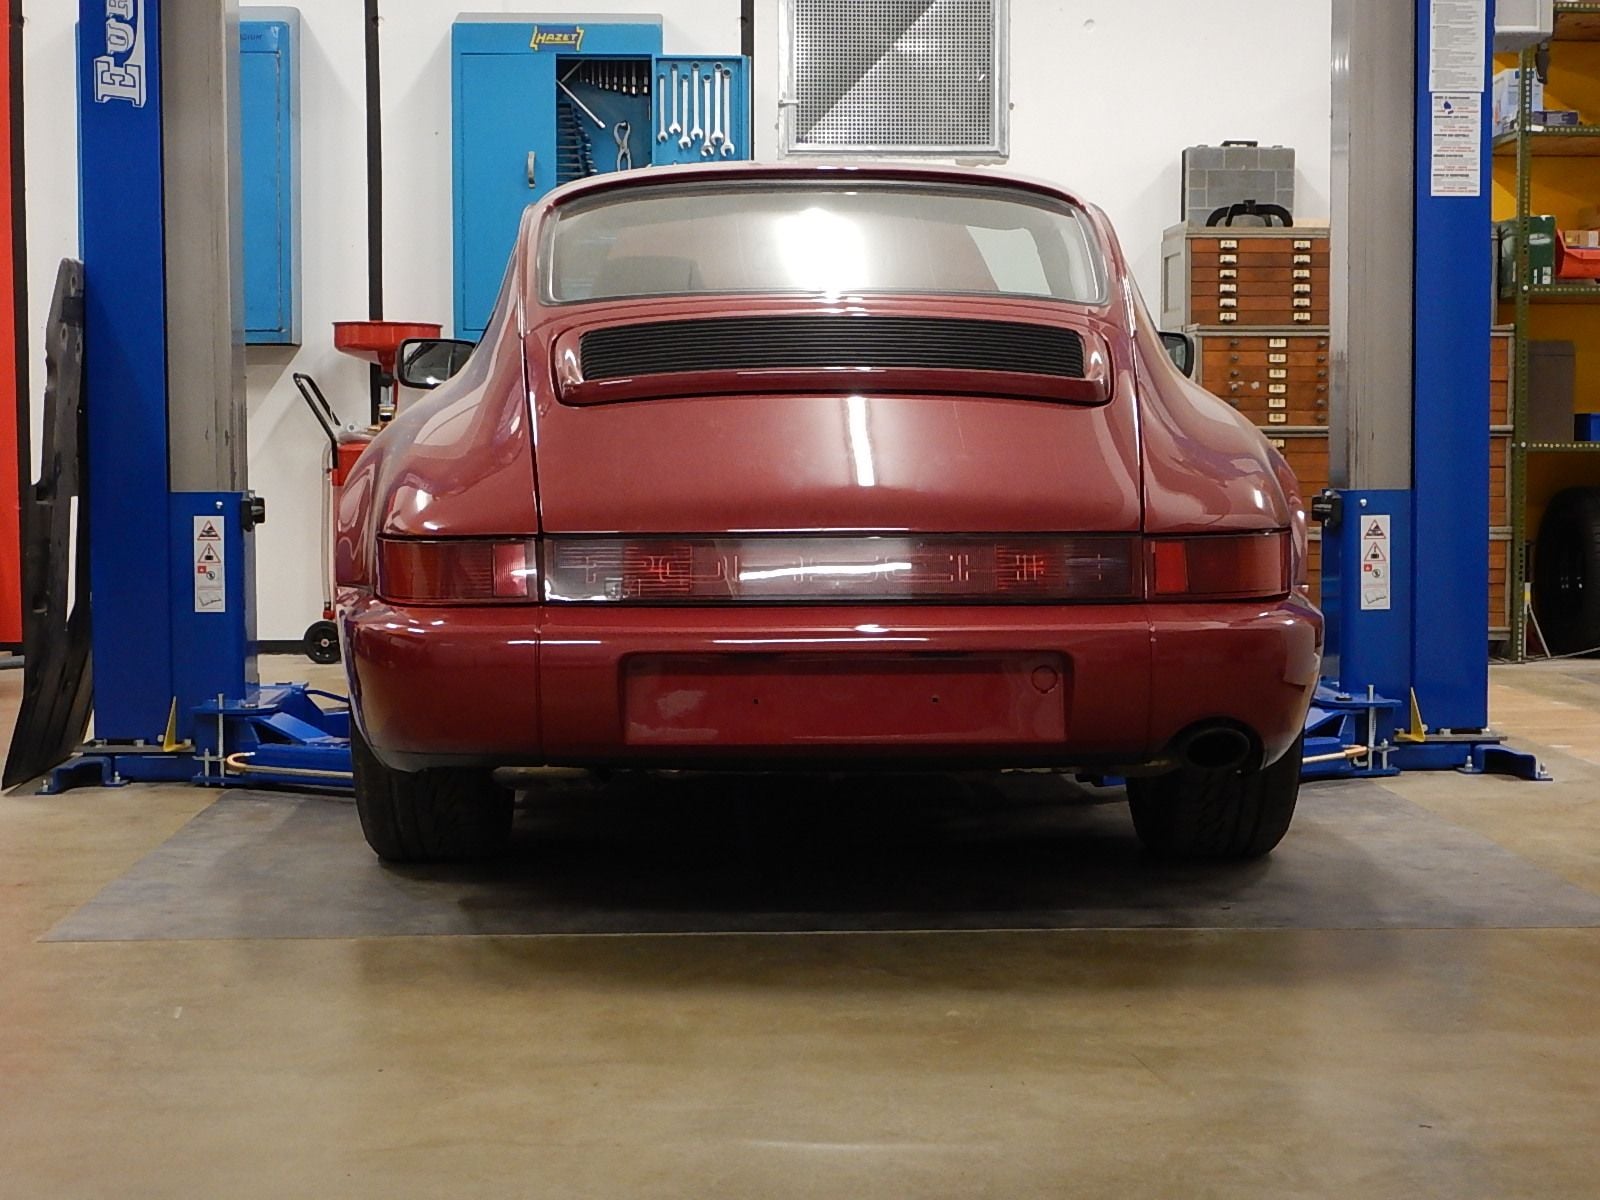
I assembled and refitted teh rear bumper. First time in the 10 years I had the car that it is assembled correctly and with all the attachments to the beam. Mounting the bumper to the car was a bear of a job. Nothing wants to align. But I prevailed after some choice words.
Put the front beam on, and attached the wiring loom to it. It will be an easier assembly now that I don't refit the headlight washers.
#117
Addict
Rennlist Member
Rennlist Member
Coming along very quickly considering you’re doing most of it in your garage.
I have to say it is looking spectacular too, I can’t wait to see it on the ground and done!
I have to say it is looking spectacular too, I can’t wait to see it on the ground and done!
#118
Rennlist Member
Thread Starter
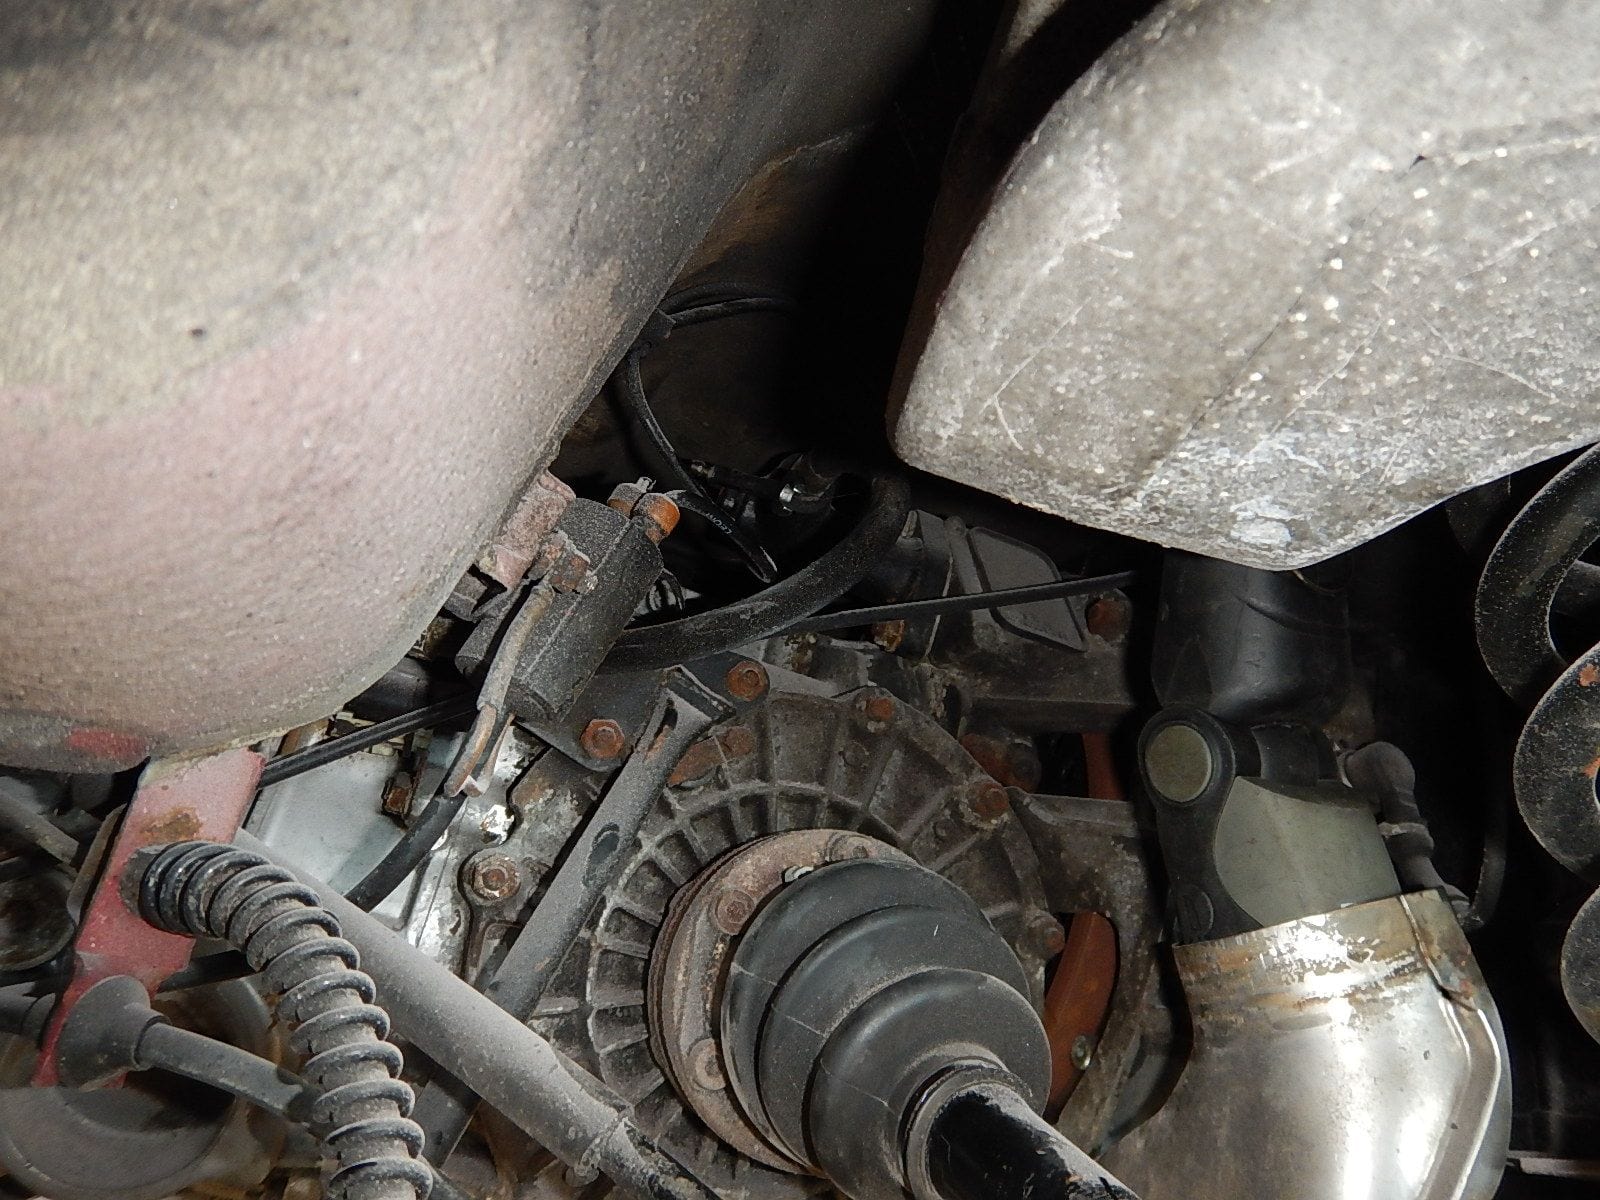
I purged the hydraulic complete sytem, including the diff locks. There was a metric ton of air in the lines, which is not too surprising since I replaced all 4 brake calipers and made 2 new lines. The clutch bleed is a pain. I can't remember how I did it without a lift.
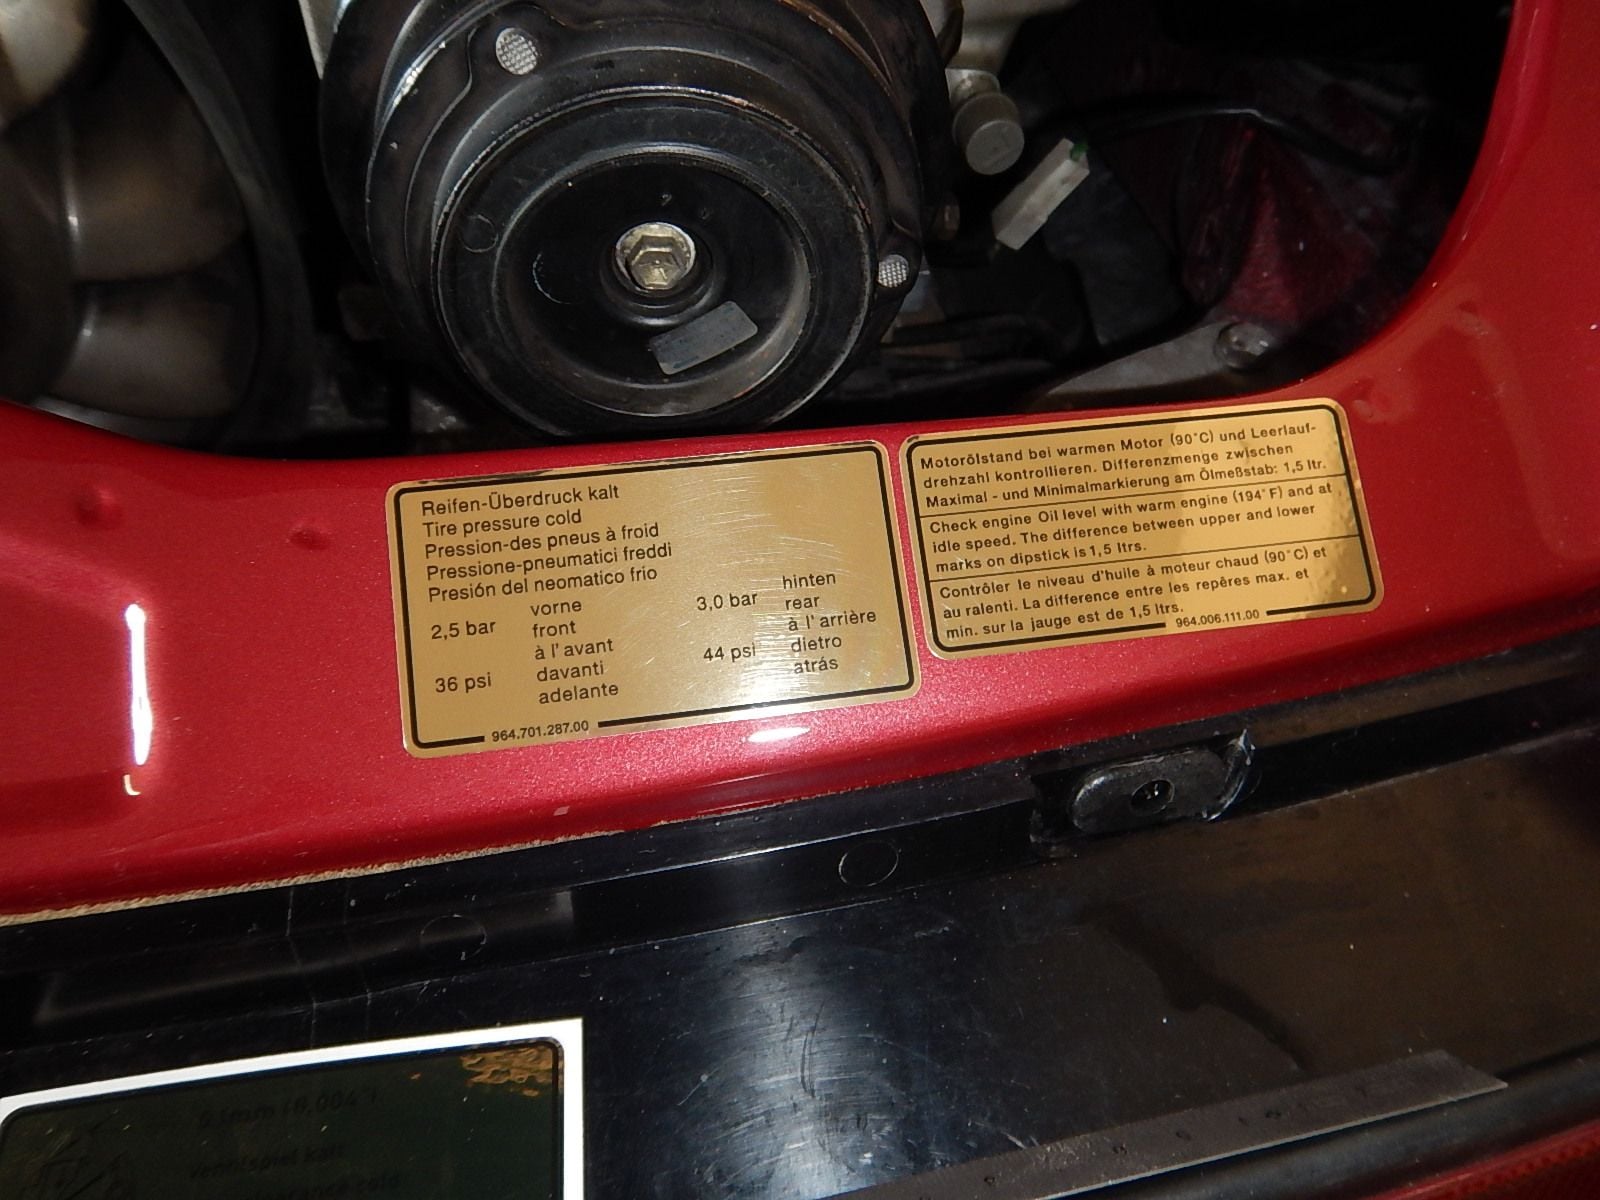
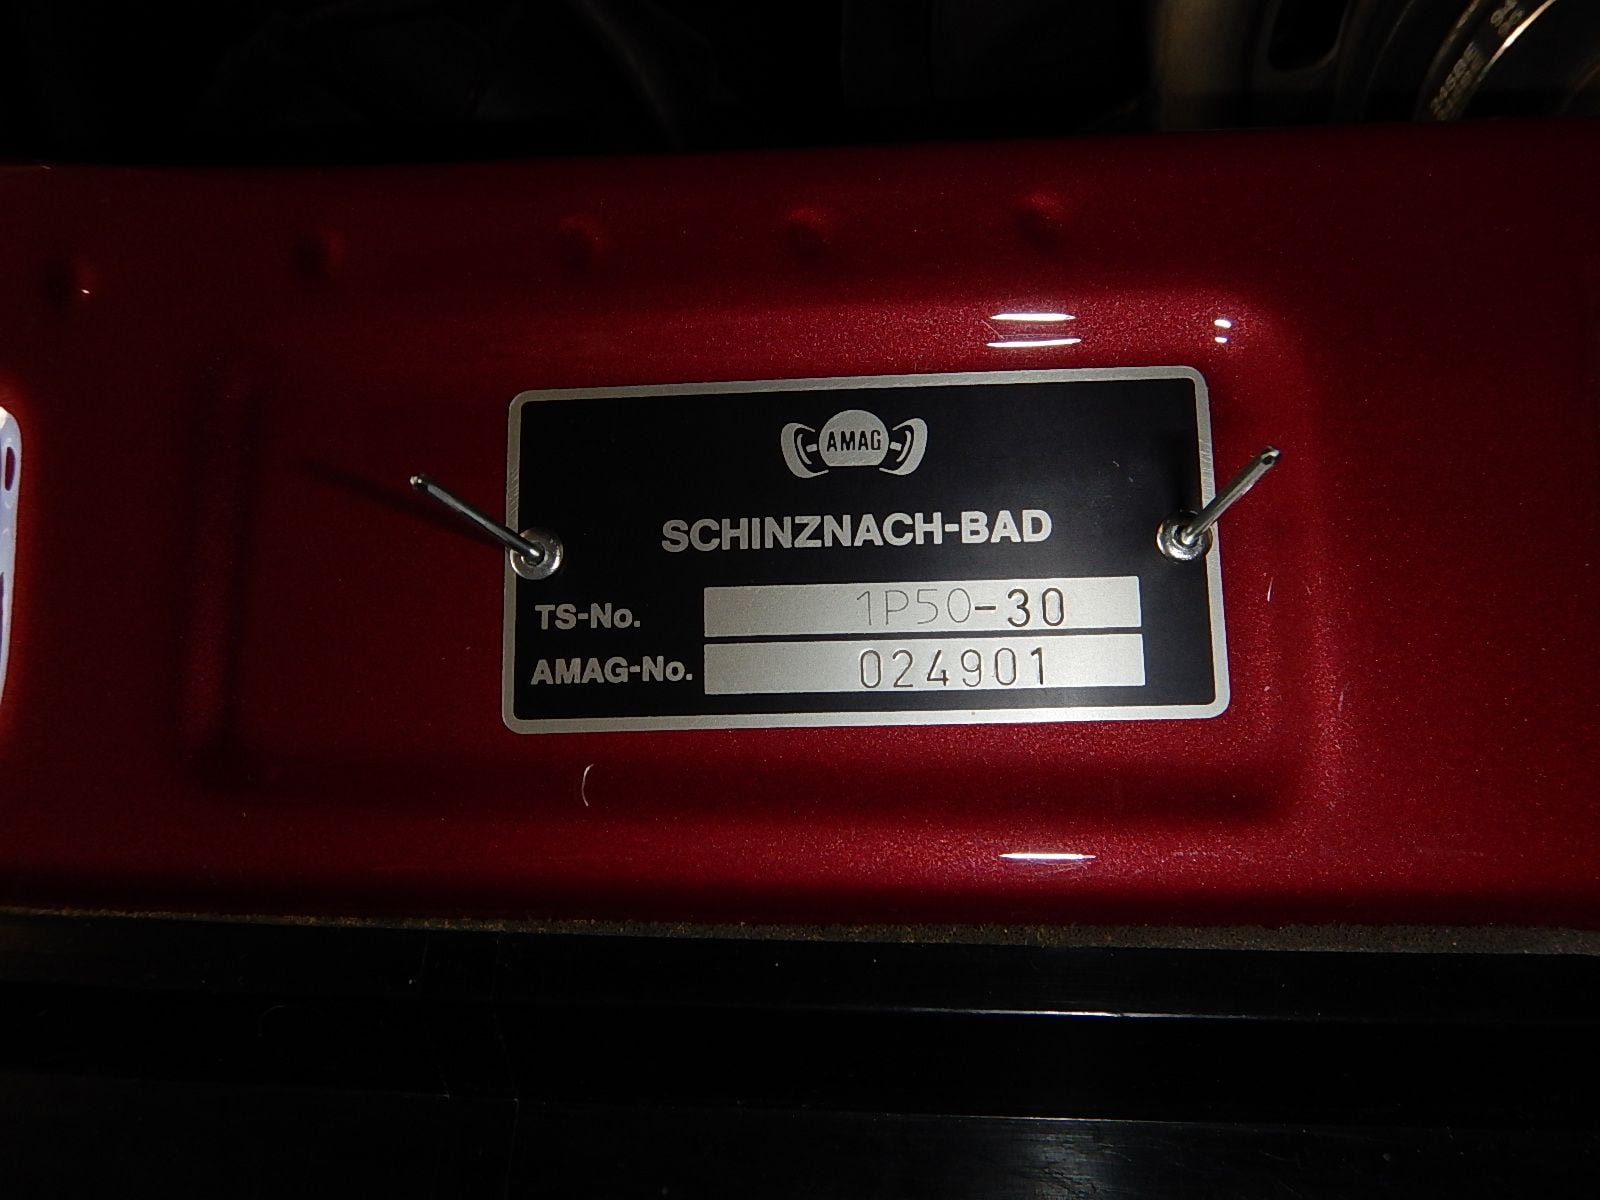
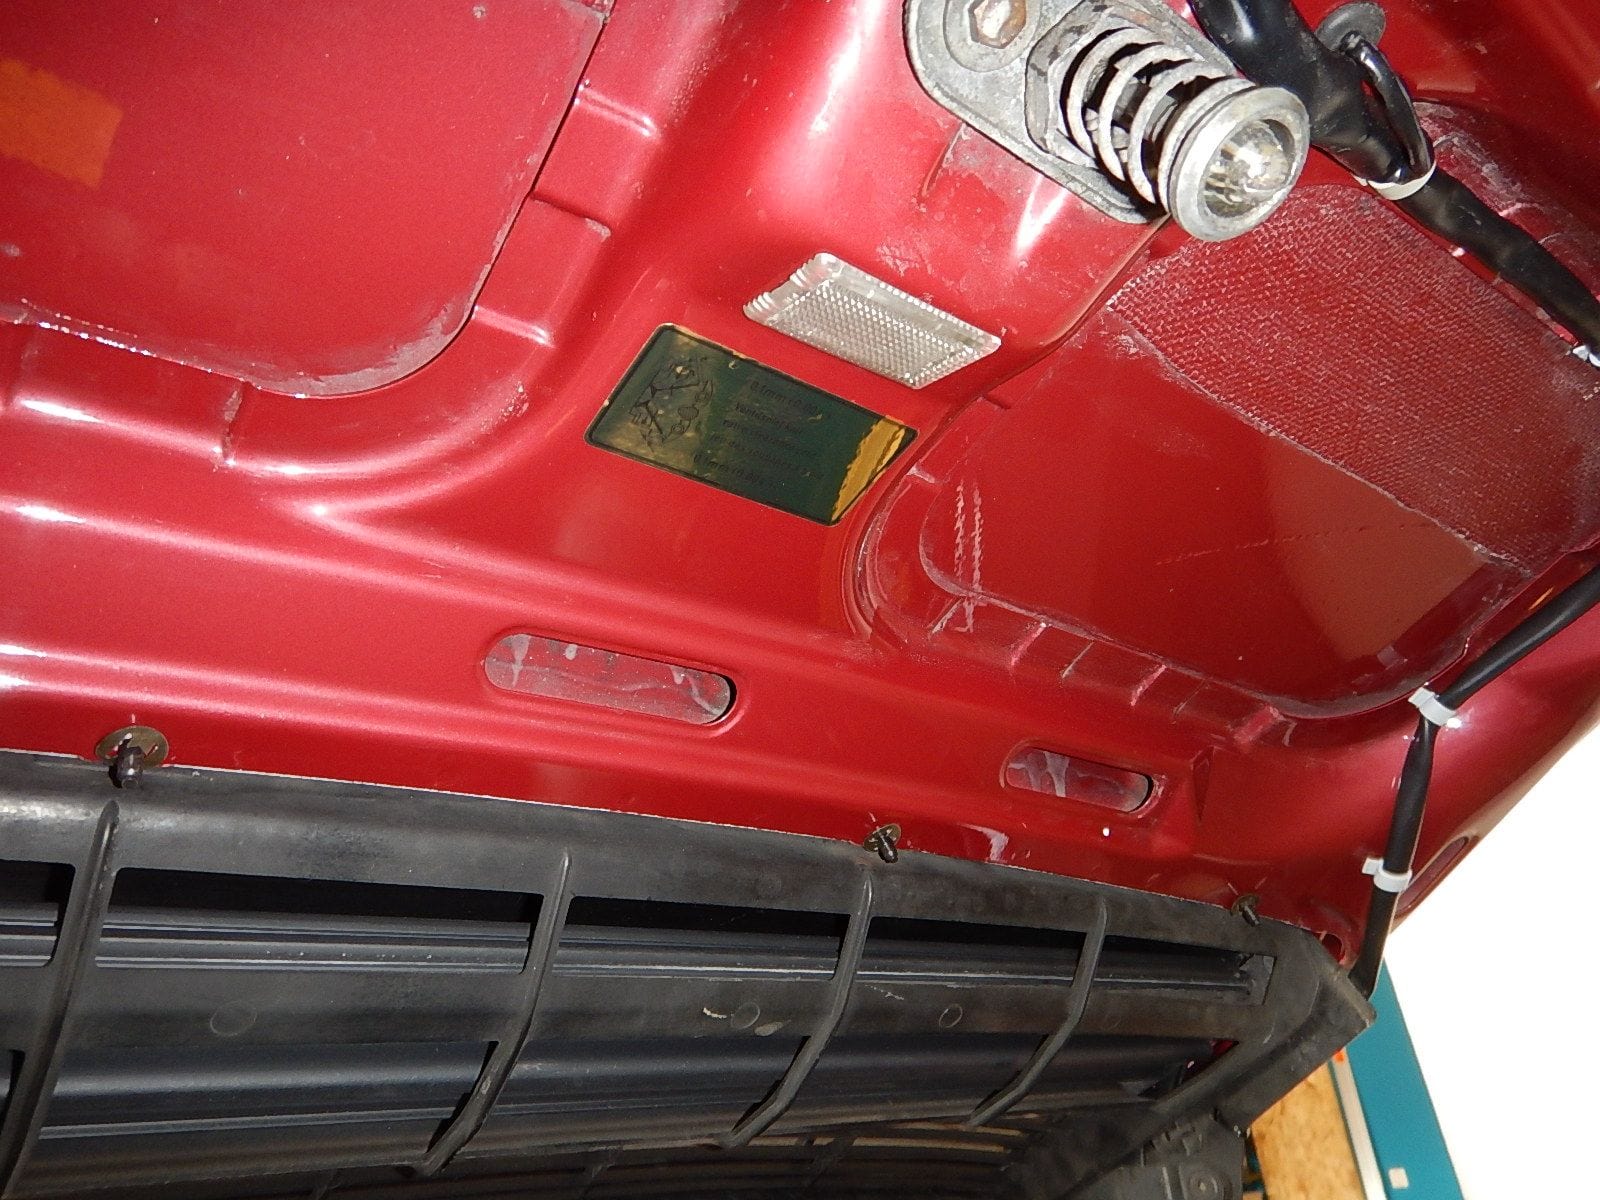
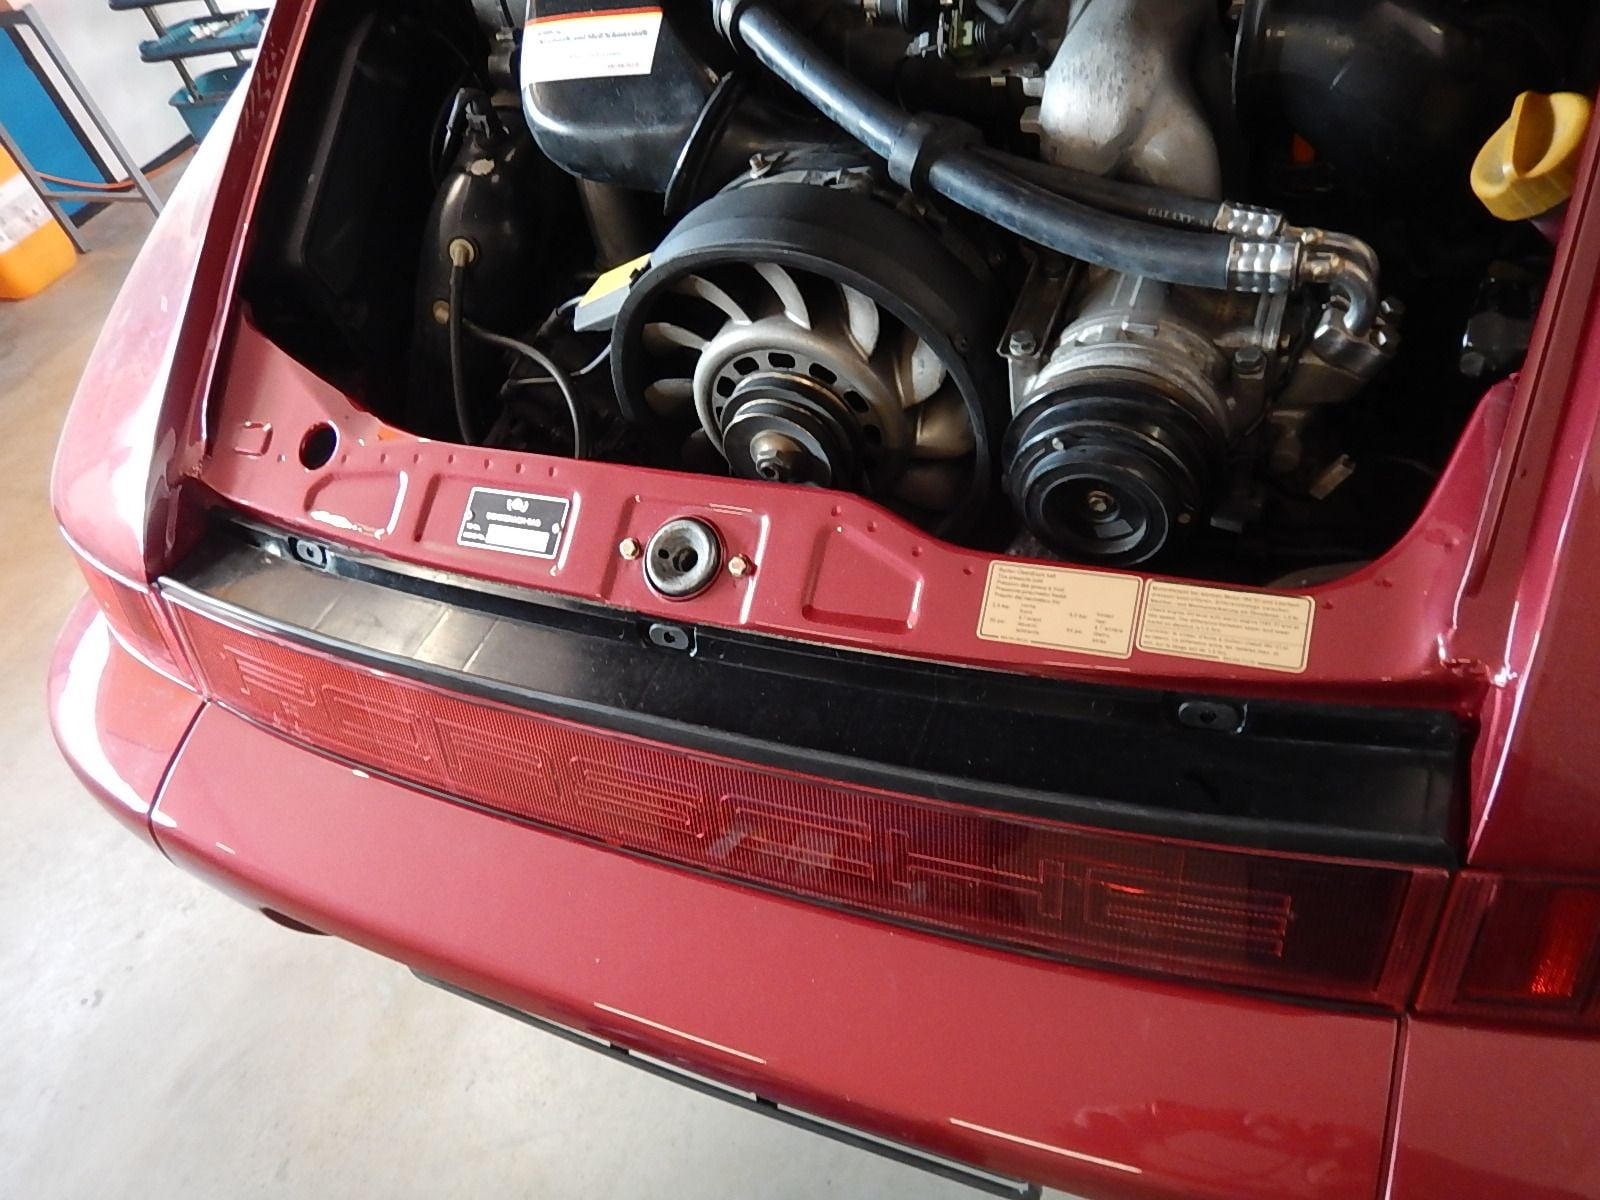
I started putting back the decals and the importer plaque on the rear latch panel. Hit a snag with the underhood sticker. Spot the typo?
I started putting back the decals and the importer plaque on the rear latch panel. Hit a snag with the underhood sticker. Spot the typo?
#120
Rennlist Member
Join Date: May 2009
Location: Bucks, Herts, Beds Tri-Border, UK
Posts: 1,146
Received 87 Likes
on
71 Posts
Keep the updates coming..


