Engine Detail
#1
Rennlist Member
Thread Starter
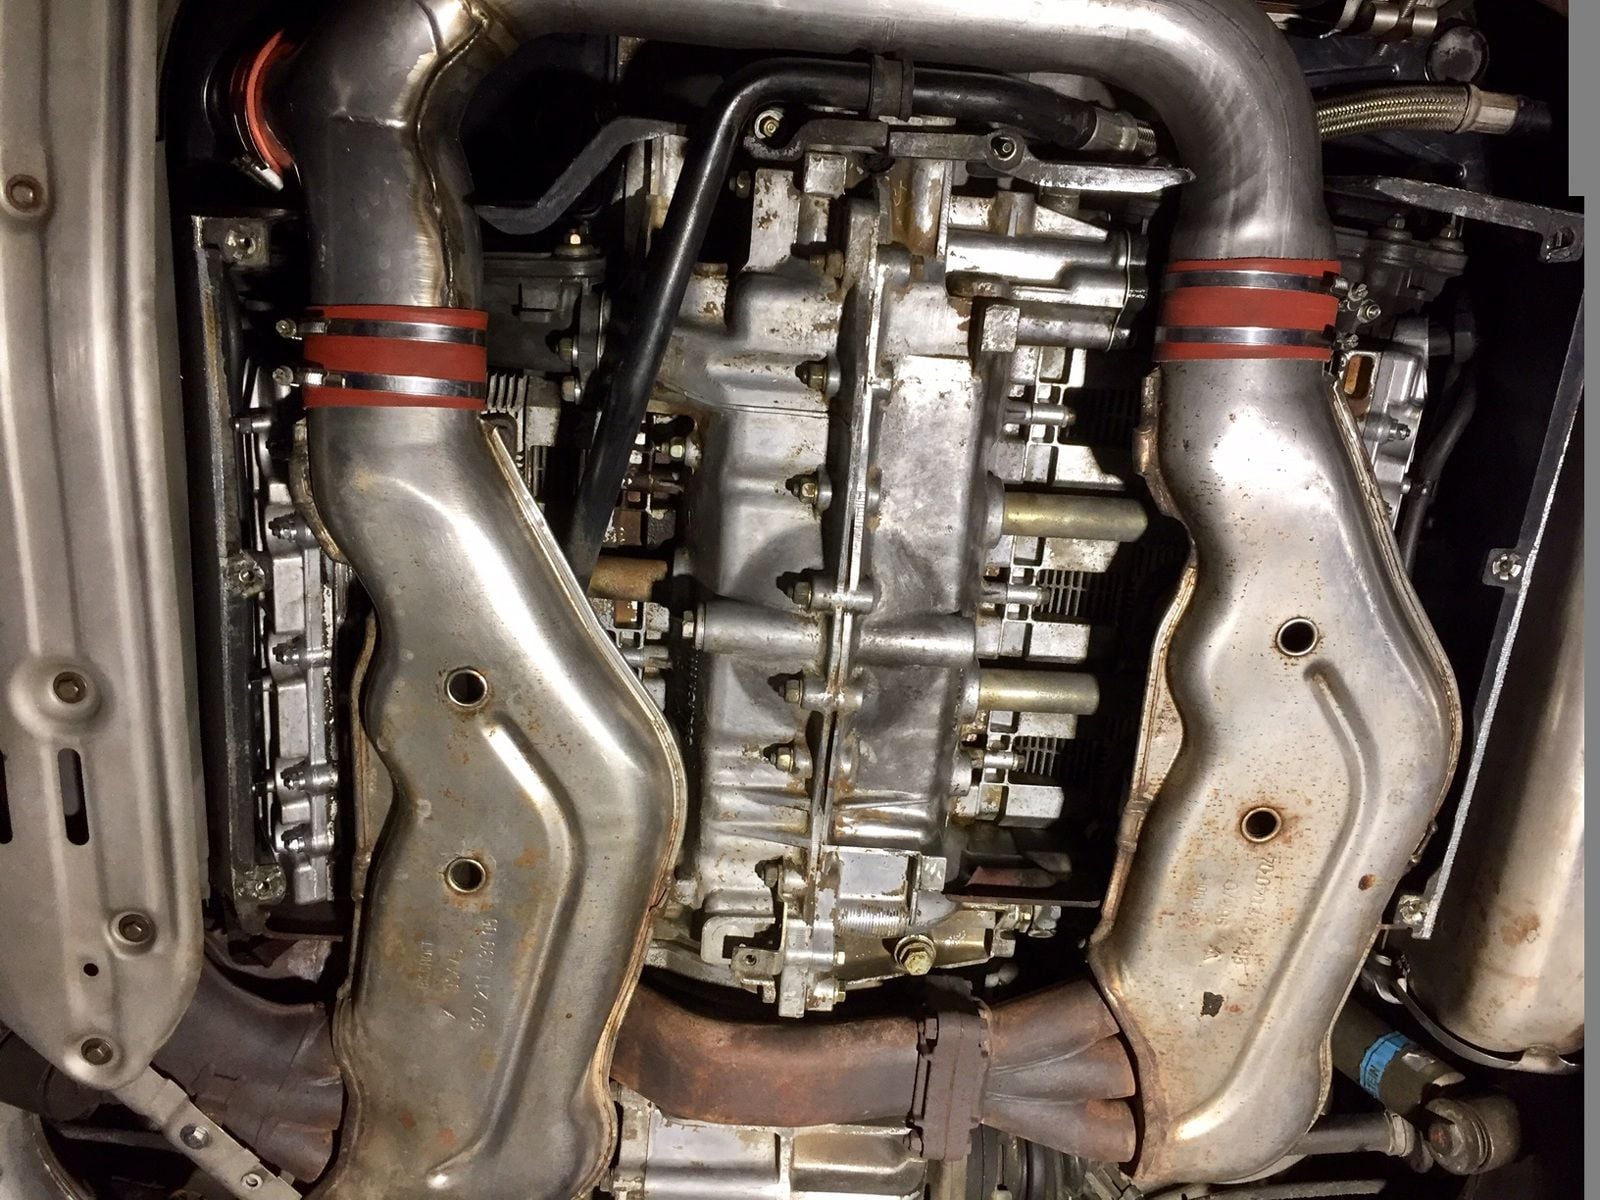
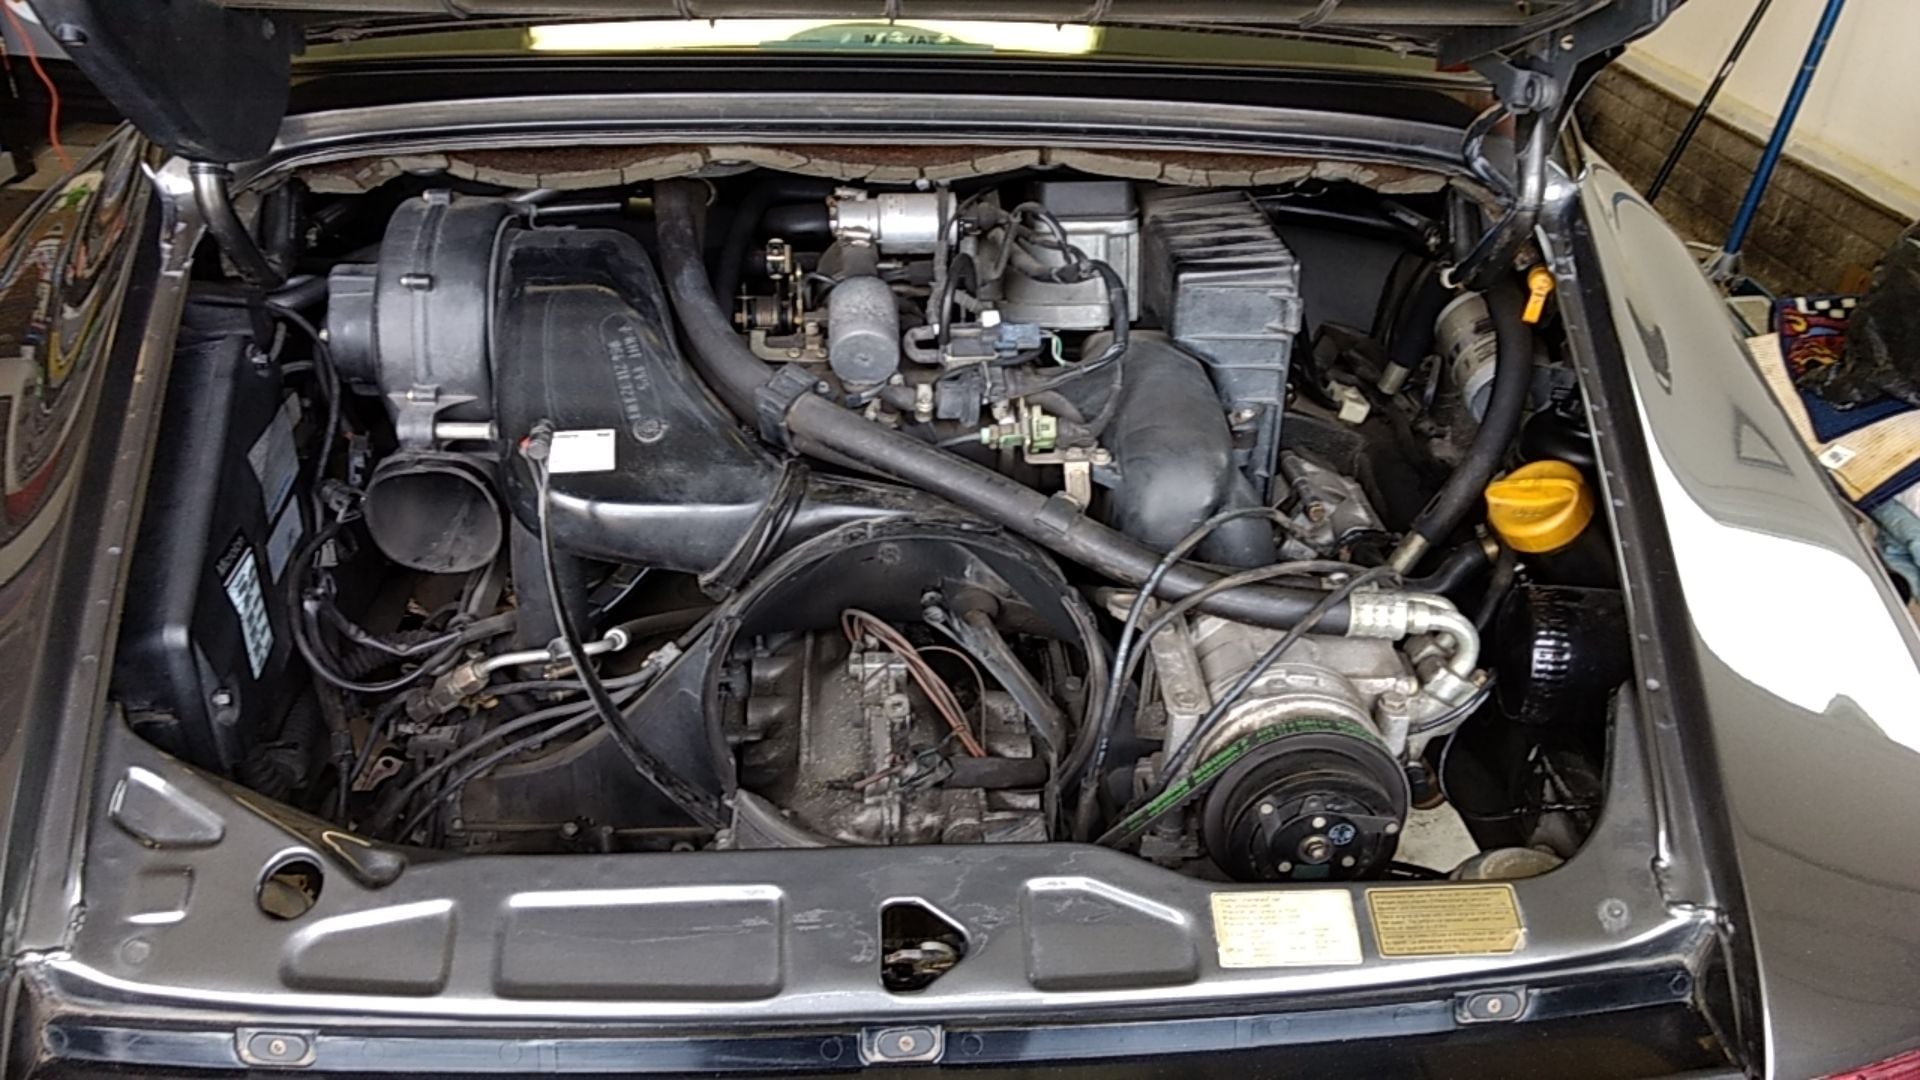
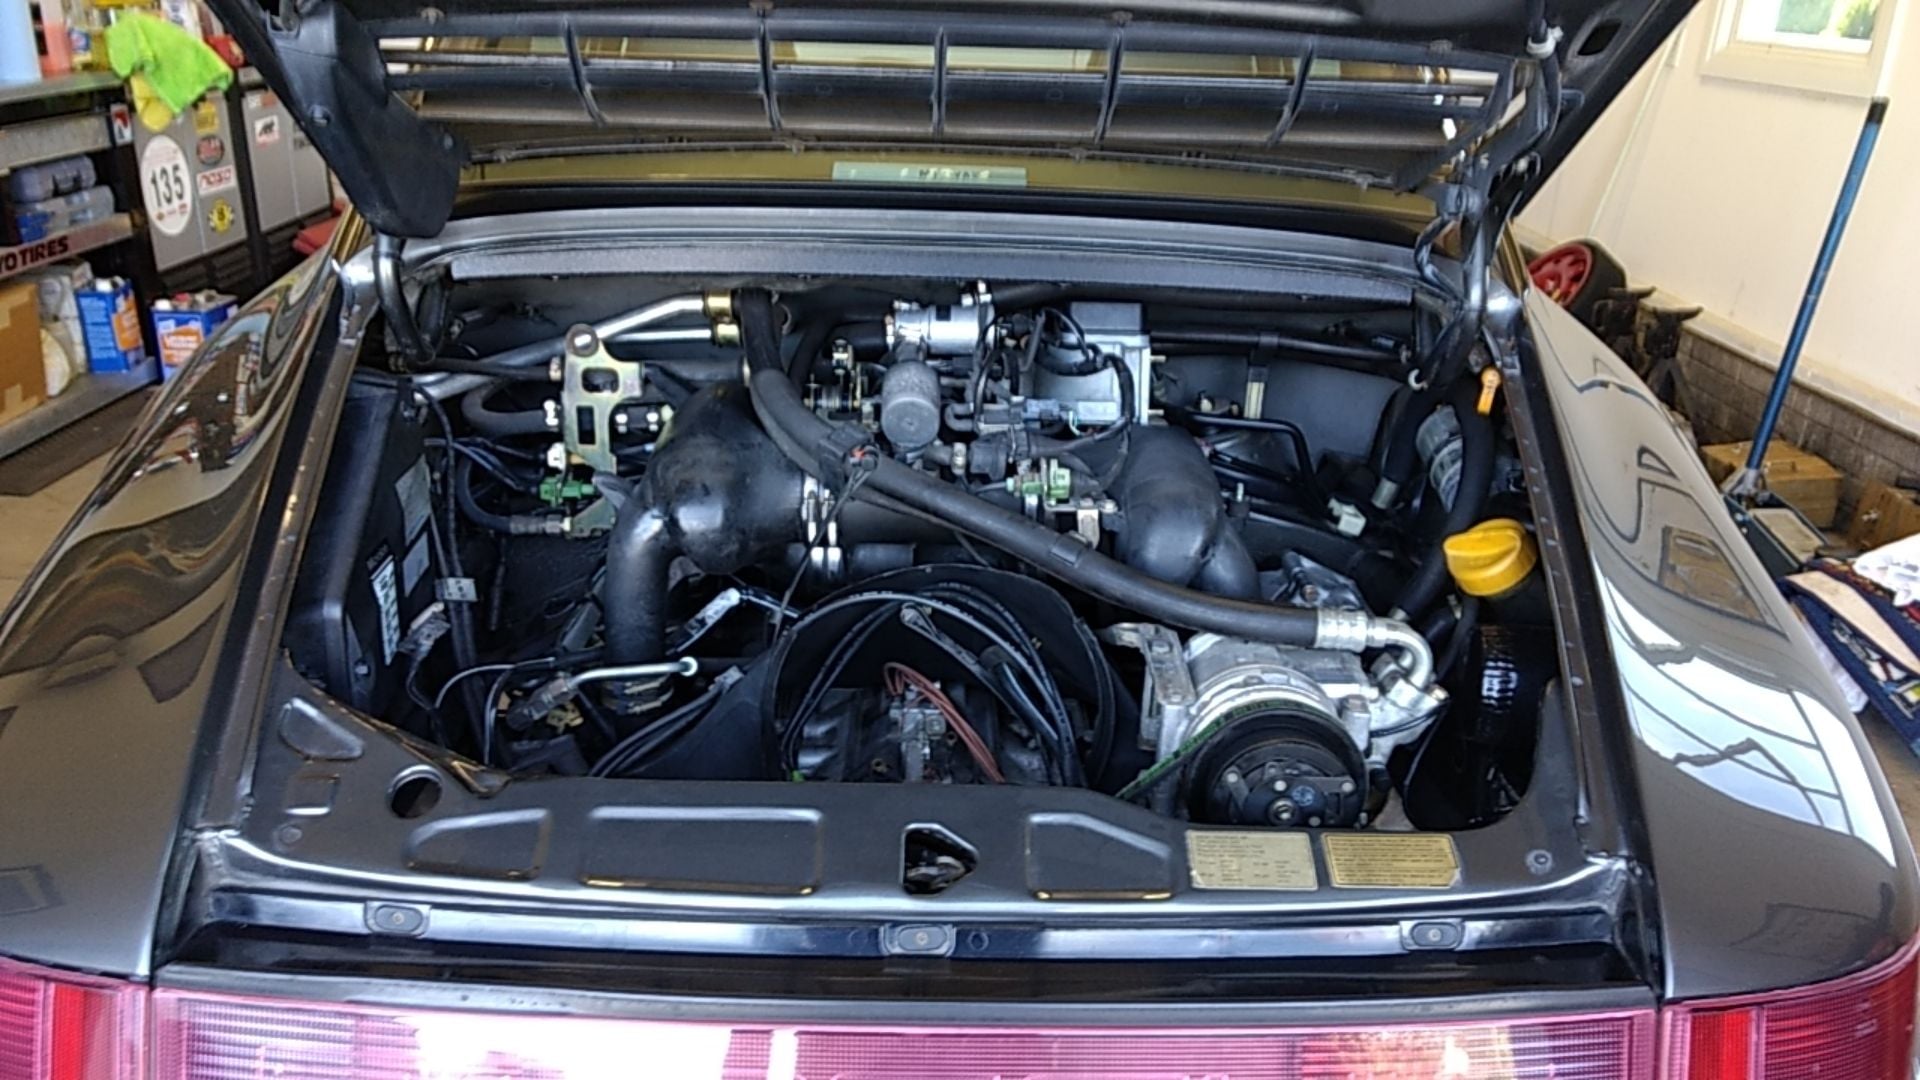
I just got finished detailing the engine compartment on our '92 Slate Gray Coupe from Japan, mega elbow grease!
We went from this:
To this:
We went from this:
To this:
#3
Rennlist Member
Thread Starter
#4
#5
Rennlist Member
Proving once again, that even a clean engine (nice job!), still doesn't impress on a stock 964.
https://rennlist.com/forums/964-foru...y-is-ugly.html
https://rennlist.com/forums/964-foru...y-is-ugly.html
Trending Topics
#10
Rennlist Member
Nice work. I keep all my cars in this condition. It is worth doing for the experience and understanding of the cars and helps keep the car like new longer.
Did you remove anything or just do a top side clean? If you removed everything and cleaned it you're ready for Parade.
Keep it clean but don't forget to drive it.
Did you remove anything or just do a top side clean? If you removed everything and cleaned it you're ready for Parade.
Keep it clean but don't forget to drive it.

#12
Rennlist Member
Wow, that looks great. Nice shinny plastic! What do you use to clean the fan?
#13
Rennlist Member
Thread Starter
A few have asked about products and procedures. In my opinion this is about as far as you can go without dropping the engine, none of this requires more than minimal mechanical ability and a decent box of metric tools and detail equipment, there are plenty of DIY resources with pics here and on Pelican explaining how to remove and reinstall everything, search is your friend. If you've never done this before just take your time and as Anthony says, it's a good way to better understand your car. The process can be completed on jack stands but a lift saves your back on the underside, I've done it both ways. It should be noted that this car has 45k miles on it, has been well maintained with no oil leaks or corrosion anywhere, so everything came apart relatively easily. However my guess is that it has never had this sort of cleaning completed before, so 25 years of grime and road dirt were removed!
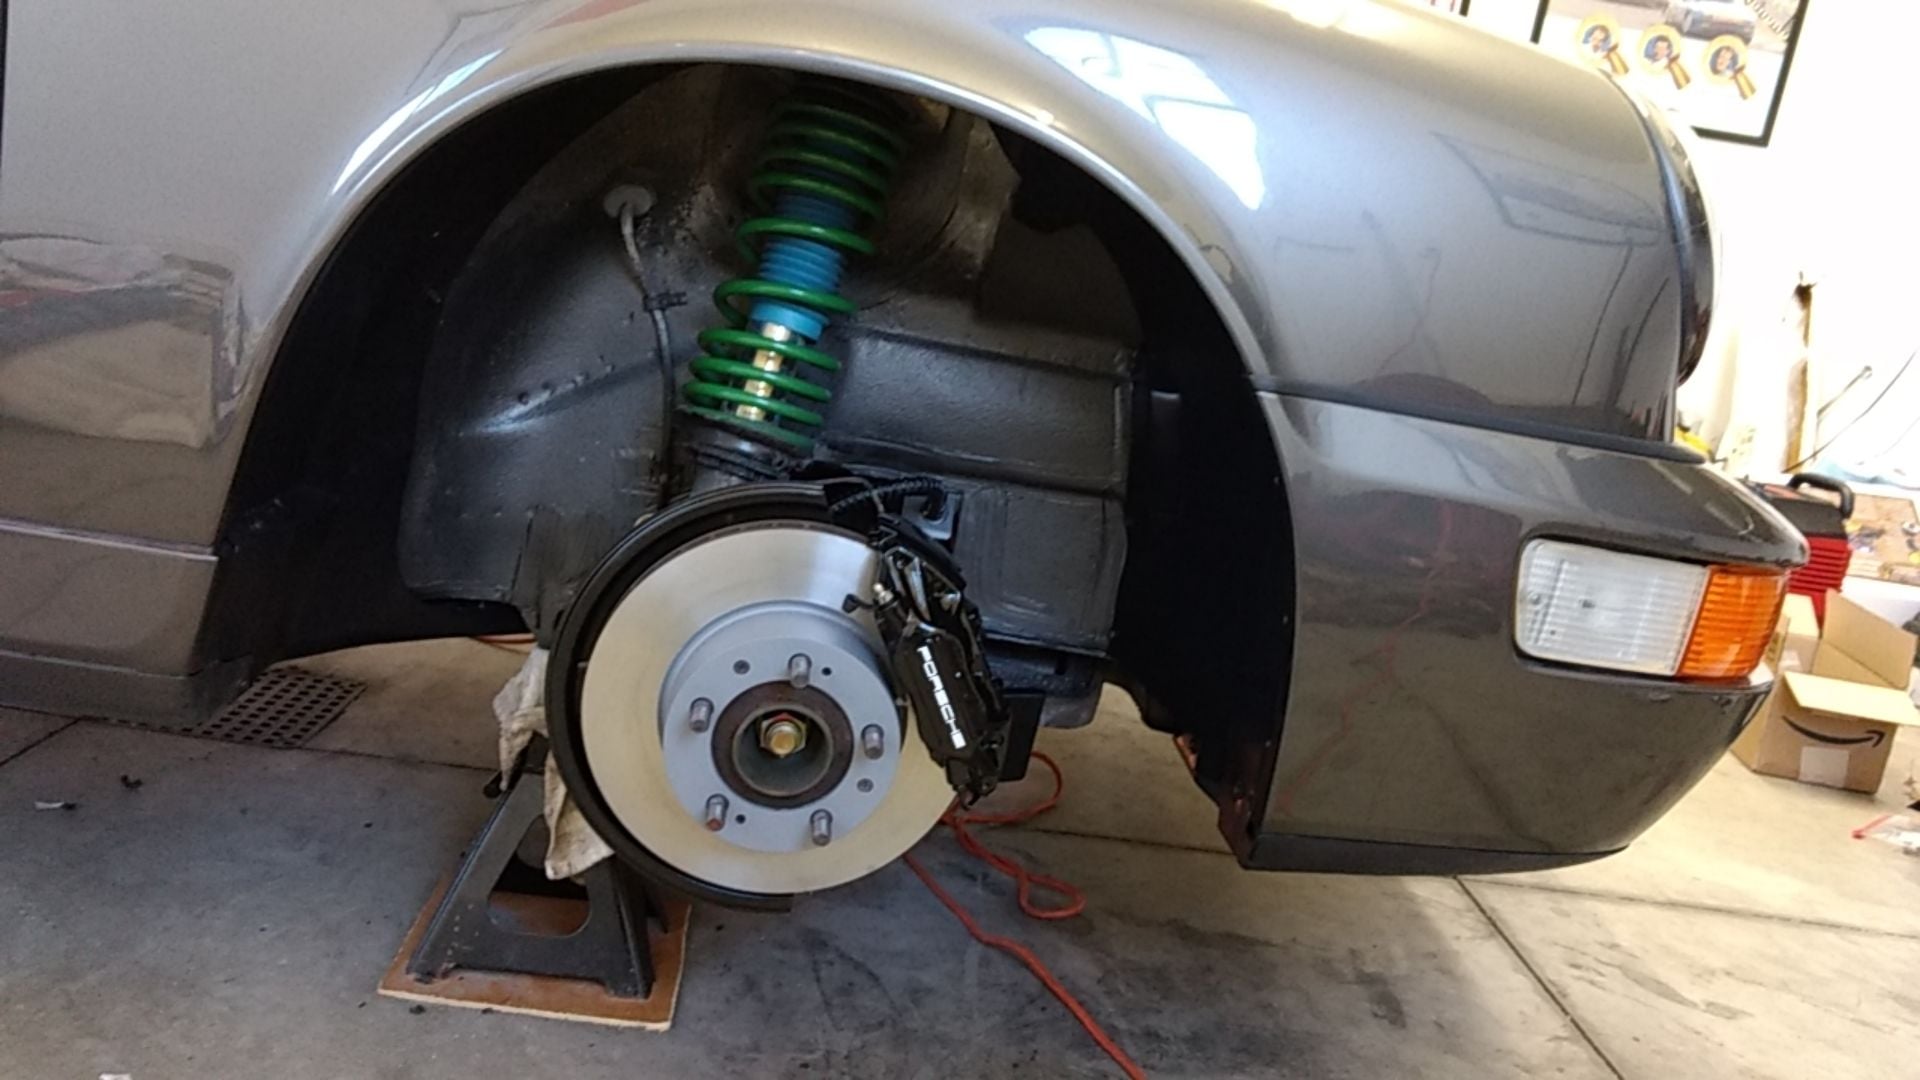
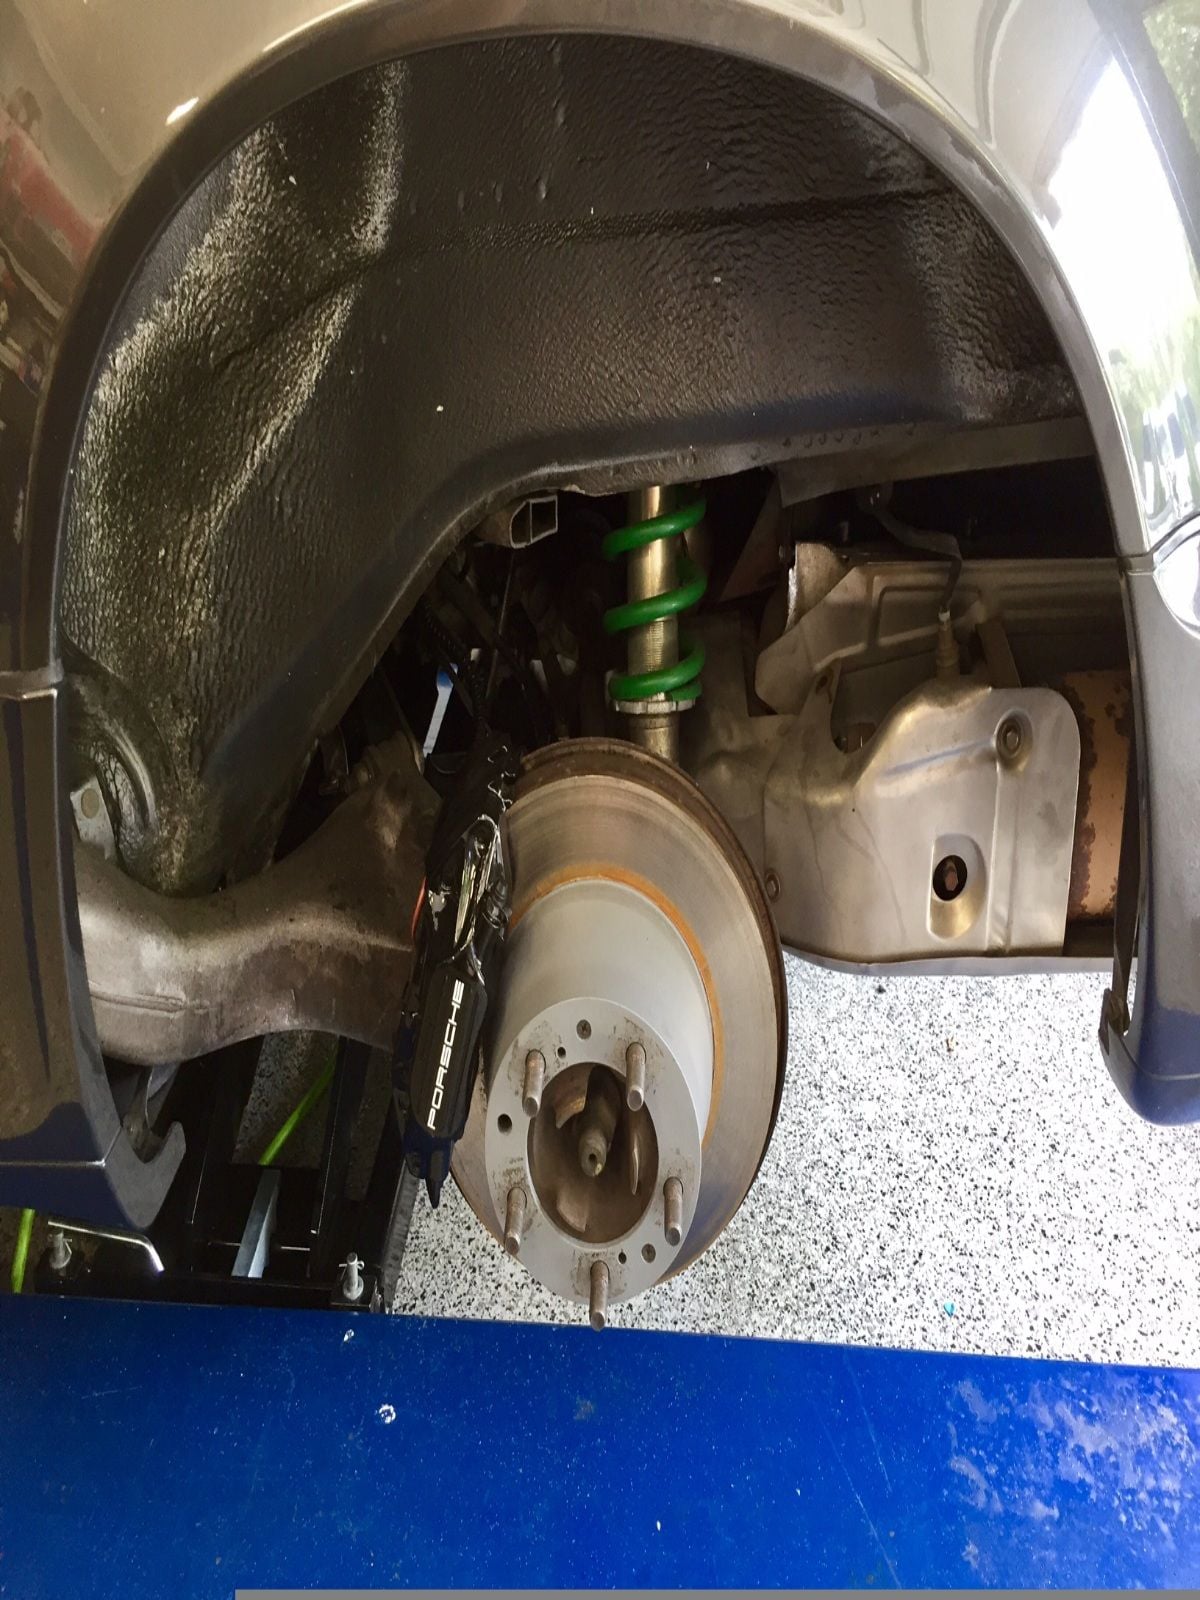
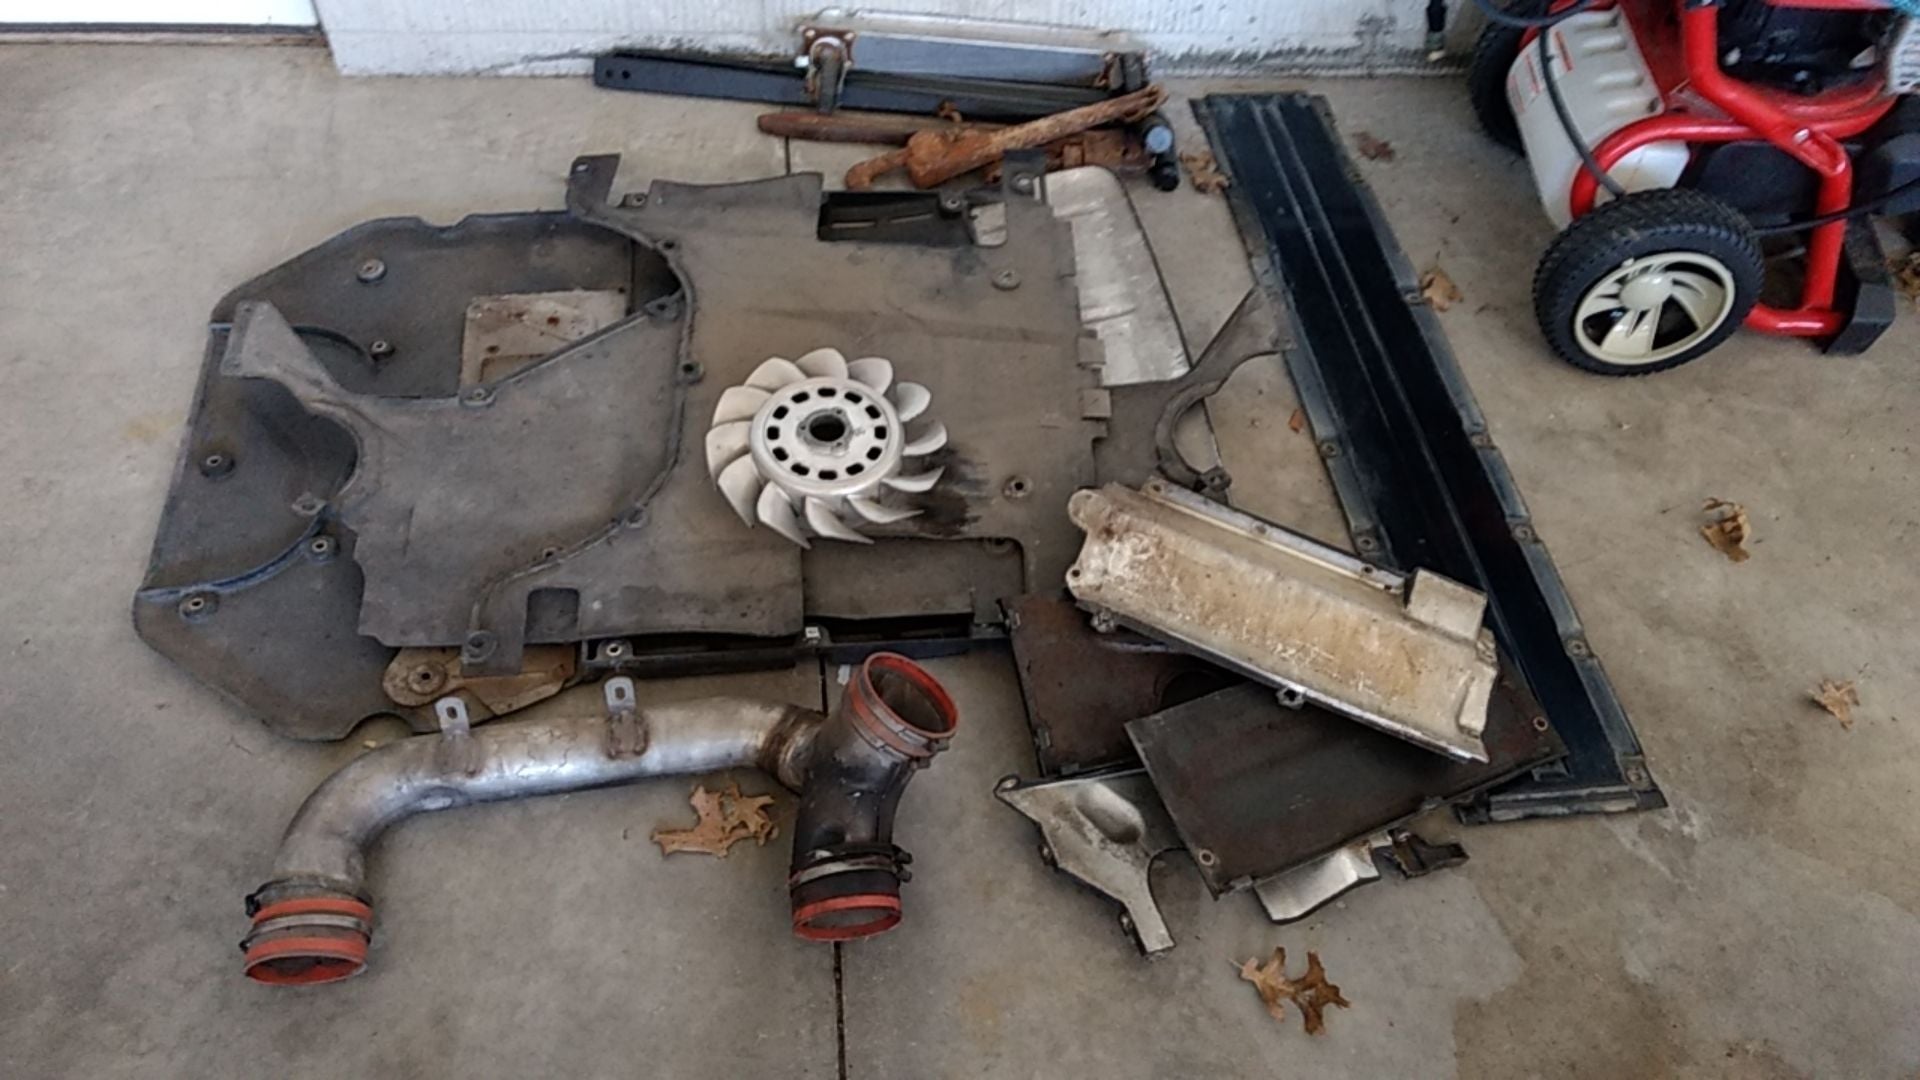
Below is a list what I removed/serviced/refinished and the cleaning products I used & this extended to the the entire underside, wheel wells, suspension and brakes:
Topside:
Airbox complete.
Blower Fan Assembly & Ducting.
Distributor complete.
Alternator, Fan, Pulley & Belts
Bottom Side:
Engine Undertray (this car still had it)
Transmission Undertray
Transmission Tunnel Cover
Front Steering Rack Cover
Fuel Pump Cover
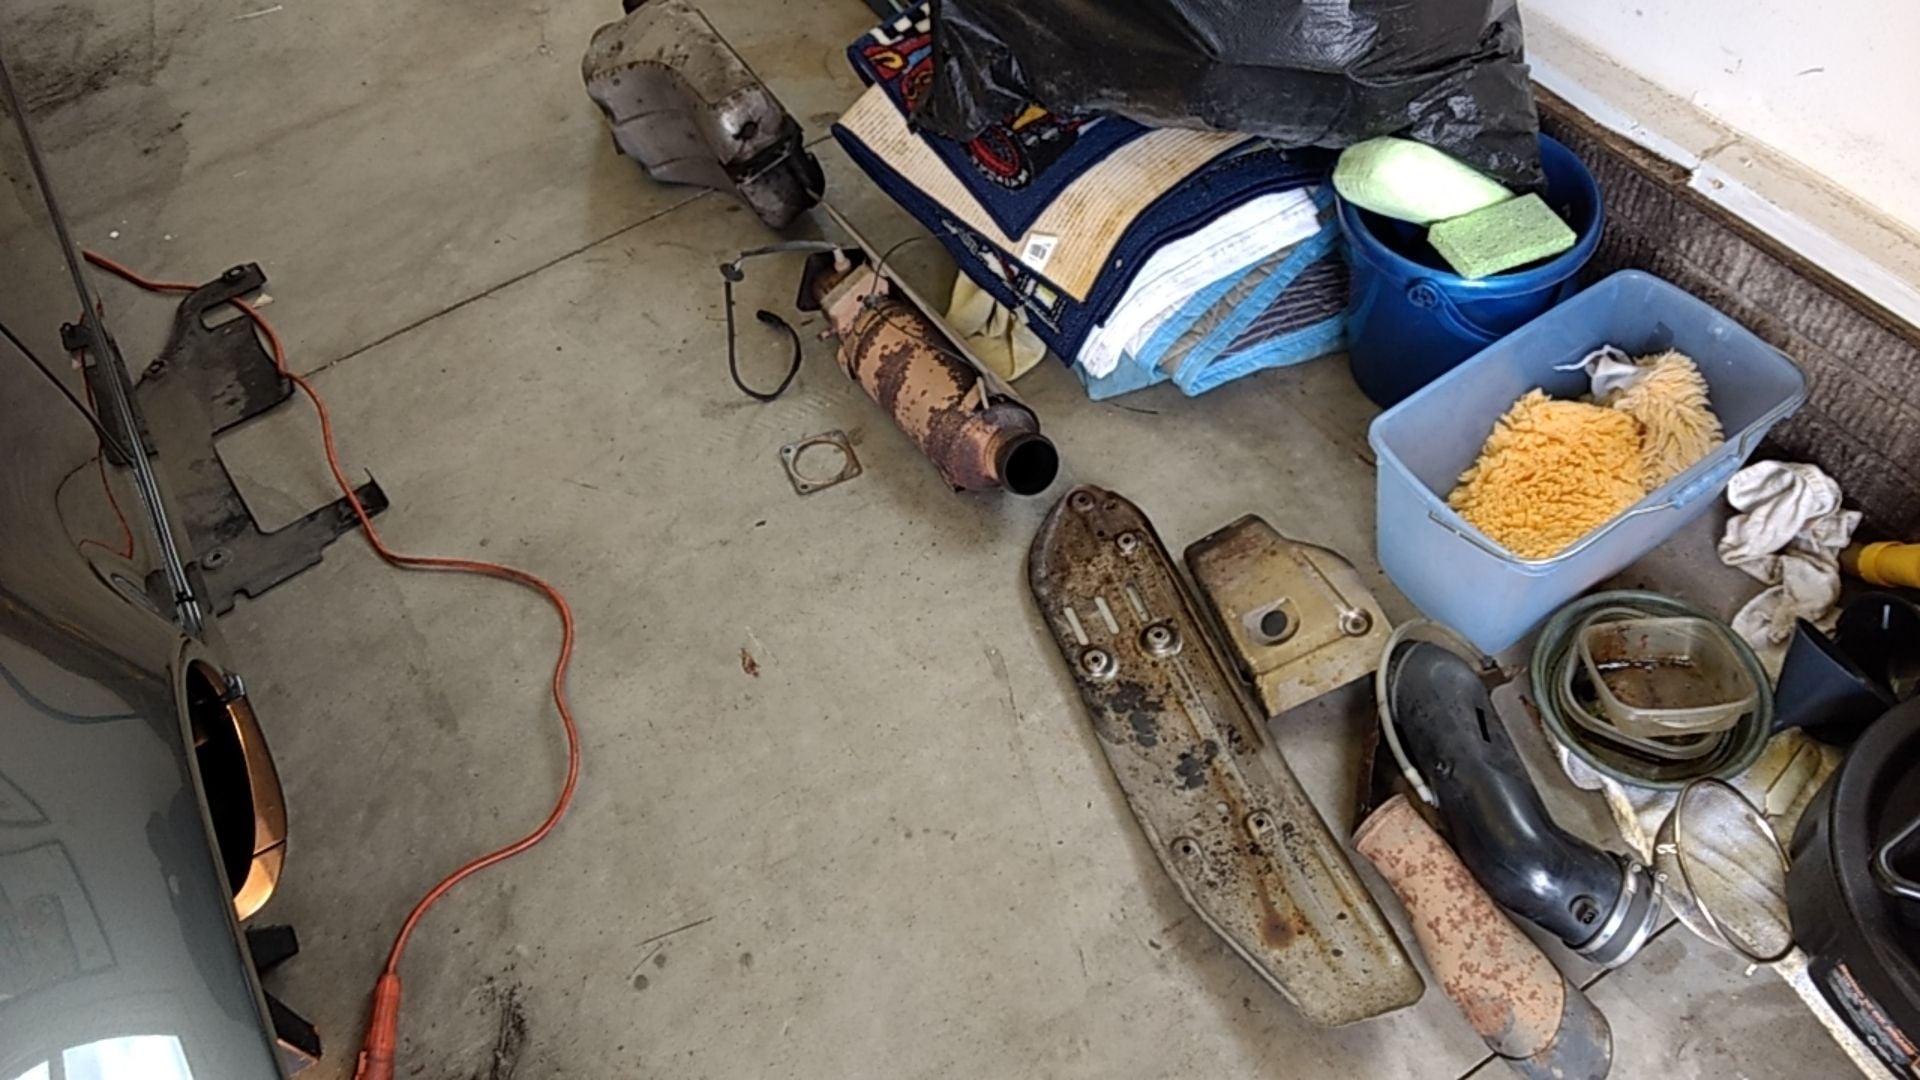
Primary, Secondary Muffler, Cat & Muffler Tip.
Rear & Side Engine Tins.
Muffler & Cat Heat Shields.
Plastic Heat Shrouds, side and aft.
SS Heater Tubs aft of heat exchangers.
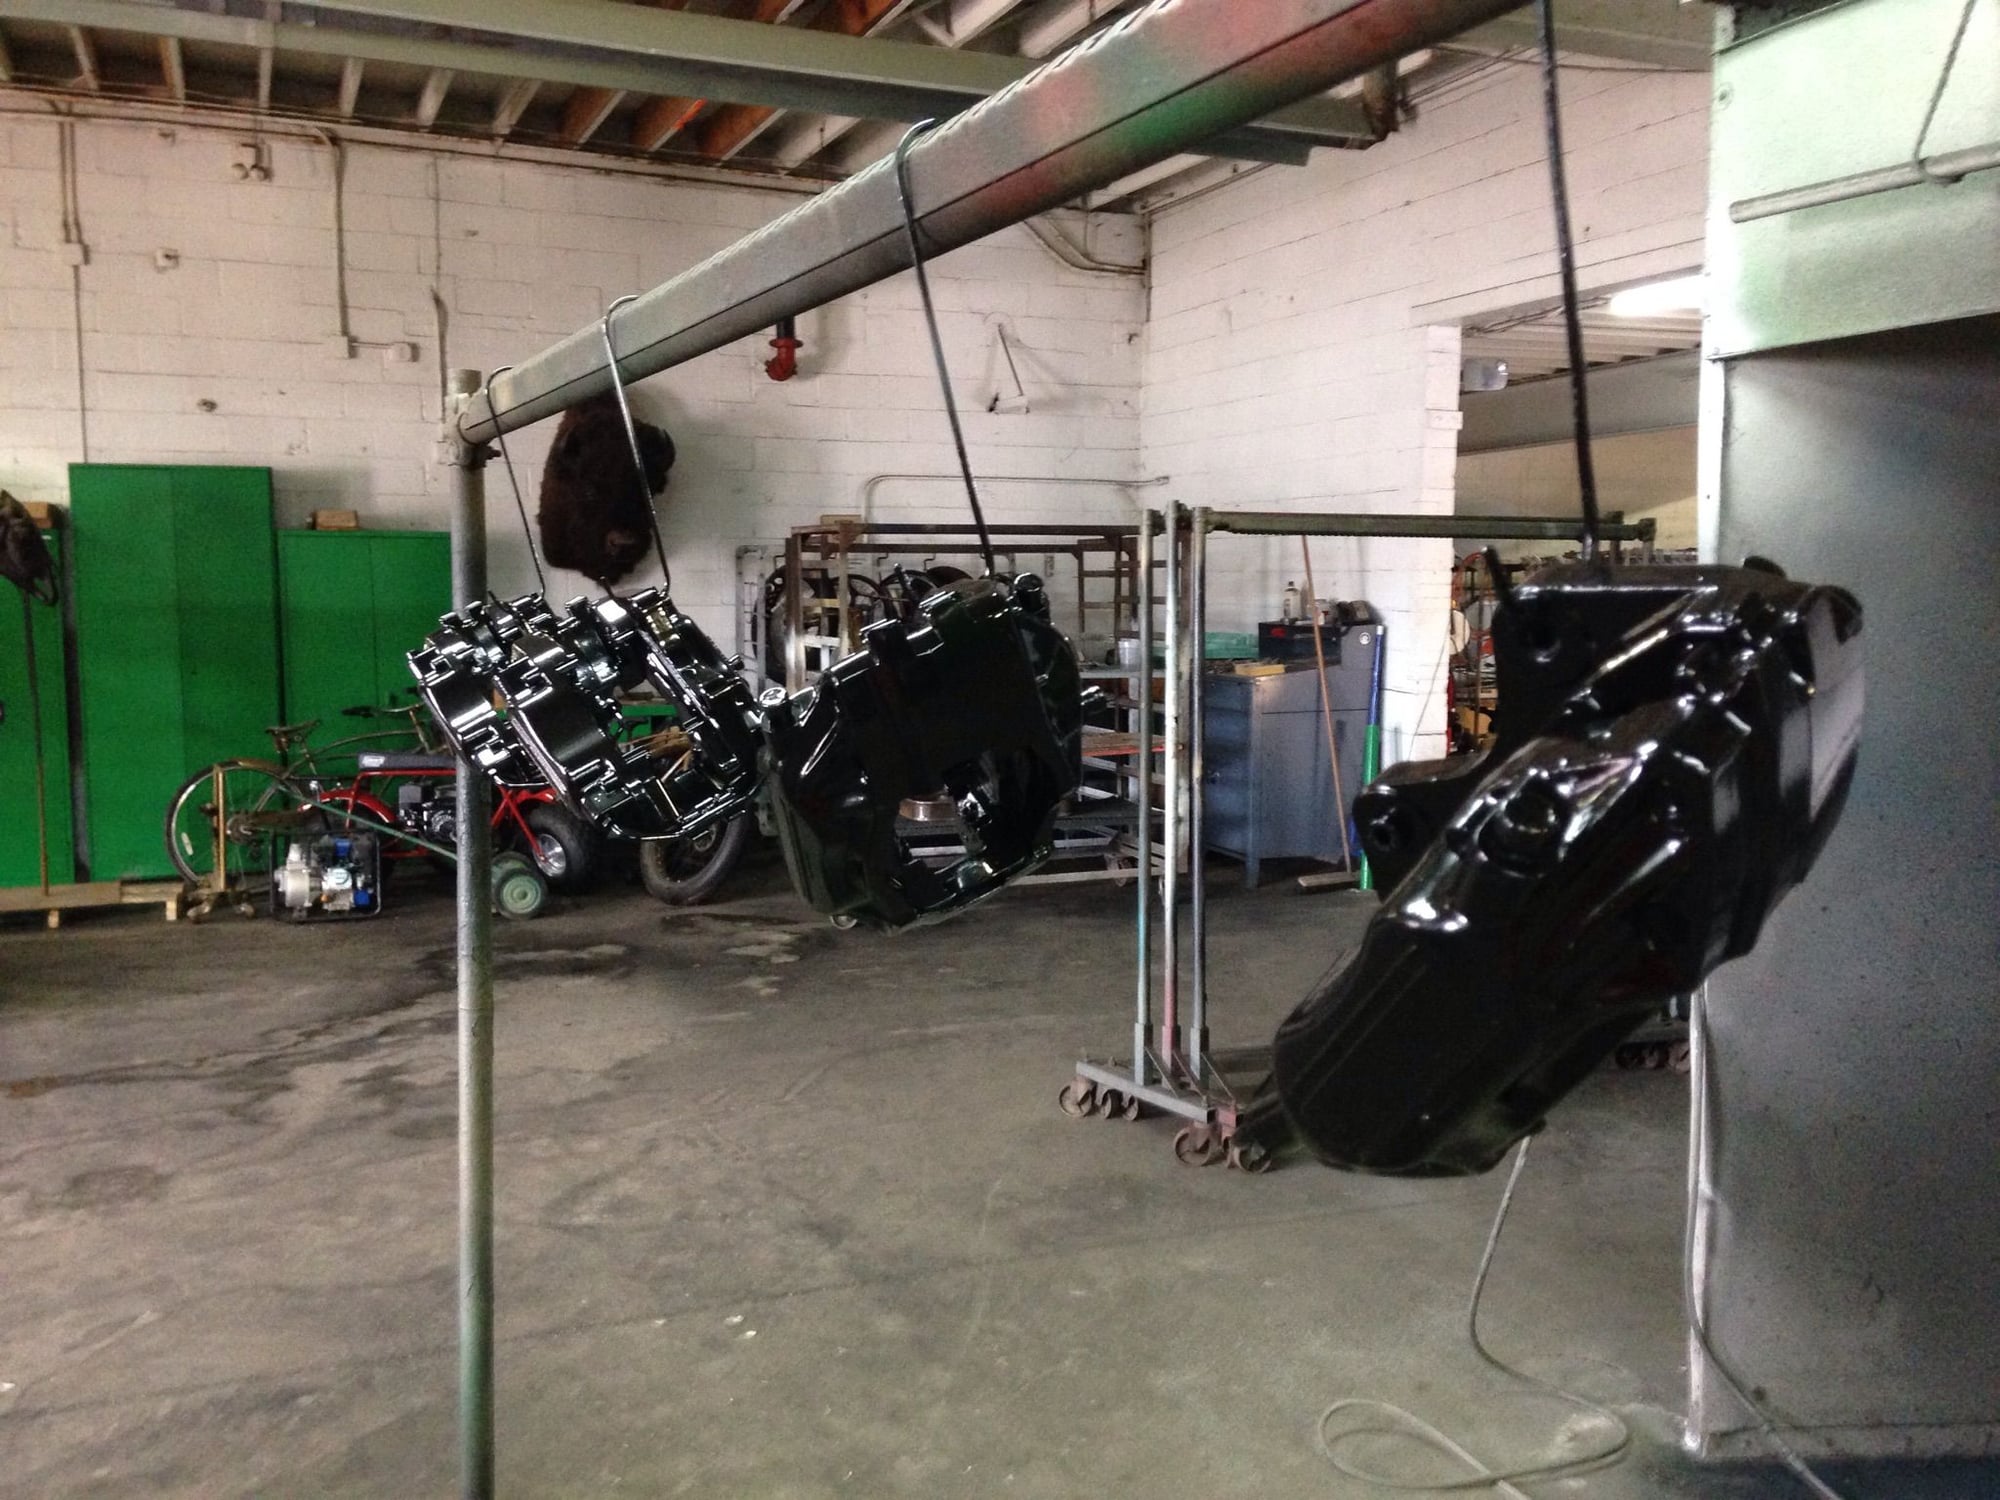
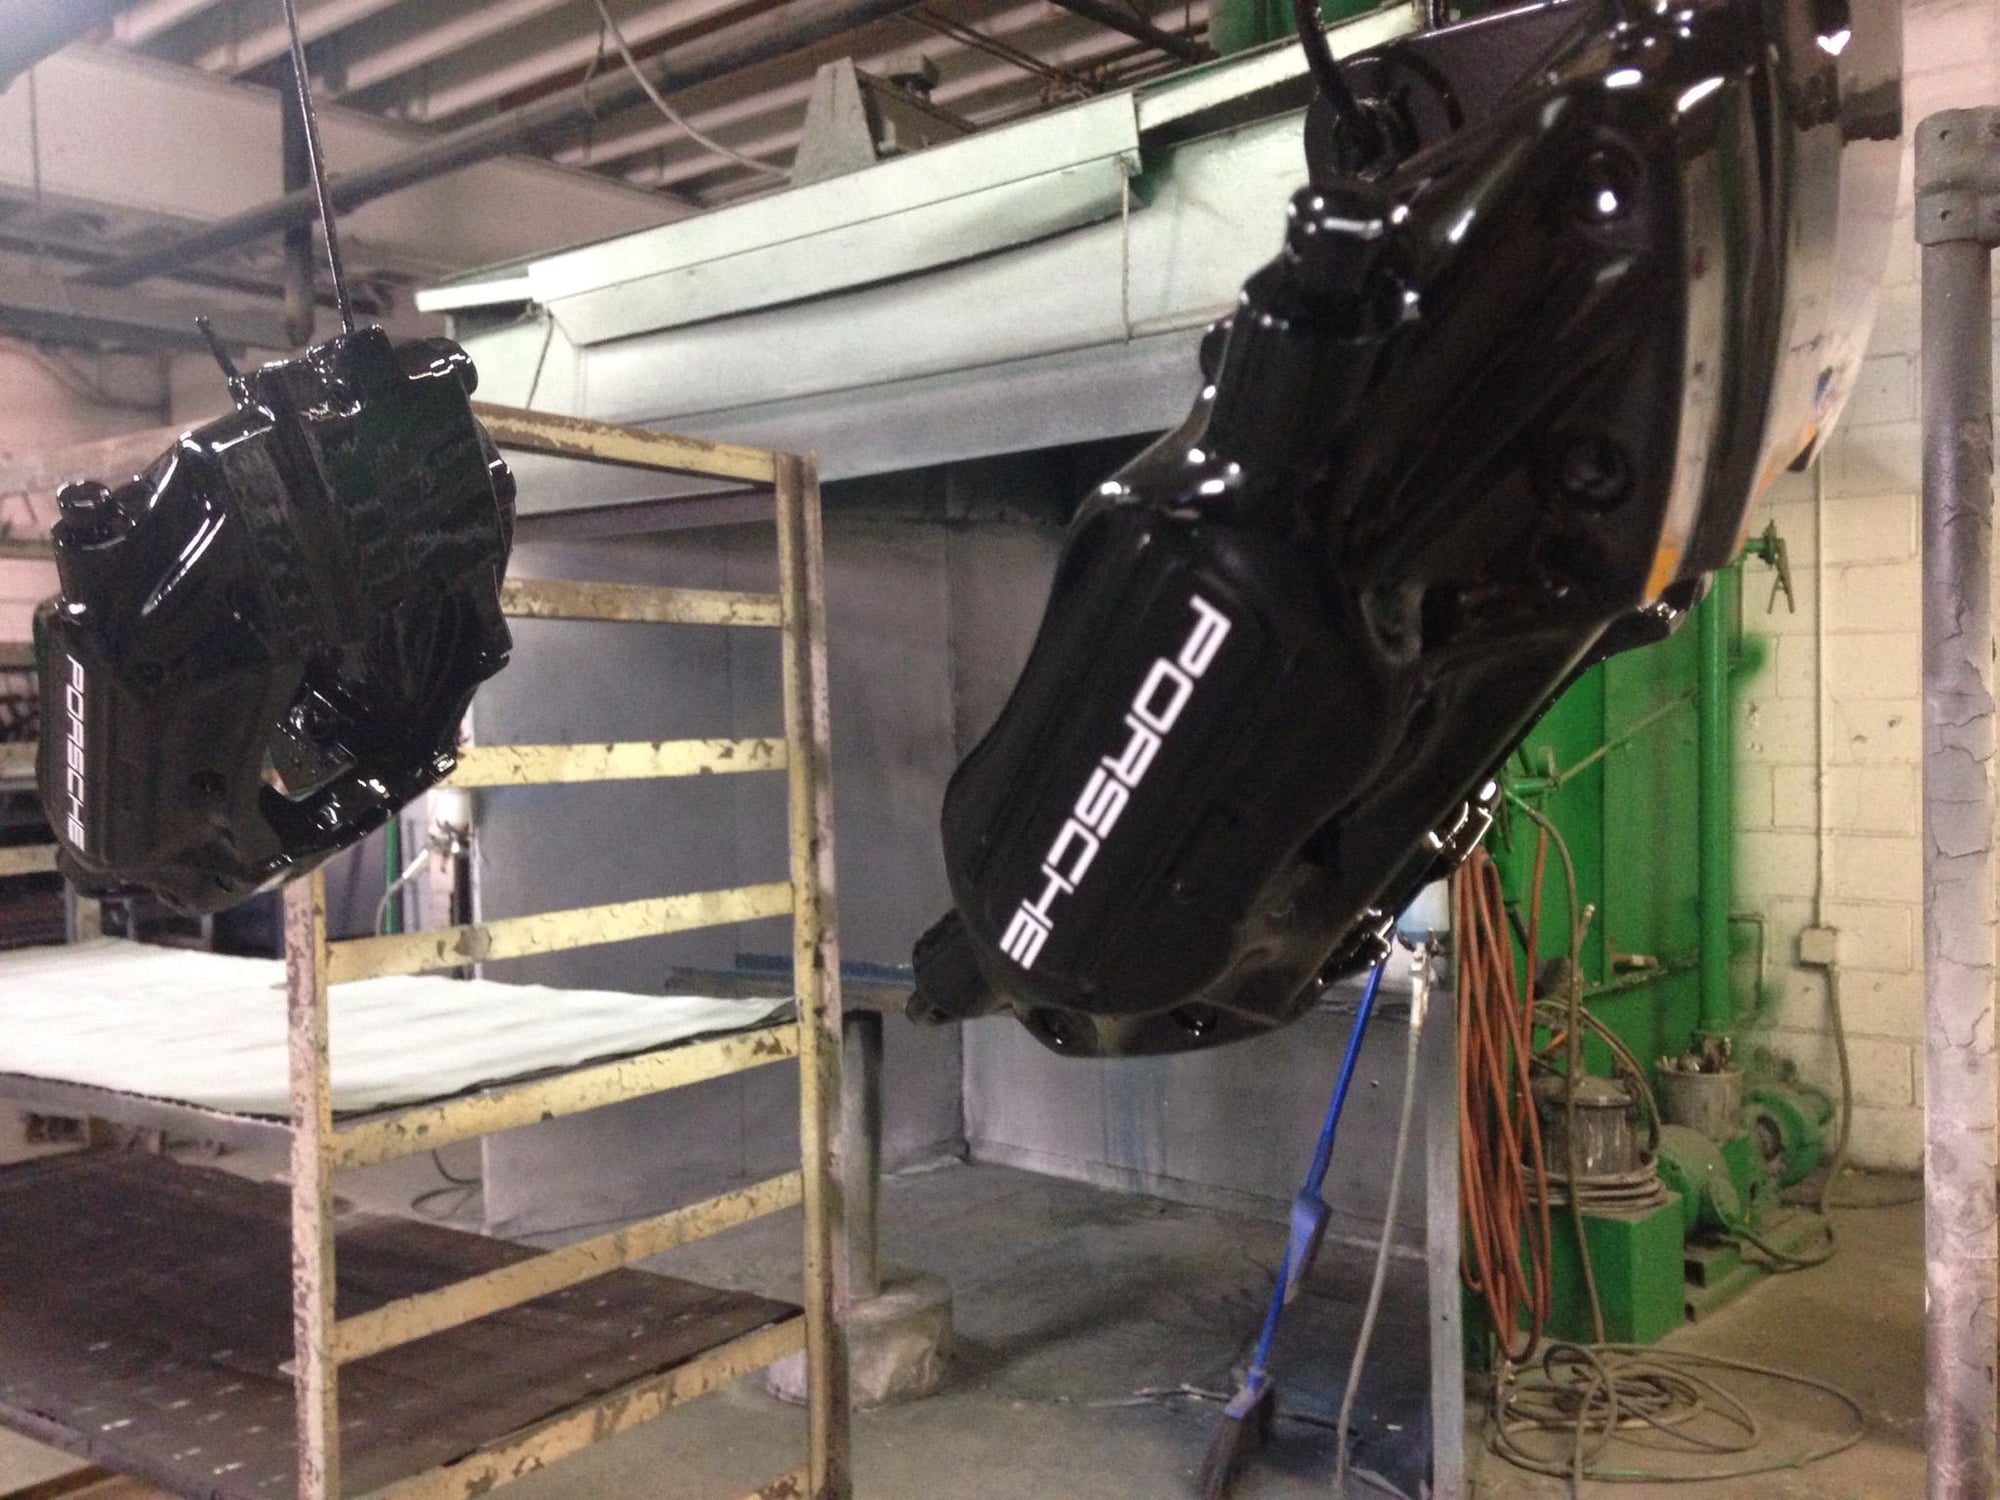
Brake Calipers
Cleaning:
Everything that was removed from the car was cleaned with the GC Degreaser mentioned below, washed and dried.
Bottom Side First (Order Optional):
To remove the Cosmoline, liberally spray WD 40 wait 20 minutes use a stiff plastic scraper blade and wire wool, clean up with lacquer thinner, I still have more to do, this is very time consuming!
I blocked any holes that would be difficult to dry, then sprayed two applications of Chemical Guys Citrus Degreaser (Amazon) some light scrubbing with medium non metallic brushes followed by warm water rinse from a hose. dry with towels and compressed air.
The cleaning continued with the same process to the entire underside of the car and the wheel arches, suspension and brakes.
I used Griots Garage Undercarriage Spray on the black covers.
Top Side:
I covered the obvious electrical components with small plastic bag and then zip tied them secure, covered and masked the surrounding body/paint work and sprayed 2 containers of Sonax Engine Cleaner (Amazon), probably could have used 3, used small plastic detail brushes on the heavy grease, rinsed with warm water from a hose, dried with compressed air and towels.
Don't forget to block the Distributor Drive Shaft Hole in the Engine Case with a sealing rubber bung before spraying anything in the engine compartment.
The alternator fan's finish was is good condition and just required decreasing with the Chemical Guys product and a coat of wax. To complete this I extracted the fan from the alternator shaft with a 3 claw puller from Harbor Freight. Without removing the fan from the alternator it would be very difficult to get it completely clean and not risk getting cleaning products and water in the alternator. I also replaced the fan bearing/hub prior to reinstalling the fan back on the alternator shaft. Even if your bearing is in good condition, extracting the fan off the bearing and shaft puts a lot of pressure on the hub, so the potential of damaging the bearing is high in my opinion.
I cleaned the fan shroud with CG degreaser and then soaked it in WD40 for 24 hours. I think the original magnesium finish came back quite well.
The plating on the pulleys was decent so I just hand cleaned them lightly with a little meat polish, not too aggressively or you will remove the plating. Ideally replate.
After reassembly, I finished the top side with an application of Griot's Garage Engine Bay Dressing, after masking all of the surrounding bodywork. A nice long lasting finish, the more coats you spray the glossier the result, so its a personal choice.
Whilst Your In Their A La Carte (I did all) :
Strip and Powder Coat the 3 Engine Tins & The Fuel Pump Cover
Exhaust & Cat Heat Shields professionally cleaned.
Valve Adjustment.
Replaced Fan Hub/Bearing
Replaced Distributor Drive Belt
Replaced Distributor Caps & Rotors
Replaced 3 Drive Belts
Replaced Spark Plugs
Oil & Filter Change
Replaced Fuel Filter
Replaced Air Filter
Polished Muffler Tip
Transmission Oil Change
Added Pad Keeper.
Replaced underside flexible heater ducting.
Refinished Brake Calipers & Painted Rotor Hats
Time:
You could probably get the engine cleaning done in a weekend if you don't have too many beers, however the "while your in their factor" comes into play pretty quickly and adds many hours of fun. This is just a basic nice job, Parade Concours is way more involved in every respect.
Last edited by 993PET; 06-06-2017 at 06:13 PM.


 This is the second one I've done on a 964 in the last 12 months, not sure if I want to do another anytime soon!
