When you click on links to various merchants on this site and make a purchase, this can result in this site earning a commission. Affiliate programs and affiliations include, but are not limited to, the eBay Partner Network.
Altex121... your car looks great! I just received a set of similar projectors from Francois and am confused with the aiming. The instructions seem to indicate that you mount the assembly without the lens or the reflector, which would give access to the 4 screws for the X/Y axis for adjustment. The lens and reflector appear to be fixed to the housing and I don't want to force/break anything. Any guidance and counsel would be appreciated.
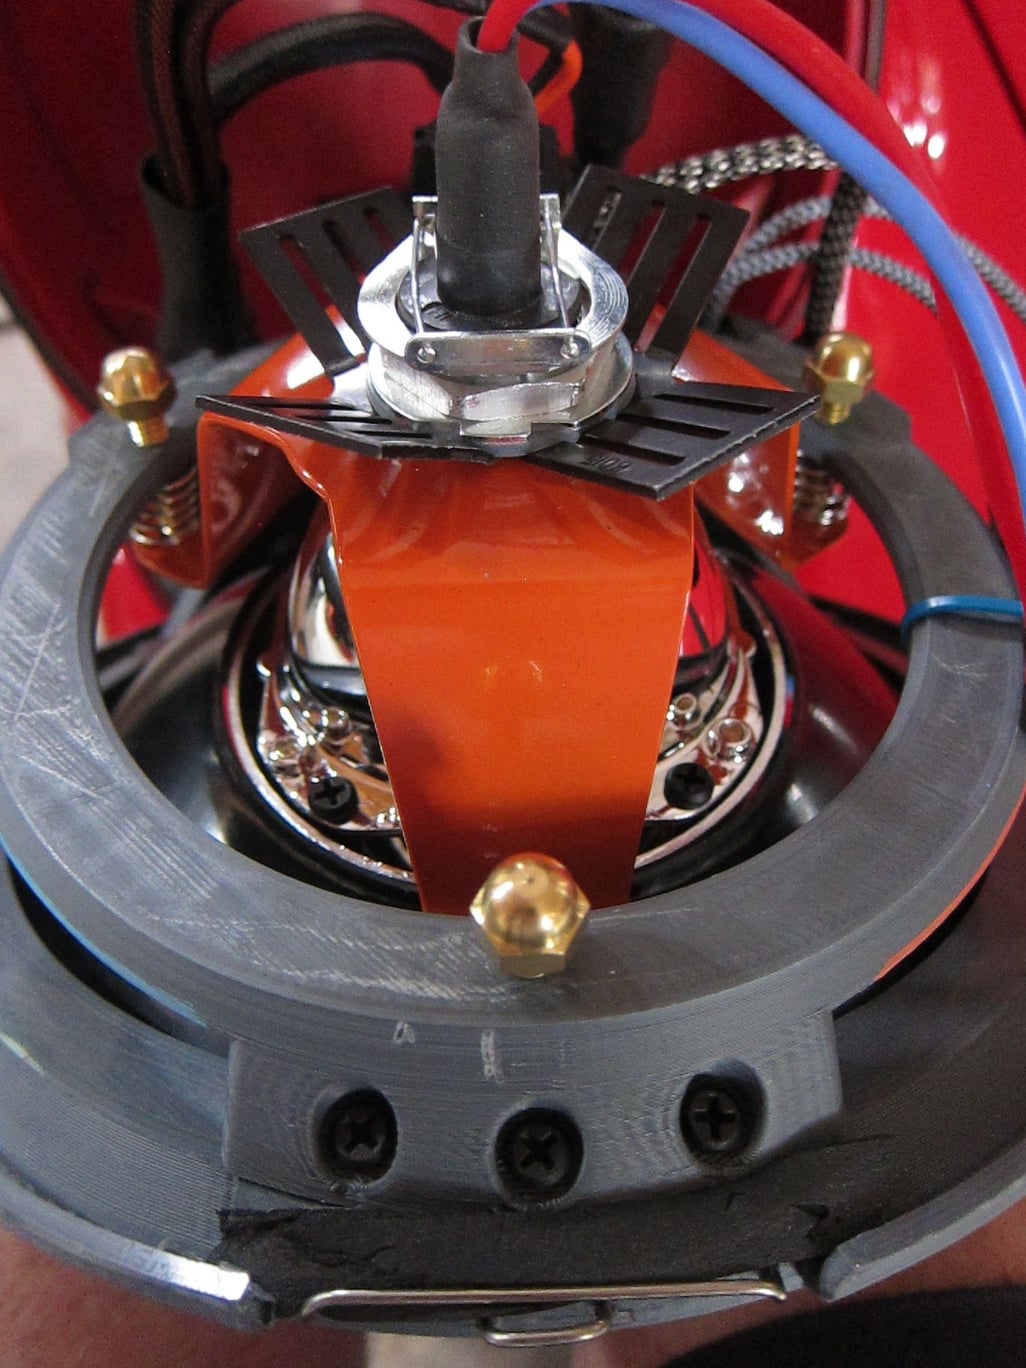
Red, as you said mount the headlight assembly without the glass, without the reflector �dish�. Basically the cage and the �bulb assembly �. You should see 3 fairly large Phillips screw heads (mine were painted orange) that is where you make your adjustments. It is slightly different then the picture in the documentation. I wasn�t sure at first either. I thought the large screws were just mounting.
dan
Originally Posted by Santa Cruz Red
Altex121... your car looks great! I just received a set of similar projectors from Francois and am confused with the aiming. The instructions seem to indicate that you mount the assembly without the lens or the reflector, which would give access to the 4 screws for the X/Y axis for adjustment. The lens and reflector appear to be fixed to the housing and I don't want to force/break anything. Any guidance and counsel would be appreciated.
Last edited by dannyg000; 04-06-2018 at 04:06 PM.
Reason: Clarification
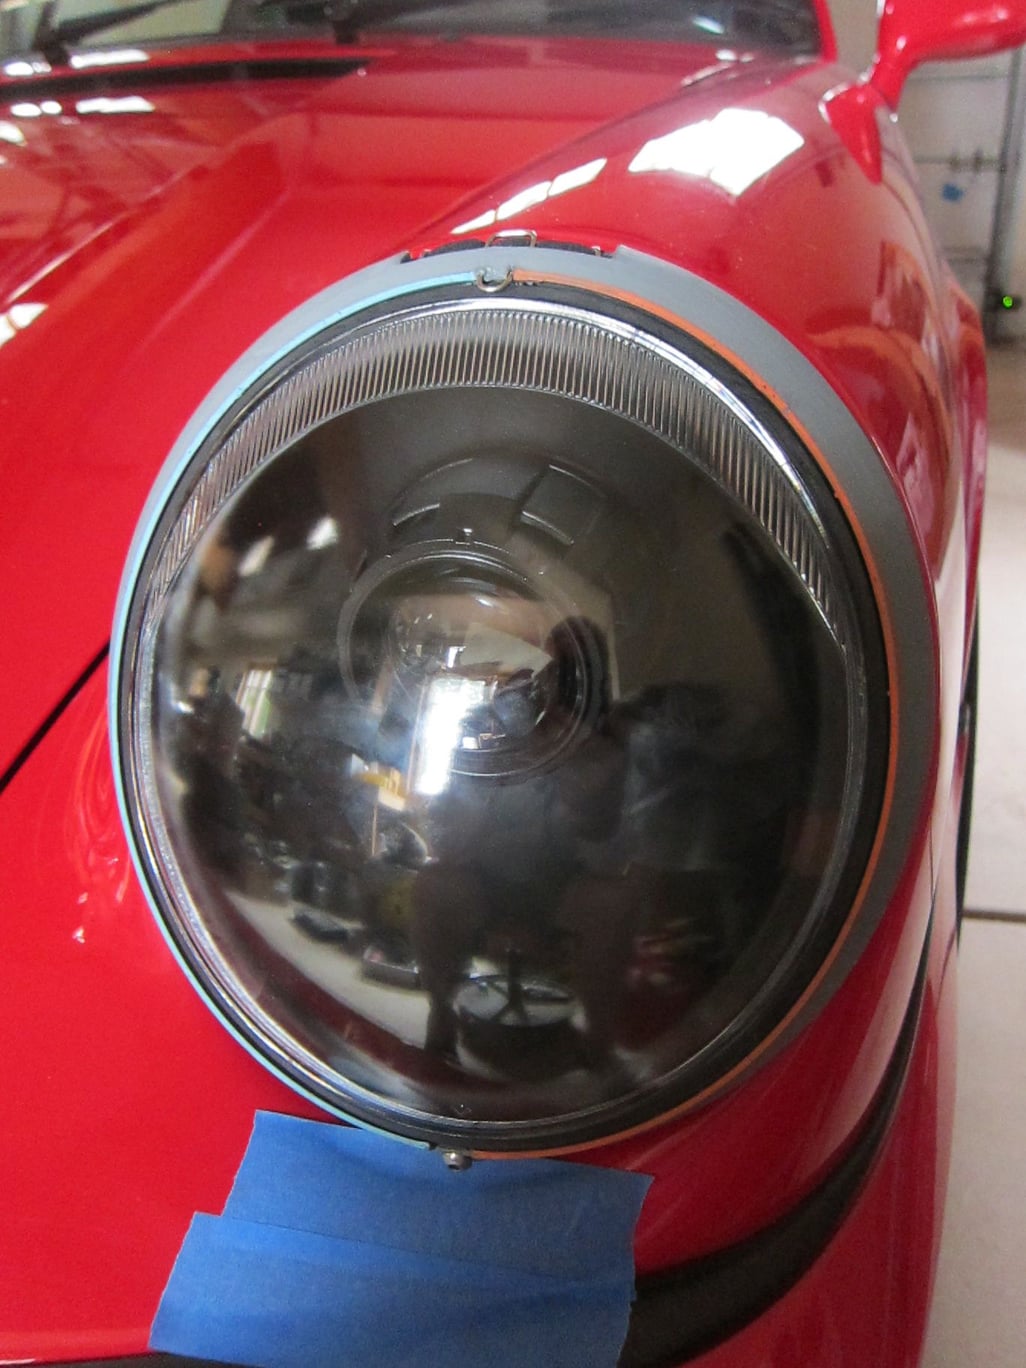
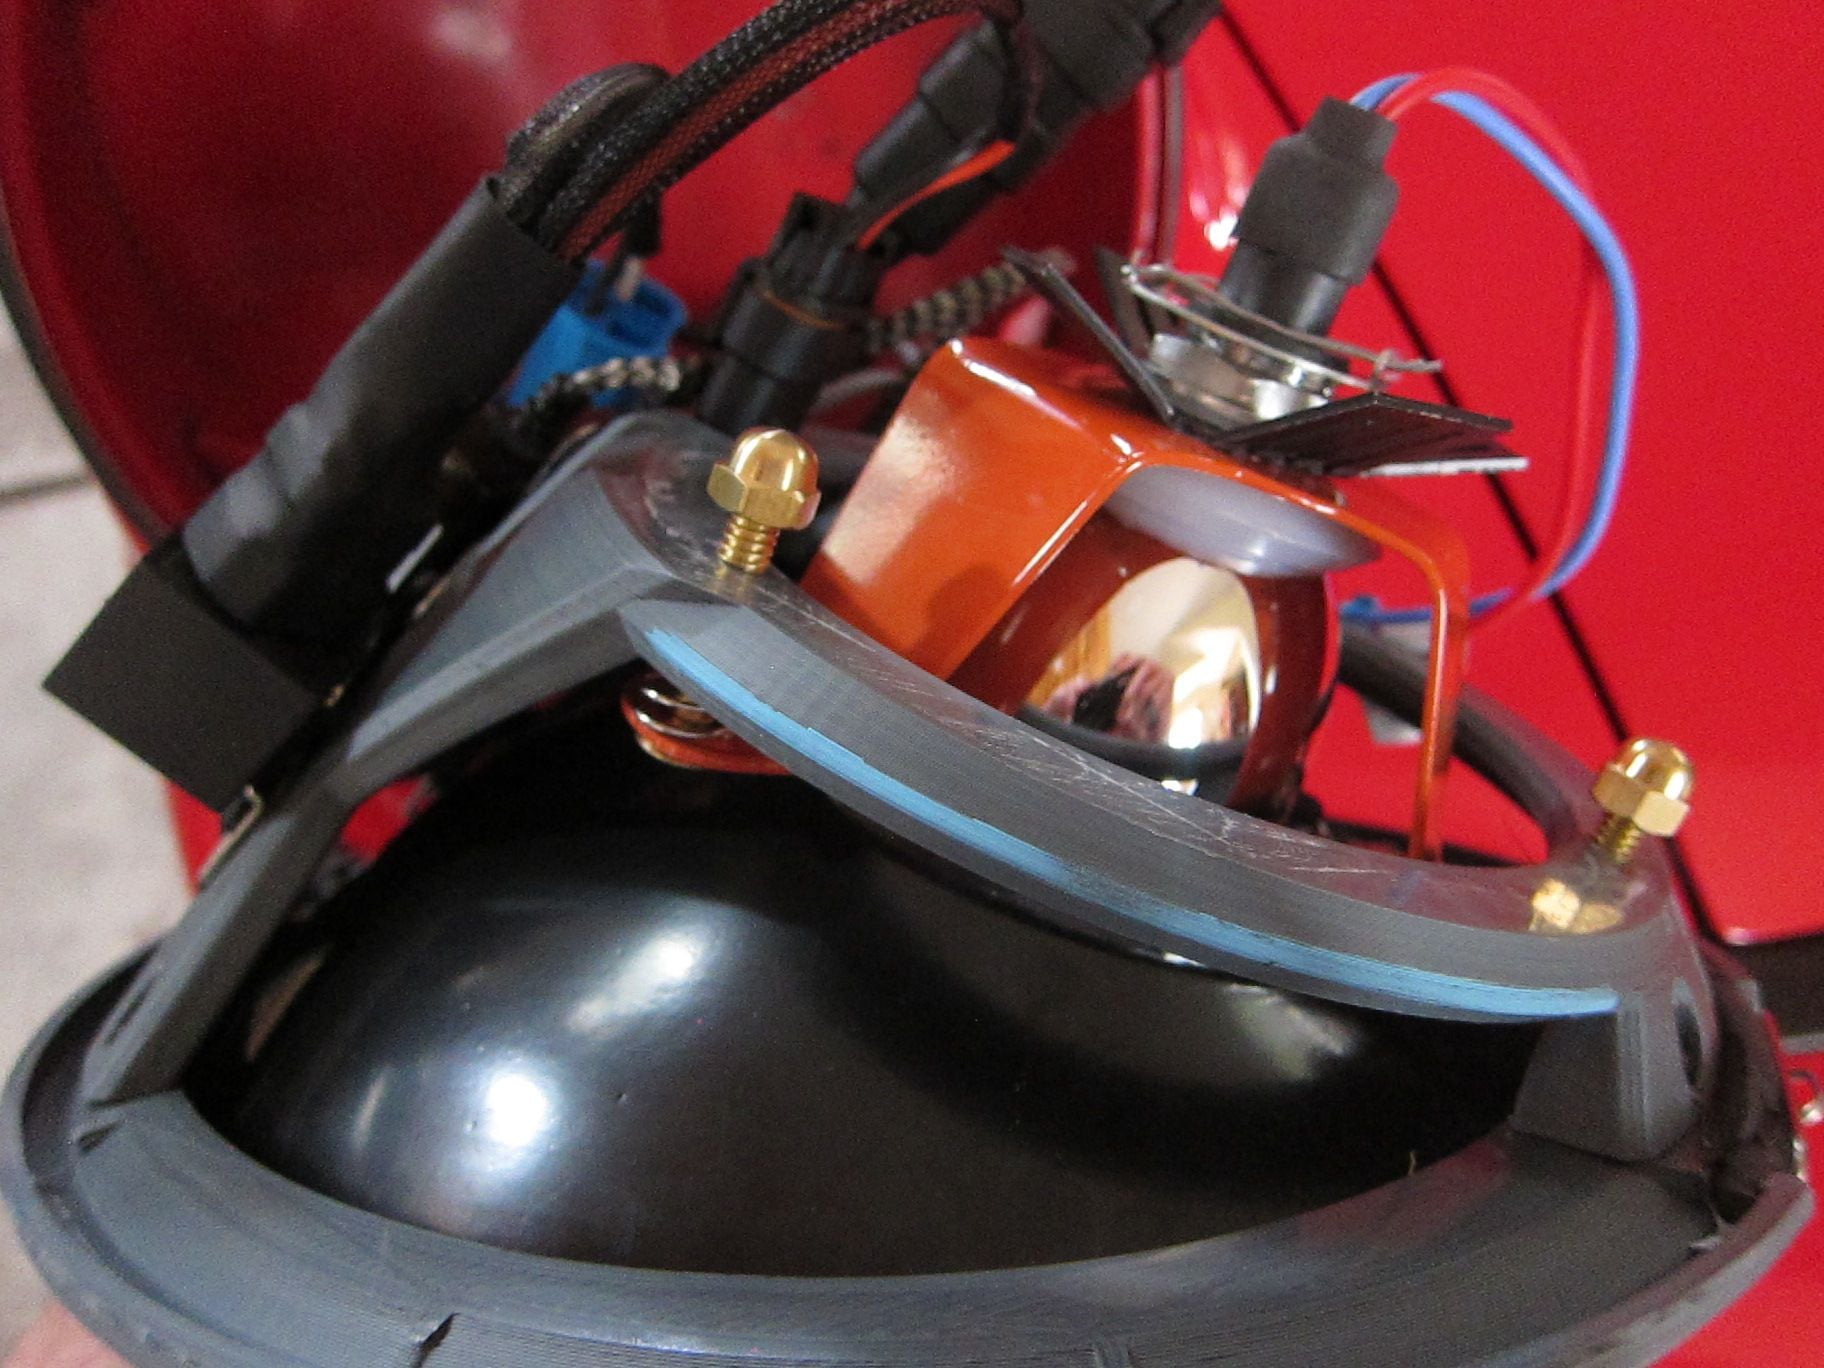
Hi Dan, thanks for the response, possibly the design has changed as I don't see how to separate the clear lens/reflector assembly from the housing. The 2 main, 3-D printed parts are the outer ring (which holds the reflector, the lens and the top mounting connection) and the "cage" (which holds the projector, the X/Y axis adjusters and all of the electronic gear). Both are attached to each other with 3 Philips screws at the top and 4 at the bottom. If you were to separate these components then you wouldn't be able to mount it to the OE headlight bucket. Attached are a few shots that show the unit mounted (w/o the trim ring) and the inner pieces. I'm sure it's incredibly easy.. but I haven't figured it out yet.
I believe the metal tab on top of the headlight in the first picture you posted holds the lens together. I believe you can just remove that and the lens and reflector come free
ok, separate the glass lens carefully,I was able to separate them by gently pushing from the rear side on the bottom. then take the glass off and set it aside. Next remove the black �scoop� or what I refer to as the reflector. Now you should see from the front that you have the light assembly and cage. If you look at your last picture you see 3 gold colored acorn nuts on the back of the assembly. Those are the adjustment screws that you make your adjustments on but from the front not back.
Be careful with with the glass on the headlight because it is not fully secure until you put the trim ring on. I know this because I was in a hurry and didn�t secure it, ended up bumping it which resulted in it getting knocked off and I had to purchase a replacement.
Here are Francois' lamps on one of my 964's... nice modern touch.
Good luck with your install.
Nice that 964 owners have several good options now between these and Audette, to go along with the old H4 upgrade...each has their own look, from modern to retro...
Second hardest part is seating the screw into the tab under the light when you're all done. You have to insert it a little more "shallow" than you would think. Shine a light in the trim ring hole to see where the tab hole is. I'm an idiot with this kind of stuff though.
Those little screws gave me fits for too long. In the end, bending the tab inside the bucket toward the front bumper a very small amount did the trick.
These are fluted glass, black reflectors and obviously black rings....LED. The rest of the install was a breeze. Francois was great to work with. Time will tell how they hold up but they seem to be high quality and designed very well.
Last edited by salty87; 06-24-2018 at 09:20 AM.
Reason: picture clean up


 04-06-2018, 03:03 PM