

Project "Green with envy" 964 C4
 07-27-2019, 07:34 AM
#106
Advanced
Thread Starter
So It's been a while, but I'm back.
A lot of things has happened since my previous update, so I'll try to recap.
Interior: Converted CCU unit, center console switches and instrument lights to LED
Also bought new stickers for the CCU switches.


The headlights were done. I'm pleased with the result, however I had to make some changes.. more on that later.


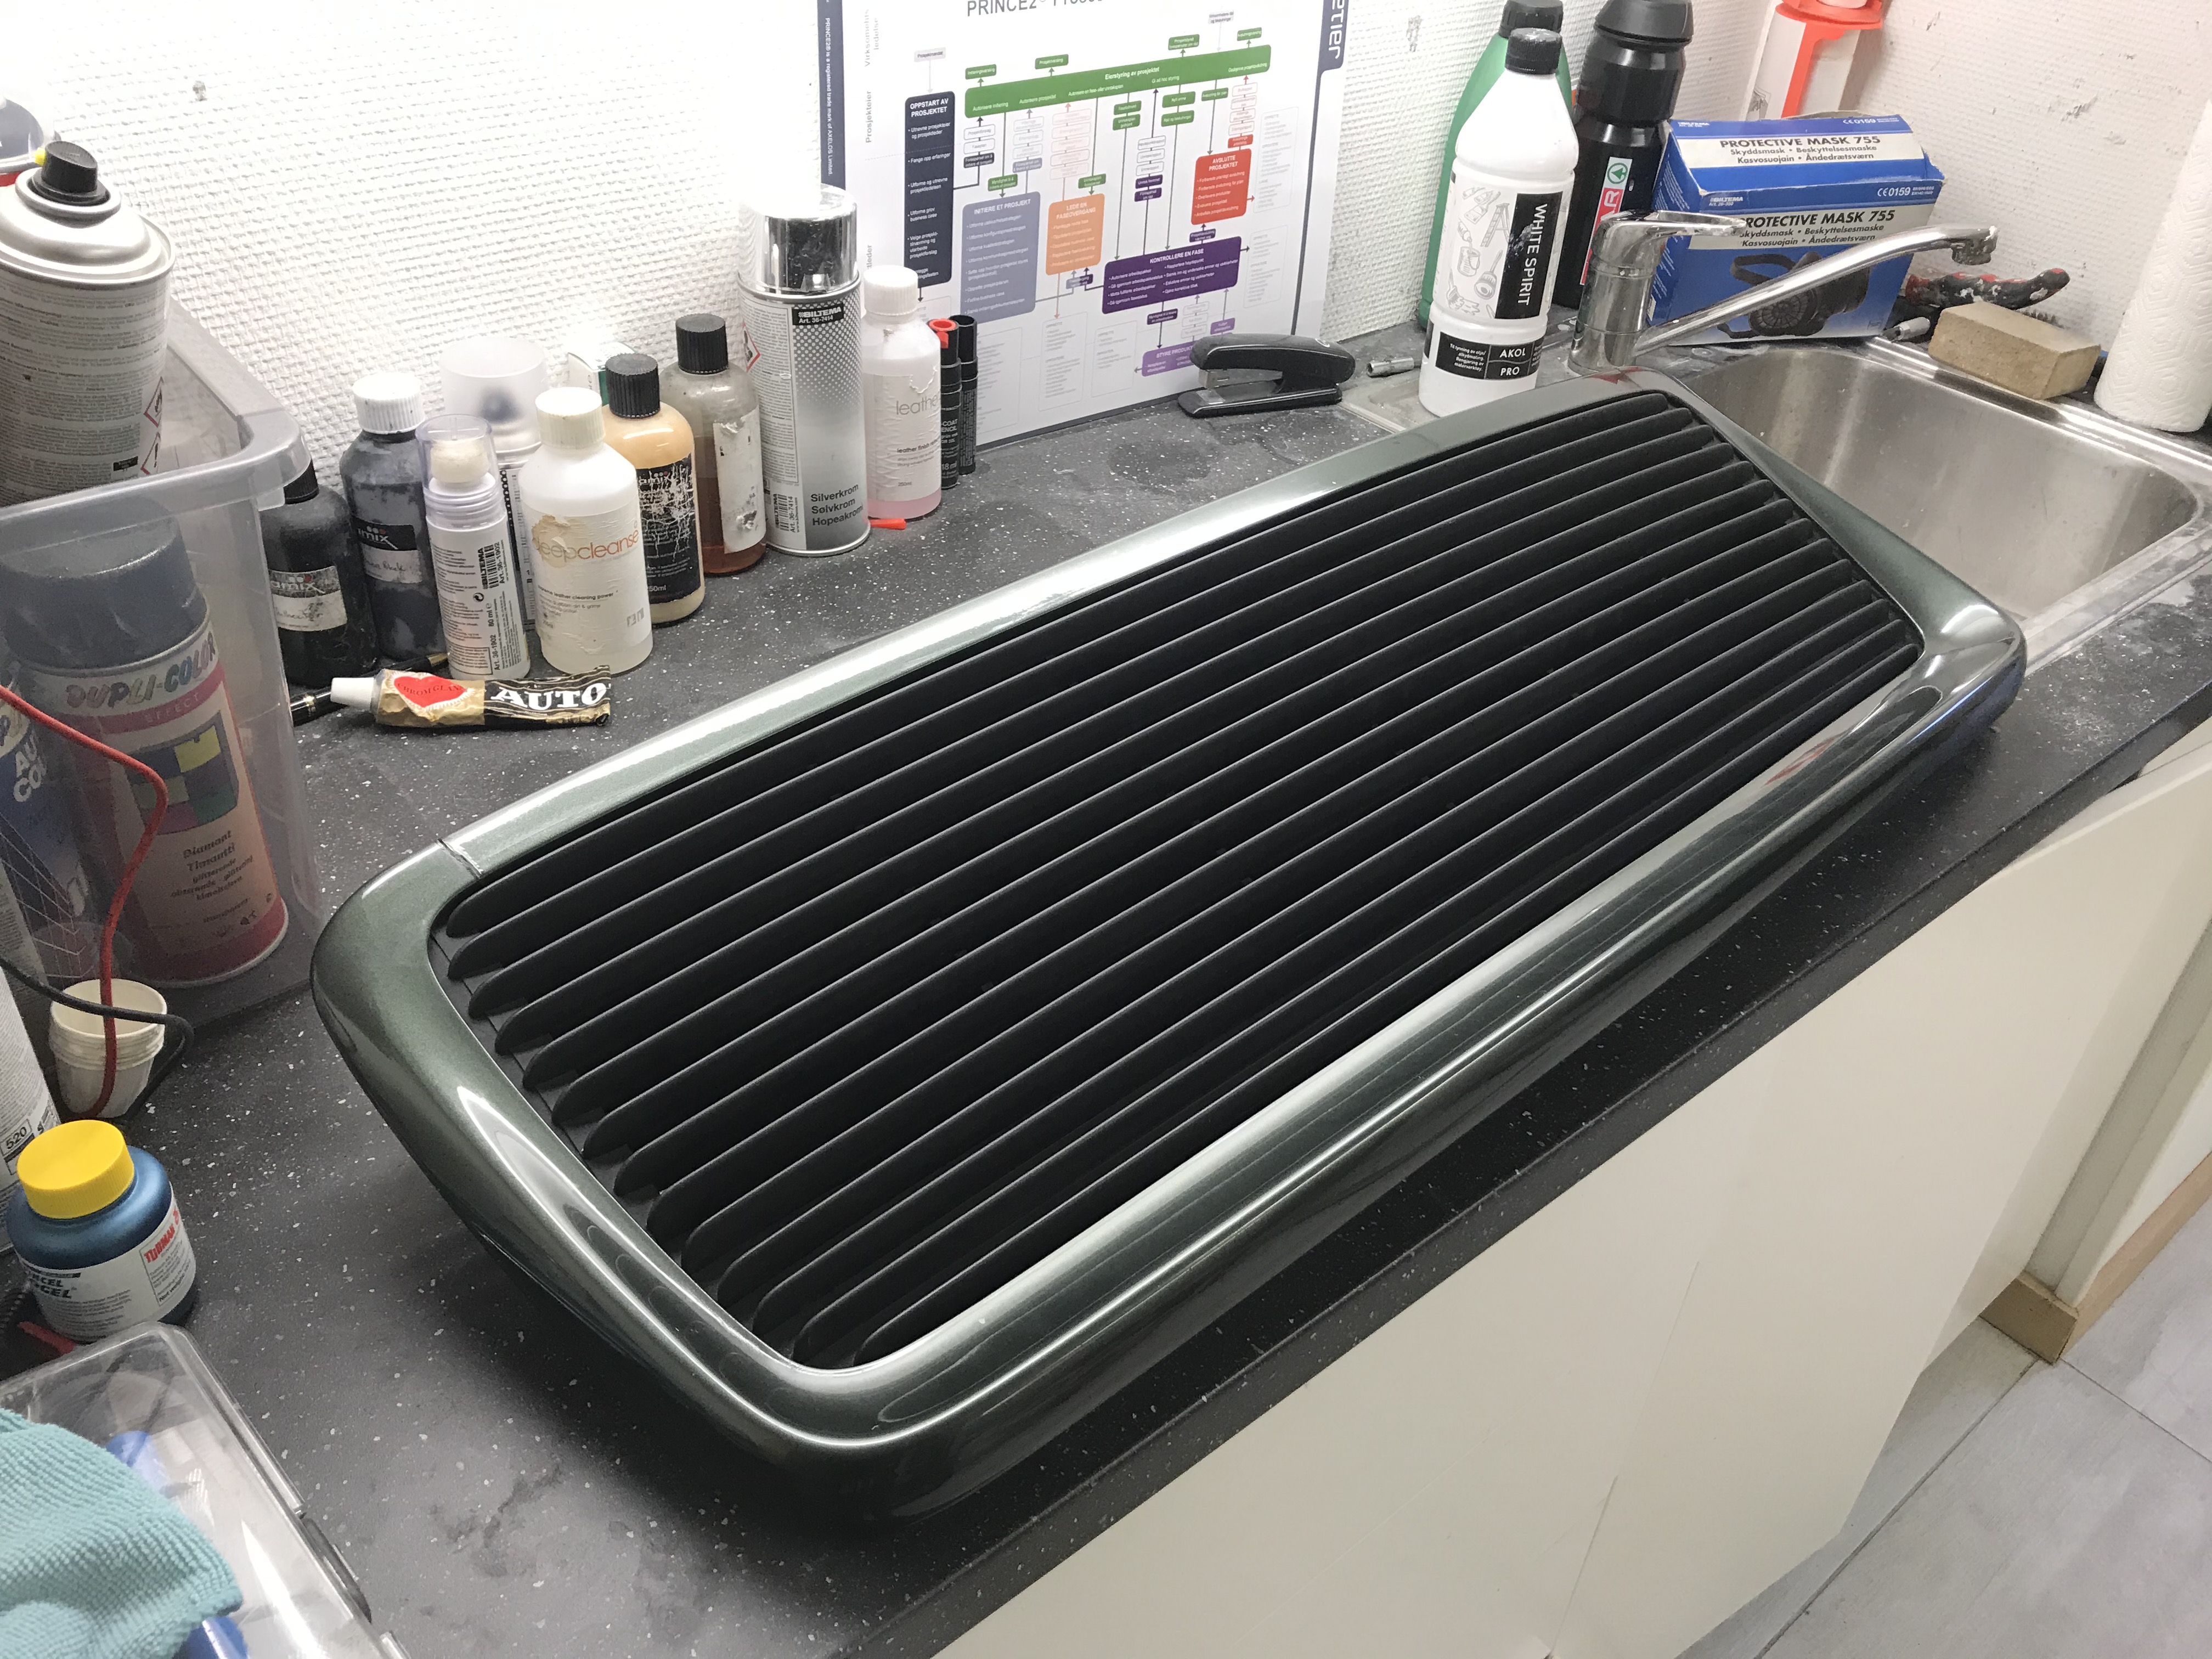
I also did a temp rear panel mod, just for fun. Painted in Oak green metallic. This was my old faded and cracked rear panel.
Turned out OK, but since then, I bought a brand new rear reflector.

The rear lights were treated with new glass.
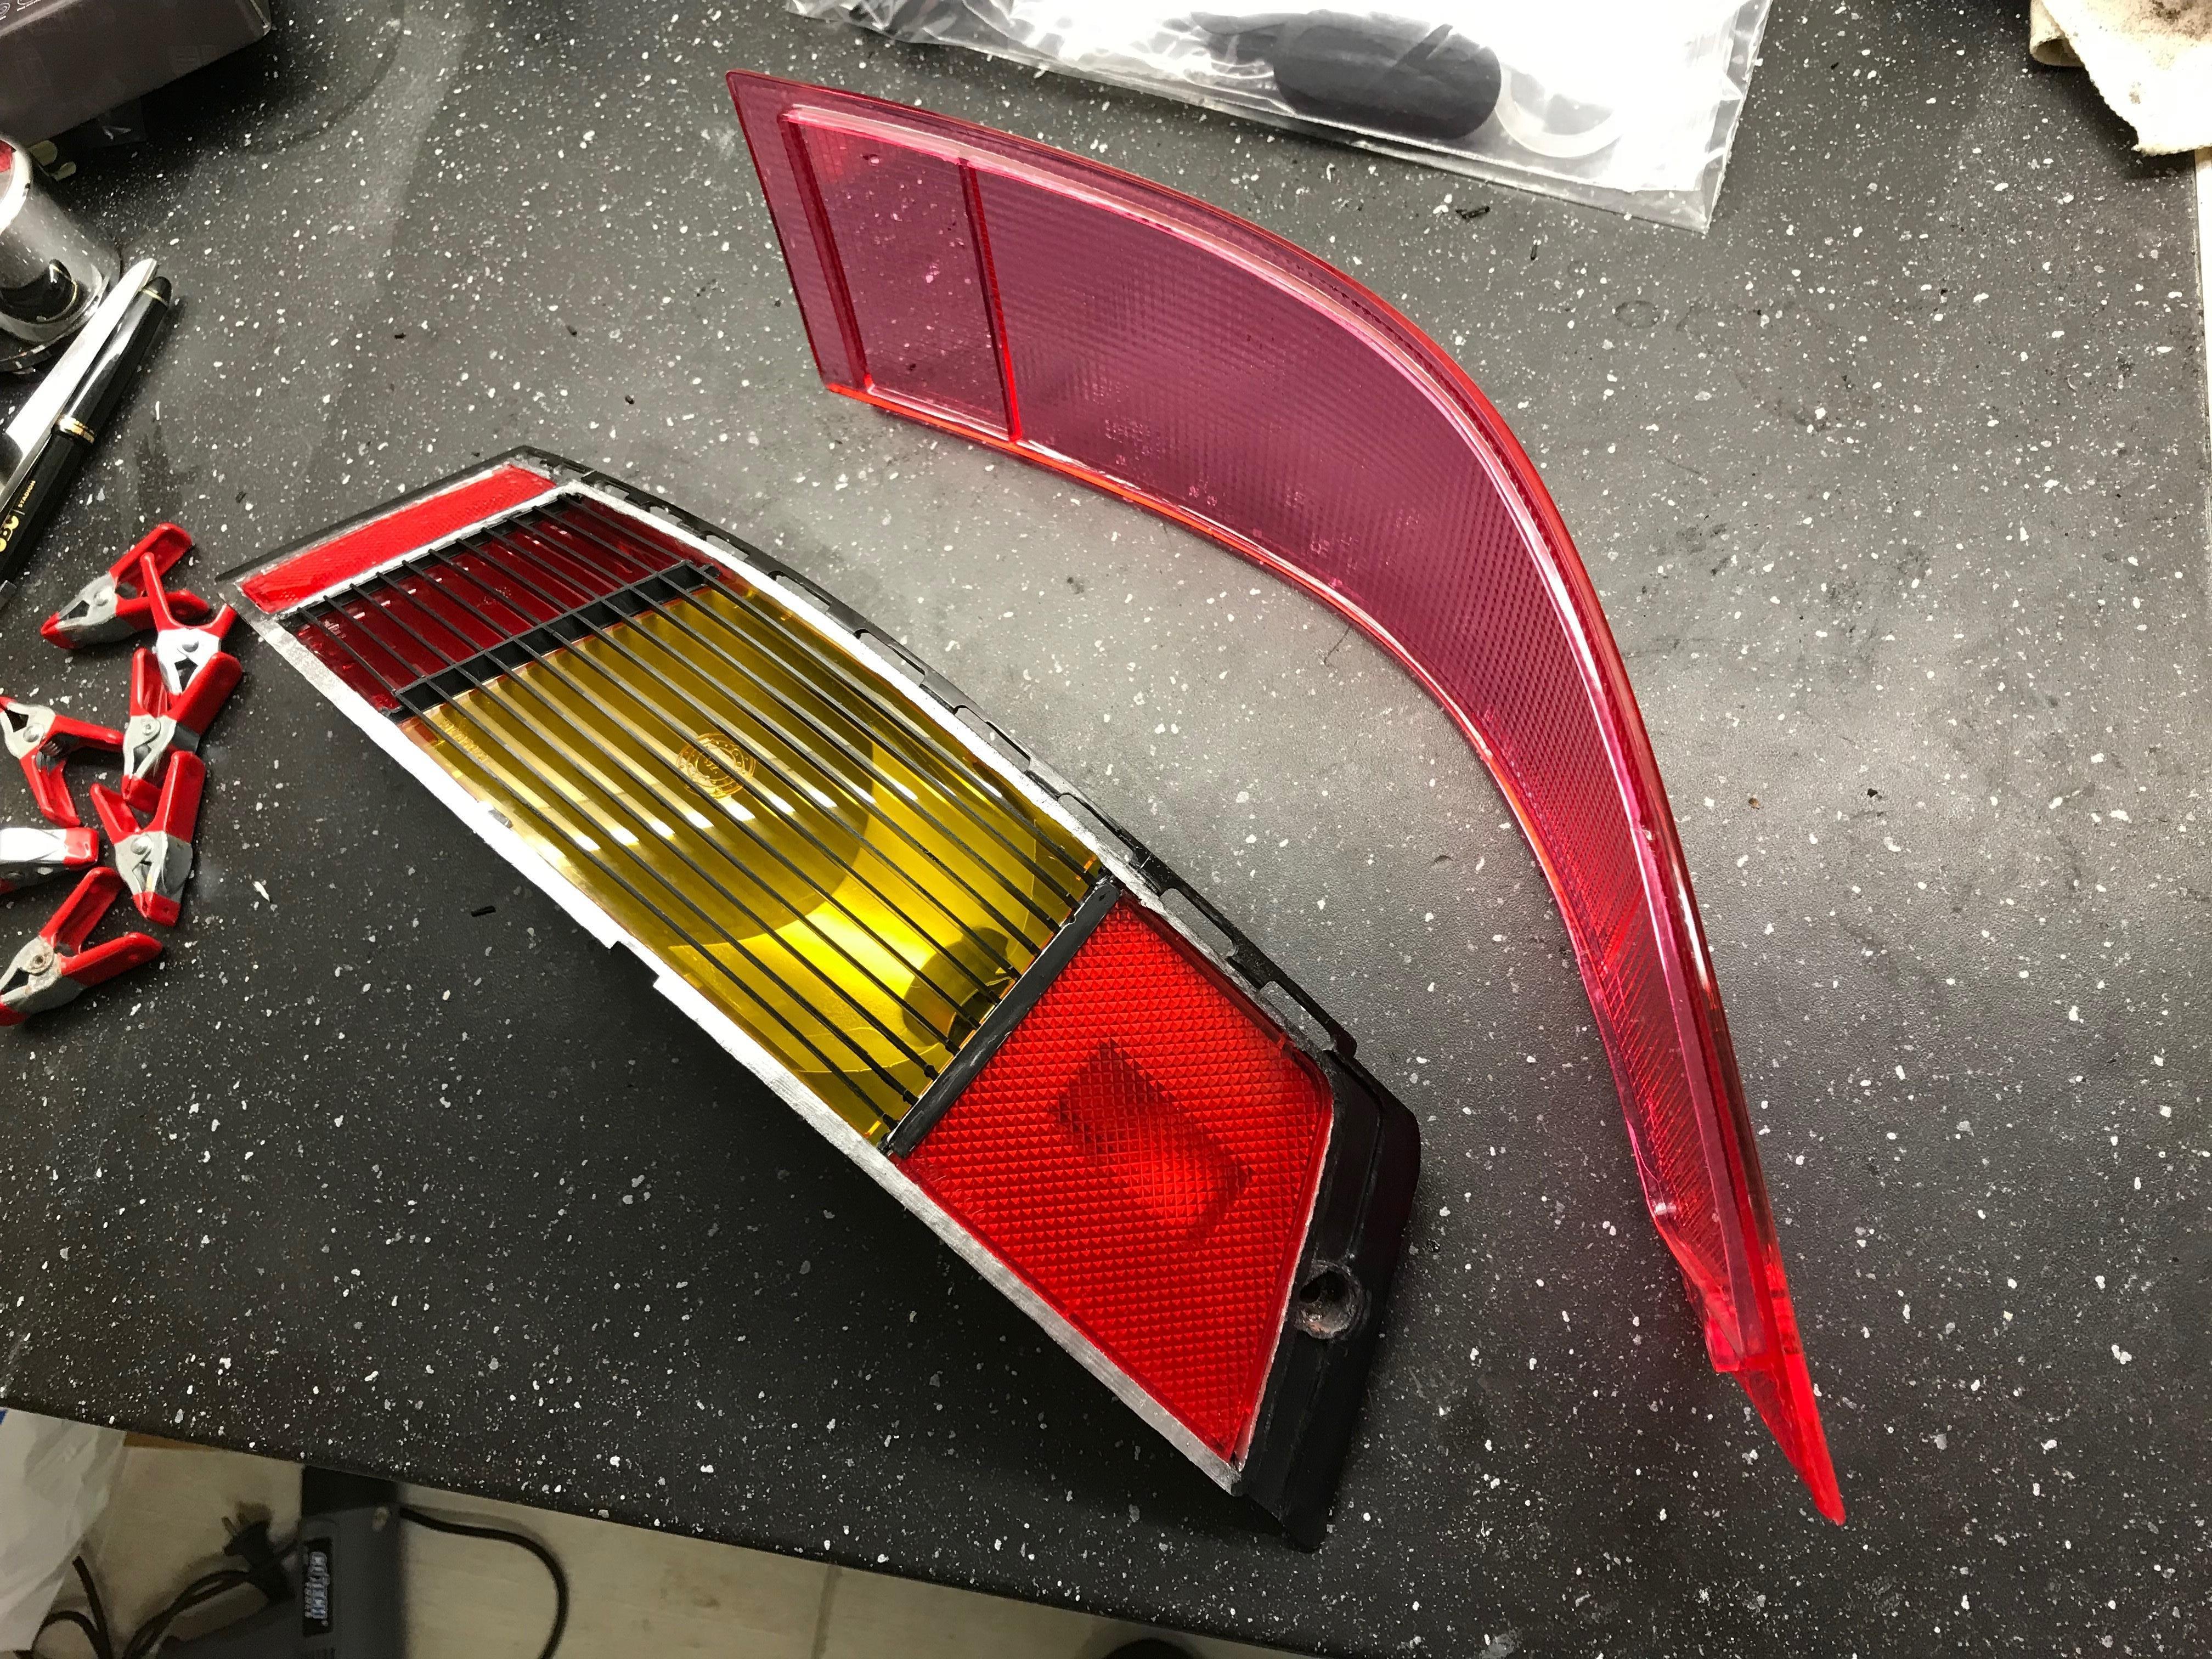
Added some heat reflectant tape to the rear of the new reflector.

Testfit of the new rear wheels


This was done prior to the wheel allignment. I now have some more camber, so the fitment should be good.
More on this later.
In the middle of July, I had a bit of a hectic time. I'd set a goal to get the car re-registered with plates by July 15th.
I had to get the following done:
Wheel allignment, headlight allignment at a shop. They struggled quite badly to get the car up on the allignment ramp, and turned into a sh** show.
After a lot of troubles, they managed to get it done, and I was ready for the next stage.
Getting the car approved at the Norwegian equivalent of DMV/T�V. For the car to get the bi-annual EU approval, my H&R suspension had to get approved.
Luckily I got that done, but in the same process, I got a "Fix-it-ticket" for the following:
Recaro Pole Positions - not approved
Headlights missing E-marking and D.O.T marking.
Great! - I went in for an appointment to get my suspension approved, and they found other stuff.
So the result was, I had to remove my Recaros, and change the headlight glass to stock. So thats how it sits now. With stock seats and headlight glass.

At the "Statens Vegvesen" for approval.

We have a nickname in Norway for this place. "Satans Vegvesen" Because it is truly hell to get modified cars approved.

All in all, I'm happy about the ride height, and that it's approved with 315mm from center of wheel to wheel arch in the front, and 320mm in the rear.
I'll be swapping back to the clear headlightlenses, and probably refit the Pole Positions once i get the throttle pedal/throttle body issue fixed.
More pics coming.
A lot of things has happened since my previous update, so I'll try to recap.
Interior: Converted CCU unit, center console switches and instrument lights to LED
Also bought new stickers for the CCU switches.
The headlights were done. I'm pleased with the result, however I had to make some changes.. more on that later.
I also did a temp rear panel mod, just for fun. Painted in Oak green metallic. This was my old faded and cracked rear panel.
Turned out OK, but since then, I bought a brand new rear reflector.
The rear lights were treated with new glass.
Added some heat reflectant tape to the rear of the new reflector.
Testfit of the new rear wheels
This was done prior to the wheel allignment. I now have some more camber, so the fitment should be good.
In the middle of July, I had a bit of a hectic time. I'd set a goal to get the car re-registered with plates by July 15th.
I had to get the following done:
Wheel allignment, headlight allignment at a shop. They struggled quite badly to get the car up on the allignment ramp, and turned into a sh** show.
After a lot of troubles, they managed to get it done, and I was ready for the next stage.
Getting the car approved at the Norwegian equivalent of DMV/T�V. For the car to get the bi-annual EU approval, my H&R suspension had to get approved.
Luckily I got that done, but in the same process, I got a "Fix-it-ticket" for the following:
Recaro Pole Positions - not approved
Headlights missing E-marking and D.O.T marking.
Great! - I went in for an appointment to get my suspension approved, and they found other stuff.
So the result was, I had to remove my Recaros, and change the headlight glass to stock. So thats how it sits now. With stock seats and headlight glass.
At the "Statens Vegvesen" for approval.
We have a nickname in Norway for this place. "Satans Vegvesen" Because it is truly hell to get modified cars approved.
All in all, I'm happy about the ride height, and that it's approved with 315mm from center of wheel to wheel arch in the front, and 320mm in the rear.
I'll be swapping back to the clear headlightlenses, and probably refit the Pole Positions once i get the throttle pedal/throttle body issue fixed.
More pics coming.
Last edited by dandee; 07-27-2019 at 12:01 PM.
 07-27-2019, 12:01 PM
#107
Advanced
Thread Starter


I used a mix of hot glue, and epoxy to mount the original plastic ring-holder-thing to the new headlight. Adjustment still works from the inside switch.
How did your project pan out?
07-27-2019, 01:27 PM
#108
Advanced
Thread Starter
More!
Well, i guess I have a bit of steering wheel fetish.

OMP 350mm deep dish

Momo Team 300

Momo Corse D35

Wall of fame. Including OEM wheel and Nardi classic wheel.
New refurbished Turbo Twist 2 with tires ready to be mounted.


Alibaba BT-radio ($20) Works great.

Recaro PP, now basement mounted..

Original seats. Wish they were sports seats.

Low is a lifestyle

Well, i guess I have a bit of steering wheel fetish.
OMP 350mm deep dish
Momo Team 300
Momo Corse D35
Wall of fame. Including OEM wheel and Nardi classic wheel.
New refurbished Turbo Twist 2 with tires ready to be mounted.
Alibaba BT-radio ($20) Works great.
Recaro PP, now basement mounted..
Original seats. Wish they were sports seats.
Low is a lifestyle
 07-31-2019, 09:57 AM
#110
Advanced
Thread Starter
Sorry, they are staying. 
New wheels are on.


As i previously said, 18x8 ET50 with 225/40-18 and 11x18 ET 45 with 5mm spacer and 255/35-18 Toyo Proxes Sport
I'm happy with how the front sits. No rubbing, except on the inner fender liner with full lock.
Rear needs to go down maybe 25mm, will se how it is with 2 people on board.
Front is set at -1,3 degrees camber, rear is at -2,3 degrees.
New wheels are on.
As i previously said, 18x8 ET50 with 225/40-18 and 11x18 ET 45 with 5mm spacer and 255/35-18 Toyo Proxes Sport
I'm happy with how the front sits. No rubbing, except on the inner fender liner with full lock.
Rear needs to go down maybe 25mm, will se how it is with 2 people on board.
Front is set at -1,3 degrees camber, rear is at -2,3 degrees.
The following users liked this post:
Garydose (04-10-2020)
08-02-2019, 02:24 PM
#111
This is beautiful. Amazing!
08-22-2019, 05:25 AM
#112
Advanced
Thread Starter
Some new photos.
Lowered the rear by about half an inch, and rolled the fenders slightly. No rubbing. May need to go a bit lower. We'll see.
Seats are back in. With new recaro side mounts instead of my custom ones. Also added a snapoff boss for the steering wheel. Fun!
For my next adventure, I'm getting my AC pressuretested for leaks. Likely some leaks. We'll see.

Rolling, rolling rolling..

Inside lip looks good!

Stone chips don't slow you down.

Engine bay looking good. + a little homage to club Mid Night.

New side mounts.

yellow 4000k LED H4 and H3 bulbs.

Happy with the crosshairs.

Phat ***

Lowered the rear by about half an inch, and rolled the fenders slightly. No rubbing. May need to go a bit lower. We'll see.
Seats are back in. With new recaro side mounts instead of my custom ones. Also added a snapoff boss for the steering wheel. Fun!
For my next adventure, I'm getting my AC pressuretested for leaks. Likely some leaks. We'll see.
Rolling, rolling rolling..
Inside lip looks good!
Stone chips don't slow you down.
Engine bay looking good. + a little homage to club Mid Night.
New side mounts.
yellow 4000k LED H4 and H3 bulbs.
Happy with the crosshairs.
Phat ***
04-07-2020, 09:36 AM
#113
Advanced
Thread Starter
New season, new wheels.
Well, I still have the old girl. Found some affordable rims with my desired 18x11 rear with. So I sold the Turbo Twist 2s, and bought these.
Also refurbished a RUF front lip and mounted that as well.


They are by ESM Wheels, in 18x8.5 ET45 and 18x11 ET50, and I'm running 10mm spacers at rear.
Next up is a rear spoiler mod.
Well, I still have the old girl. Found some affordable rims with my desired 18x11 rear with. So I sold the Turbo Twist 2s, and bought these.
Also refurbished a RUF front lip and mounted that as well.
They are by ESM Wheels, in 18x8.5 ET45 and 18x11 ET50, and I'm running 10mm spacers at rear.
Next up is a rear spoiler mod.
The following users liked this post:
Garydose (04-10-2020)
04-09-2020, 06:01 PM
#114
Rennlist Member
Car looks great, need to figure out why your pics are flipped.
05-04-2020, 09:03 AM
#115
Advanced
Thread Starter
Thanks! It's for the australian audience
JK, had some issues with my gallery. I think I fixed it now.
As promised. I have fitted a wing.
But.. what do you do when none of the wings on the market appeals to you? Well. You make your own.
So i did a thing.
My original wing was cracked in 2 places, so it needed fixing anyway.
I never really liked the "basket handle" addon wing from Techart, so i made some changes.

One used but never mounted Techart wing.

Glued and bolted on.

Fitment was horrible, so I had to use clamps.

Here is the first (of many CAD) templates.

You see where this is going, right?

First cutout of the 4mm plexi rear panel

Trimming the edges. (while watching a CS match)

First layer of fiberglass

I used 2k plastic panel bond underneath the fiberglass for maximum adhesive

After many hours of sanding, the shape started looking good.

Now onto the front panel.

Another template

And the plexiglass cutout

I plastic welded the cracks, and filled the transition from the addon wing to the original wing

More sanding and drying in the sunshine

After many coats of plastic primer, filler and sanding.

Some drying outside the shed.

First coat of paint inside the shed.


Before i applied 2K clearcoat, i painted the louvres in structured black, and left it hanging.

And the final result. Will add more pics as soon as possible.

(Dusty car, freshly painted wing)


I'm not sure I like it when the wing is extended, but We'll see.
I've previously converted the wing to manual, operation, so I'll be running it with the down position anyway.
Kinda like the little duckbill look, or a taller singer-style wing, if you like.
JK, had some issues with my gallery. I think I fixed it now.
As promised. I have fitted a wing.
But.. what do you do when none of the wings on the market appeals to you? Well. You make your own.
So i did a thing.
My original wing was cracked in 2 places, so it needed fixing anyway.
I never really liked the "basket handle" addon wing from Techart, so i made some changes.
One used but never mounted Techart wing.
Glued and bolted on.
Fitment was horrible, so I had to use clamps.
Here is the first (of many CAD) templates.
You see where this is going, right?
First cutout of the 4mm plexi rear panel
Trimming the edges. (while watching a CS match)
First layer of fiberglass
I used 2k plastic panel bond underneath the fiberglass for maximum adhesive
After many hours of sanding, the shape started looking good.
Now onto the front panel.
Another template
And the plexiglass cutout
I plastic welded the cracks, and filled the transition from the addon wing to the original wing
More sanding and drying in the sunshine
After many coats of plastic primer, filler and sanding.
Some drying outside the shed.
First coat of paint inside the shed.
Before i applied 2K clearcoat, i painted the louvres in structured black, and left it hanging.
And the final result. Will add more pics as soon as possible.
(Dusty car, freshly painted wing)
I'm not sure I like it when the wing is extended, but We'll see.
I've previously converted the wing to manual, operation, so I'll be running it with the down position anyway.
Kinda like the little duckbill look, or a taller singer-style wing, if you like.
The following users liked this post:
911Jetta (05-04-2020)
05-04-2020, 02:22 PM
#116
Rennlist Member
