
A photo journal of my recently completed big project
 04-09-2012, 09:26 PM
#1
Nordschleife Master
Thread Starter

Alright guys, this is gonna be a long thread w/ lots of pics. I posted this on some other non-Porsche automotive forums, so please excuse if the captions might be a bit too common knowledge for this forum.
Racing on Saturday
Video of my best run and other bloopers
I actually did pretty decent for me. No spinouts, felt comfortable w/ the car. Maybe i'm learning to drive it.
So after a nice Saturday autocrossing in early January, I back it into the garage and its straight to tearing it down on Sunday.
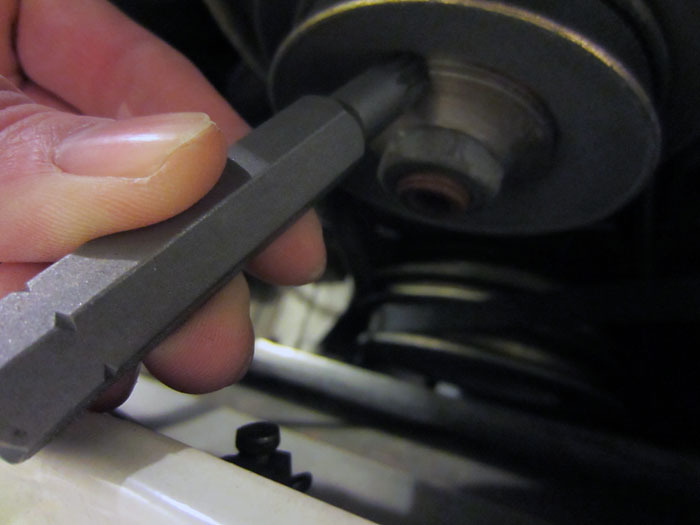
Triple square bit for the alternator shaft is too long
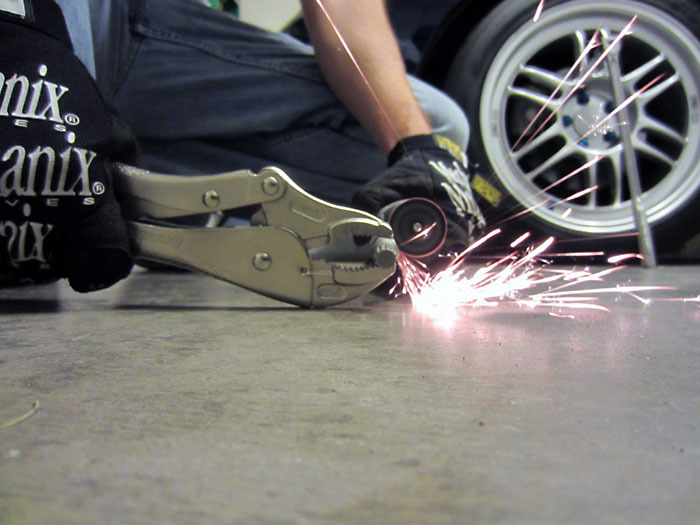
Nothing the Dremel and a cutoff wheel can't fix. I know, I need a bench vise.
All good now as far as the bit is concerned.
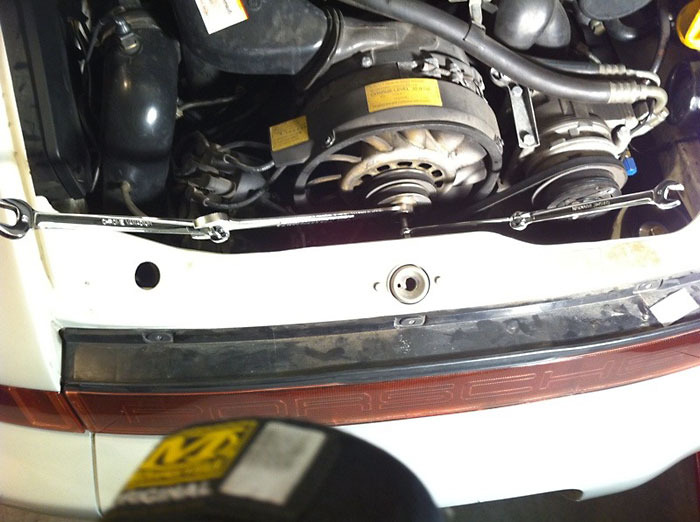
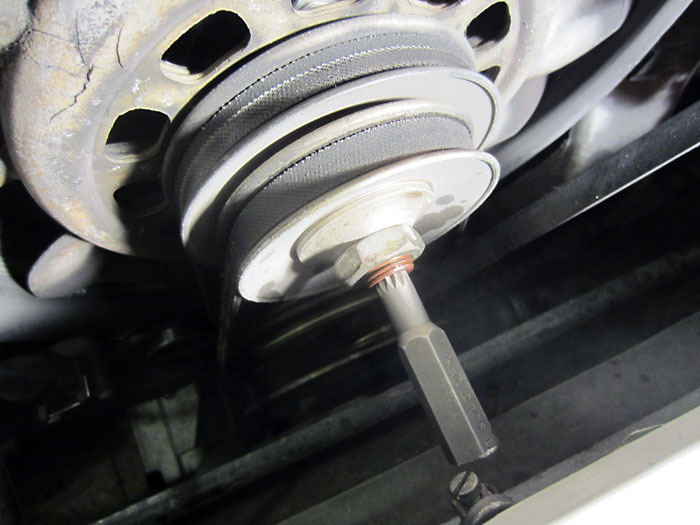
Tight 24mm nut is tight, so I stack some wrenches, my favorite garage cheater trick.
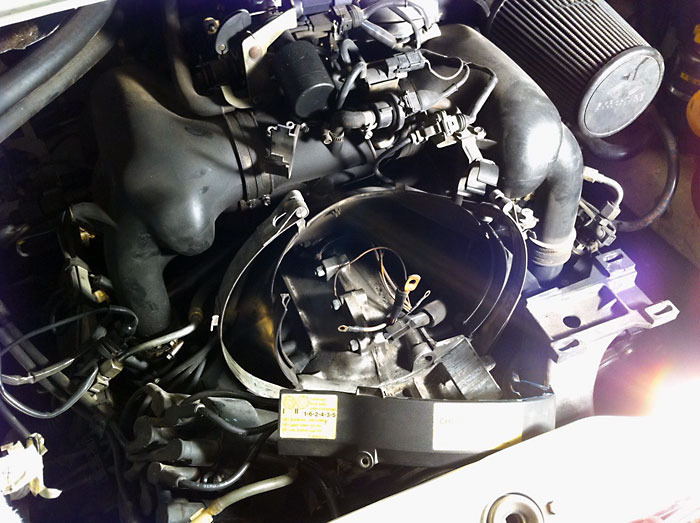
Got compressor off to the side and some other parts removed, so now I have the whole alternator/cooling fan assembly out of the car.
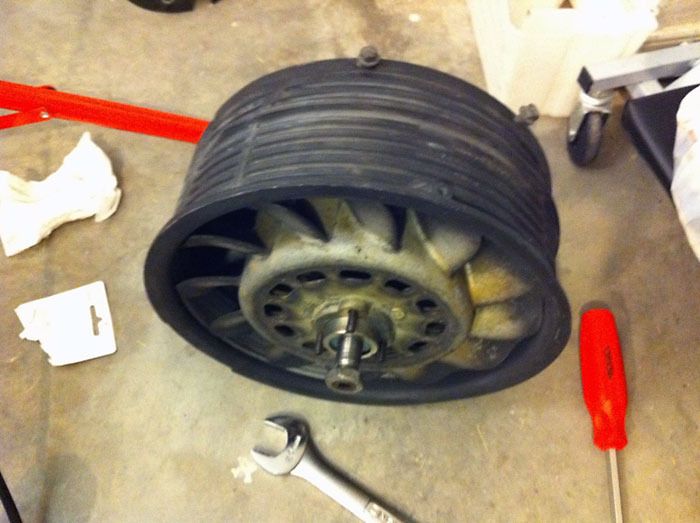
Alternator/cooling fan assembly
Breaking it down
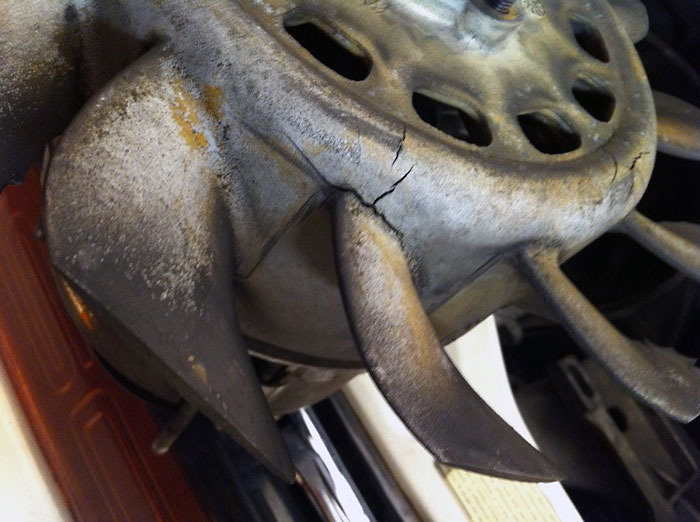
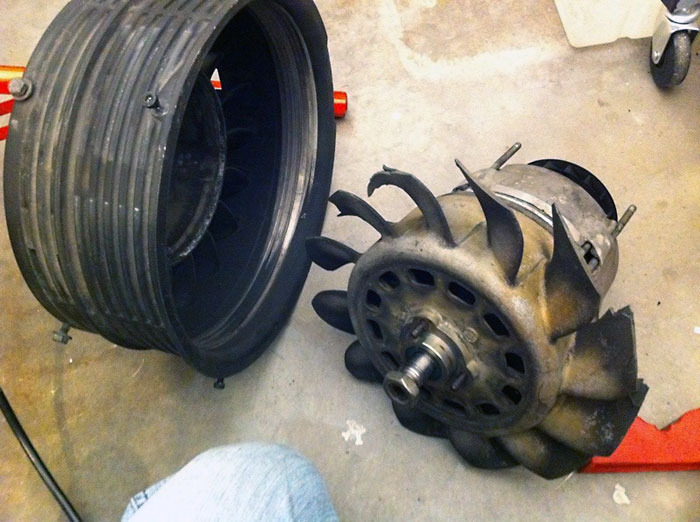
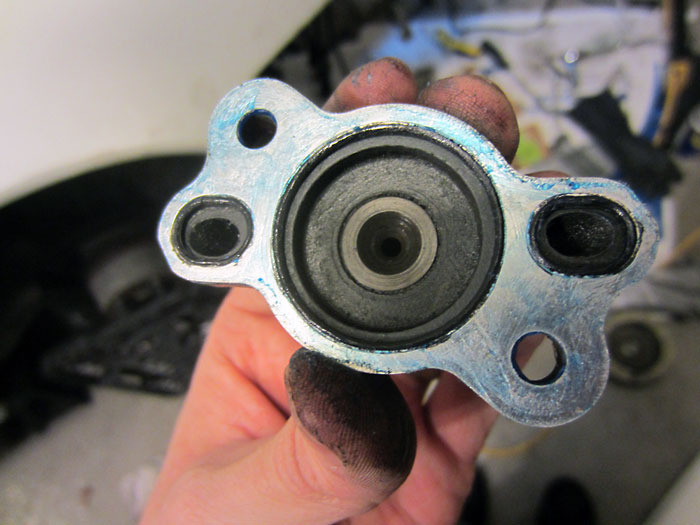
This was the reason for this part of the teardown.
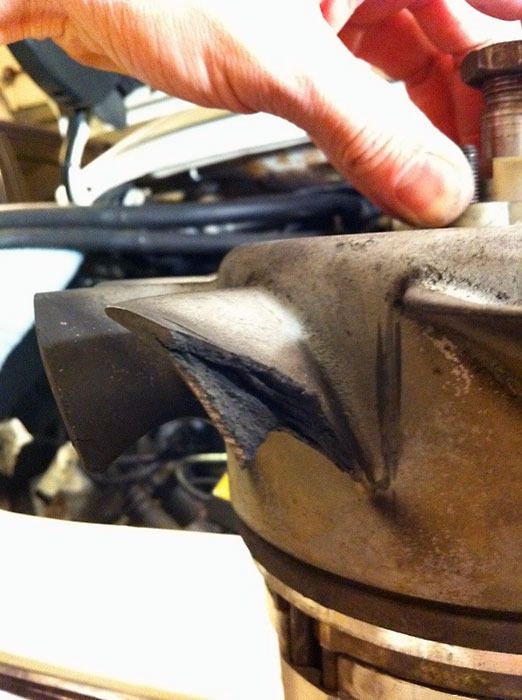
I've read about these fans actually failing and throwing blades, tearing up stuff in the engine compartment.
These fans are magnesium and they start to breakdown and delaminate. Perhaps the fan bearing or alternator had failed in the past and caused the fan to contact the housing.
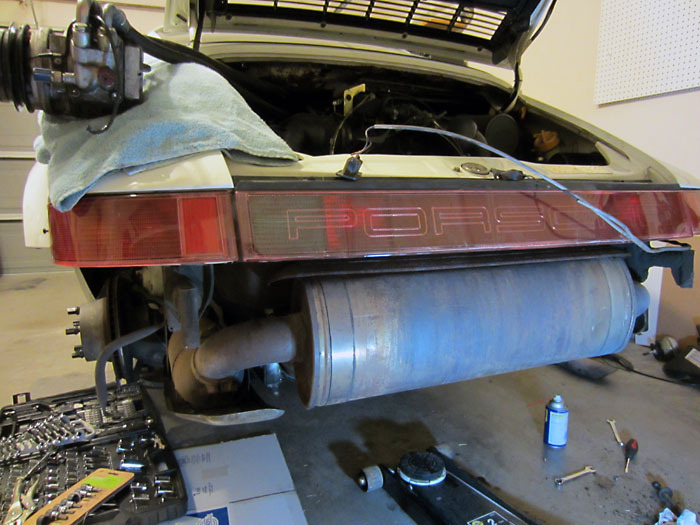
Took off the rear bumper cover and impact beam.
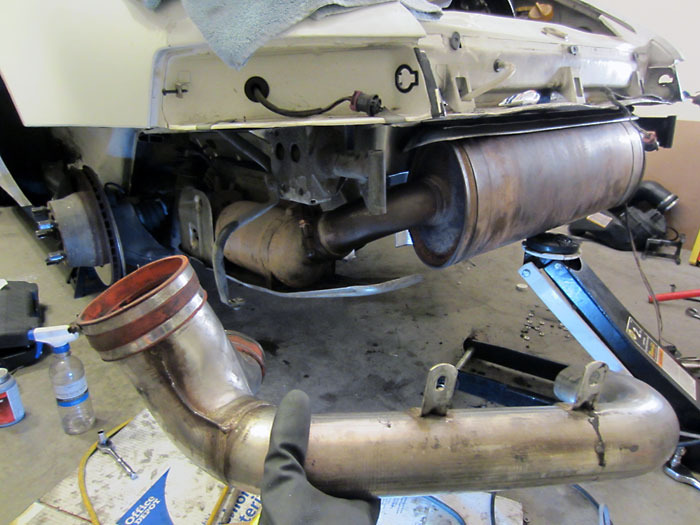
Primary exhaust removed.
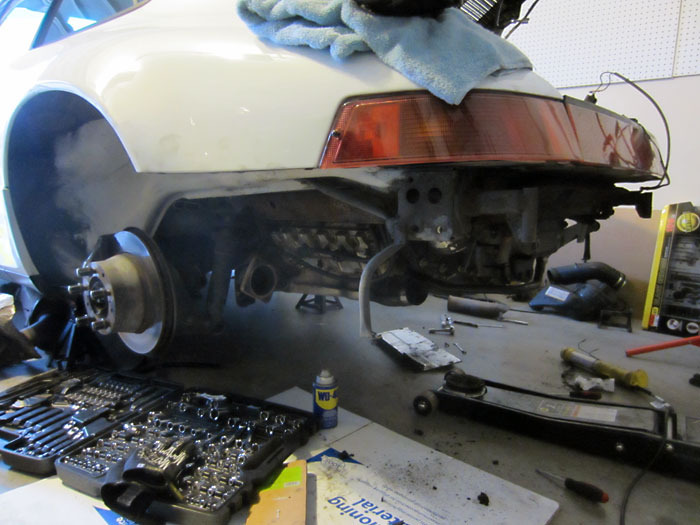
Cat removed and lower shields removed
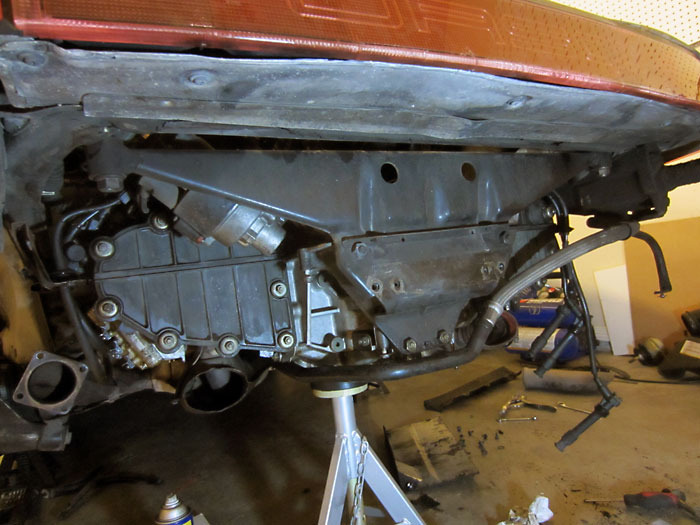
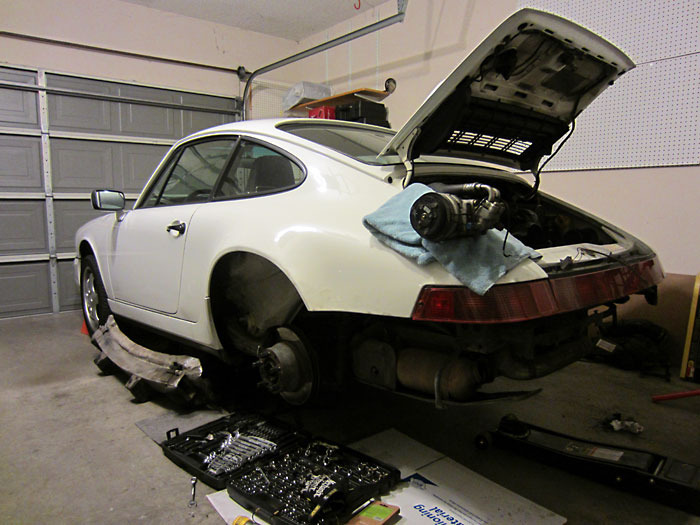
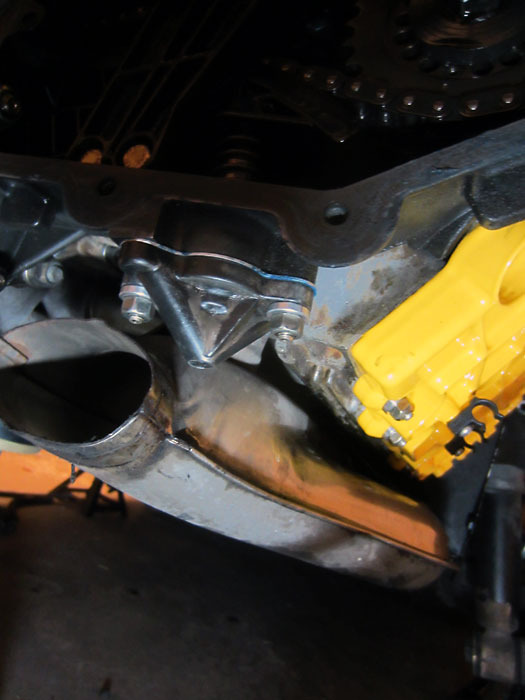
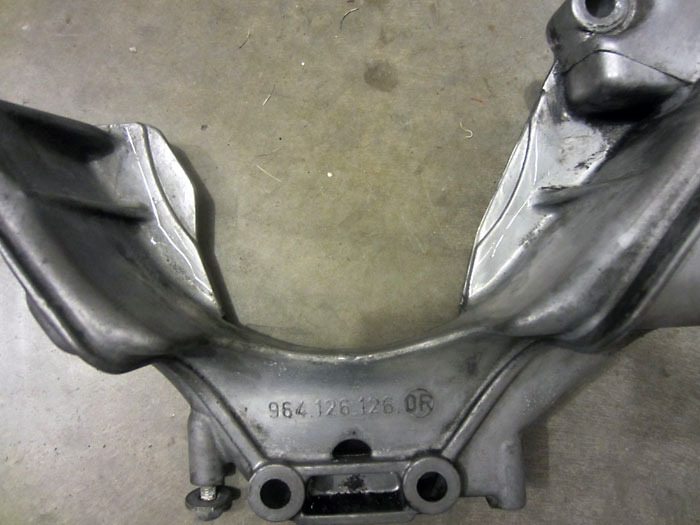
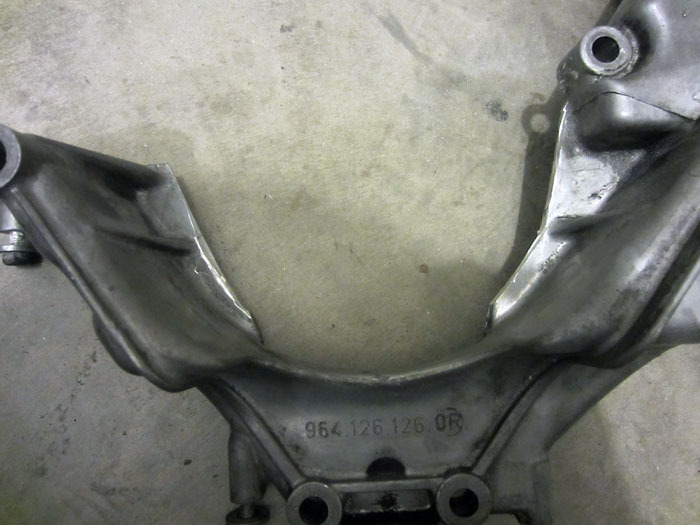
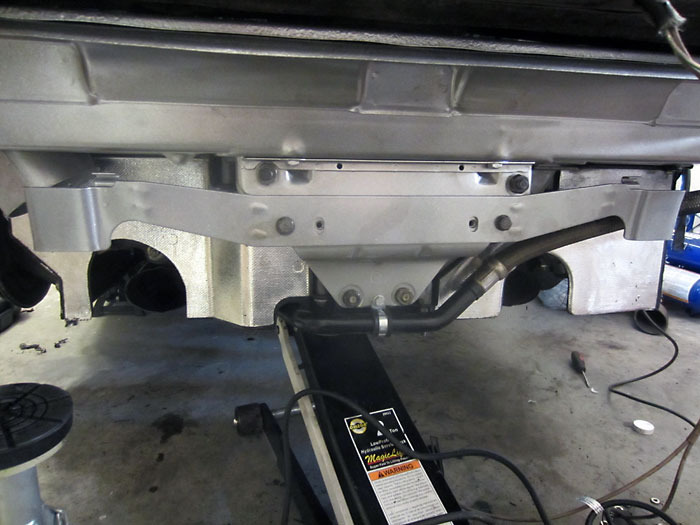
Rear engine tin removed, allowing access to the engine carrier bracket, another point of attention for my teardown.

Supported the engine w/ a jackstand and removed the engine carrier.
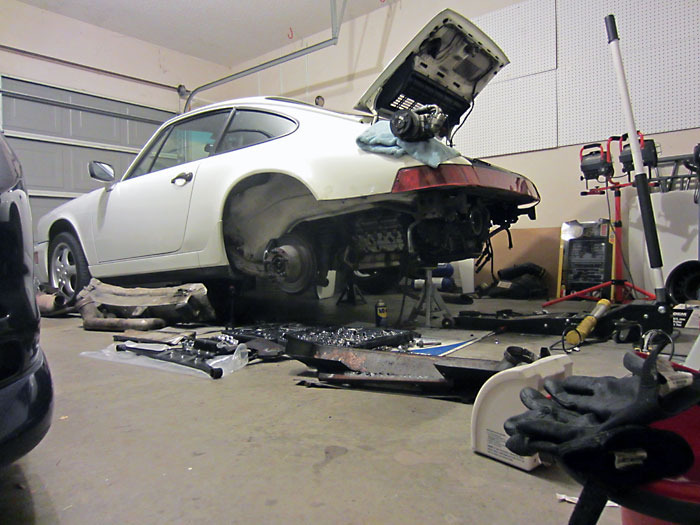
The car is looking pretty torn up now.
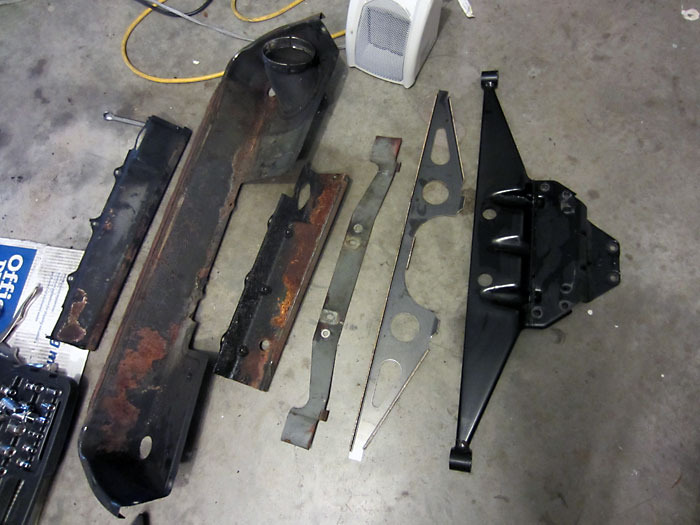
Engine tin, exhaust bracket, Rennline engine carrier reinforcement piece (not installed yet), and the OEM engine carrier, all off the car.
Racing on Saturday
Video of my best run and other bloopers
I actually did pretty decent for me. No spinouts, felt comfortable w/ the car. Maybe i'm learning to drive it.
So after a nice Saturday autocrossing in early January, I back it into the garage and its straight to tearing it down on Sunday.
Triple square bit for the alternator shaft is too long
Nothing the Dremel and a cutoff wheel can't fix. I know, I need a bench vise.
All good now as far as the bit is concerned.
Tight 24mm nut is tight, so I stack some wrenches, my favorite garage cheater trick.
Got compressor off to the side and some other parts removed, so now I have the whole alternator/cooling fan assembly out of the car.
Alternator/cooling fan assembly
Breaking it down
This was the reason for this part of the teardown.
I've read about these fans actually failing and throwing blades, tearing up stuff in the engine compartment.
These fans are magnesium and they start to breakdown and delaminate. Perhaps the fan bearing or alternator had failed in the past and caused the fan to contact the housing.
Took off the rear bumper cover and impact beam.
Primary exhaust removed.
Cat removed and lower shields removed
Rear engine tin removed, allowing access to the engine carrier bracket, another point of attention for my teardown.
Supported the engine w/ a jackstand and removed the engine carrier.
The car is looking pretty torn up now.
Engine tin, exhaust bracket, Rennline engine carrier reinforcement piece (not installed yet), and the OEM engine carrier, all off the car.
 04-09-2012, 09:28 PM
#2
Nordschleife Master
Thread Starter
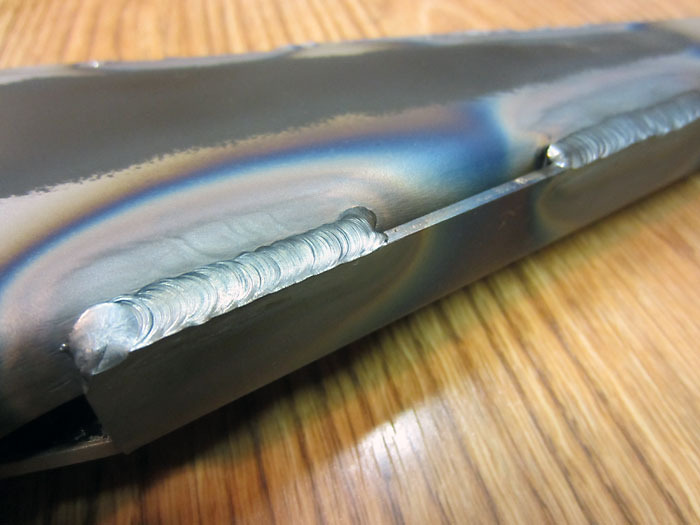
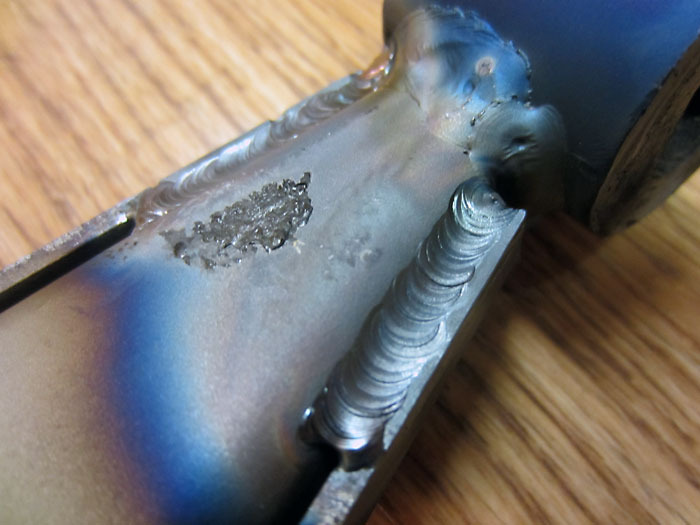
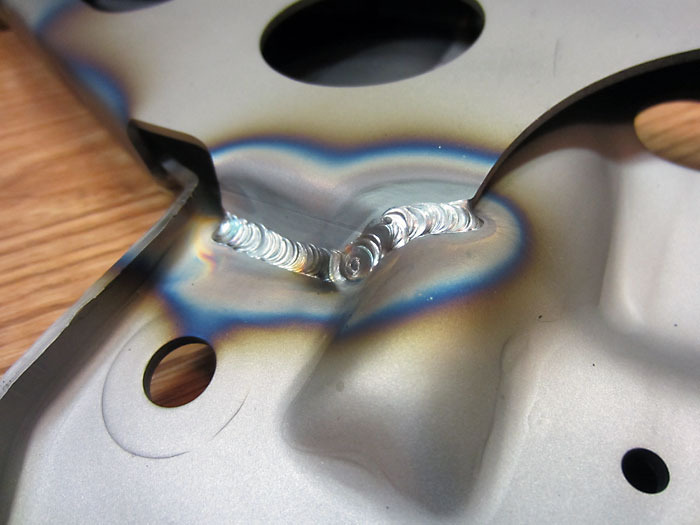
So now I hit up Craigslist and a great welder for a really reasonable price. The guy uses TIG and turned the part around in a couple of days. PM me if you are in DFW and want his contact info.
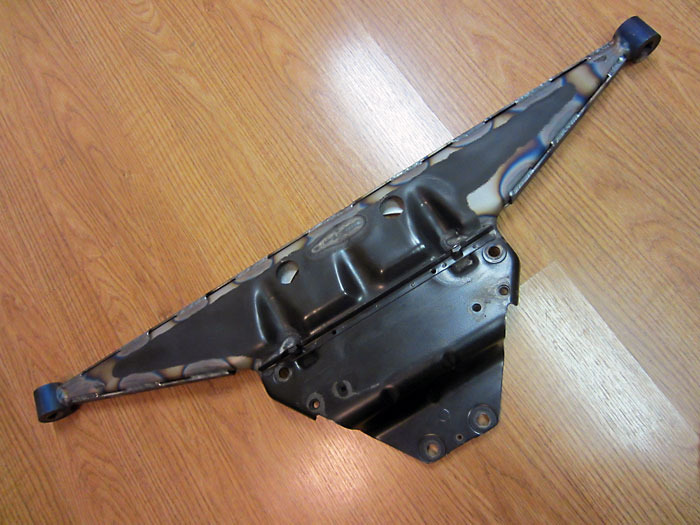
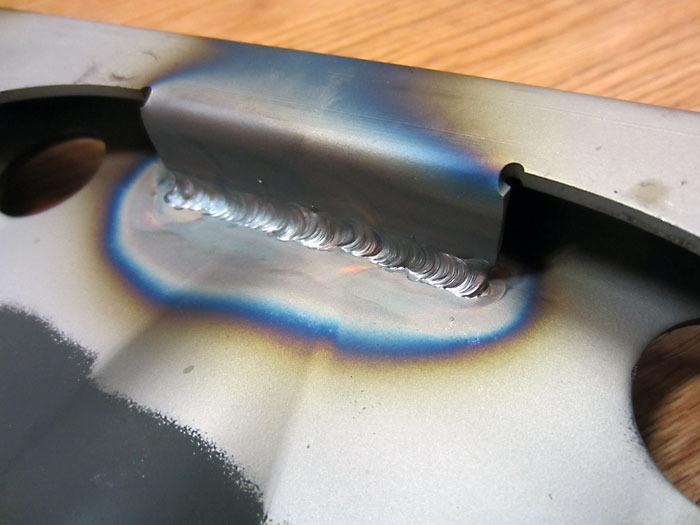
Got the Rennline piece welded to the OEM engine carrier bracket.
The reason for this modification is the OEM bracket is somewhat weak, and when you upgrade the motor mounts (I upgraded to semi-solid type mounts) and you start to drive the car hard it has a tendency to bend and sometimes fail, basically causing the motor to partially fall out the bottom of the car. Not a good look, so I decided to proactively do this modification.

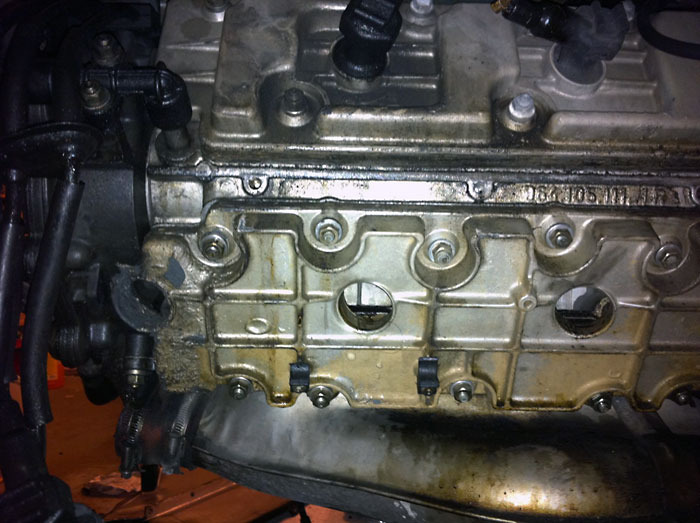
Since the car is all apart, I decided to turn my attention to the valve covers. Like the cooling fan, these parts are magnesium and the factory coating has begun to wear off, meaning the magnesium had started to fail.

Pretty bad looking.
The aftermarket sells machined aluminum replacements for $300/pair (car uses a lower and upper pair), but that wasn't in the budget.
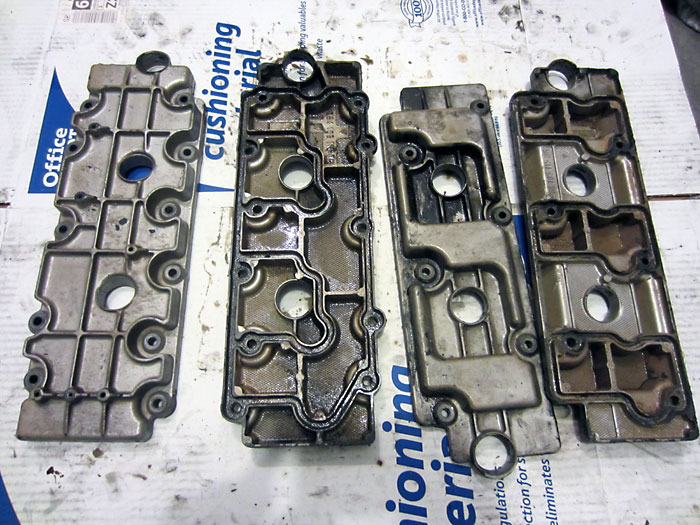
I sourced some better condition used lower valve covers for a good price. Thank you Jeff Curtis!
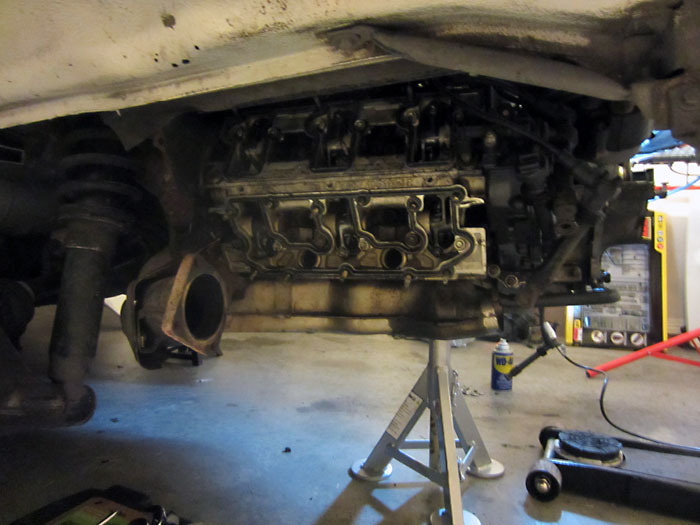
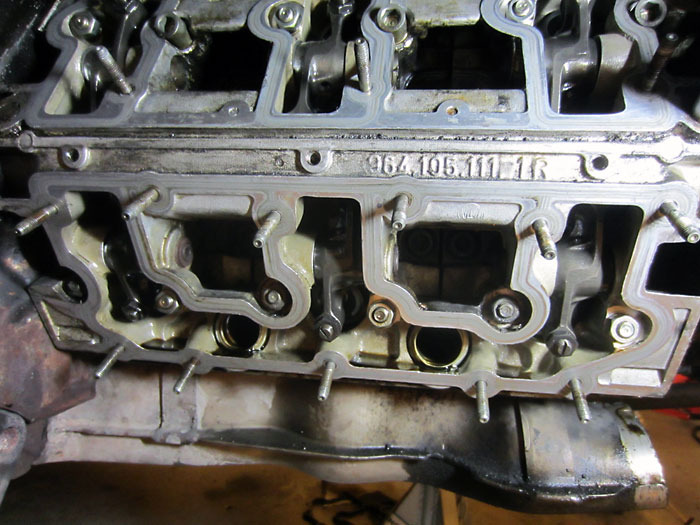
Valve covers removed, now I have access to the valve train! These cars require the valves to be adjusted ever 12k miles. I'm not sure when the last time my car was done, so why not do it now.
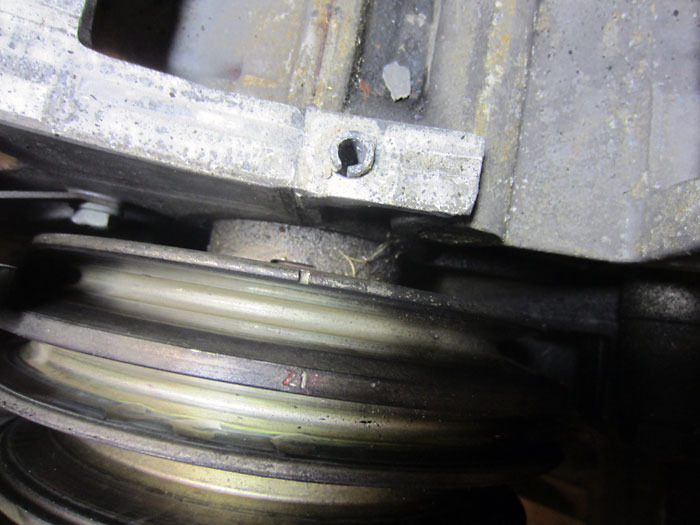
Found Top Dead Center on the crank
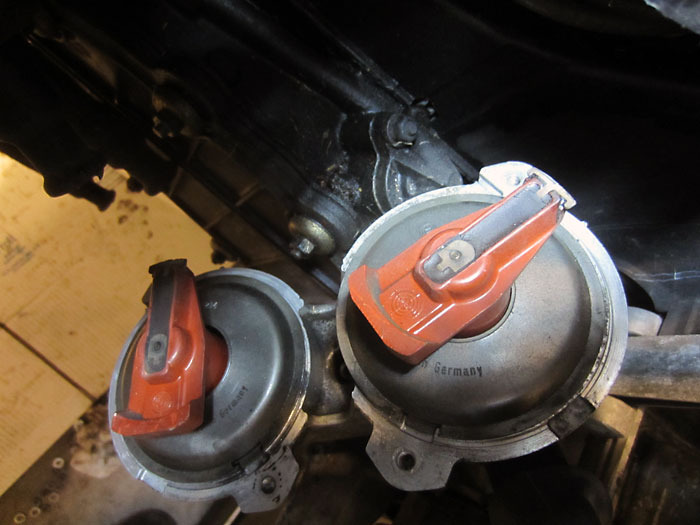
Found Top Dead Center on the distributors, plus my distributor belt (2nd rotor is belt driven) was intact since both rotors spun together.
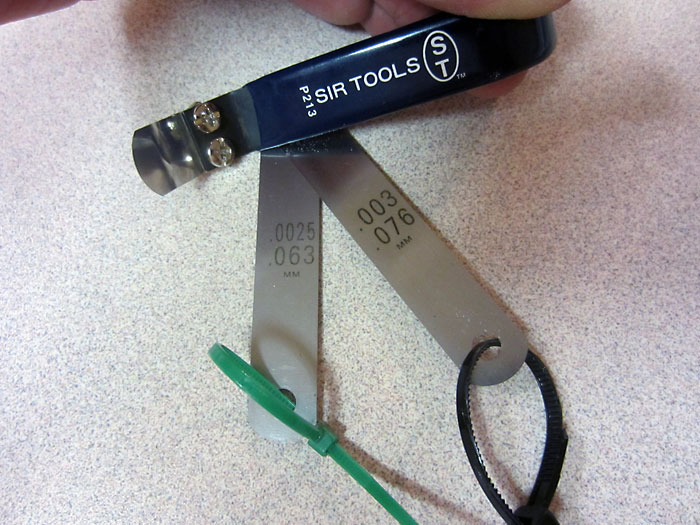
Tools of the trade. .04" feeler gauge w/ special handle, .0025" feeler blade and .0030" feeler blade.
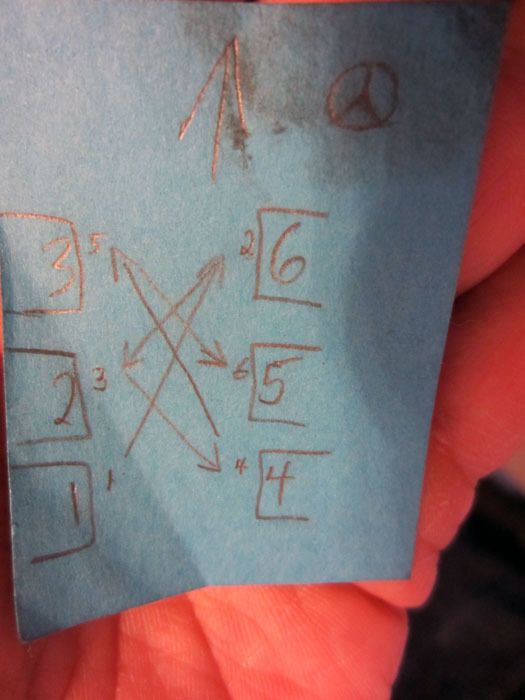
Cylinder firing order diagram I made for myself
The feeler gauge w/ the funky handle is used to measure the valve clearance the traditional method. This involves sticking the feeler between the valve and the tappet. This method involves quite a bit of judgment on the "feel" of the gauge in the gap. I tried it, but didn't feel confident about my accuracy of "feel"
http://www.pelicanparts.com/techarti...lve_adjust.htm

The two individual feeler blades are used for the backside method of valve adjustment. This time, the clearance is measured between the cam lobe and the rocker arm. If the .0030" gauge (black ziptie) fits, the gap is too large (no go). If the .0025" gauge (green ziptie) fits, but the black doesn't, then the gap is right (go).
I used the backside method after trying the traditional method on a couple of cylinders.
http://www.pelicanparts.com/techarti...alveadjust.htm
Cleaned up the area after adjusting the valves,
Finally, after much waiting on Signal Yellow pigment, got the parts back from the powder coating shop.
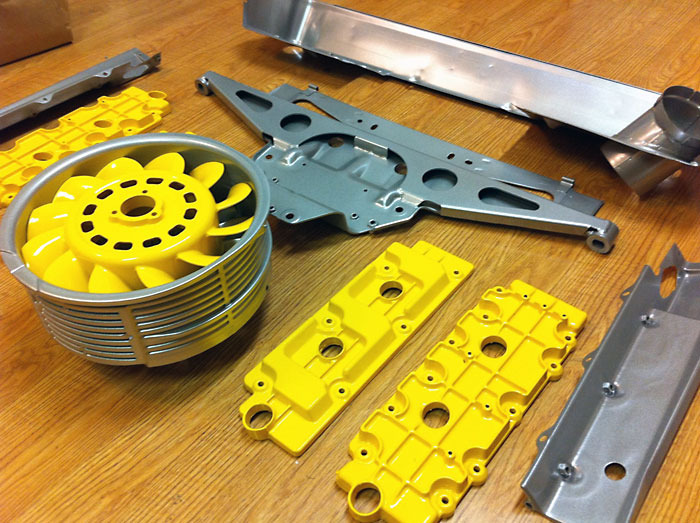
I sourced a better condition used cooling fan and had it powder coated.
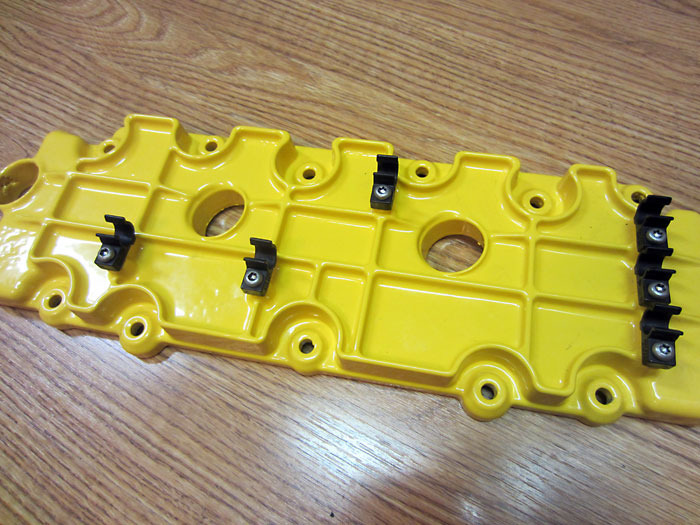
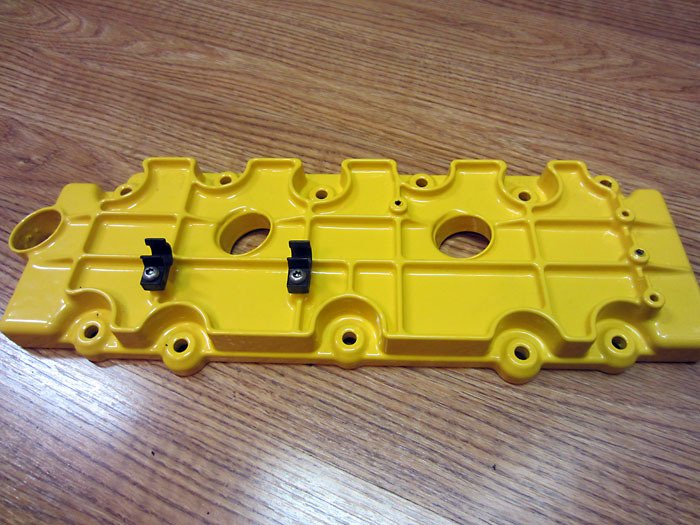
New ignition wire clips on the lower valve covers
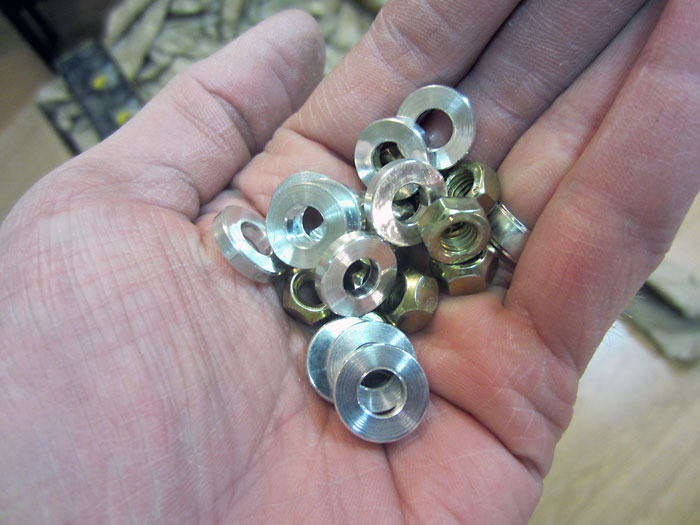
New valve cover hardware
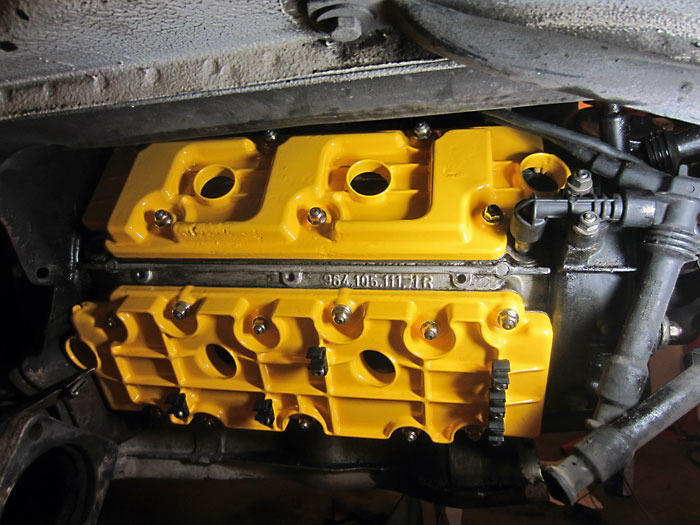
Valve covers reinstalled
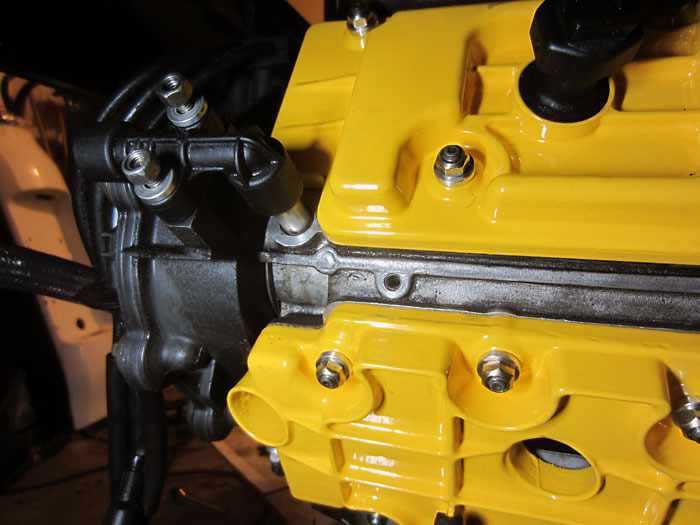
Since I had it all apart, I wanted to do the timing chain cover gaskets too.
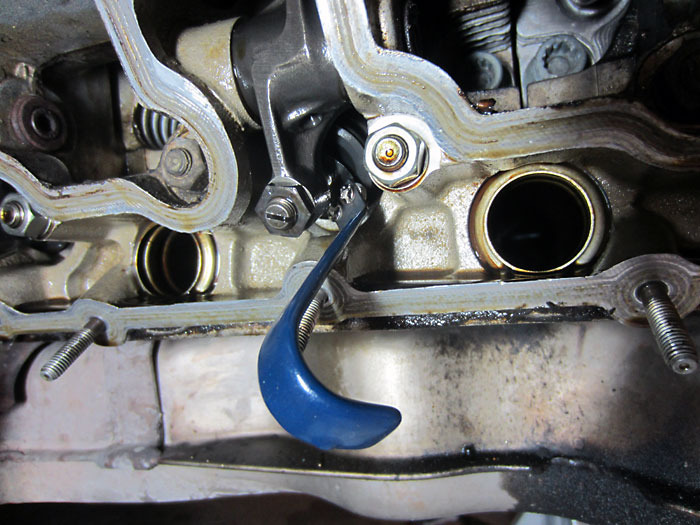
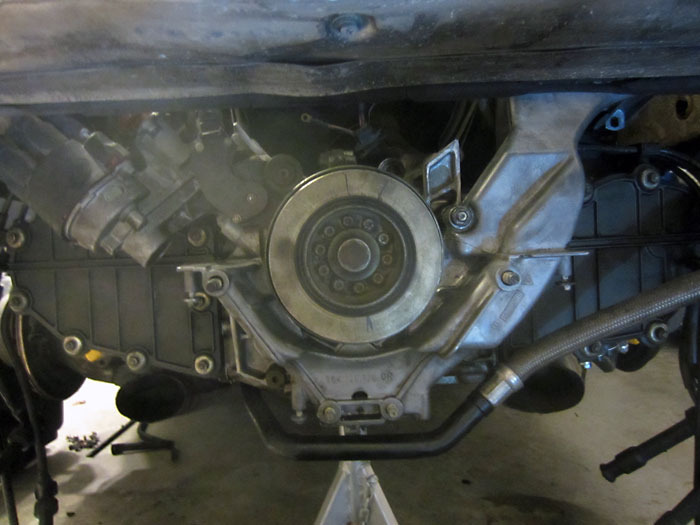
As you can sorta see in this pic, the right side cover is hiding behind a big bracket.
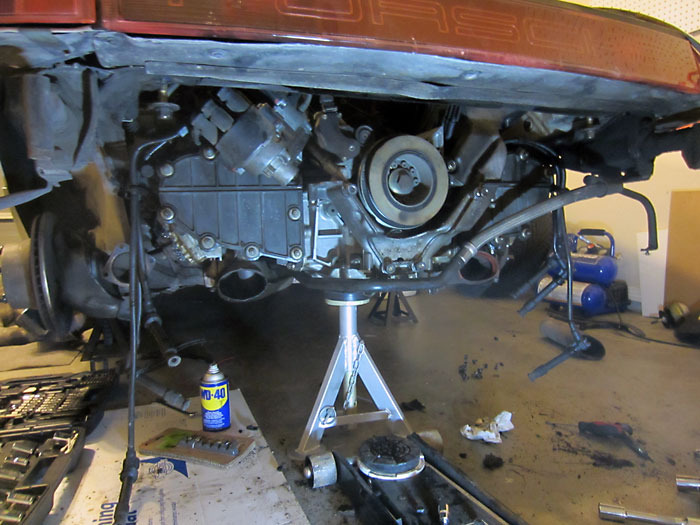
Unfortunately, the smart guys at Porsche engineered the bracket so that it cannot be removed w/o removing the crank pulley/harmonic balancer.
After a trip to Northern Tools, I returned w/ a healthy Dewalt electric impact and got the pulley and bracket removed.
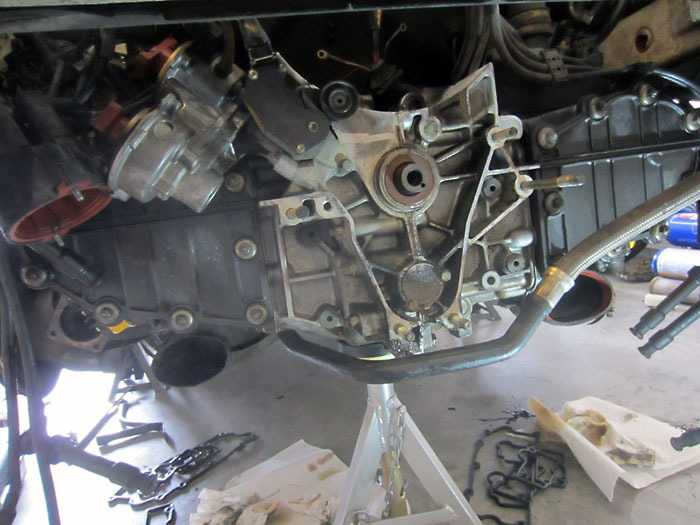
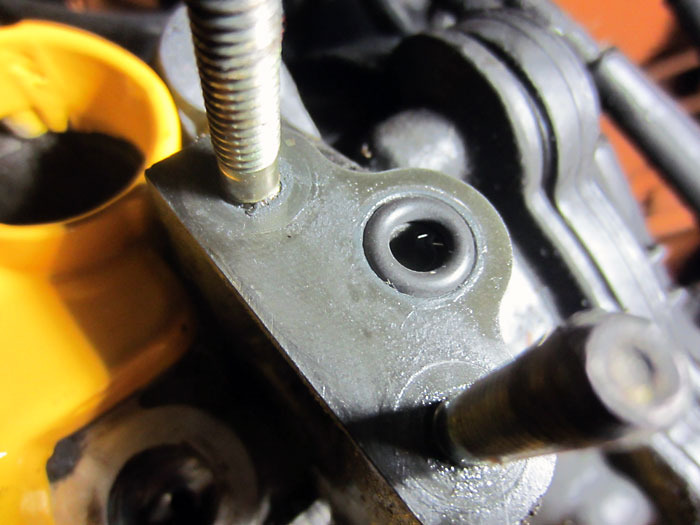
Finally, access to the timing chain covers
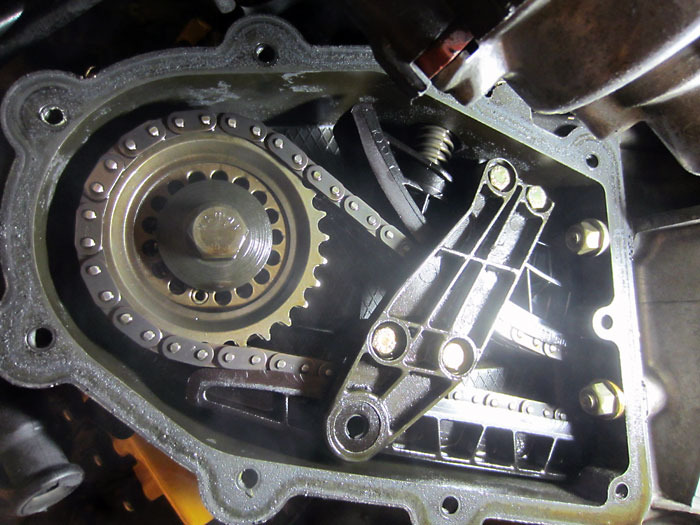
Lower right corner, obviously the gasket had been letting oil through

Old gasket
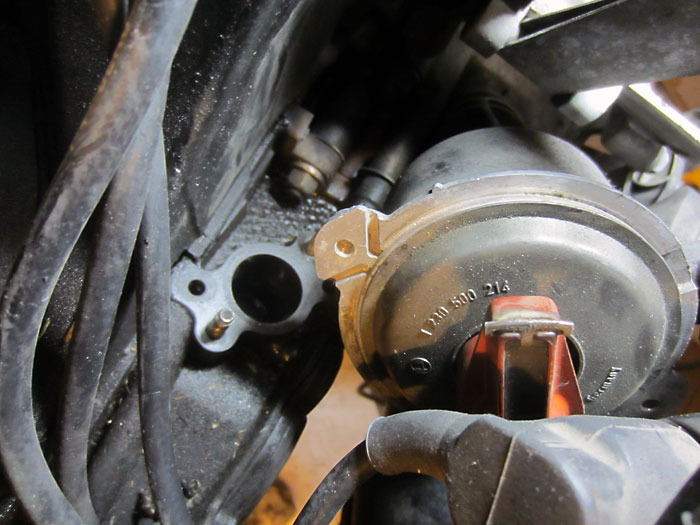
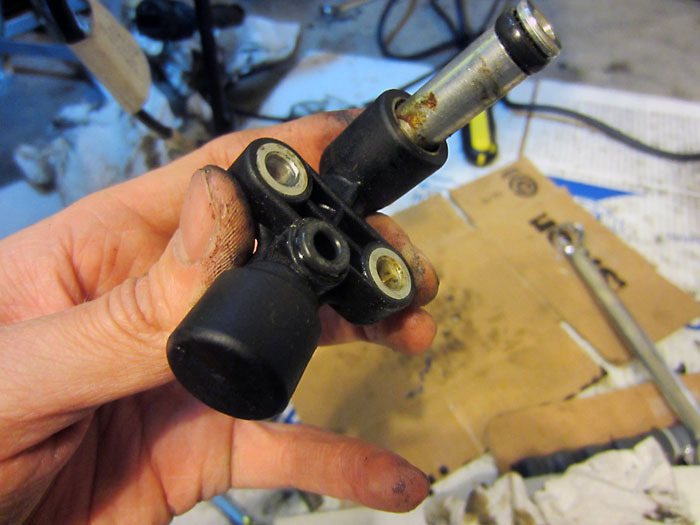
I also decided to replace the gasket for the timing chain tensioners. This is the left side tensioner removed
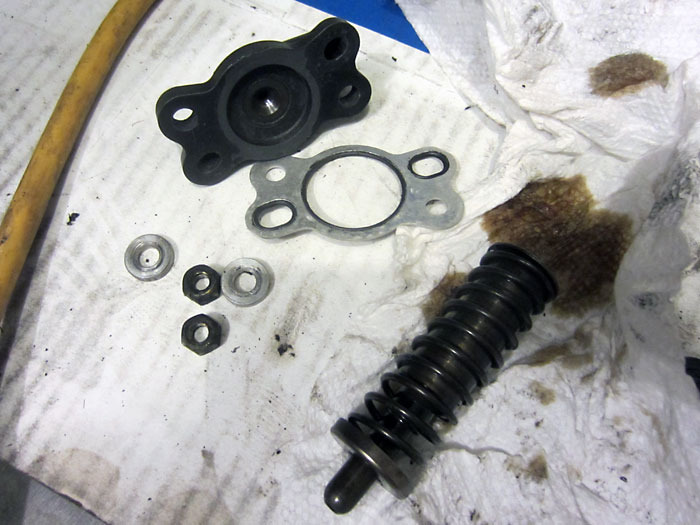
Tensioner components
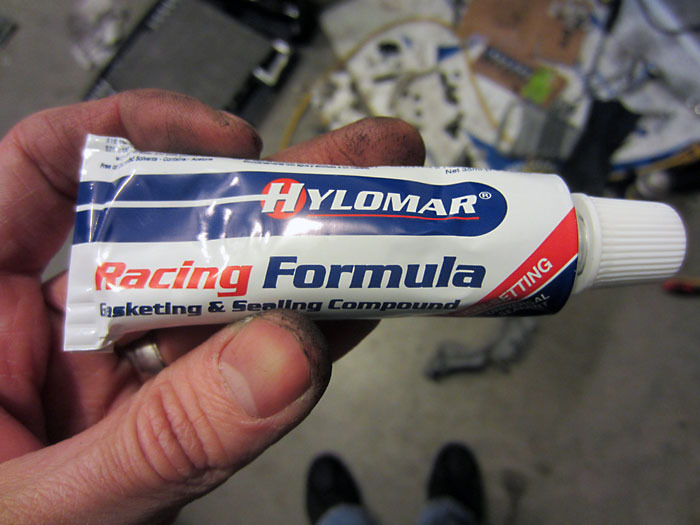
Got some Hylomar
Very light coat of Hylomar on the new gasket for the tensioners
Right side tensioner reinstalled
Next my attention switched to the oil crossovers. Left side crossover

Crossover removed
Crossover
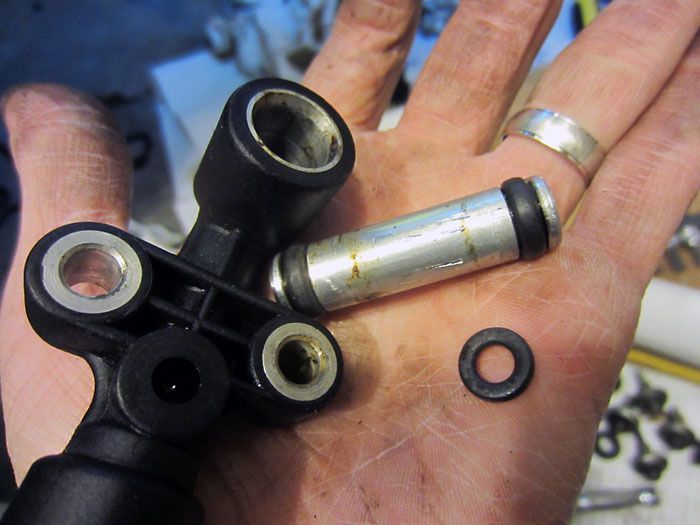
Gotta replace all these O-rings
New O-ring
Reinstalling right side crossover
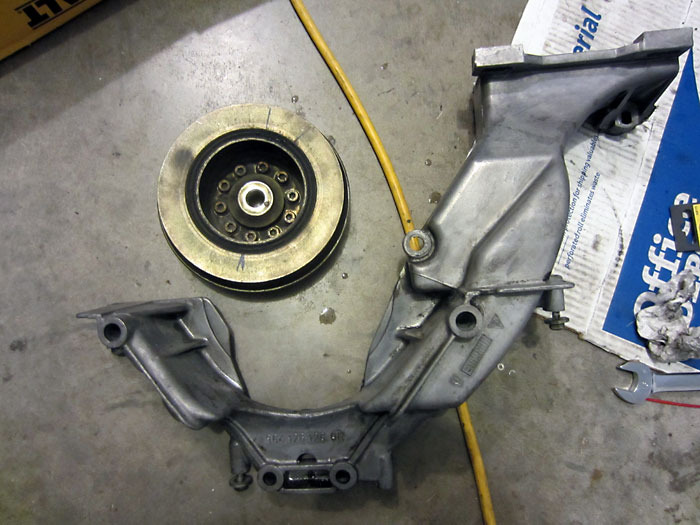
Remember that A/C compressor bracket that needed the crank pulley removed to come out?
Dremel and a cutoff wheel and now I can remove it w/o removing the crank pulley.
I got the timing chain stuff done, reinstalled the bracket, and reinstalled the crank pulley
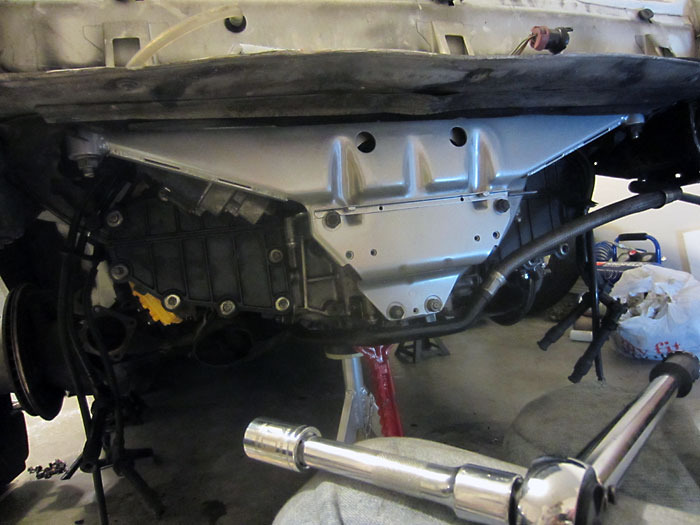
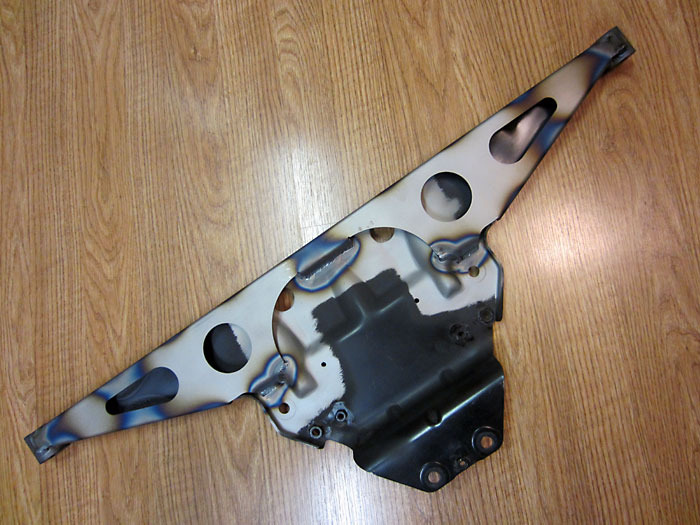
Reinforced and refinished engine carrier bracket goes back on
Engine tin goes back on and ignition wires are neatly routed onto their new clips
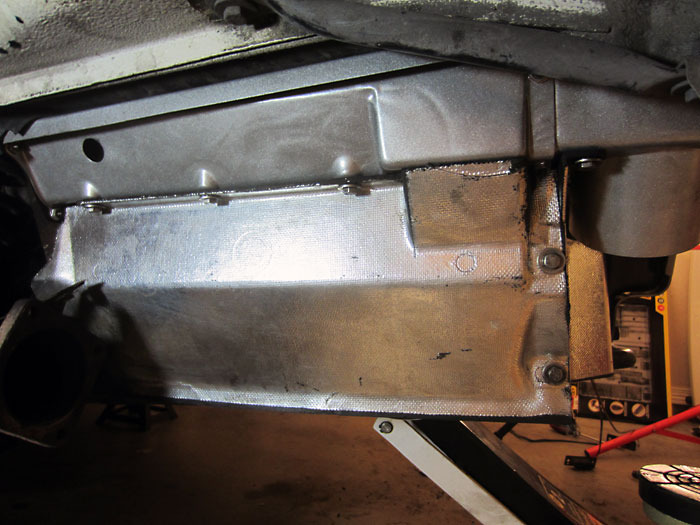
More heat shields means you can't see the pretty valve covers
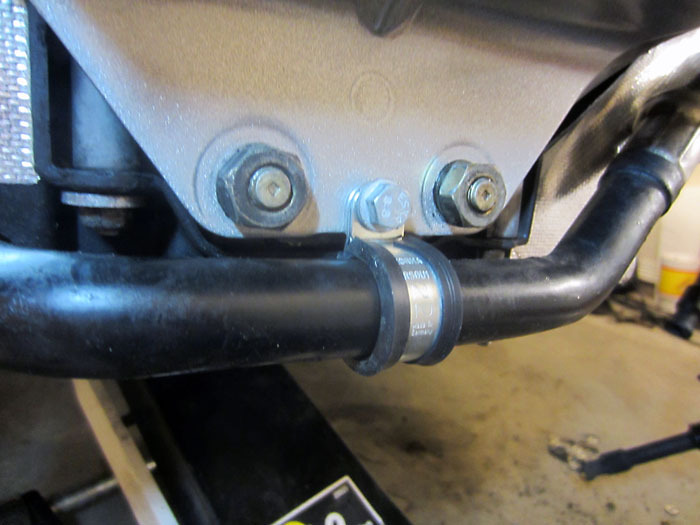
Replaced a missing oil line bracket
Got the Rennline piece welded to the OEM engine carrier bracket.
The reason for this modification is the OEM bracket is somewhat weak, and when you upgrade the motor mounts (I upgraded to semi-solid type mounts) and you start to drive the car hard it has a tendency to bend and sometimes fail, basically causing the motor to partially fall out the bottom of the car. Not a good look, so I decided to proactively do this modification.
Since the car is all apart, I decided to turn my attention to the valve covers. Like the cooling fan, these parts are magnesium and the factory coating has begun to wear off, meaning the magnesium had started to fail.
Pretty bad looking.
The aftermarket sells machined aluminum replacements for $300/pair (car uses a lower and upper pair), but that wasn't in the budget.
I sourced some better condition used lower valve covers for a good price. Thank you Jeff Curtis!
Valve covers removed, now I have access to the valve train! These cars require the valves to be adjusted ever 12k miles. I'm not sure when the last time my car was done, so why not do it now.
Found Top Dead Center on the crank
Found Top Dead Center on the distributors, plus my distributor belt (2nd rotor is belt driven) was intact since both rotors spun together.
Tools of the trade. .04" feeler gauge w/ special handle, .0025" feeler blade and .0030" feeler blade.
Cylinder firing order diagram I made for myself
The feeler gauge w/ the funky handle is used to measure the valve clearance the traditional method. This involves sticking the feeler between the valve and the tappet. This method involves quite a bit of judgment on the "feel" of the gauge in the gap. I tried it, but didn't feel confident about my accuracy of "feel"
http://www.pelicanparts.com/techarti...lve_adjust.htm
The two individual feeler blades are used for the backside method of valve adjustment. This time, the clearance is measured between the cam lobe and the rocker arm. If the .0030" gauge (black ziptie) fits, the gap is too large (no go). If the .0025" gauge (green ziptie) fits, but the black doesn't, then the gap is right (go).
I used the backside method after trying the traditional method on a couple of cylinders.
http://www.pelicanparts.com/techarti...alveadjust.htm
Cleaned up the area after adjusting the valves,
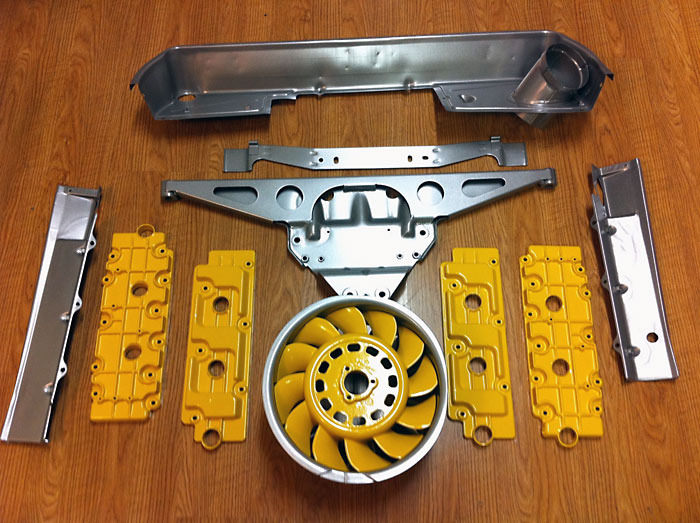
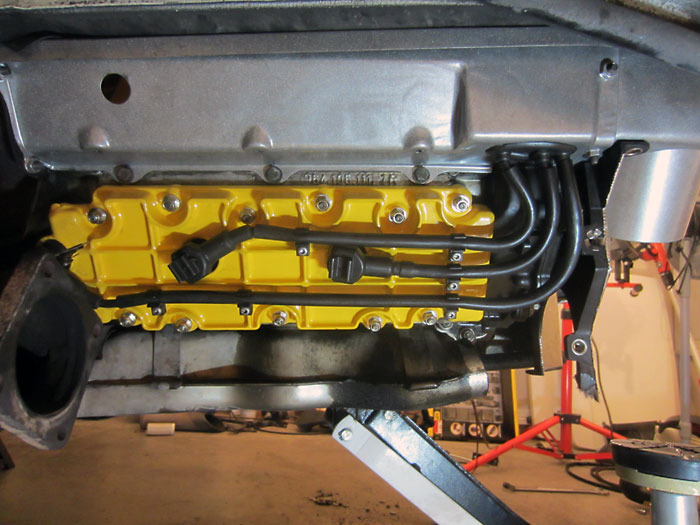
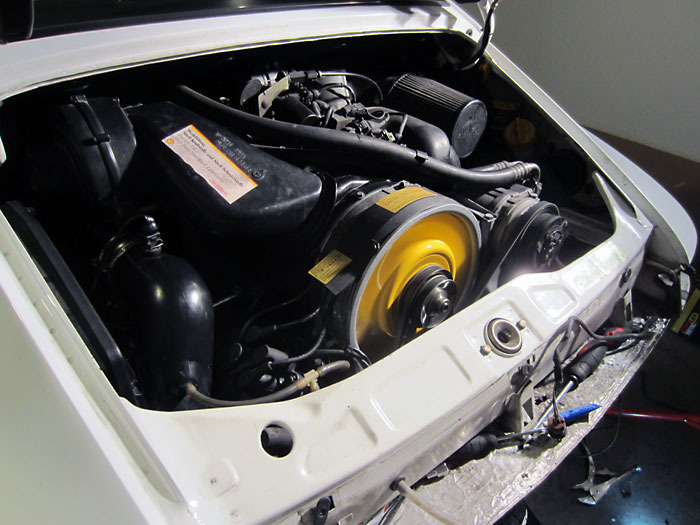
Finally, after much waiting on Signal Yellow pigment, got the parts back from the powder coating shop.
I sourced a better condition used cooling fan and had it powder coated.
New ignition wire clips on the lower valve covers
New valve cover hardware
Valve covers reinstalled
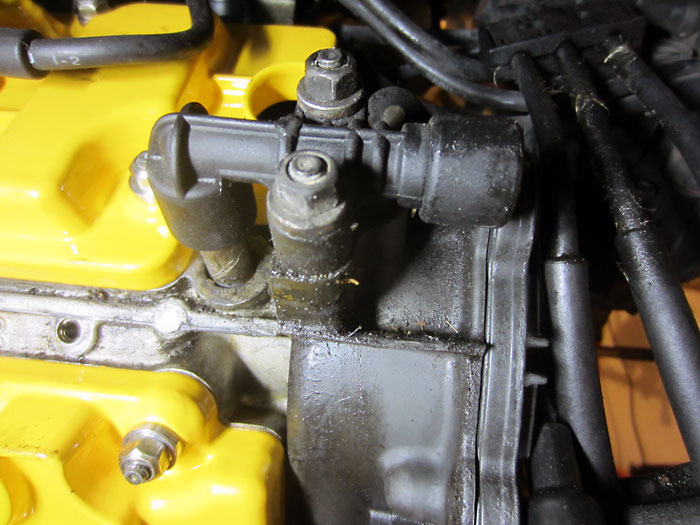
Since I had it all apart, I wanted to do the timing chain cover gaskets too.
As you can sorta see in this pic, the right side cover is hiding behind a big bracket.
Unfortunately, the smart guys at Porsche engineered the bracket so that it cannot be removed w/o removing the crank pulley/harmonic balancer.
After a trip to Northern Tools, I returned w/ a healthy Dewalt electric impact and got the pulley and bracket removed.
Finally, access to the timing chain covers
Lower right corner, obviously the gasket had been letting oil through
Old gasket
I also decided to replace the gasket for the timing chain tensioners. This is the left side tensioner removed
Tensioner components
Got some Hylomar
Very light coat of Hylomar on the new gasket for the tensioners
Right side tensioner reinstalled
Next my attention switched to the oil crossovers. Left side crossover
Crossover removed
Crossover
Gotta replace all these O-rings
New O-ring
Reinstalling right side crossover
Remember that A/C compressor bracket that needed the crank pulley removed to come out?
Dremel and a cutoff wheel and now I can remove it w/o removing the crank pulley.
I got the timing chain stuff done, reinstalled the bracket, and reinstalled the crank pulley
Reinforced and refinished engine carrier bracket goes back on
Engine tin goes back on and ignition wires are neatly routed onto their new clips
More heat shields means you can't see the pretty valve covers
Replaced a missing oil line bracket
04-09-2012, 09:29 PM
#3
Nordschleife Master
Thread Starter
Noticed that this line looked like it might be leaking some oil. In retrospect, I think the leak might not have been this line, merely dripping onto this are, but anyway, I replaced it.
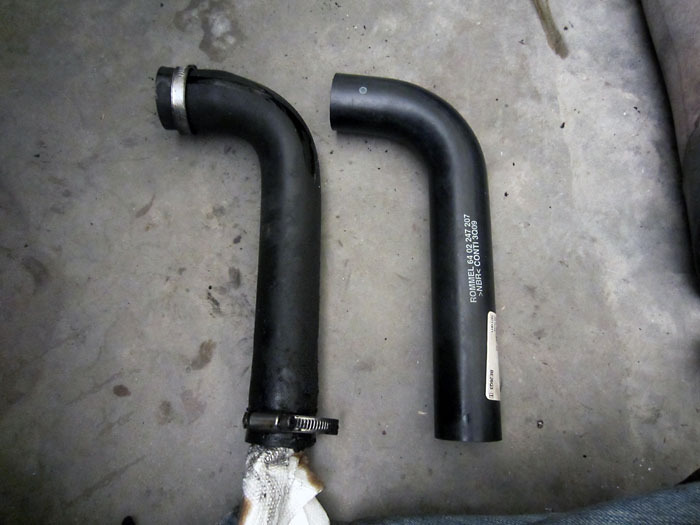
New oil line
New oil line installed
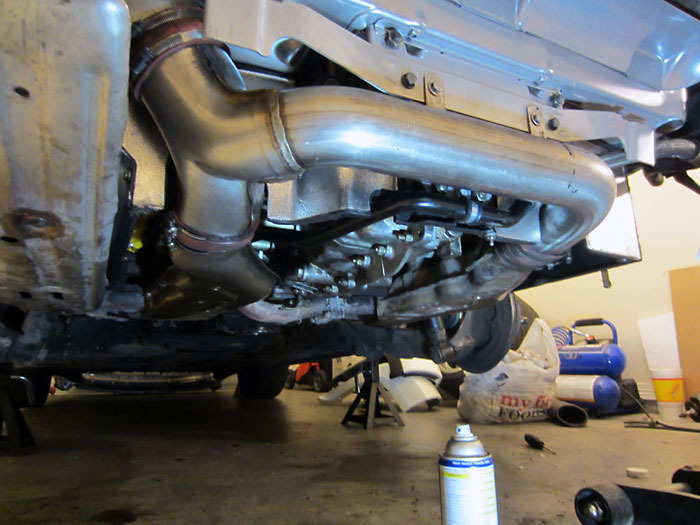
More heat shields and the exhaust bracket reinstalled.
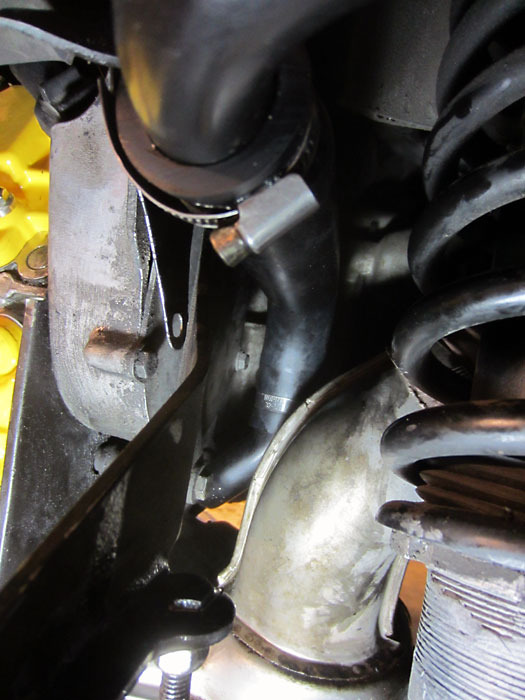
Primary exhaust reinstalled, but then realized I forgot to reinstall the heat tube for the heat exchanger!
Heat exchanger tube reinstalled after I removed the primary exhaust again.
Remember, the heater on these cars runs off of the heat of the exhaust.
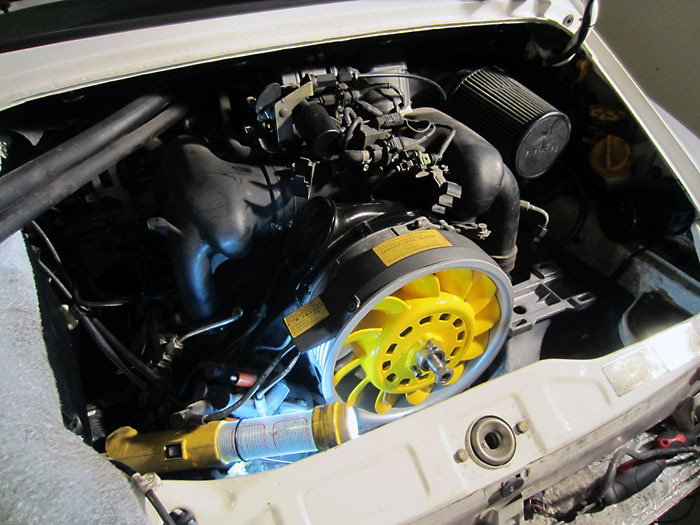
Reinstall the alternator/fan assembly. I ended up getting the alternator rebuilt and replaced the bearing on the fan too.
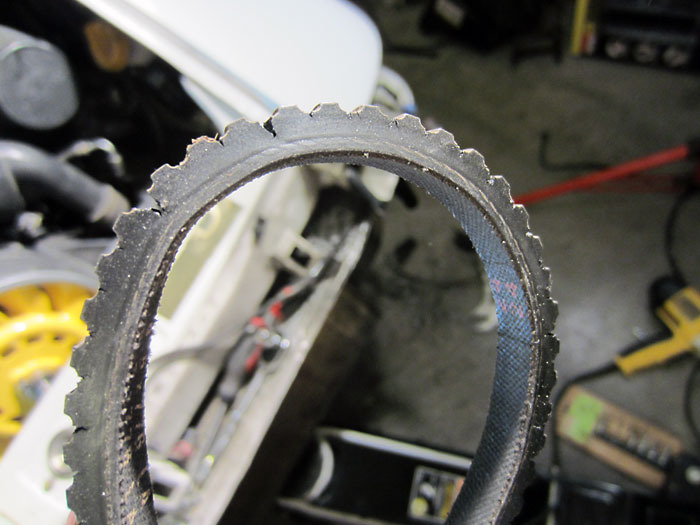
Old belts were looking really tired
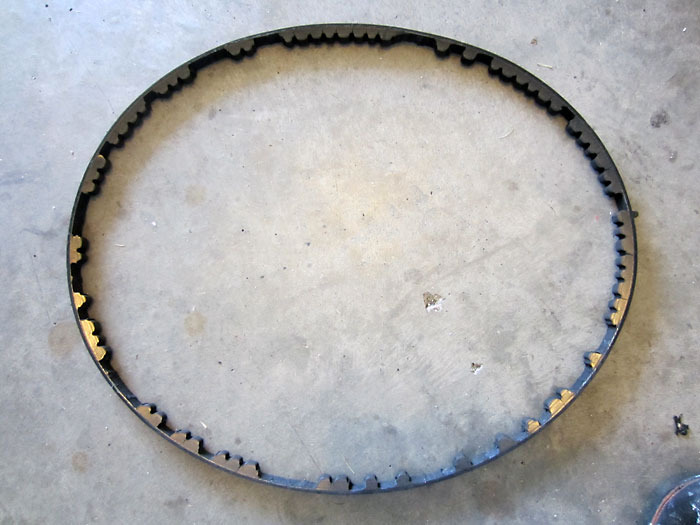
Old A/C belt was throwing chunks
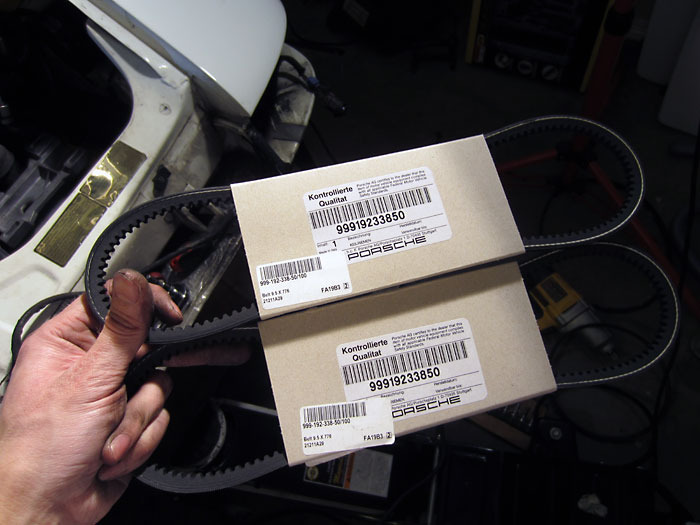
Fresh belts
Keep in mind, this project carried on for over 2 months since I'm a slow wrench turner and I had to wait for parts and services and I wasn't exactly working on the car constantly, just as time allowed and as I had the energy/motivation.
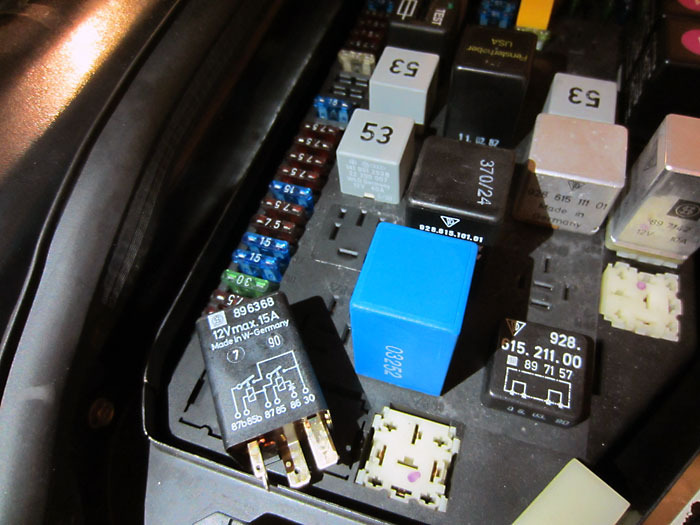
So the car hadn't been started in a long time and had sat w/o oil for a long time. So I removed the fuel pump DME relay.
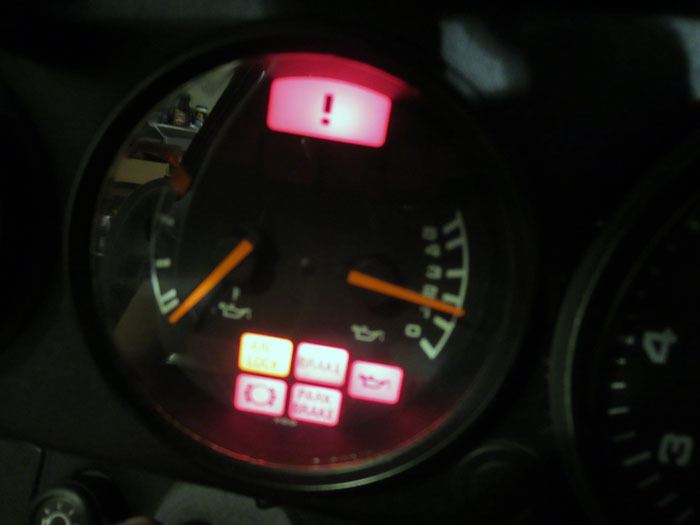
Cranked the car over for awhile w/o the relay in place, made sure it picked up some oil pressure
Perfect opportunity to try out my emergency spare DME relay too.
She runs!
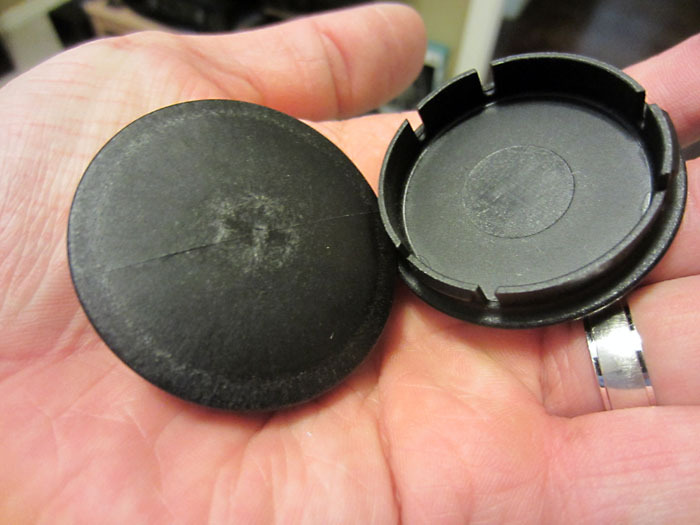
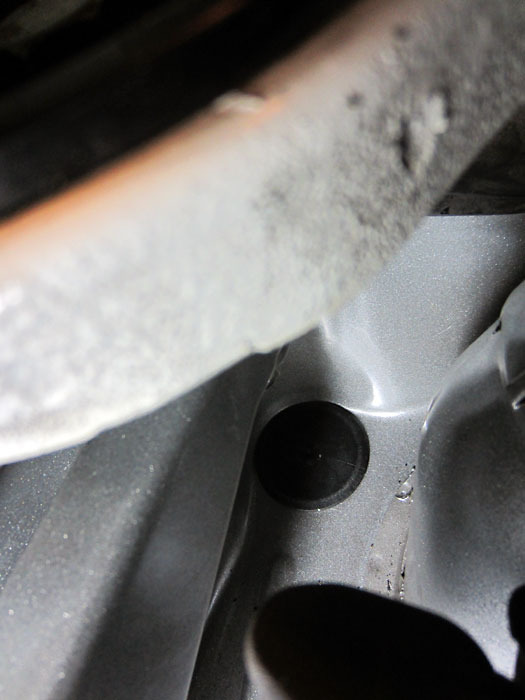
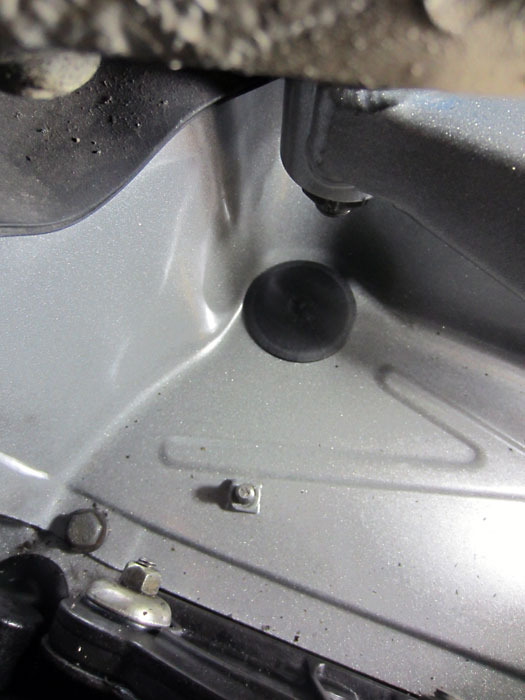
A little finishing touch, the plugs that are often missing and forgotten for the access hole on the engine tin for the motor mounts.
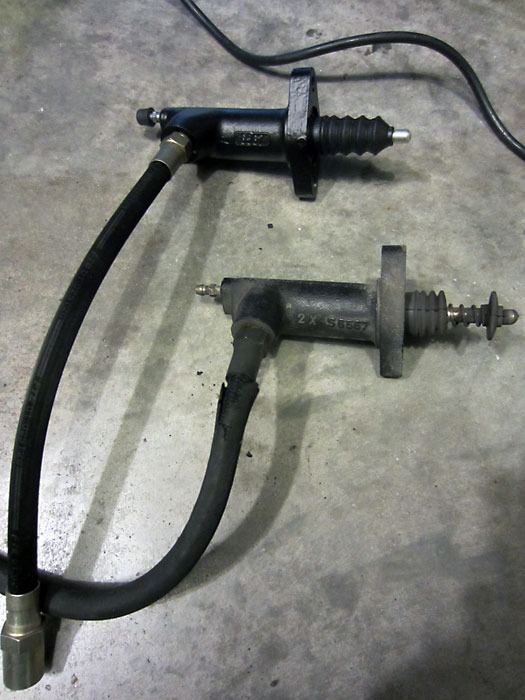
While under the car, I did some degreasing and noticed that the hose on the slave cylinder was weeping pretty bad. Replaced the hydraulic line and replaced the slave cylinder.
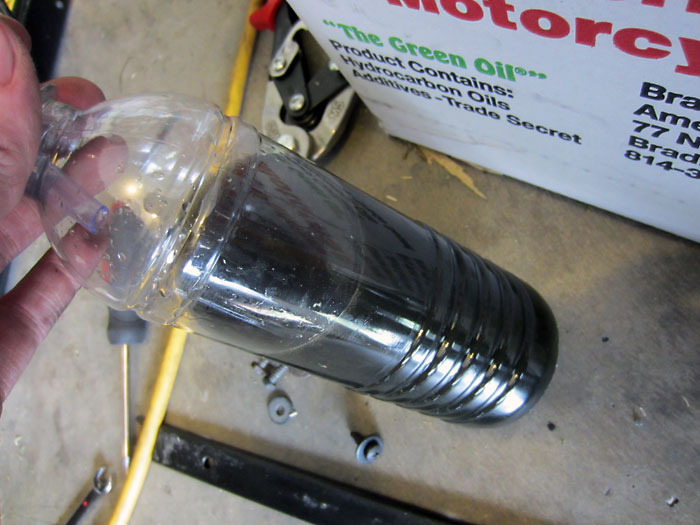
Used the Motiv Power Bleeder to bleed the slave and brakes w/ fresh ATE200.
So the car had a bump on the side portion of the rear bumper and the bumper in general wasn't too fresh looking, so since it was off the car, I decided to give it some attention.
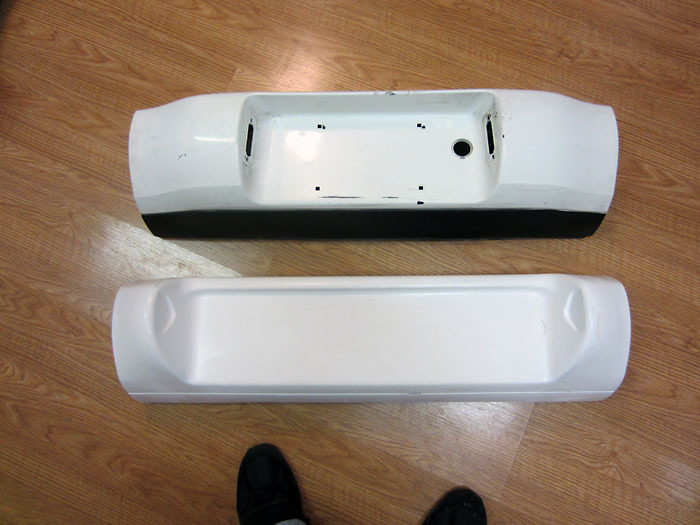
I got a fiberglass Carrera RS replica bumper center section to replace the OEM bumper section
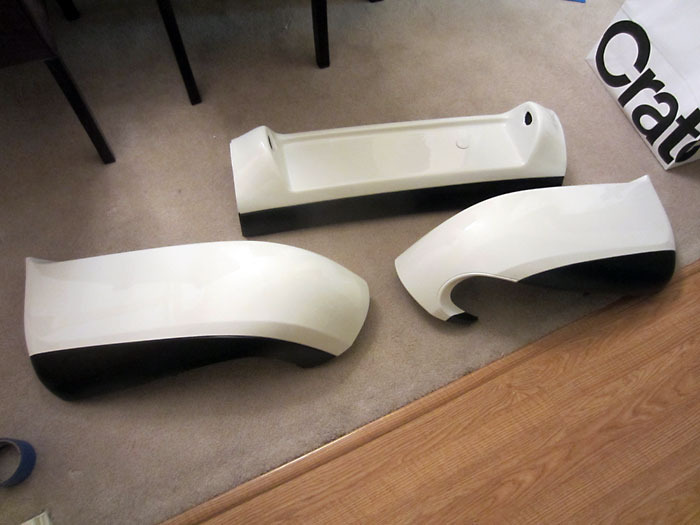
Had the paint and body place give them a fresh coat of Grand Prix White

Got the bumper reinstalled and it's finally starting to look like a functional car again.
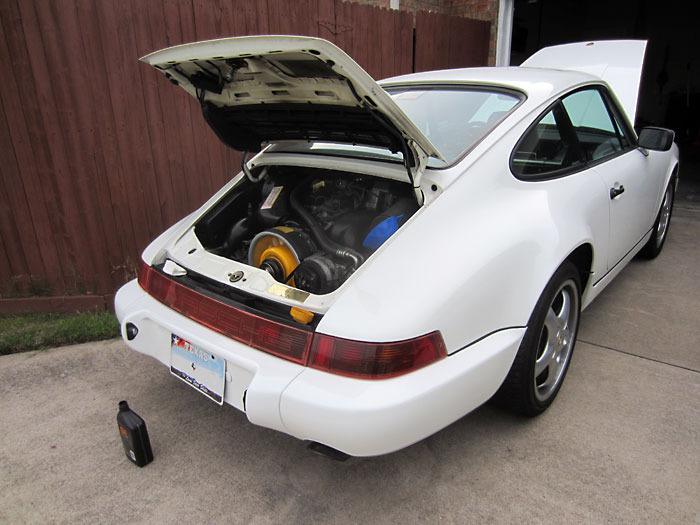
Finally got her out. These air-cooled cars have to be left idling for awhile to get up the oil temp to get an accurate oil level.
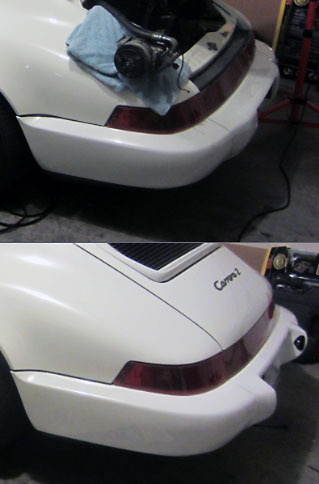
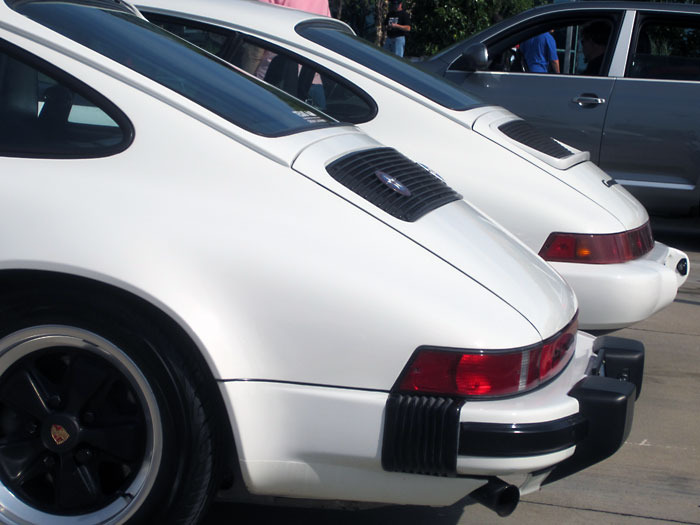
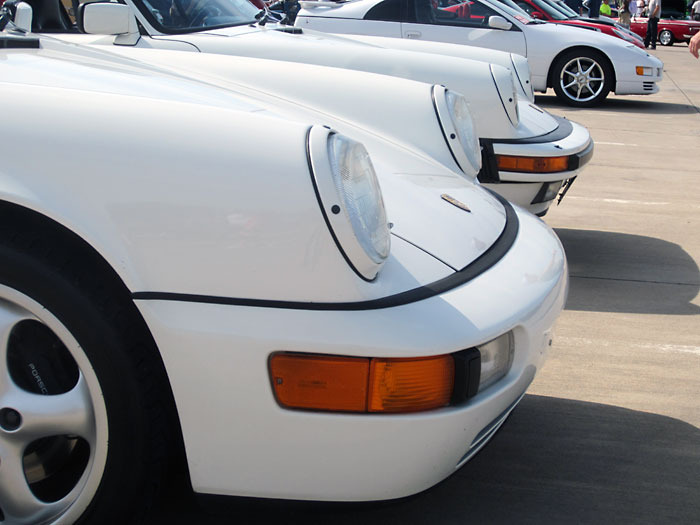
Here's a bit of a comparison of the USDM bumper versus the RS number
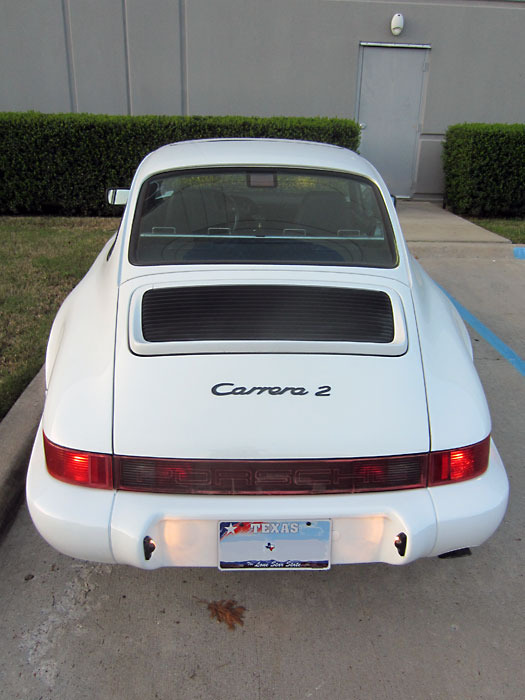
I think the bumper gives the car's rear a wider appearance.
It'll all come together once I lower it and space out the wheels, especially in the rear. I'm just taking things a bit at a time. I've already got a couple of suspension parts purchased, but it'll likely be awhile before I get everything I need.
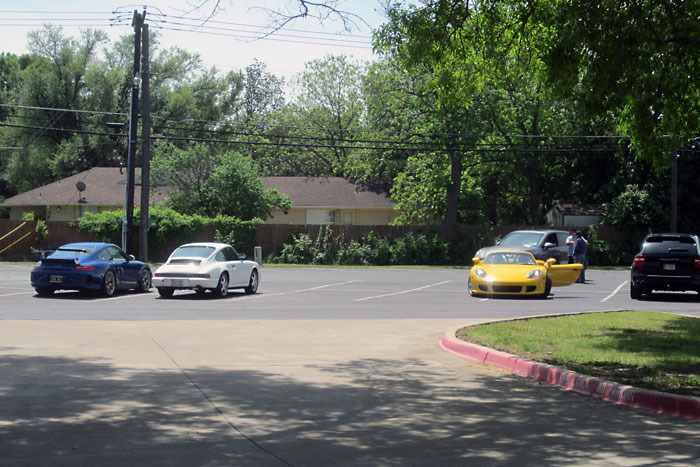
A couple of weeks ago I went on a Owners' Rally w/ one of the local Porsche dealerships. Good fun, the car ran great.
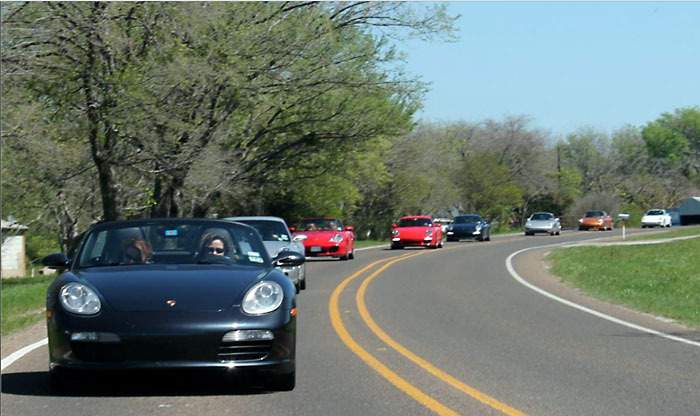
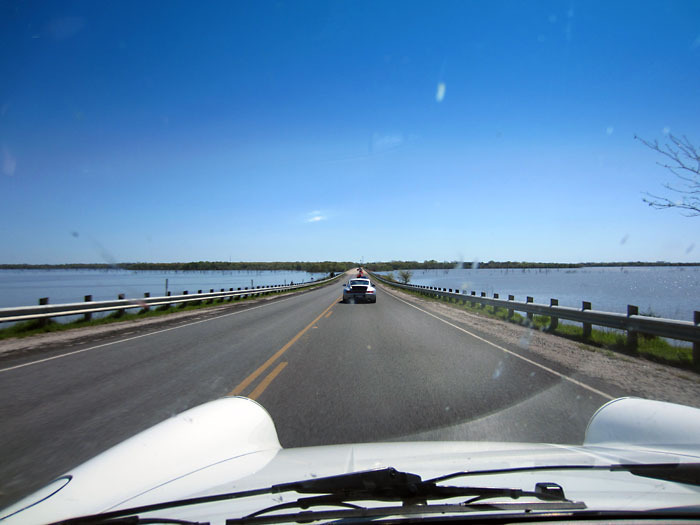
This Saturday we had a Pre and Post-Cars&Coffee meet.
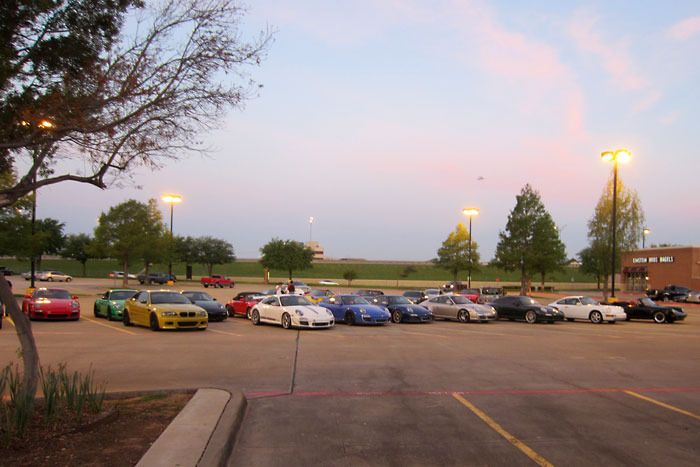
Some heavy hitting cars in attendance. Two GT3RS 4.0s.
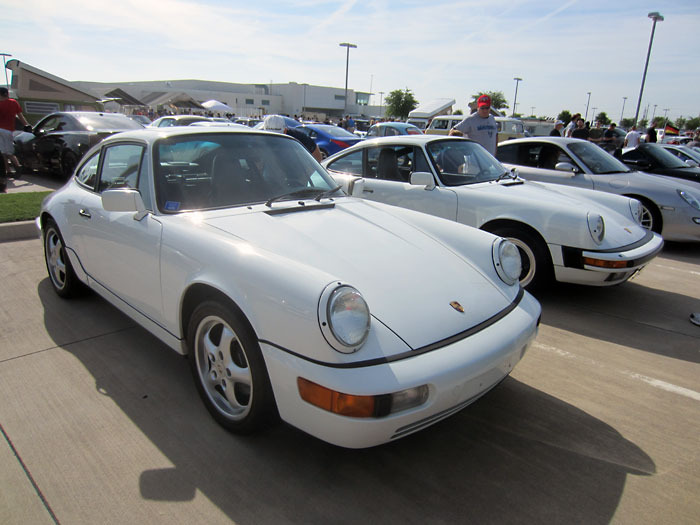
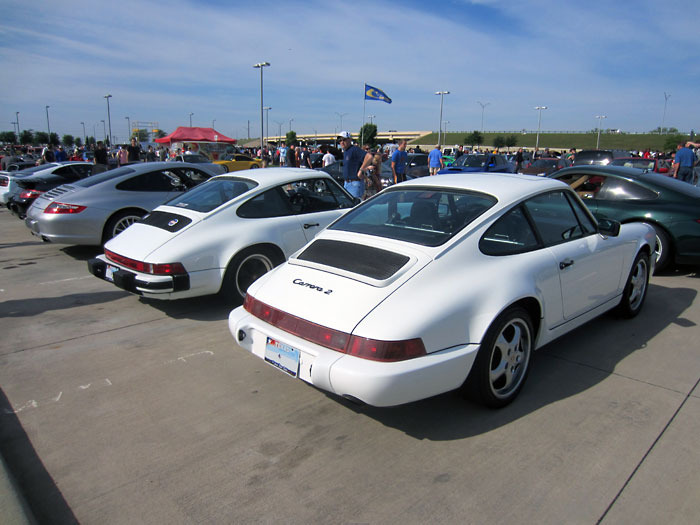
This older guy was selling his Grand Prix White '85 911. 1 owner car, 49k miles, all original, stack of maintenance records, etc. He wanted $27.5 for it.
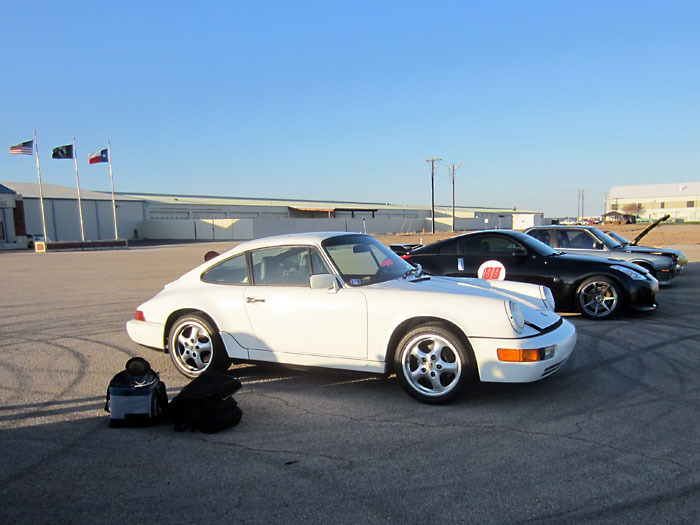
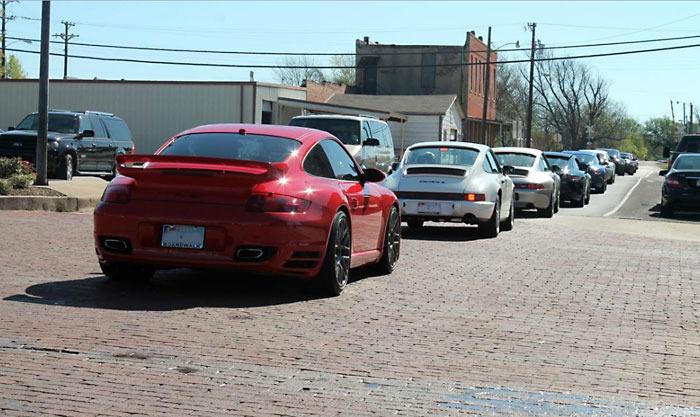
I took the opportunity to line up the GPW Carreras for some comparison shots.
Post-C&C meet, as I was about to leave, all but a couple of the other cars had already cleared out.
 04-09-2012, 10:56 PM
#5
Racer
Join Date: Sep 2006
Location: Auckland NZ & Newcastle AU
Posts: 437
Likes: 0
Received 1 Like
on
1 Post
Fantastic!
The yellow powdercoat really adds a bit of interest to the engine bay. I recall you have some issues with the yellow from the fan coming off on the housing, how did you resolve that?
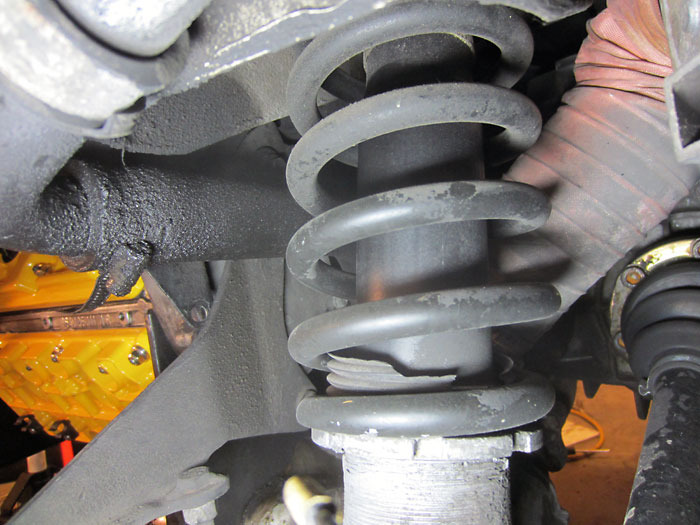
Also, your car seems to sit as high as mine, I'm guessing you're on the stock suspension?
The yellow powdercoat really adds a bit of interest to the engine bay. I recall you have some issues with the yellow from the fan coming off on the housing, how did you resolve that?
Also, your car seems to sit as high as mine, I'm guessing you're on the stock suspension?
04-09-2012, 11:14 PM
#6
Nordschleife Master
Thread Starter
I've put about 500 hard miles on it since reassembly and it seems like the rubbing isn't continuing (i.e. no more fresh marks), so we'll see. I'll continue to keep an eye on it and time will tell.
Yes, horrible horrible, worn out, stock suspension. That's the next big ticket item on the agenda, but it'll likely be awhile before I put together all the parts for a complete makeover in that department.
Trending Topics
04-10-2012, 12:08 AM
#8
Nordschleife Master
Thread Starter
 04-10-2012, 01:46 AM
#10

i have to congratulate you vandit you sure have done some wonderful things with your car.On top of that you have given me something to look forward to next winter when i redo my valve covers. You have done a fantastic job and sure is nice to see another rennlister putting in so much effort to showing off the beauty of these 964's.
04-10-2012, 03:23 AM
#11
Racer

Join Date: Oct 2011
Location: sta. clarita calif.
Posts: 338
Likes: 0
Received 0 Likes
on
0 Posts
Vandit: You're a champ for having the guts just to follow that Pelican thread! Those loosy-goosy type threads scare me. Yours was MUCH MUCH easier to follow, both visually and verbally; like day and nite!! As said earlier, GREAT presentation!! CHEERS
04-10-2012, 08:56 AM
#14
Rennlist Member
This is a brilliant thread!!!!
Yasin
Yasin