

This weeks DIY cam covers and Engine mounts
 03-16-2012, 03:52 PM
#1
Burning Brakes
Thread Starter
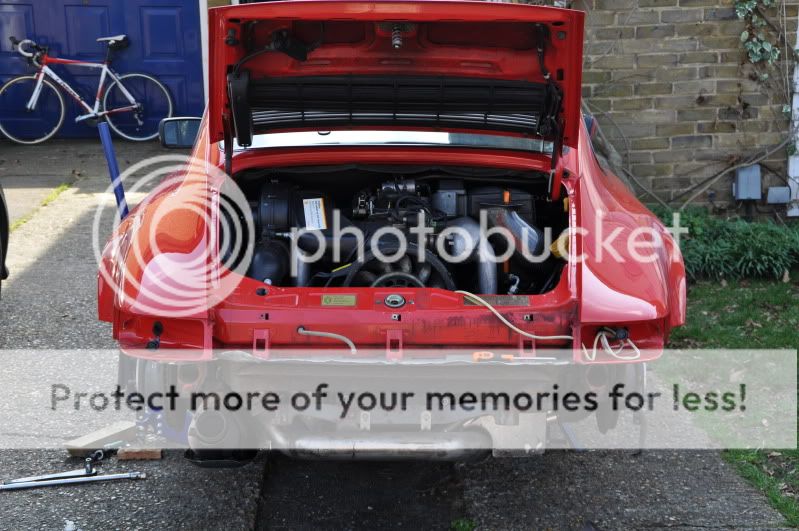
So a sunny day, I thought I know I will fix the non working number plate lights as they have been like that for ages as I forgot to connect the plug to the main lights wiring
Off with the rear PU first as I also needed to find an occasional rattle that turned out to be the middle exhaust box straps had worked loose also the engine mounts look shot so they have to go and the cam cover seals are weaping
So a 30 min job looks like it will be a nice little project for the coming 2 weeks
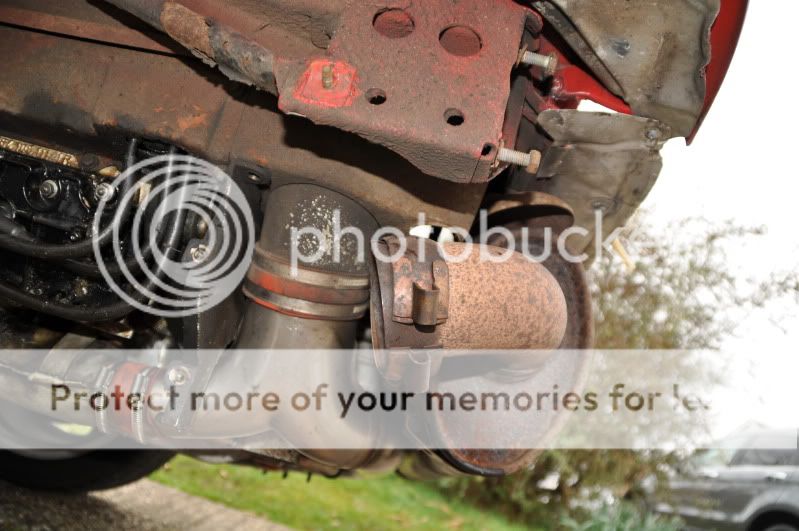
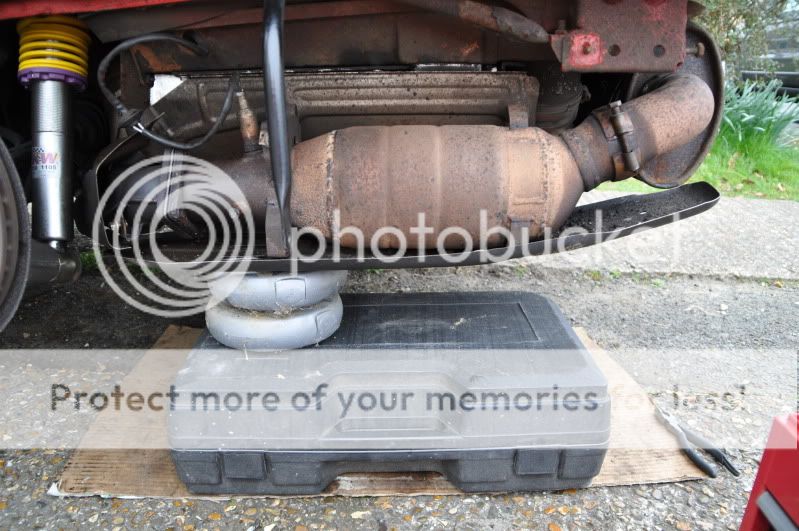
Off with all the exhaust system up to the cat to manifold
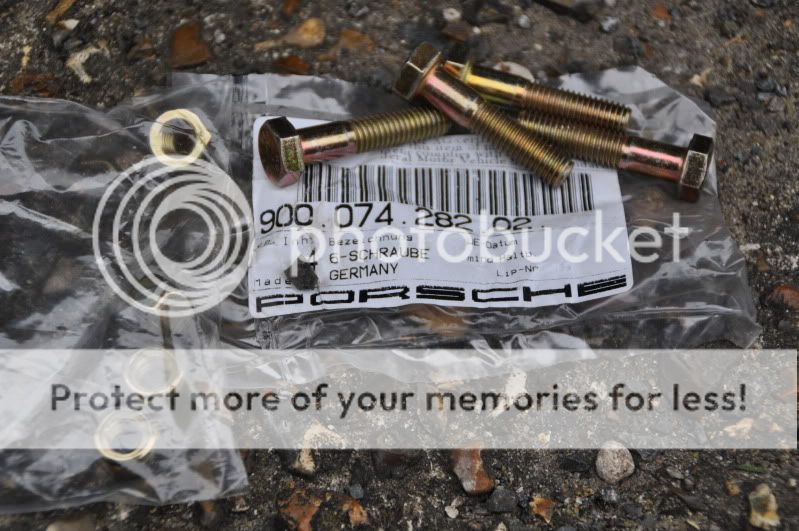
2 x engine mounts 993 C4
4 x Cat exhaust bolts
1 x Exhaust clamp bolt
2x Cam cover seals
Carry on under arch clean up + cavity wax
Repaint the exsisting PU bars the one's I did not replace
Repaint those cam covers Black
These cars are such fun to work on :grin:
Off with the rear PU first as I also needed to find an occasional rattle that turned out to be the middle exhaust box straps had worked loose also the engine mounts look shot so they have to go and the cam cover seals are weaping
So a 30 min job looks like it will be a nice little project for the coming 2 weeks
Off with all the exhaust system up to the cat to manifold
2 x engine mounts 993 C4
4 x Cat exhaust bolts
1 x Exhaust clamp bolt
2x Cam cover seals
Carry on under arch clean up + cavity wax
Repaint the exsisting PU bars the one's I did not replace
Repaint those cam covers Black
These cars are such fun to work on :grin:
 03-16-2012, 03:54 PM
#2
Burning Brakes
Thread Starter
Day 2 I got through all the work except driving the car
A brief run down of what it took to get to the cam covers
Pu off , I also removed the alloy rear bumper bar
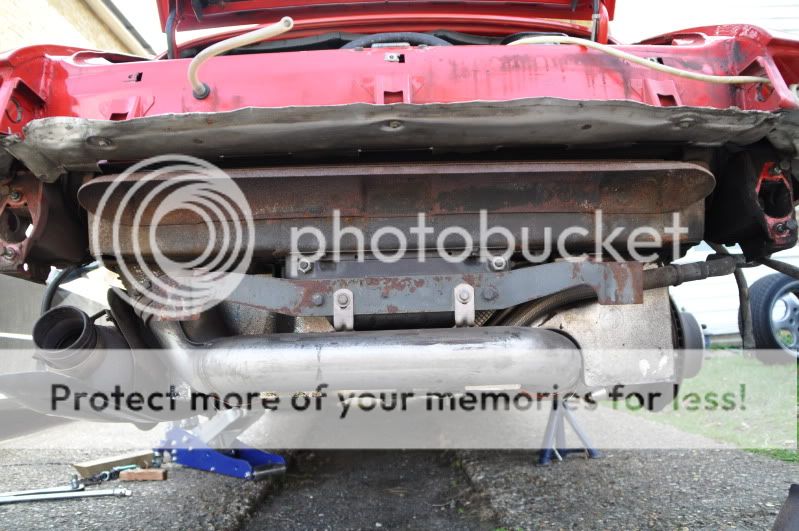
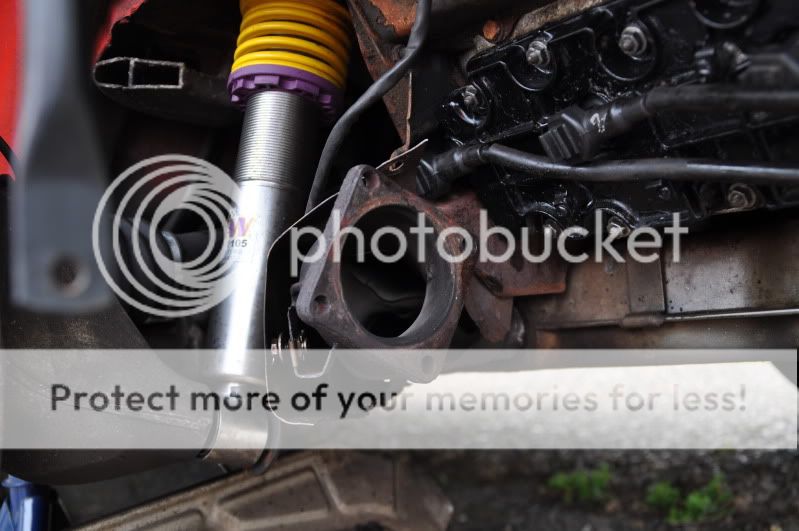
Remove the Cat converter on N/S and Final Silencer on O/S
I was lucky all the fixings were in good shape including the tin-wear
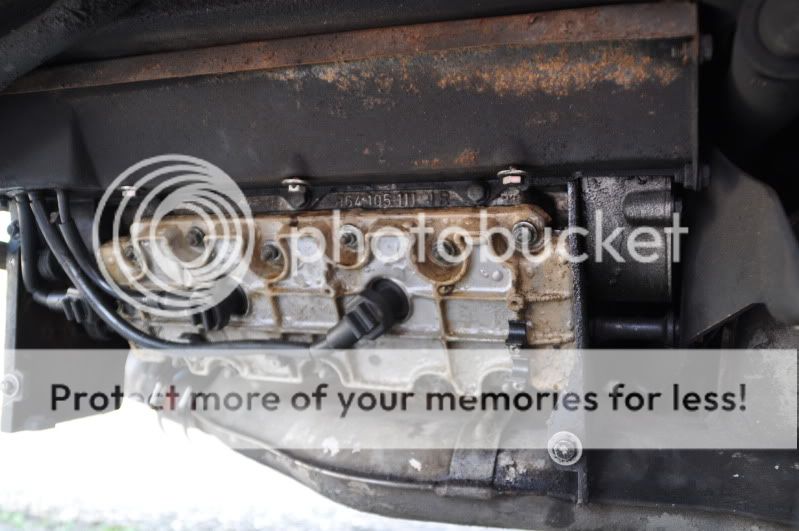
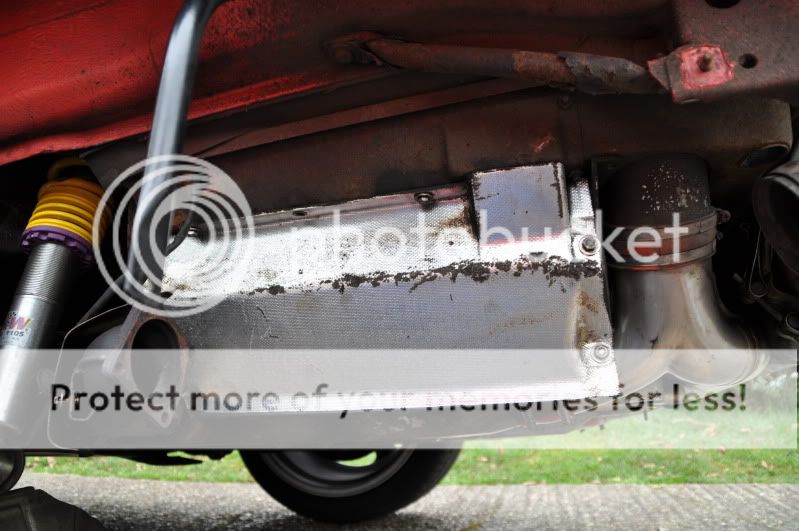
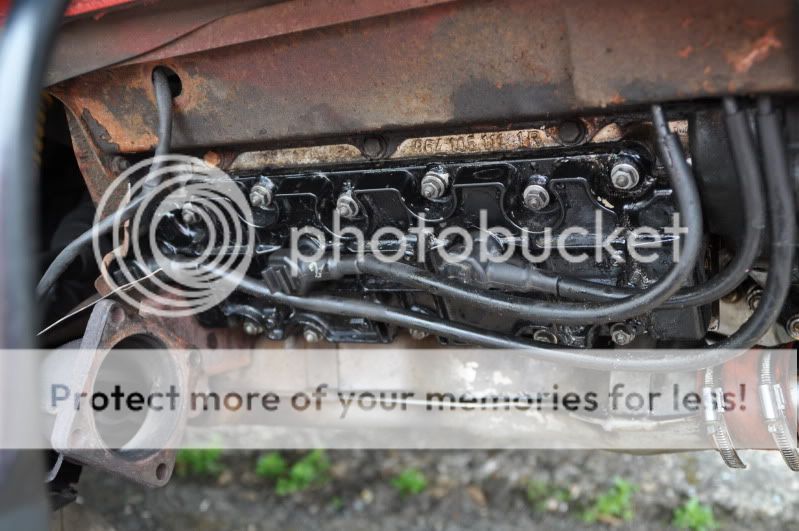
Then remove the silver heat protection pads and you are faced with the cam covers ,Mine were very tatty I would love to have replaced them but hey ho
11 x M10 nuts for the cam covers and I used a chunk of wood the tap the covers until they came loose pull out old seals
A good clean up was next and start the refit WARNING be very careful on re tightening the cam covers ,go gently from the middle out
I did them just over hand tight and went around them again and nipped them up again

Next the engine mounts :grin:
A brief run down of what it took to get to the cam covers
Pu off , I also removed the alloy rear bumper bar
Remove the Cat converter on N/S and Final Silencer on O/S
I was lucky all the fixings were in good shape including the tin-wear
Then remove the silver heat protection pads and you are faced with the cam covers ,Mine were very tatty I would love to have replaced them but hey ho
11 x M10 nuts for the cam covers and I used a chunk of wood the tap the covers until they came loose pull out old seals
A good clean up was next and start the refit WARNING be very careful on re tightening the cam covers ,go gently from the middle out
I did them just over hand tight and went around them again and nipped them up again
Next the engine mounts :grin:
03-16-2012, 03:55 PM
#3
Burning Brakes
Thread Starter
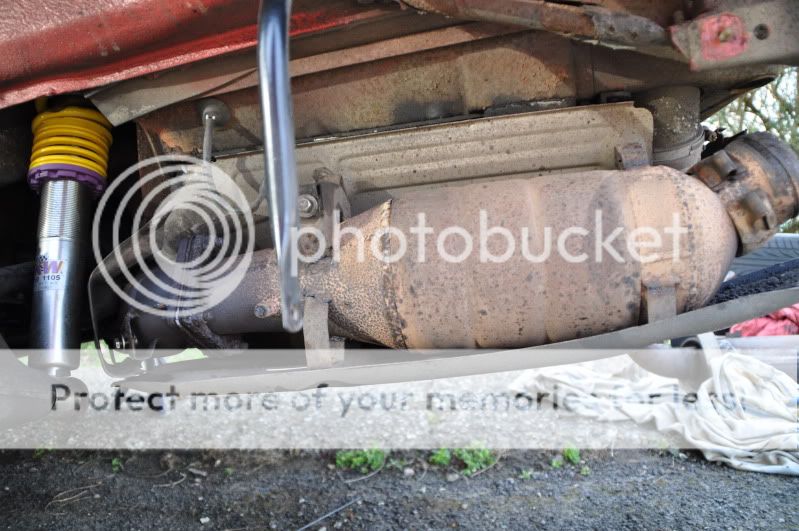
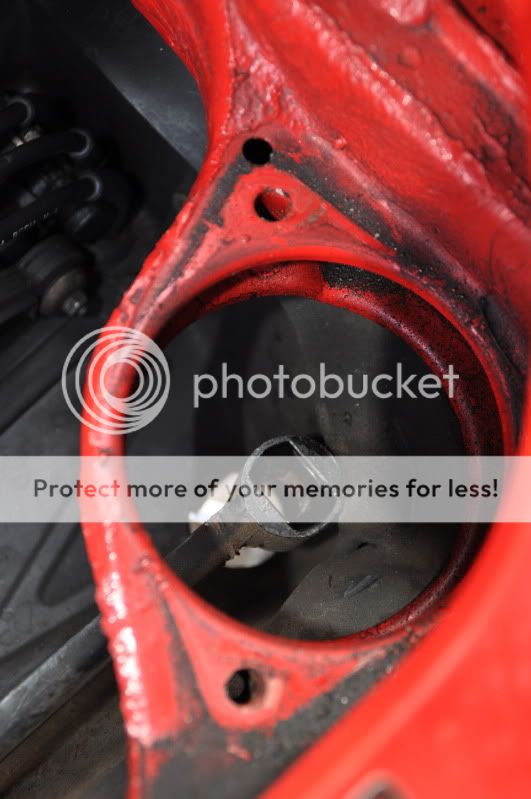
993 C4 engine mounts were next on the list while PU was off
Tools needed
19mm long socket and a big long bar for the large nut at the bottom of the mount and a 13mm socket for the 4 bolts inside the engine compartment
Support the engine under the crank case with a trolly jack and a block of wood and undo the 19mm nut first
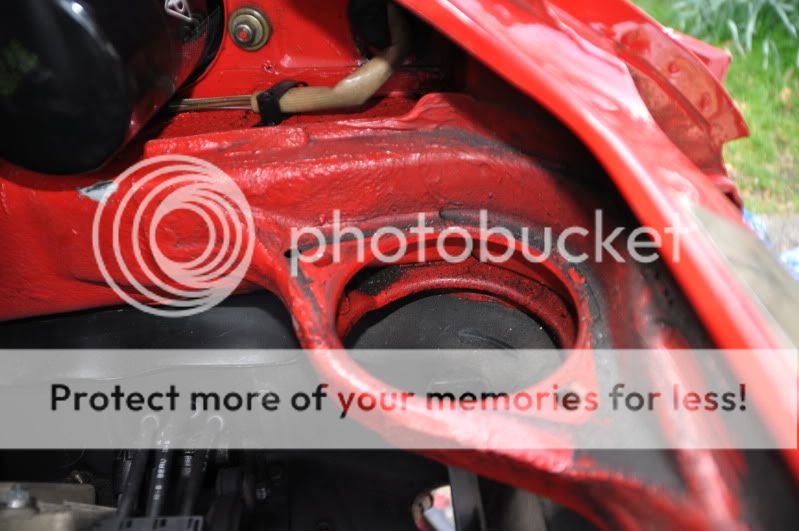
Do one side at a time ,next undo the 2 x 13mm bolts and silde out the engine mount , make sure you use the tabs when you put the bolts back in
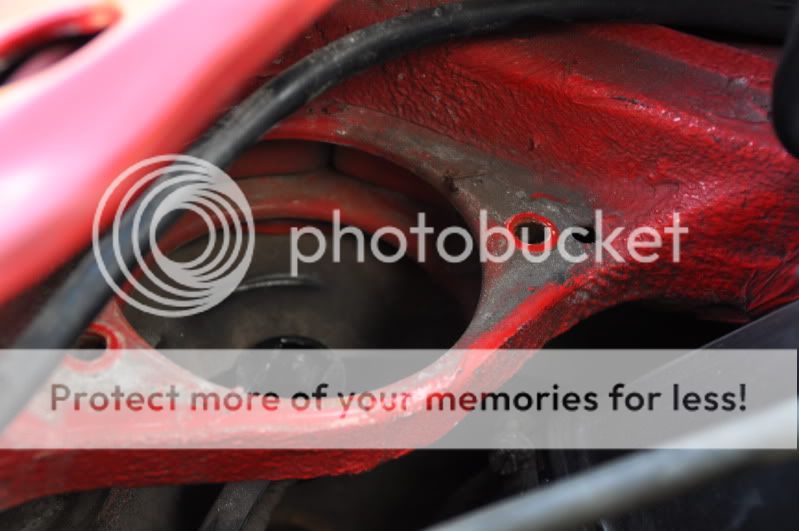
You can see the wear marks where the mounts had dropped so much on the rubber skirt :thumb:
Tools needed
19mm long socket and a big long bar for the large nut at the bottom of the mount and a 13mm socket for the 4 bolts inside the engine compartment
Support the engine under the crank case with a trolly jack and a block of wood and undo the 19mm nut first
Do one side at a time ,next undo the 2 x 13mm bolts and silde out the engine mount , make sure you use the tabs when you put the bolts back in
You can see the wear marks where the mounts had dropped so much on the rubber skirt :thumb:
03-16-2012, 05:29 PM
#7
Racer
Join Date: Feb 2011
Location: Chester County, PA
Posts: 434
Likes: 0
Received 0 Likes
on
0 Posts
clinchy nice little project. Did you order the kit for the chain cover or just the cover seal? The kit comes with all the nuts and the small rubber rings that goes behind each nuts. Those are also source of leakage. The kit also comes with the oil feed small gasket and o-rings for the bridge. The whole thing took me 1.5 hours to do. Then again my engine was already out of the car.
Great tread, keep on trucking,...
BTW I really ike the KW V#, I just put a set on mine. What is your setting for street?
Good luck
Great tread, keep on trucking,...
BTW I really ike the KW V#, I just put a set on mine. What is your setting for street?
Good luck
Trending Topics
03-16-2012, 05:31 PM
#8
Burning Brakes
Thread Starter
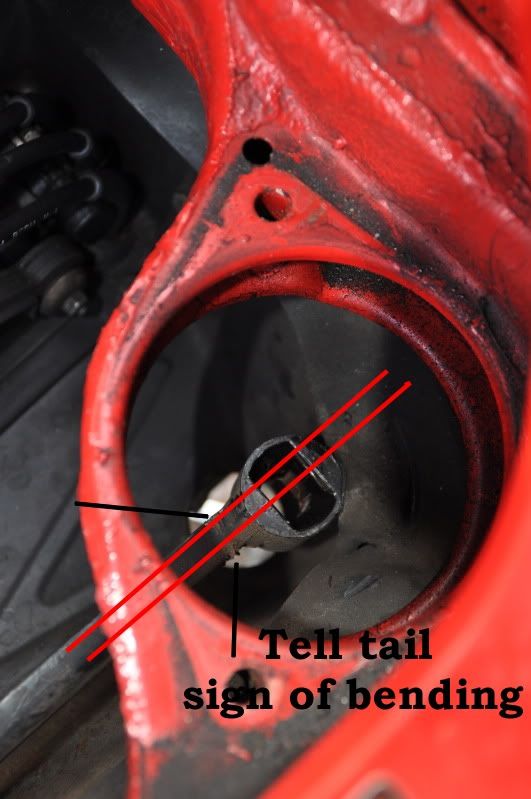
I beg to differ they are as straight dye, the camera angle might make it look curved
Remember the car is on axle stands and the engine on a trolly jack and the engine mounts dropped into place without having to be forced in any way, I have done all 3 of my aircooled cars mounts so I think I would know if it was bent
Hey what do I know LOL
Remember the car is on axle stands and the engine on a trolly jack and the engine mounts dropped into place without having to be forced in any way, I have done all 3 of my aircooled cars mounts so I think I would know if it was bent
Hey what do I know LOL

 03-16-2012, 05:42 PM
#11
Racer
Join Date: Feb 2011
Location: Chester County, PA
Posts: 434
Likes: 0
Received 0 Likes
on
0 Posts
 03-16-2012, 05:47 PM
#12
Nordschleife Master

Looking good.
I'm coming off doing these things and a bunch of other stuff. I'm just now getting the car back together. Hopefully it'll be back on the road this weekend.
The end on the carrier does look bent just a bit, likely from where you loosened the nut on the old mounts. Probably not a big deal.
Here's the opposite end, w/ the Rennline brace welded in. The brace welds onto side of the carrier that faces the engine.
")