When you click on links to various merchants on this site and make a purchase, this can result in this site earning a commission. Affiliate programs and affiliations include, but are not limited to, the eBay Partner Network.
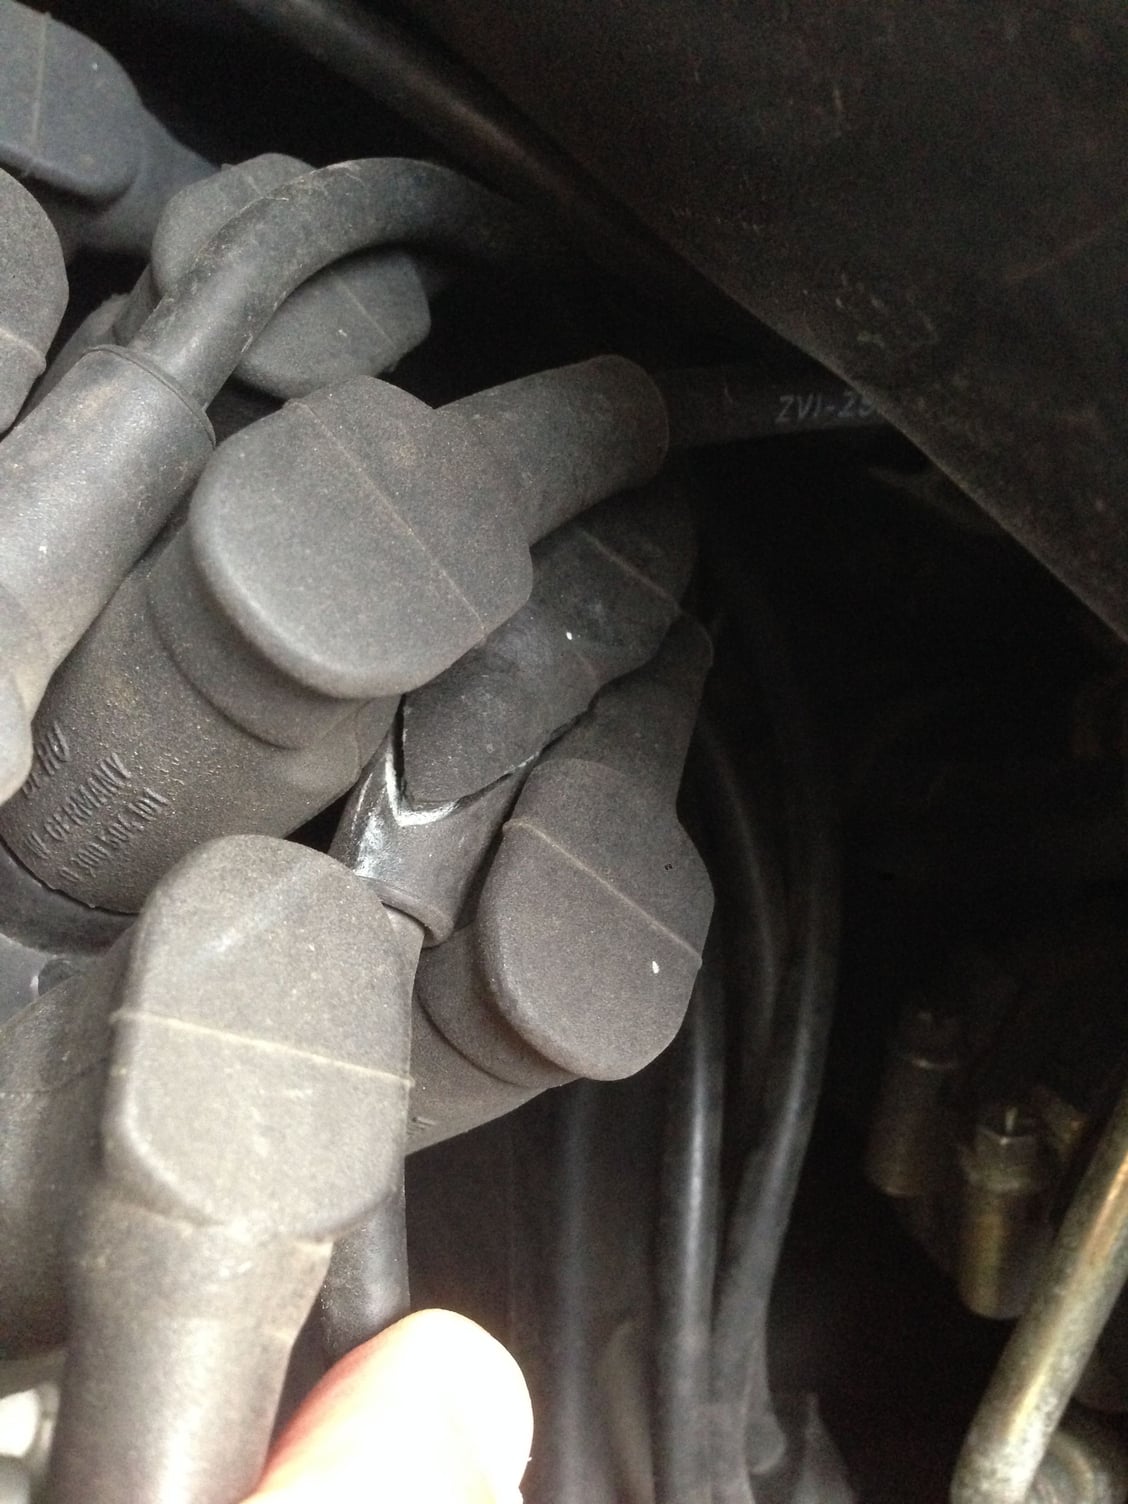
How did you manage the gasket setup where the lower wires go thru the engine tin? While I wouldn't mind taking apart the old wires to slide that stuff off I'm a little reluctant to take apart brand-new wires; given the price, the stakes are high....
I did some careful splicing of the rubber itself and snapped it back in it's place. You can't tell by looking a it and I've got 5k miles on it with zero problems.
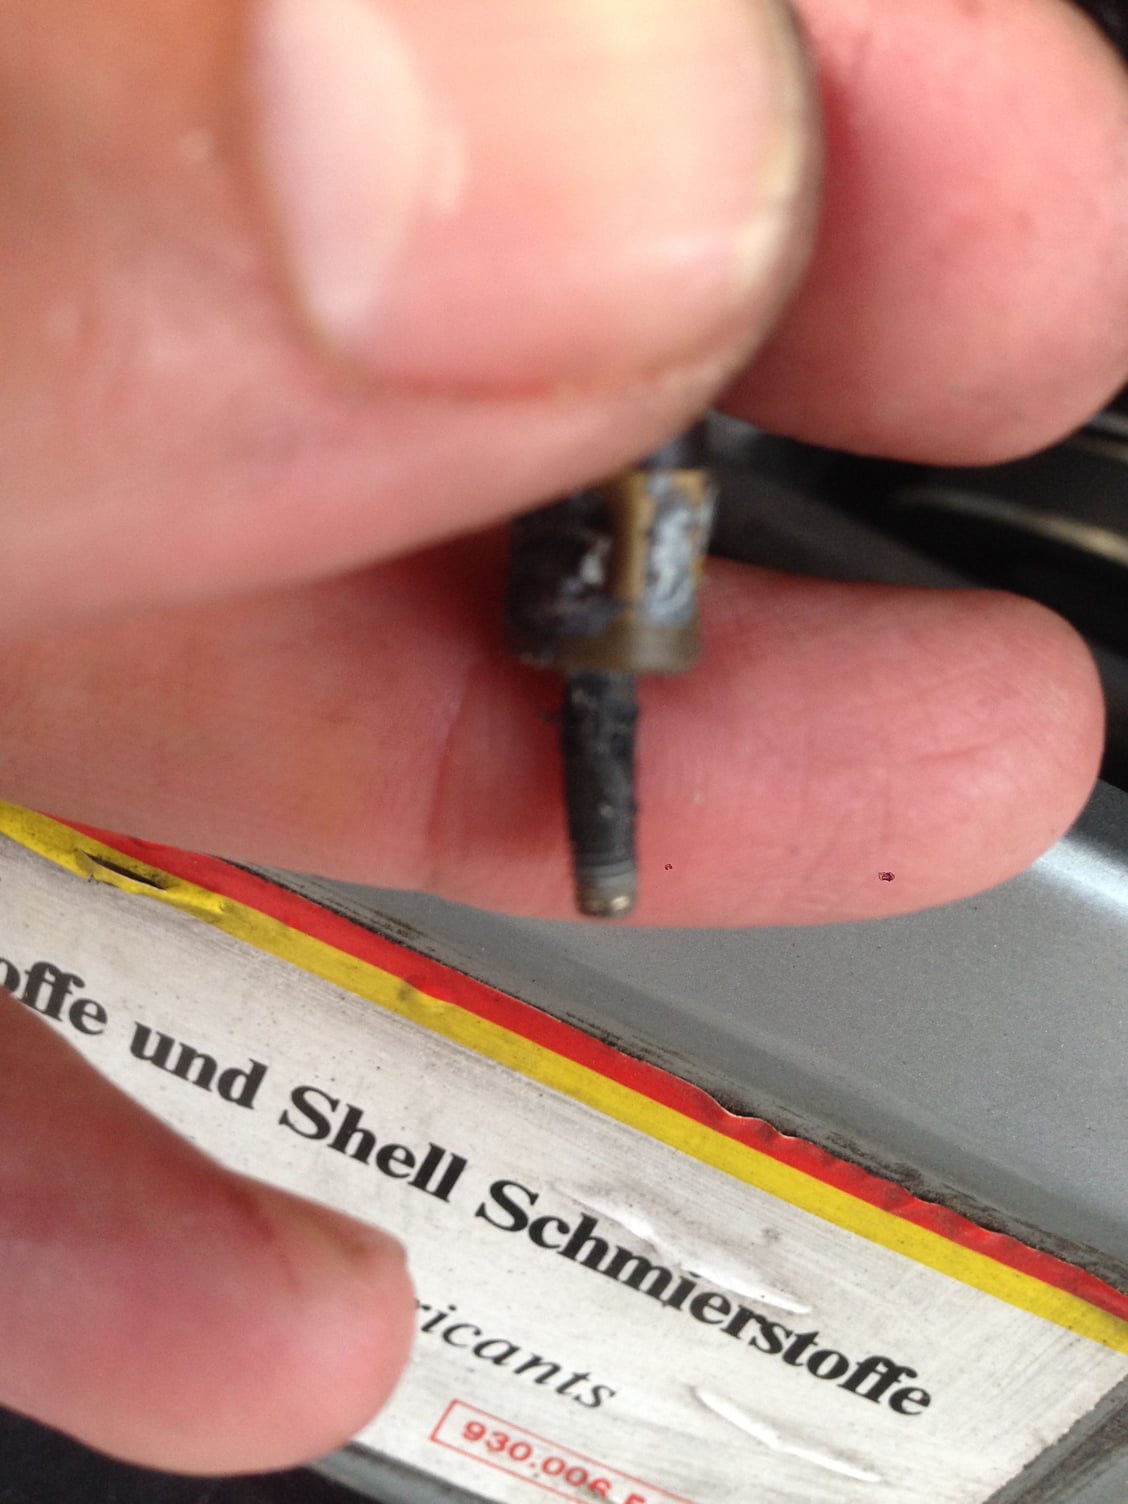
I unscrewed the ends on the new wires, hit them with a little rubber protectant and slid the ends through the grommets. This approach works very well for running the wires through both grommets, under the A/C brackets (I didn't need to move the A/C to run my wires) and also for running the wires to the right topside plugs. Plus you can leave all the insulator tubes intact to get them on the new set. Just be sure to clean the ends thoroughly before you reconnect.
Other threads cover the boot removal procedure and it's very simple.
I unscrewed the ends on the new wires...it's very simple.
Jeeze- I guess so! I had no idea it was so simple.
Basically: 1. Break seal gently where wire goes into boot (I used a curved pair of forceps).
2. Shoot a little lubricant down into gap (I used silicone spray).
3. Holding wire firmly, spin boot off. The connection is conventionally threaded, so 'lefty-loosy'. Eventually the wire will be completely unthreaded but still retained by the boot seal. Tug it out; it'll go 'pop!' and come free easily.
I just replaced my ignition wires yesterday, and figured out another easy way to thread the wires under the A/C bracket. It was very simple.
Just thread the wires in the reverse direction from the opposite end. The smaller boots that go to the distributor will easily fit under the A/C bracket (one at a time).
I only figured this out after I spent considerable time trying to figure out how I was going to remove that A/C bracket - which looks very difficult.
Good luck!
Good tip - I came from the topside, but I like your approach better methinks. What do you think of the wires?
I should have jumped on the deal earlier, because the NGK's weren't available by the time I decide that my intermittent hot running problems might be (hopefully) related to the 18 year old wires. Went with Beru, from beruparts.com (~$470). Ouch.
Of note, the wires came with a small package of dielectric grease. Does anyone use this on the boots, where they seat to the distributor cap? Or where they seat to the spark plugs? I'm a little apprehensive to use it, because I haven't heard much about it.
AFAIK, dielectric grease goes on the inside of the plug boot (ie the part that contacts the ceramic of the spark plug). Idea is, dielectric grease is an insulator, and so if you get water etc on the plug boot, it will resist arcing from inside the plug boot, along the surface of the ceramic to the engine block.
This is not so much of an issue at the dizzy cap side, since it's plastic and isn't earthed.
is there any down side to re-routing?
It seems from some fo the above comments that this has worked fine.
I guess one issue would be ease of access to the wires .. but that seems small imo.
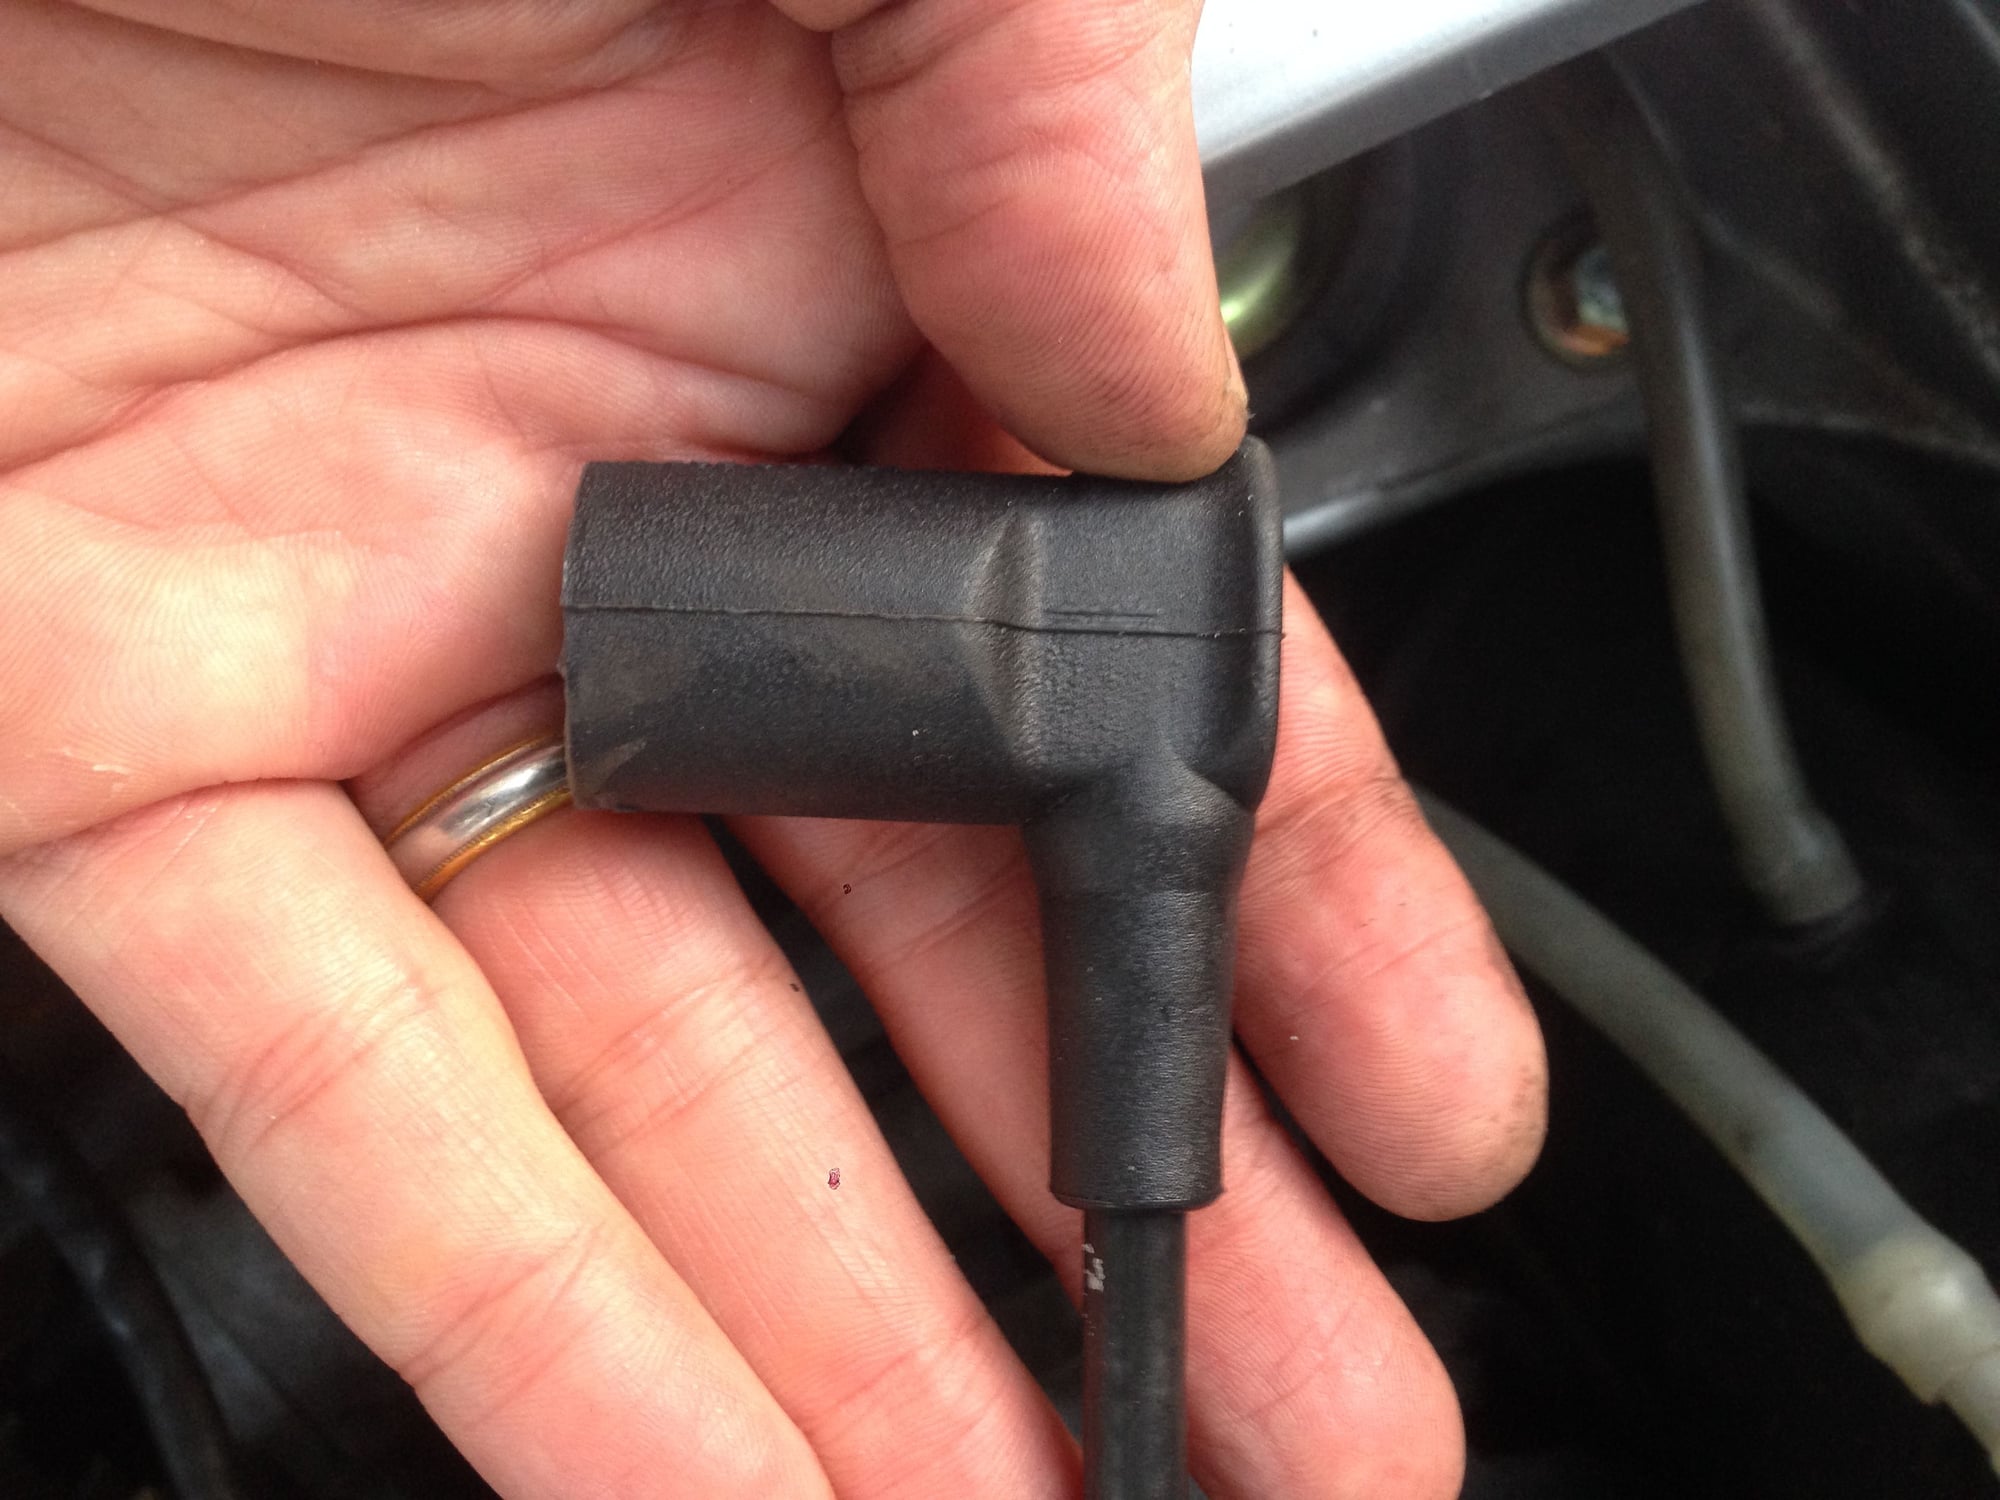
I had a torn boot on a wire connector at the dizzy. Rather than replace the wire or wire-set, I found the Beru part for $10 on eBay (versus $30 from Porsche). Easy 10 minute job. Beru VSO 103 is the OEM part.


 07-15-2011, 09:59 AM
 Anytime! Just giving back to the community that has helped me too many times to count.