When you click on links to various merchants on this site and make a purchase, this can result in this site earning a commission. Affiliate programs and affiliations include, but are not limited to, the eBay Partner Network.
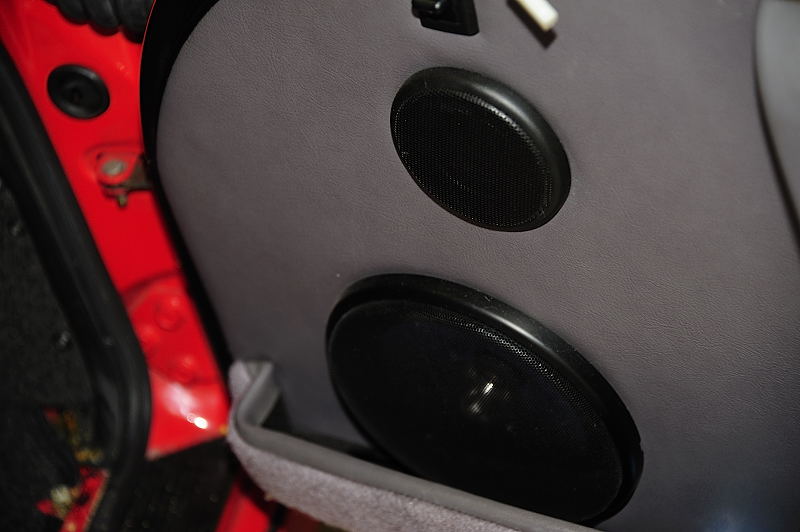
I did about another 5 hours of glue removal.....almost done with the glue. The RS door cards arrived from Appbiz, not installed yet but look great. I am deleting the radio and speakers, never listen to it.
It has been 100 degrees or hotter every time I have free time to work on the car the last couple of weeks so not a lot of progress. Need to get some seats in the near future, looking at the ROTtec CGT leather seats and Recaro Pole Position seats, not sure which way I will go.
I have never seen an official list of RS interior parts but I am sure somebody has one.
Did not touch the car all summer with the record breaking heat wave in Oklahoma. Did a little work over Labor day and am now working to complete the project in the next week while I am on vacation.
The center console was a challenge, ended up cutting the the carpet section in half instead of trying to feed half of it around the tunnel near the gas pad. I also added felt padding at the top and sides of the tunnel so the carpet will be flush against the center console trim when I reinstall it.
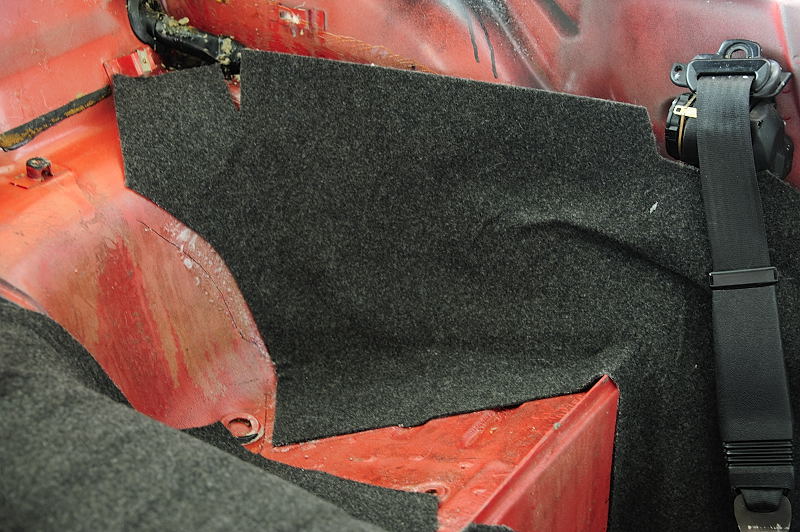
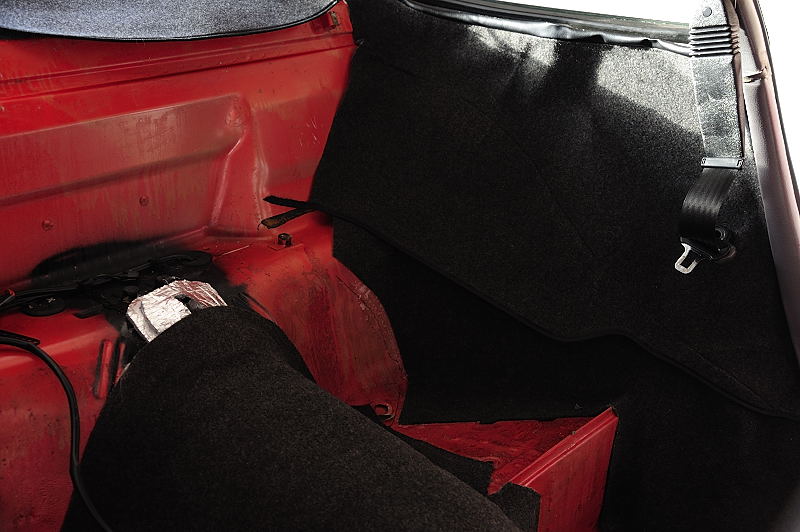
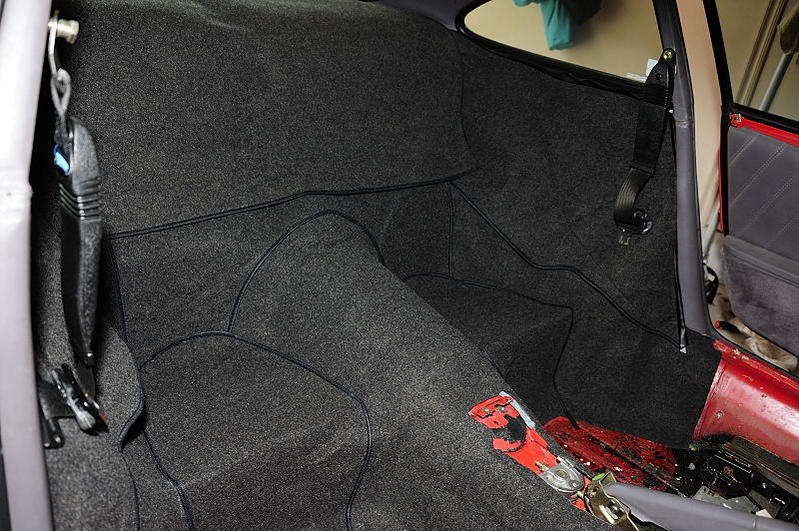
The next step is the rear center tunnel. I used some felt padding around the area the rear seat mounted (removed the mounting point) to try to smooth out the area.
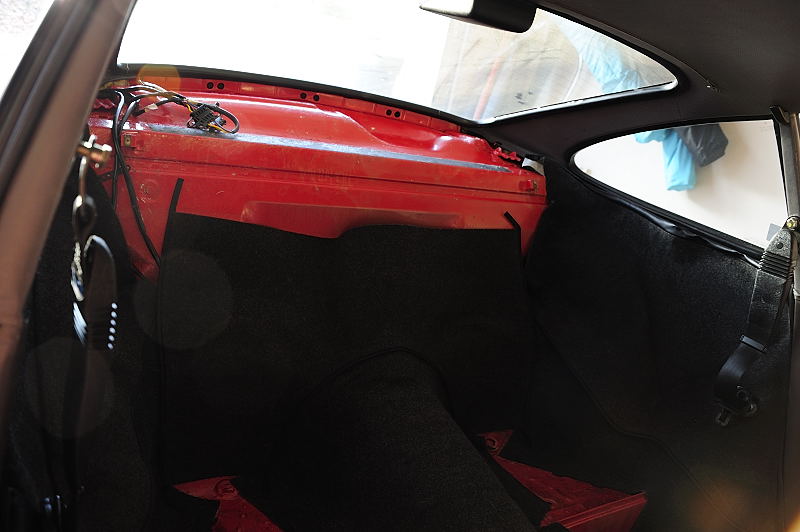
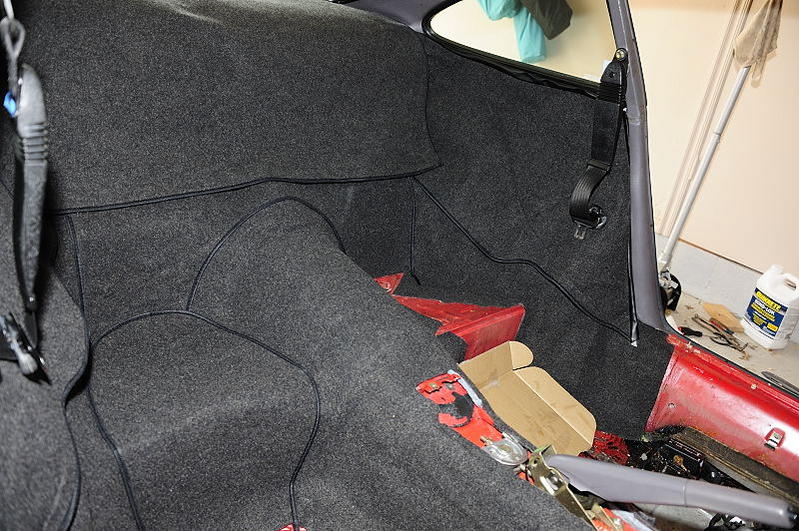
Next are the lower and upper wheel well pieces. I think these are the difficult ones due to the way the vinyl is near the rear quarter glass. I am not satisfied with the way I did mine and might use the metal trim pieces from the gray interior I recovered with black vinyl to cover up the gaps. Then the lower rear firewall carpet is next.
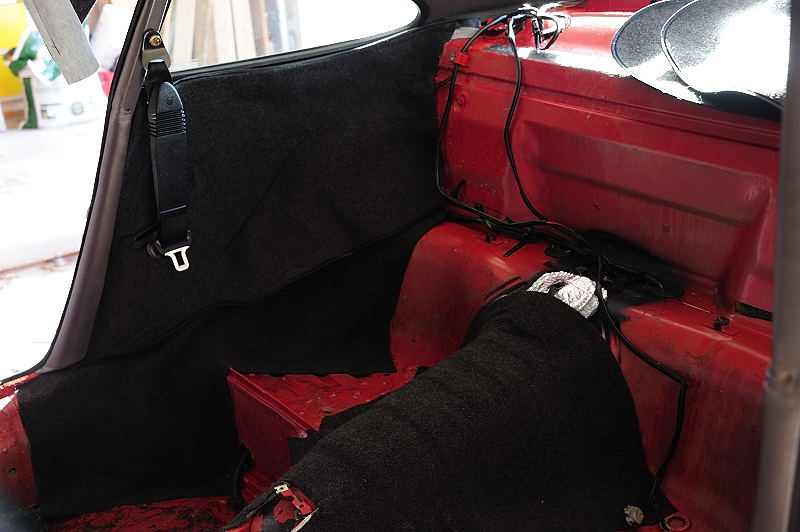
The rear speaker area is next with the rear seats. At this point I have not glued down the bottom of the upper wheel well carpets on each side. The upper wheel well carpets cover the front seat belt retractors and form a joint with the rear speaker cover carpet and the firewall carpet. I will glue the upper wheel well carpets and speaker shelf carpet down once the front seat belts are installed and I can make sure the joint looks balanced on the left and right side. The last step is attaching the rocker panel carpet on each side. Don't forget to create a hole for the seat belt anchor point.
I ended up not using the felt base material I purchased so the RS carpet has lots of lumpy areas/character. Most of it will be difficult to see once I install the new seats.
The Rennline radio block off plate is is nice but you need to remove the lower dash to install the plate. It is impossible to get access to attach the plate when the lower dash is connected. Several good posts cover the removal of the lower dash as well as installing the Appbiz door cards.
How loud is it in the cabin? The car has Wevo engine mounts and to me the car is about right. Has a lot of character but not too loud. The engine tone could be better, I had a 71 911E with mechanical injection... that car had the perfect engine sound.
How much weight did I save? I did not weigh anything but I guess about 100 lbs. The standard seats are heavy. I will probably run it by a truck stop in the next couple of weeks to get a weight.
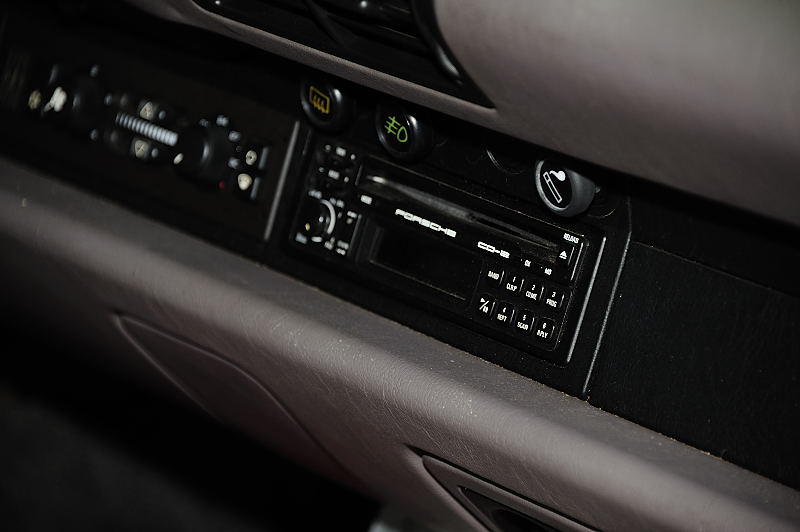
One comment was to replace the key ignition surround because it was gray instead of black. I used a dremel buffing wheel to clean it up and it looks a lot better.
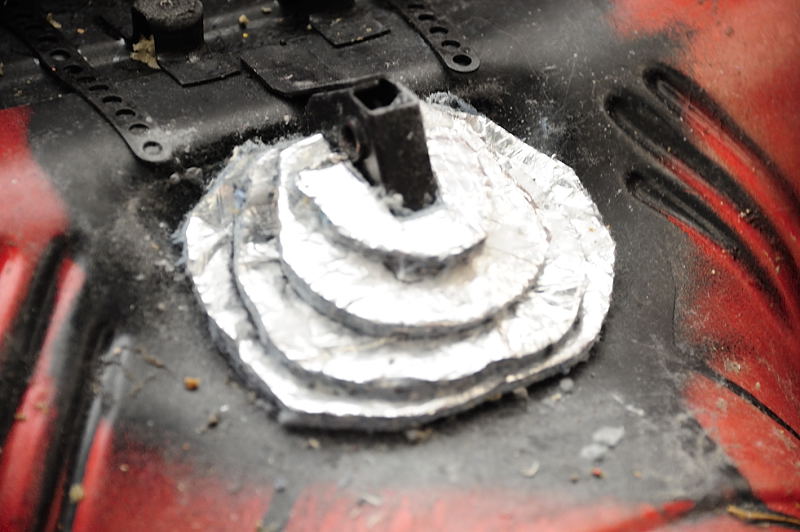
How did I deal with the small hump between the rear seats? Did I cut it off with a grinder to get a flush carpet? The hump is covered with a plastic piece, I removed the plastic piece and then used the felt padding to build up a hump around the remaining lump to smooth it off, photo included in the prior postings. The back area probably has 12-15 lumps/tabs and cable runs creating lumps in the carpet. With fixed back seats, it is very difficult to see them.
Stuff left to do:
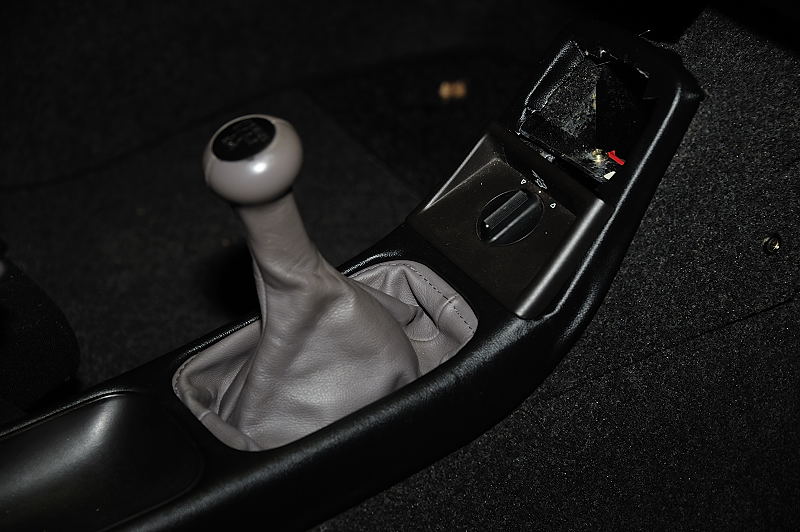
The center console still has the round switch controlling the rear tail. I am working on getting a 993 switch and moving it to the Rennline block off plate. Once this is done I will probably add the RS storage container to the center console along with a air ratio or cylinder head temp gauge.
I need to place an order for some misc. clips and screws to finish installing the rocker trim molding on the inside. I am still considering removing the AC and installing a light weight flywheel along with the Rennline lower dash panels.
Installing the Sparco Evo2 Plus Seats.
The seats were a challenge, I used Sparco universal sliders with Sparco AL side mounts. No instructions on the general process were included. I found the following process to work:
1. Install the side mounts to the seat with the seat in the topmost mounting holes. The side mounts should have the slotted holes towards the front of the car. This allows the the slider handle to work in the lowest position.
2. Attach the sliders to the side mounts, do not tighten all the way.
3. Put the seat in the car. Align the sliders so the mounting holes align with the mounting holes from the factory seats. Mark the position of the sliders on the side mounts with a felt tip pen. Remove the seats and secure the sliders to the side mounting bolts. This is the critical step...once the sliders are aligned with the factory mounting holes, it only takes a couple of minutes to install/remove/adjust the seat side bolts to get the height/angle of the seat correct for you.
I am disappointed in the quality of the Sparco sliders. The bar that releases the seat to move forward/backward is only secured by the tension in the bar, not by fixed screws. The sliders do not have enough range to allow the seat to be far enough back for me and forward enough for my wife to drive the car. I am 6'0" and she is 5'1" tall. Currently the seats are set up so they are moved back as far as possible. I might convert the driver seat to a Recaro slider if I can determine if it has enough range for both of us.
Make sure you clean the the inside for the rear windows BEFORE you mount the seats... you have been warned.
Not sure how hard it will be. I anticipate getting the switch next week but will not be able to work on the car until after Christmas. I need to review the wiring diagrams to find out.
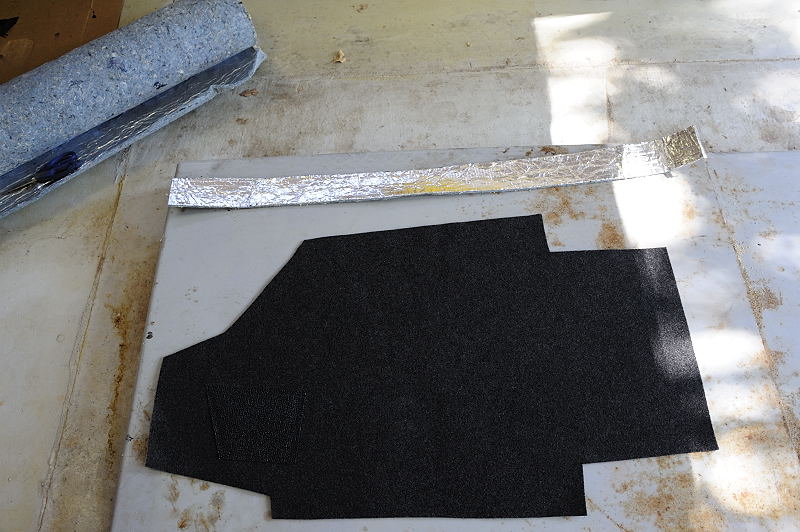
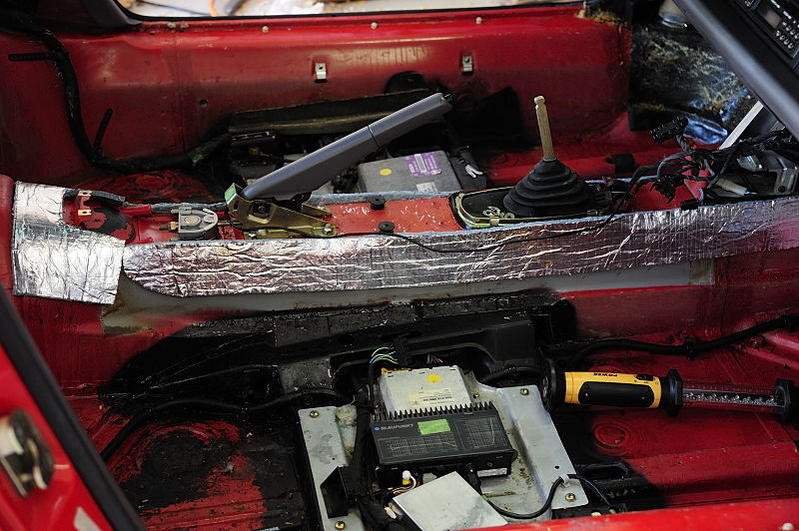
I did the center console piece in front of the shifter over the last two days.
This was a difficult piece because the factory piece is in 3 parts, the top, bottom, and side. It is impossible to separate the top and bottom piece w/o breaking the tabs and the AppBiz kit only supplies 2 pieces, not three. The next photo shows the top and bottom piece I could not separate.
The final result is good... the only problem was I measured wrong so I will have some of the plastic showing behind the gas pedal, lucked out this time.
Hi,
I hope folks can entertain me resurrecting this thread to help guide me install forward console carpet. I've been reading through all the threads I can find on interior carpet --- I'm a bit baffled on installing the forward console carpet, even reading through this post.
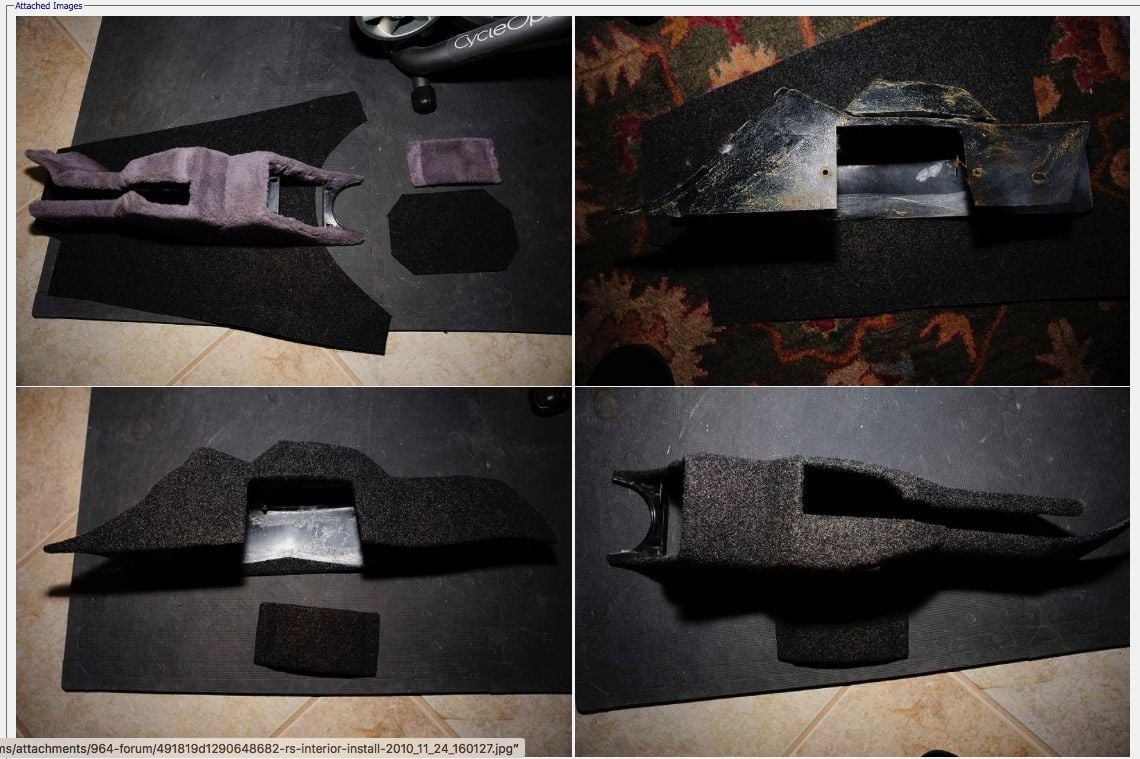
In my car / photos below I have -
P = original plastic piece
C = original carpet
M = new carpet
P3 originally sat on top of P2 and was covered in one shot by C23.
How is the combination of P2 and P3 suppose to go back together with new carpet M? Has anyone done this before?


 07-03-2011, 11:17 PM