When you click on links to various merchants on this site and make a purchase, this can result in this site earning a commission. Affiliate programs and affiliations include, but are not limited to, the eBay Partner Network.
Is there a good guide to replacing Targa top gaskets?
There's a long video in German that seems to come up over and over when I searched about this. Aside from the language barrier, I work far better from text and photos than a video I have to pause and back up repeatedly. Any good resources?
The front gasket is the priority since it's got a substantial tear and is the likely source for the howling I get with the top on and windows up. The rear is old and worn, but not failed in the same way as the front. I've got a set of gaskets that came with the car and hopefully they go in without much headache.
Yes, there is a booklet that Porsche has published. I don't have the reference off the top of my head but if you search the posts I started, you will find it.
Yes, there is a booklet that Porsche has published. I don't have the reference off the top of my head but if you search the posts I started, you will find it.
I'm probably going to do the front in the first part of next week, will document as best I can. The rear won't be too far behind, but I'm going to need to pick up some of those plastic trim rivets that flank the locator pin holes, I'm not finding them in the boxes of parts that came with the car and from what I'm reading they aren't reusable.
The plastic pins are definitely not reusable, you will damage them when pulling them out. There’s little black plugs that you will need to remove/reuse from your existing pins. If they’re missing they are still available for purchase.
You’ll also need some permatex gasket adhesive which any auto parts store will have. I’ll try to post a picture here so you know what to get.
Another forum member kindly shared this Porsche bulletin with me some months ago. I've improved the top sealing a lot just by making adjustments but will probably need to replace a seal or two on mine soon also. The first section in this bulletin covers top adjustments, the second section covers seal replacement. It's meant for 911 Targas (e.g. g-body) rather than the 964 but most of the steps are (or appear to be) the same.
Another forum member kindly shared this Porsche bulletin with me some months ago. I've improved the top sealing a lot just by making adjustments but will probably need to replace a seal or two on mine soon also. The first section in this bulletin covers top adjustments, the second section covers seal replacement. It's meant for 911 Targas (e.g. g-body) rather than the 964 but most of the steps are (or appear to be) the same.
Excellent, I just got done watching the German language video yet again and about to start the job.
Front windshield seal is done. Still waiting on the replacement clips from Pelican before I dive into the back one.
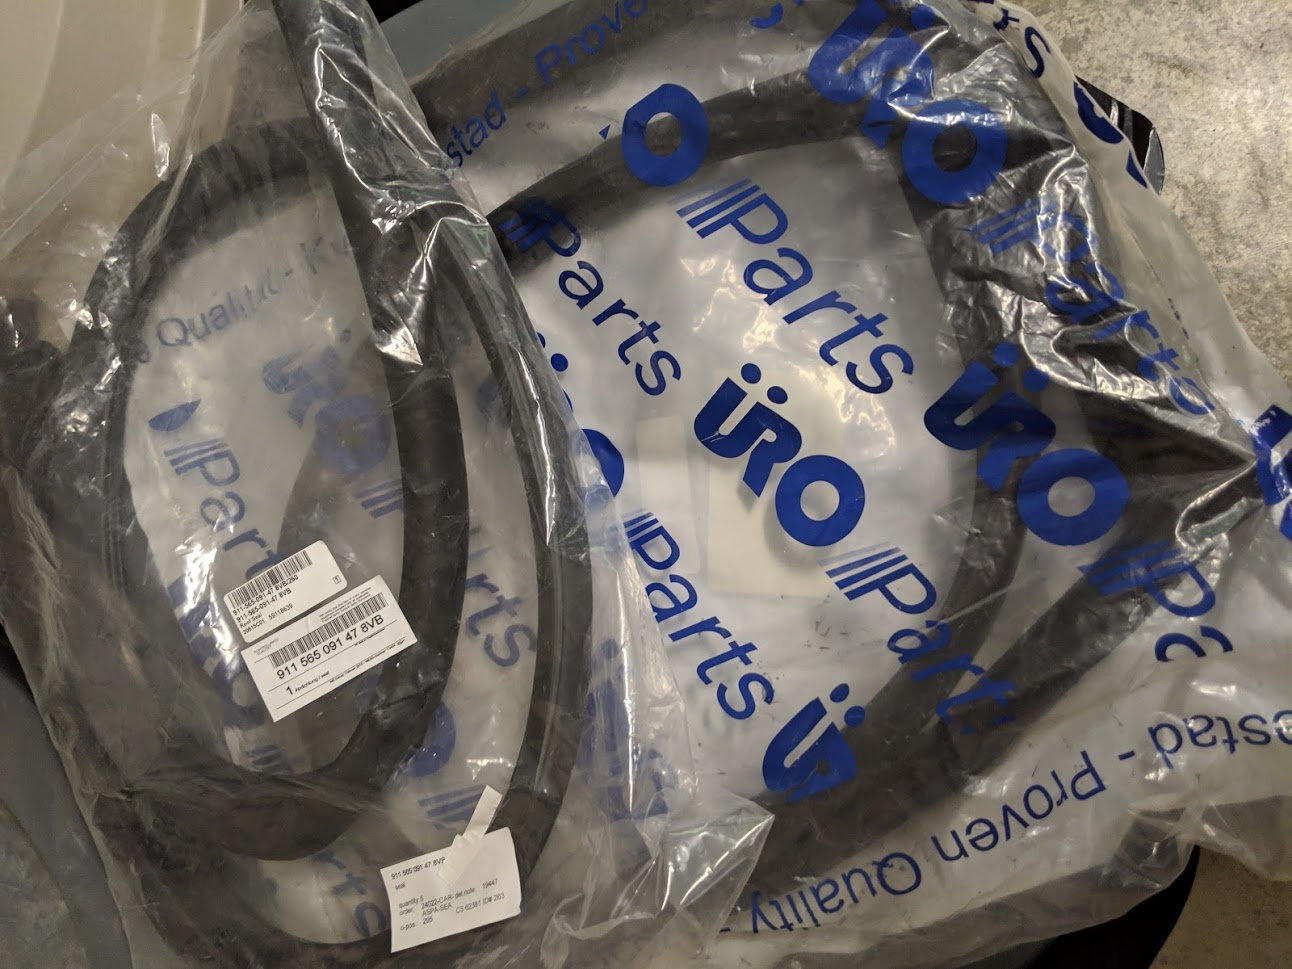
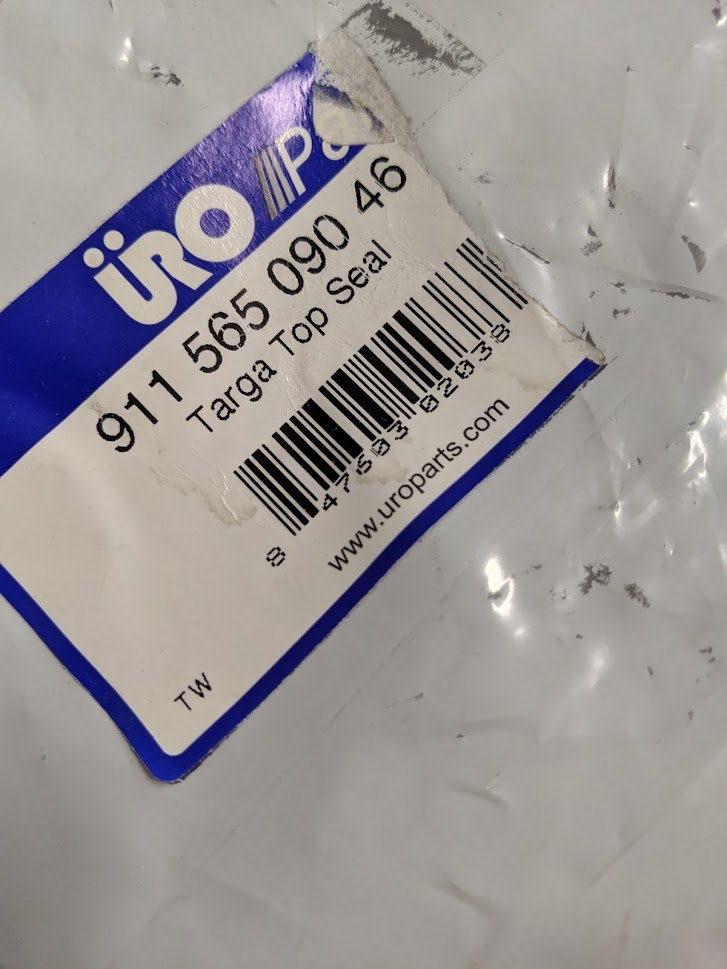
The car came with a couple boxes of parts including both seals, this is the front one. Looking up the P/N on Pelican shows a superseding P/N so I've got no idea how old this seal is, but it looks good, is here now, and didn't cost a dime.
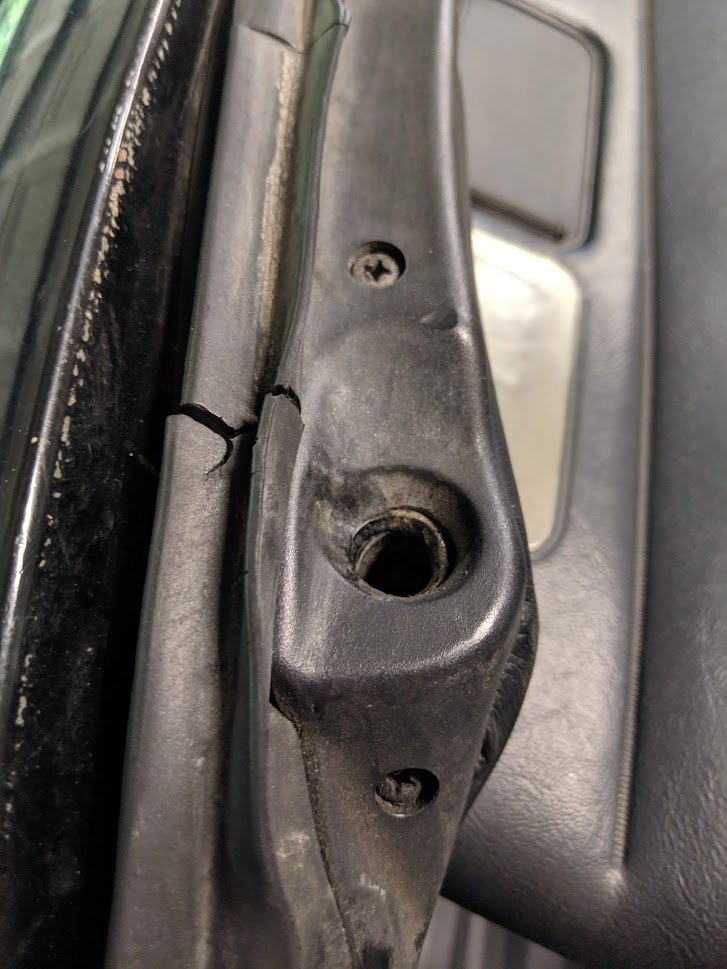
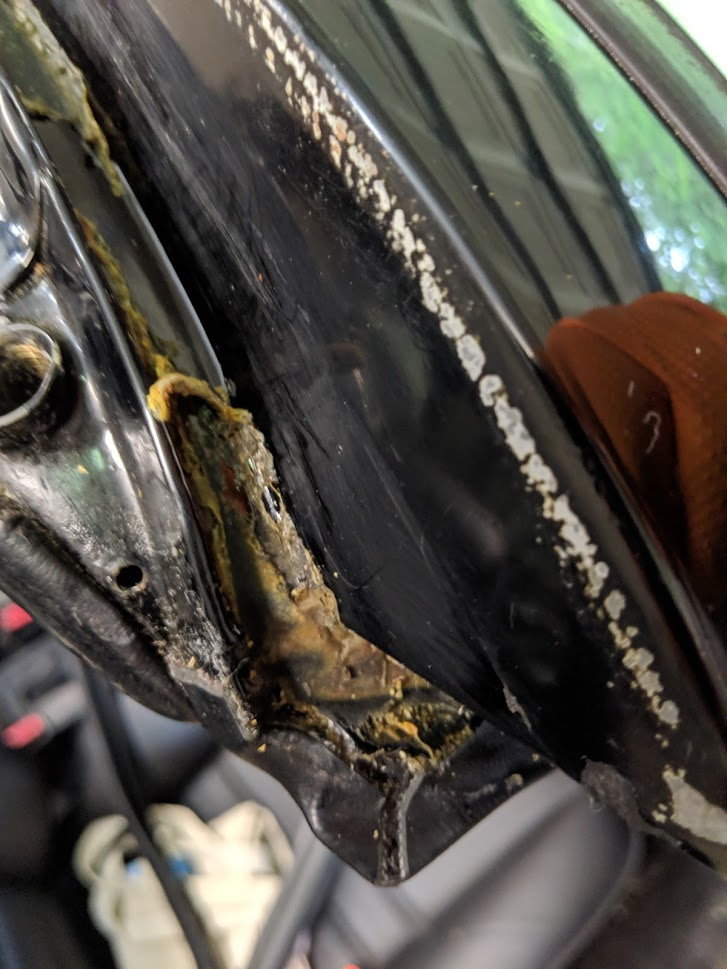
This is glaring issue with the front, but there are deeper problems as well, fingers crossed that I got all my bases covered.
The old and new seals aren't quite the same. After the momentary panic subsided I test fit the new one. It works. I'm going to be okay.
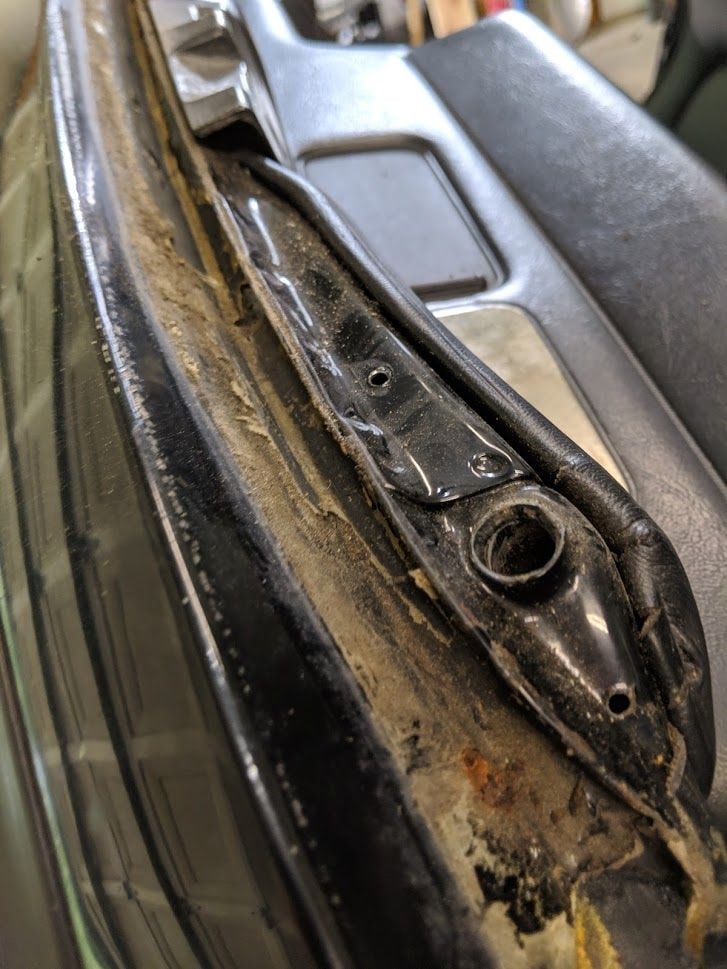
Lots of dirt, adhesive not really adhering anywhere, and 1/4" diameter rust spot. The rust was easy and the first thing I dealt with, scraped it clean, primed, and sealed. Thankfully it was only the one spot.
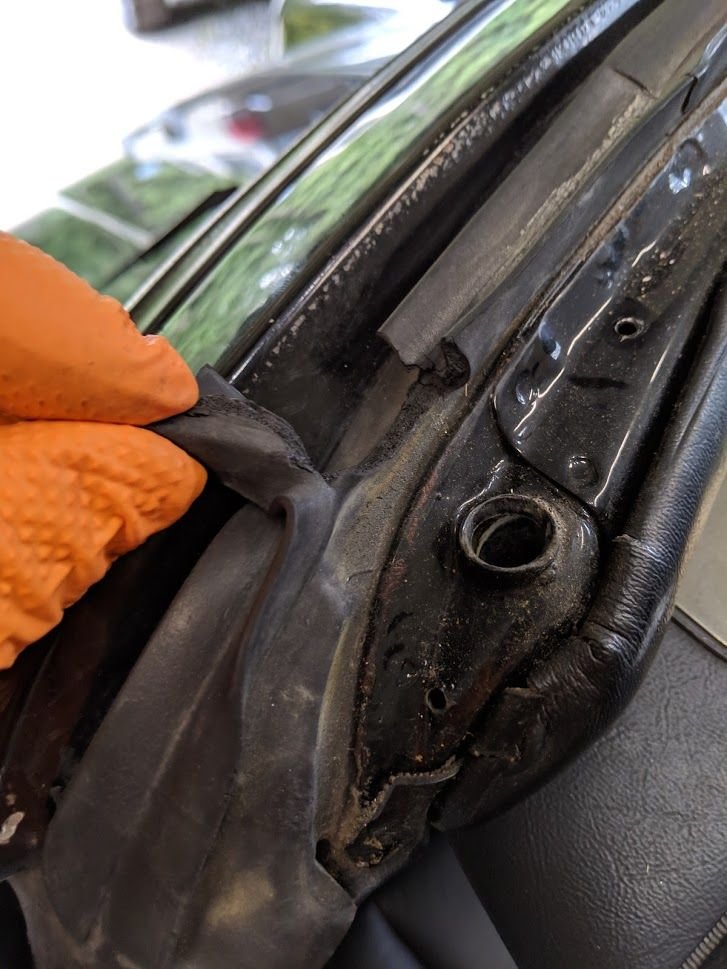
Took me about two hours, easily the bulk of the job, to clean the channel around the windshield of all the old adhesive. The top of the channel was pretty easy, I just blocked either end and poured in some thinner to soften the glue and it peeled out pretty easy. Soaking wasn't really as feasible down the sides so I had to resort to just sitting my butt down and resorting to elbow grease. At least the sound of the rain was a nice backdrop for mindless work.
I swear I thought I took a nice picture of the clean channel, but I didn't. Just imagine this without the glue. That's what it looked like.
Then I just stopped documenting altogether. Another test fit and glue time. I was using Permatex Black Rubber Sealant and found it skinning over really fast, so I worked faster. No time for photos.
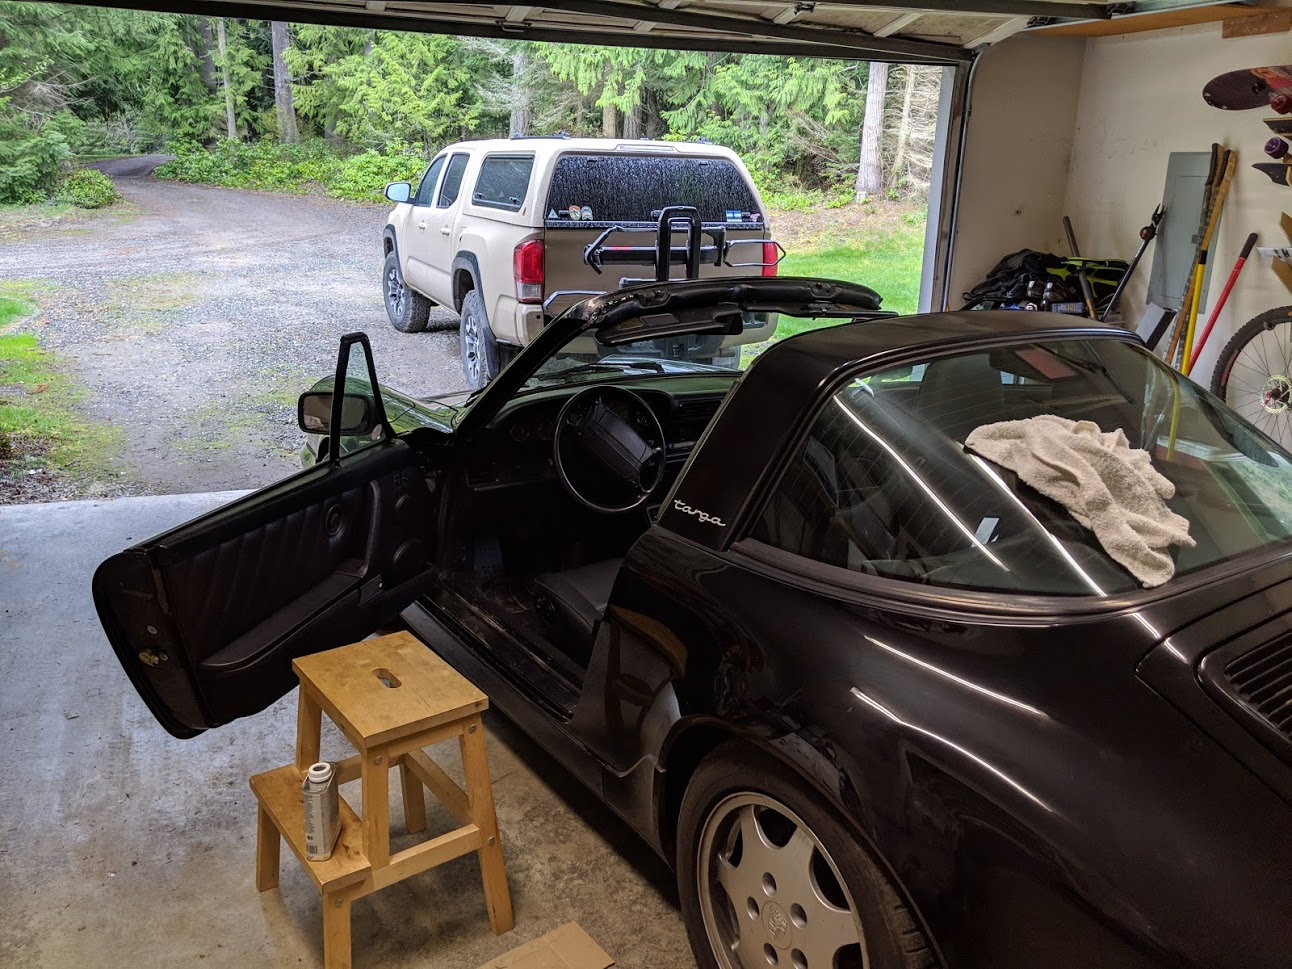
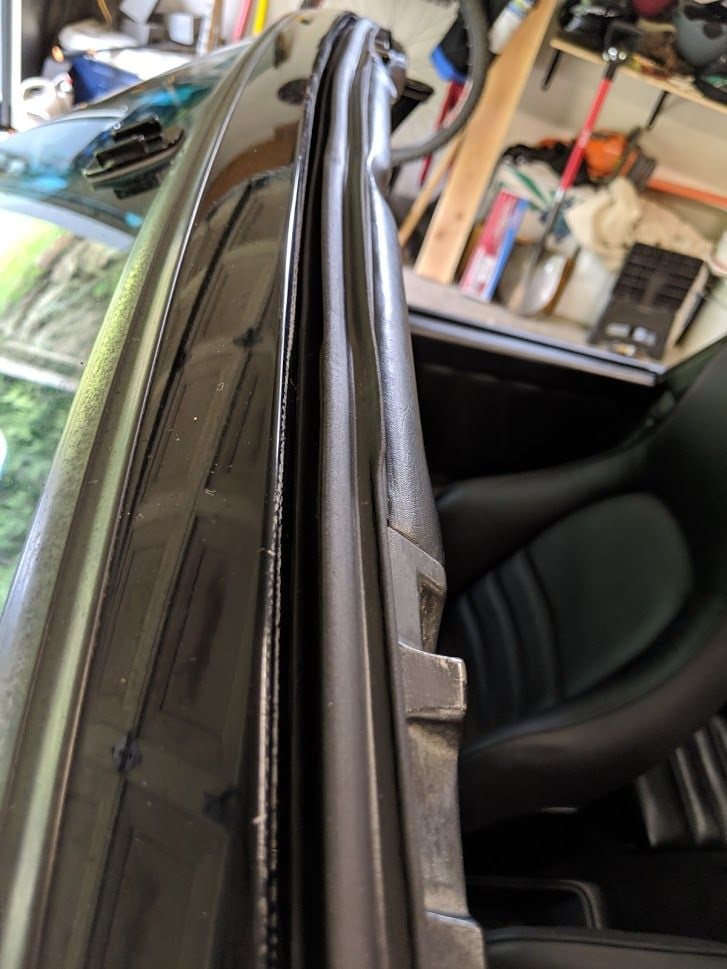
Glue in and top installed to check fit. Goes back together the same. This bugs me though, the top sits a little high on the driver's side. It always did (always being the last few weeks) so adjustments are probably called for, but rear seal first. Clips show up today or tomorrow and I'll probably tackle the job later in the week when I have some more free time.
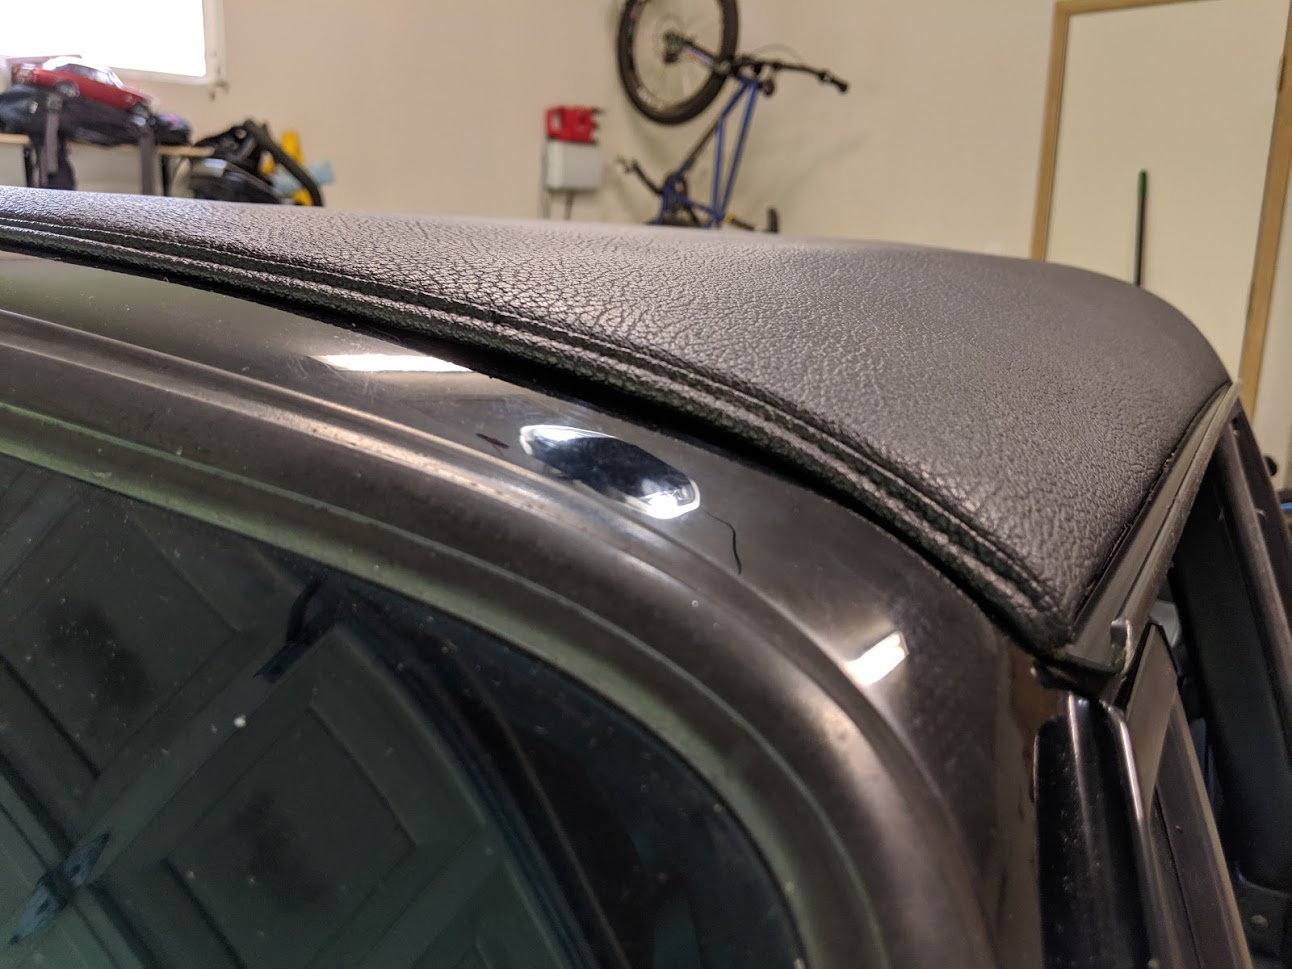
Hi, I've recently purchased a 964 Targa and are considering changing the seals, are the URO seals OK quality and fit wise? They are a lot more affordable than the genuine article. Also does the edge of the top covering have to angle downwards, mine is pointing upwards and I wonder is this part of the water leak issue and does the cover need replacing or can it be stretched and re-glued?


 04-18-2019, 04:40 PM