When you click on links to various merchants on this site and make a purchase, this can result in this site earning a commission. Affiliate programs and affiliations include, but are not limited to, the eBay Partner Network.
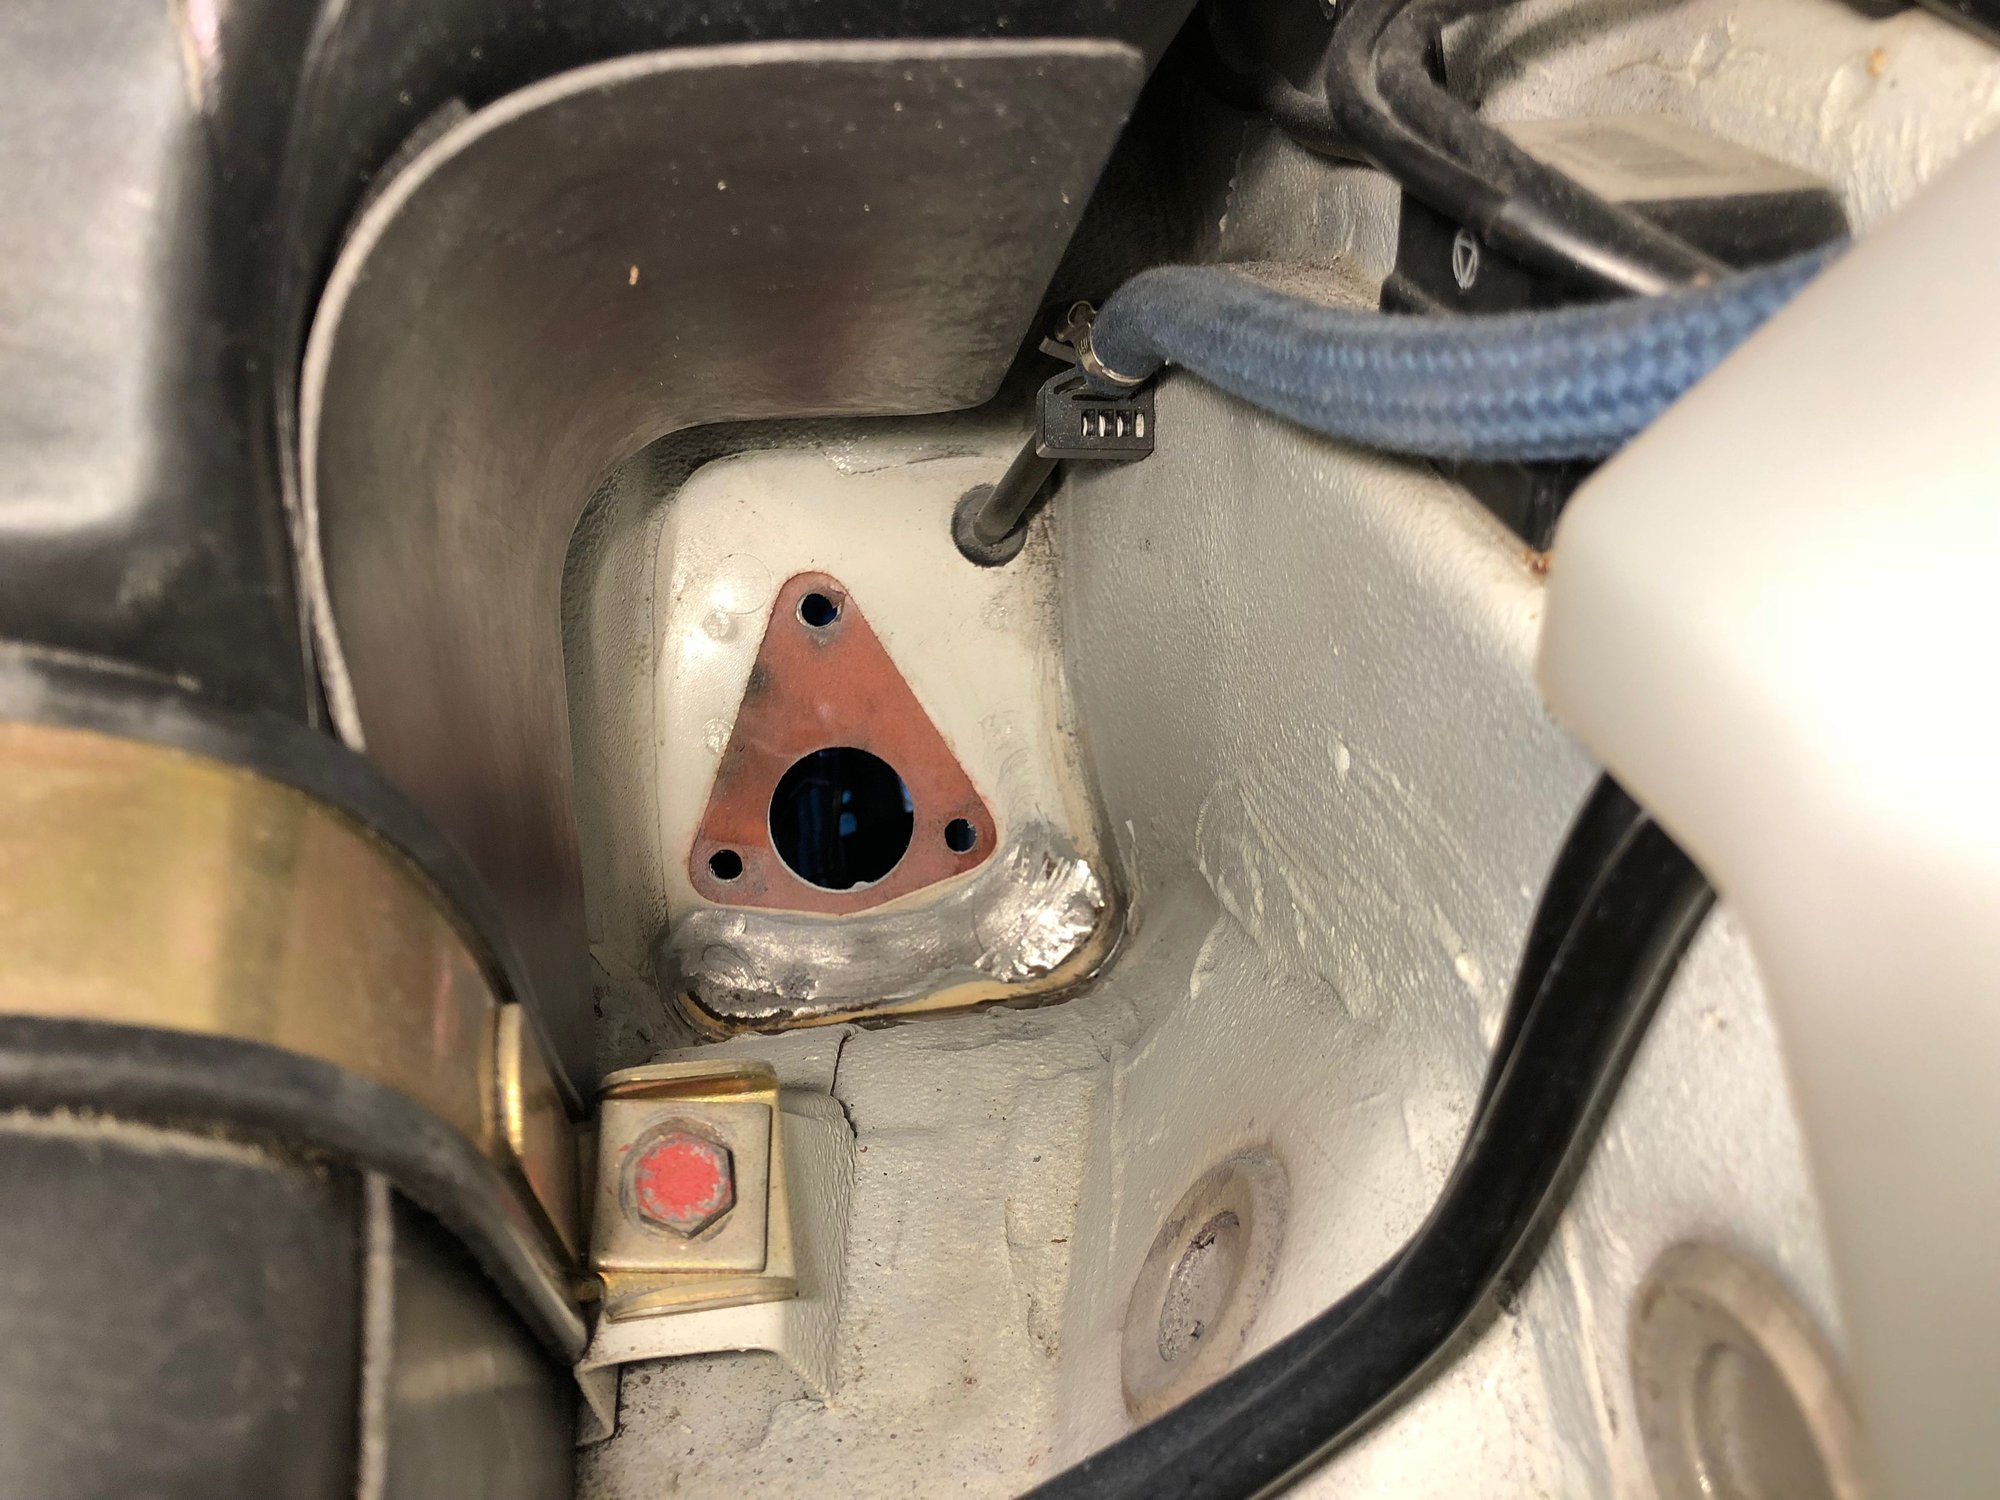
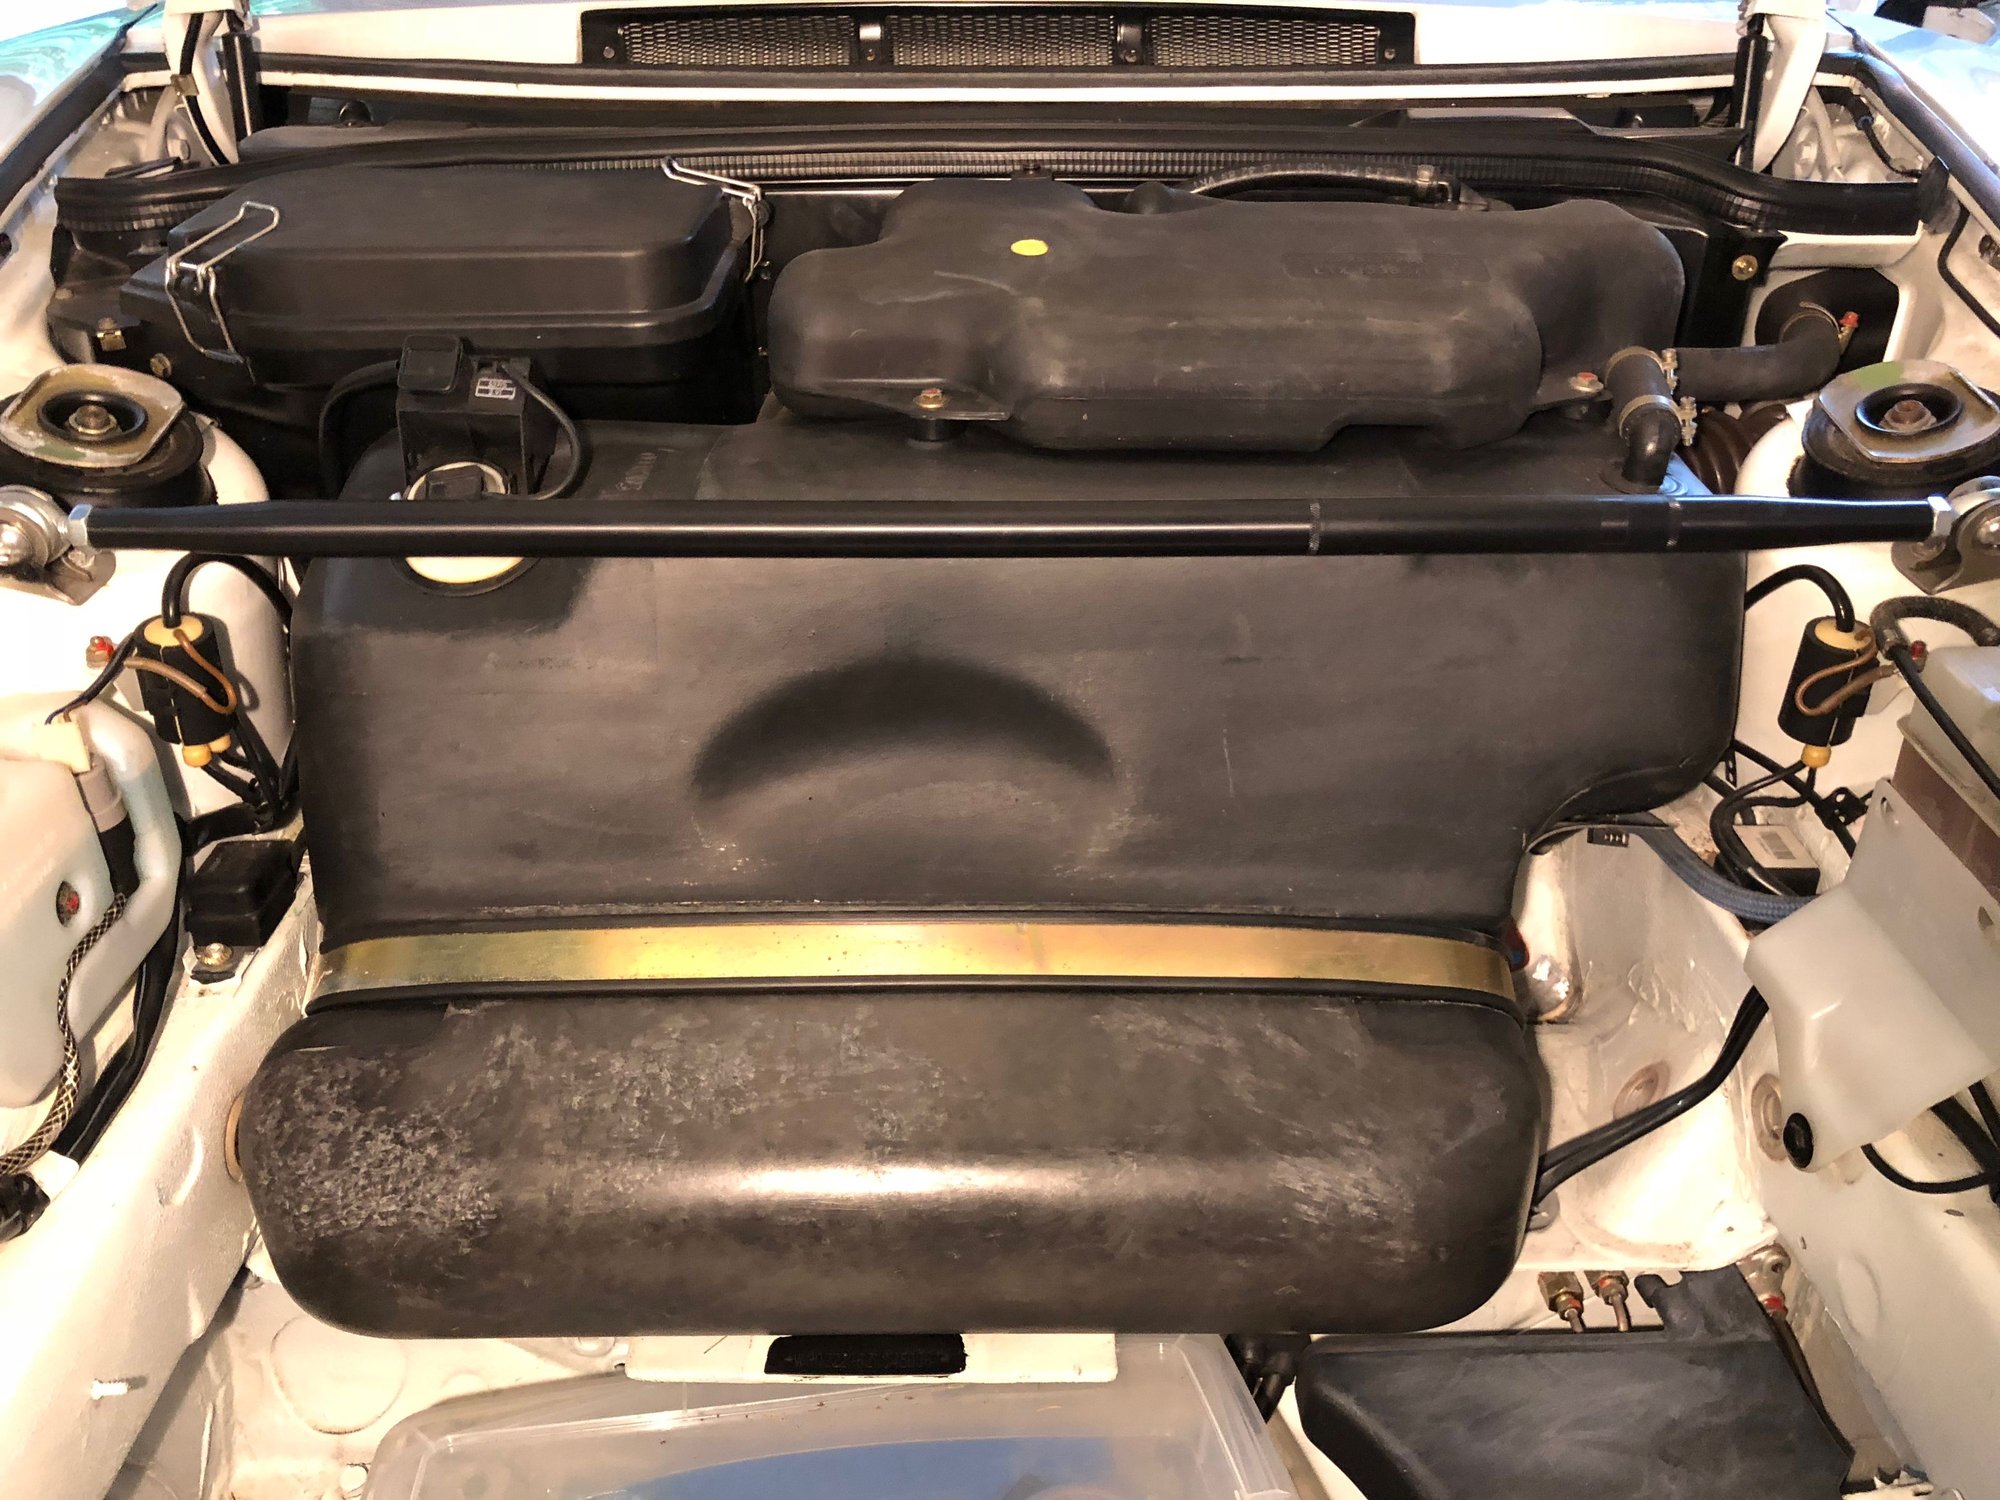
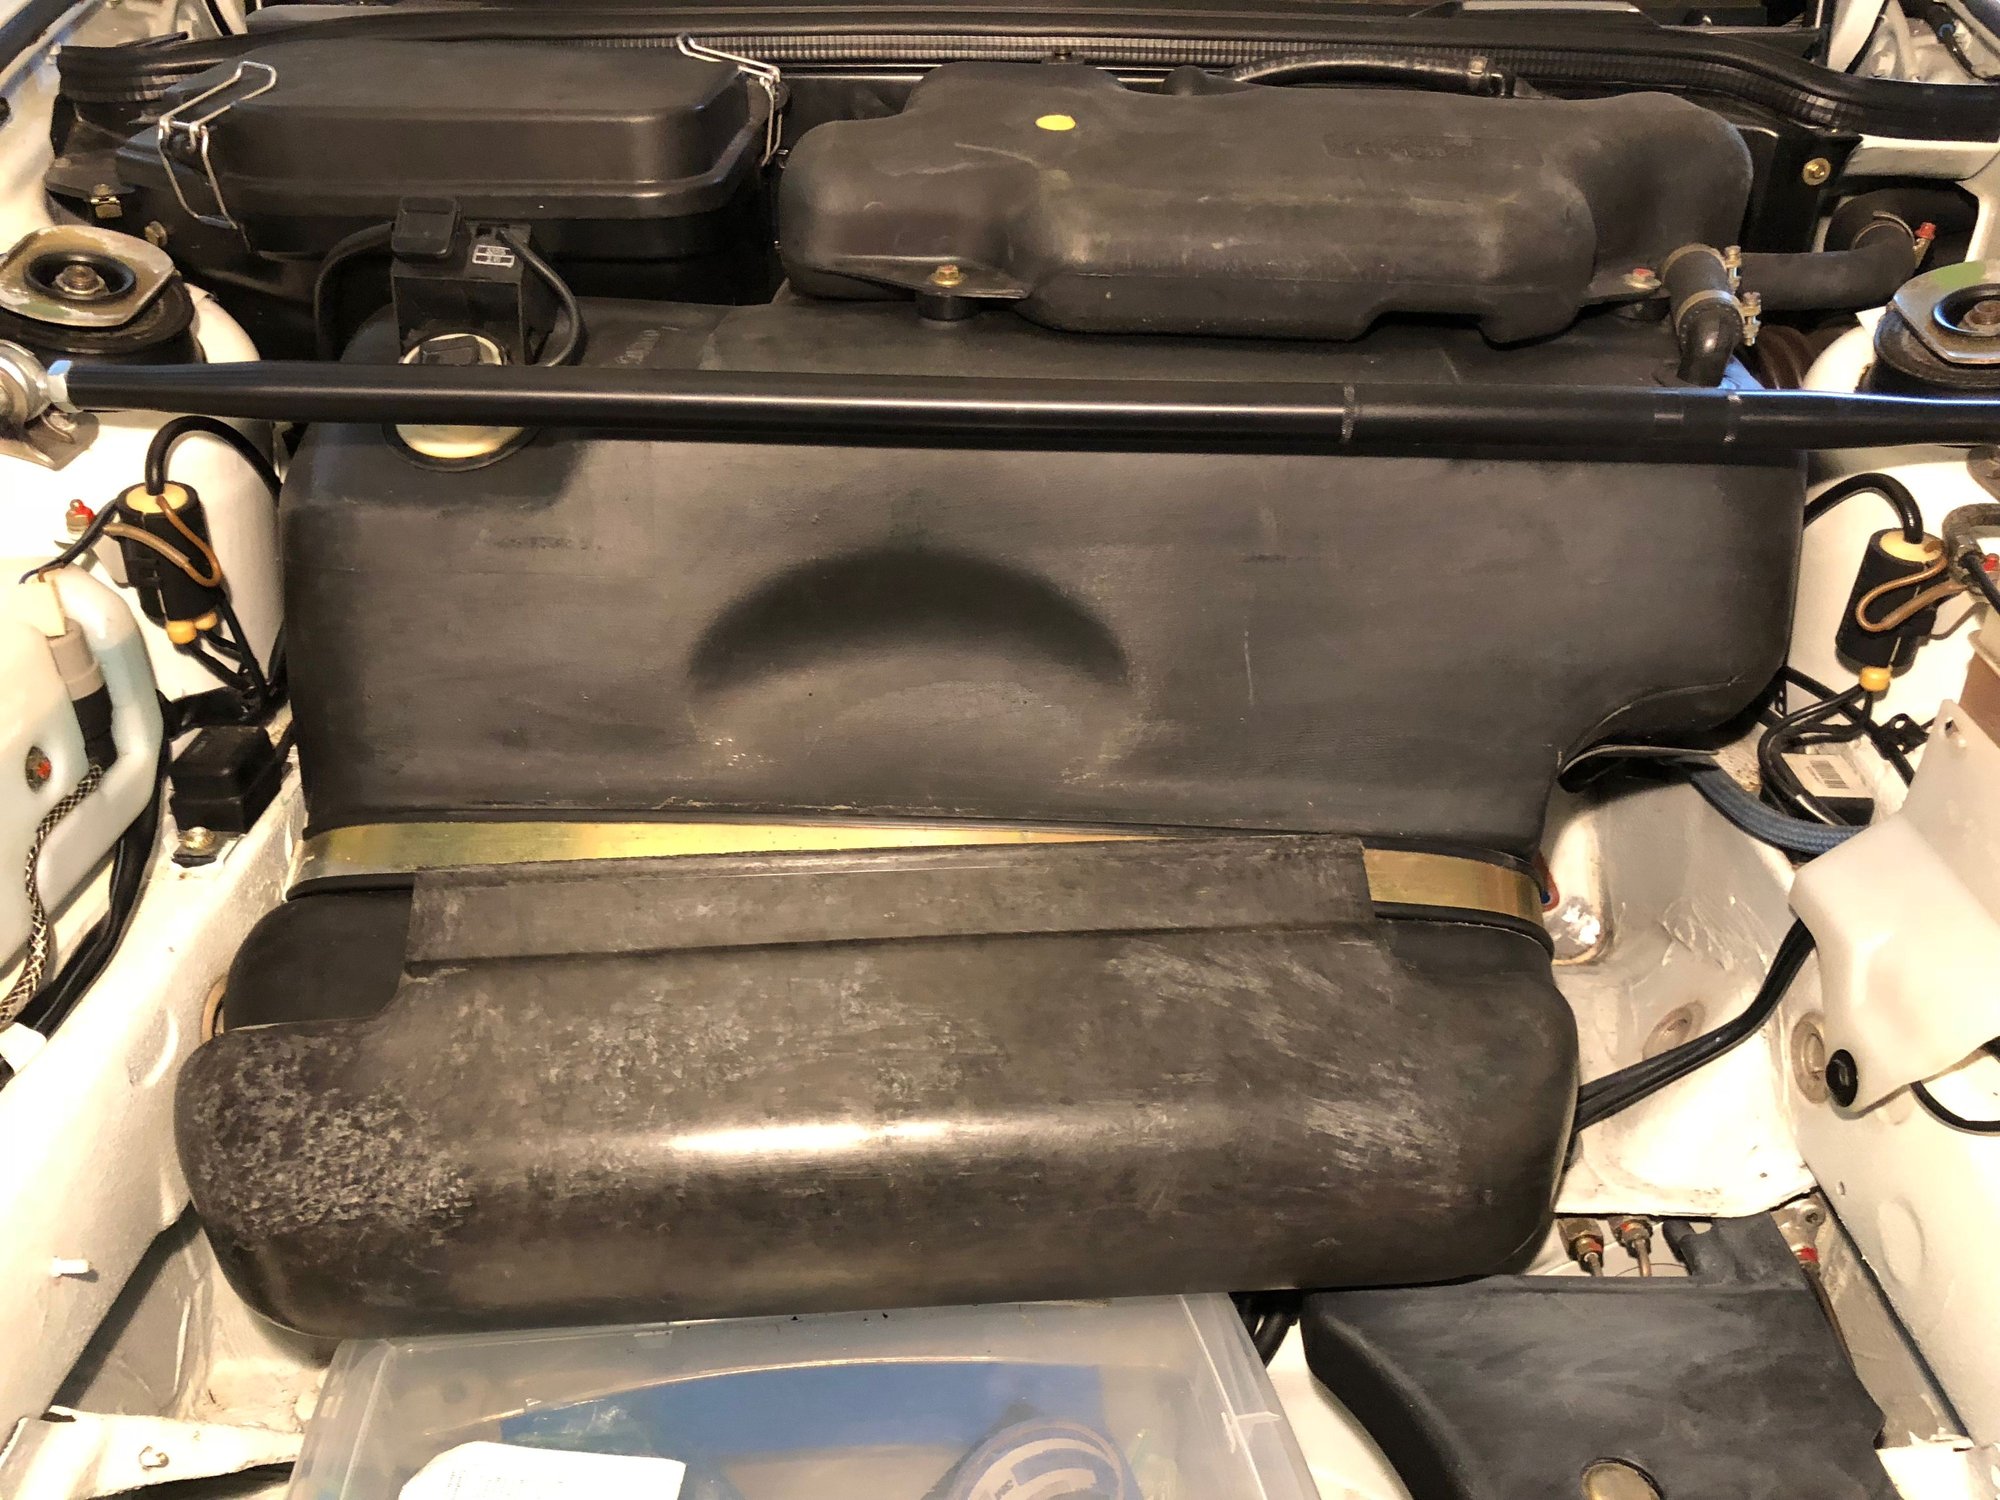
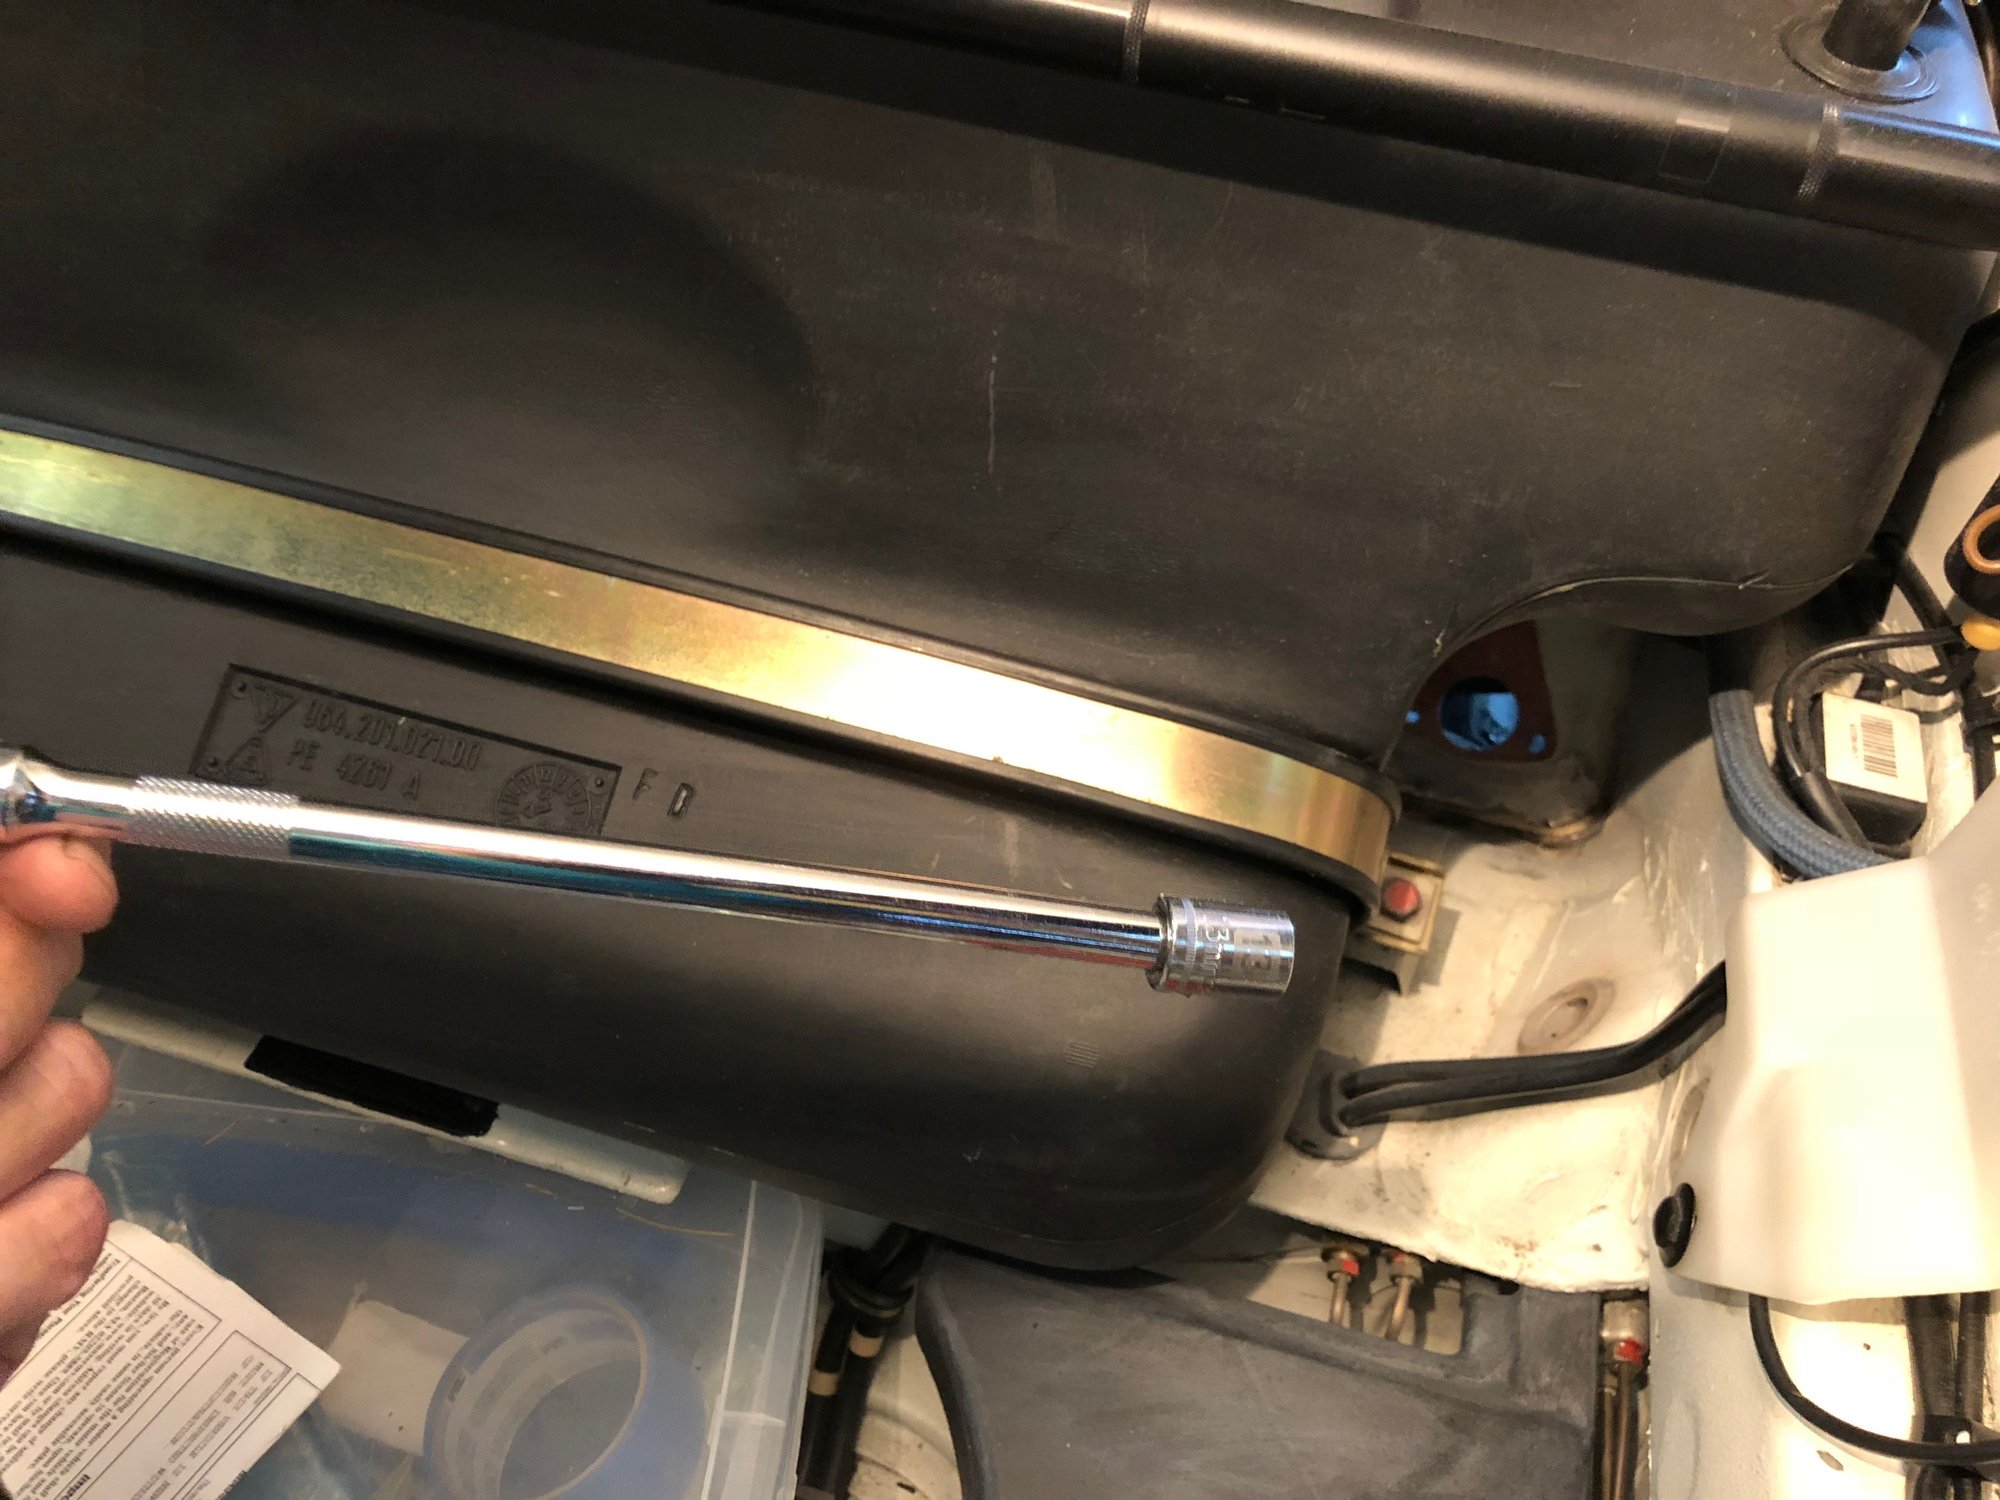
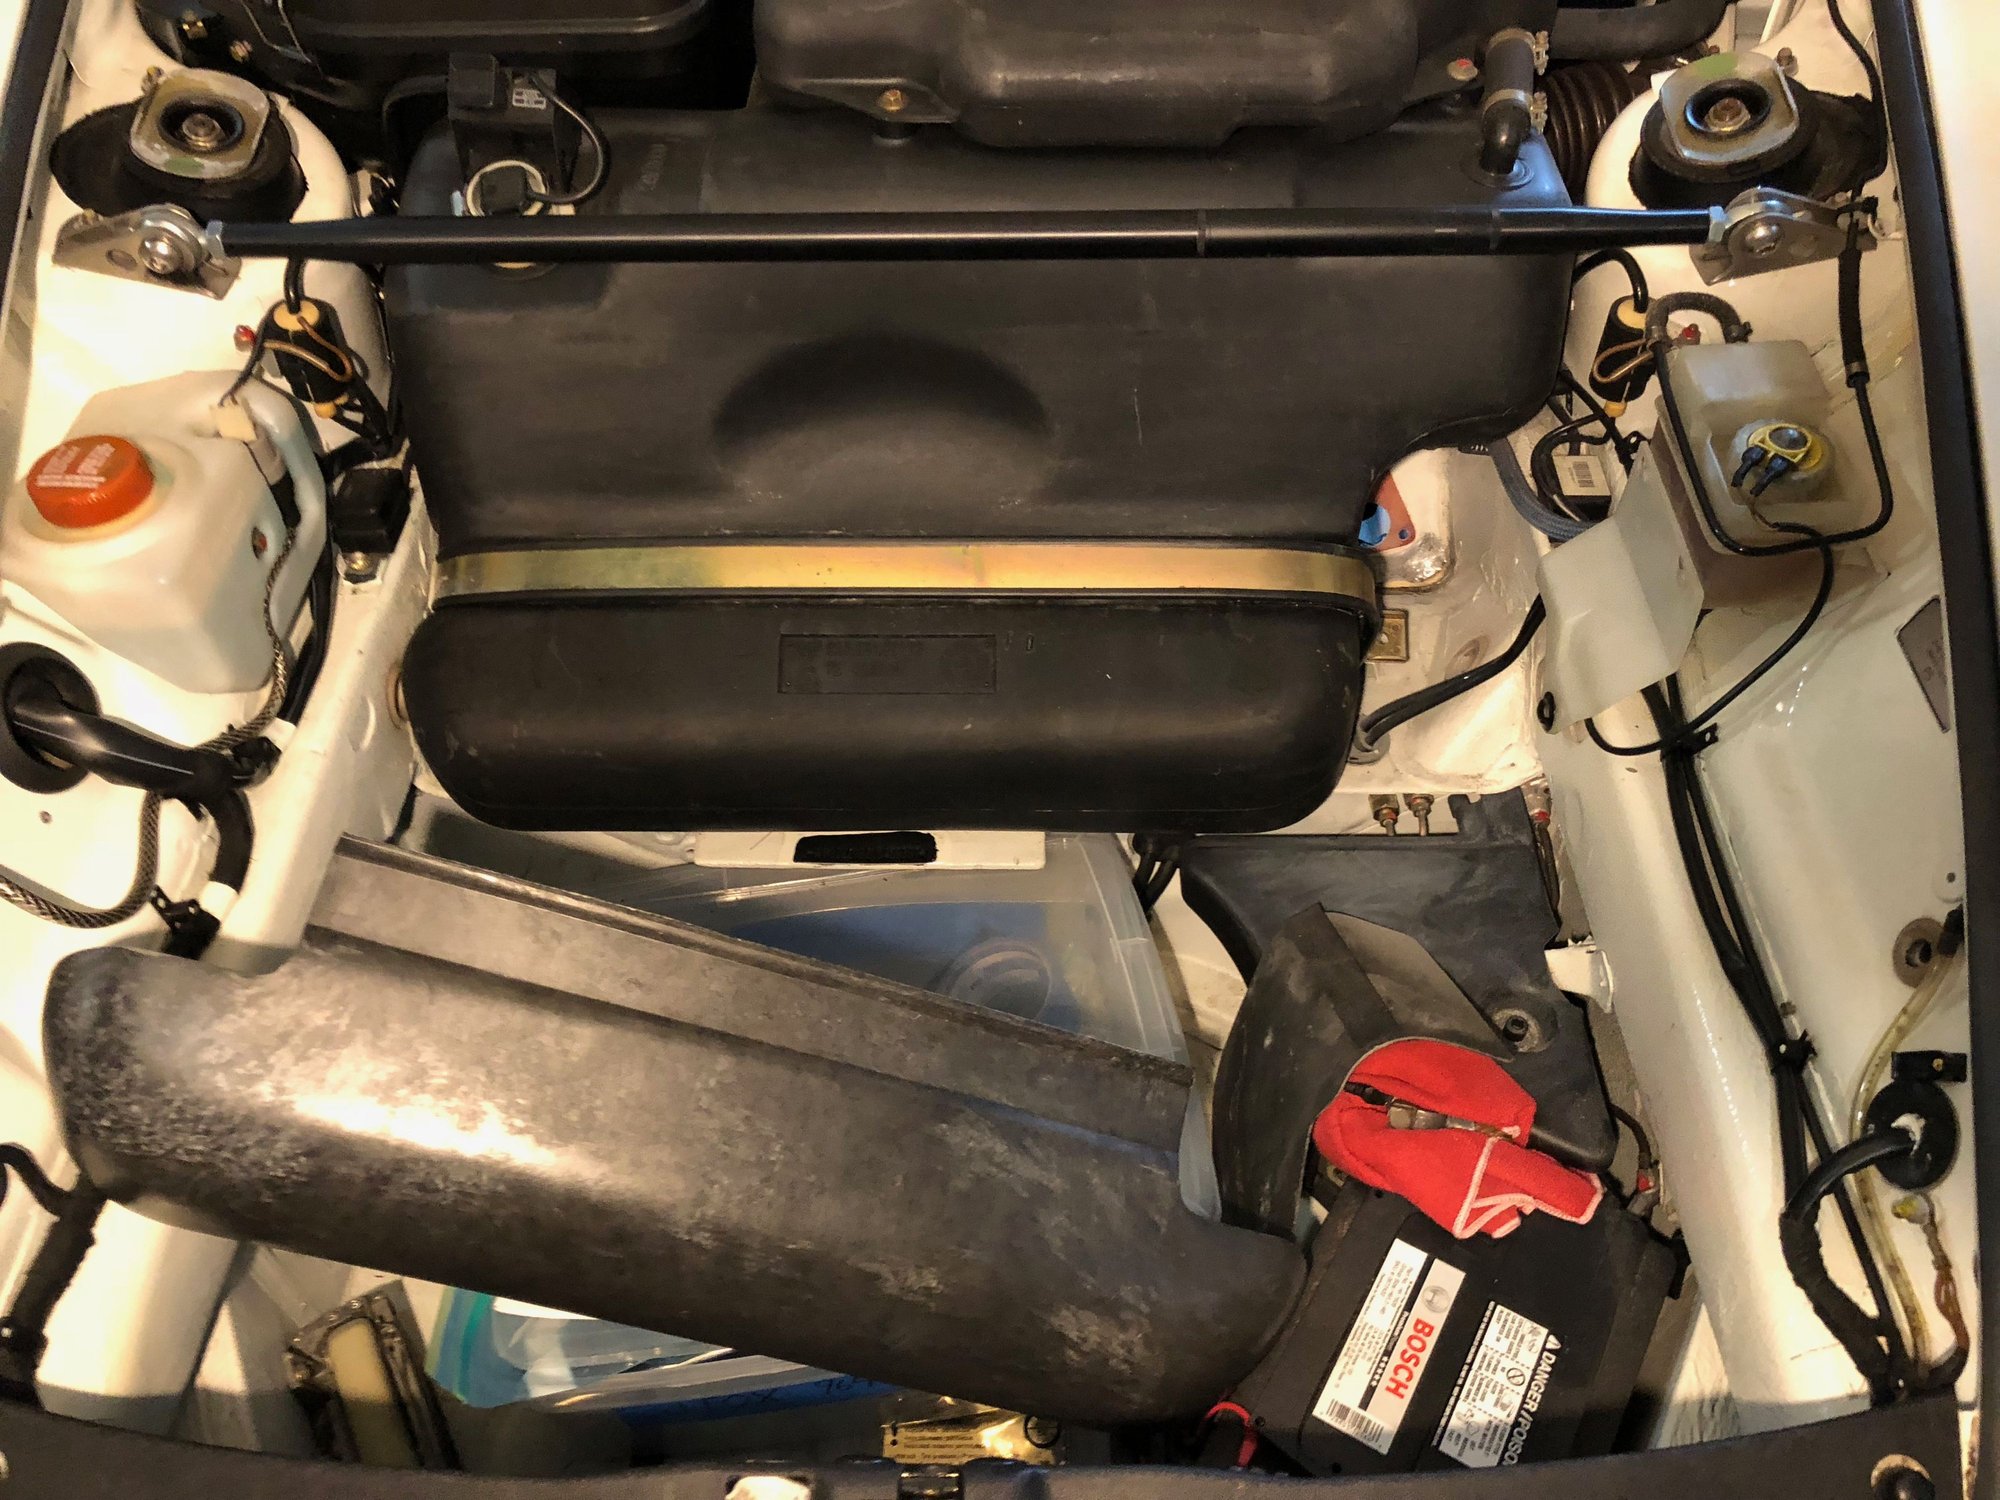
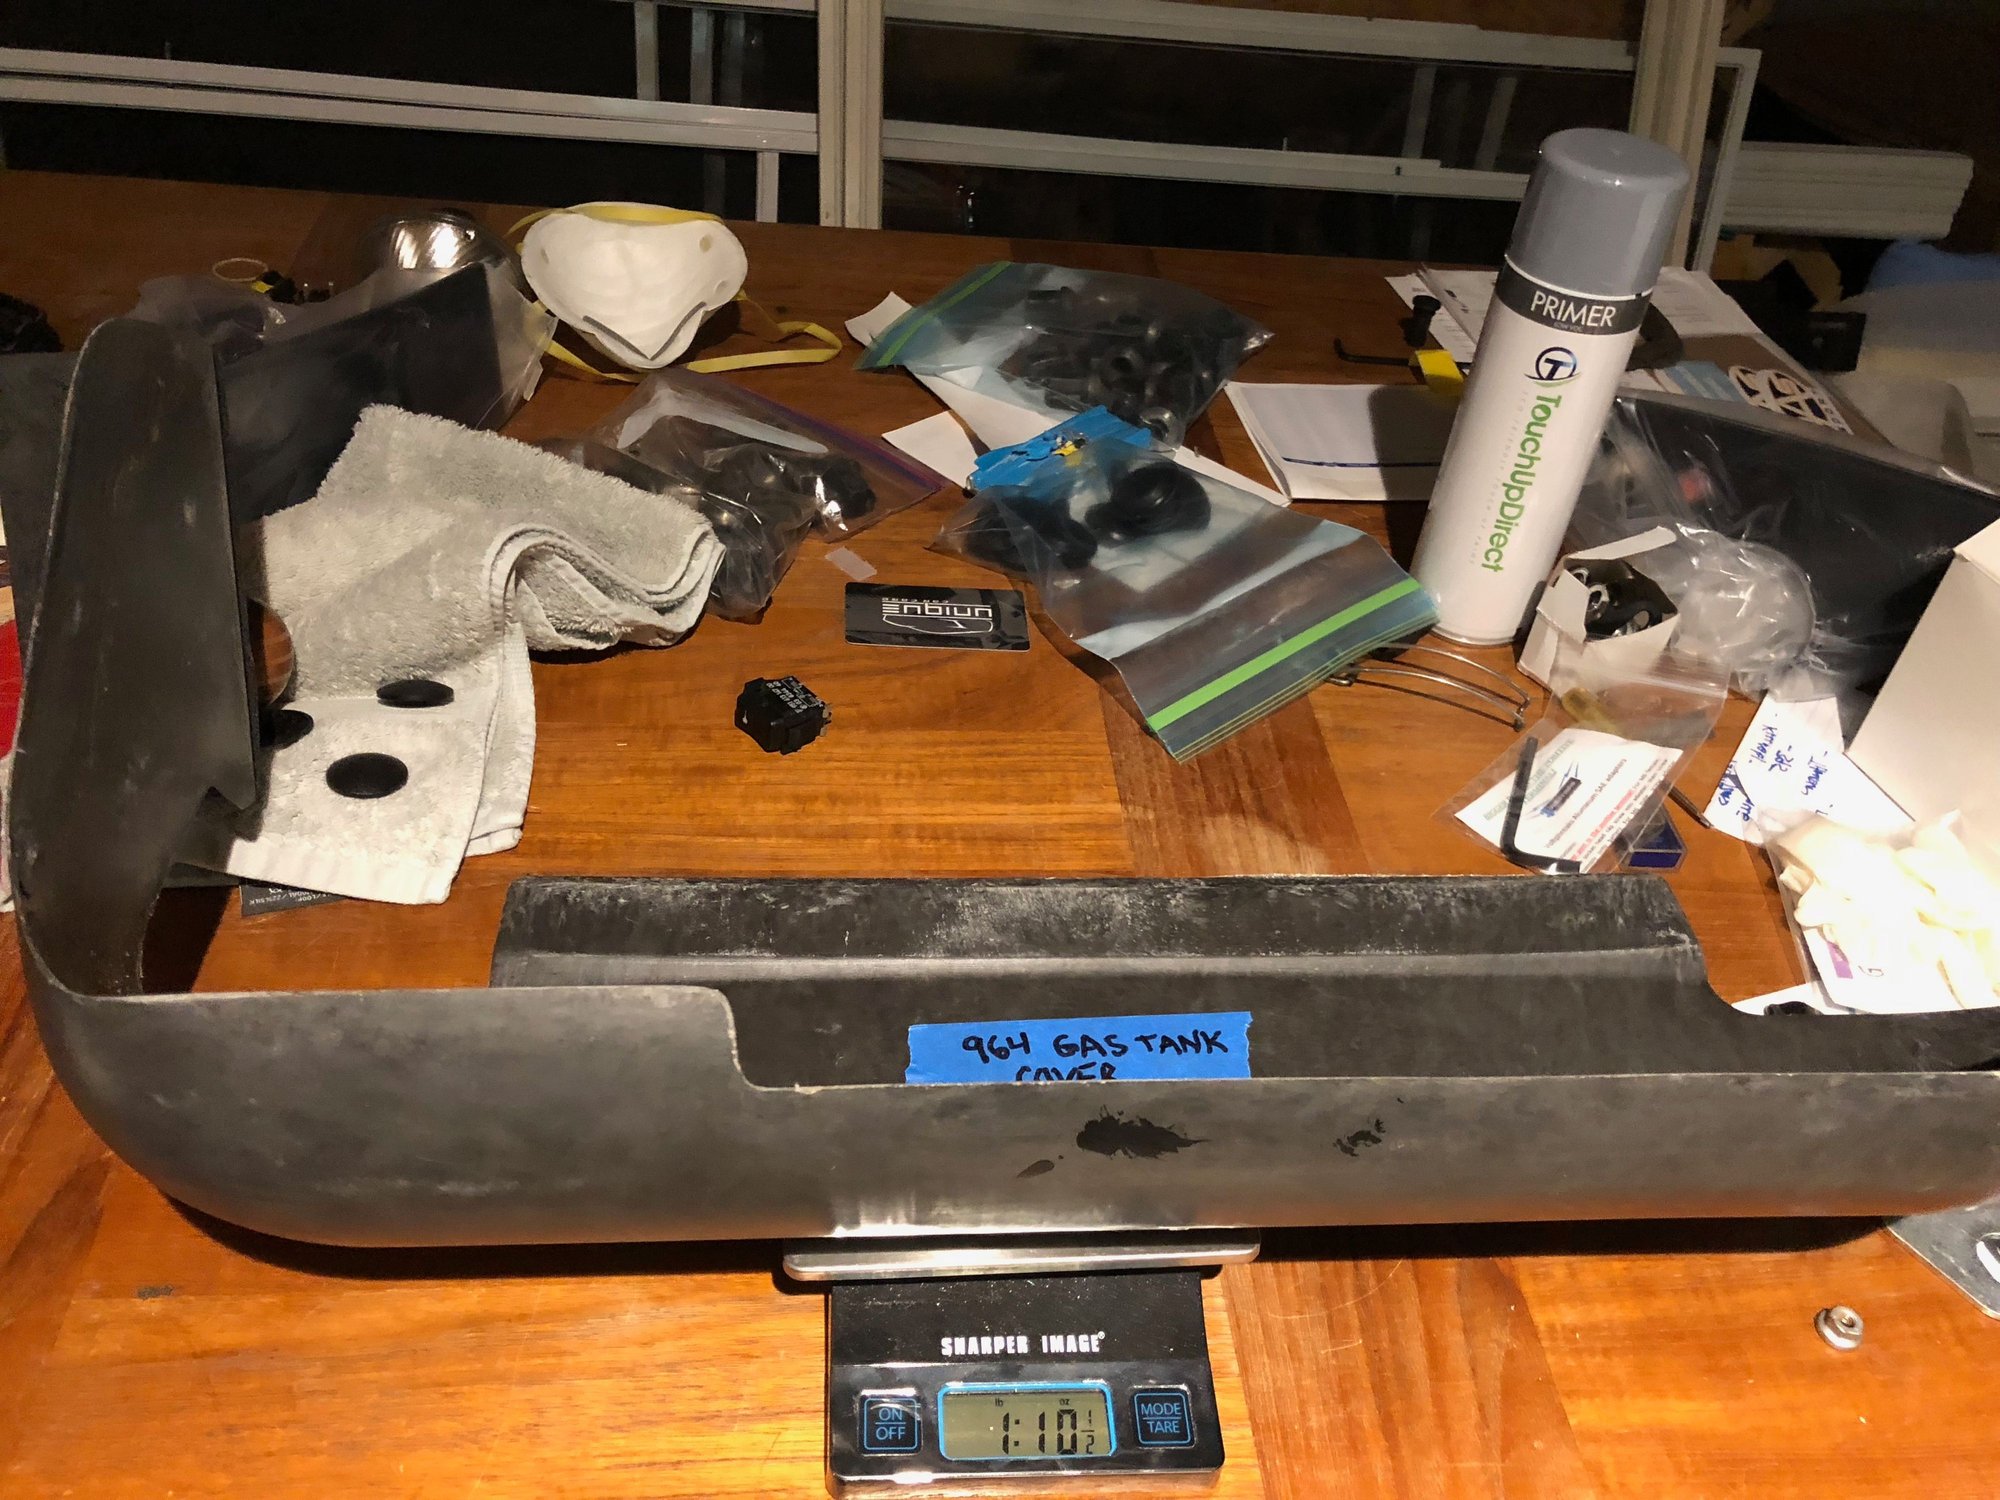
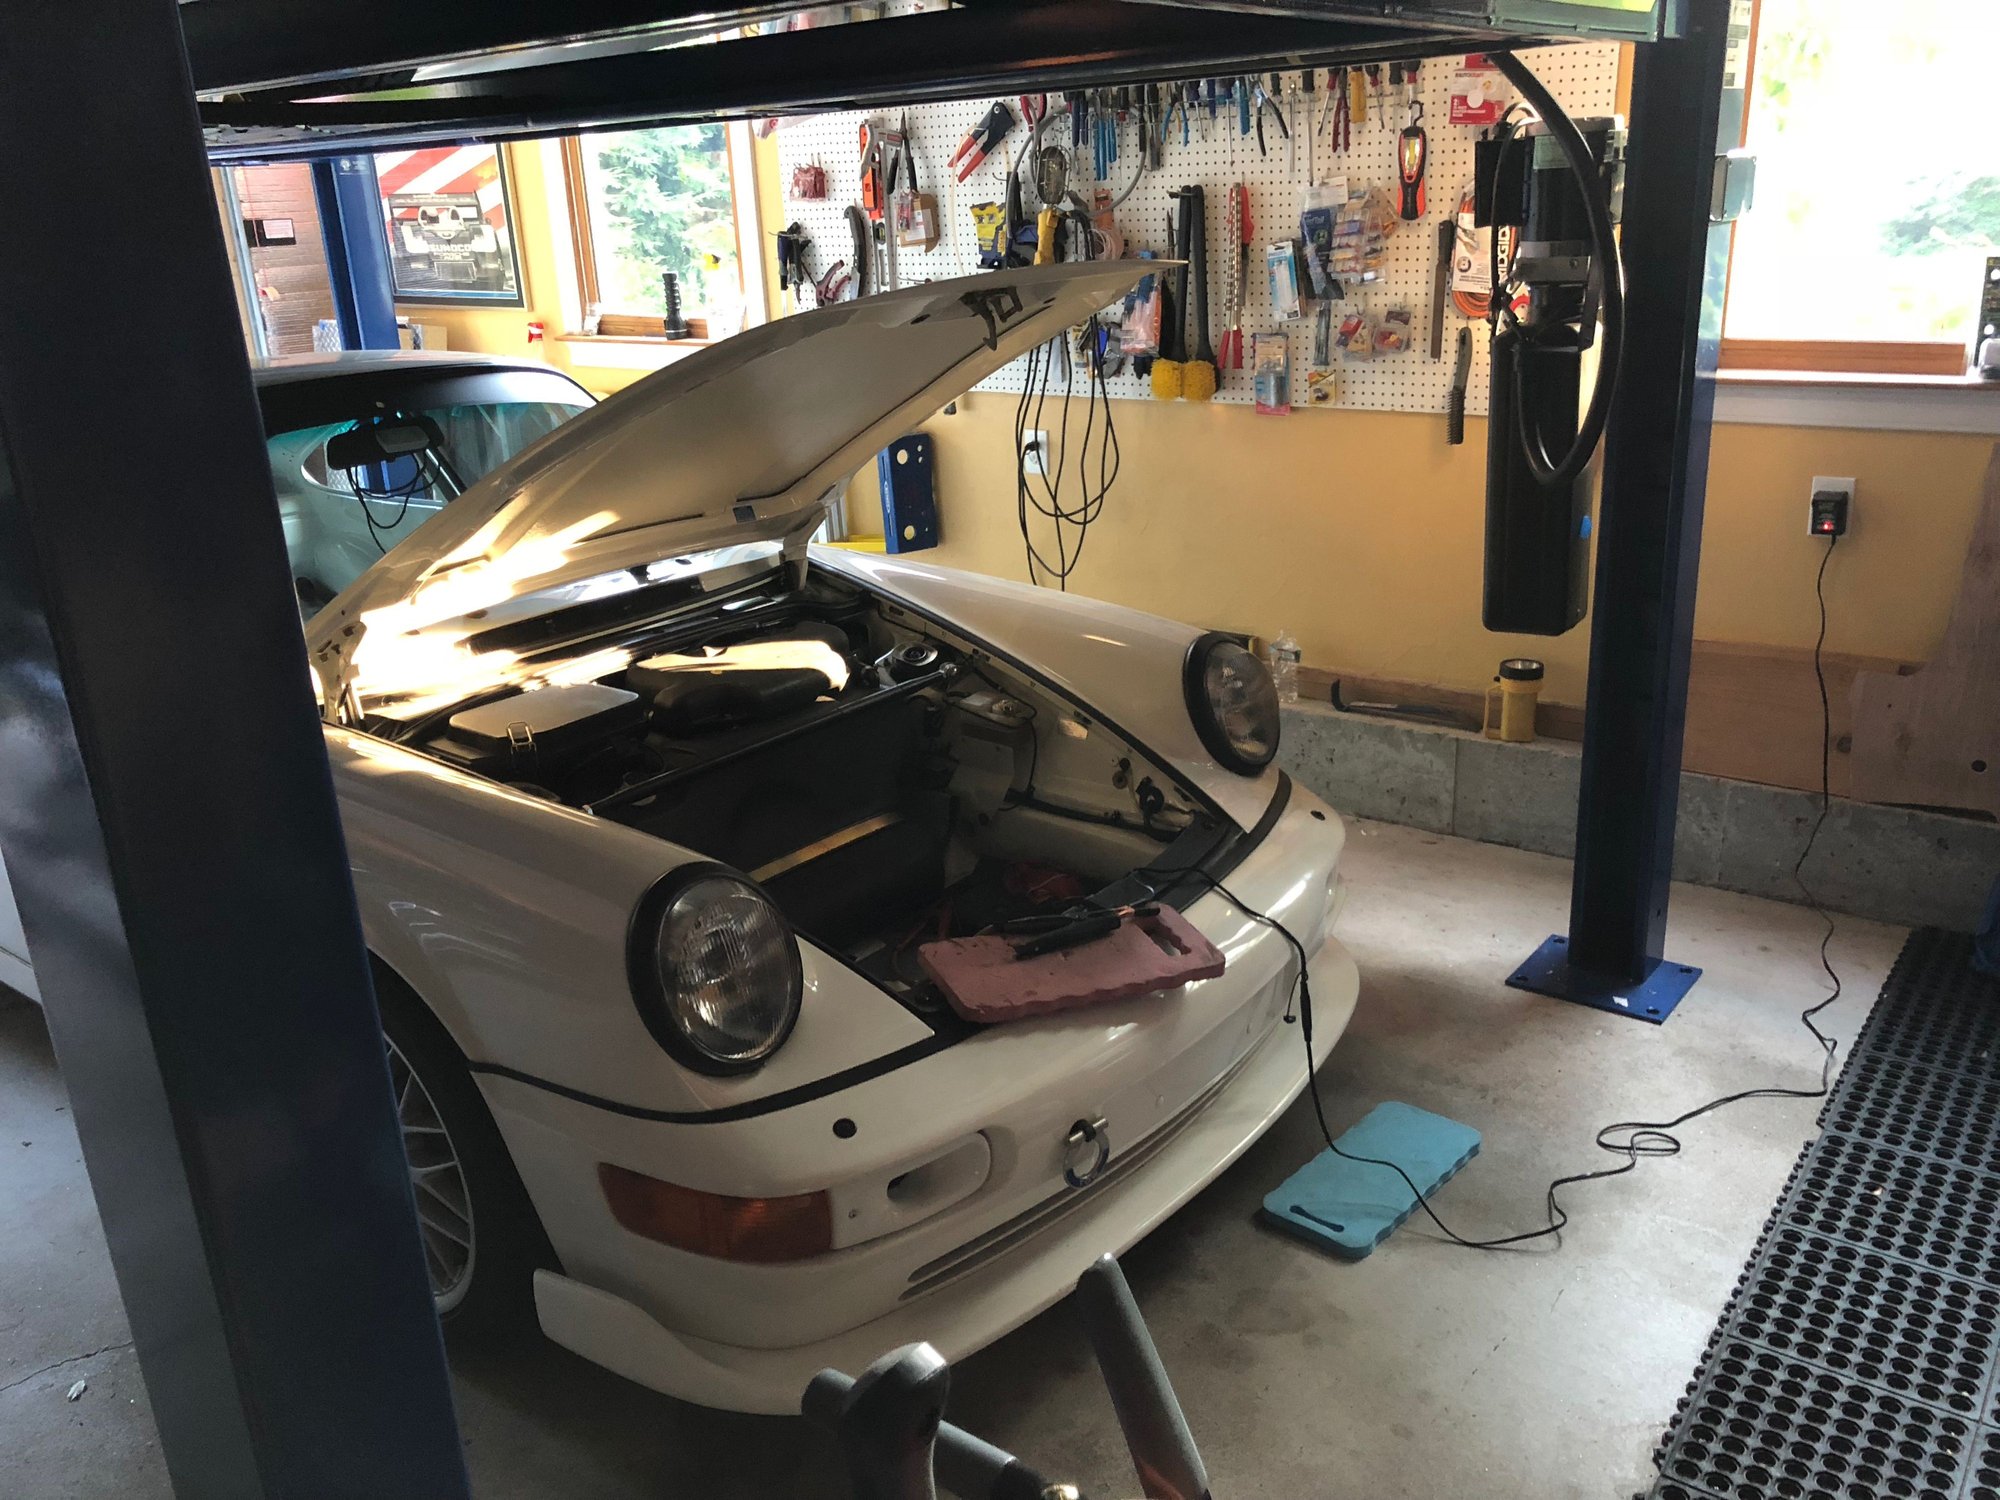
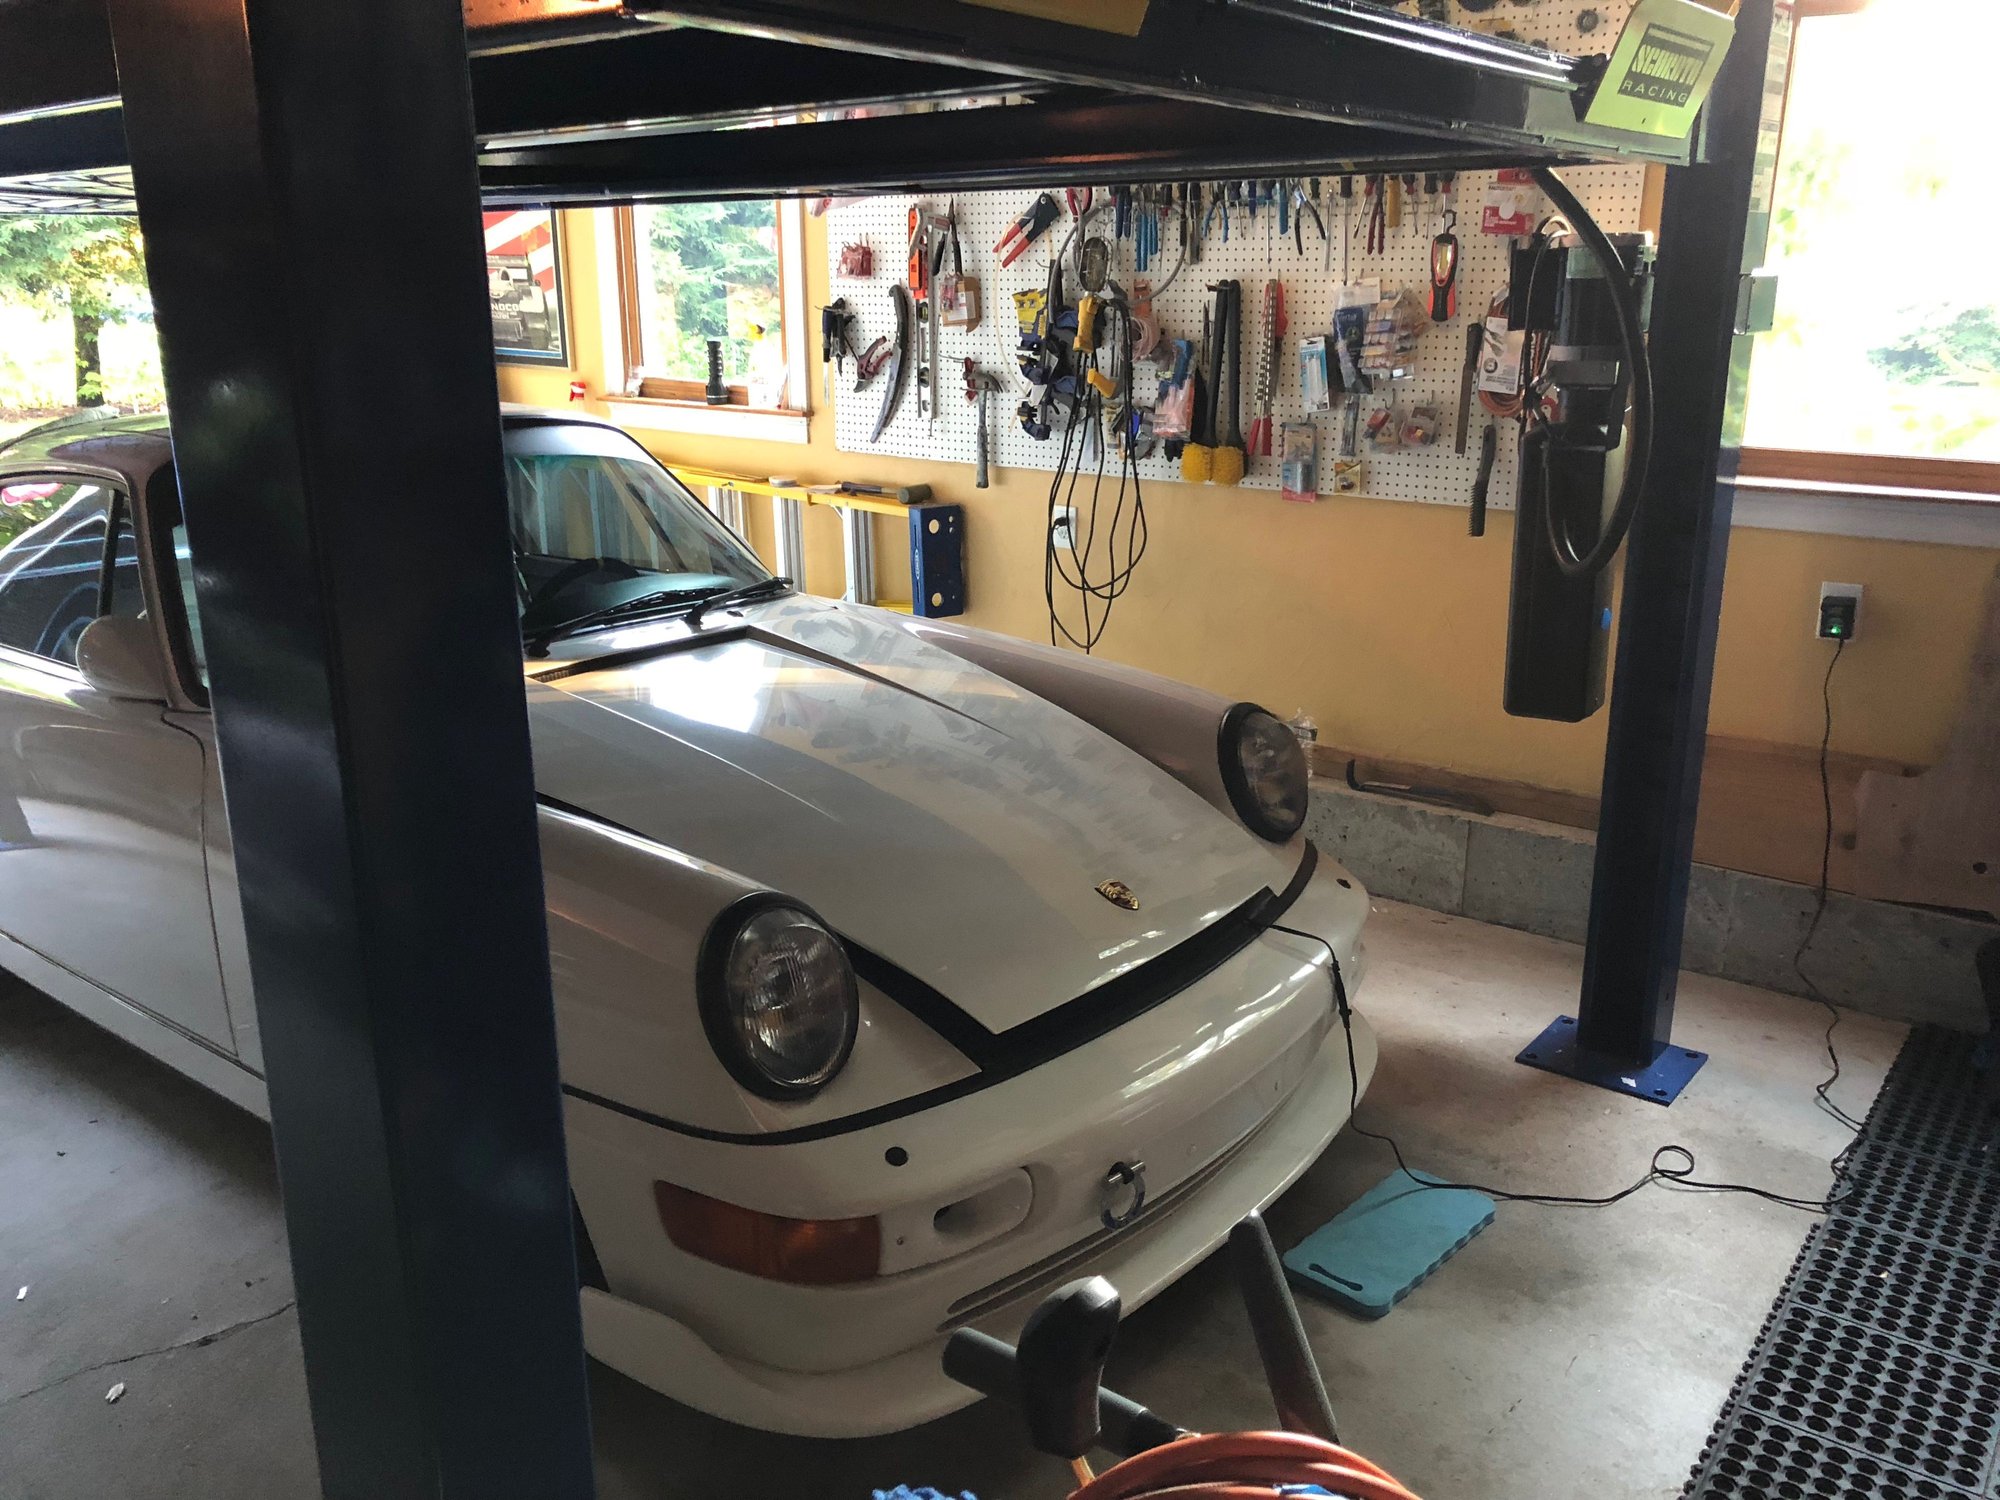
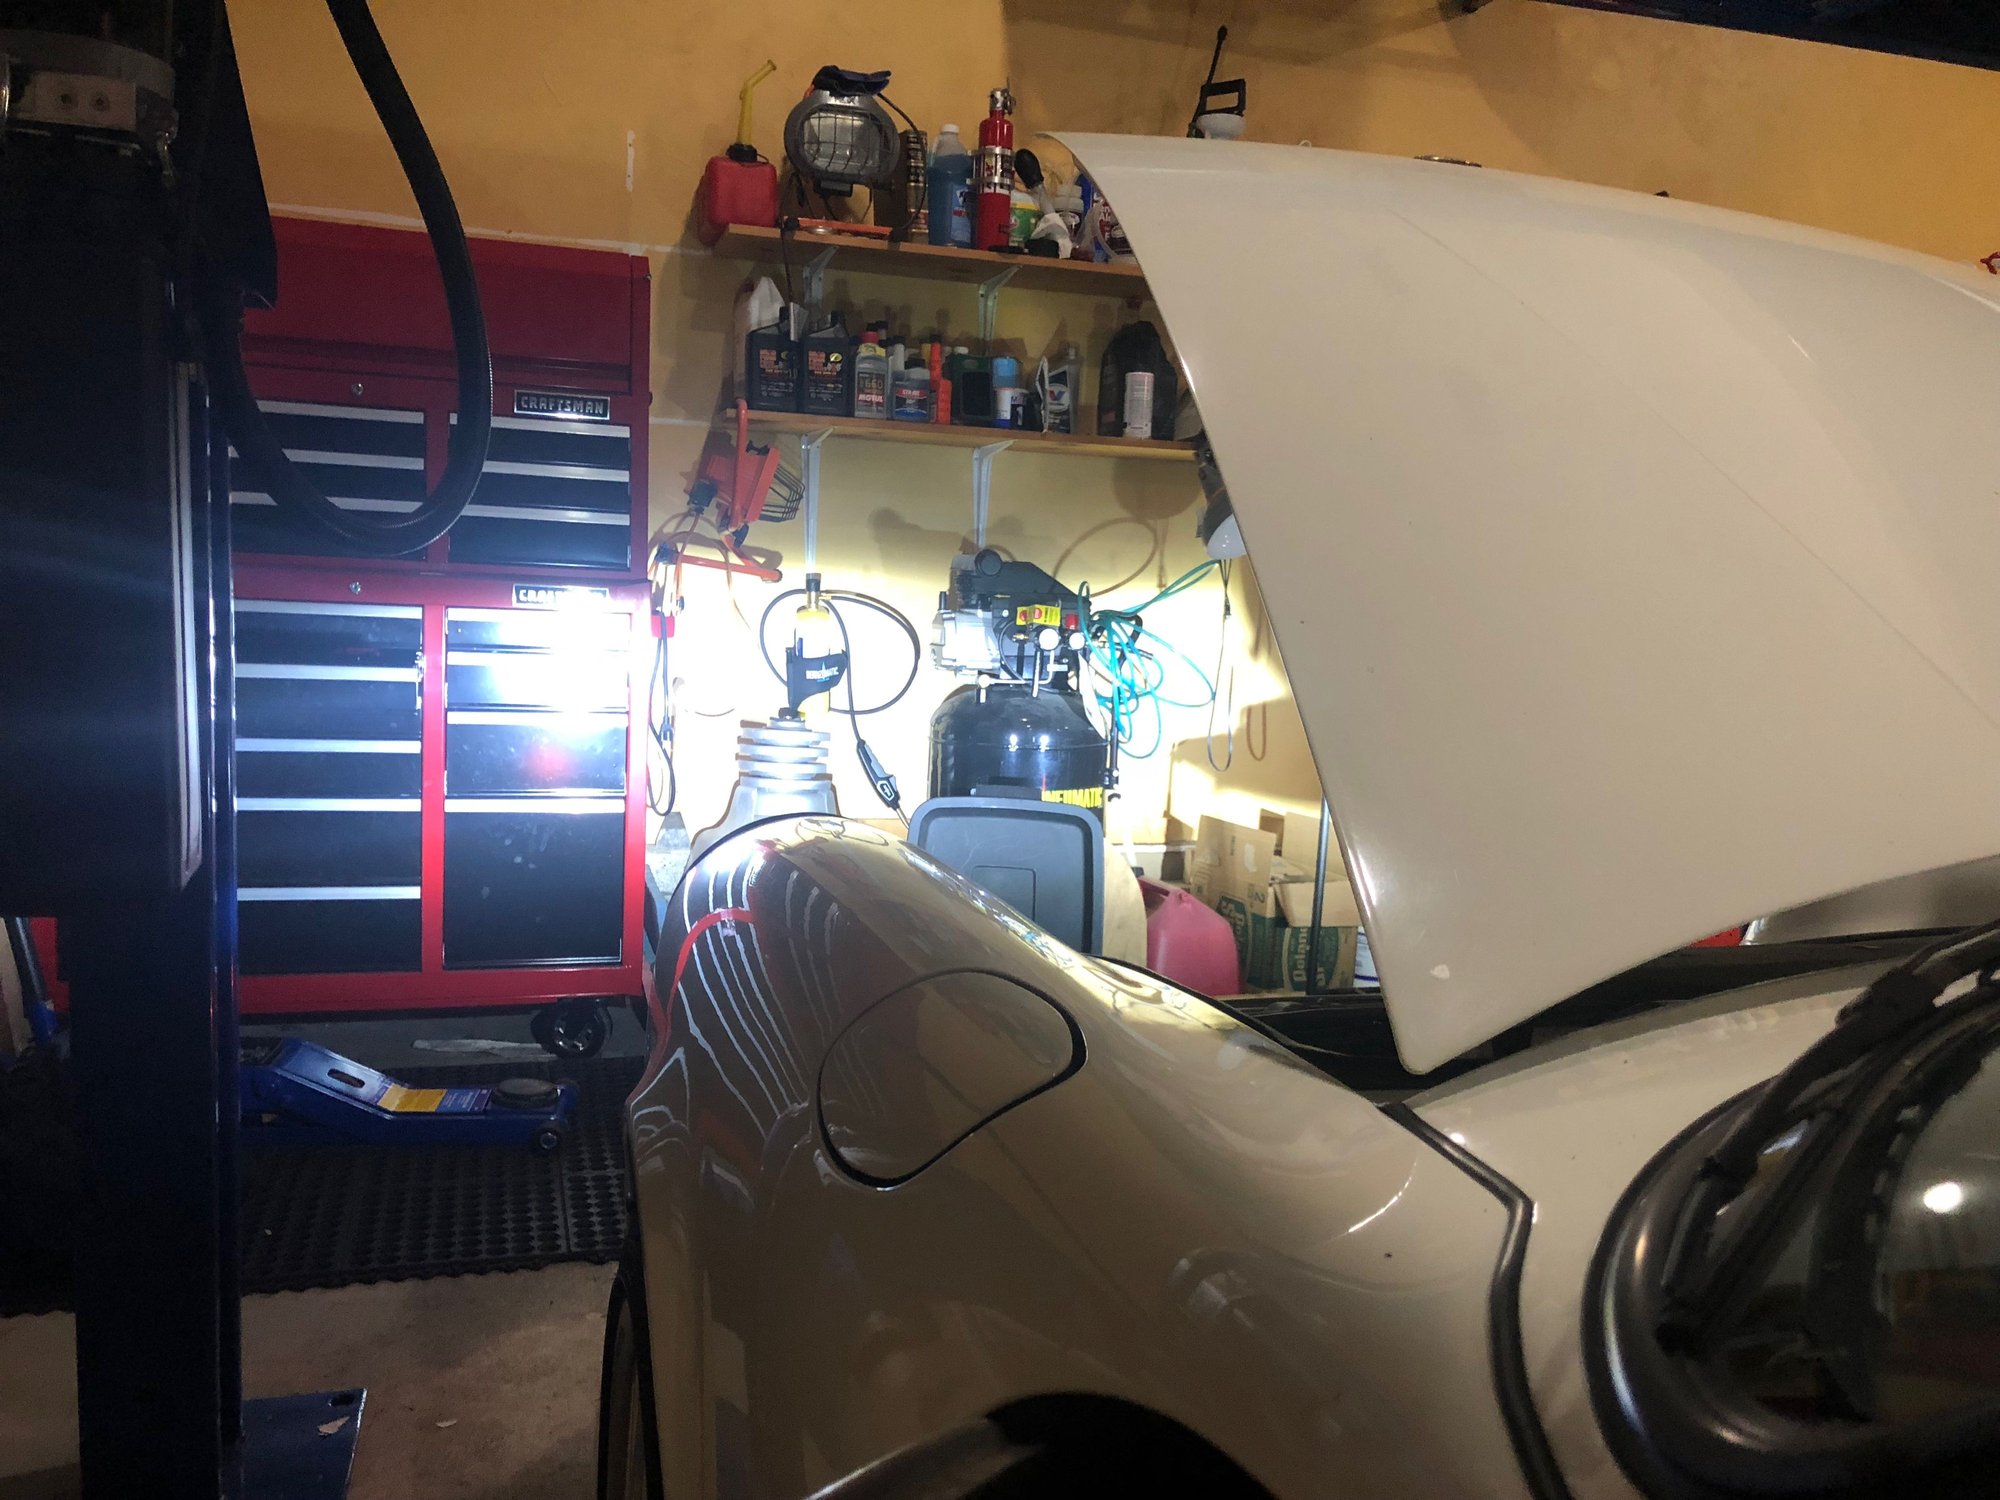
Before reinstalling the push-pedal stop bar, I needed to dremel out some rust that had developed at the base in the frunk. I wont be using any special paint, just some more Rustoleum paint/primer - possibly with a gloss finish. While working in the frunk I remembered Nick mentioning that the gas tank cover could be easily removed to save a few pounds. Great call Nick! The cover pulls right out once you remove the 13mm securing nut on the driver's side and loosen the brass strap. The tank looks much better with the old oxidized tank cover off, and Wilbur eliminated another 1 3/4 lbs.
This thread is really chock full of great info! It makes me want to tear into my C2! But I can�t stand not being able to drive it......
One step at a time. This winter I�ll be pulling the motor for a 6speed install but I�m dying to tear into the interior.
Living vicariously for now.
Thanks-
pete
Thanks Pete,
Thankfully my 993 is back on the road this summer, but I really do miss the 964. I drove close to 15,000 miles on the 964 last summer, and it was the best part of my day. The car has been good to me, and now it's my turn to be good to the car.
I'd also like to drop the engine this winter to fix the leaks. I'm thinking about driving the car to the shop to drop the engine, and then towing the car to upstate NY for a sunroof delete. Lots of projects ahead. If you're converting a tip to a manual, please keep us all posted!
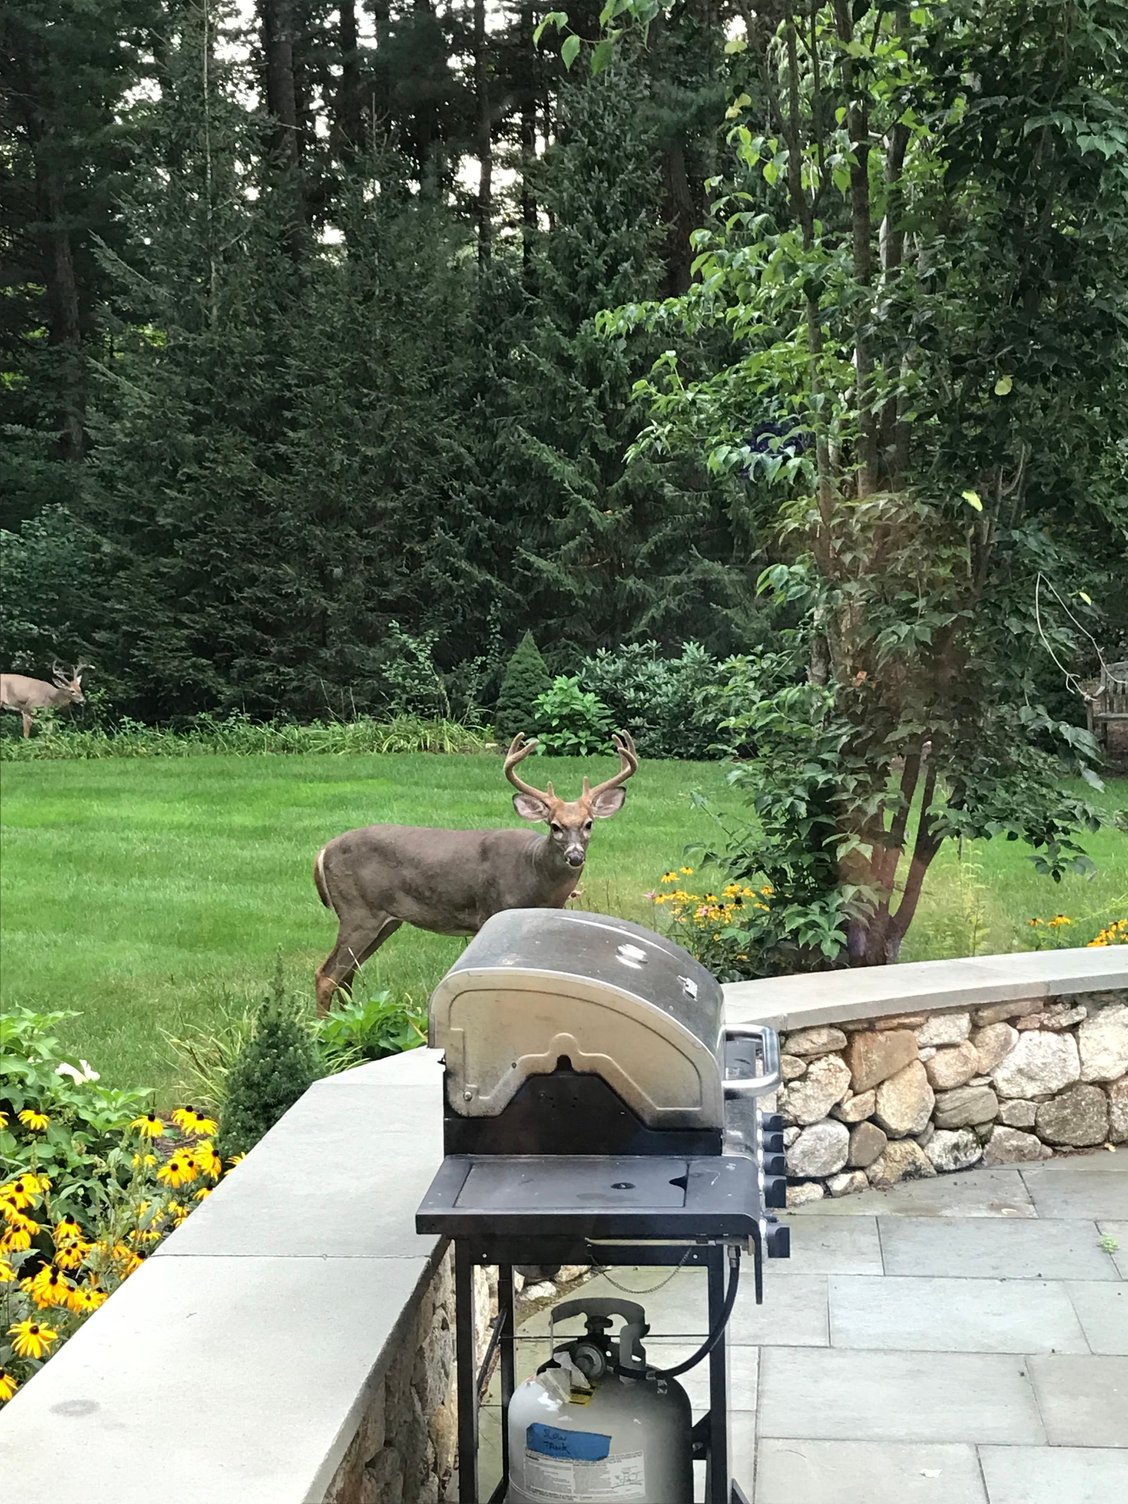
And couldn't resist sharing this last photo taken by the wife this afternoon. It's deer season, so be careful out there... (and so much for deer resistant plants)
And couldn't resist sharing this last photo taken by the wife this afternoon. It's deer season, so be careful out there... (and so much for deer resistant plants)
It's deer season, look twice!
That's awesome! Looks like he is waiting for you to fire the barbecue up! We have nothing like that in our backyard only stray cats which my dog hates!
Your attention to detail is ridiculous! Makes my car look like an old beater! Great job Jim
Thanks Dean, but for the record my car is the beater. I took note as you removed carpet from your car - the interior was in mint condition. Your car is a diamond in the rough, my car is just rough.
That suede steering wheel can be made much better, if not perfect by scraping it with the blade of a dull knife. Hold the blade 90� to the wheel surface and scrape. Hard. Frees up the suede "tufts" very nicely.
I did that on the same model wheel that I got off the Reiser Callas RSR, worked wonders.
Fox - with the Nogaro and BK mounts, what�s required for installing the stock 3 point seat belt and buckle? And racing harnesses? I hope the mounts have mounting provisions?? Thanks
Fox - with the Nogaro and BK mounts, what�s required for installing the stock 3 point seat belt and buckle? And racing harnesses? I hope the mounts have mounting provisions?? Thanks
sm, that�s a great question. The BK side mounts that I received (prototype) do not have an integrated mount for the inboard tunnel. BK may have plans to add this later, but I simply added the BK-9005 tunnel mount for bolt-on application. They also make the BK-9004 for clips. Or you can buy the Porsche RS lap belt mount PN 964.521.065.00. I went with the BK-9005 bolt on application. The GT3 Schroth belt hardware works perfectly with the BK-9005. It�s quieter and lighter than using the snap on hardware.
I�m not planning on keeping the three point belts, so I�m not sure exactly how to mount both the three points and harnesses together. It might be possible to simply double up and install both sets of belts on the same tunnel mount. Installing eye screws in the floor boards would be the next option.
I used the existing bungs on the door sill to secure the outboard lap belts. The Schroth GT3 hardware bolt right in and swivel nicely. If you�re planning on keeping the three point harnesses you would have the double up on these bungs in the door sill as well. Alternatively you could buy a pair of the BK-9004 outboard belt mounts and use that for the harness attachment.
Here�s the layout in my 993. BK R-9035 sub strap bar, BK-9005 tunnel mount
And I used existing bungs to bolt on outboard lap belts with Schroth GT3 hardware
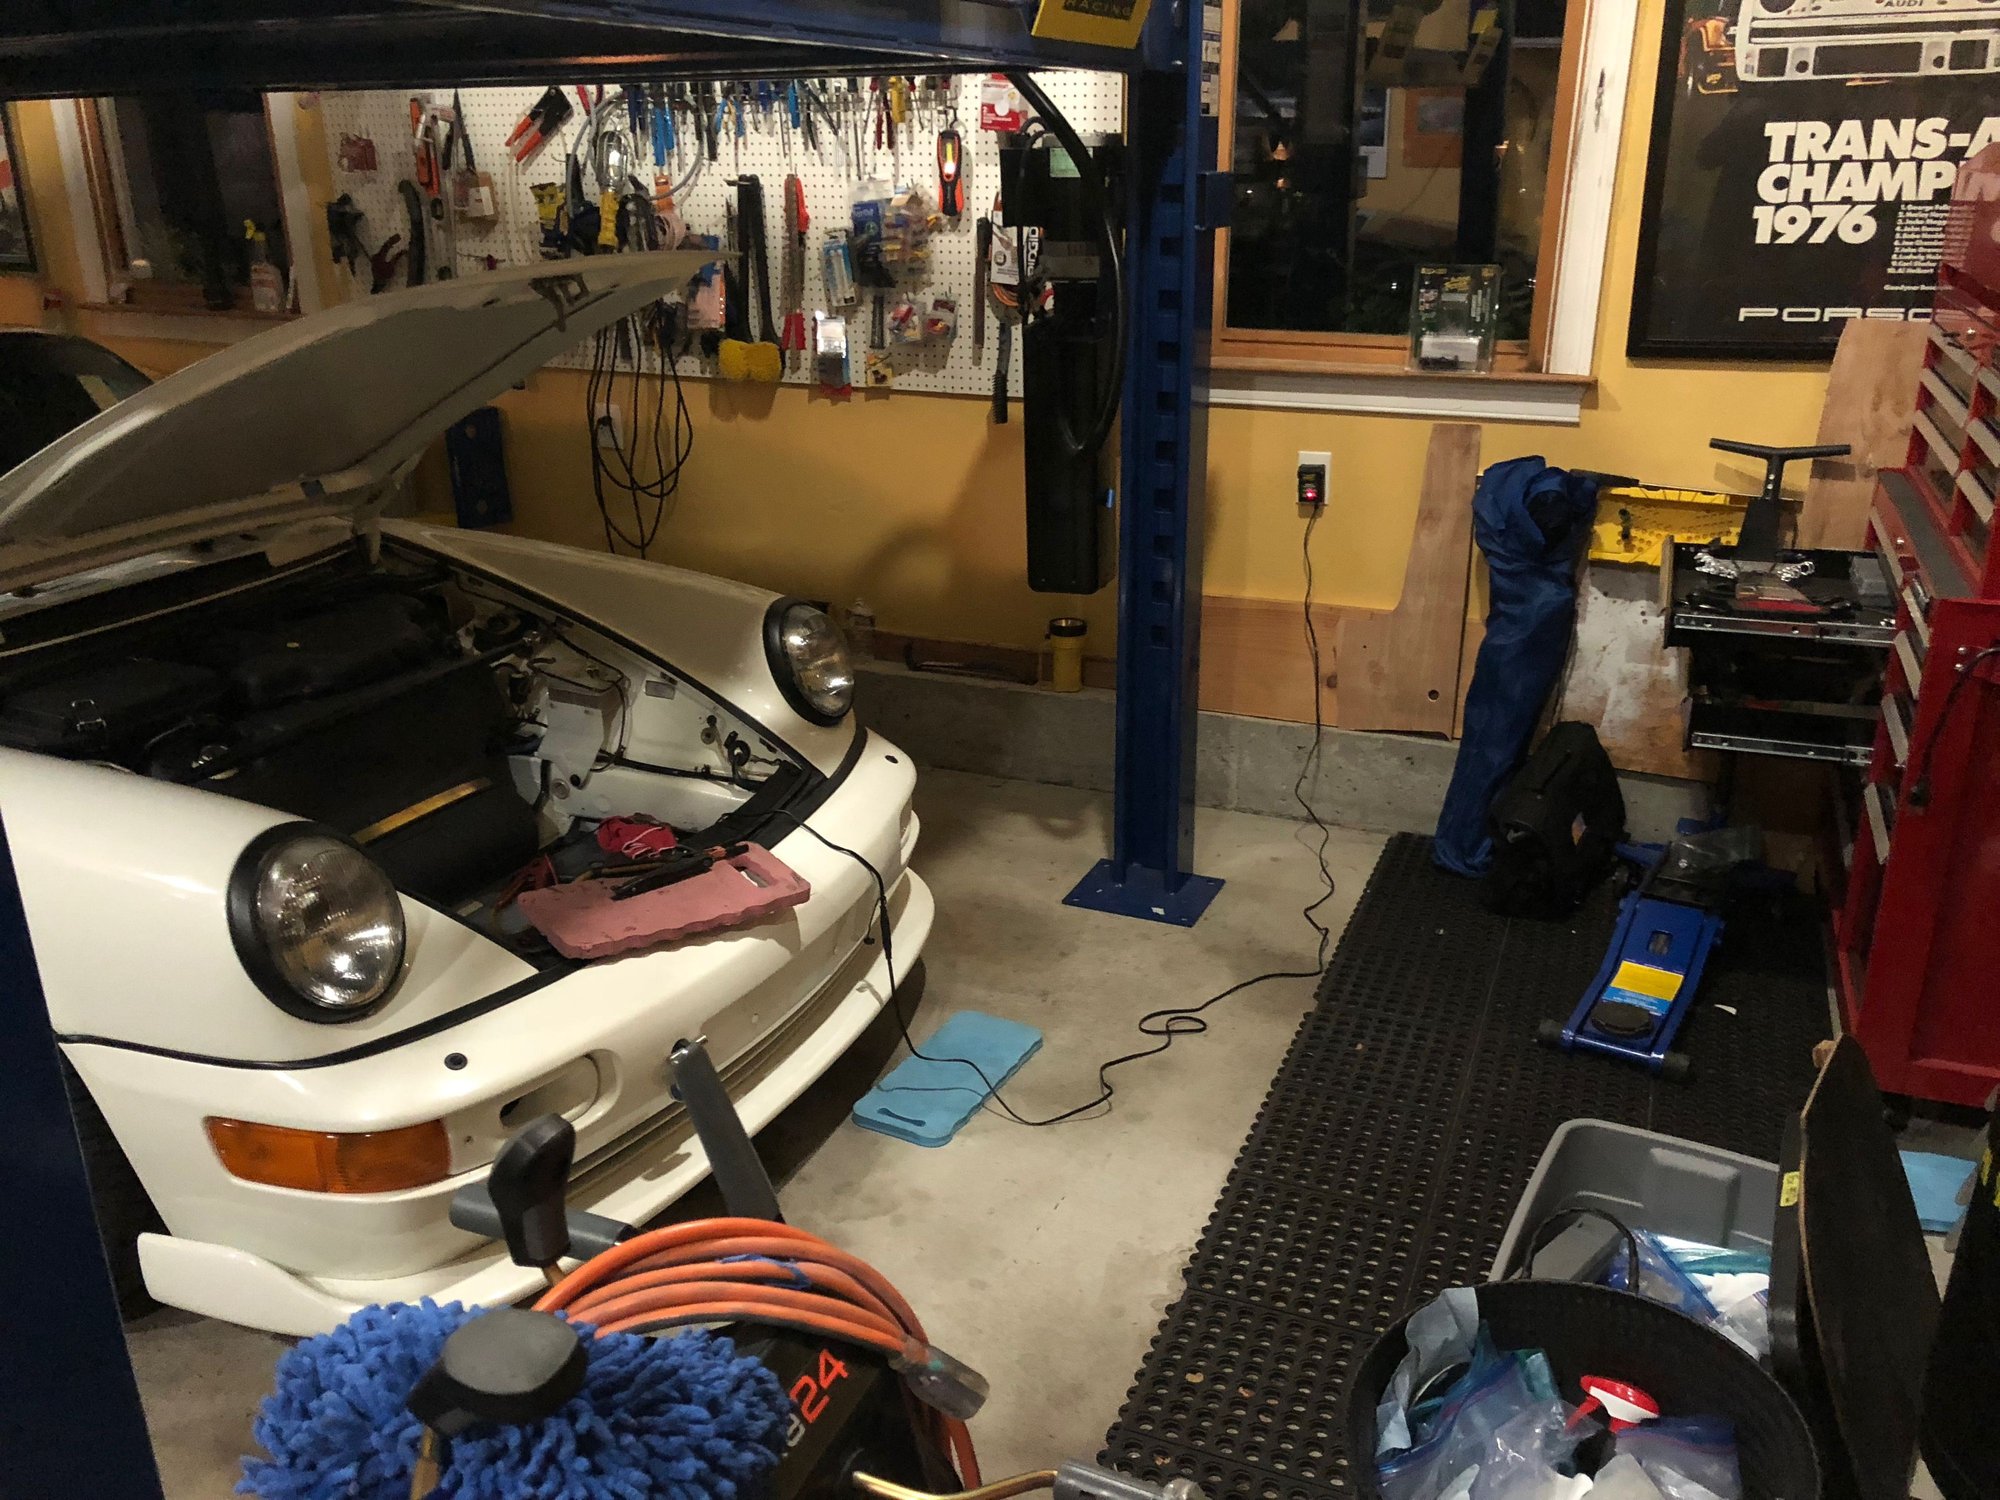
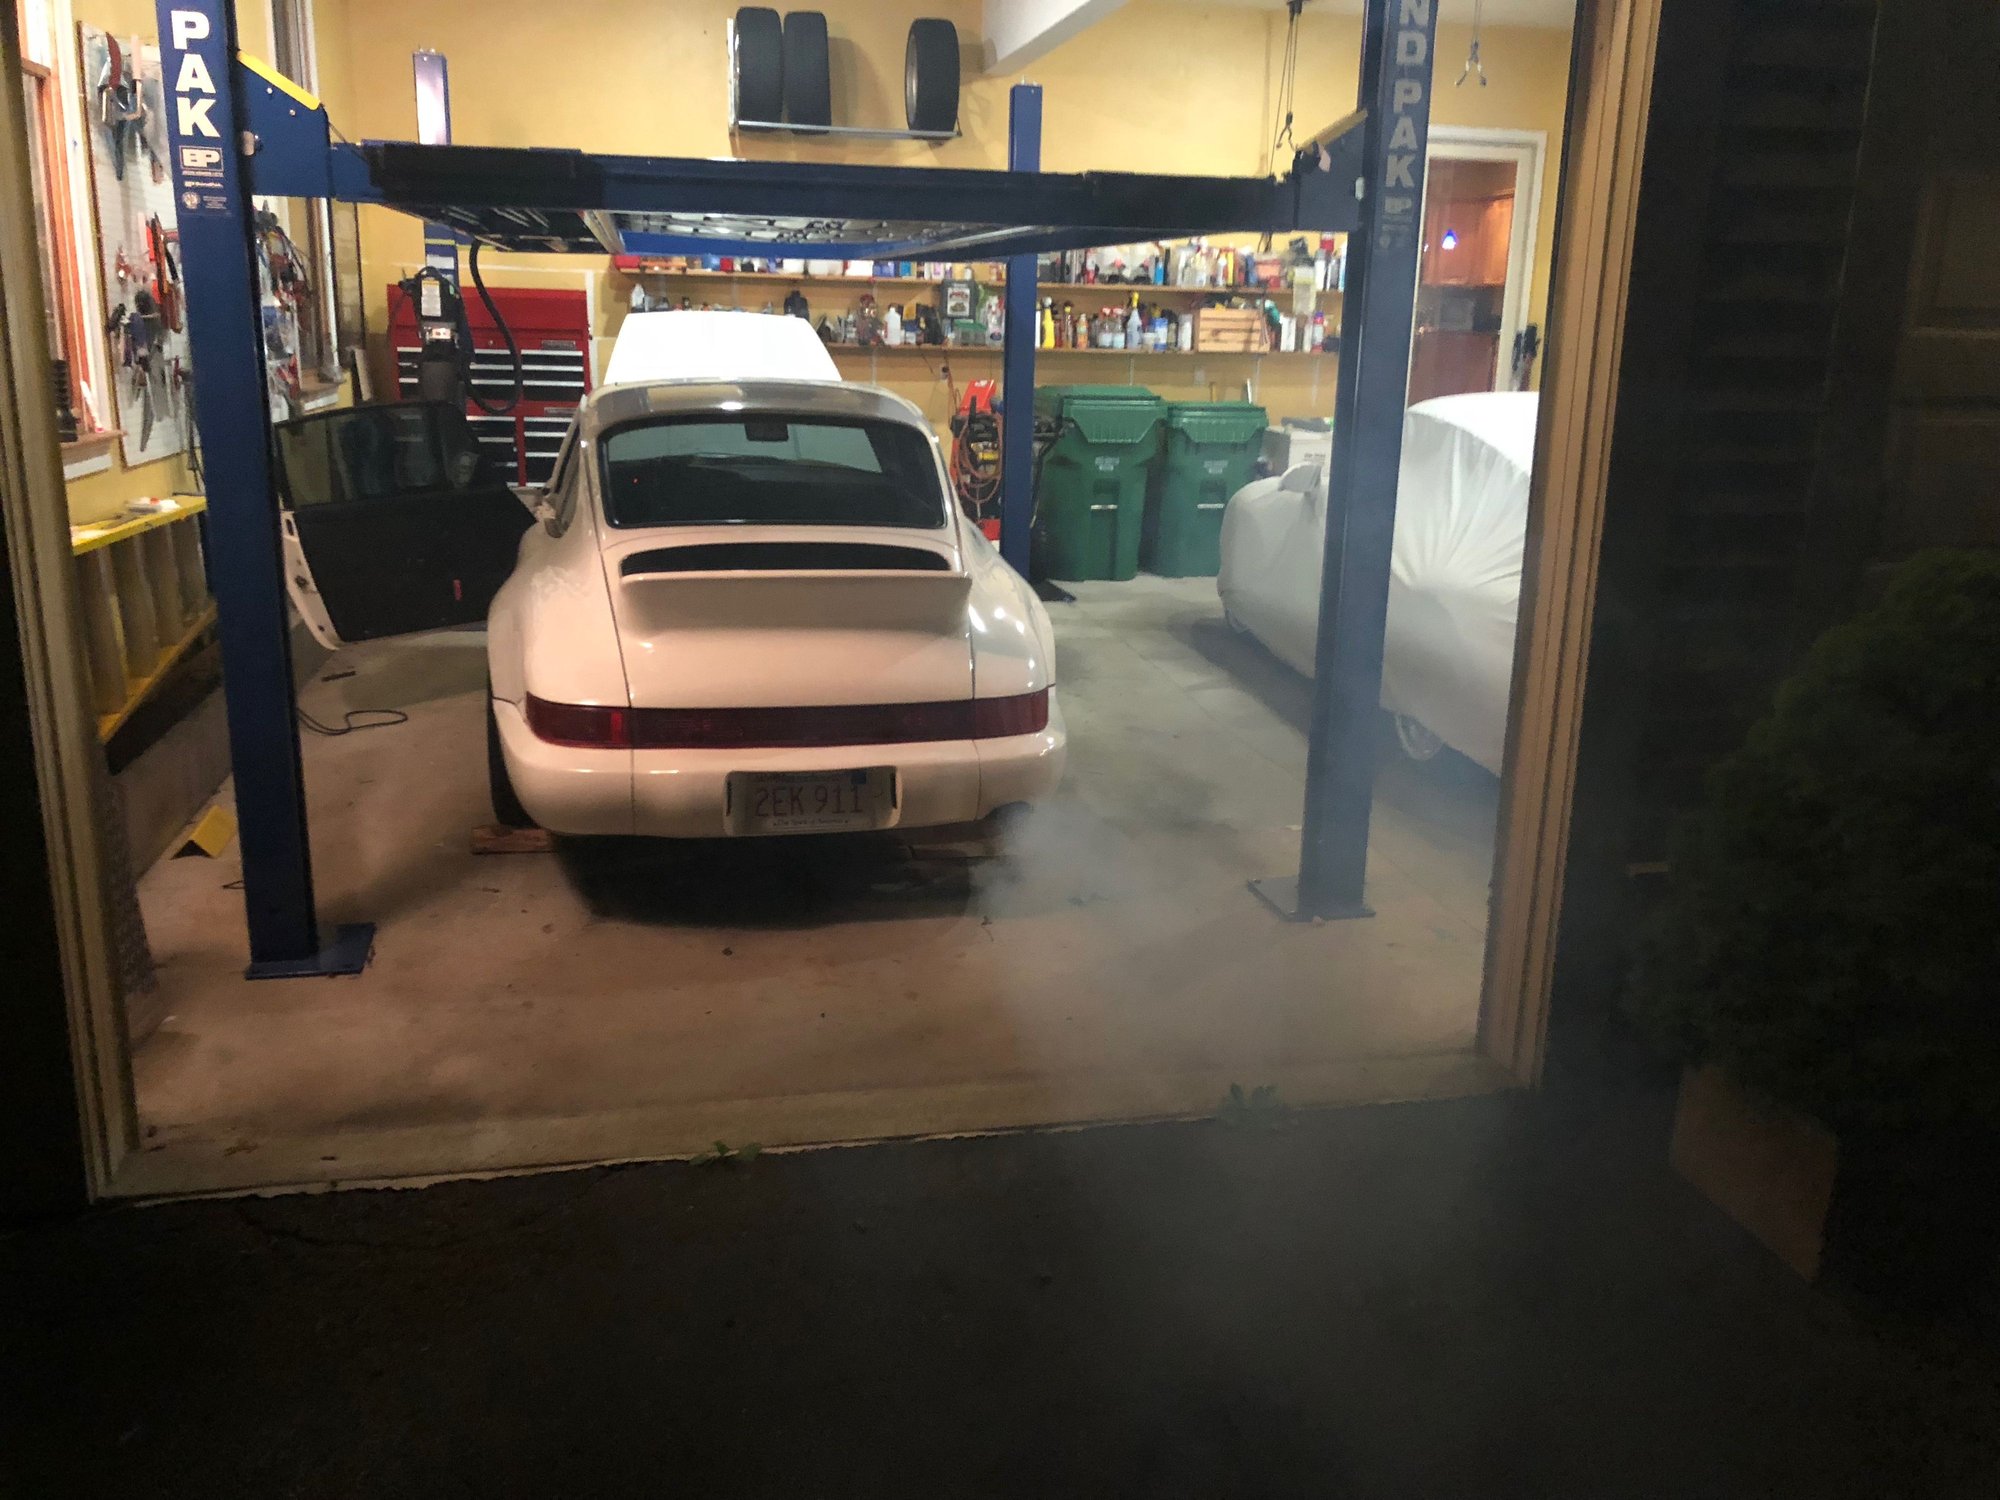
I've been taking my time on the car as I am still waiting for the new Cobra seats to arrive from HMS motorsports. But truth be told, I've also been a bit tentative about trying to restart the car. This was a pretty major gut job, and I was seriously wondering whether the car would start. I could just envision the flat-bed tow truck hauling the car away in utter shame.
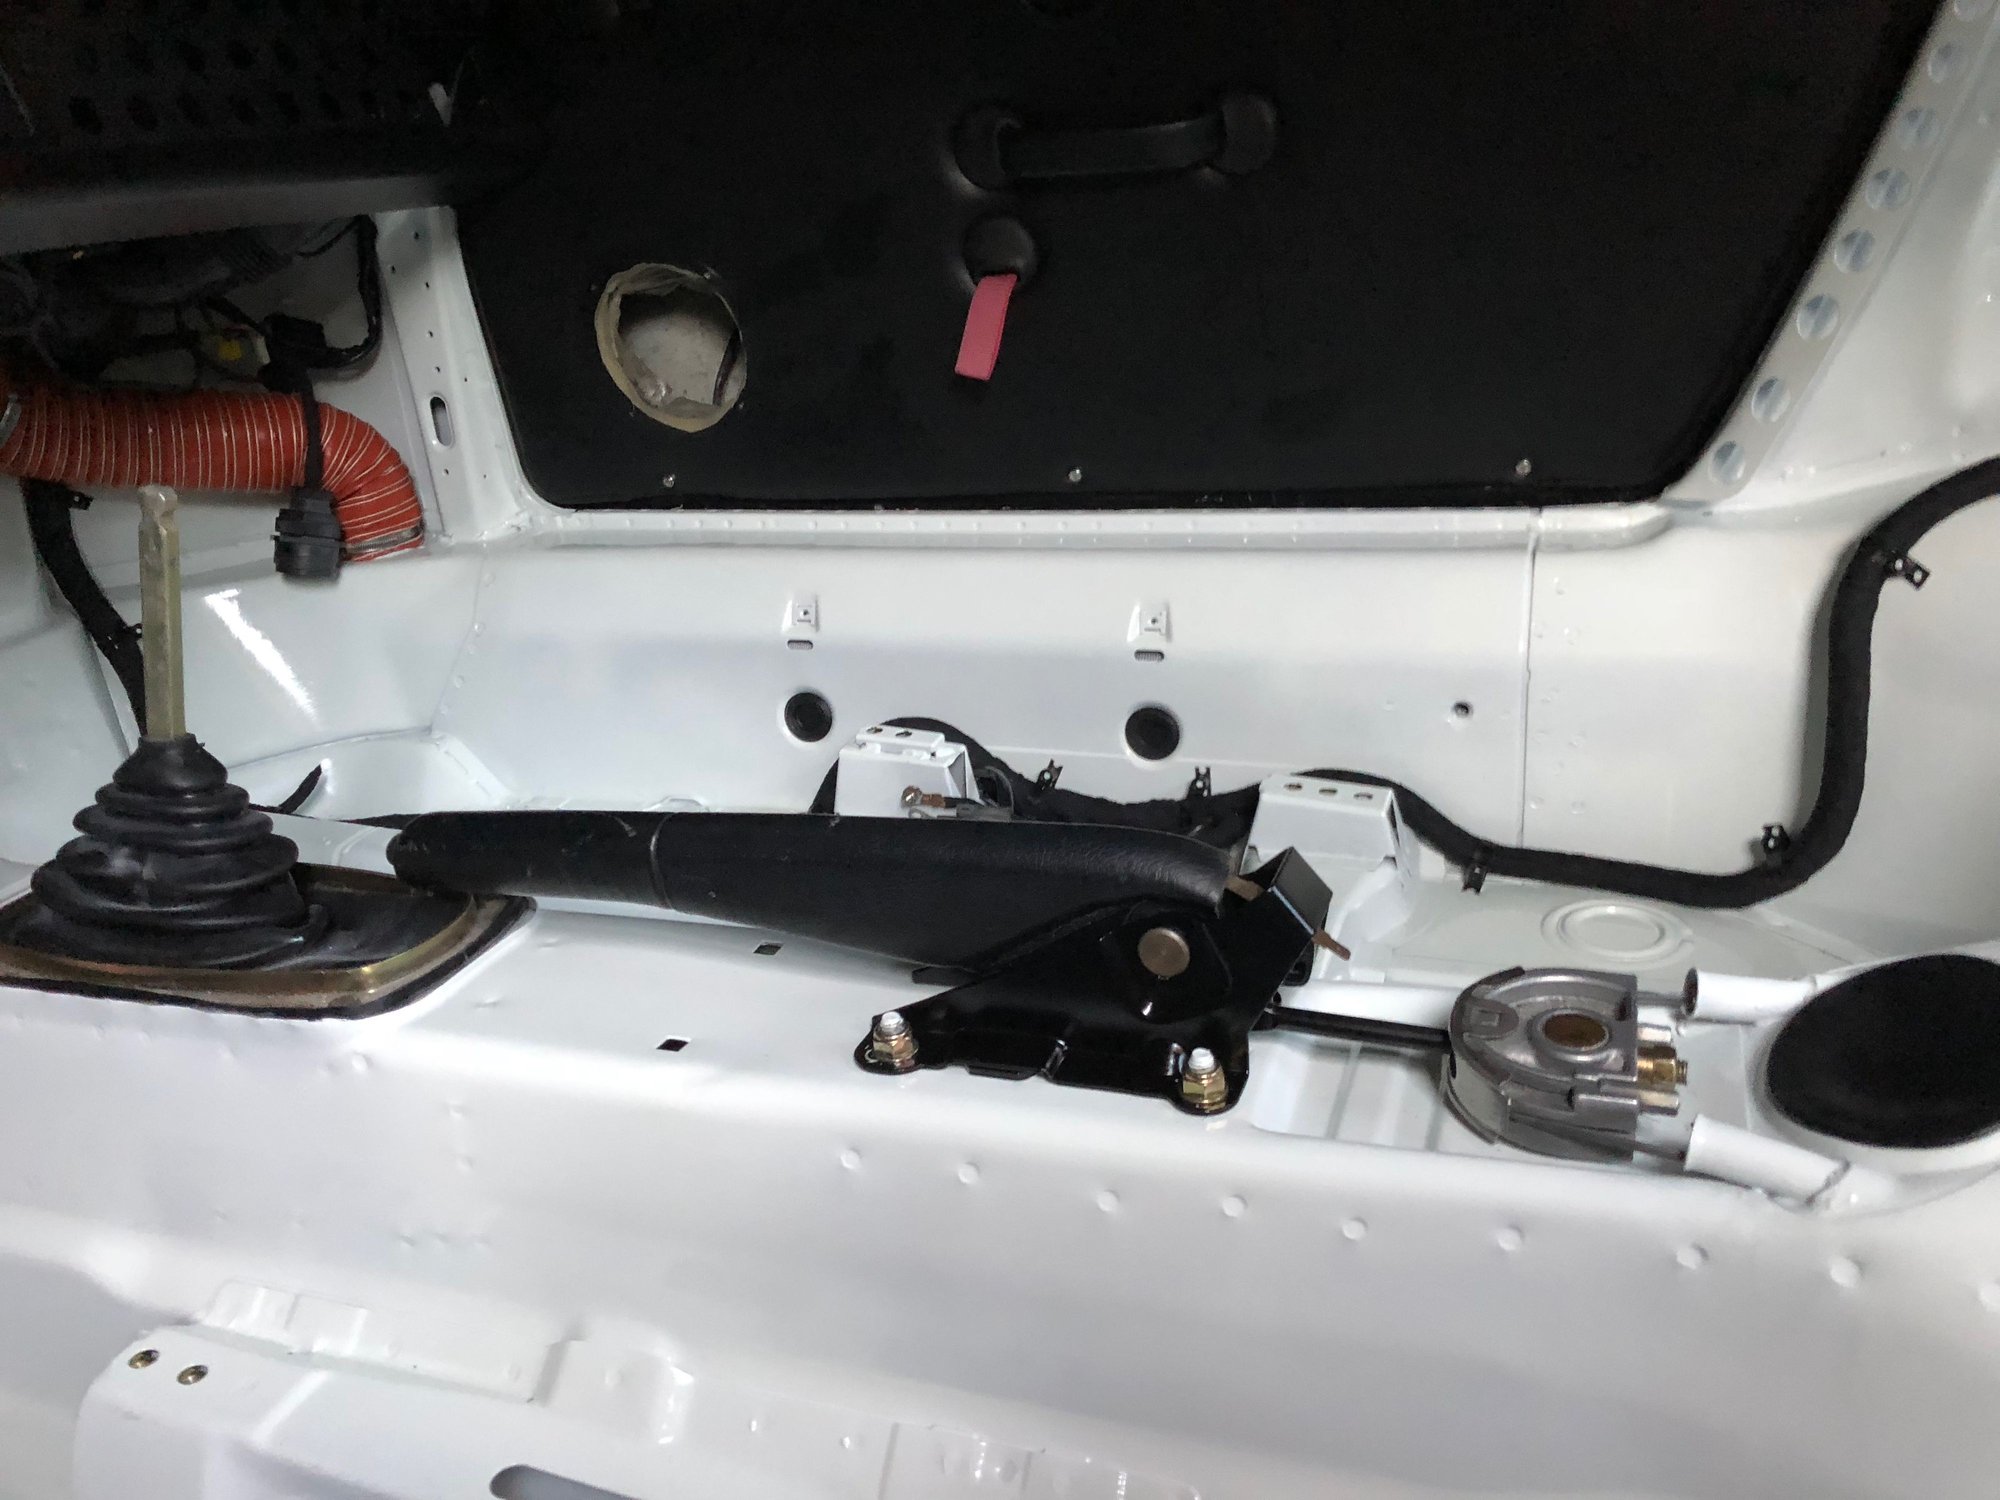
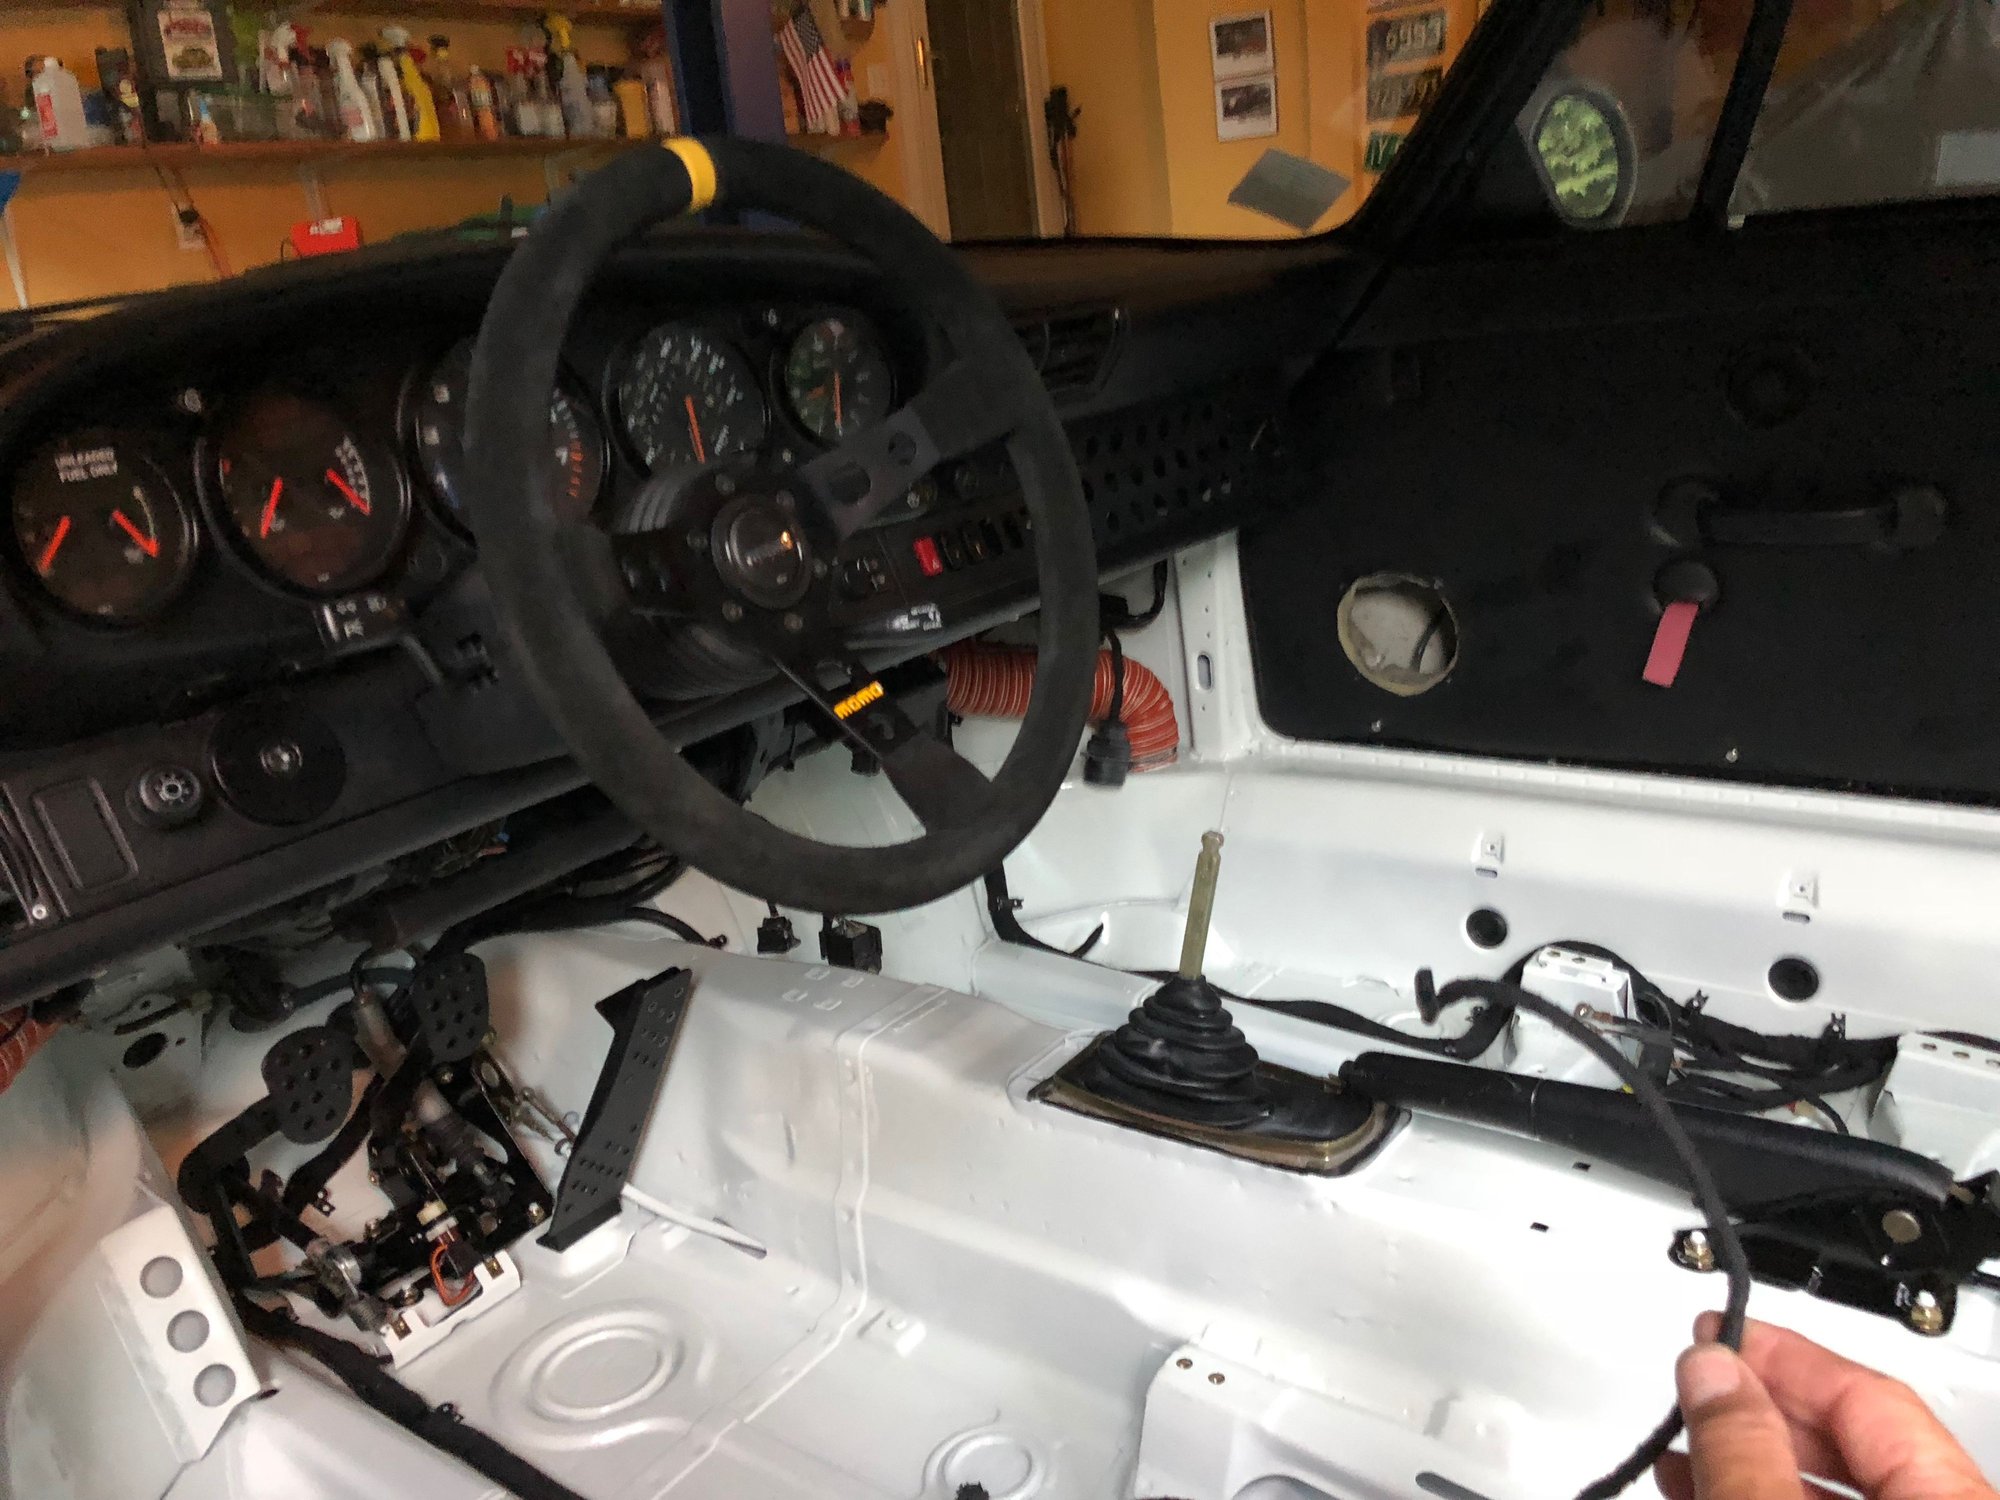
But with the pedal assembly reinstalled I was running out of projects and excuses. So I pulled out the new Battery Tender Jr. and hooked the battery up for a recharge...
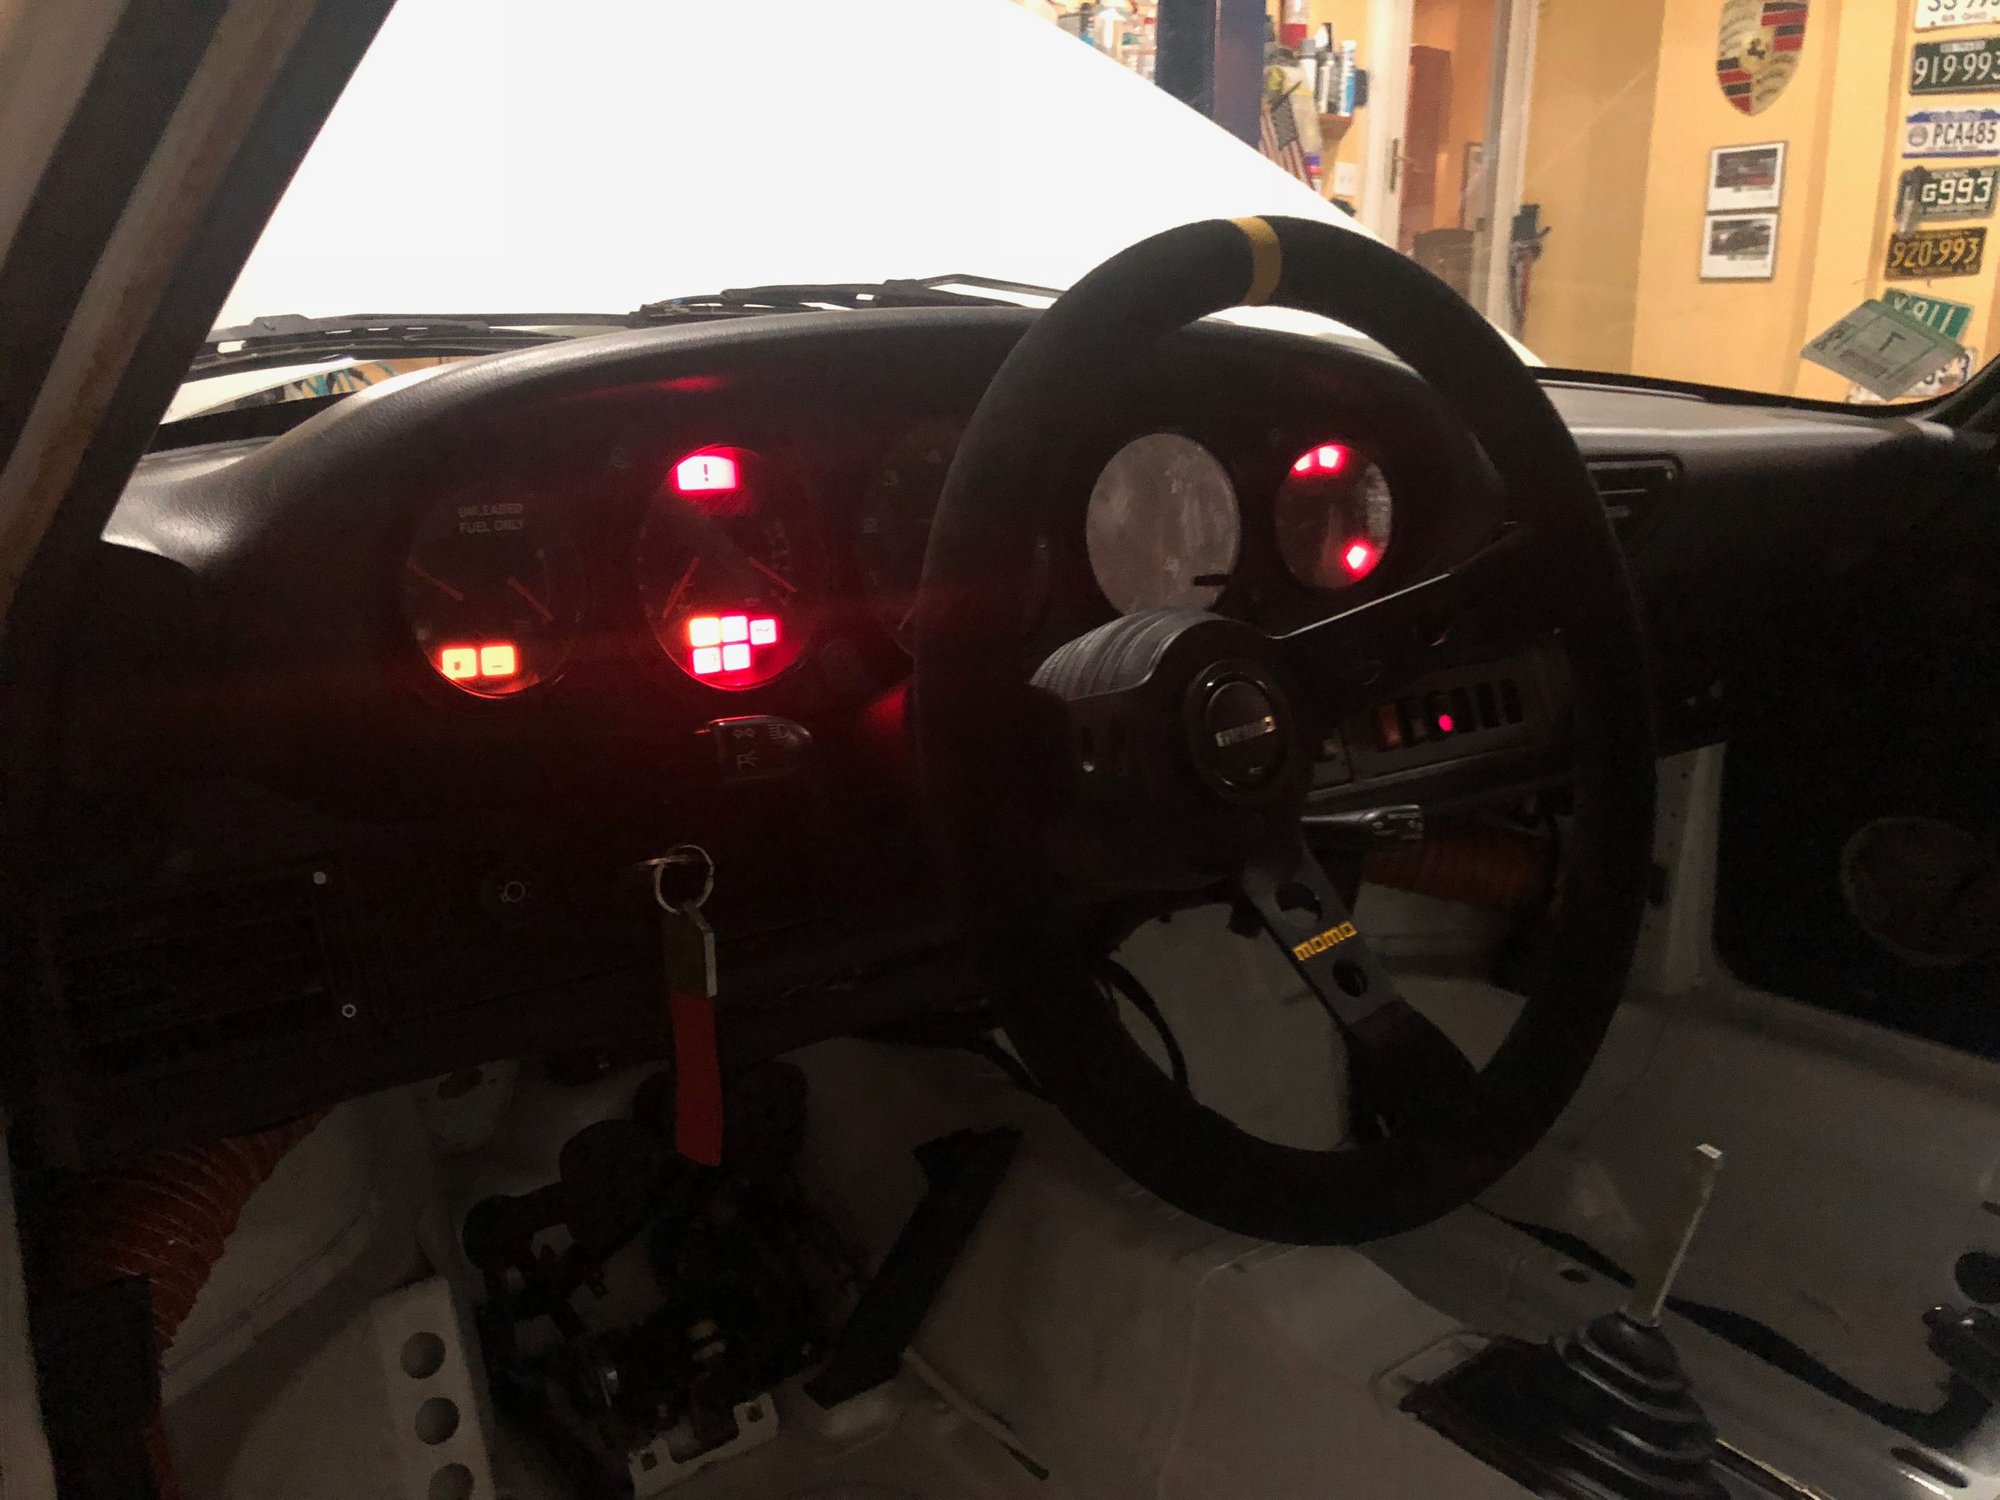
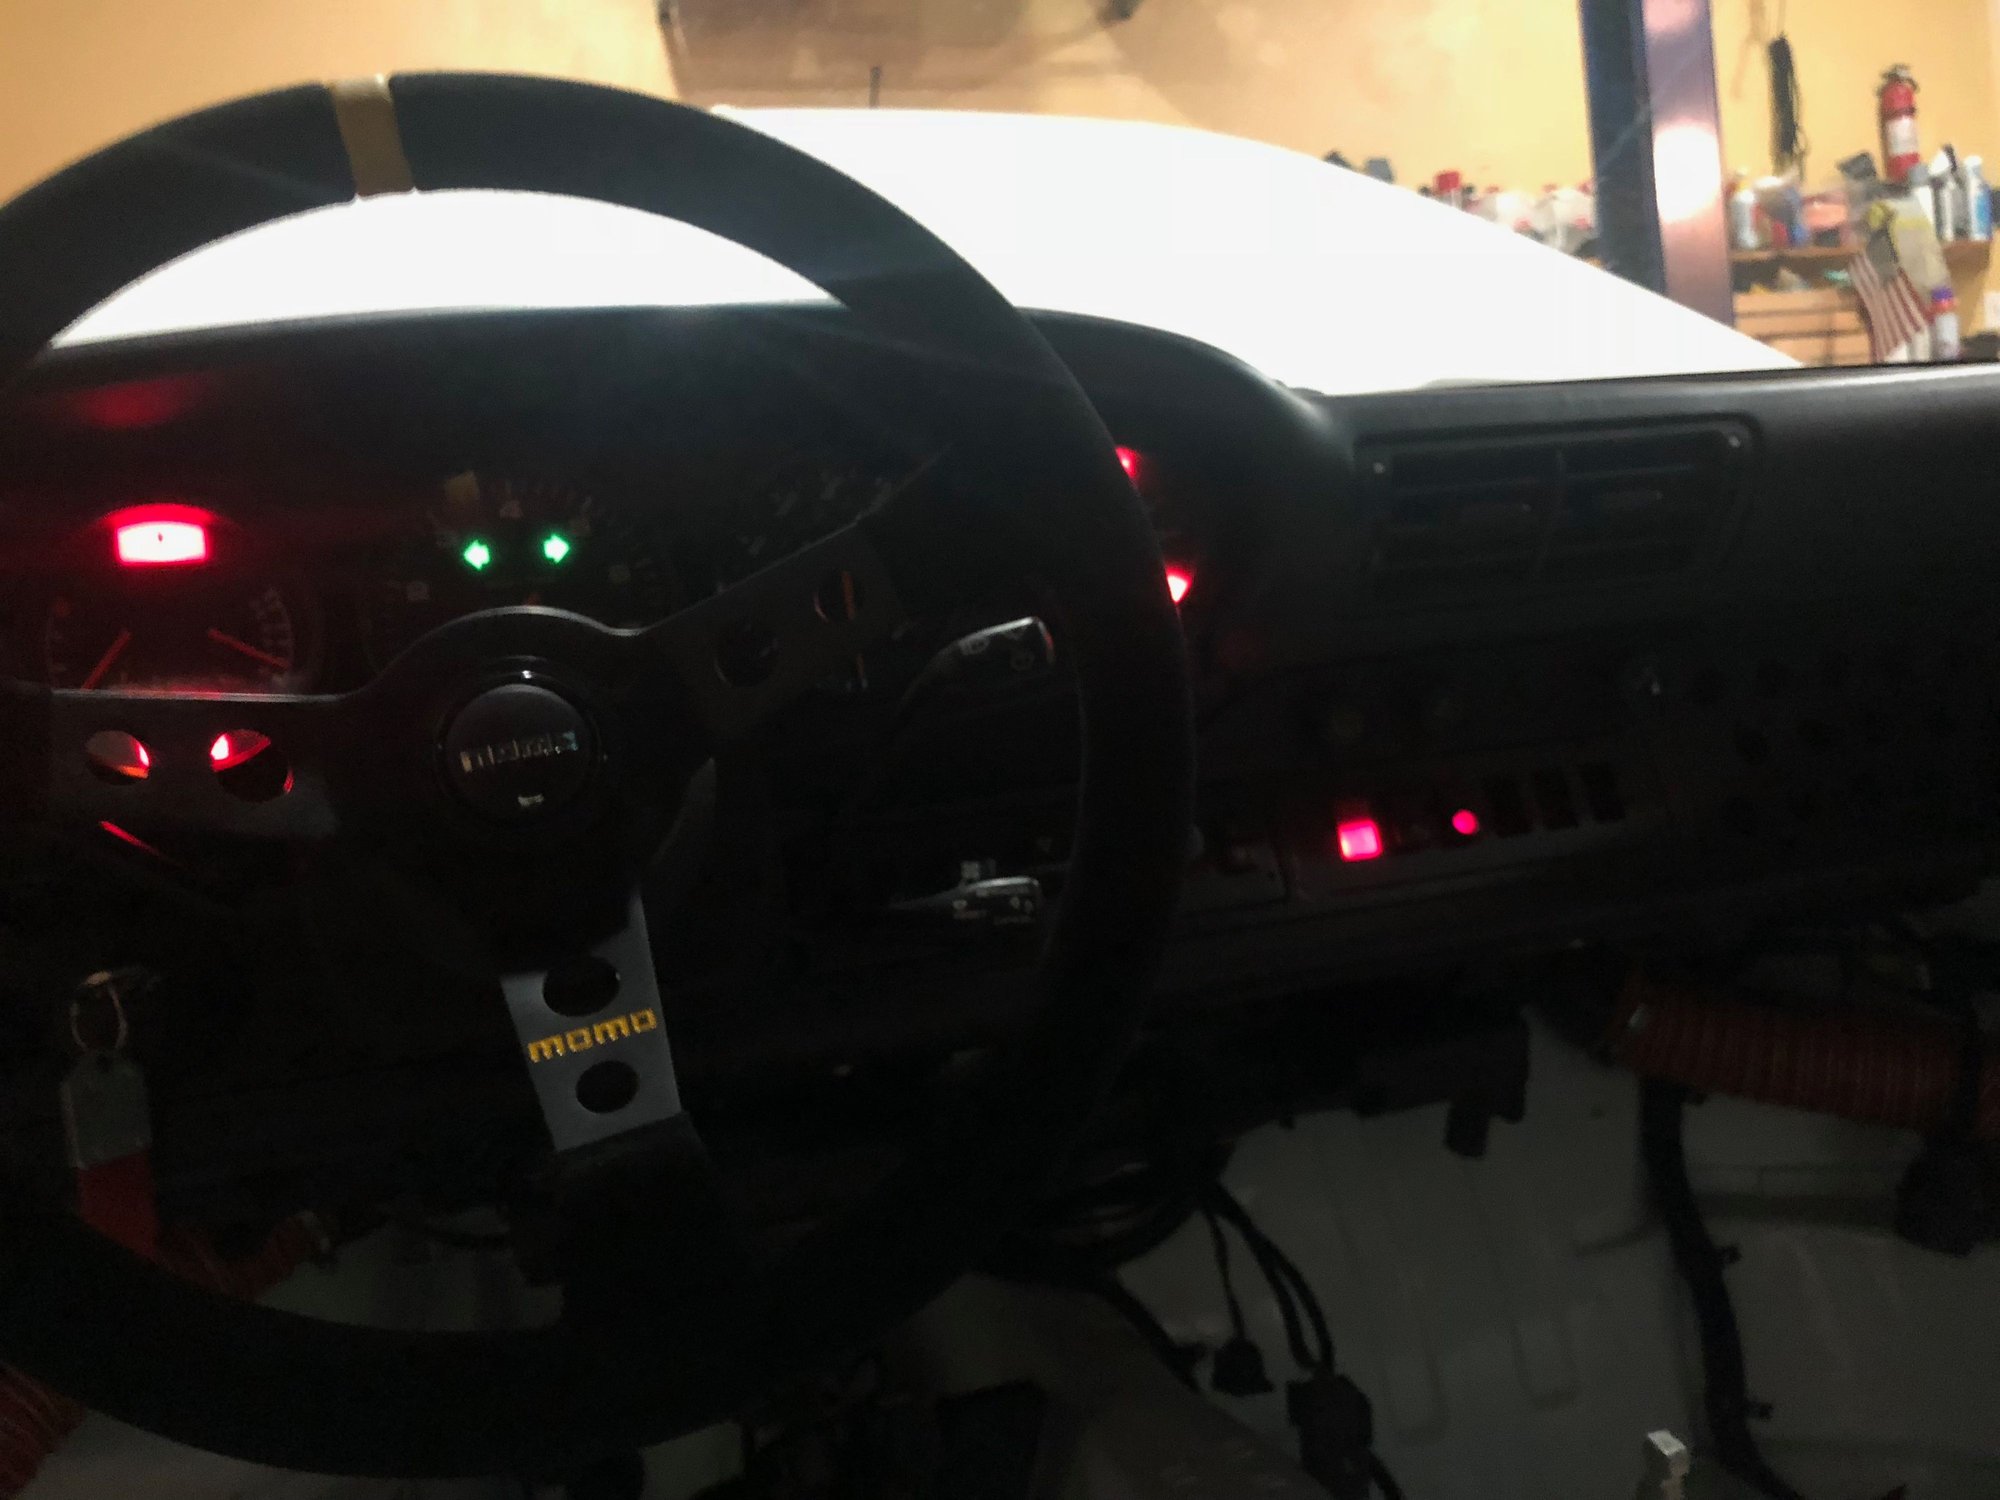
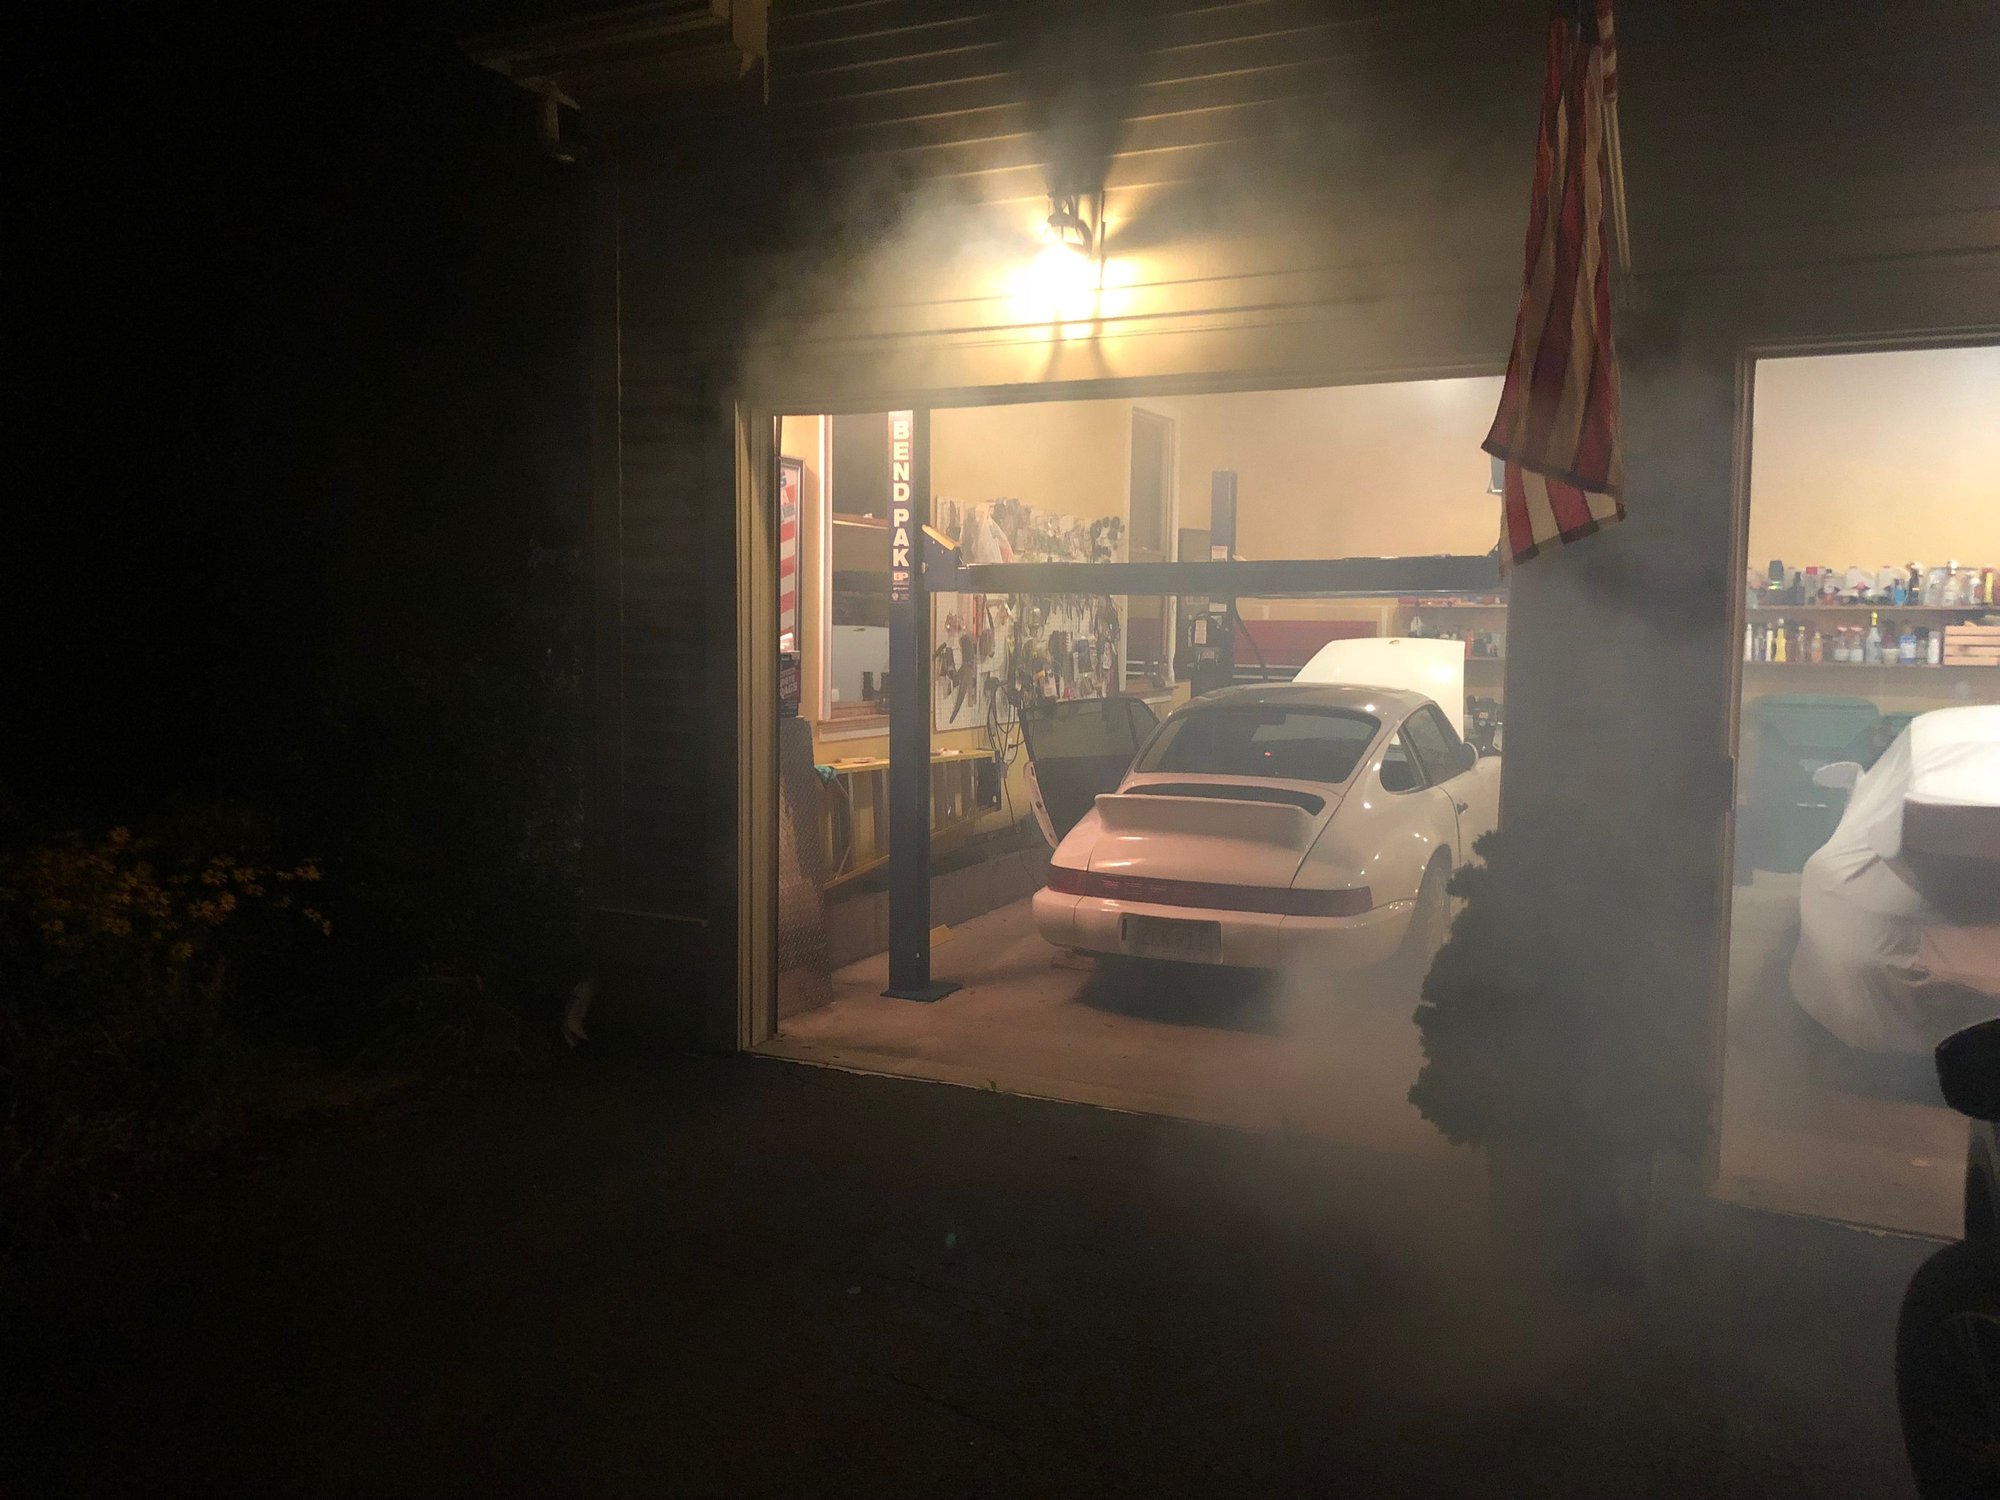
Battery Tender Jr. recharging battery after 7 month respite Two days later, the battery is still charging. BatteryTender confirms it can take up to four days depending on the state of the battery Day four, finally a green light! Reinstalled the newly painted handbrake I soldered some extra wire in the brake light wiring so I could neatly run the wire underneath the dash and the along the floor board. A turn of the key and the car looks willing The turn signals are functioning, and the Flat6 Illumination headlights work! The emergency flashers and new emergency flasher switch mounted n the dash board work perfectly. So after a cold beer, I pulled the DME relay and turned the engine for about 5 or 6 seconds to get the oil pressure up a bit I rep[laced the DME relay and the car turned over instantly returning to lifre The smoke show was pretty incredible, but she runs!!
Here's a quiclk video of the smokey come back to life:
Ha! So much smoke! It's a great feeling when you start the car up after a major job and it still works!
Looking great Jim, but I'm getting a little impatient to see the seats bolted in


 08-28-2018, 12:41 AM