When you click on links to various merchants on this site and make a purchase, this can result in this site earning a commission. Affiliate programs and affiliations include, but are not limited to, the eBay Partner Network.
Thanks Raven666, can�t wait to see how the clutch feels after all this work. The clutch was pretty stiff before, and I discovered that it had two springs attached to the floor board instead of the usual single spring.
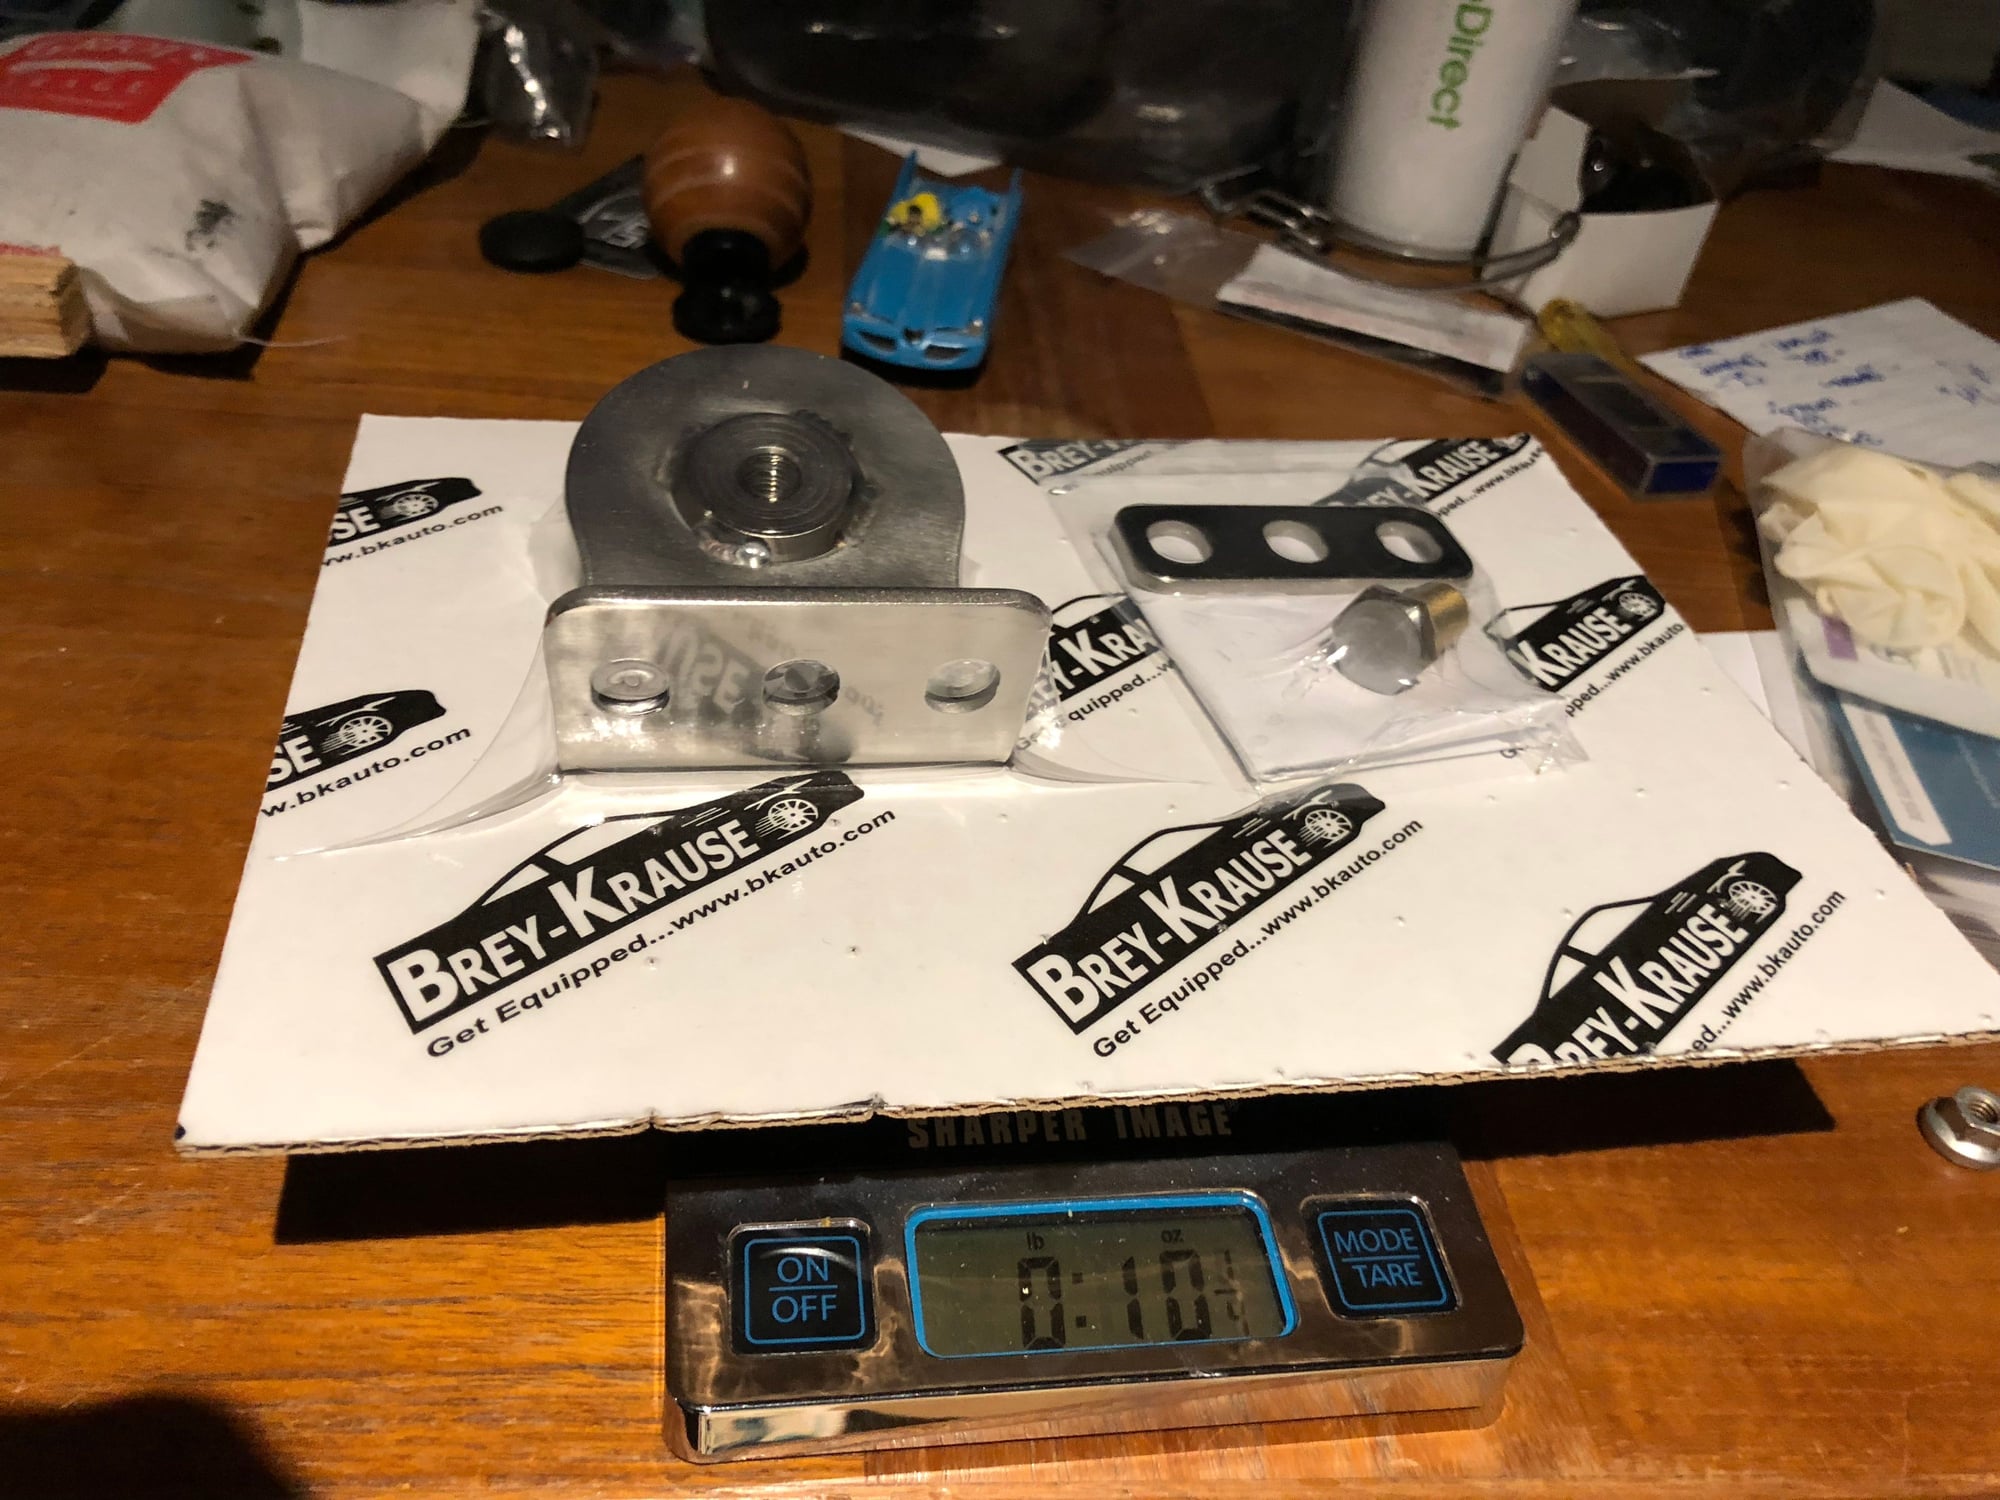
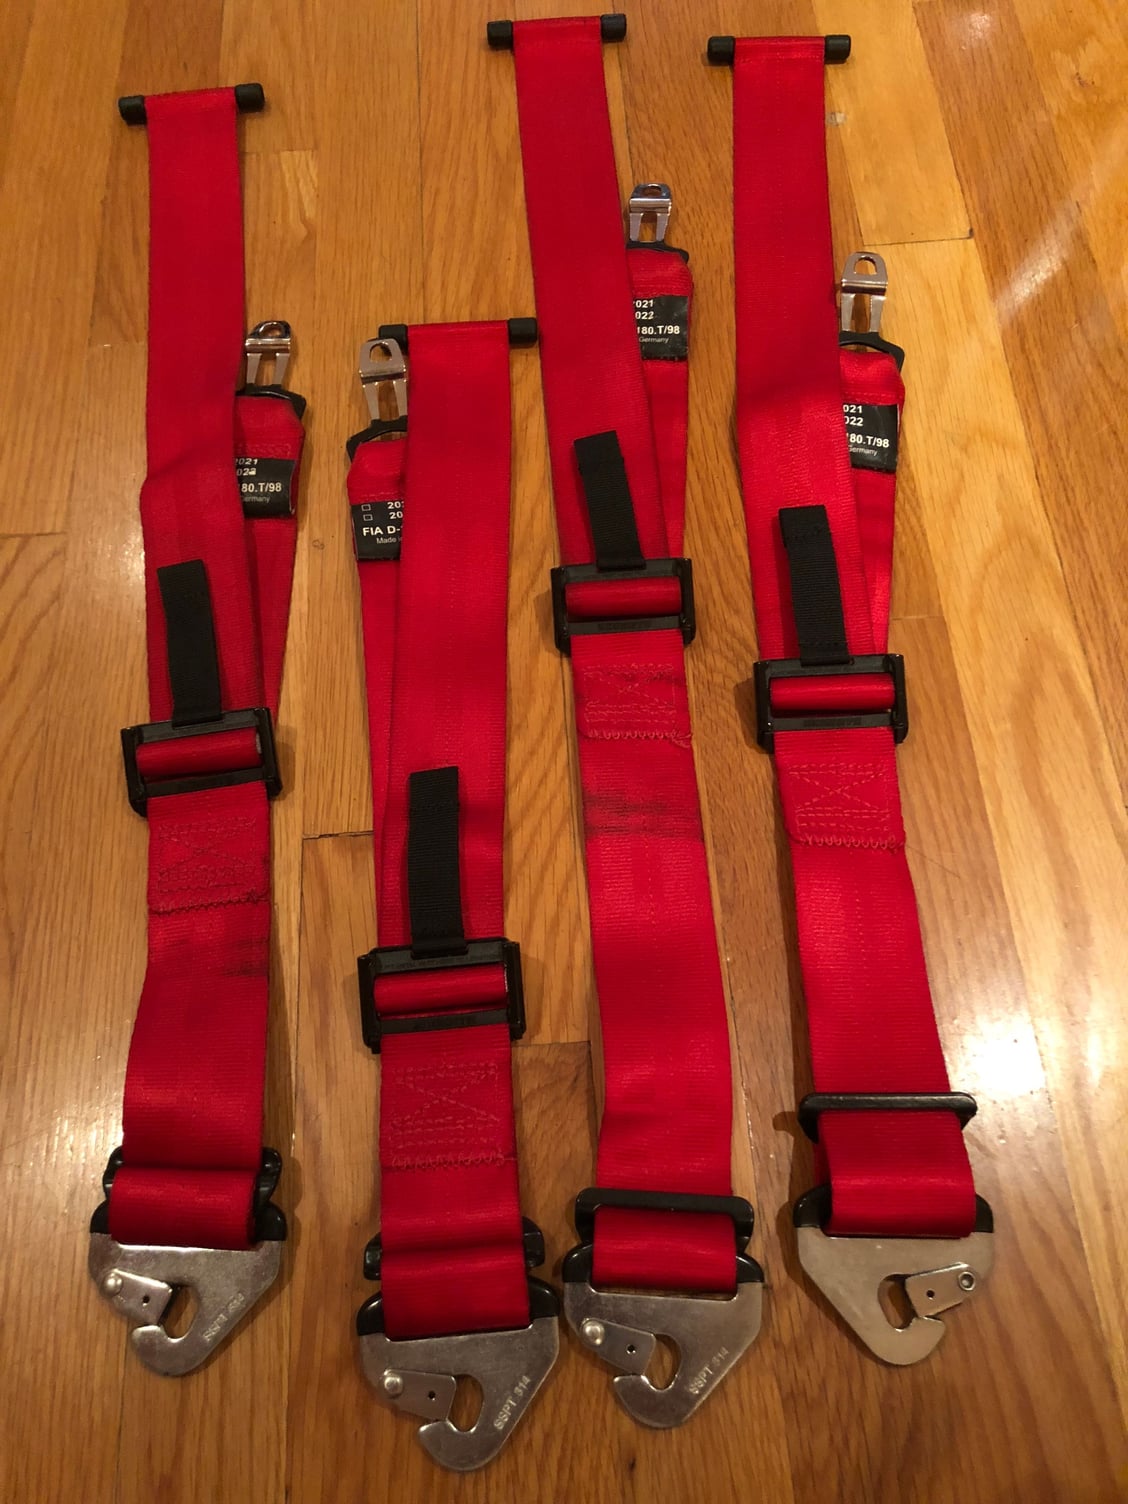
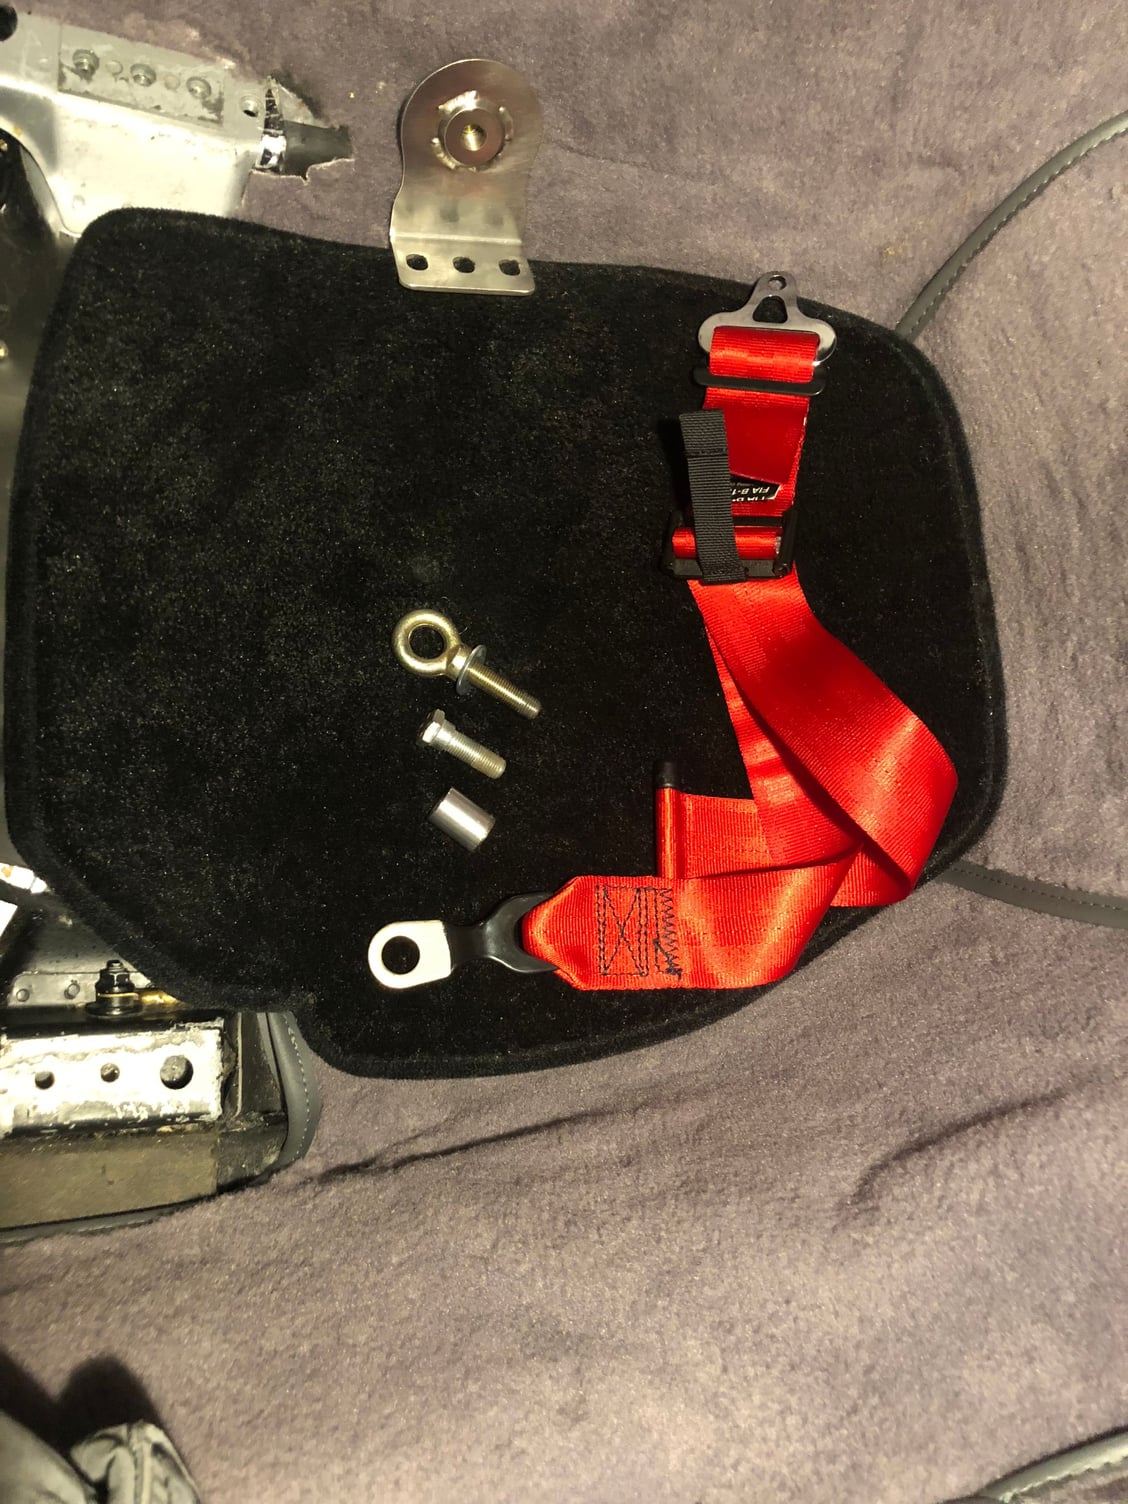
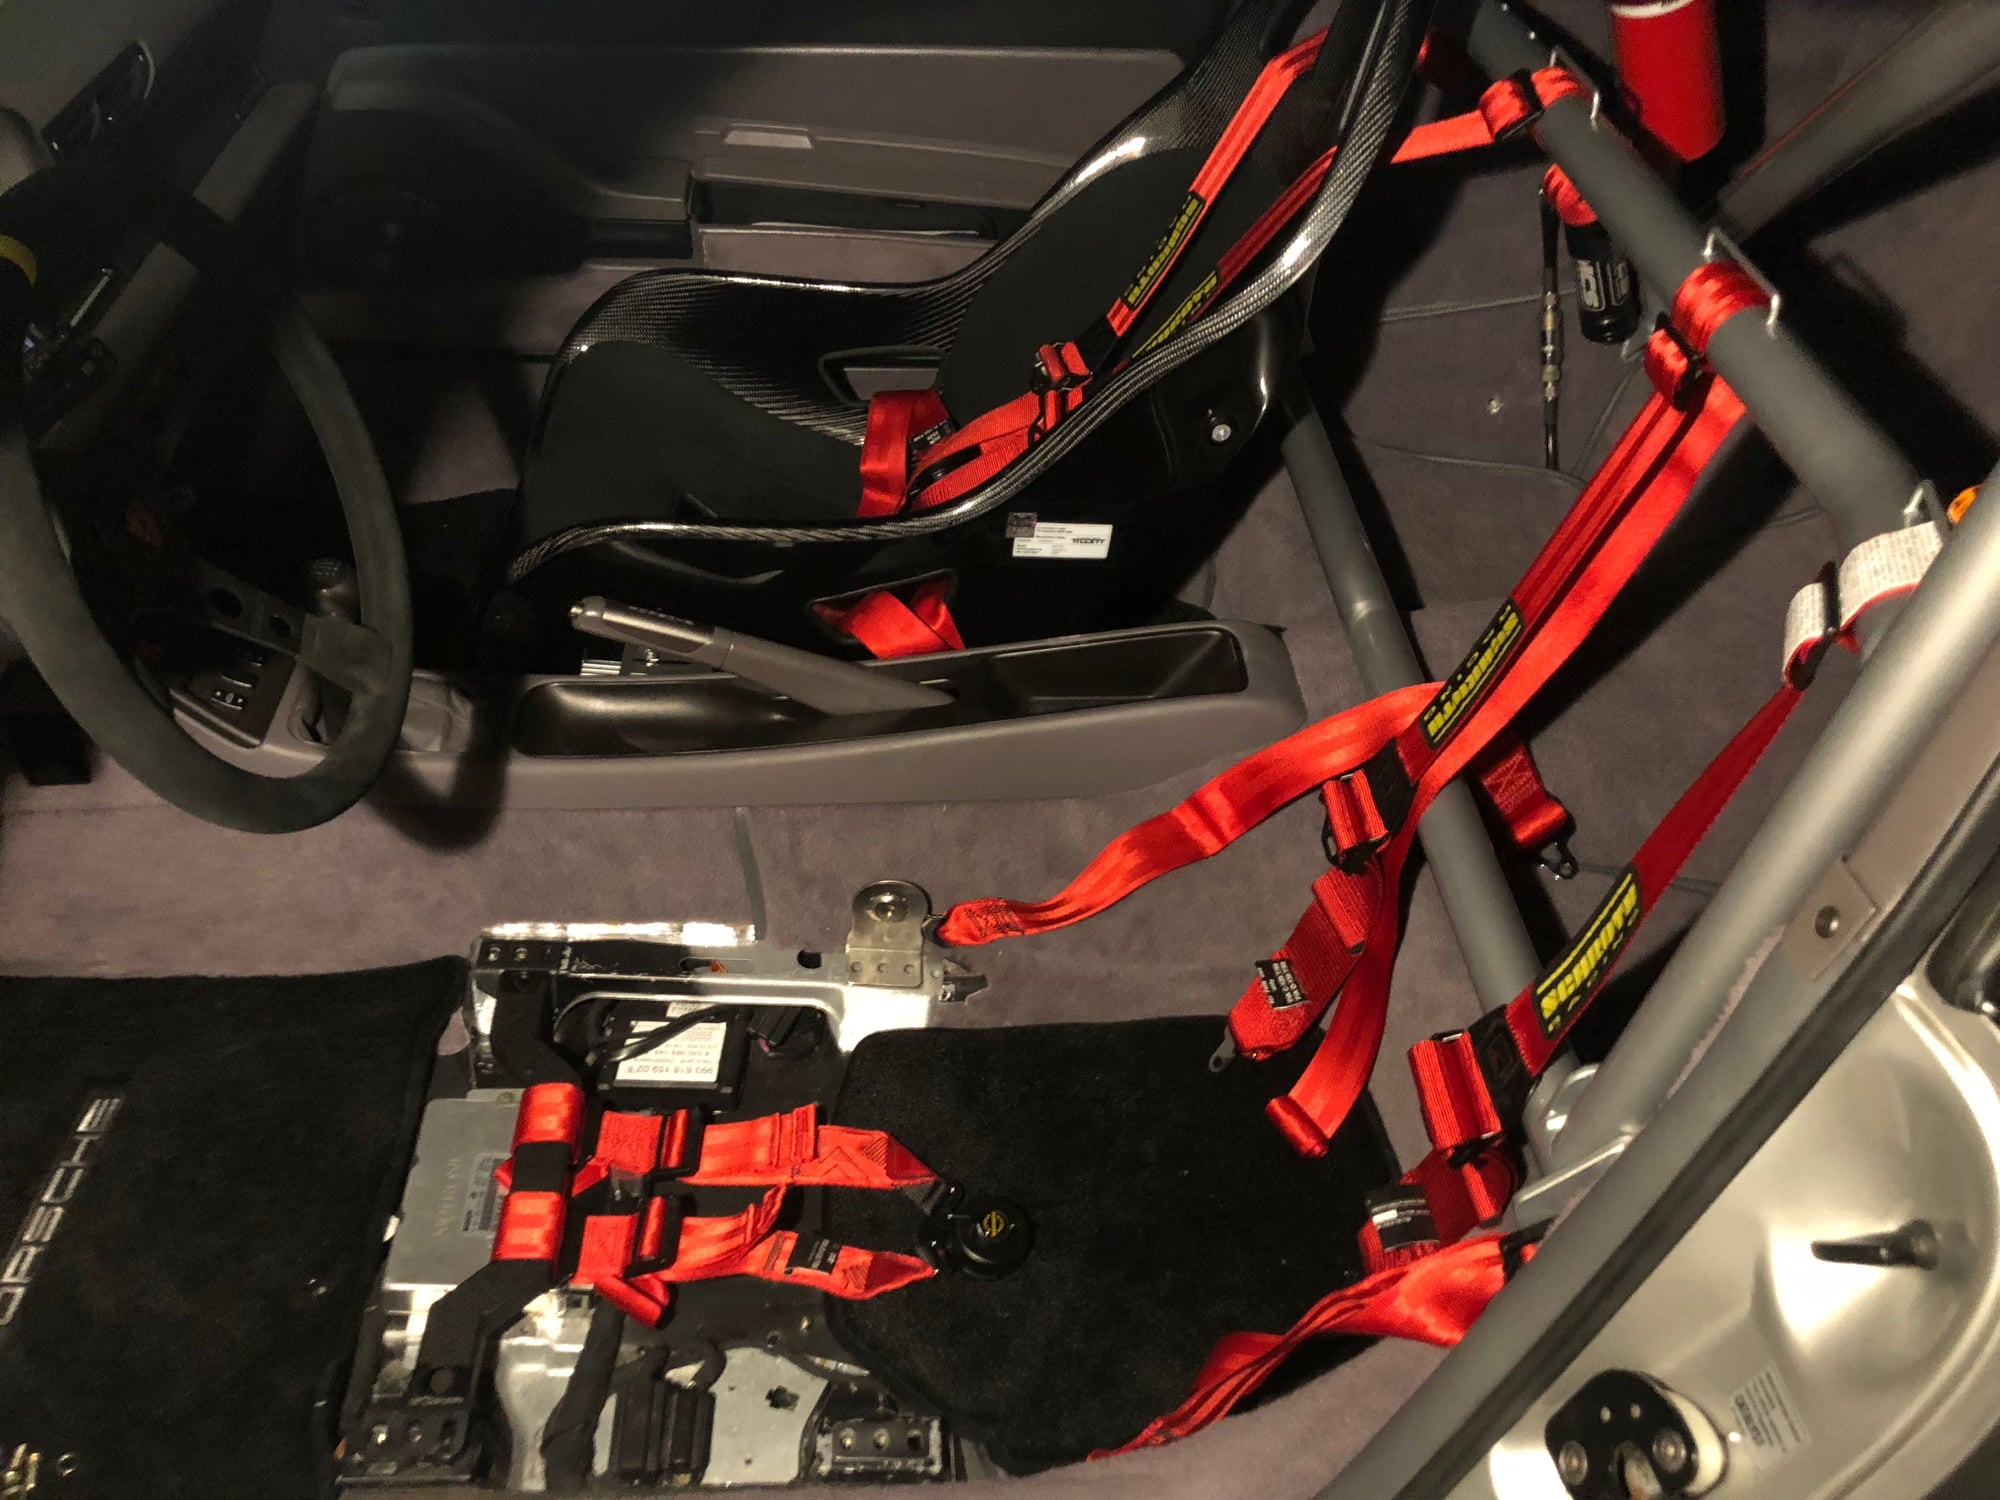
The seats are still a few weeks away, and there�s no roll bar in the car as yet, but I�m making ready for six point harnesses. I�ve found that the B43A fittings on the lap belts of the Schroth GT3 harnesses work perfectly in our air cooled cars. The inside tunnel fittings rotate nicely around the BK R-9005 seat belt mounts, the the outside belts rotate perfectly around a bolt in the stock bungs.
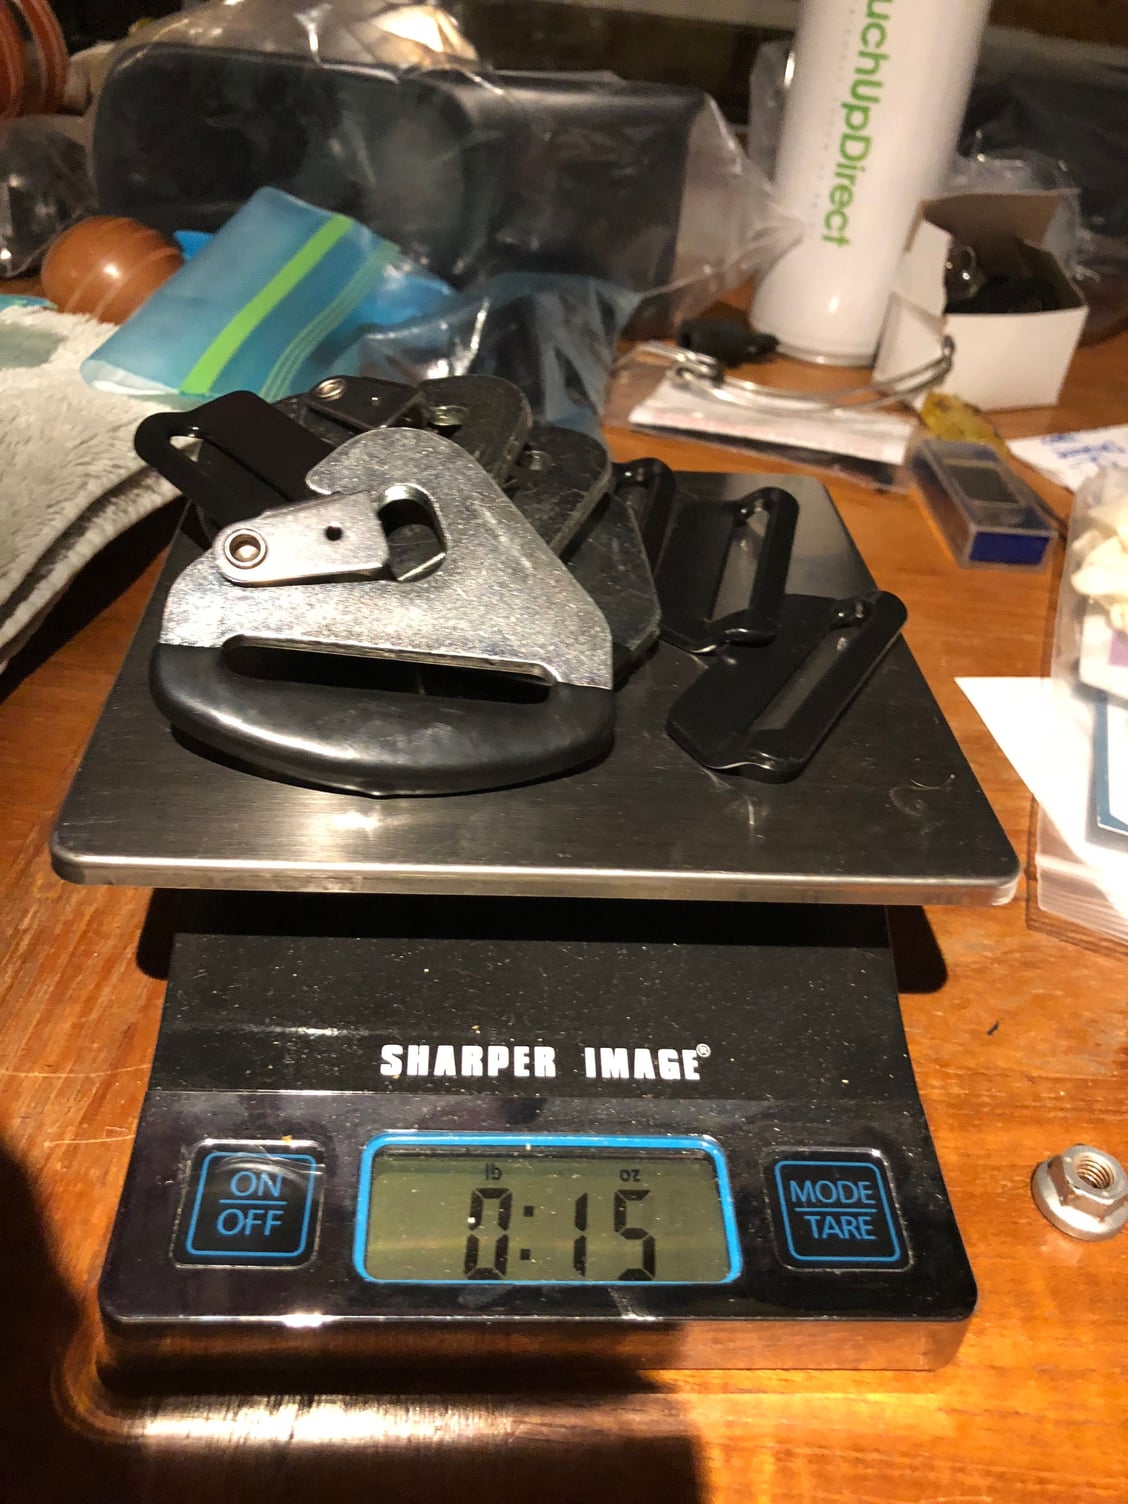
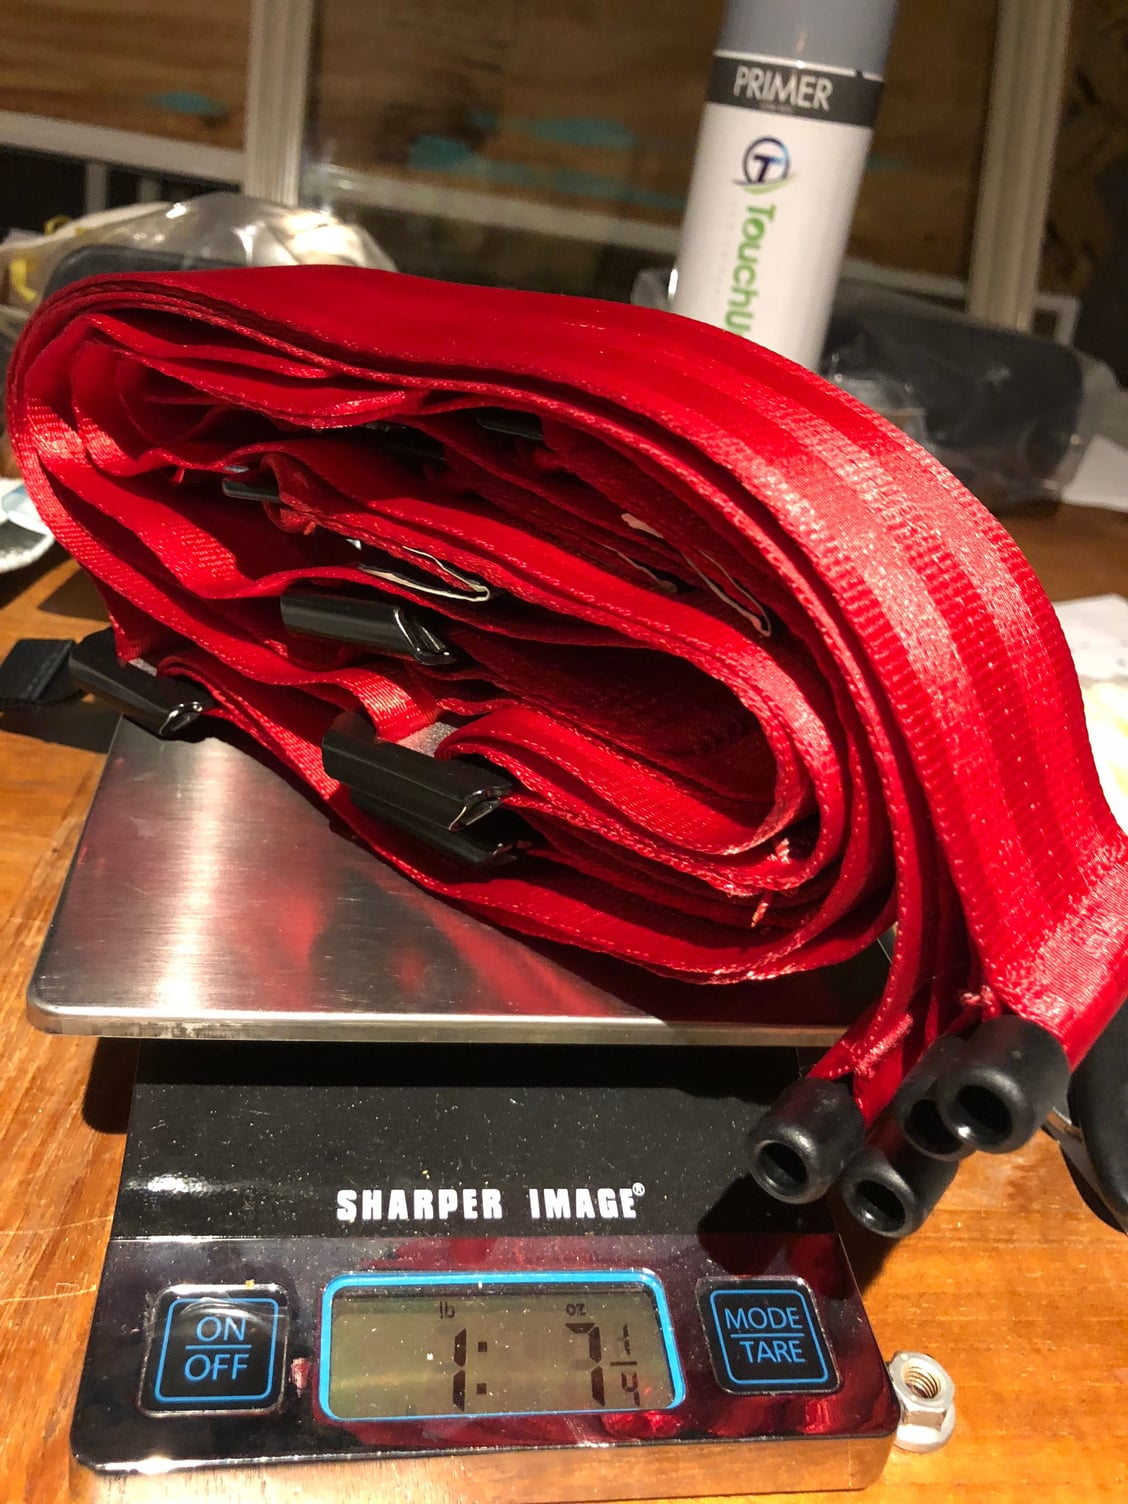
So I removed the heavy snap on hardware (close to a pound of dead weight), and shipped the belts off to HMS Motorsports in NC to have them sew in the the new rotating B43A fittings. I would highly recommend this setup for anyone planning on using Schroth harnesses. The swivel action won�t matter much with racing seats, but they�re quieter and lighter than the snap on hardware. And the inside BK R-9005 mounts will work perfectly with the stock three point harnesses until the roll bar is in.
The Schroth harnesses came back from HMS Motorsports with the new GT3 hardware. Still no seats in the 964, but a test fit in my 993 revealed a slight problem. The outside lap belts were a perfect fit, but the lap harnesses on the inside tunnel were too long. Even with the belt tightened all the way down, the left lap belt extended too far (past center and toward the door). So I shipped two of the lap harnesses back to HMS with instructions to shorten each belt by 3.5". I also marked the harnesses with a sharpie to avoid any mistakes. For future reference the GT3 hardware should be mounted with 13.5" length on the outside lap belts, but only 10" on the inside lap belts.
Schroth Harnesses with former weighty snap-on buckles
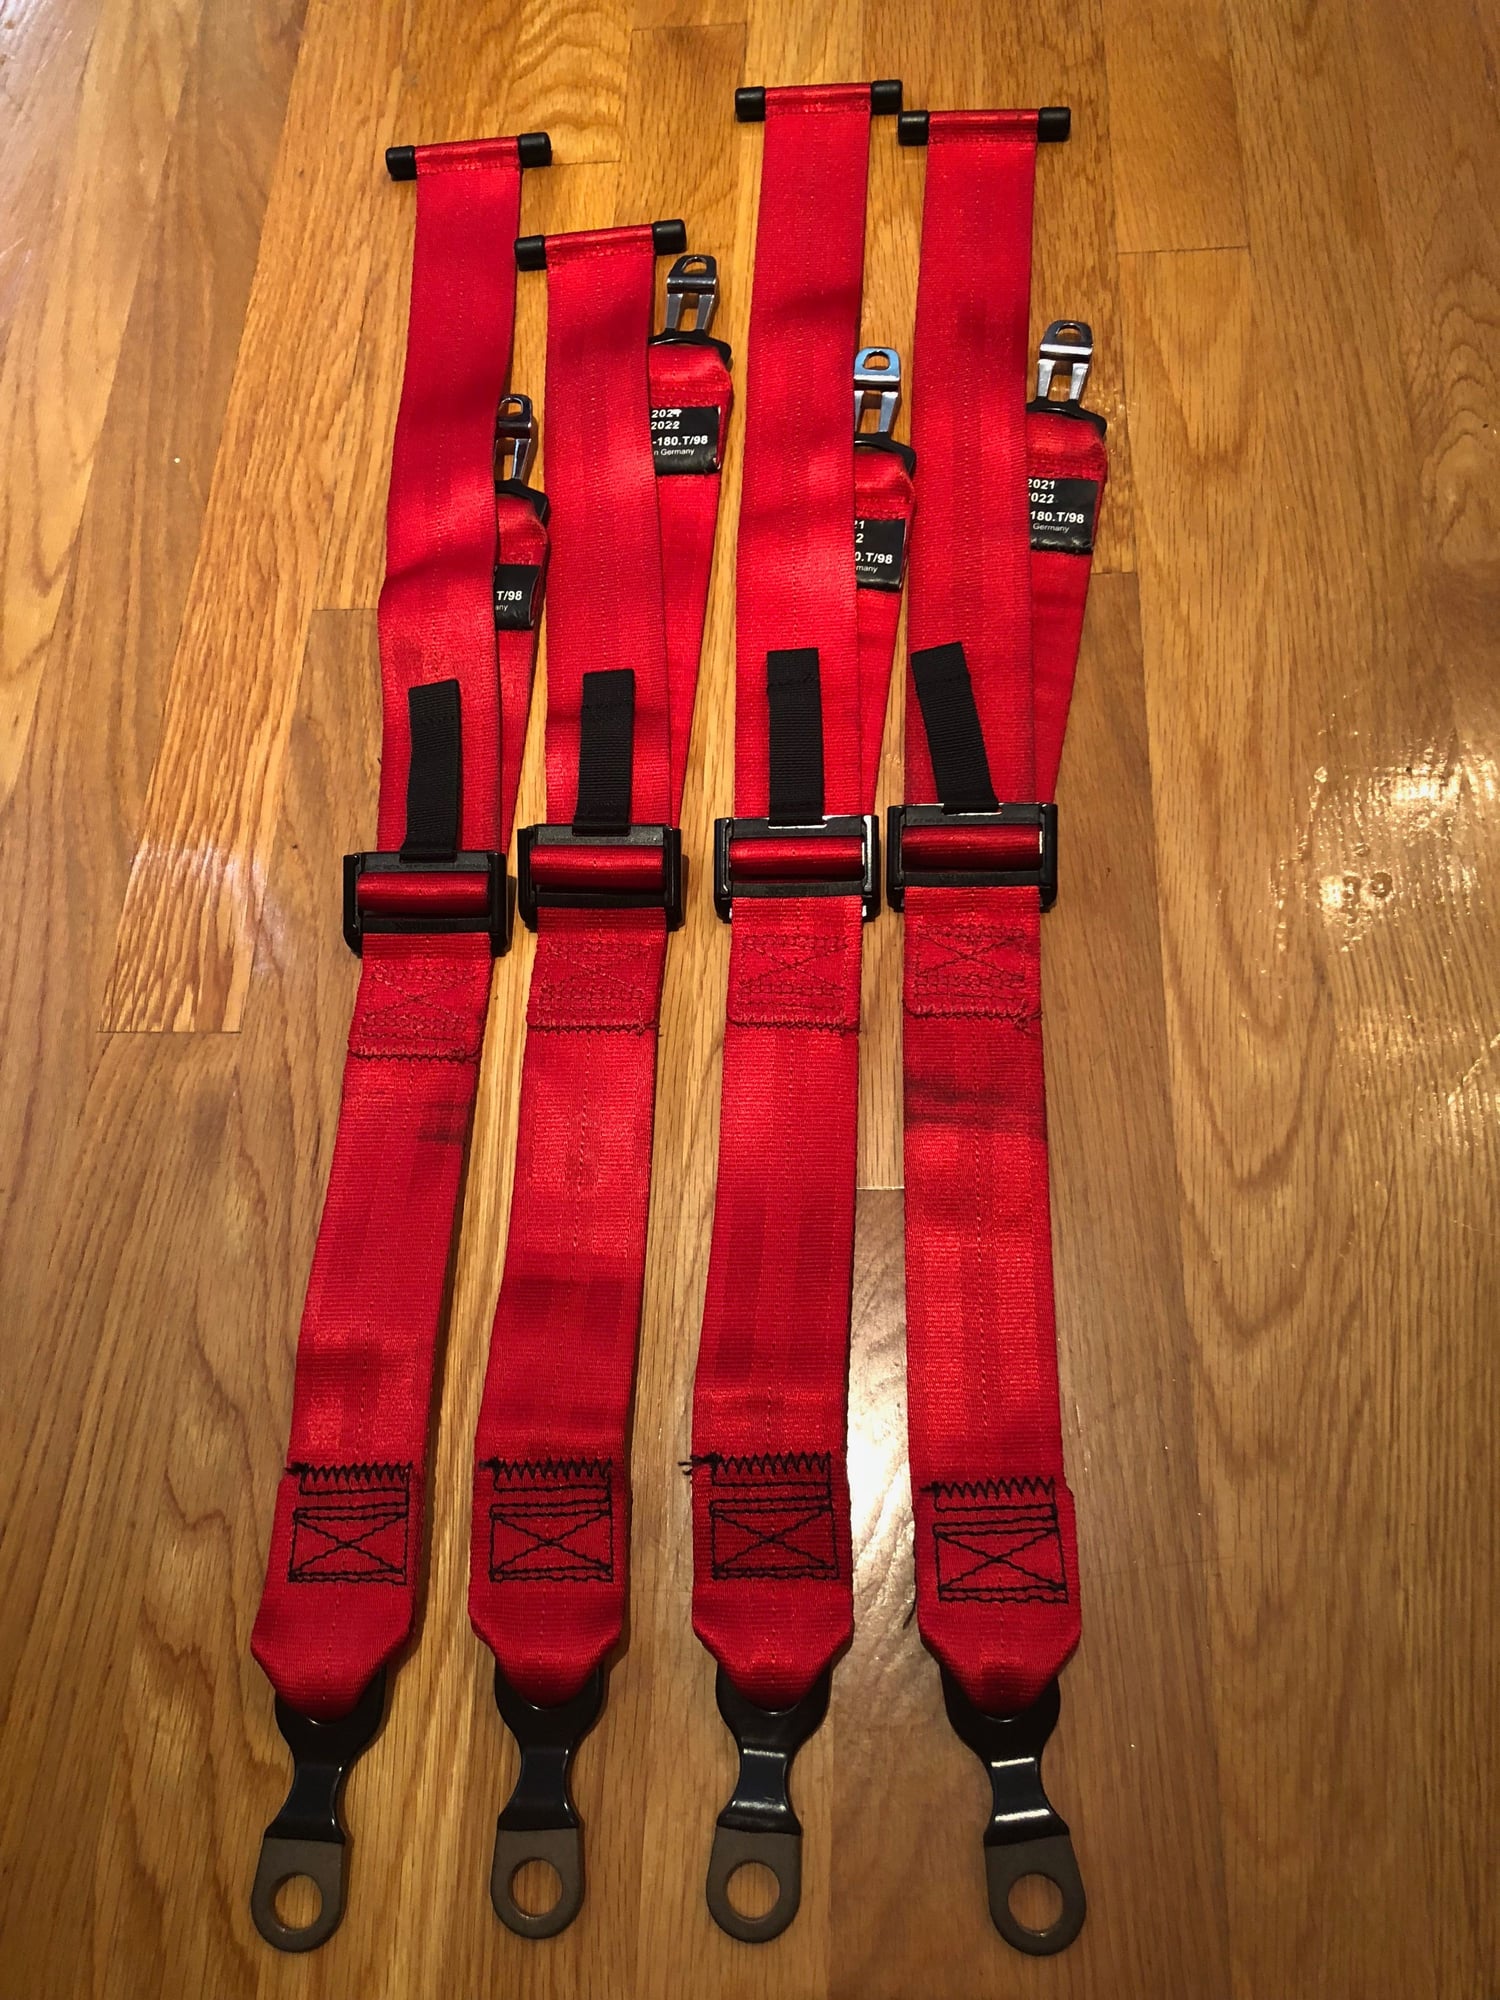
Schroth harness back with sewn in GT3 harnesses. Lighter and quieter,
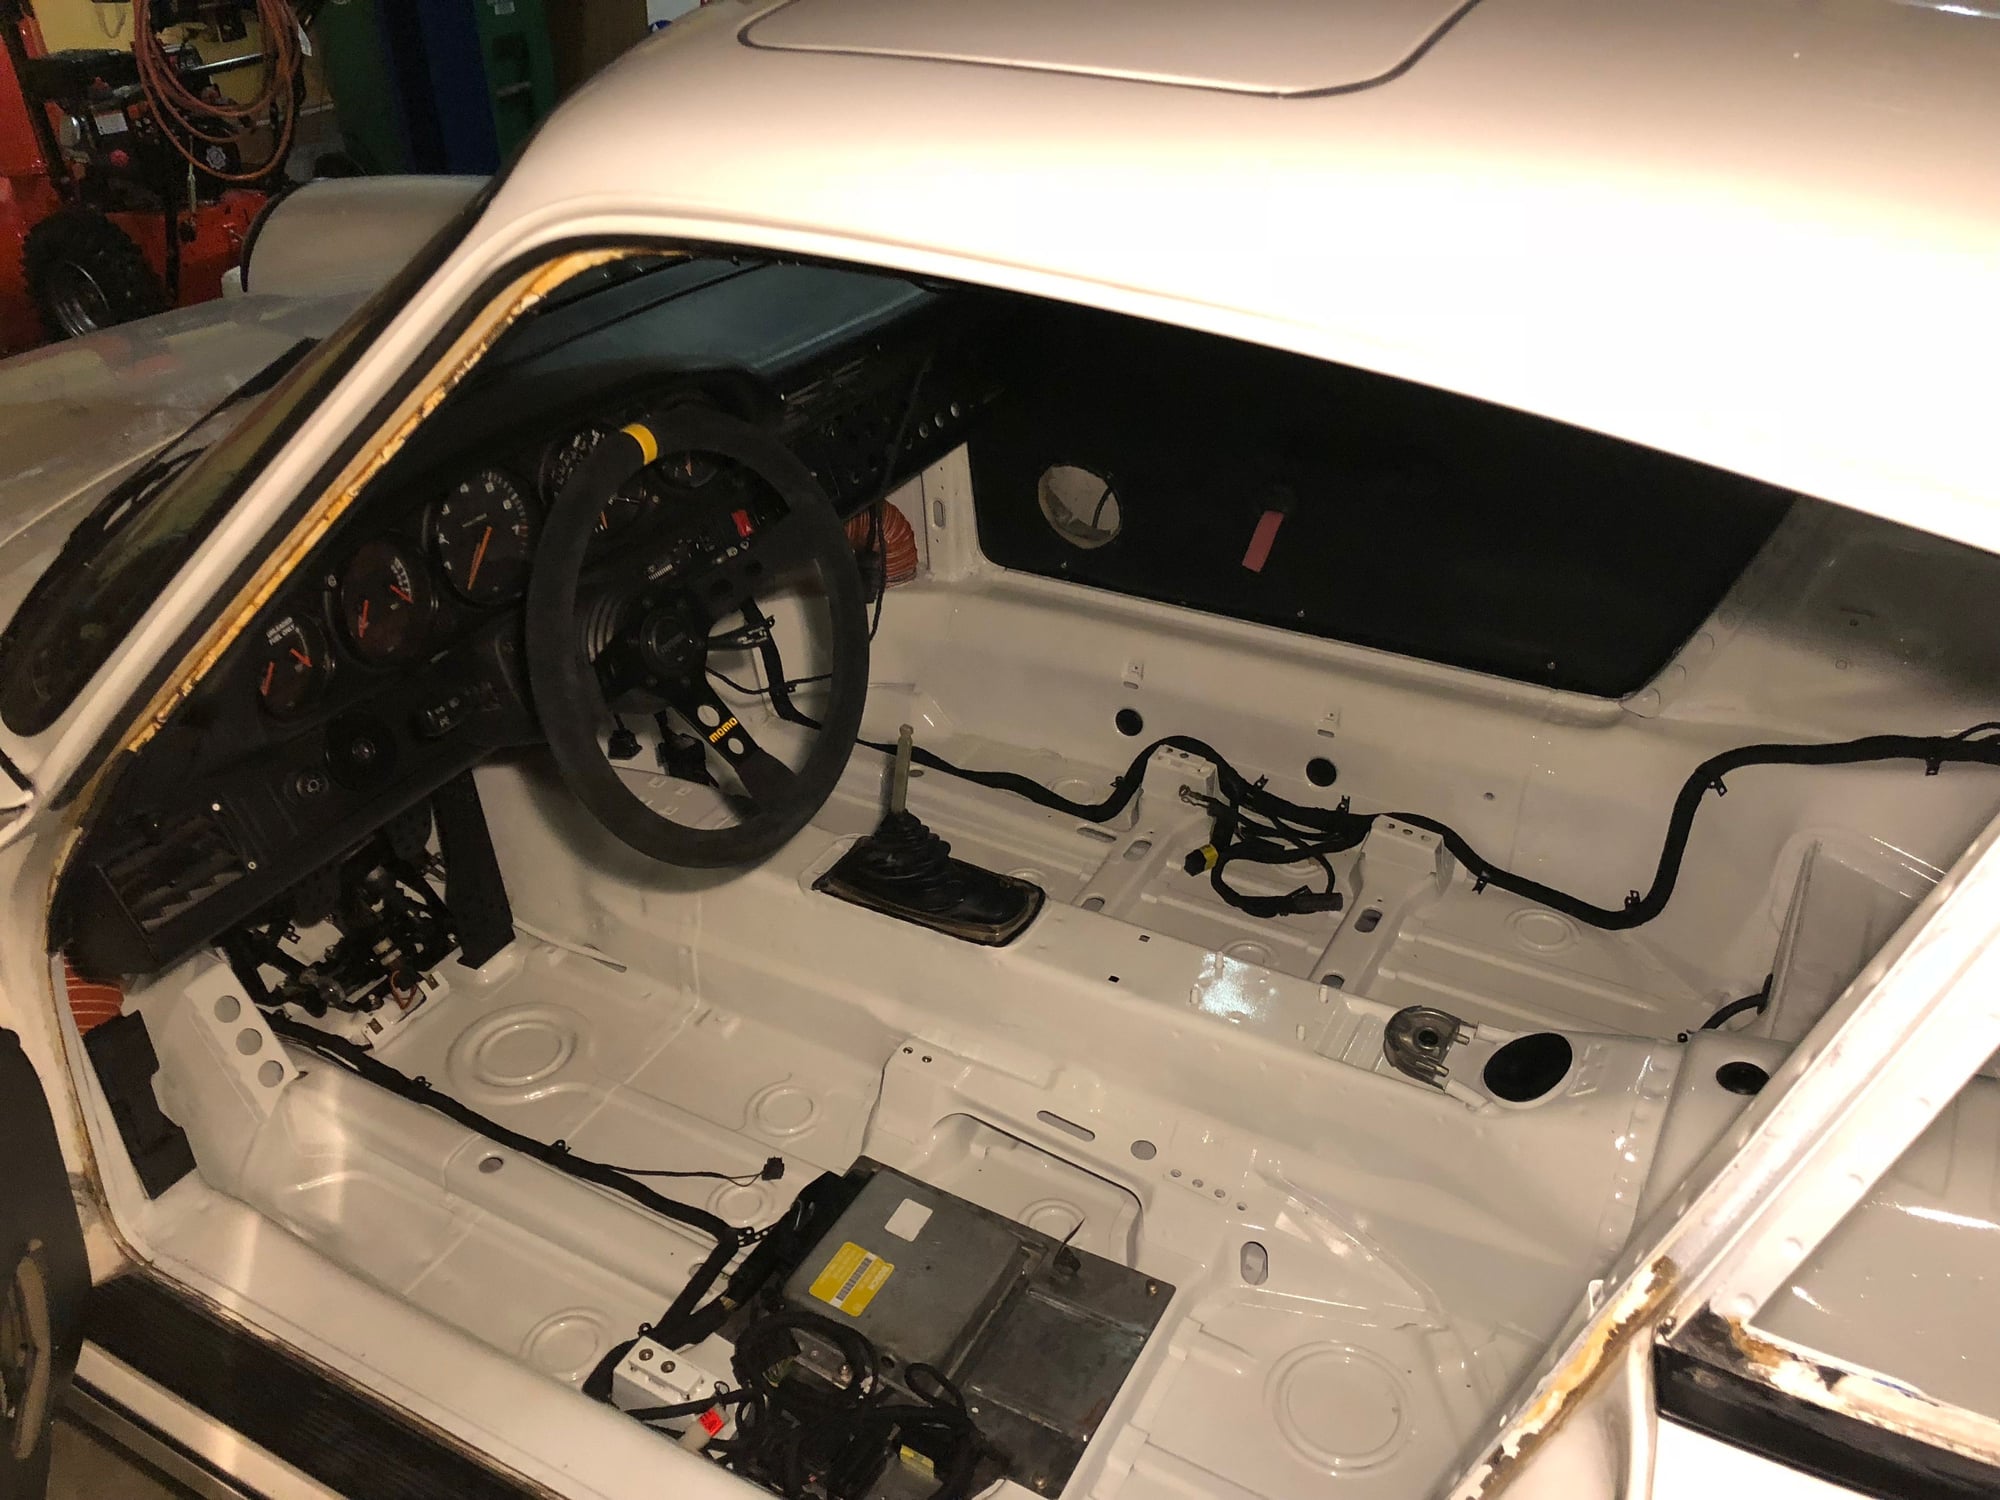
Continuing progress on the 964 this past week. I'm hoping to have everything back together and ready for a test start later this week. I even picked up a Battery Tender (Junior) this evening hoping to awaken the battery from the unforeseen six month slumber. So here's the latest progress...
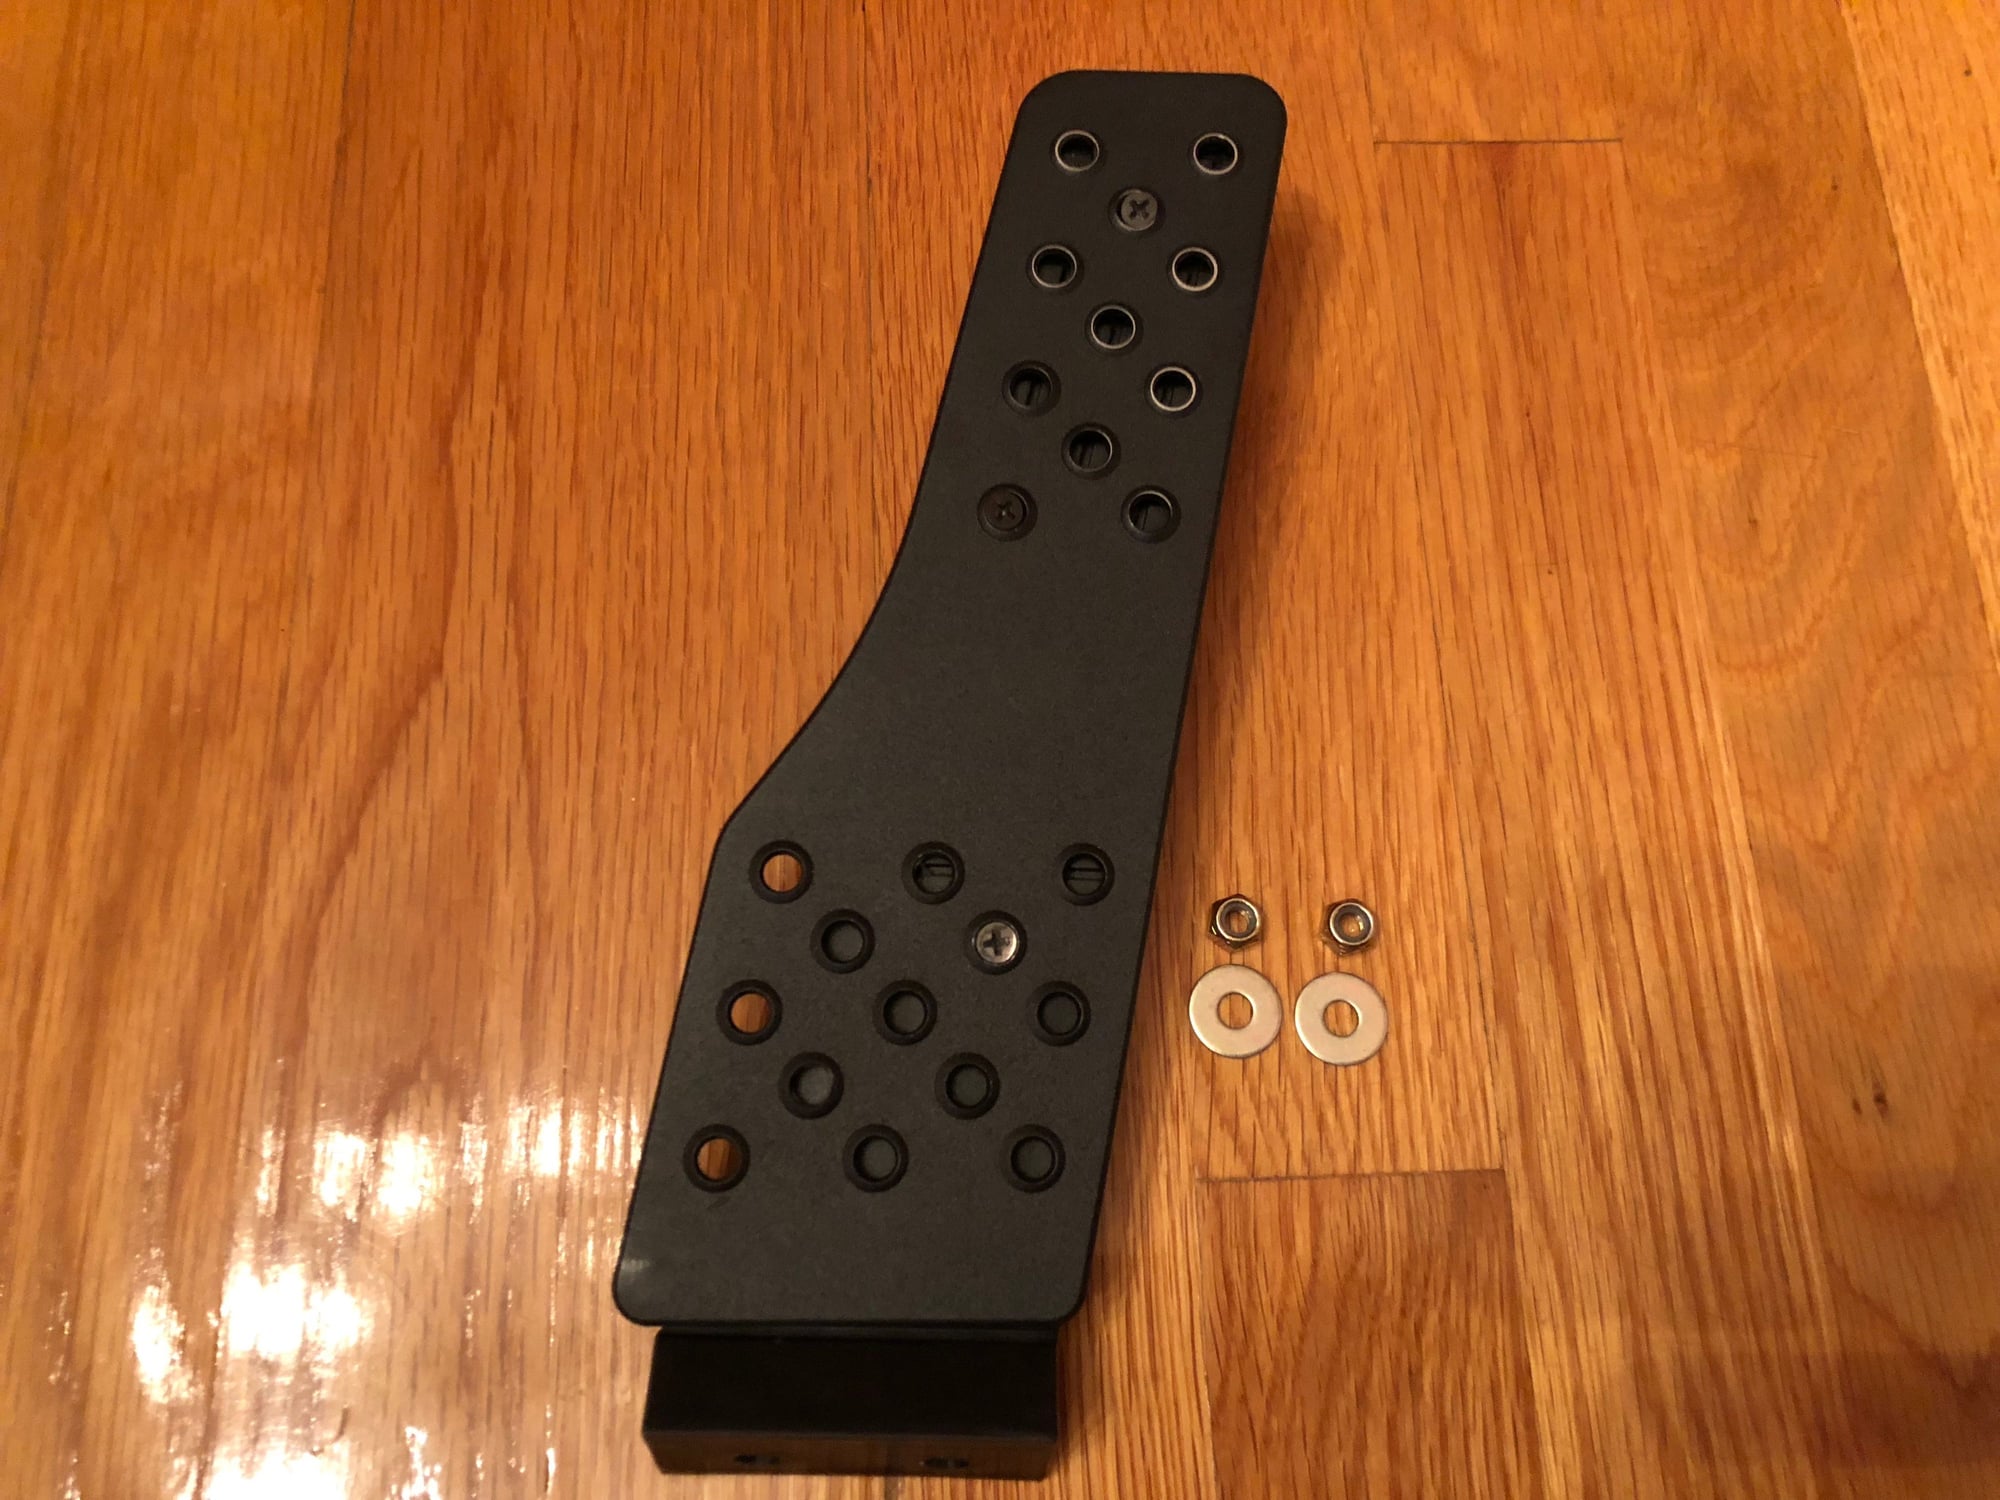
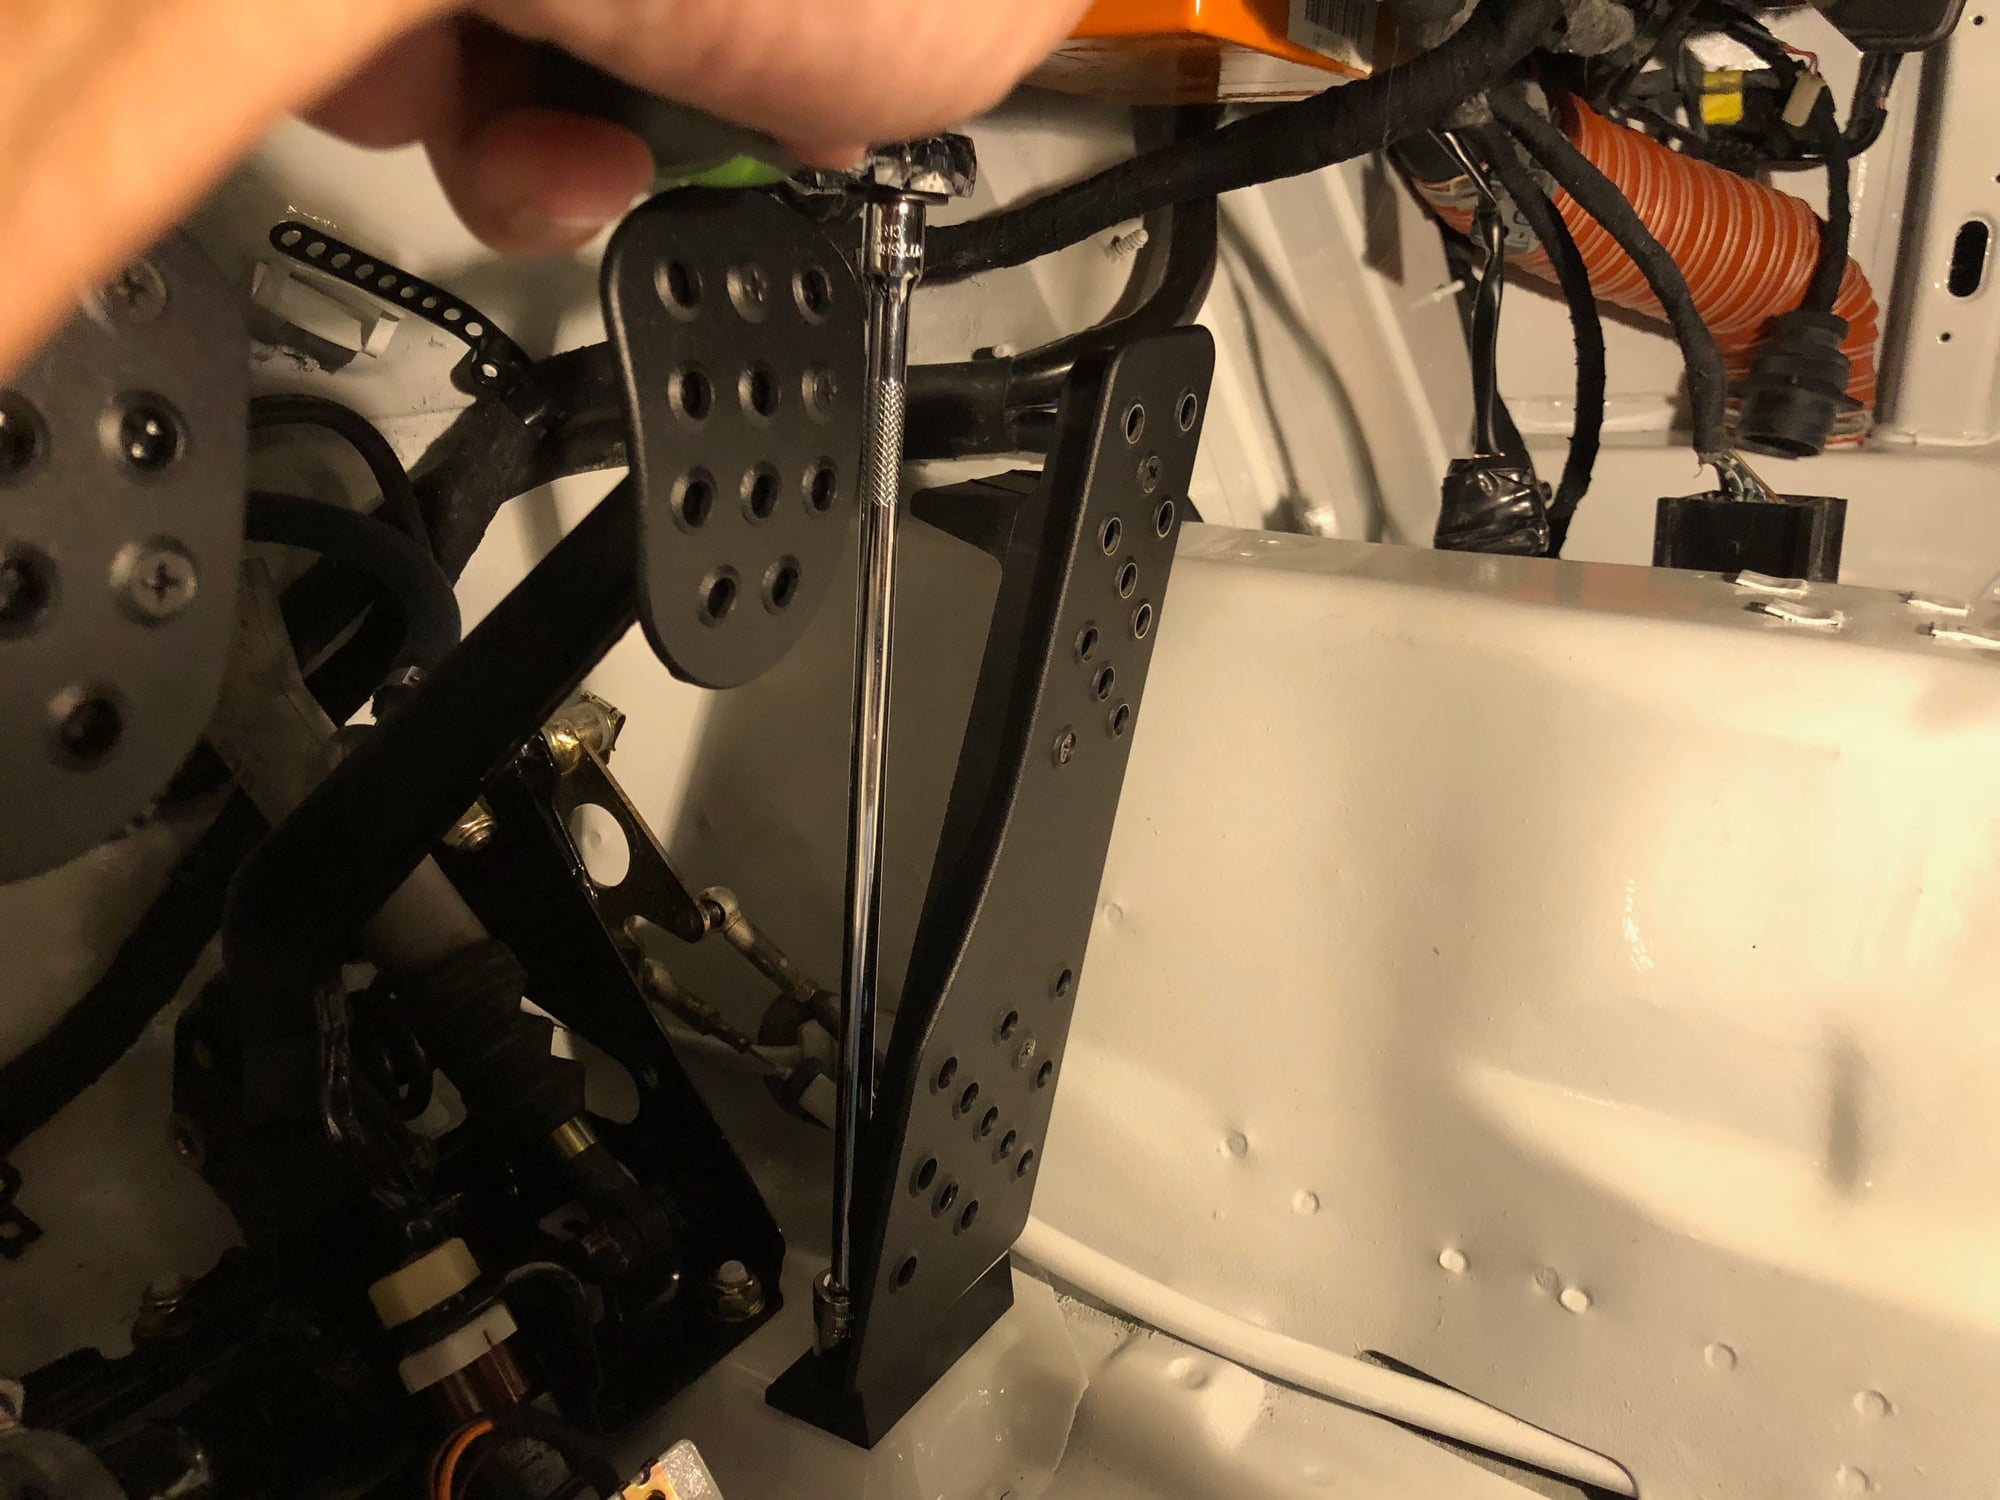
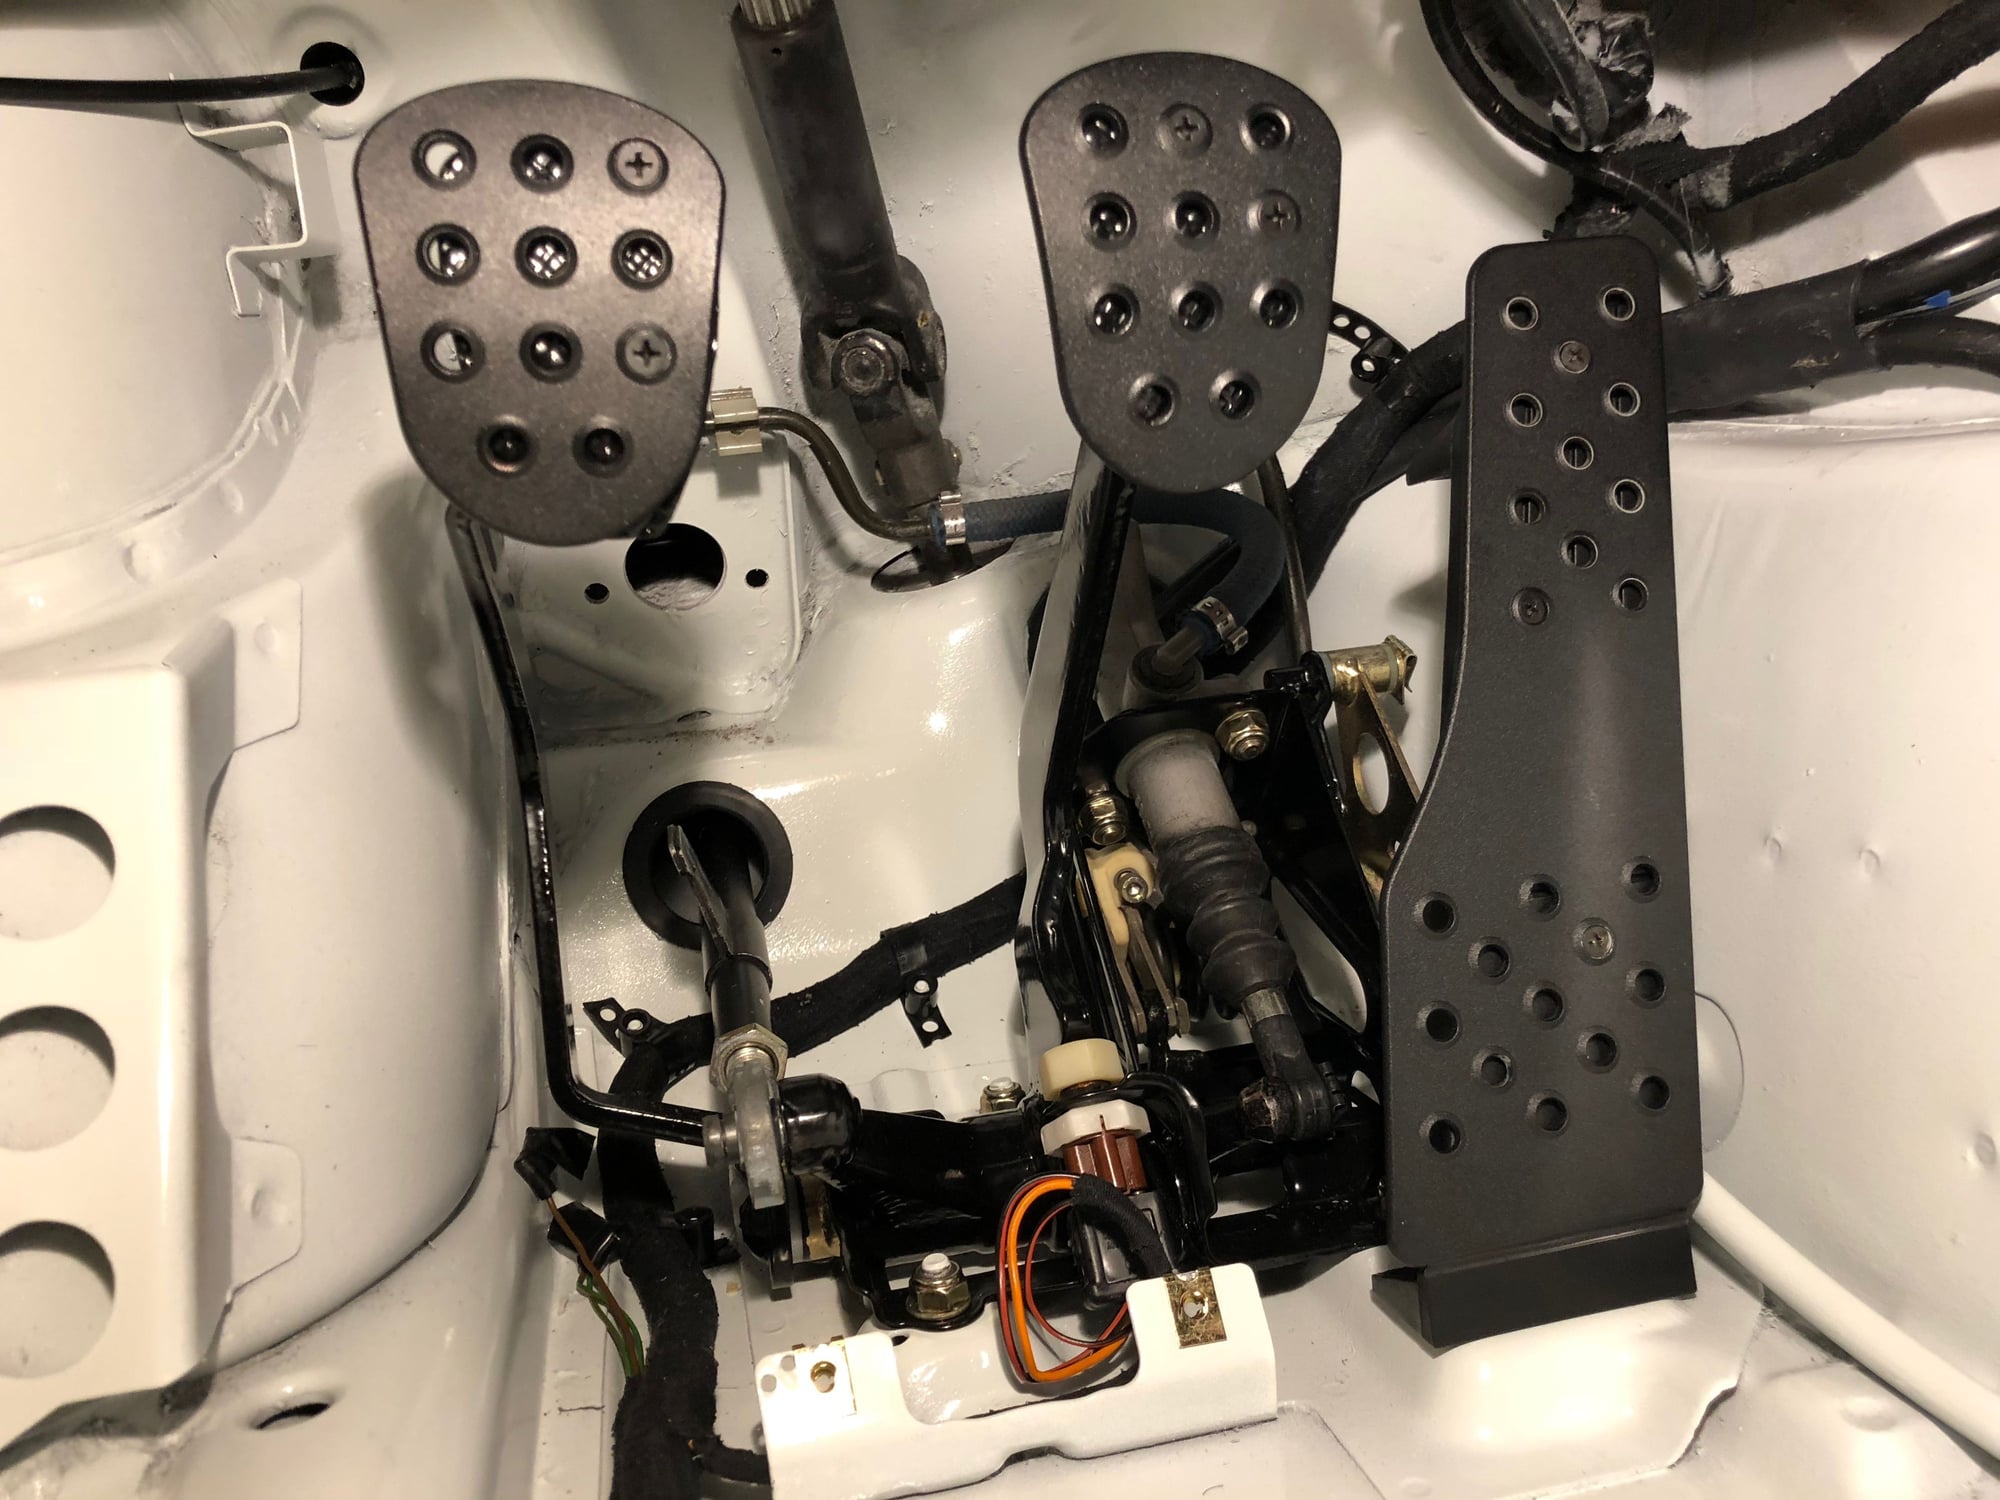
All new hardware and bits on the pedal assembly...
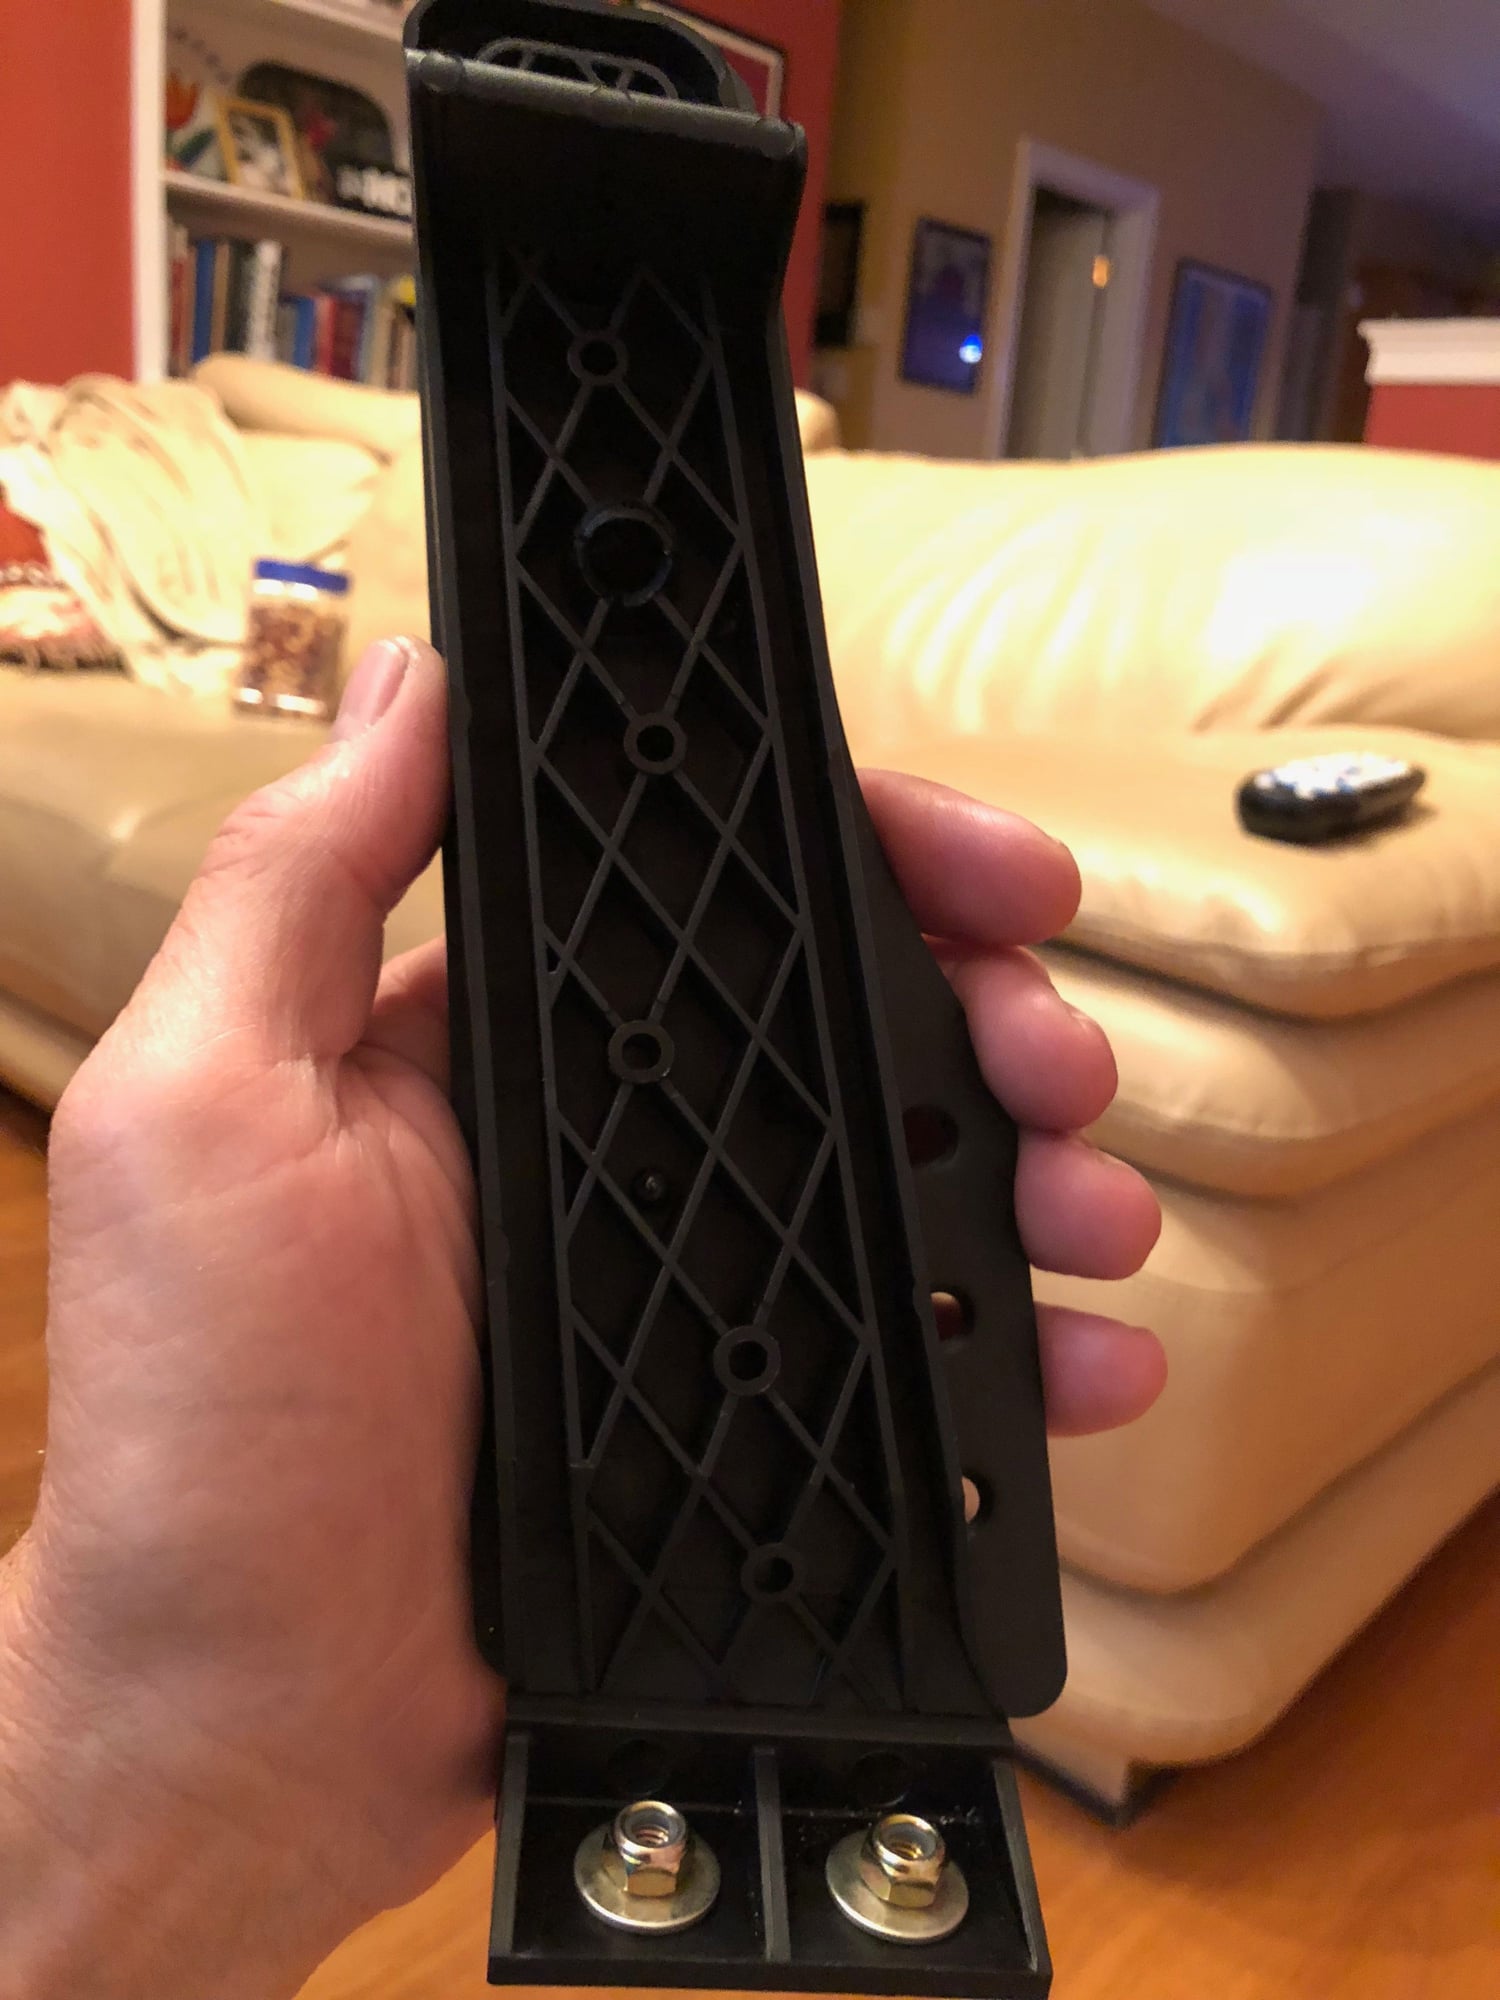
left the Rennline Pedals looking a bit worn and tired.
So I picked up a new pair of aluminum pedals
No detail overlooked
The pedal assembly dropped right back in without issue - phew!
Here's what that spot used to look like
With the the pedal assembly finally back in (so much for Porsche's commitment to keeping these older cars on the road - they no plans to order new clutch sleeves afger their major screw-up)
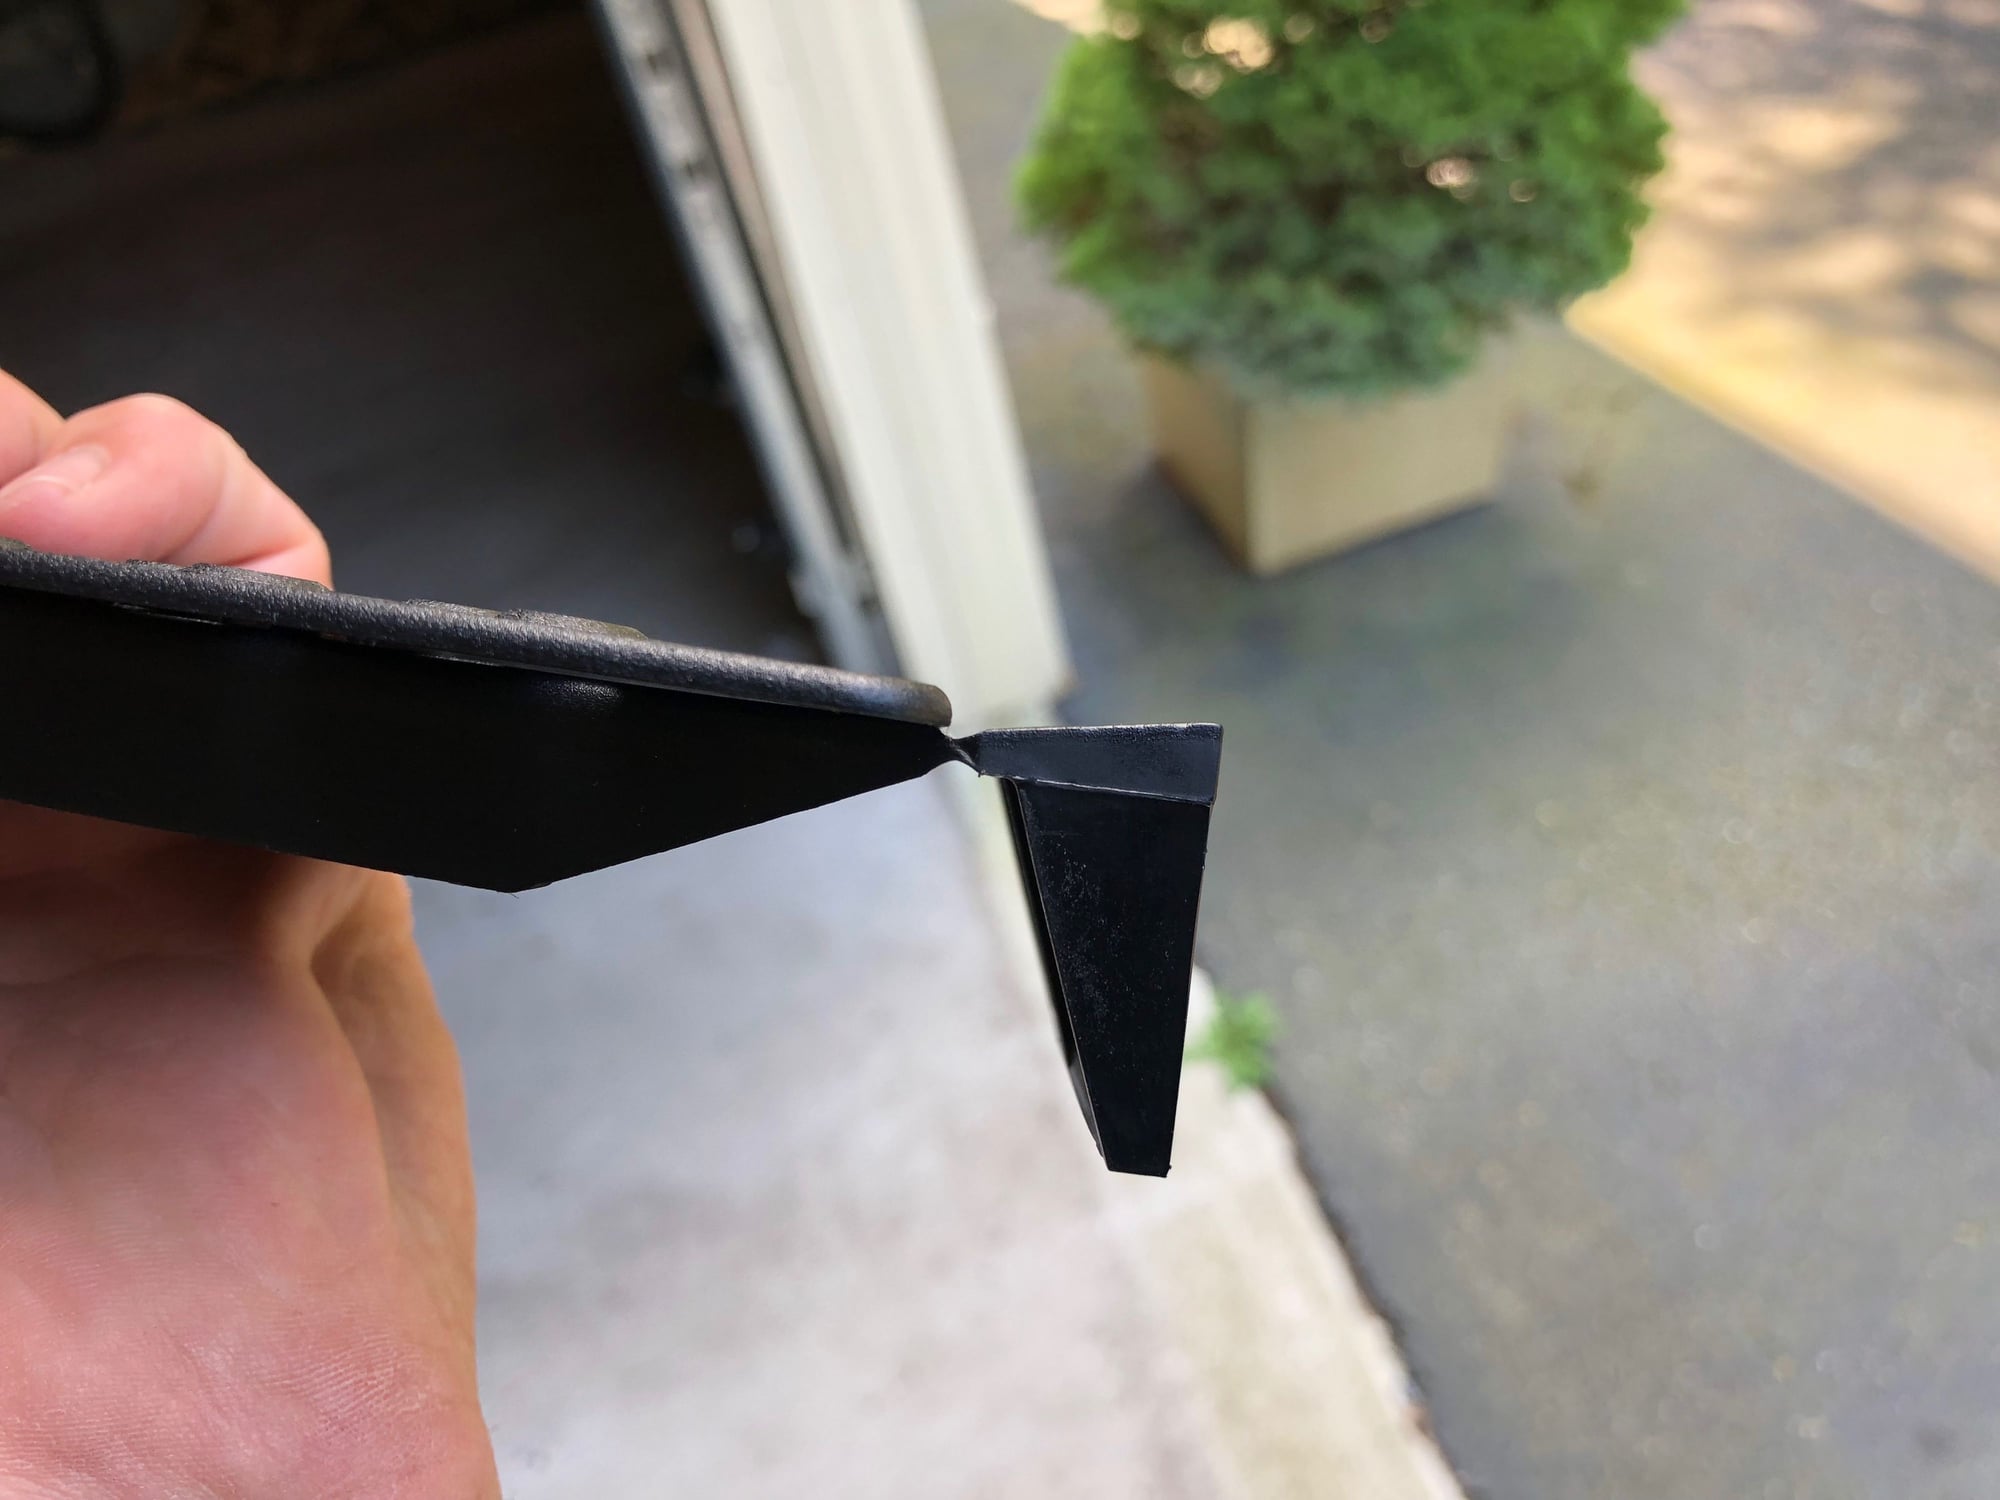
It was time to jack the car up and reattach the brake pedal (recall that I had to detach the brake push-rod up front by the front wheel as the other mono-ball on the push-rod had fused to the brake)
Reinserting brake push rod (with new mono-ball, thanks EBay)
Left front wheel is off
To get access to connect the brake push-rod here.
It was easy to line everything up and reinsert the pin
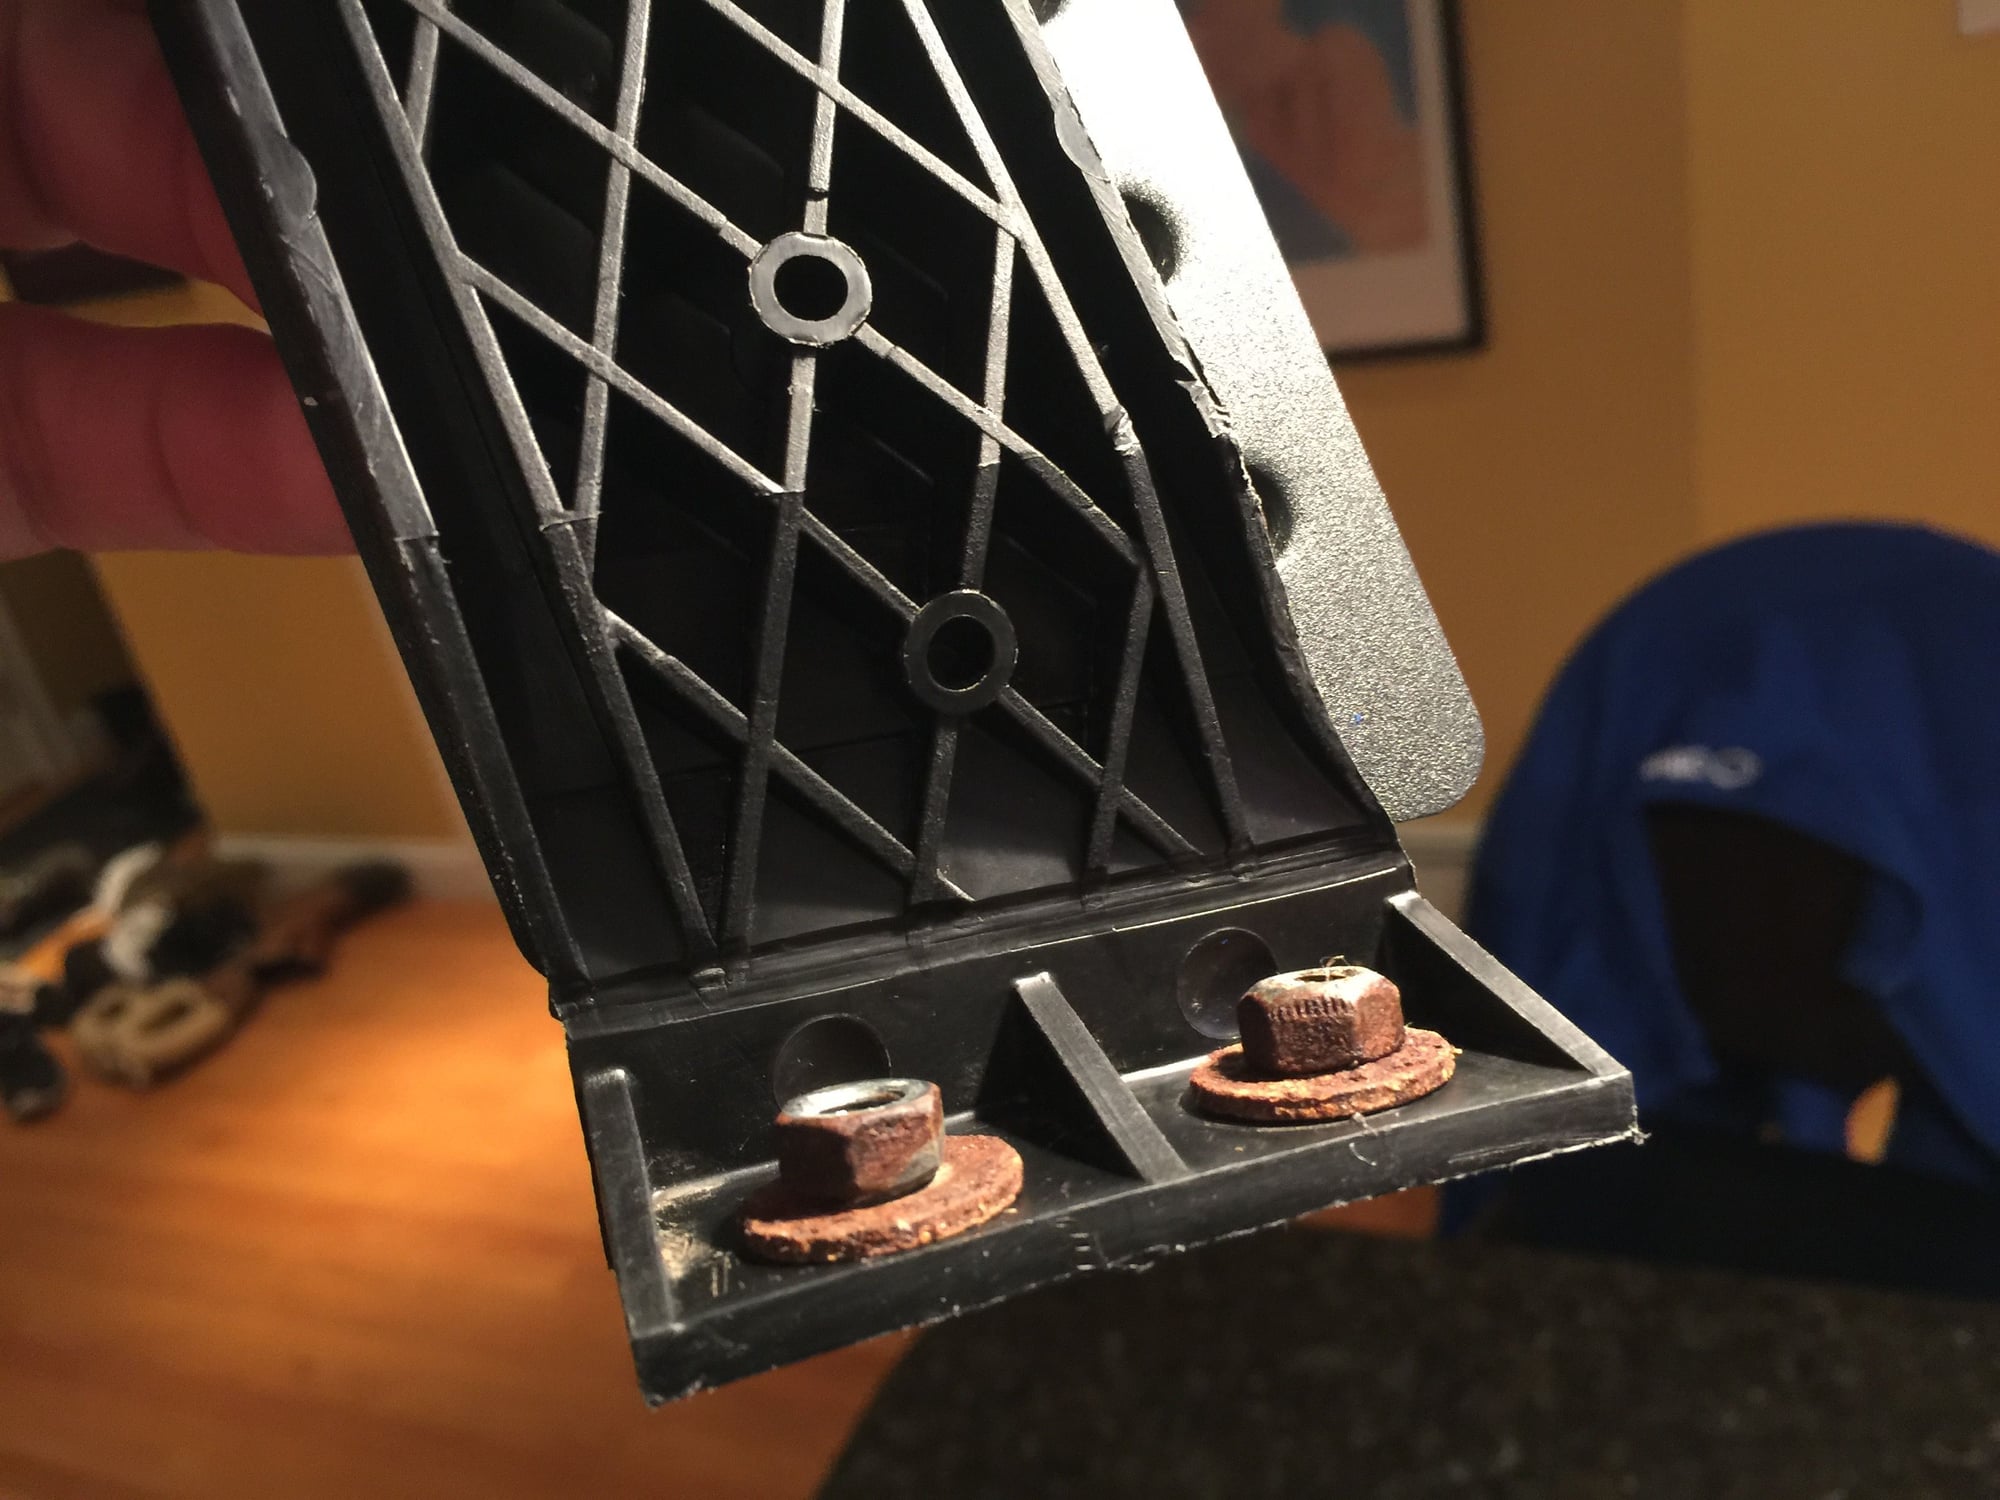
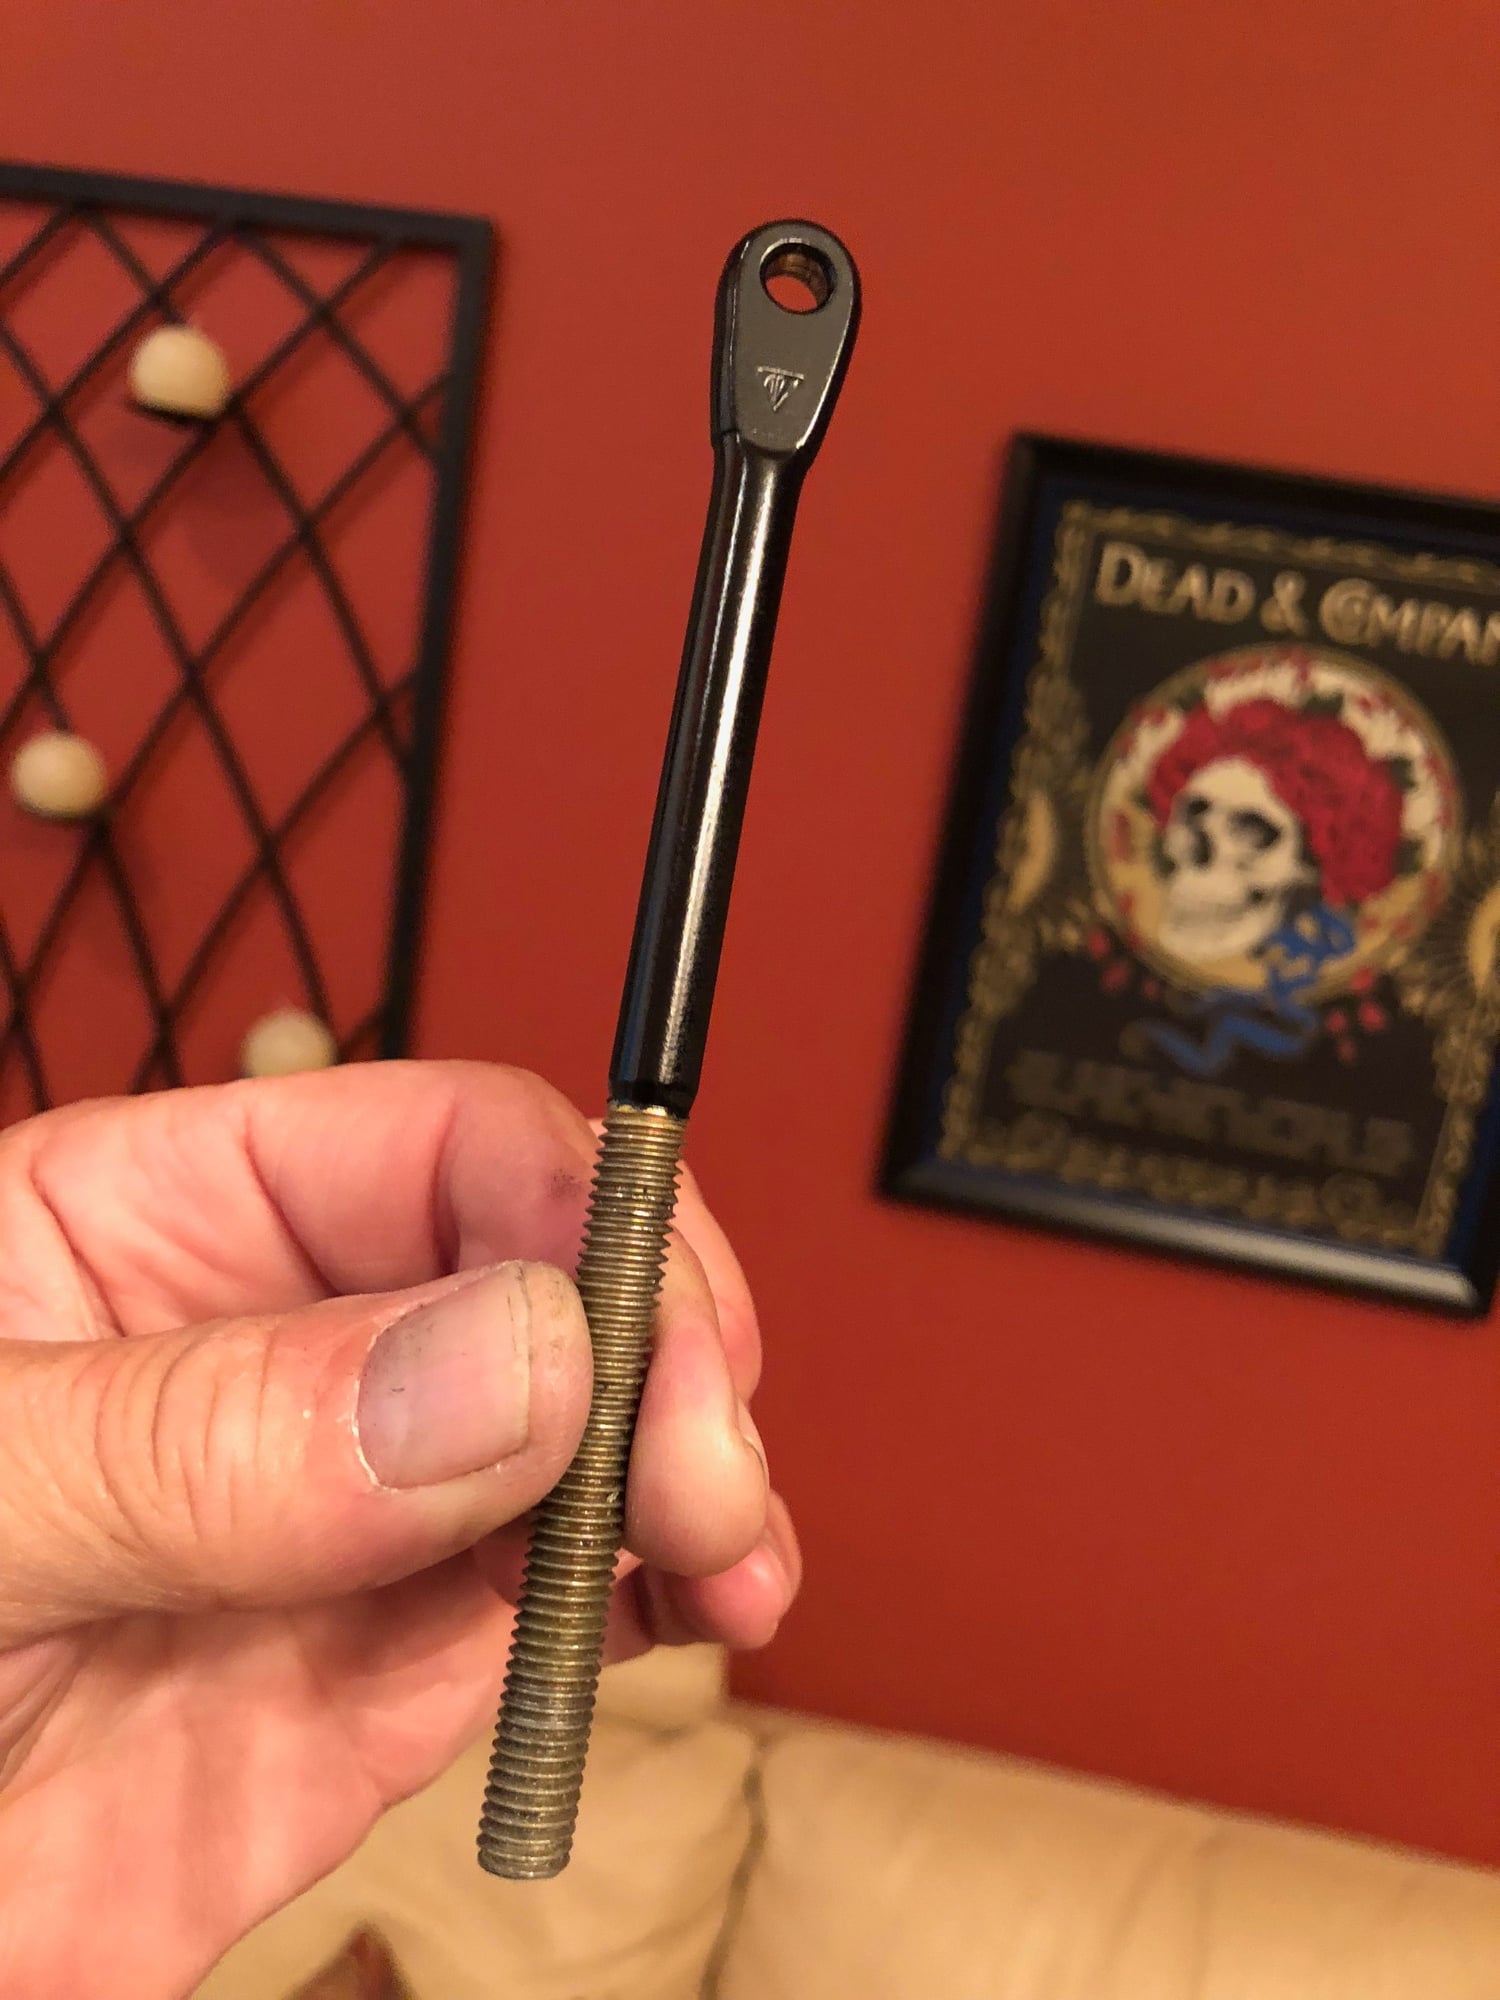
Reattaching the new go pedal was next on my list, but I was fresh out of hardware. It was 4 PM on a beautiful Sunday afternoon - and naturally Bill Pfister was standing at the ready at the shop happy to assist. So I raced over to Framingham and came back with a dozen new nuts and washers - all of which were the wrong size for the gas pedal. Doh. So I searched around the house for a bit and finally discovered the bag of hardware Pfister had laid out for me with two smaller hexagonal nuts and washers set aside just for the gas pedal. The lock nuts are part # 900 910 010 09, the washers are part #N 011 666 7.
New Gas Pedal with Rennline Aluminum Racing Pedal mounted on top
Part no. for gad pedal
New hexagonal nuts and washers
Here's a pic of the original hardware
Using the proper hardware helps ensure no stripping of any threads
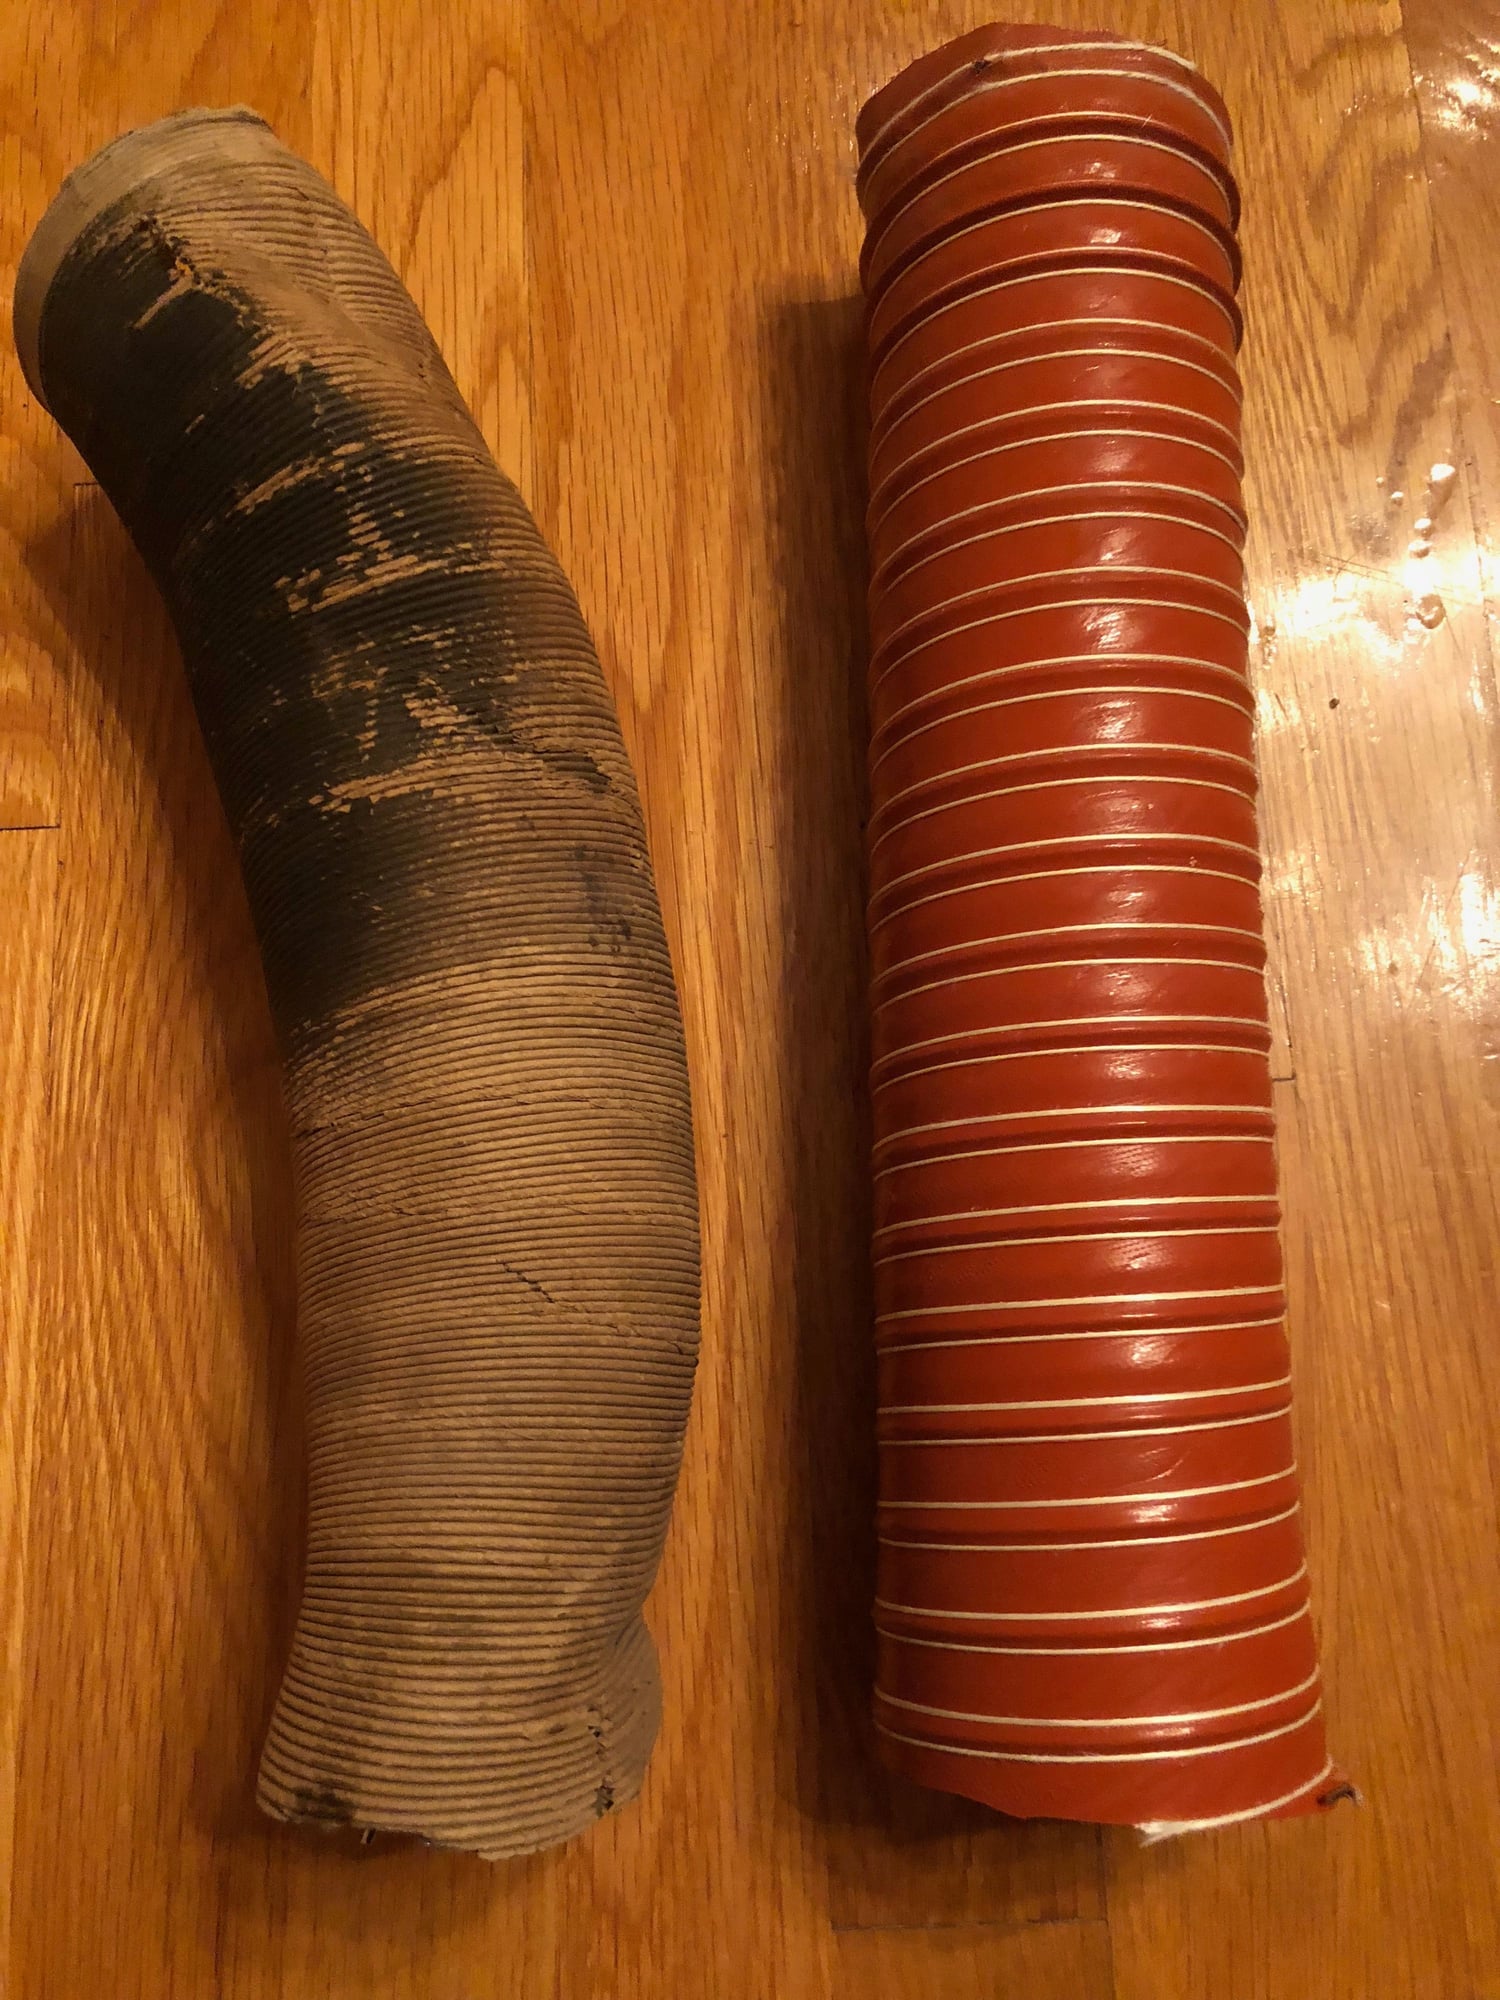
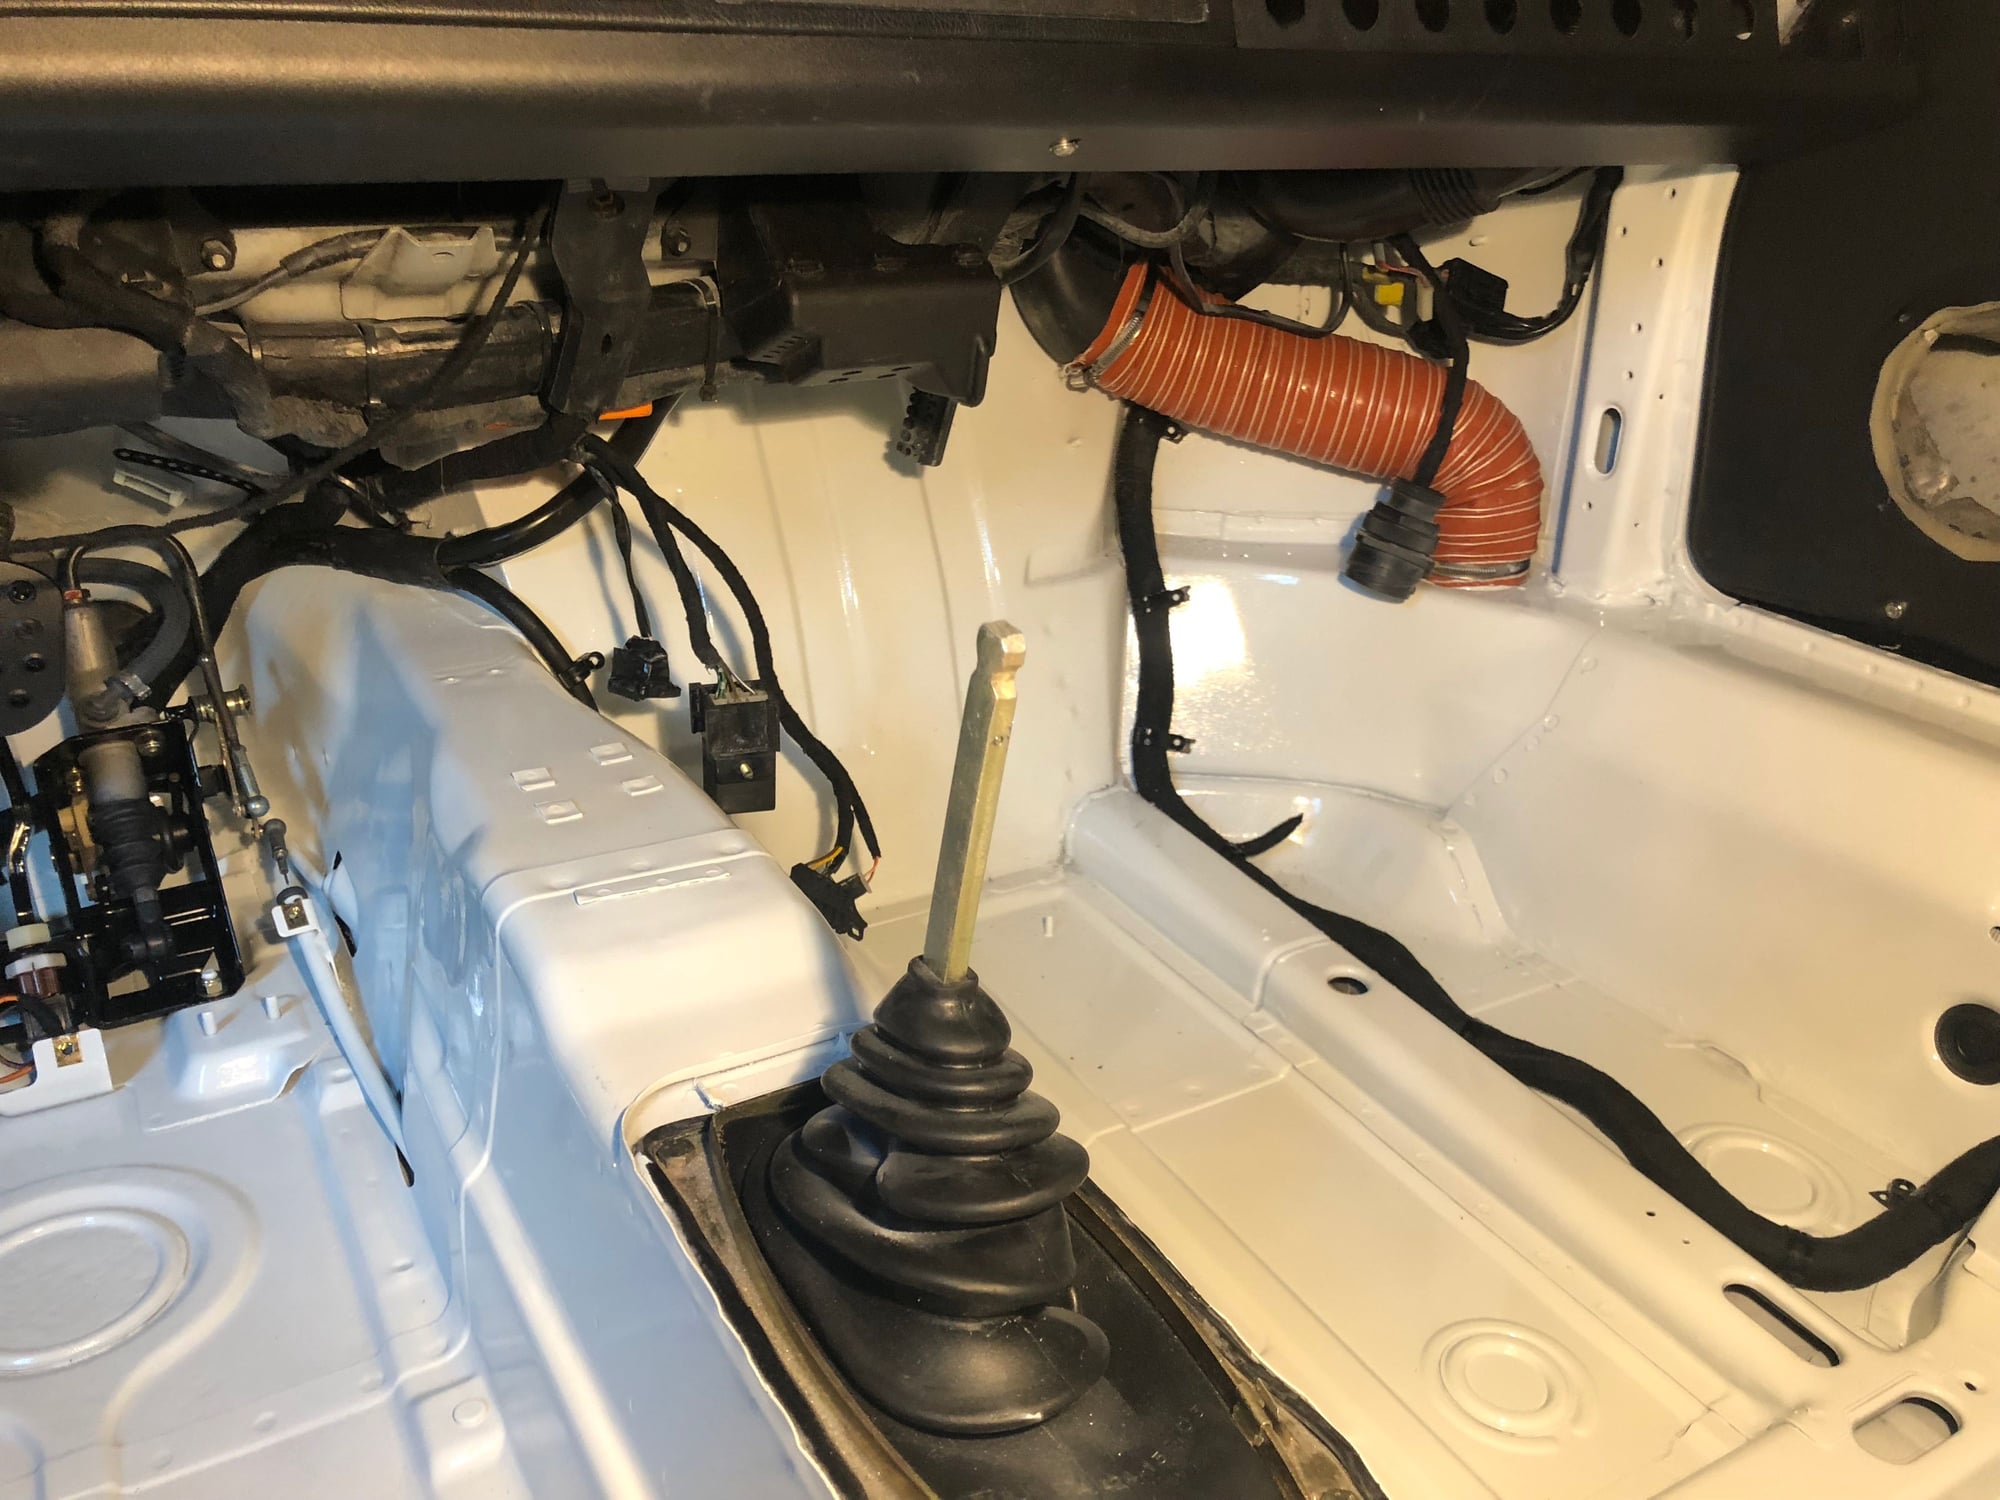
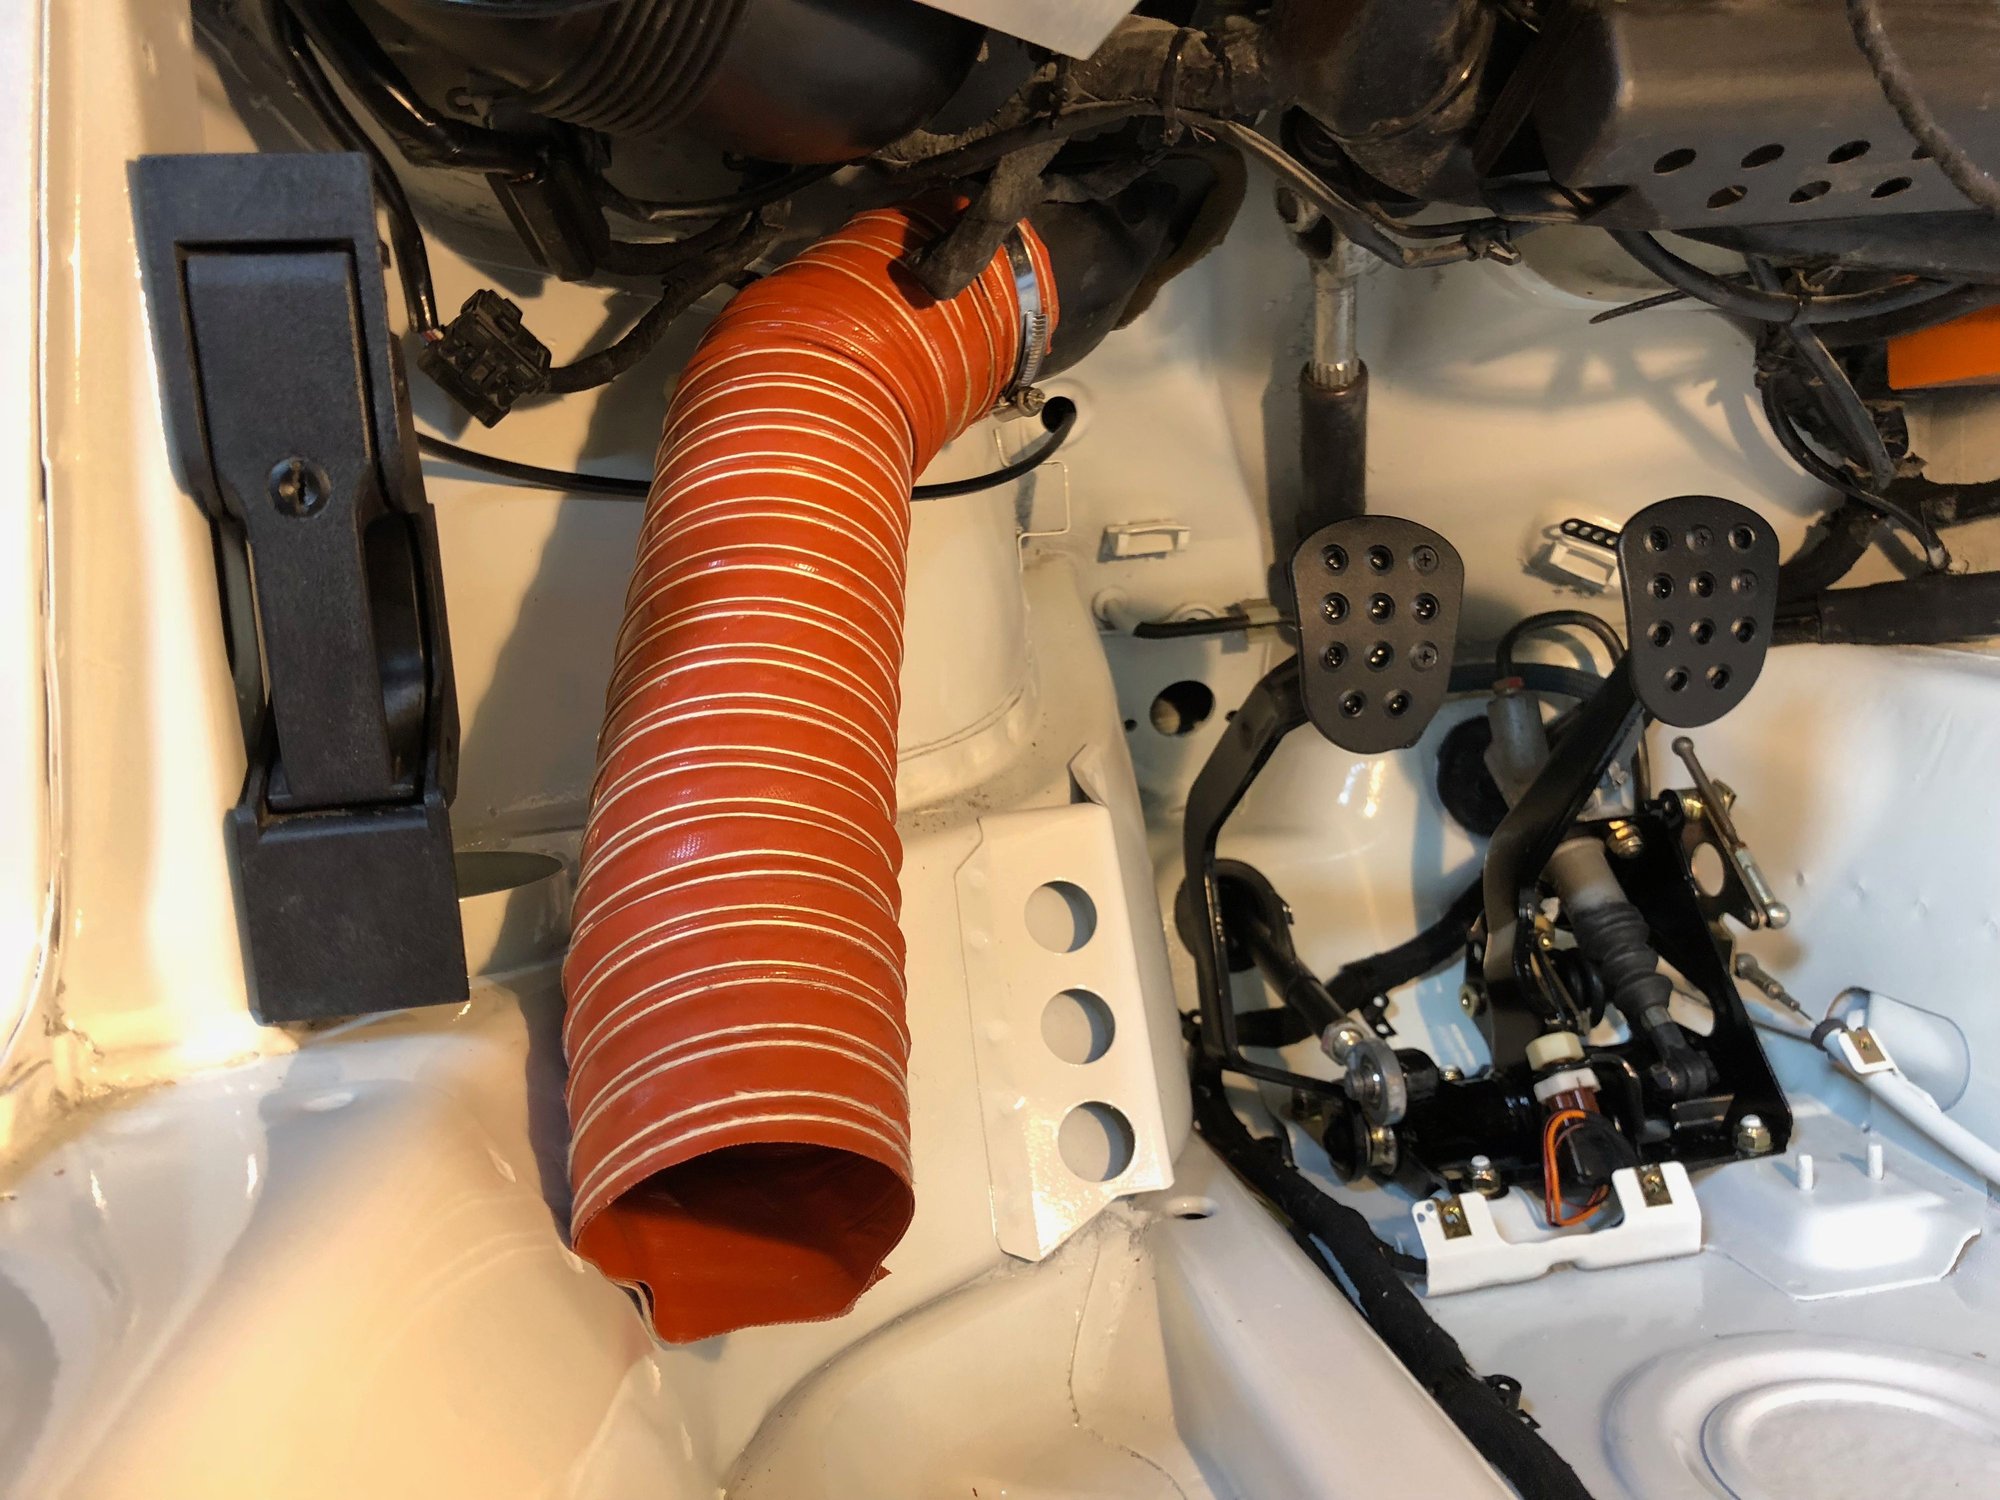
I'm continuing to replace bits as I go. The heater ducts were next on the list. You can see the old cardboard duct below on the left, and the new hi-temp orange duct on the right. No weight savings to be had here, but the new orange ducts are incredibly strong and flexible, and won't tear like the cardboard ducts do. I learned this lesson last summer traveling back form Florida when the duct tape over the heater finally blew open. It's no fun having heat blasting out of the footwell on a 95 degree day. It was so hot that the decklid control unit melted. I thought this project would take about ten minutes. But trying to get he round duct to fit over the oval vent under the dash board is pure evil. I spent 45 minutes wrestling with the right duct, then 30 minutes with the left duct. Many four letter words uttered in addition to "duct."
Time to replace the heater ducts
Duct on right finally in after wrestling with oval vent up top for 45 minutes
Learning curve cut the time on left duct down to just a half hour, and fewer swears
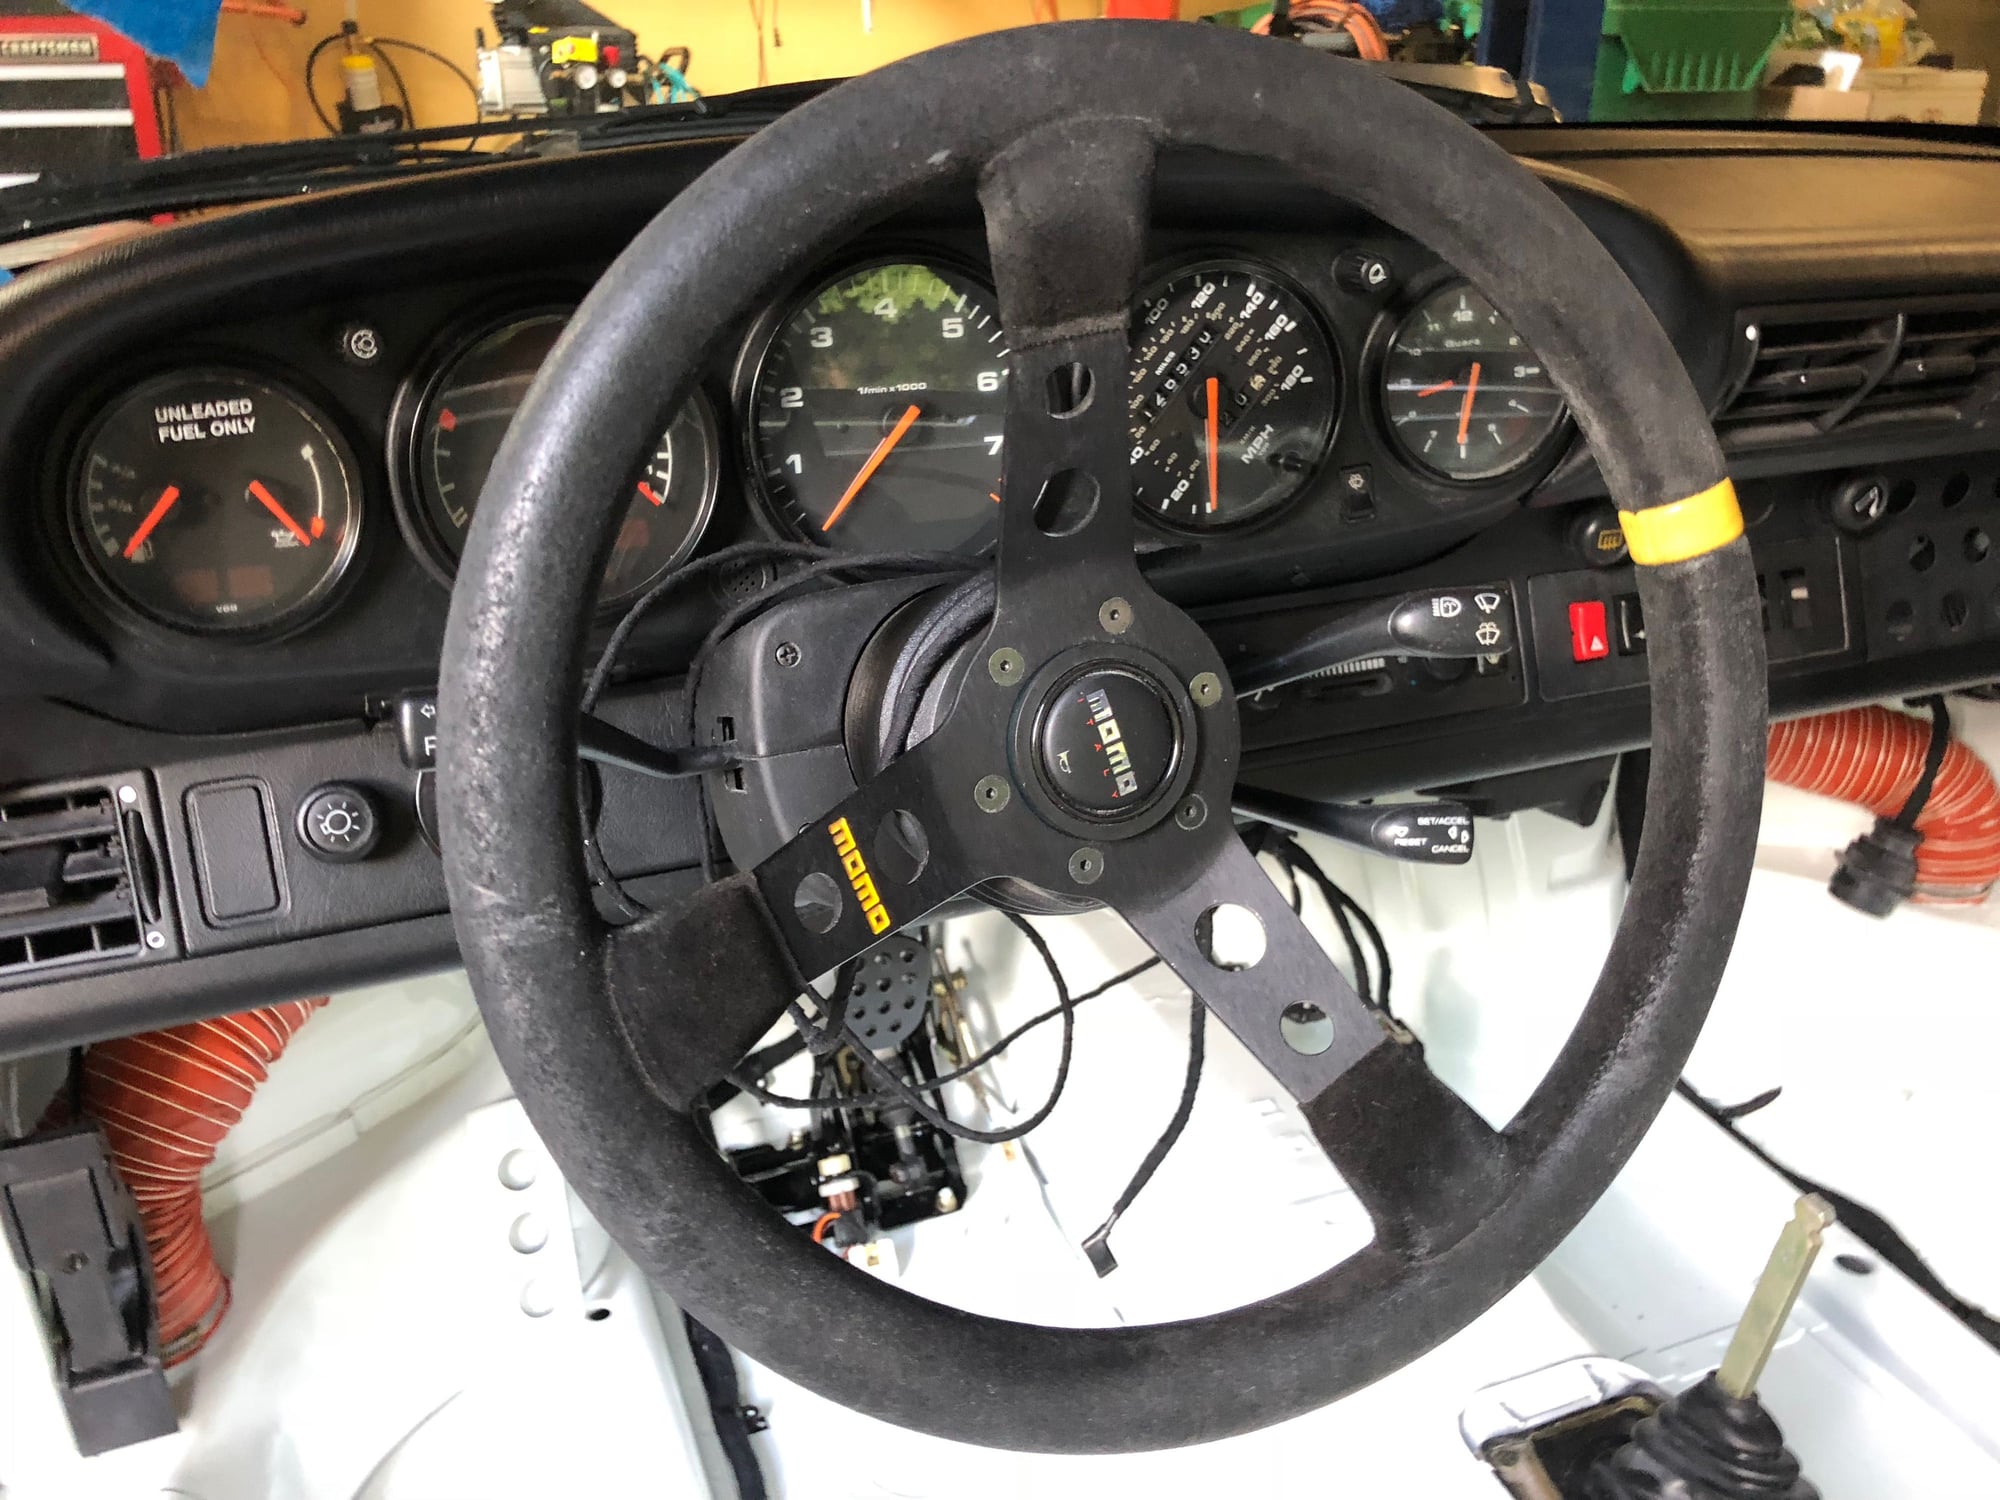
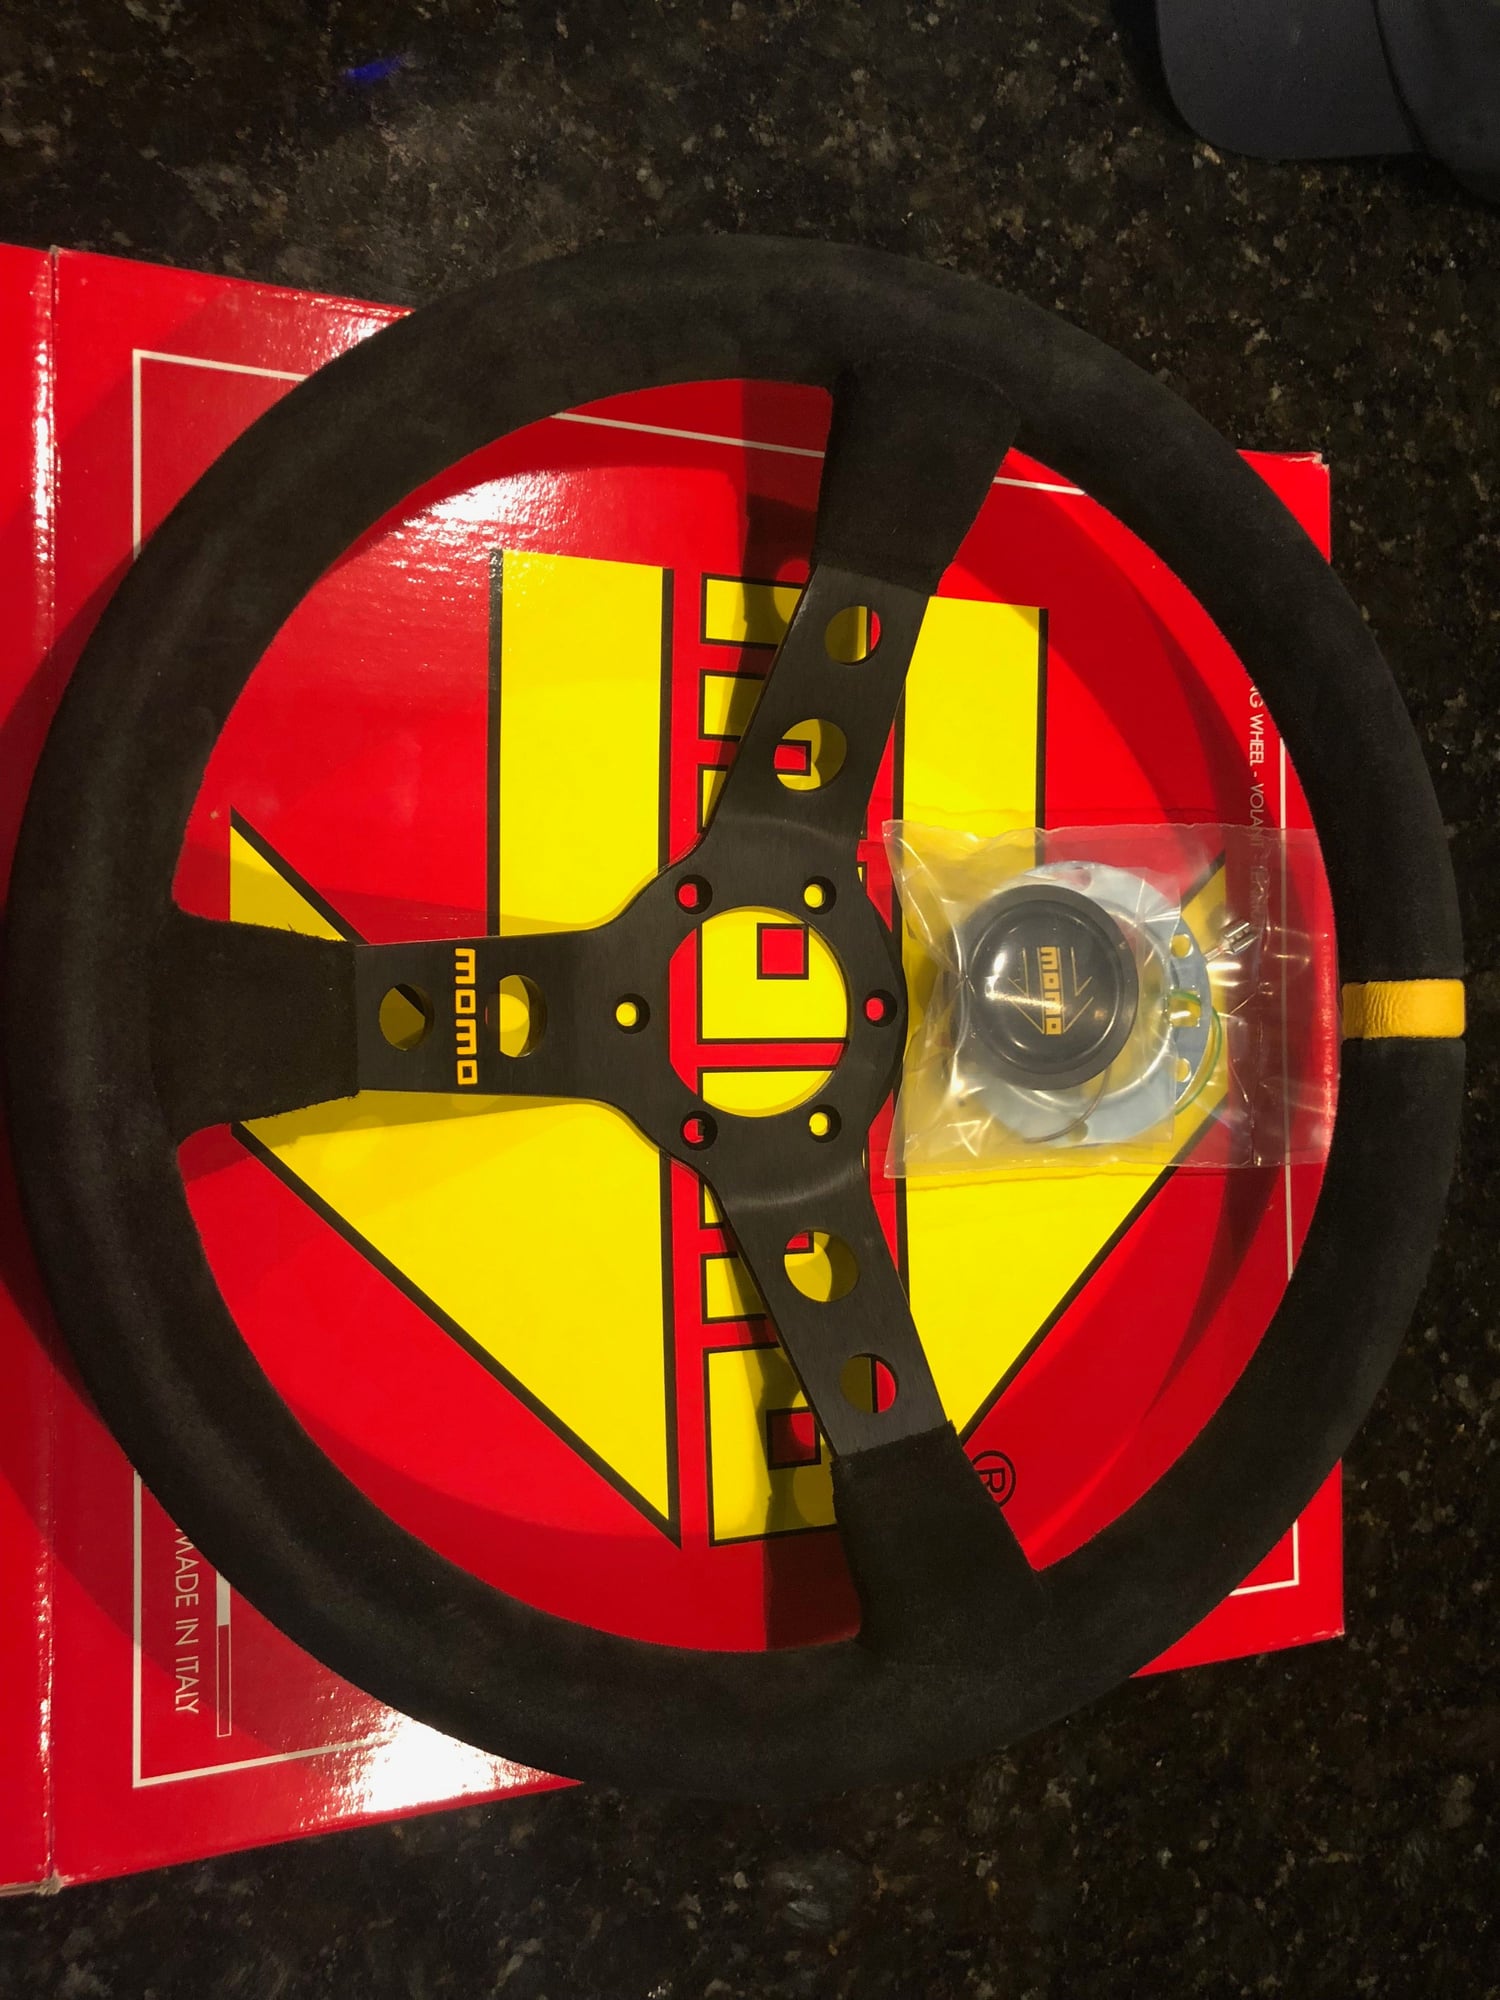
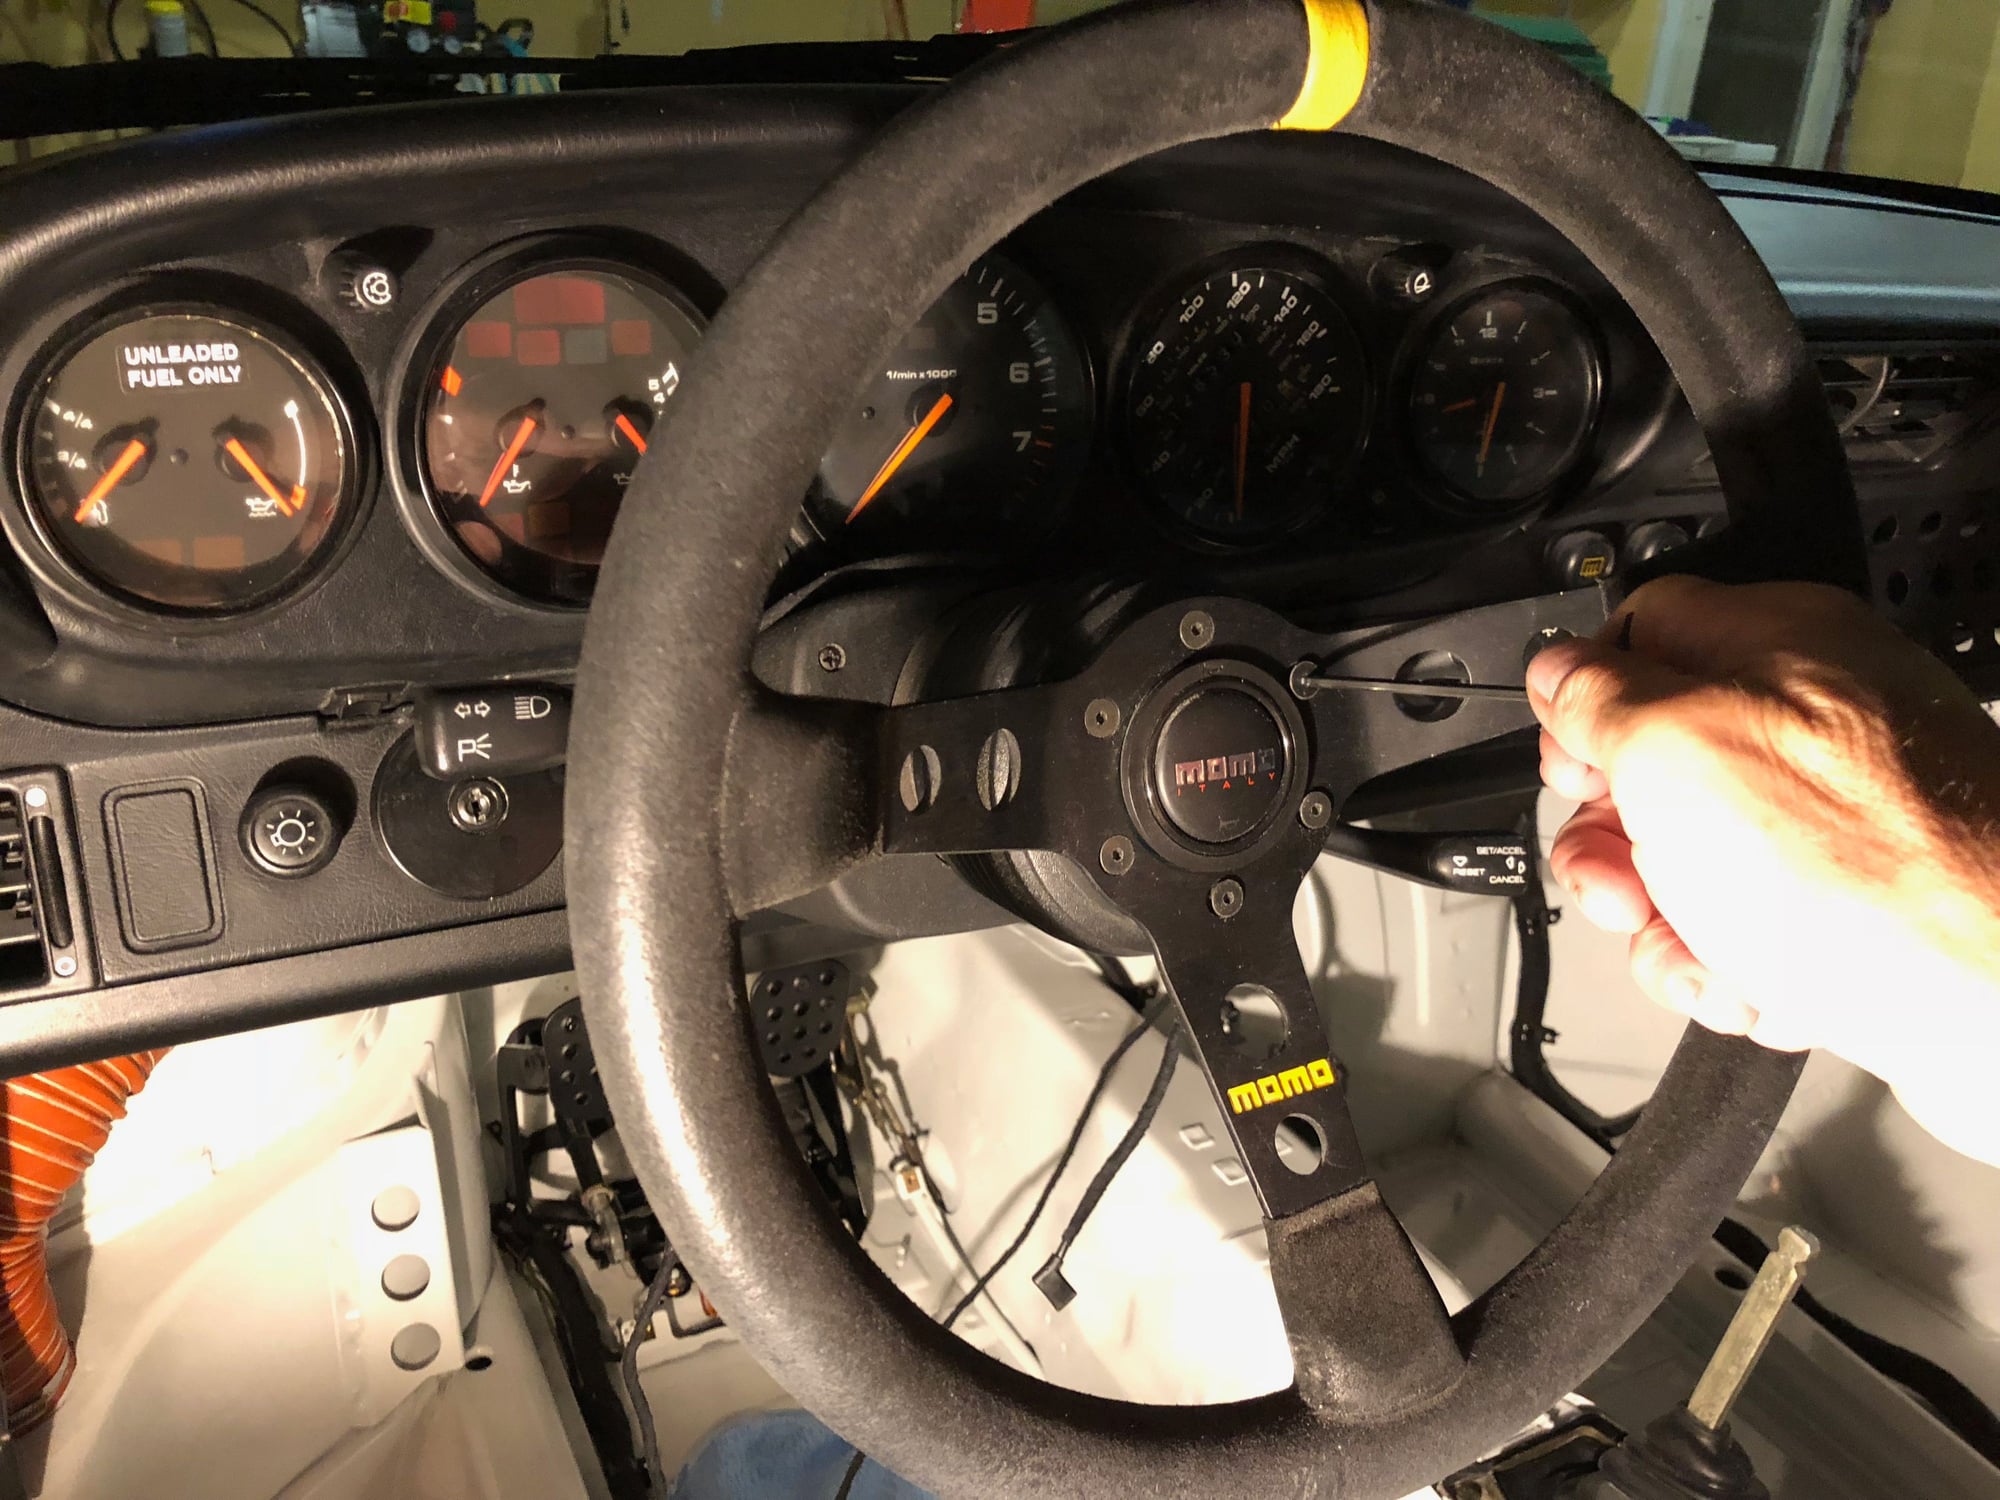
Duct, duct, but look at that bald steering wheel...
Next project, replace the Mod. 07 wheel with a fresh new one (these wheels are awesome!)
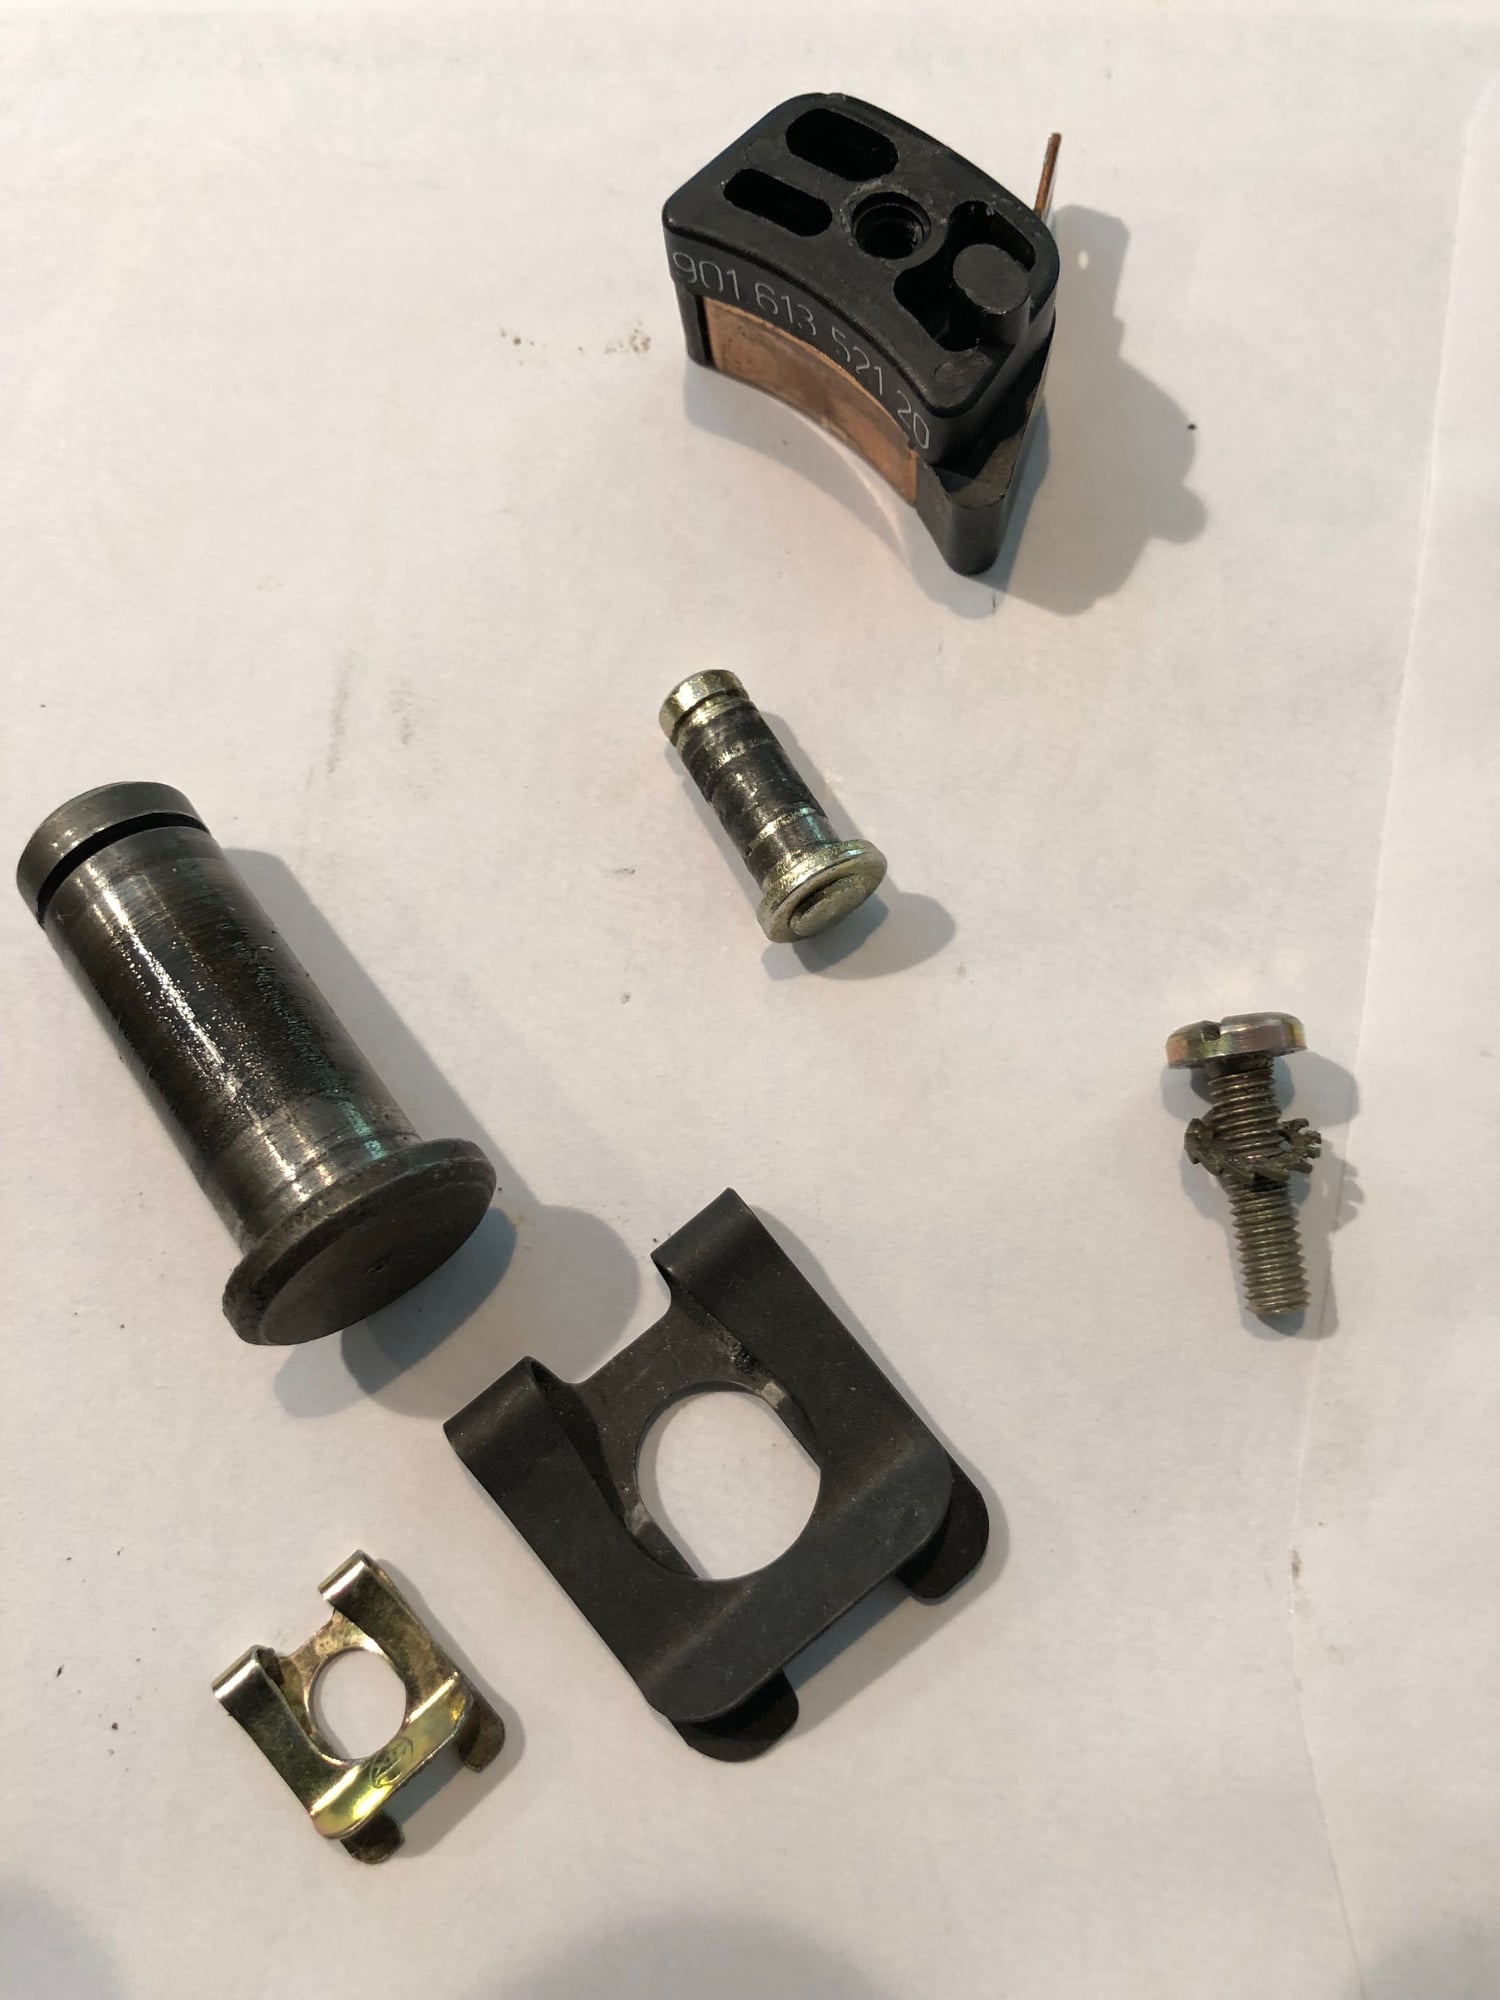
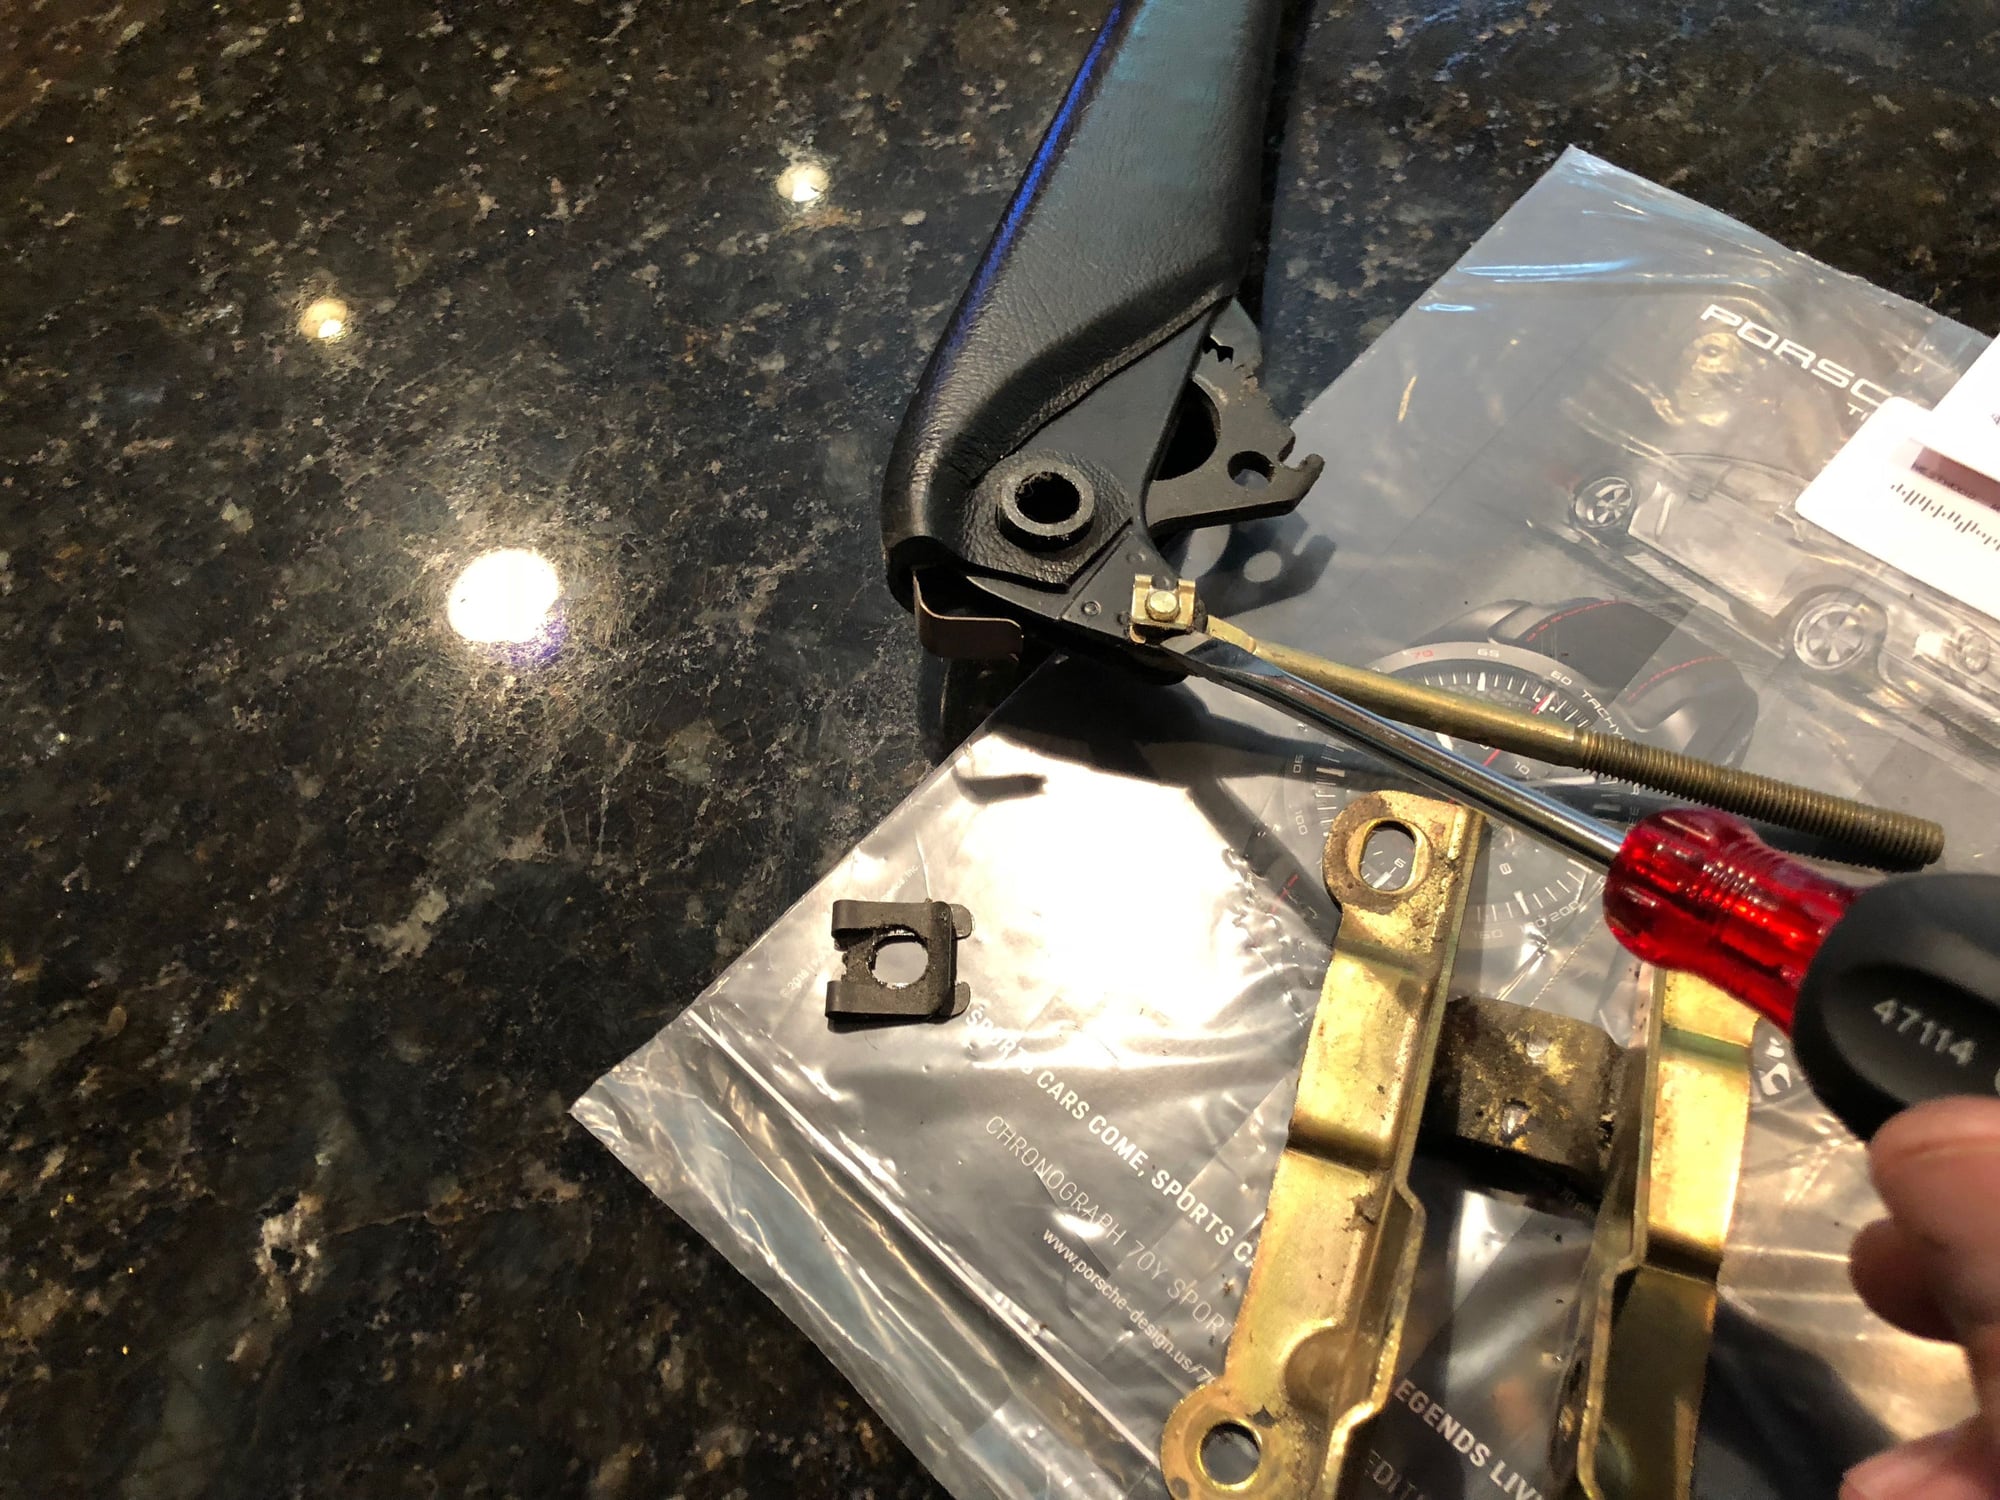
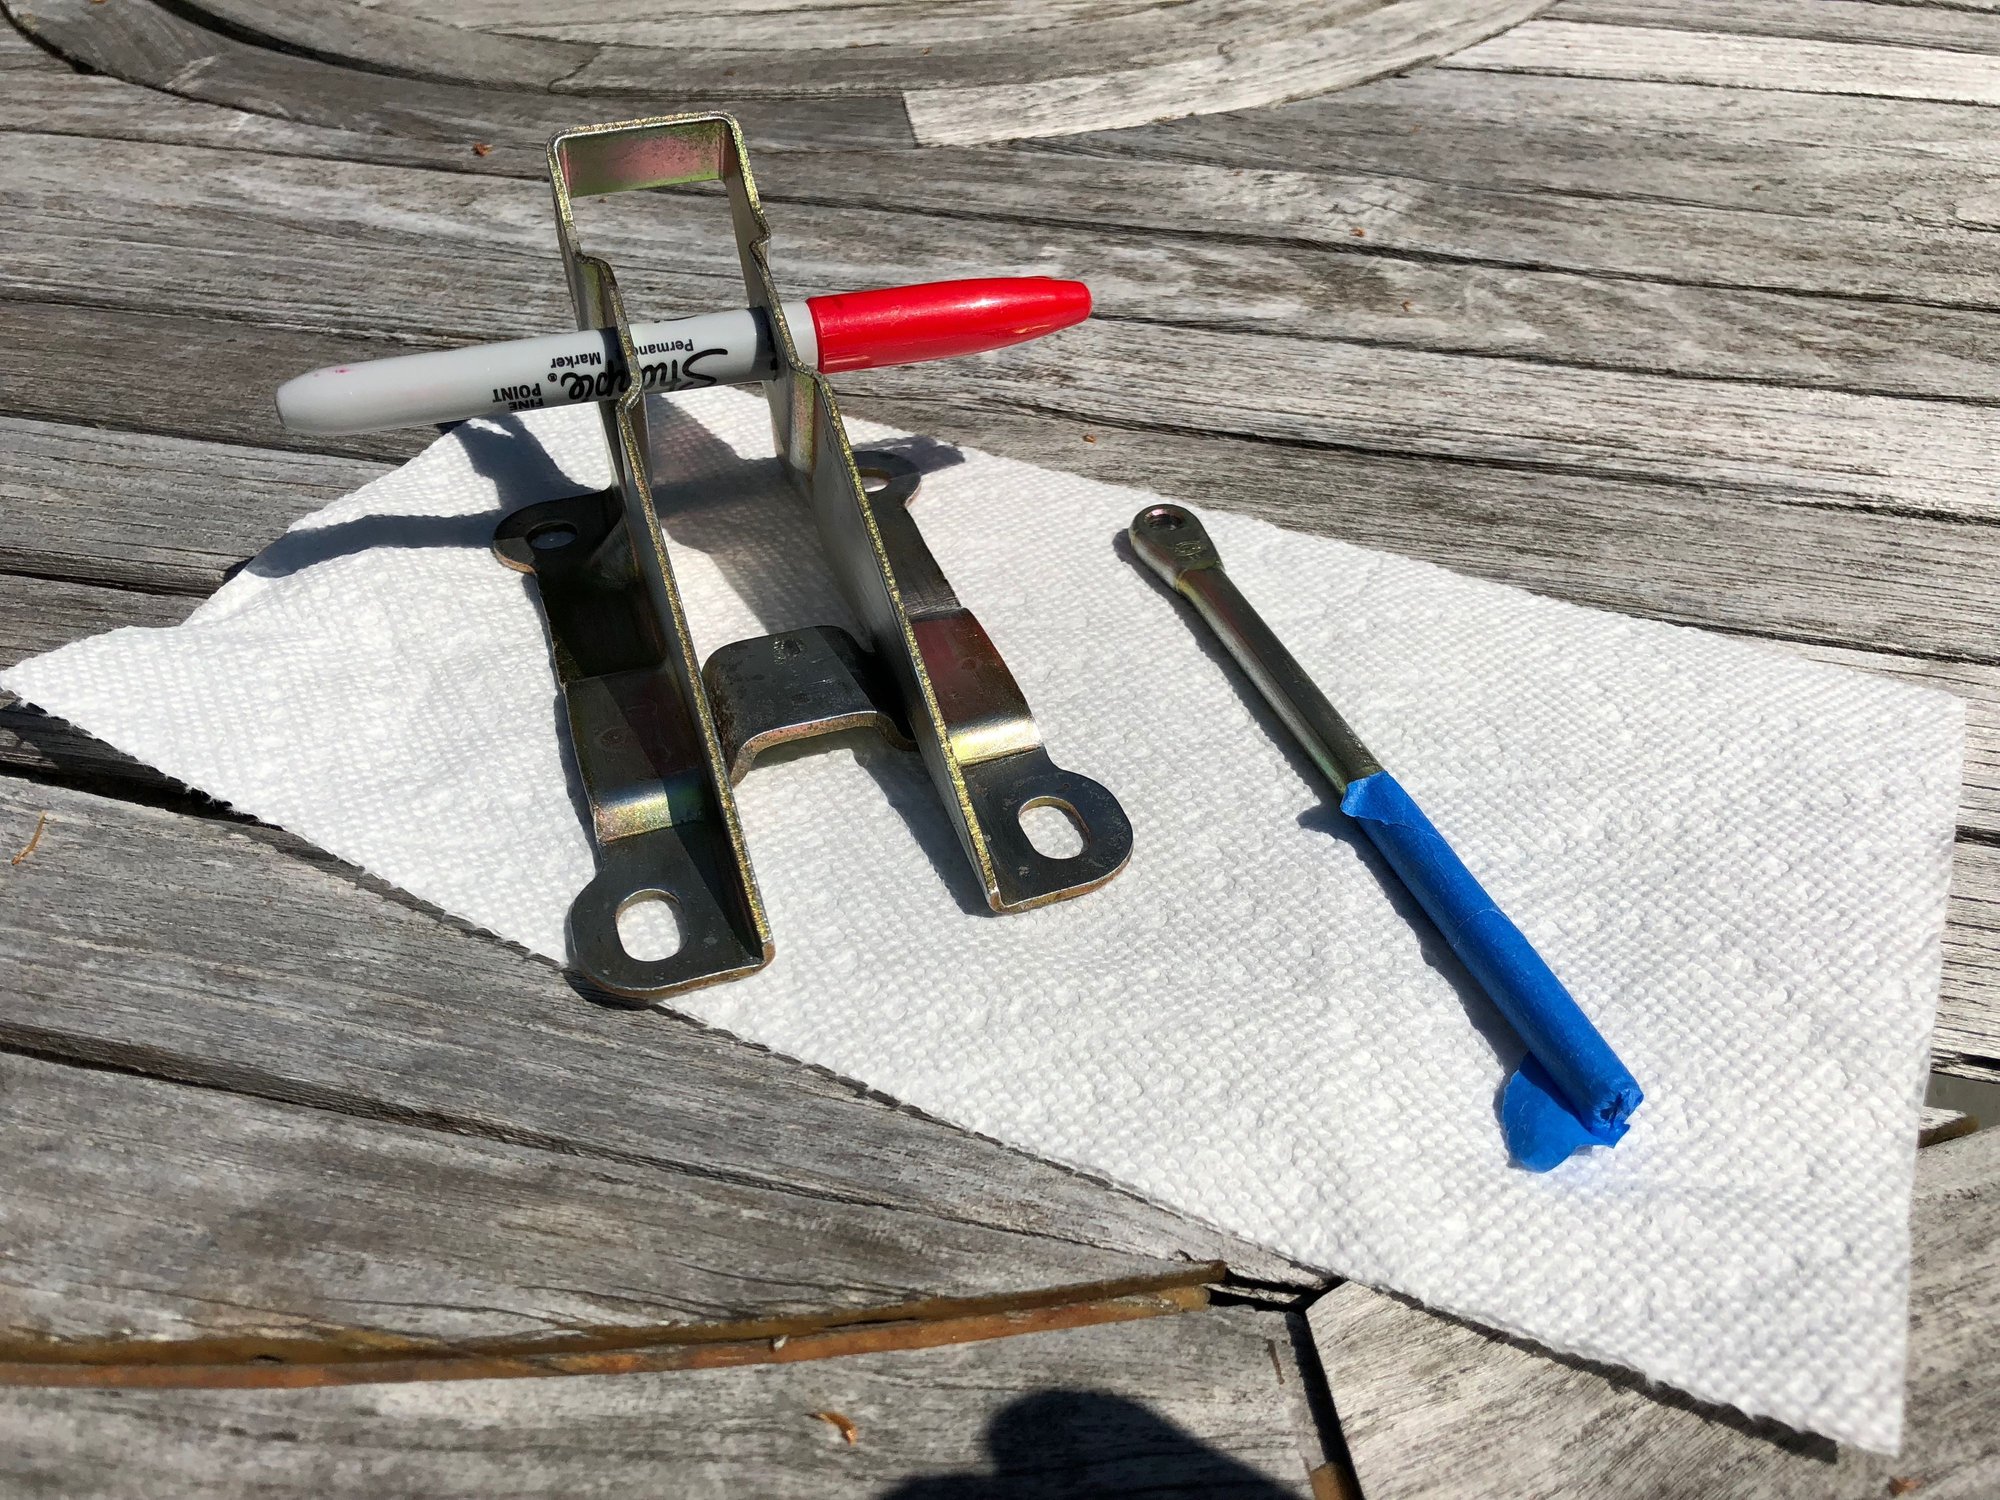
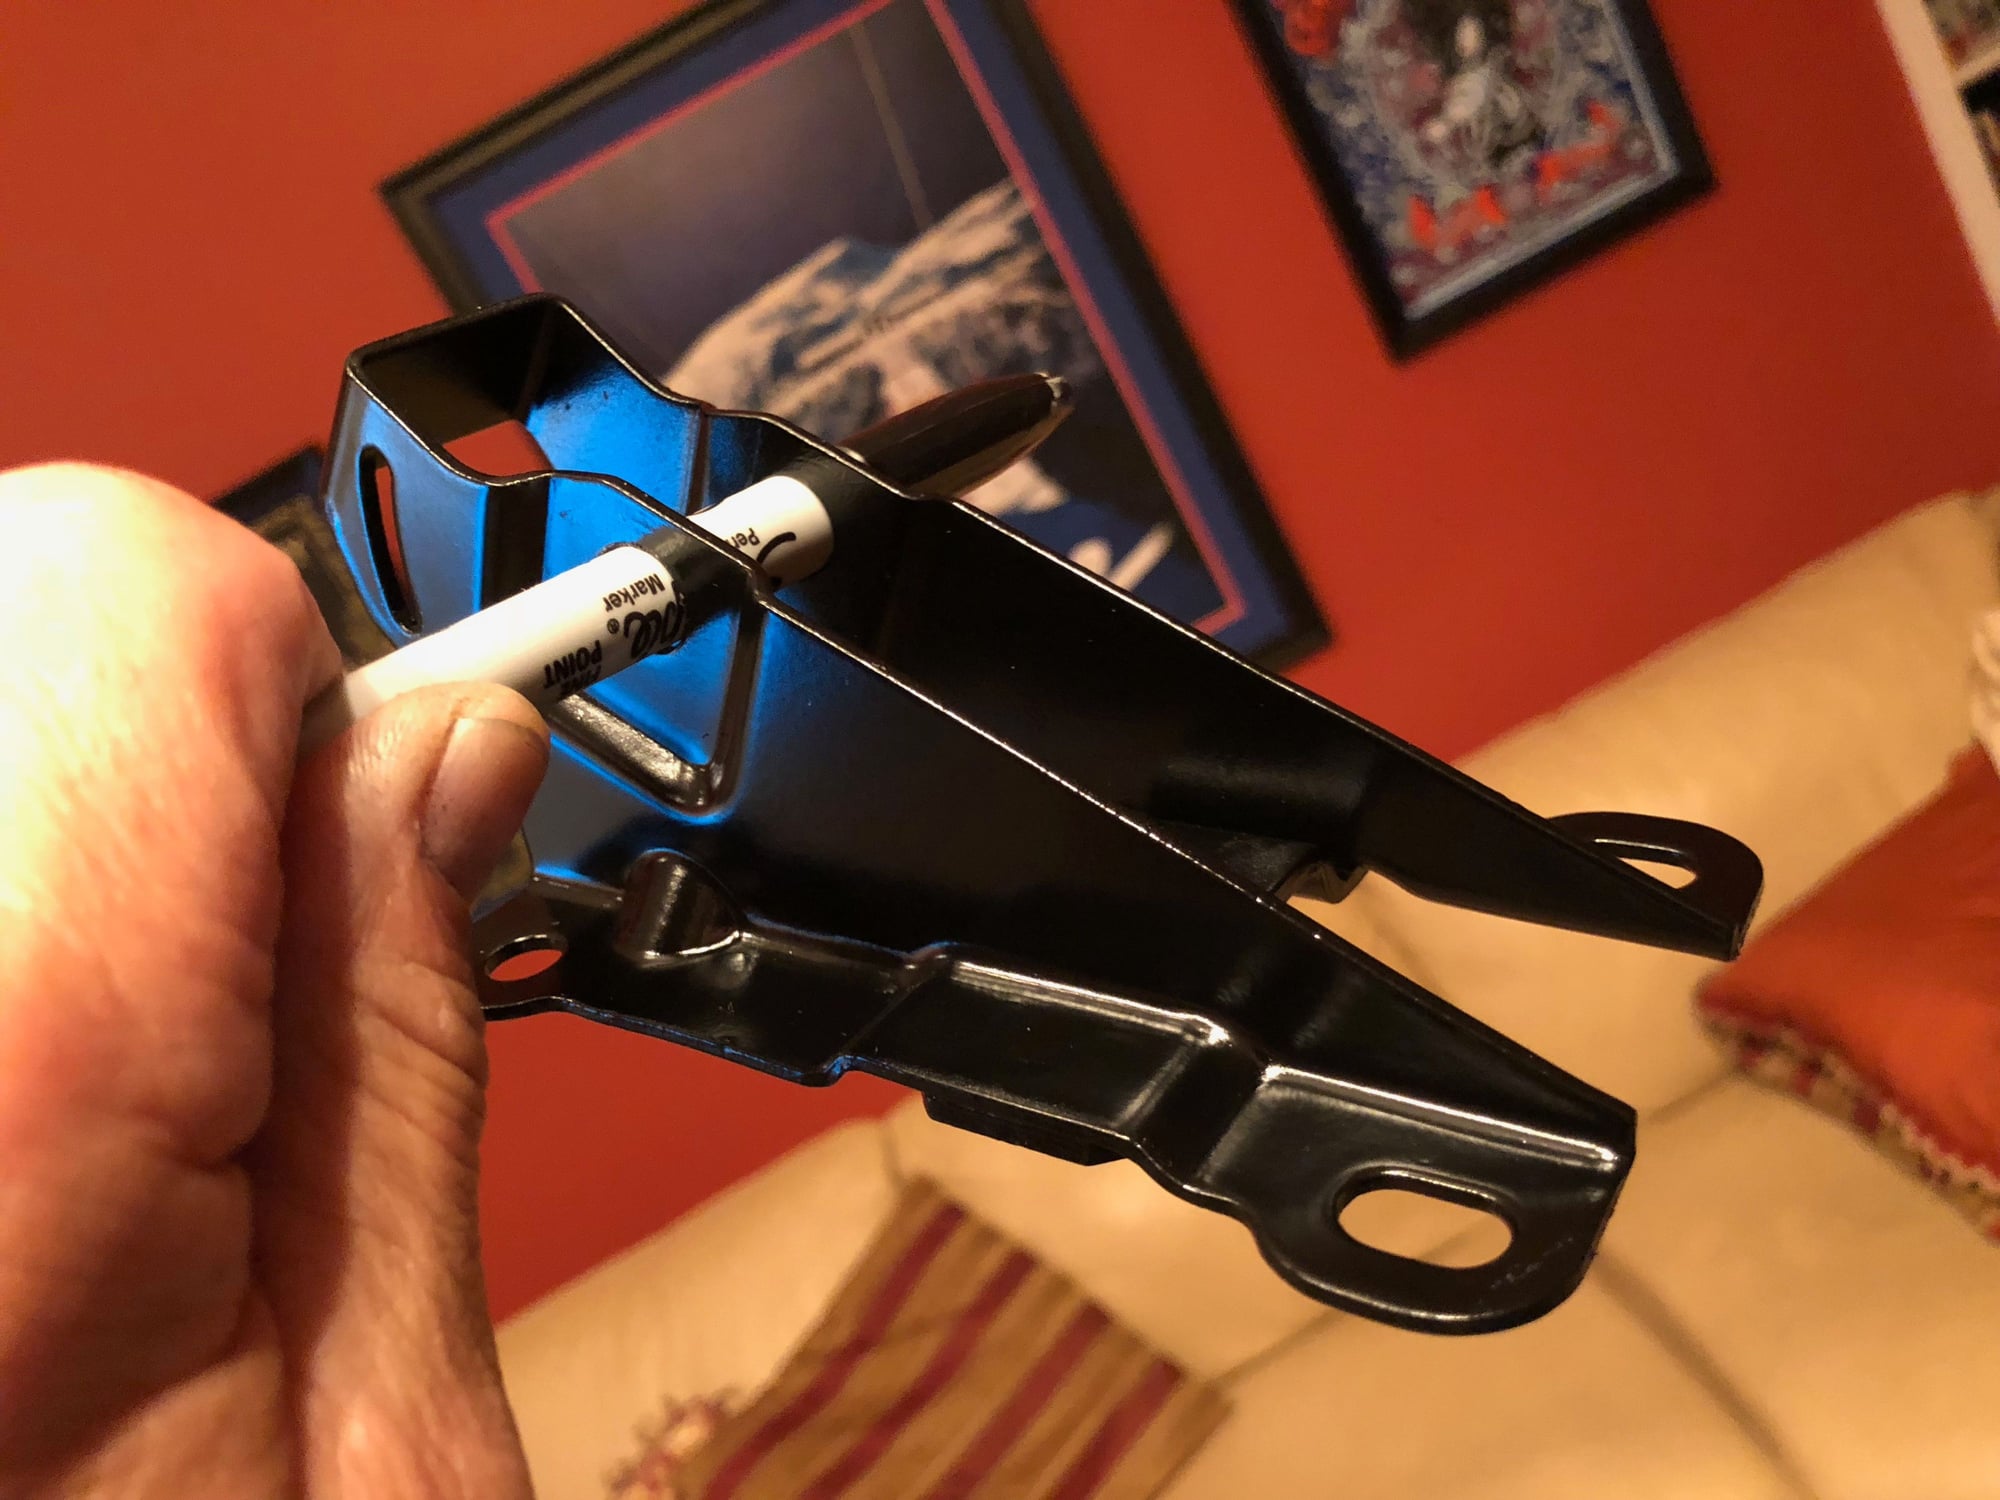
I'm making some real headway now, and need to make ready to reinstall the handbrake. If I had more time I would have sent the handbrake out to be powder coated, but a rattle can of Satin Paint/Primer worked nicely.
Even the cad plated handbrake was beginning to rust


 08-04-2018, 12:03 AM