How to replace seat mechanism bushes
#1
Rennlist Member
Thread Starter
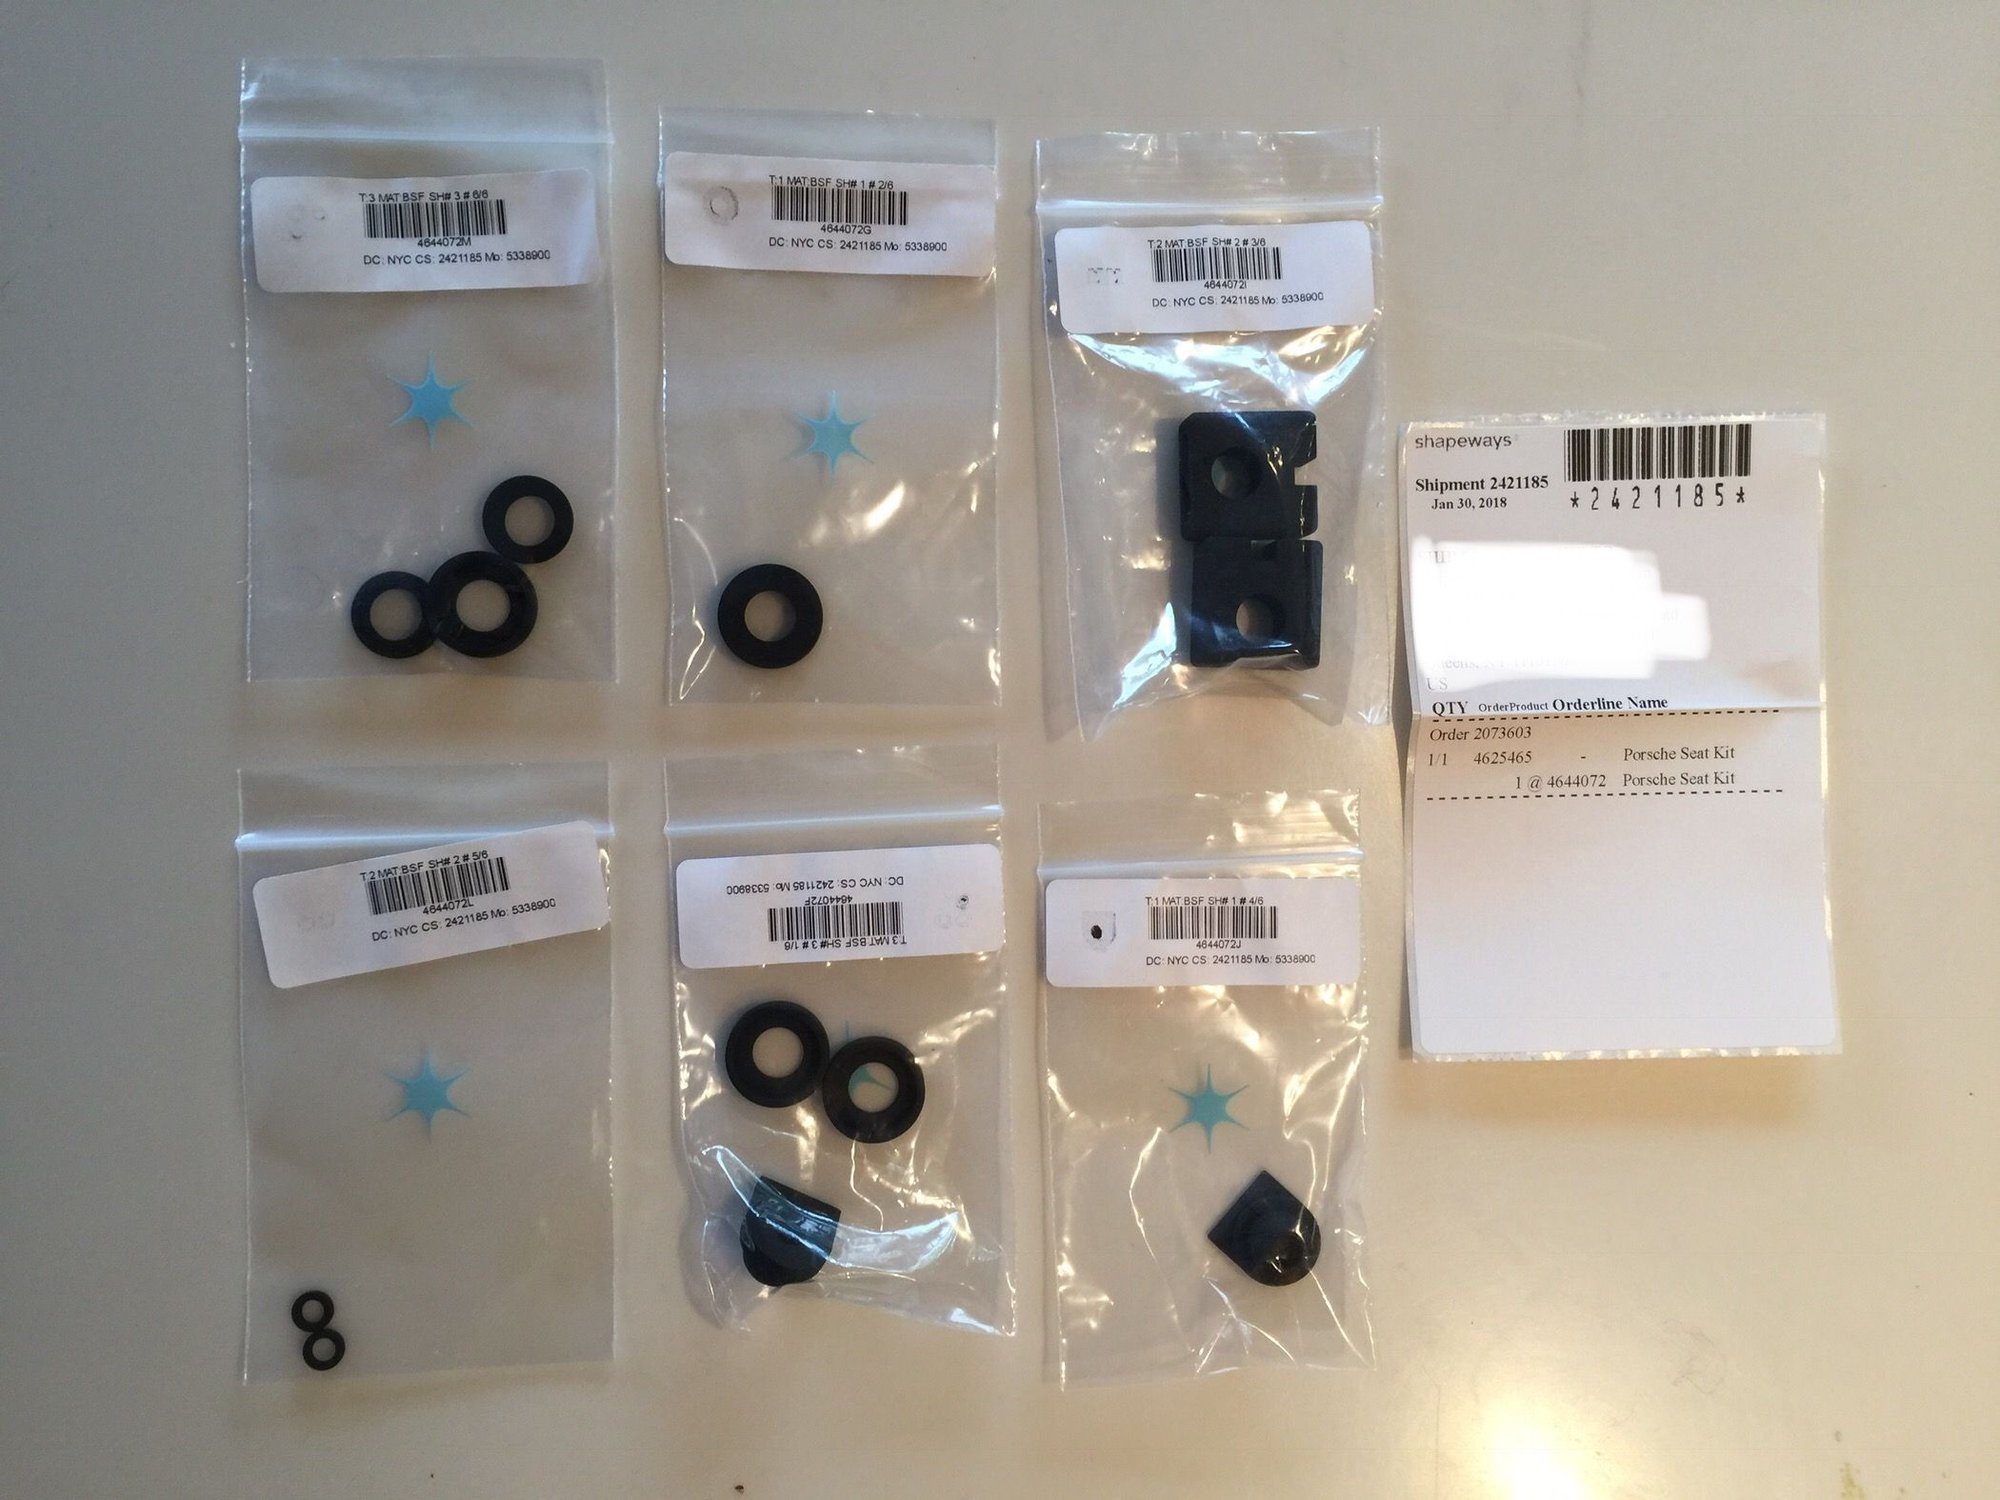
If you have a seat with power fore/aft functionality and take the seats out of your car, then you will very likely see broken pieces of plastic in the seat well.
You may not give it a second thought until the seat starts to move slightly back and forward under acceleration and braking. When that happens you need this DIY.
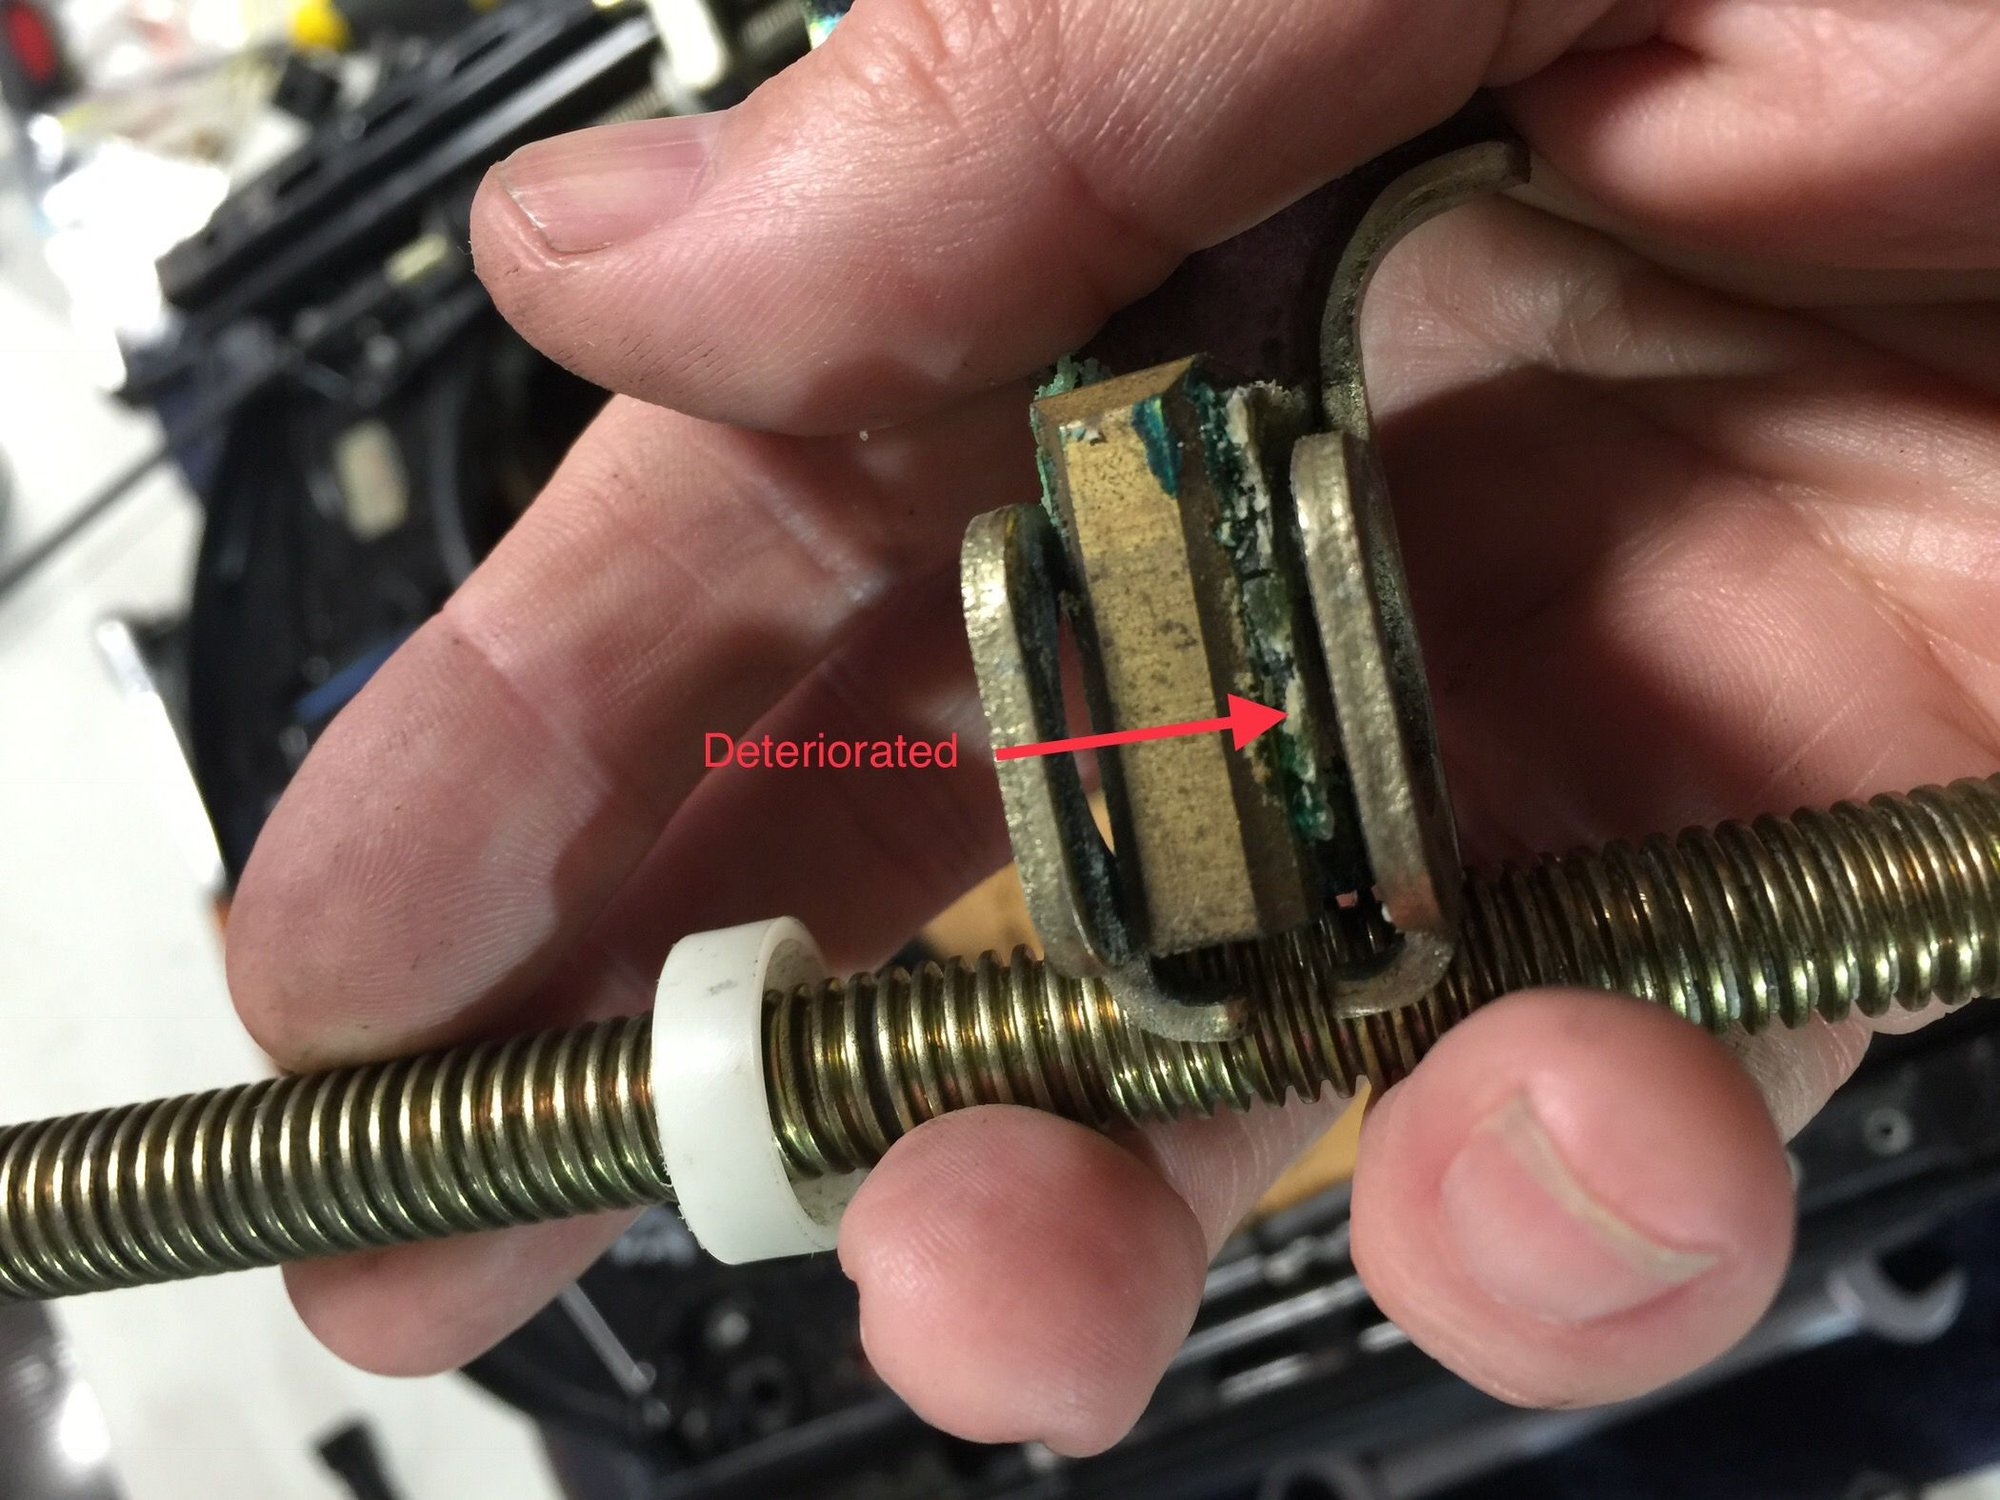
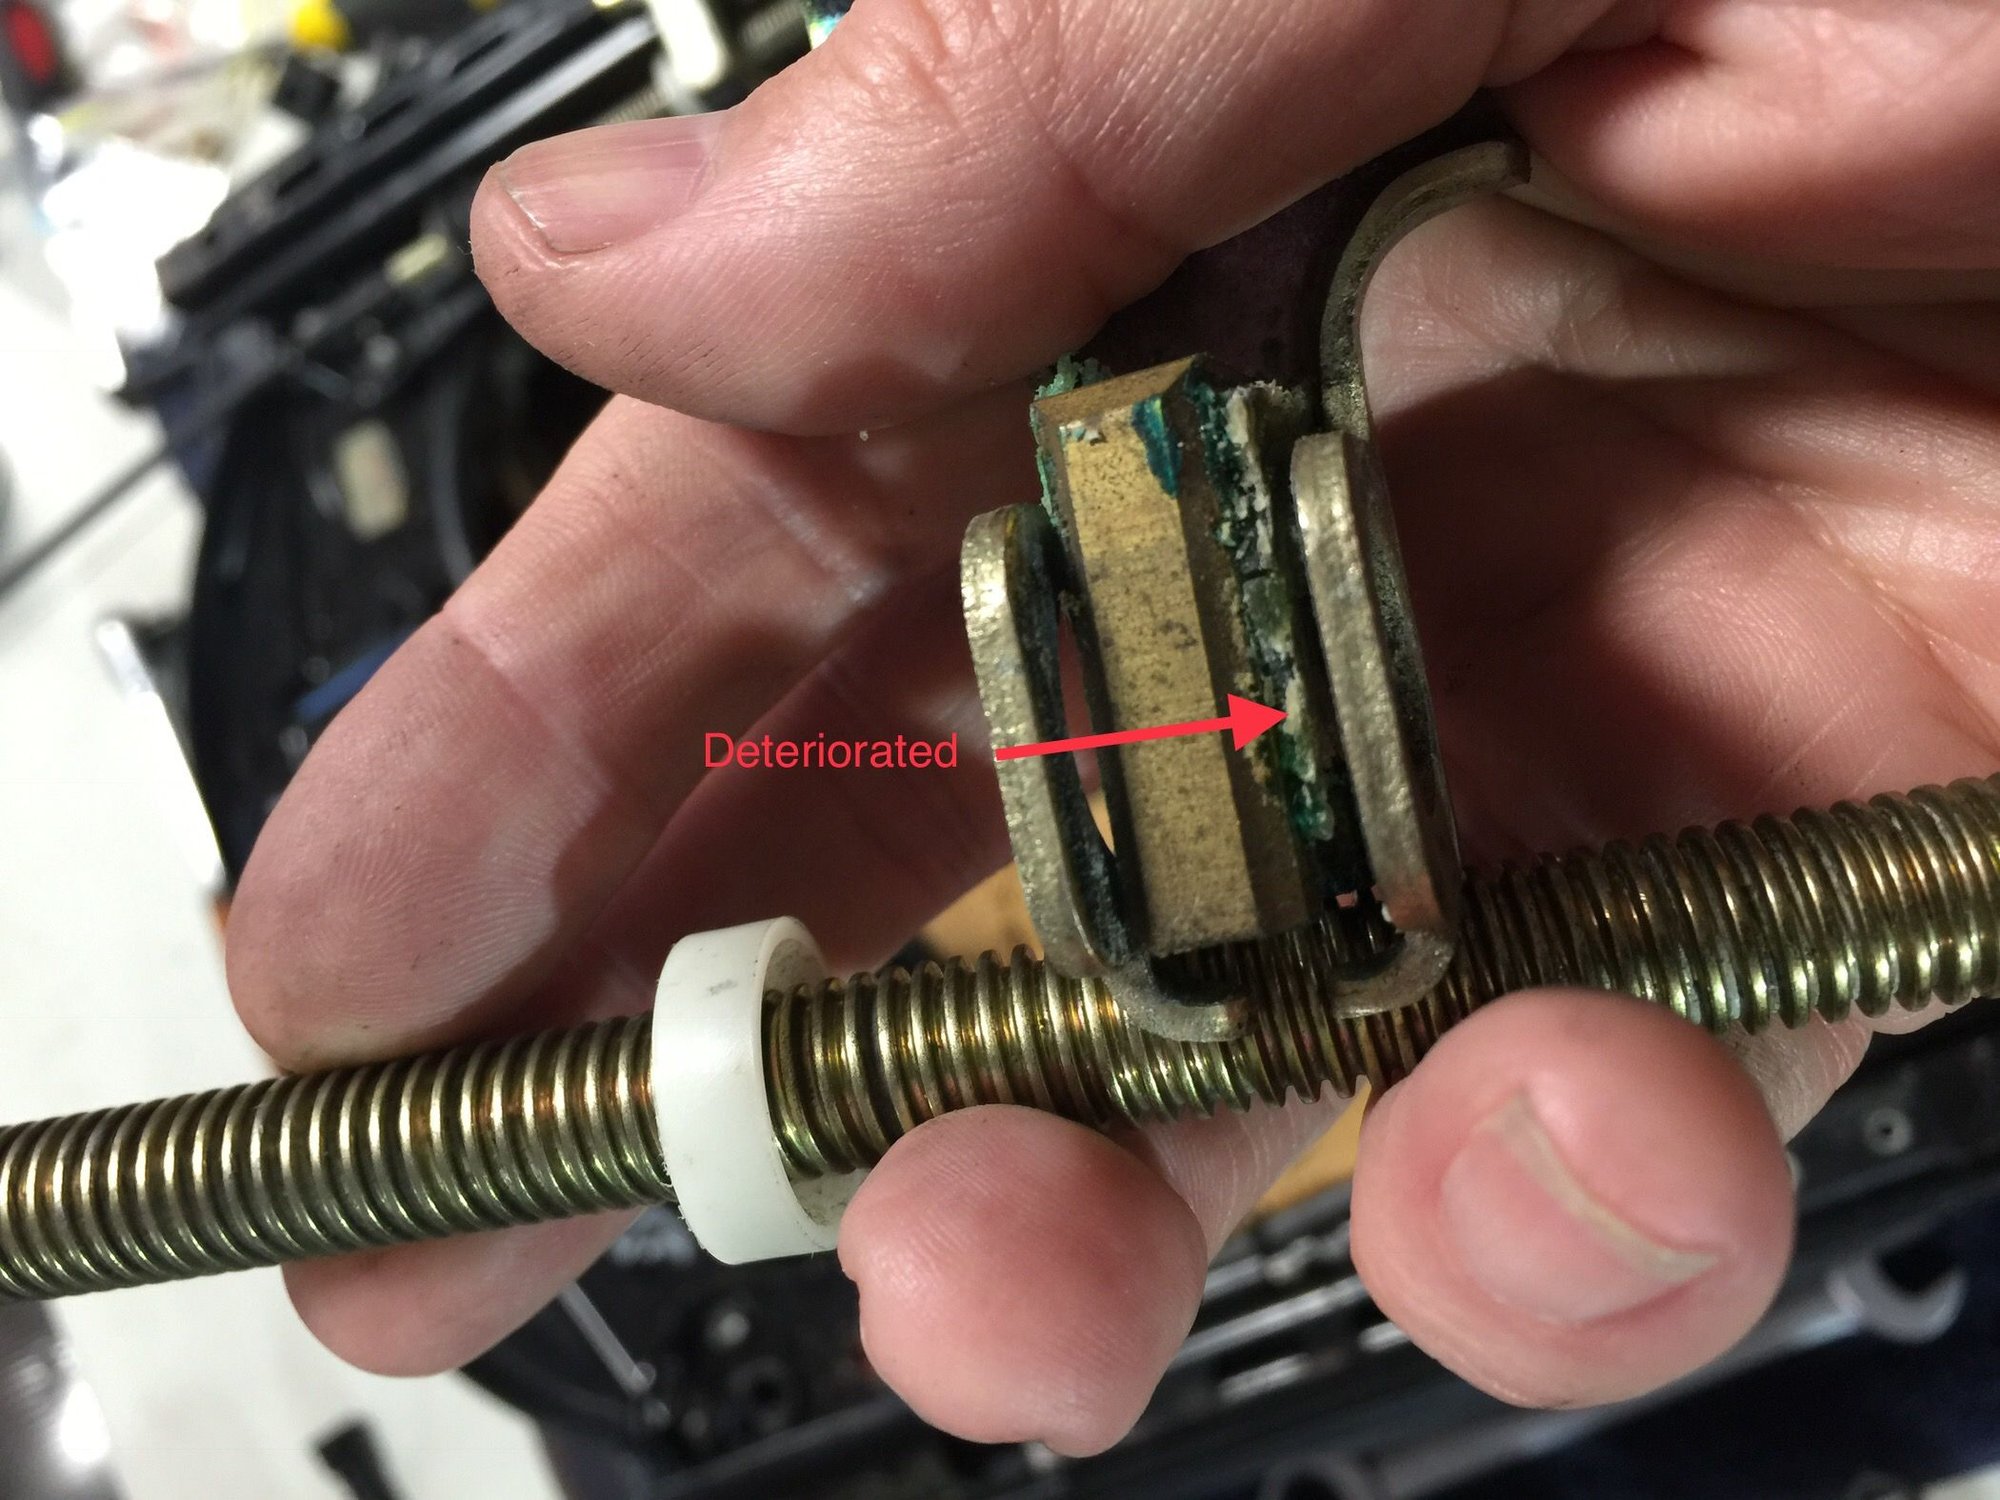
The problem is that Recaro used a plastic in the mechanism that deteriorates over time and allows slop in the seat operation. To fix it you need to buy new plastic parts, however neither Porsche nor Recaro sell them. Luckily 3D printing has come to the rescue.
There may be other sources but I used this kit from Shapeways https://www.shapeways.com/product/DA...li=marketplace
It'ís expensive for what it is but what choice do you have? BTW I have no affiliation with the seller.
Last edited by John McM; 02-22-2018 at 10:31 AM.
#2
Rennlist Member
Thread Starter
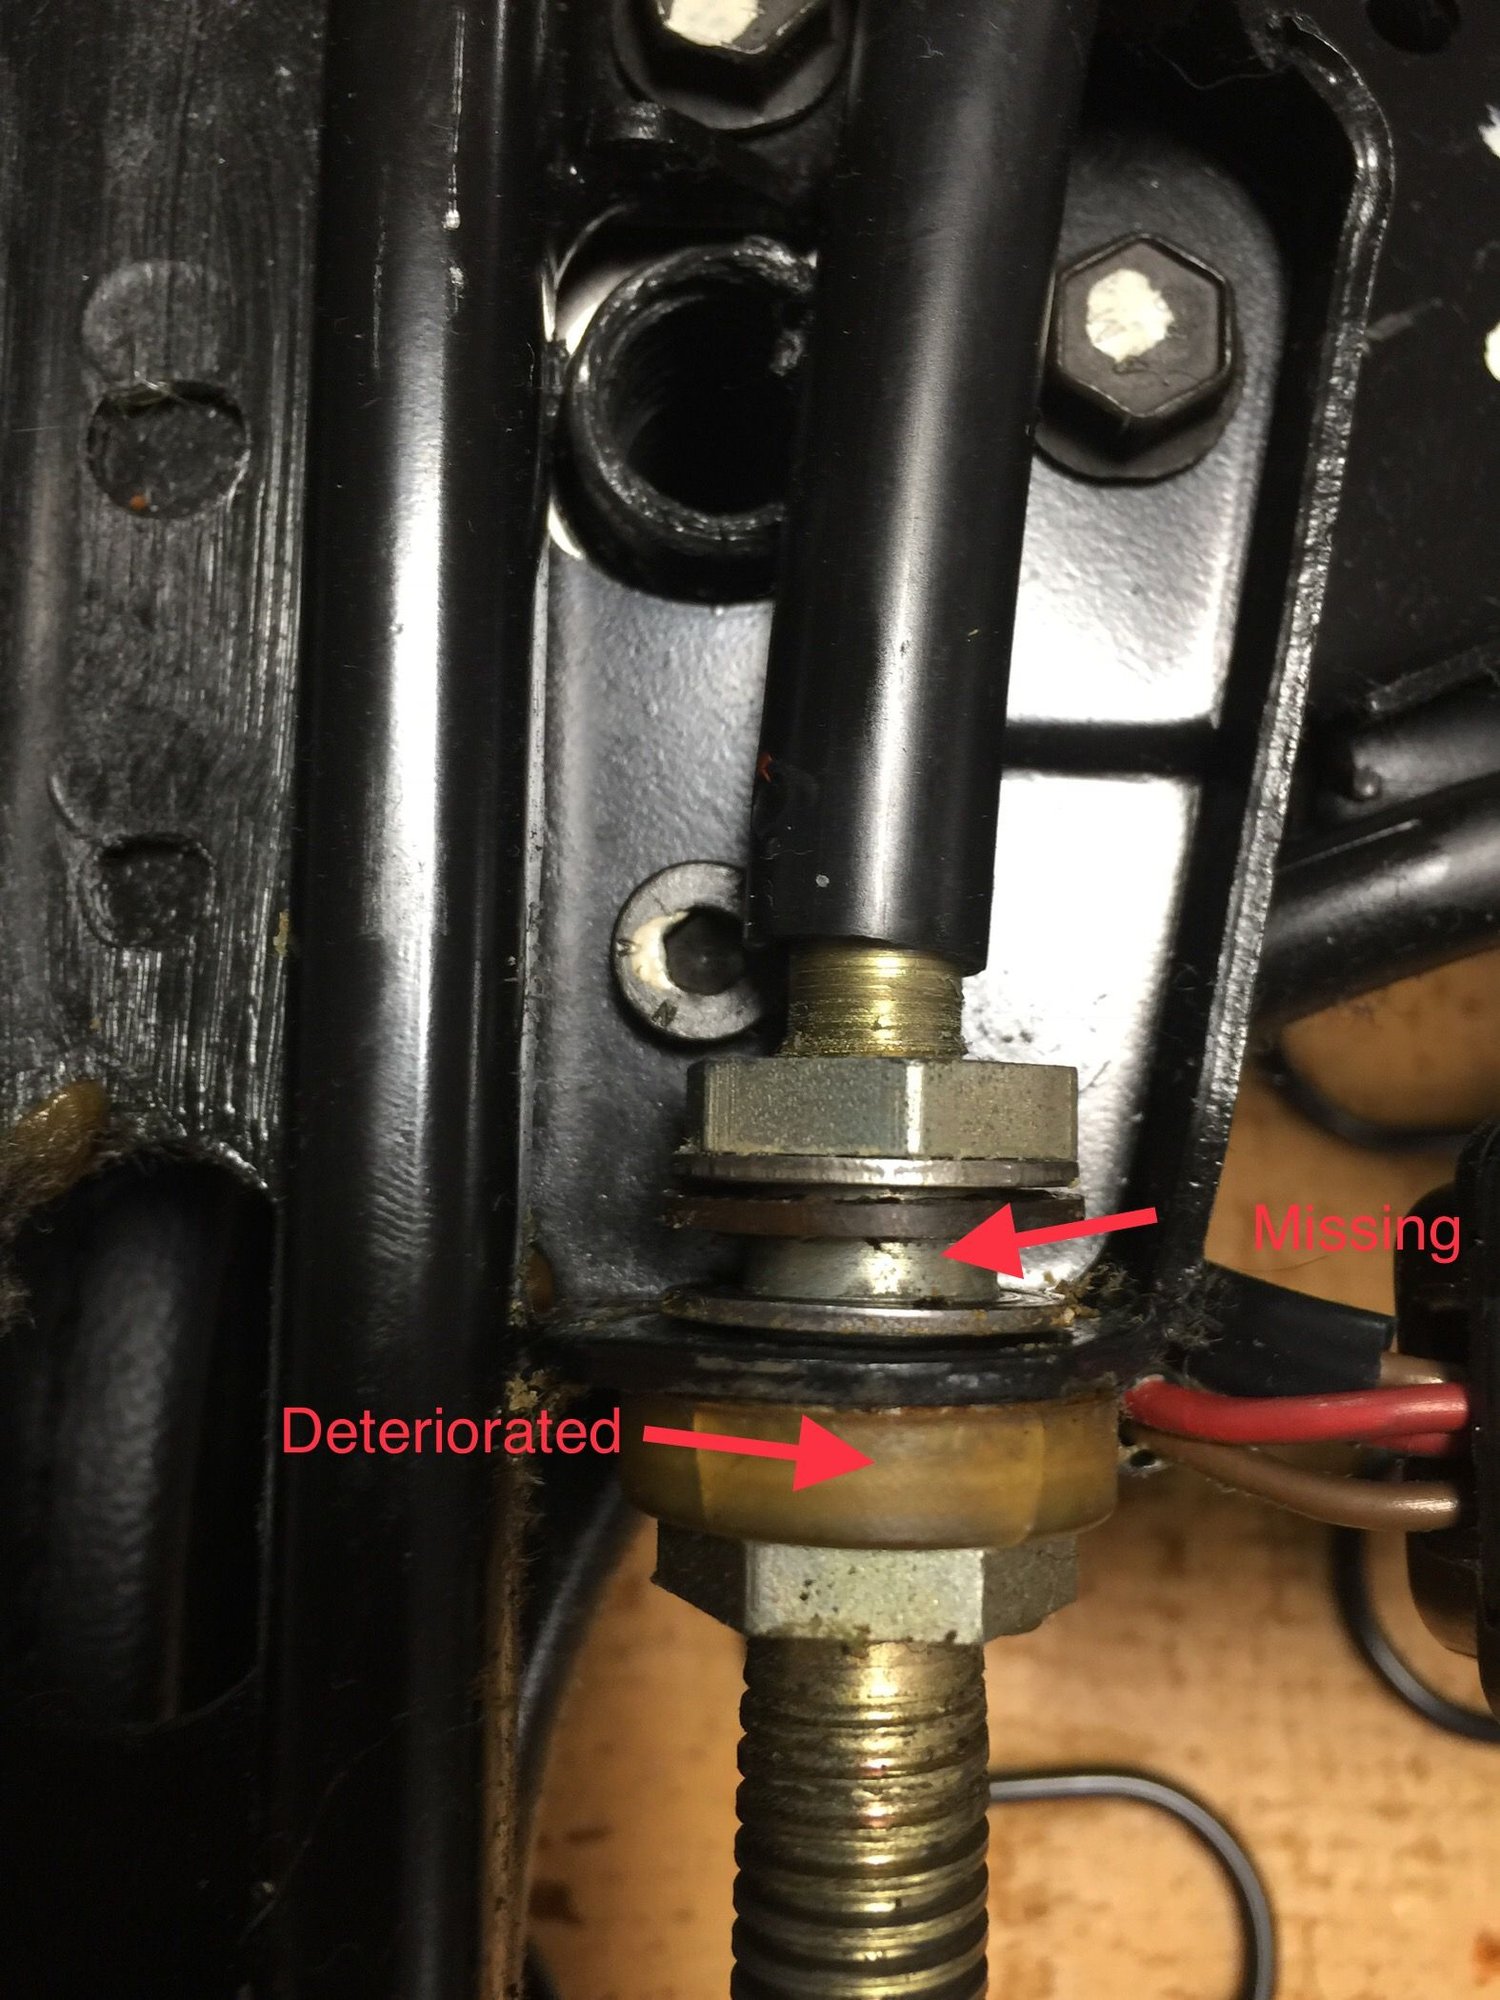
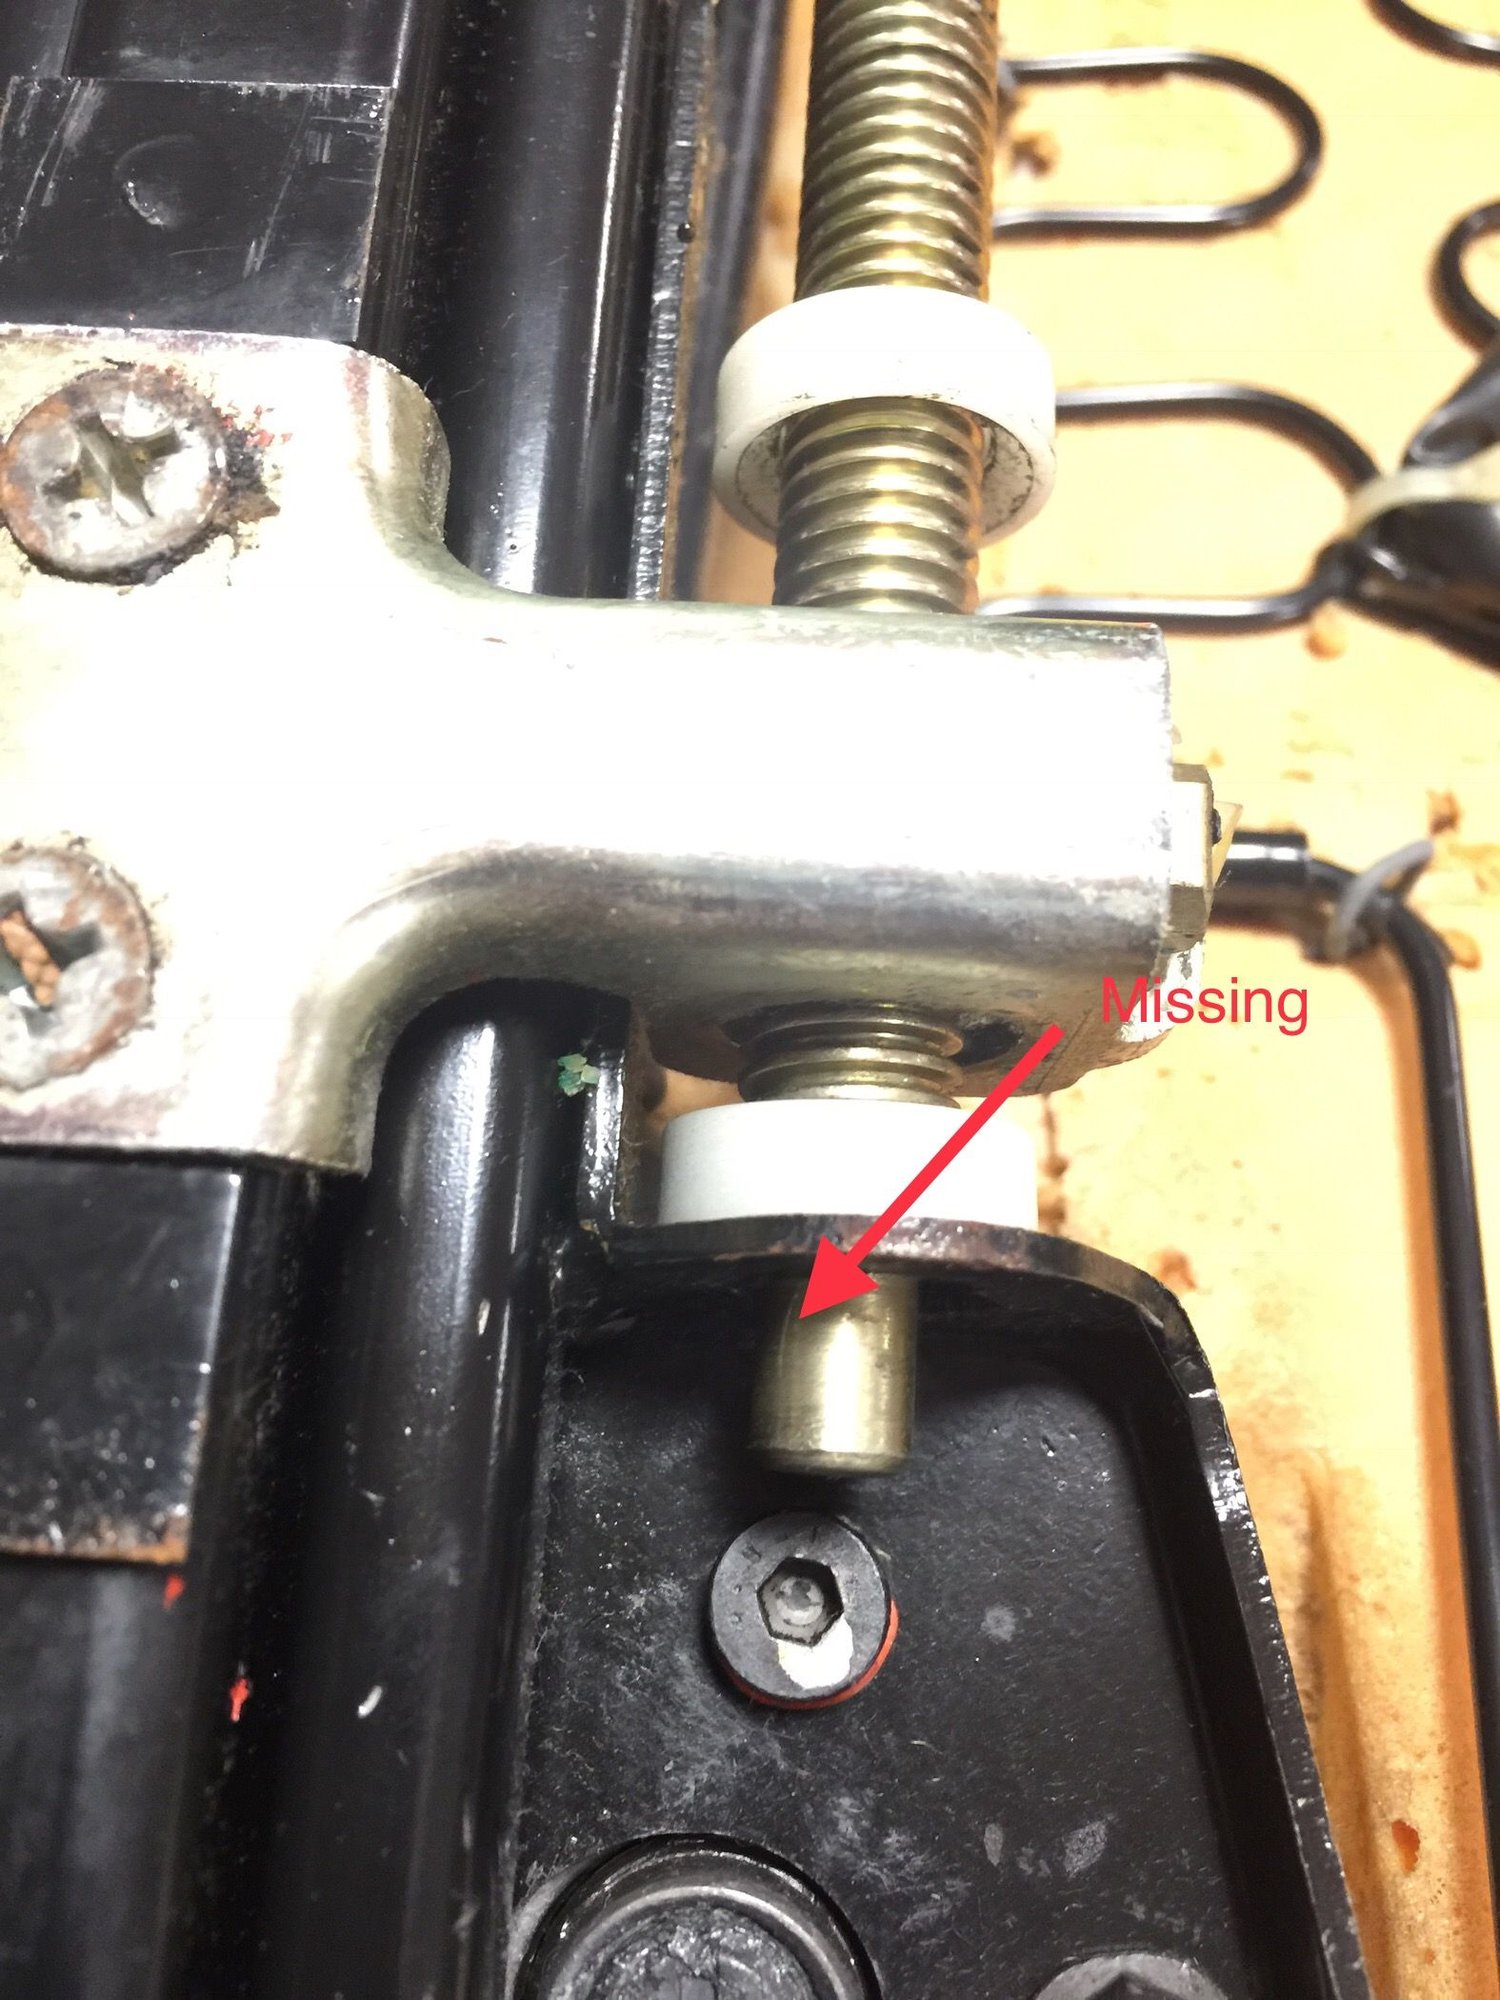
This was the state of my seat mechanism. Parts missing and/or deteriorated. This allows movement in the seat rail mechanism.
Last edited by John McM; 02-22-2018 at 10:33 AM.
#5
Rennlist Member
Thread Starter
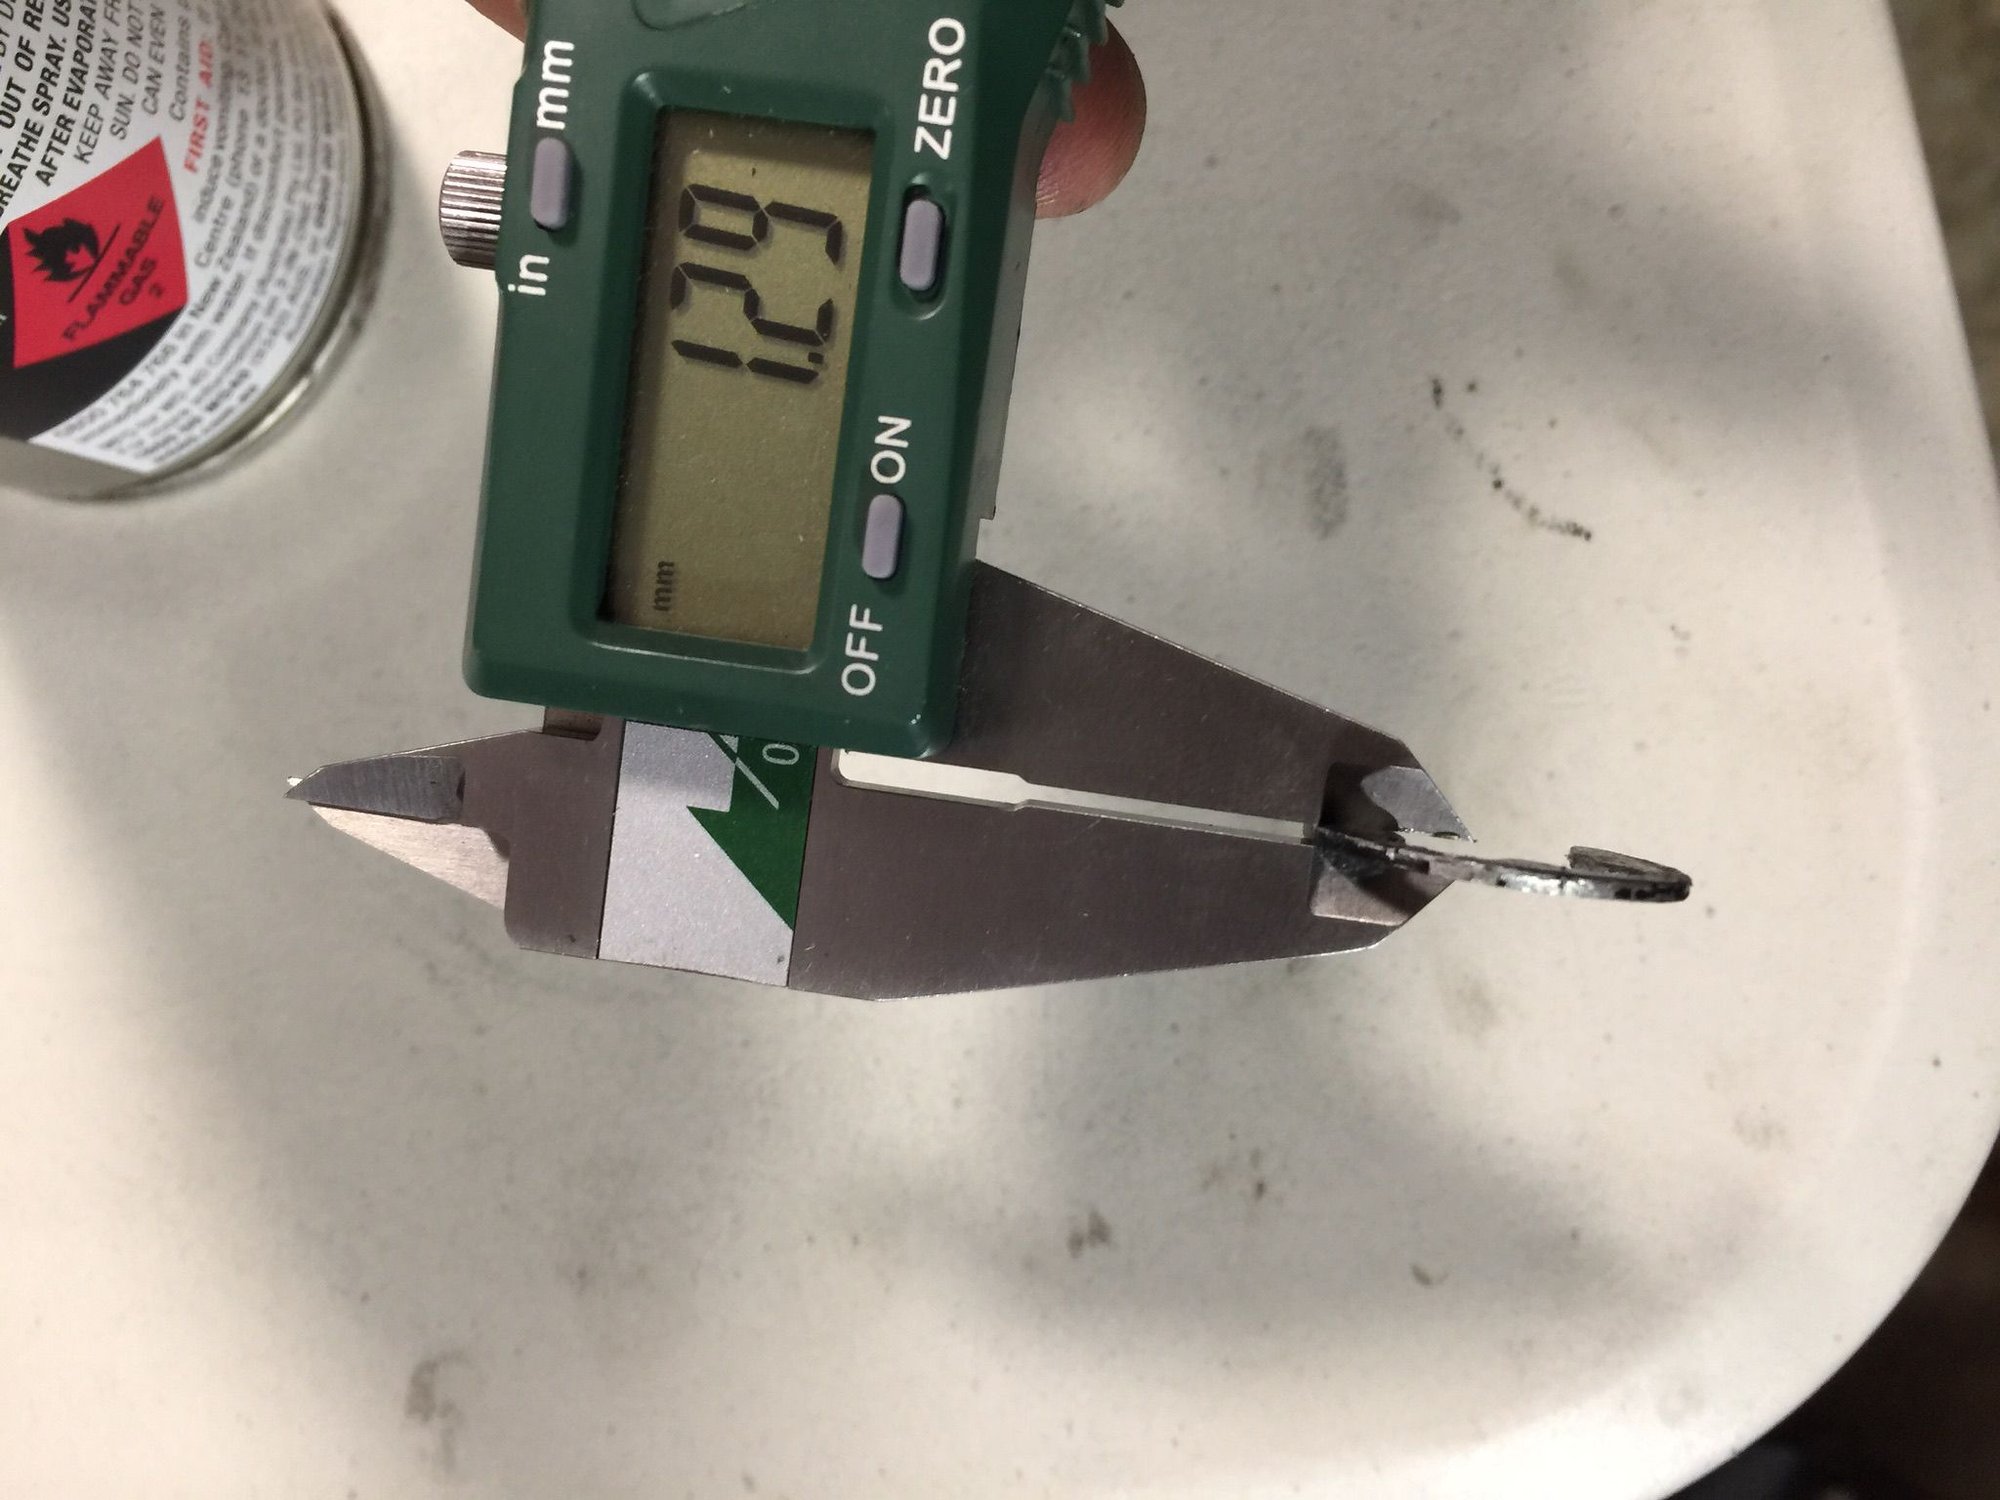
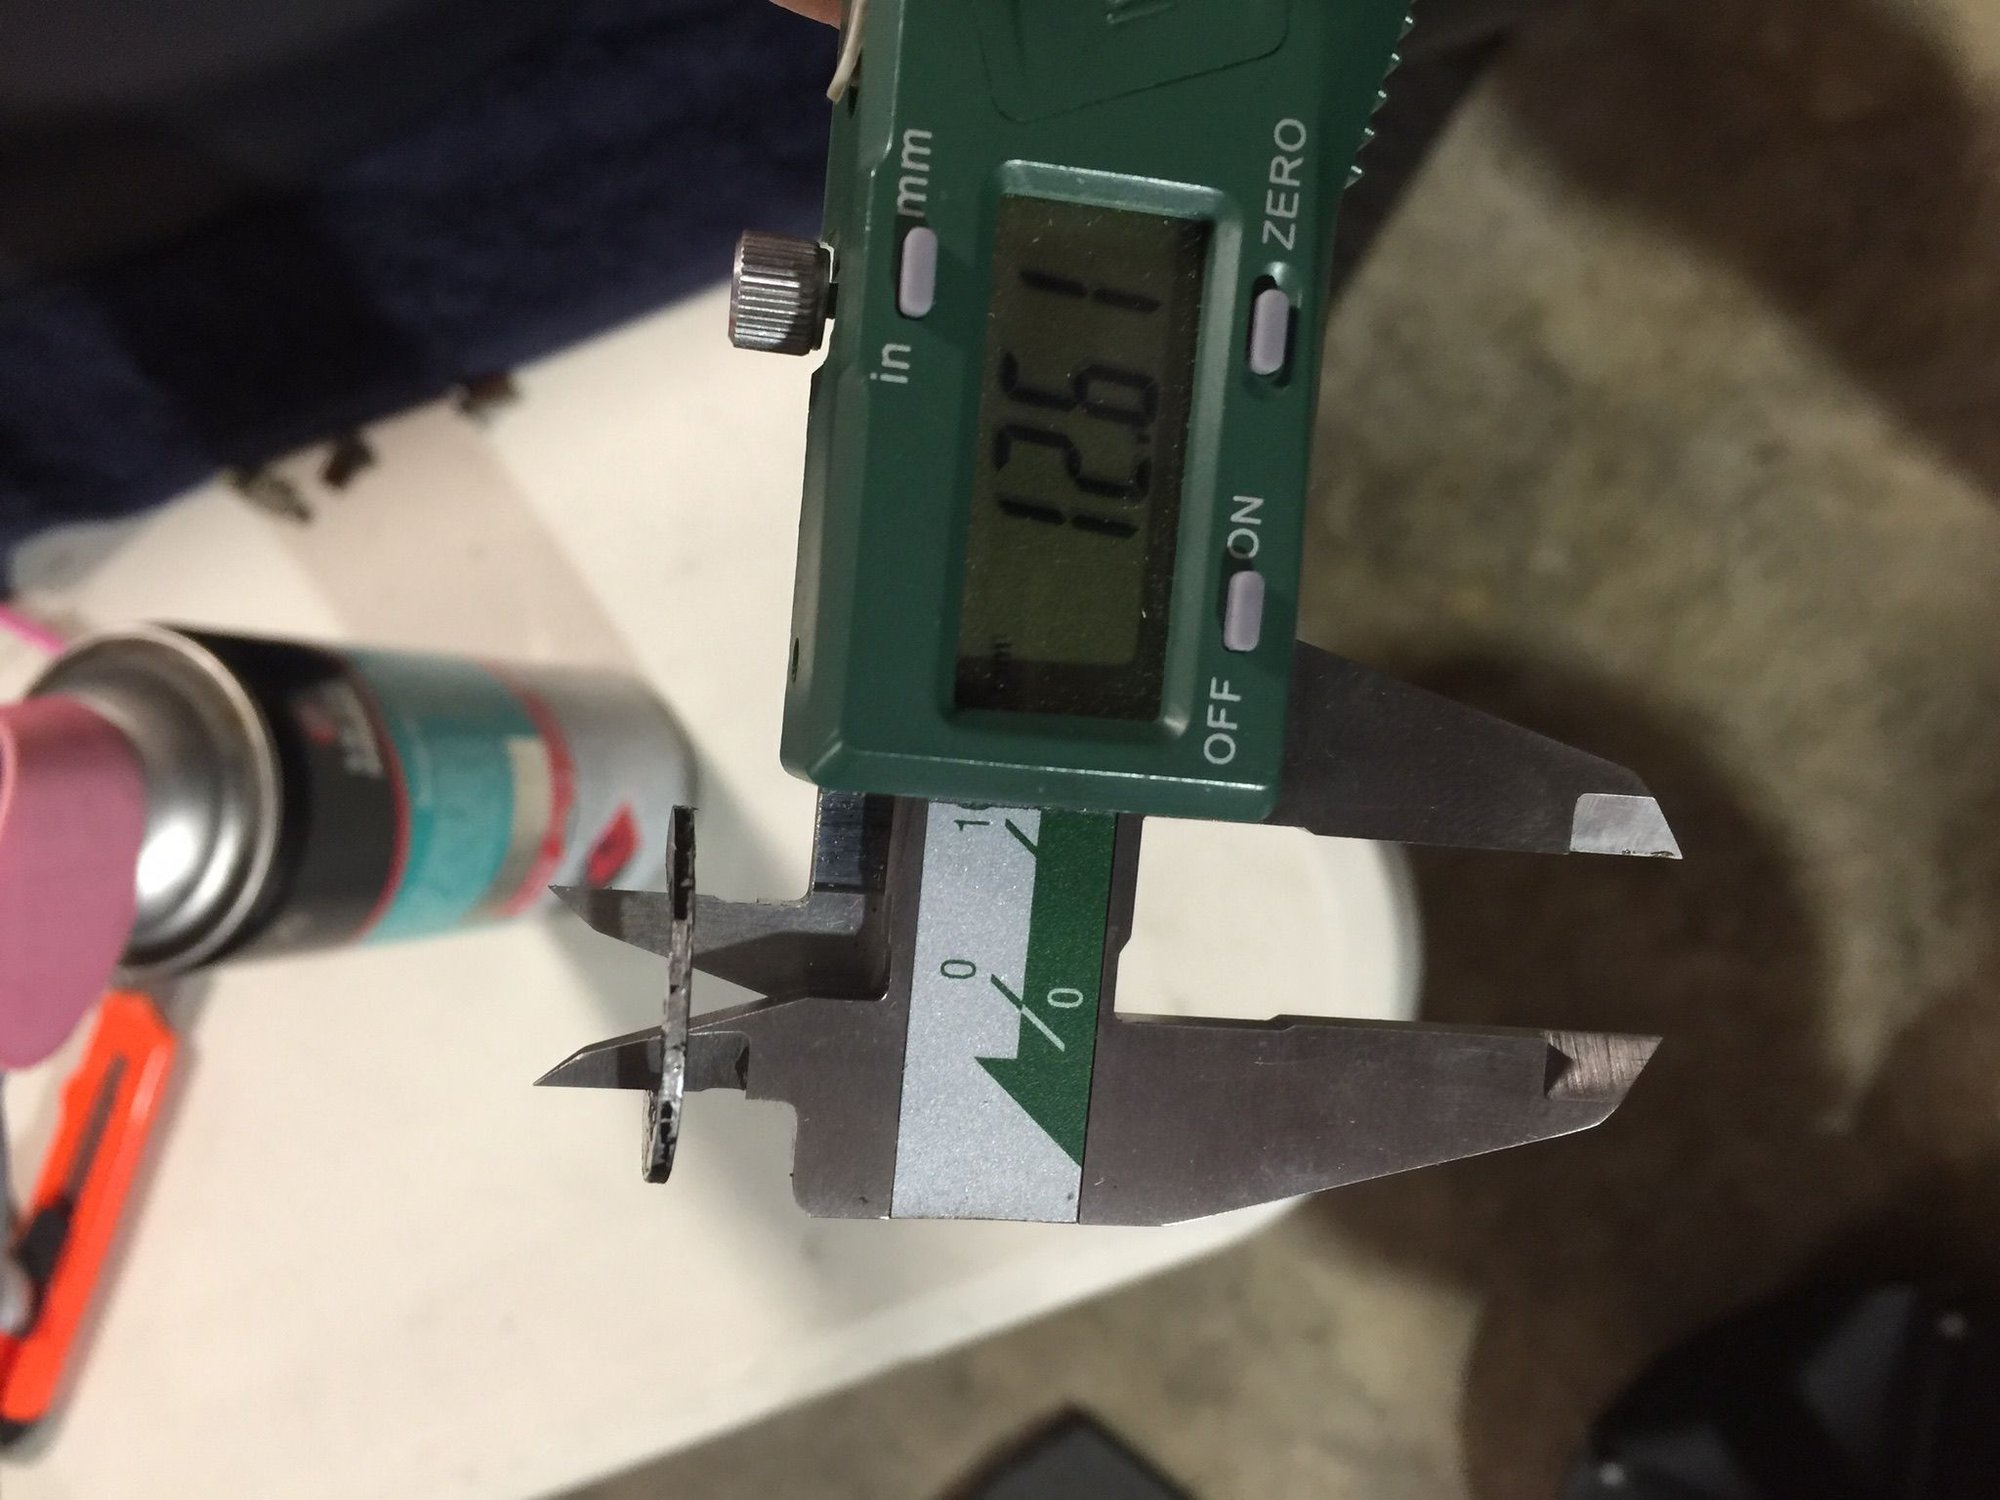
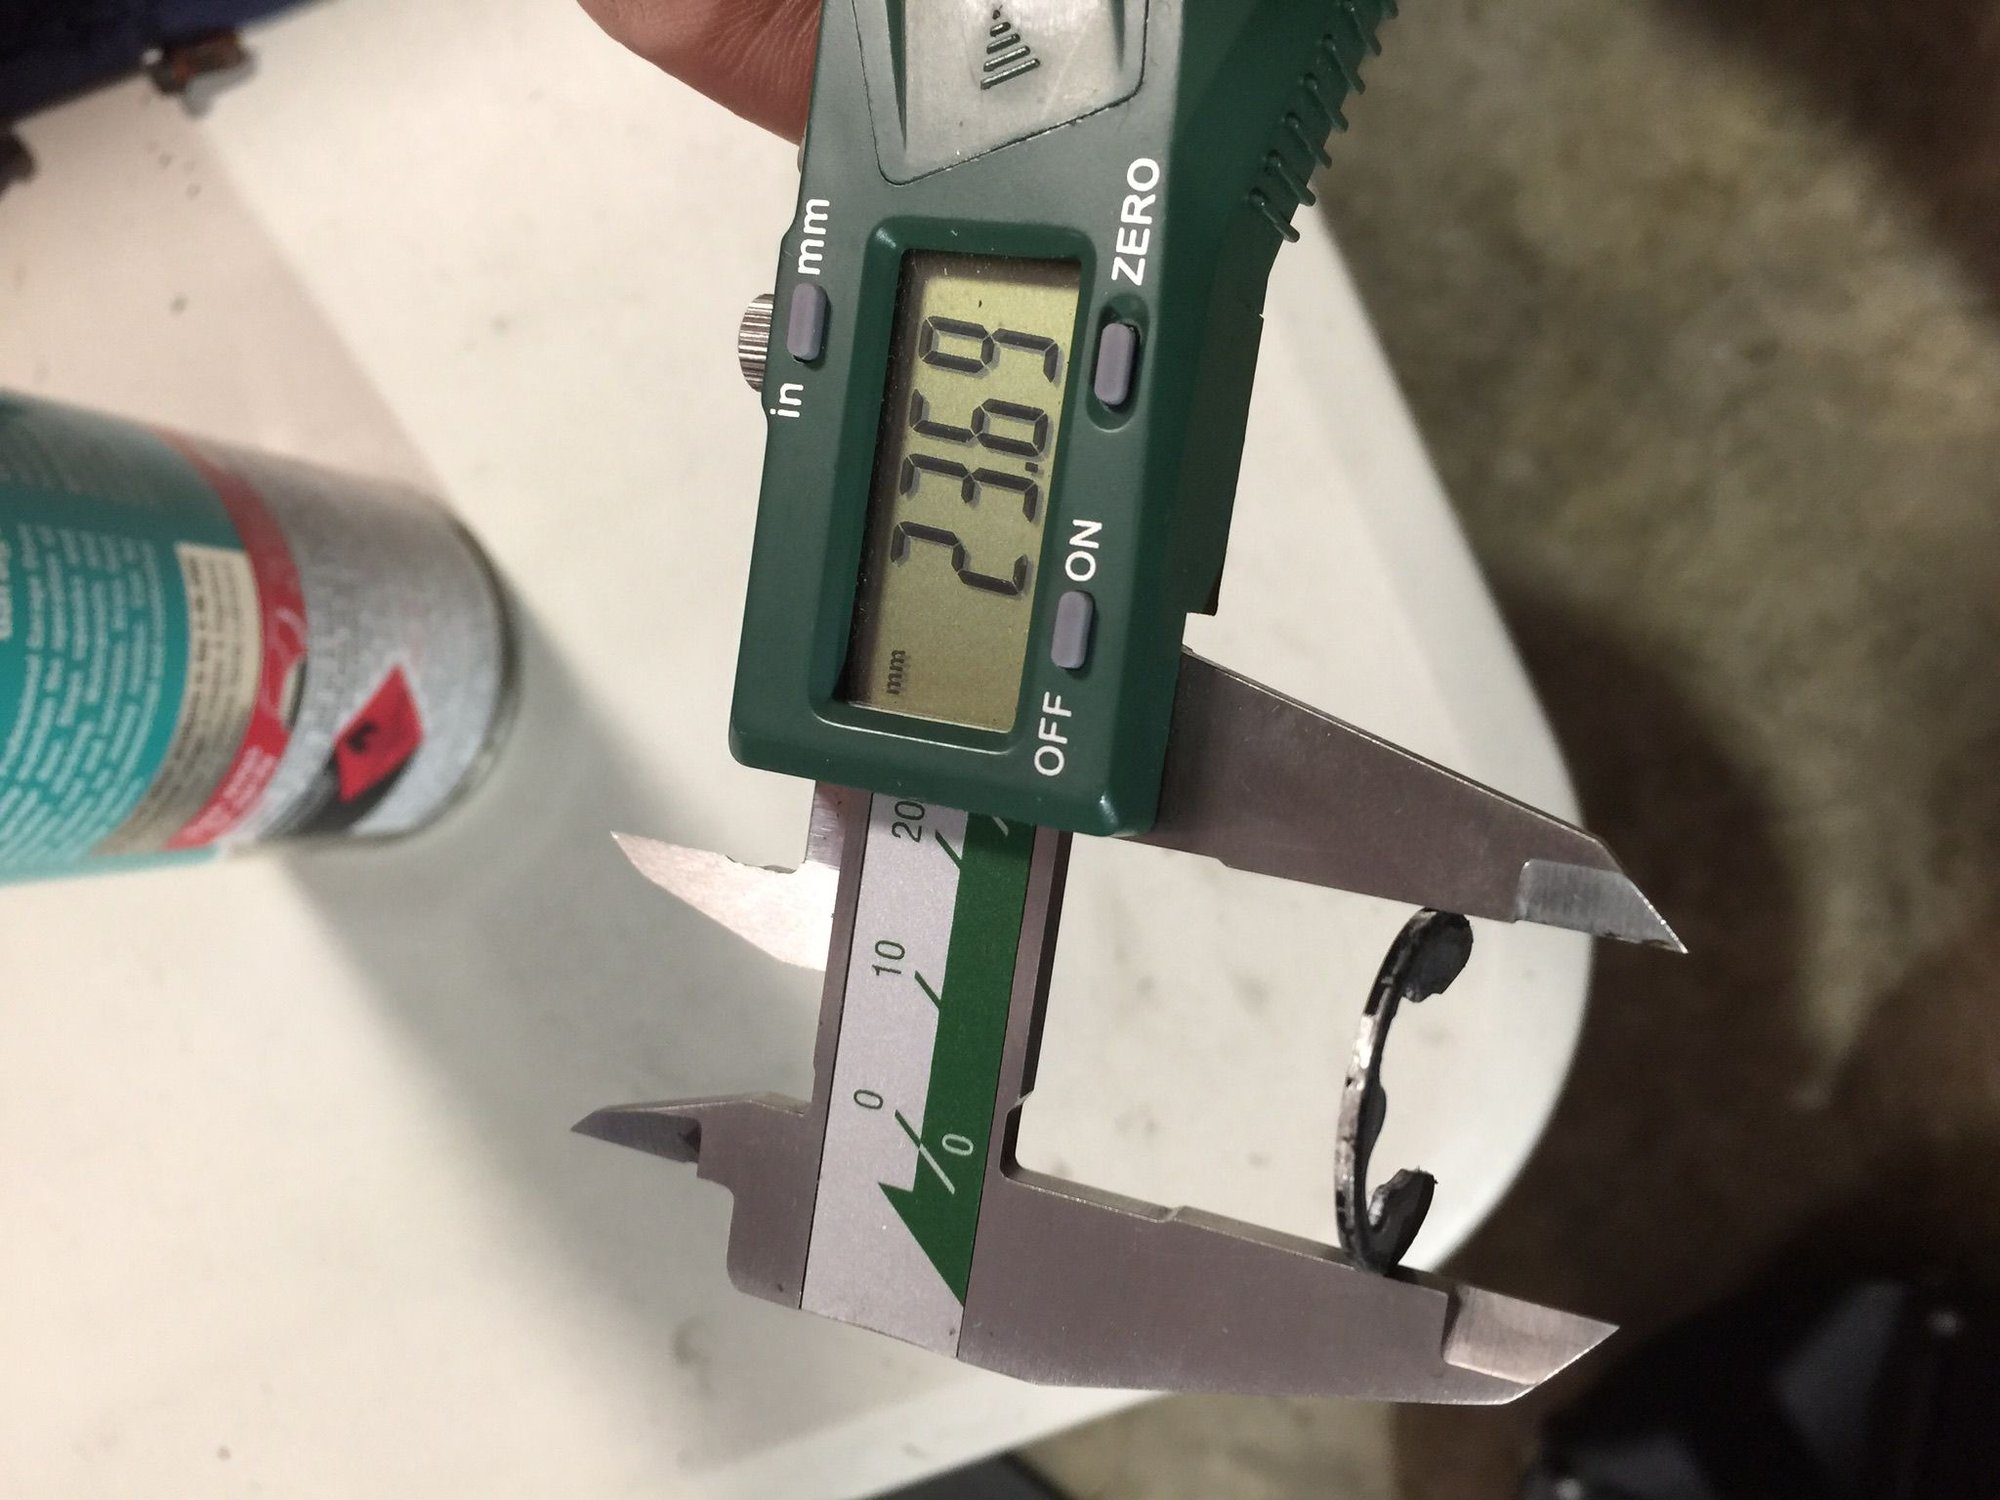
The Shapeways kit has everything you need, however you may be missing the E clip that holds the end Bush in because it drops out of the seat when the bush deteriorates. Iím missing one so took some measurements to source it.
#7
Rennlist Member
Thread Starter
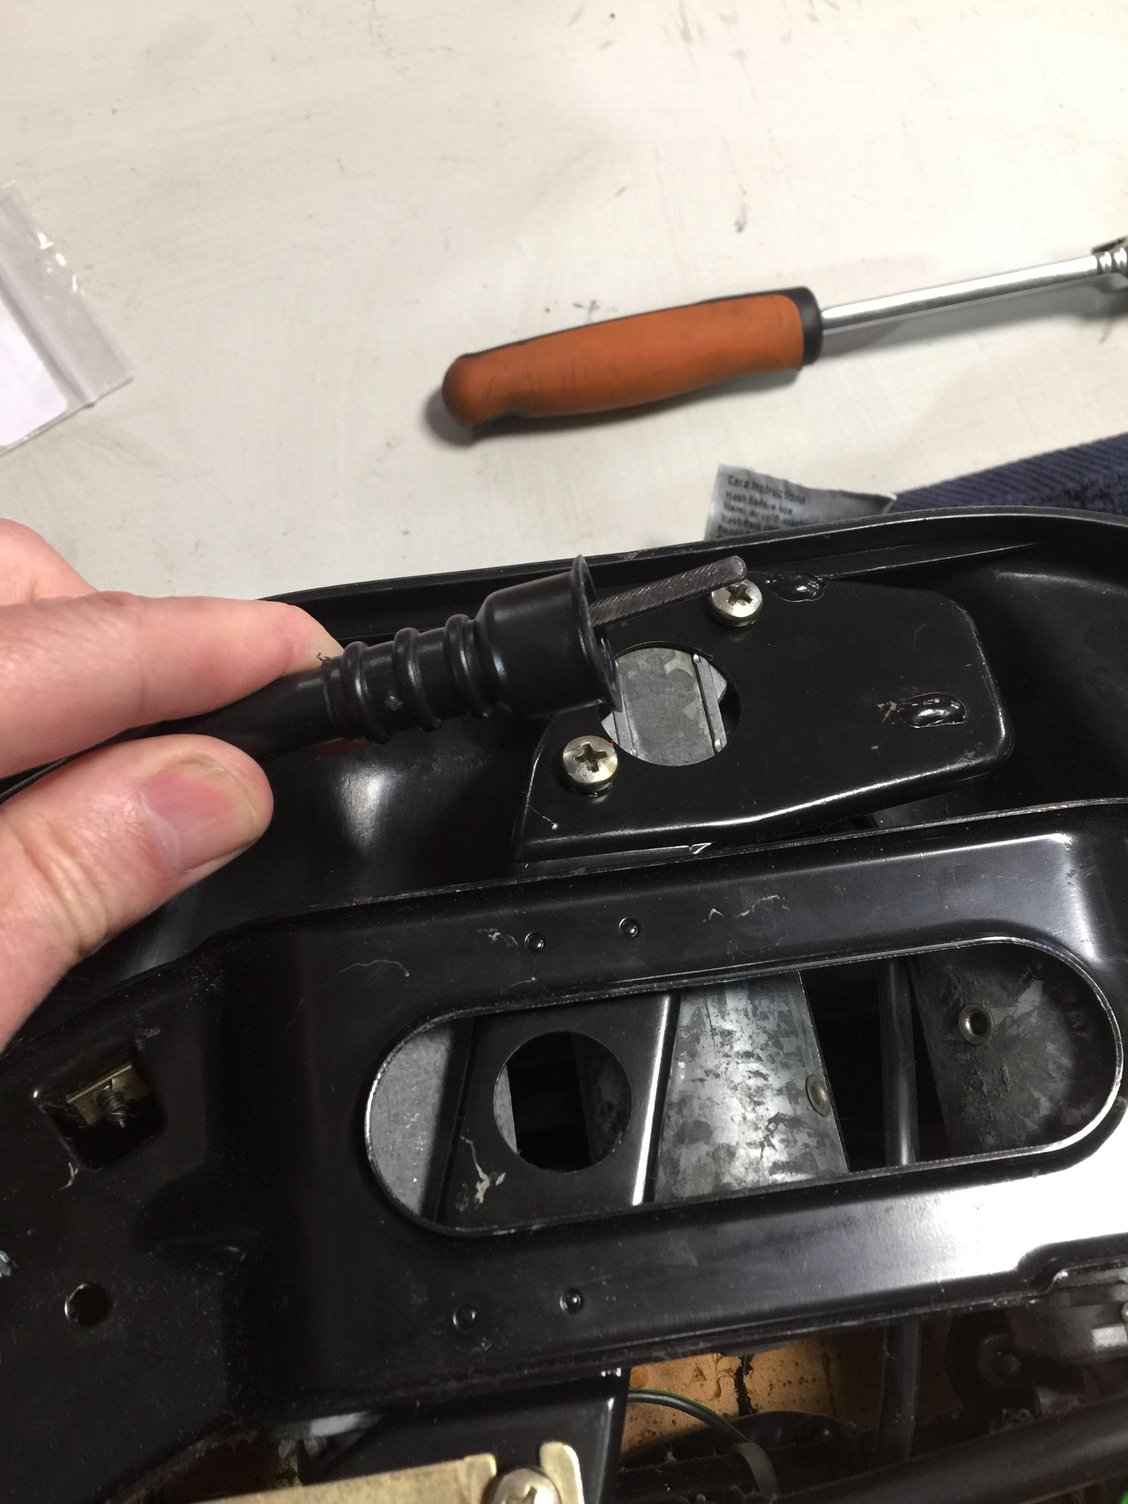
With all of the new parts ready ití's time to disassemble the mechanism. I assume you know how to get the seat out of the car.
Start by pulling the flexible cable out of the motor gear. These are a simple push fit into a square drive. One side has a clip, the other just sits there although it may have had a clip at some stage. You never know with 27 year old parts. When the cable is out, remove the plastic cover.
Last edited by John McM; 02-22-2018 at 10:36 AM.
Trending Topics
#8
Rennlist Member
Thread Starter
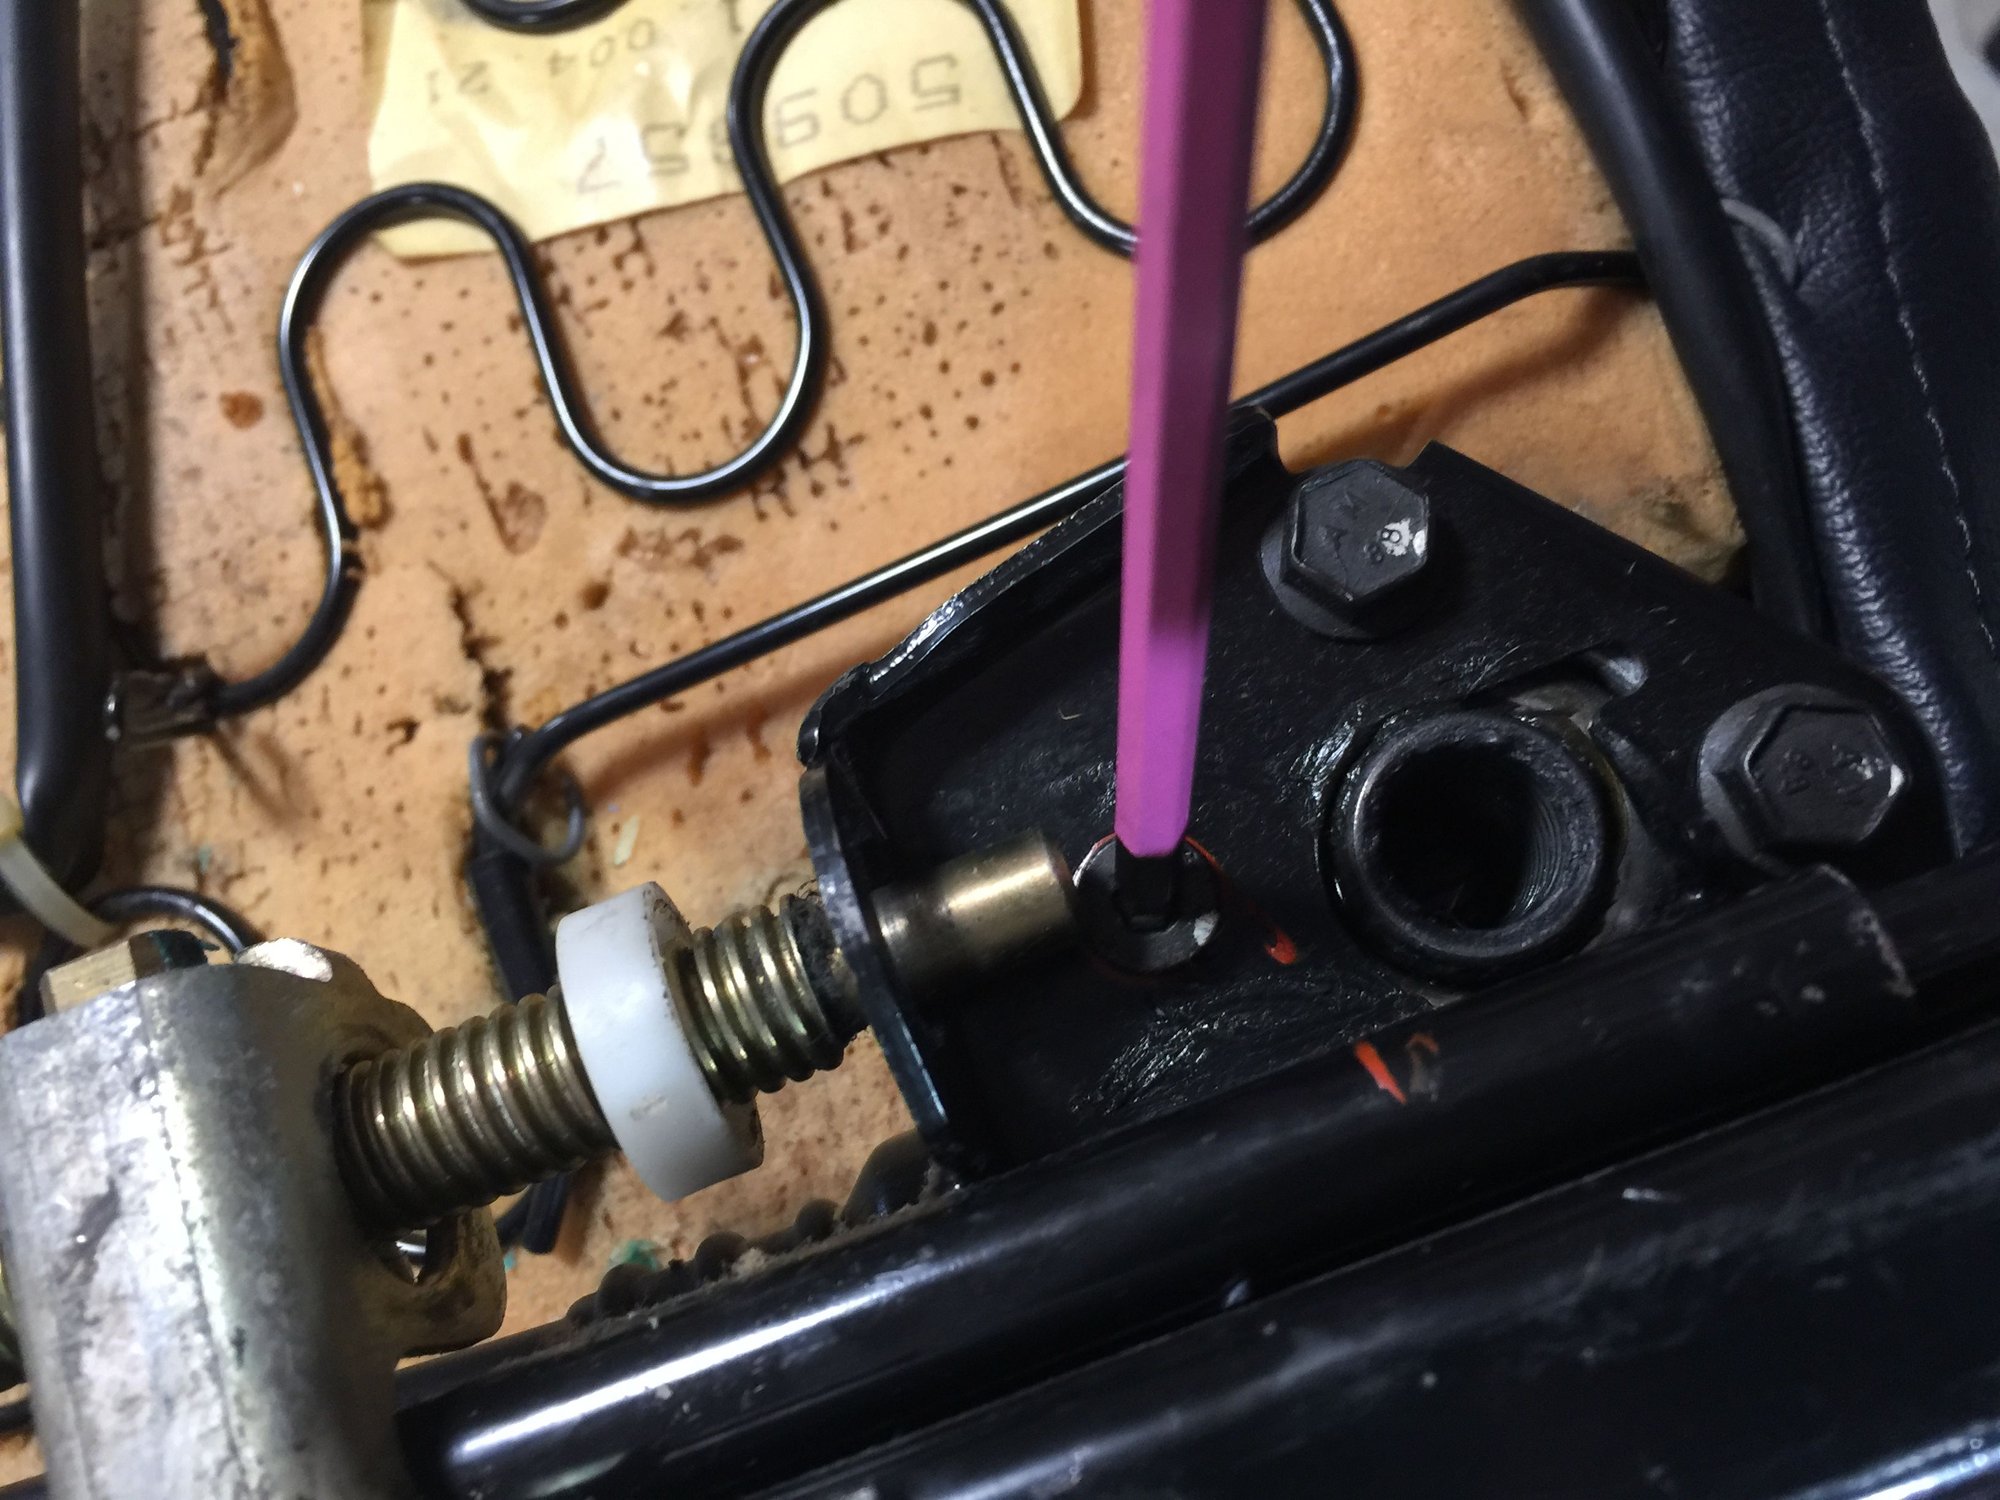
Once the cover is off, remove the flexible drive shaft. Itís a simple square push fit. Note that one end has a shorter square length than the other. Then undo the hex screws at each end of the mechanism. This gives clearance for removing the screw shaft etc
Last edited by John McM; 02-22-2018 at 10:39 AM.
#10
Rennlist Member
Thread Starter
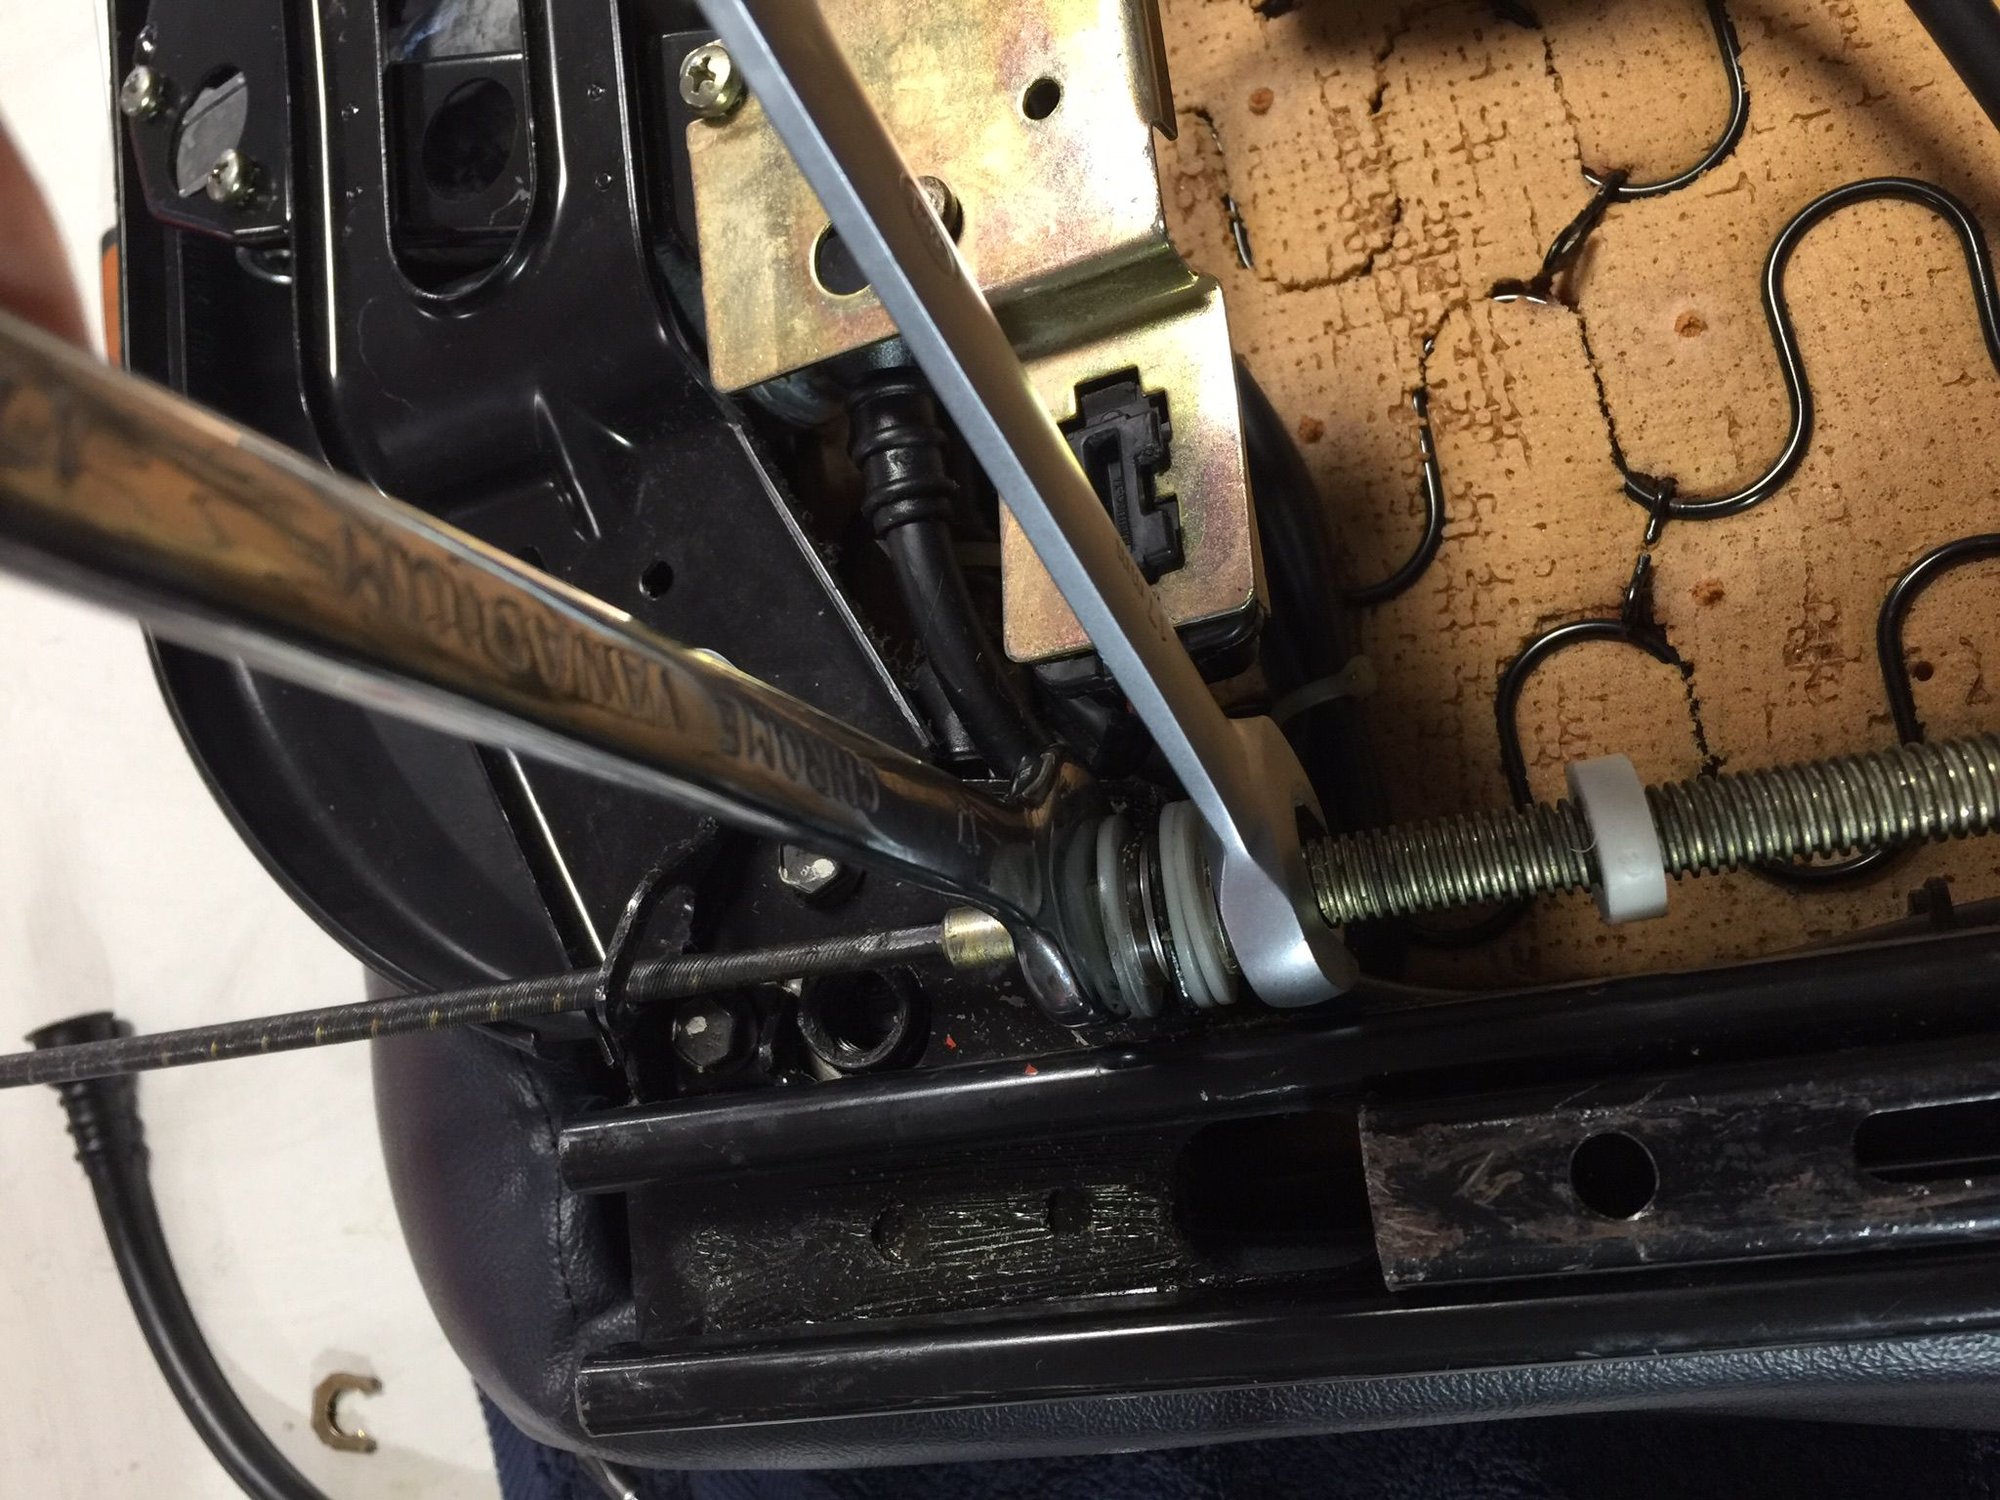
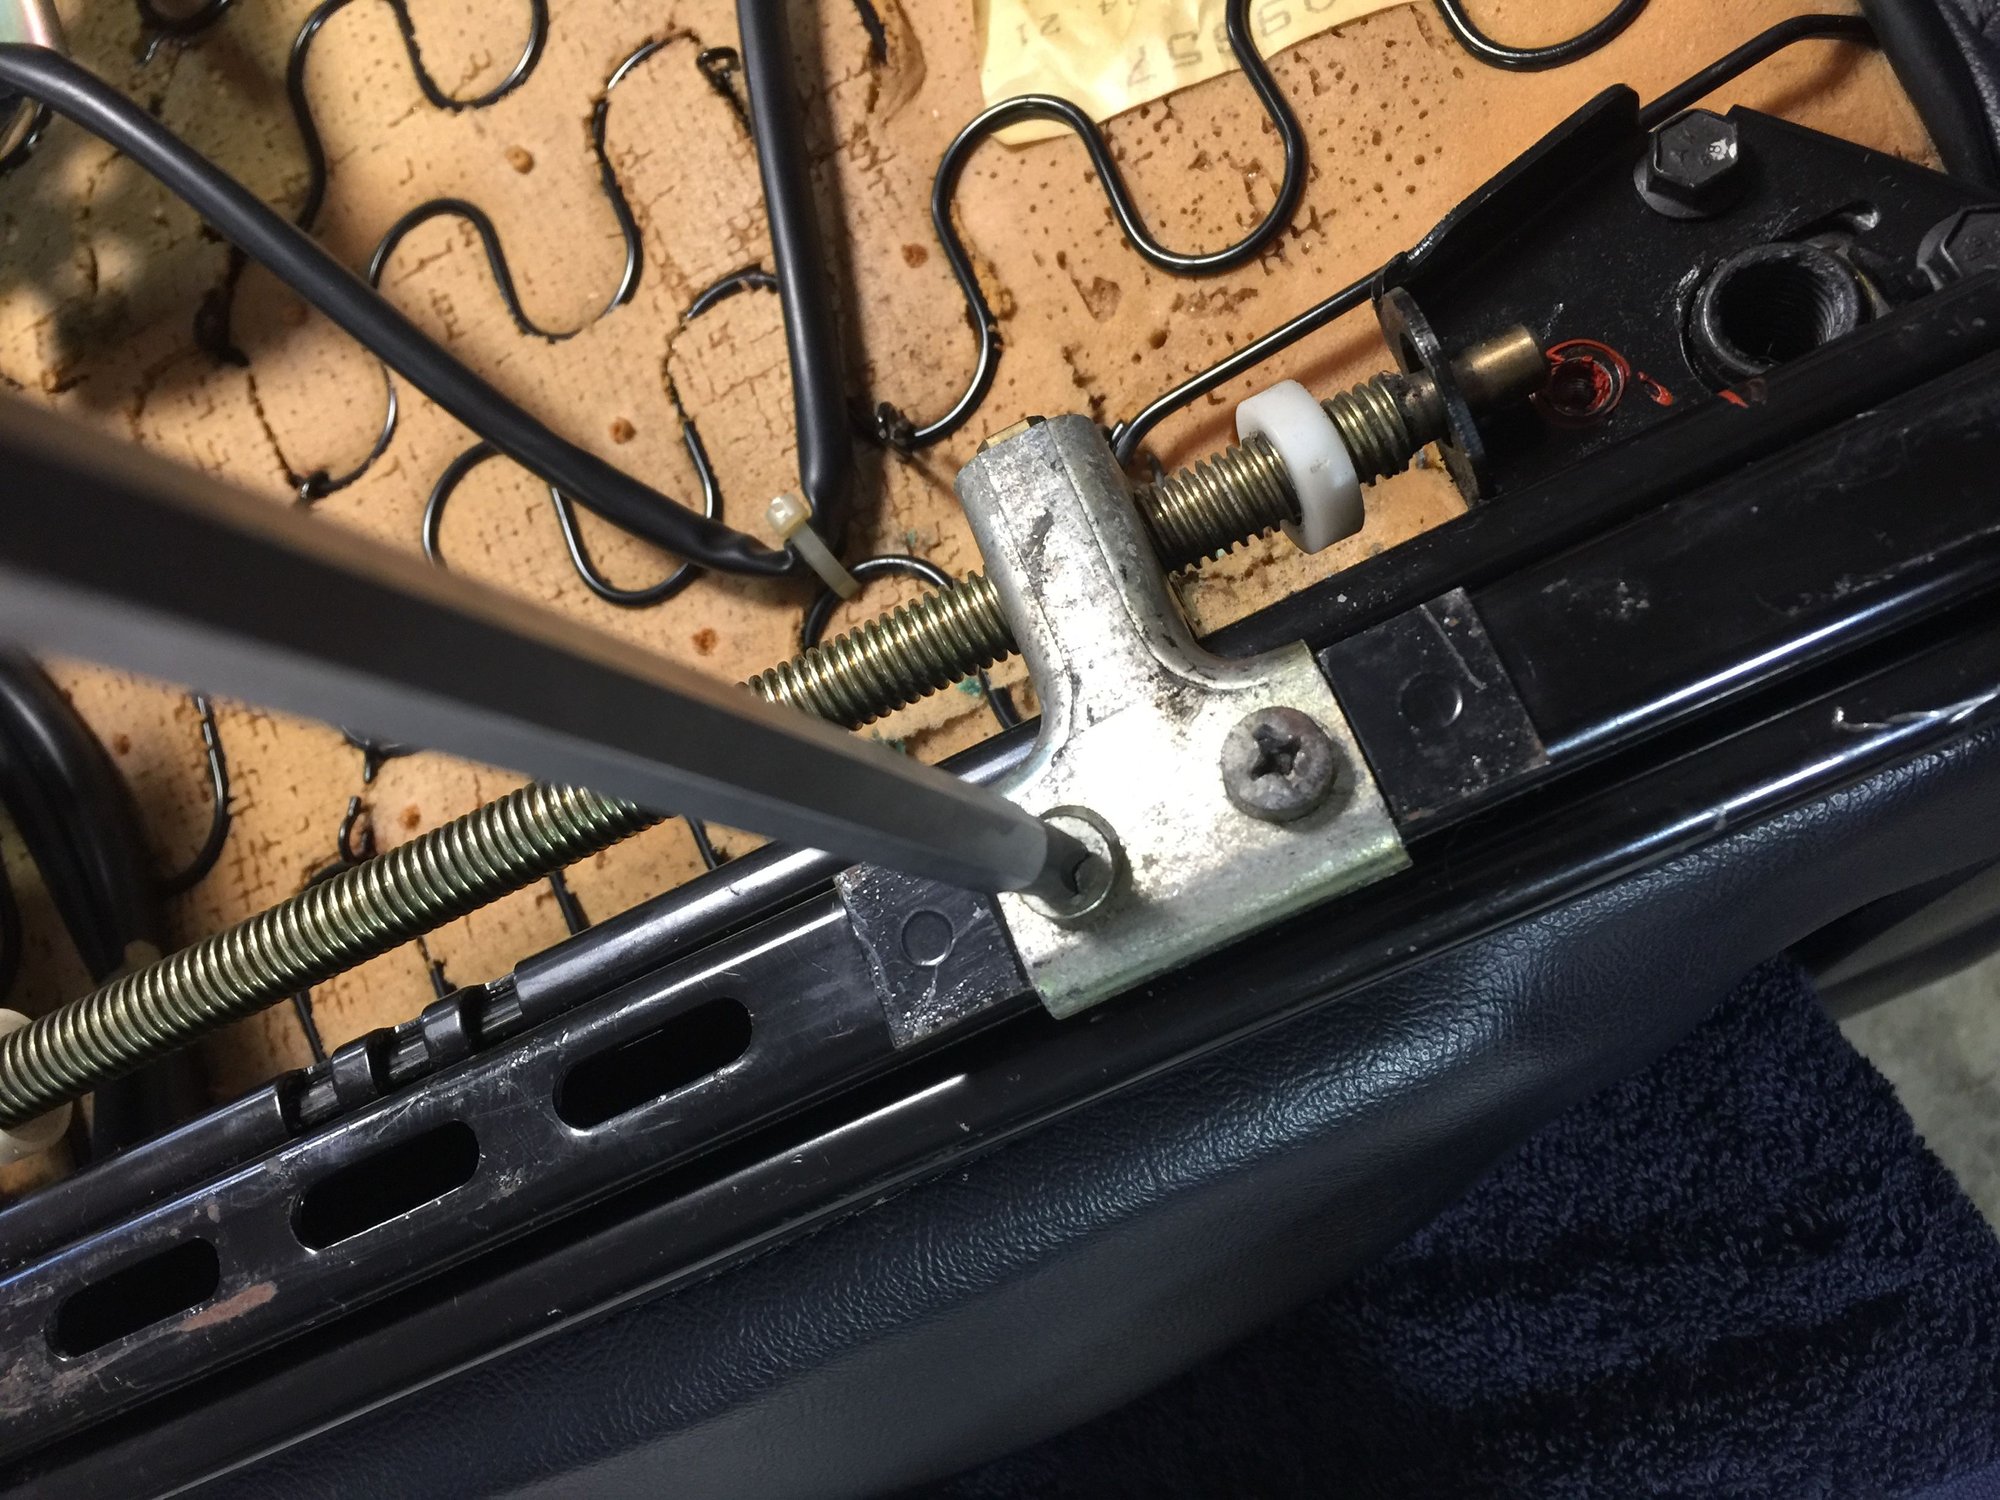
Take two 17mm spanners and undo the front end of the mechanism (ignore the plastic pieces, it was a hack repair I tried a while back before I bought the correct pieces).
#12
Rennlist Member
Thread Starter
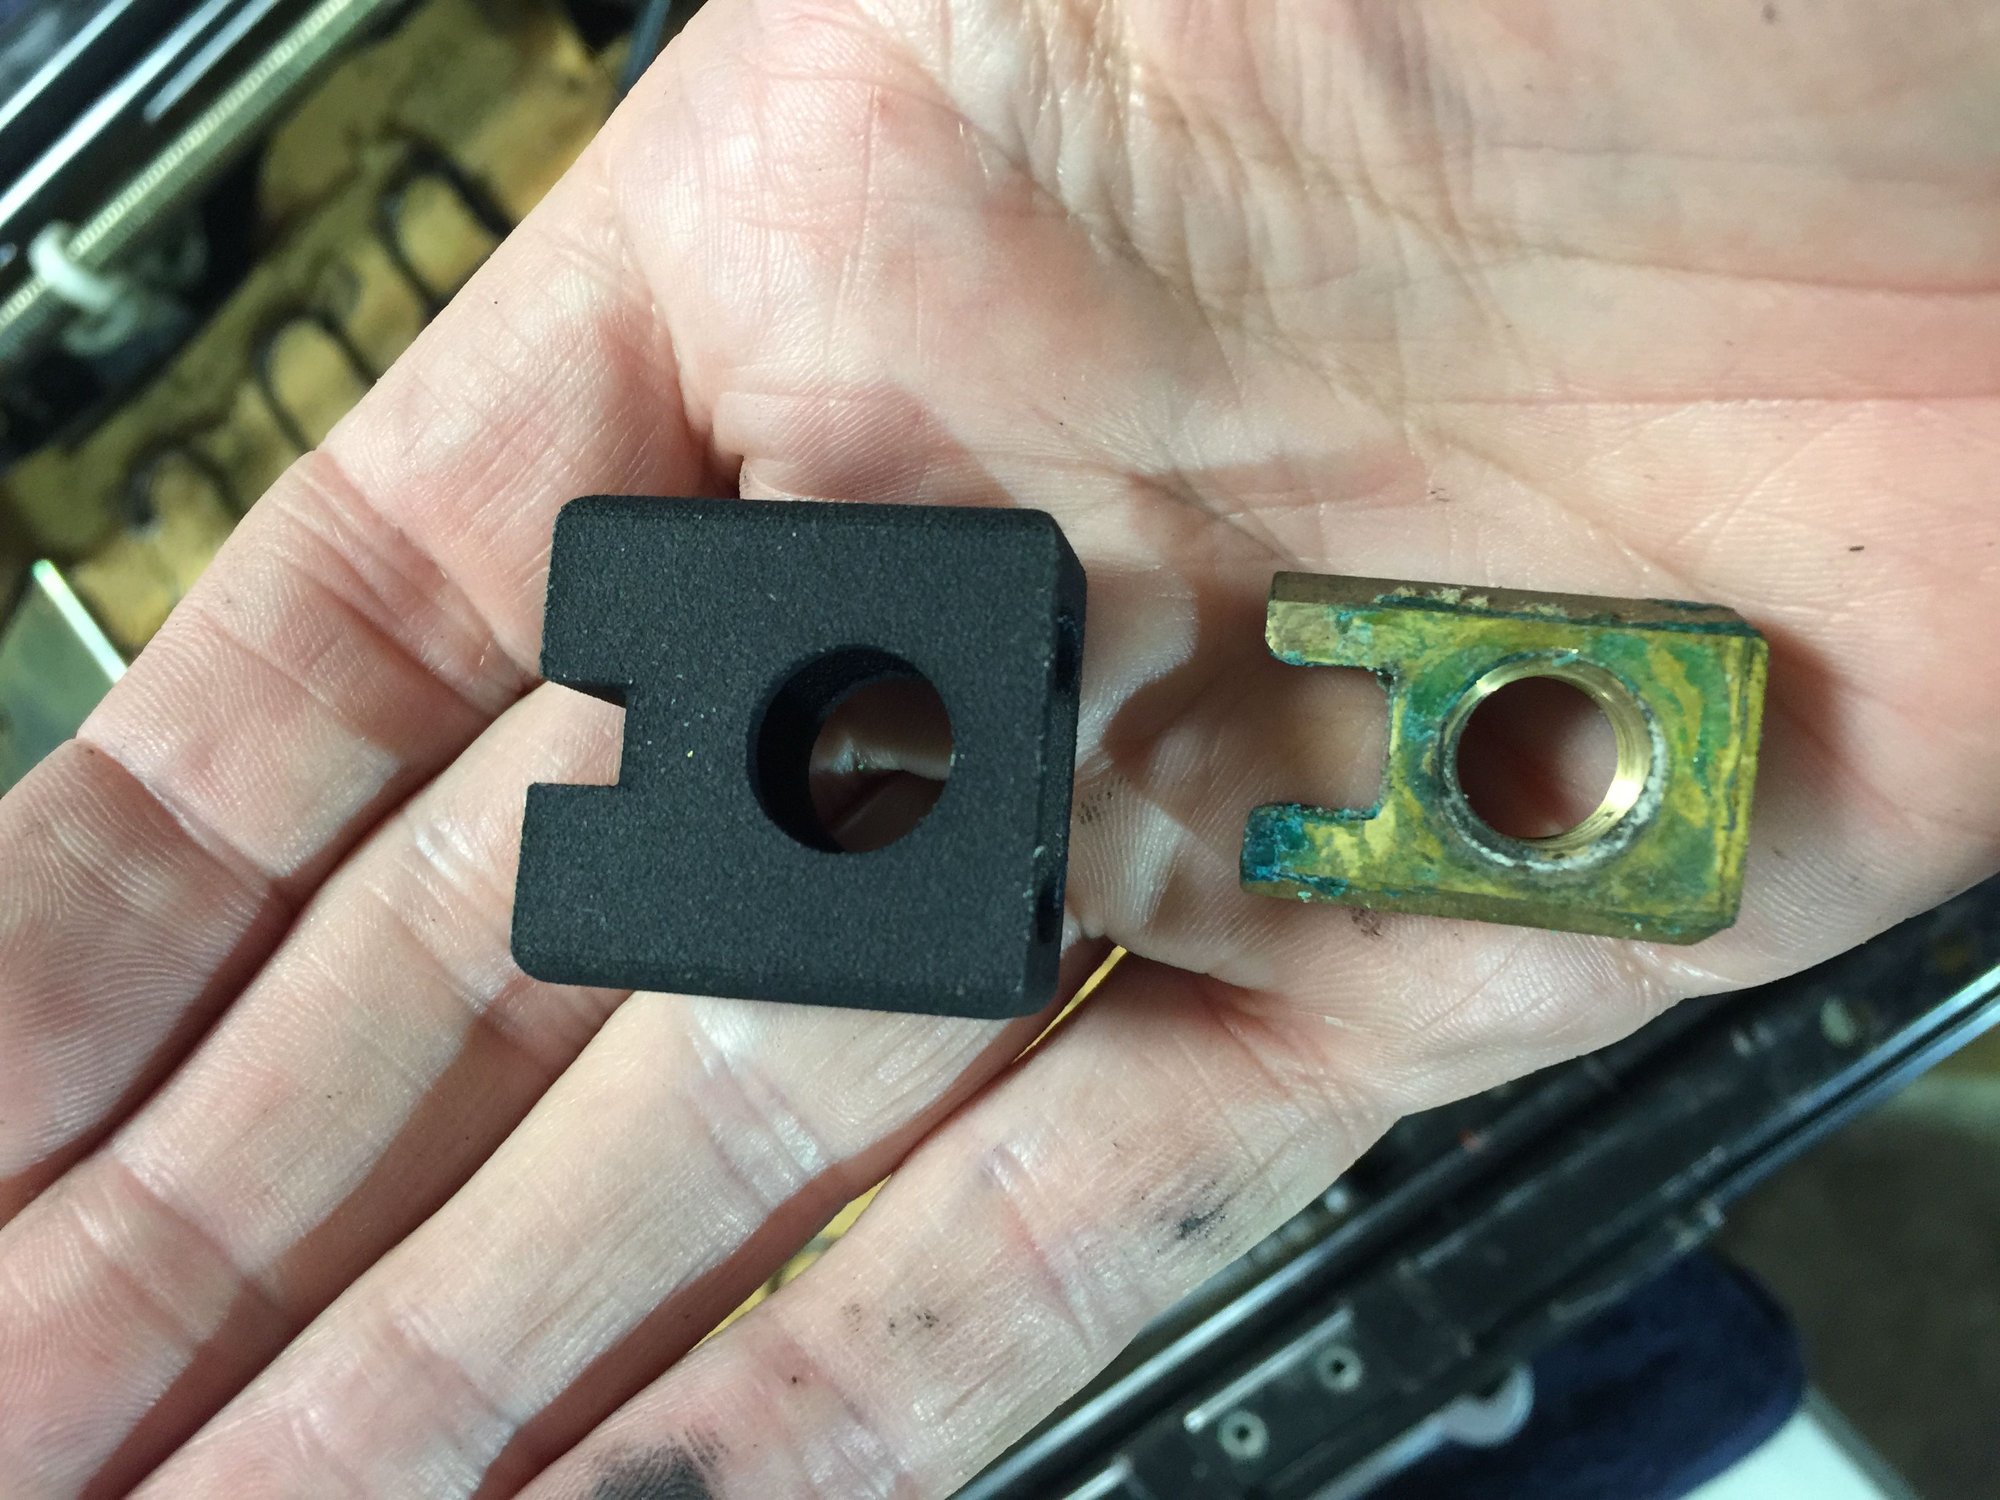
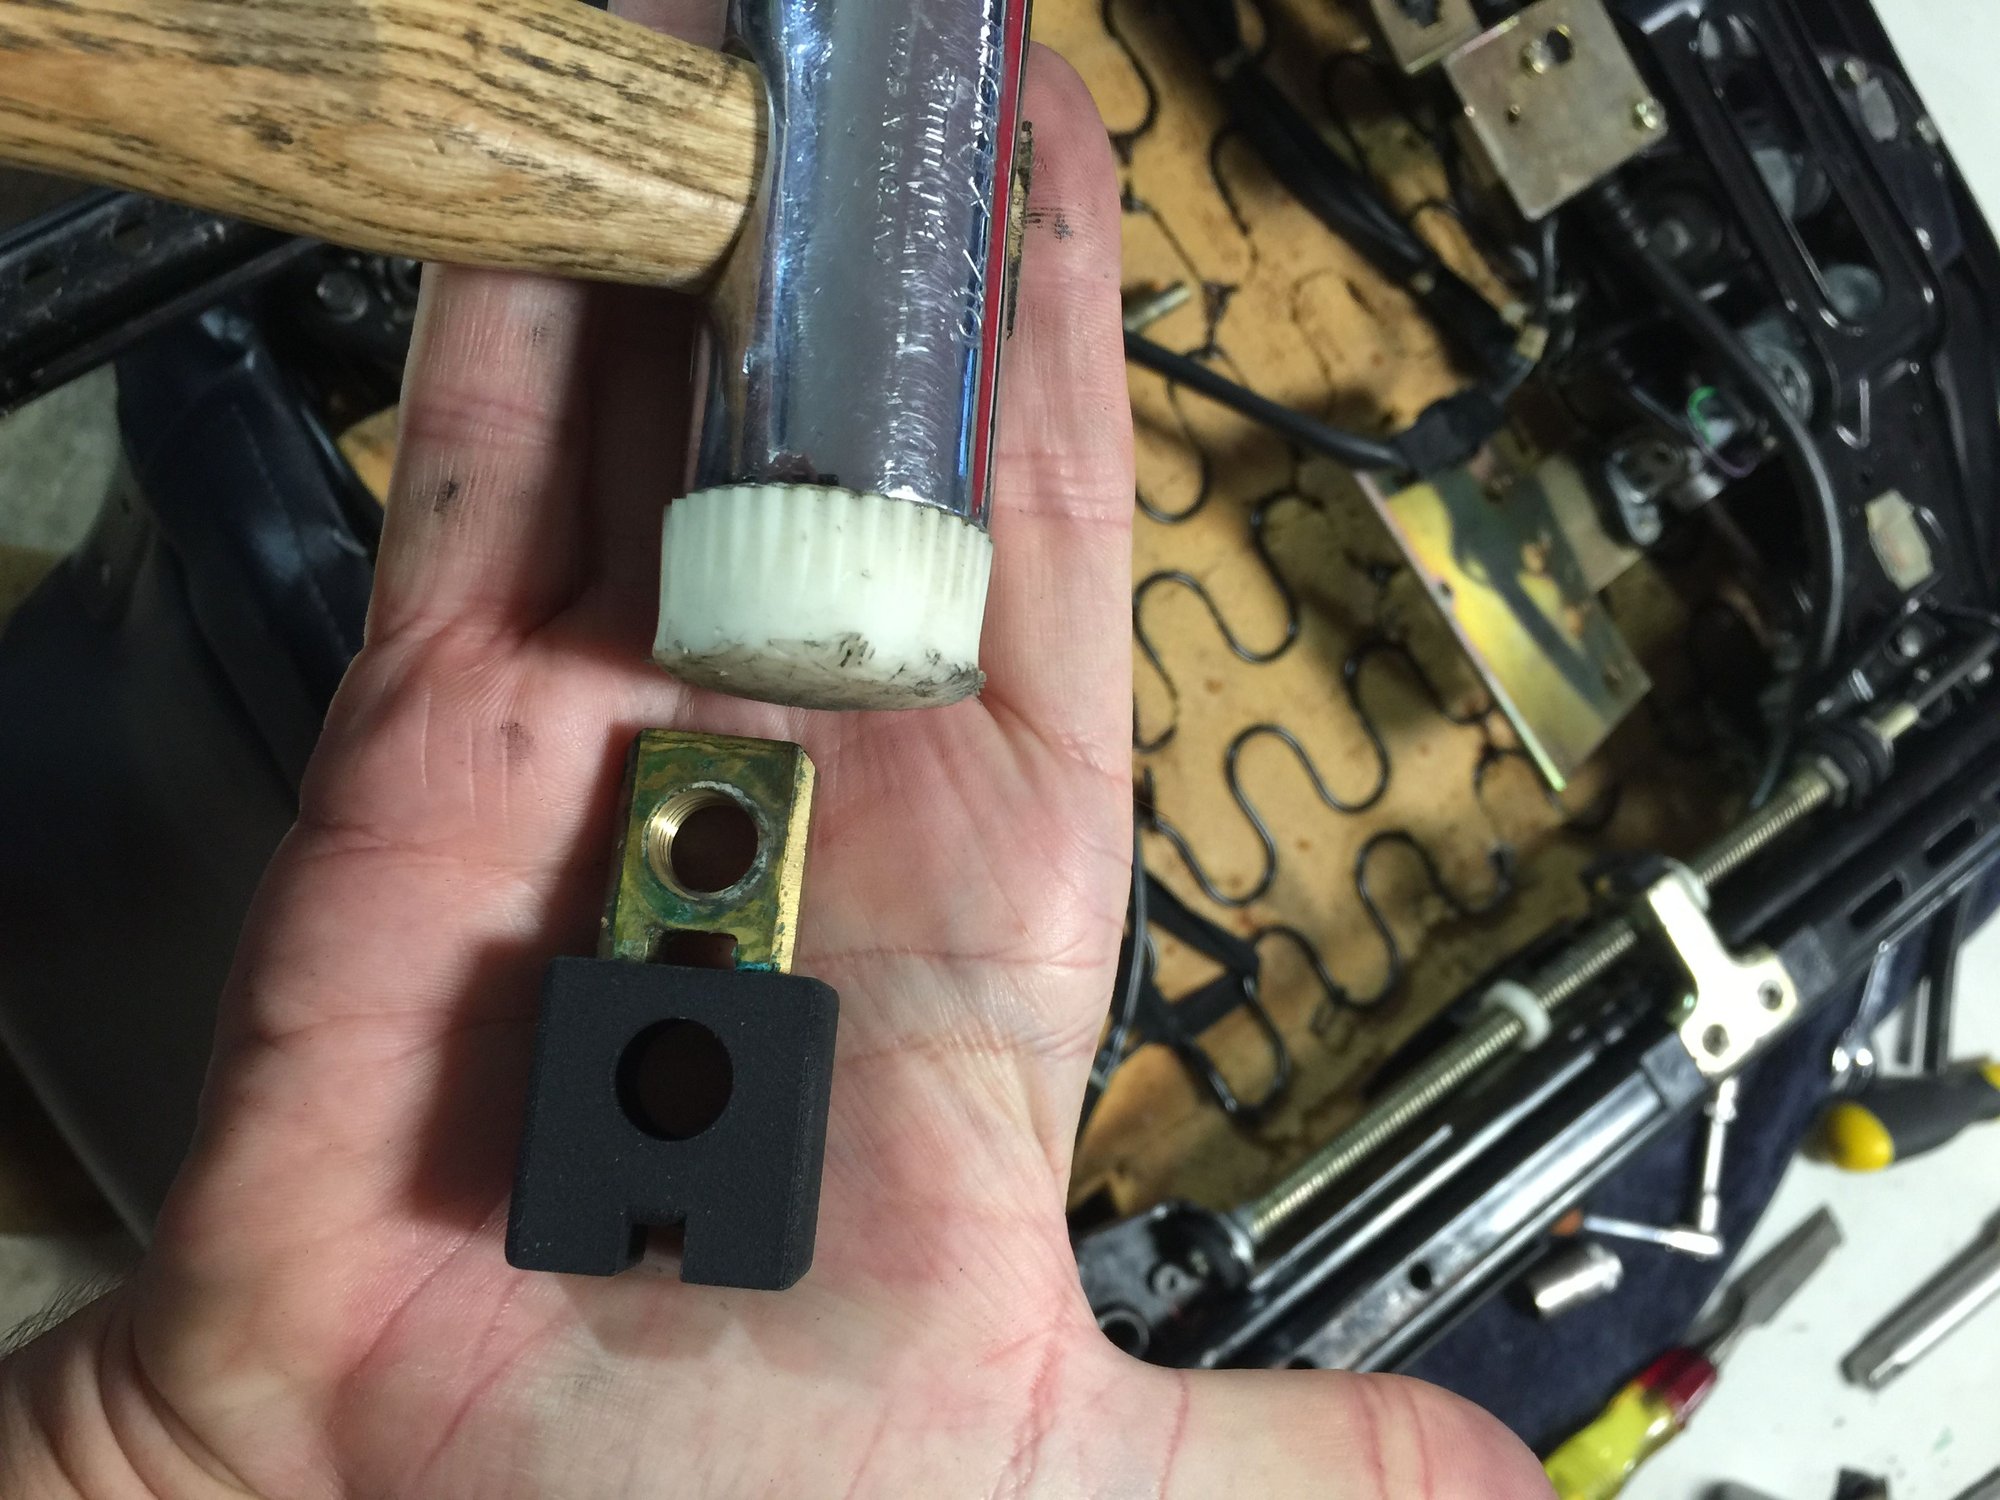
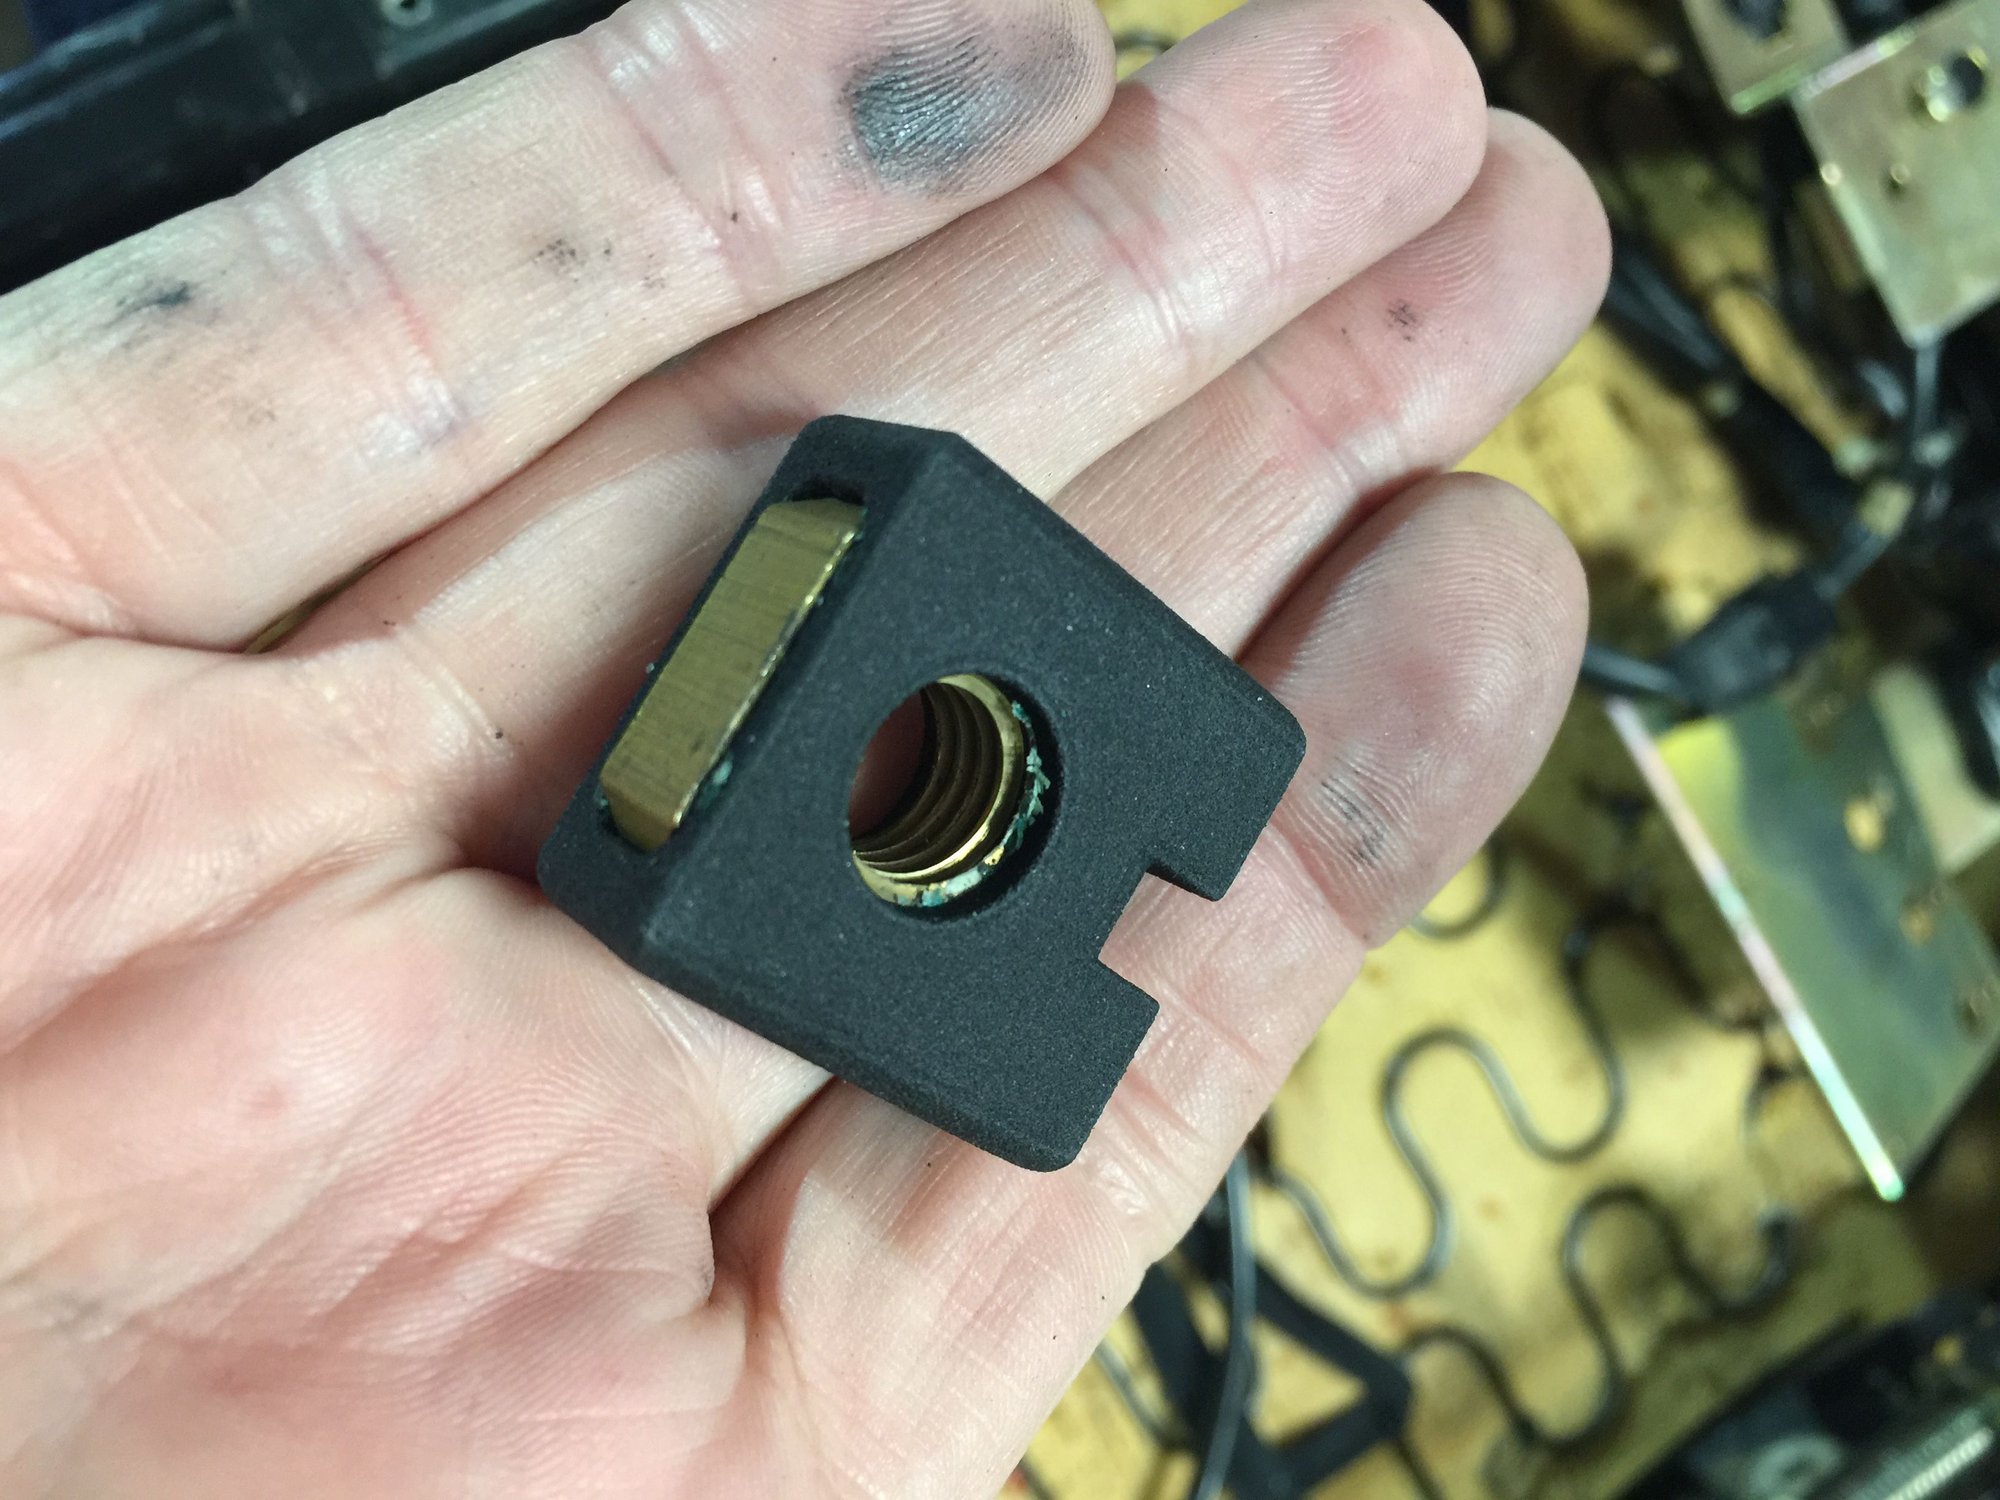
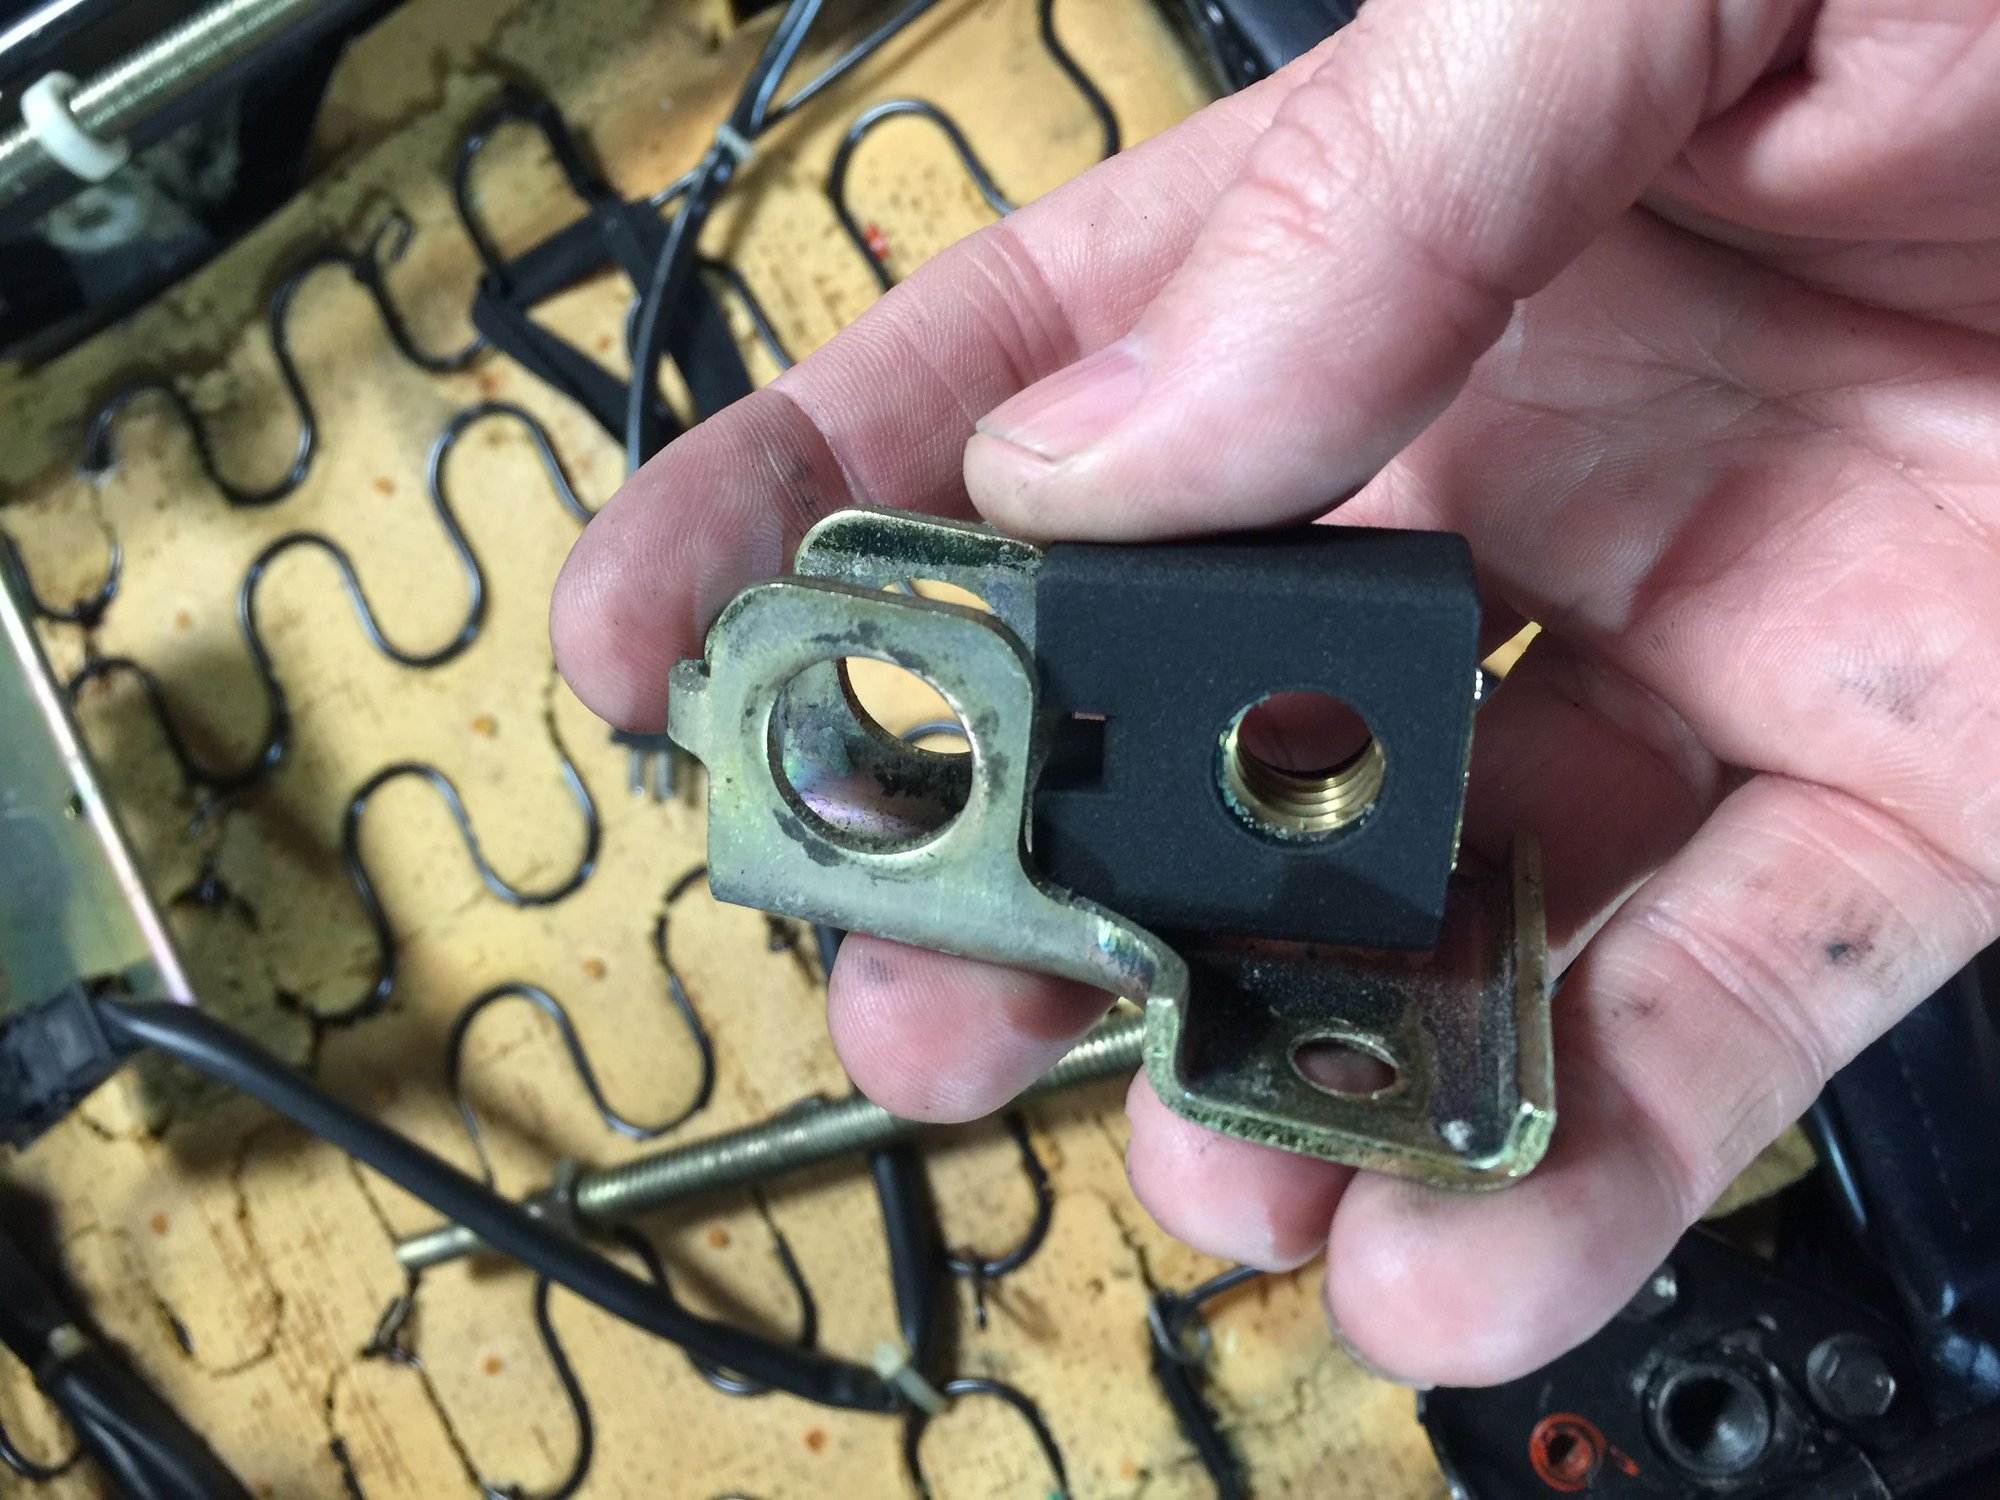
Insert the clean brass insert into the new plastic cover. Itís obvious which way it goes. Then insert the plastic piece back in the rail holder. I used a plastic mallet to encourage it.
#13
Rennlist Member
Thread Starter
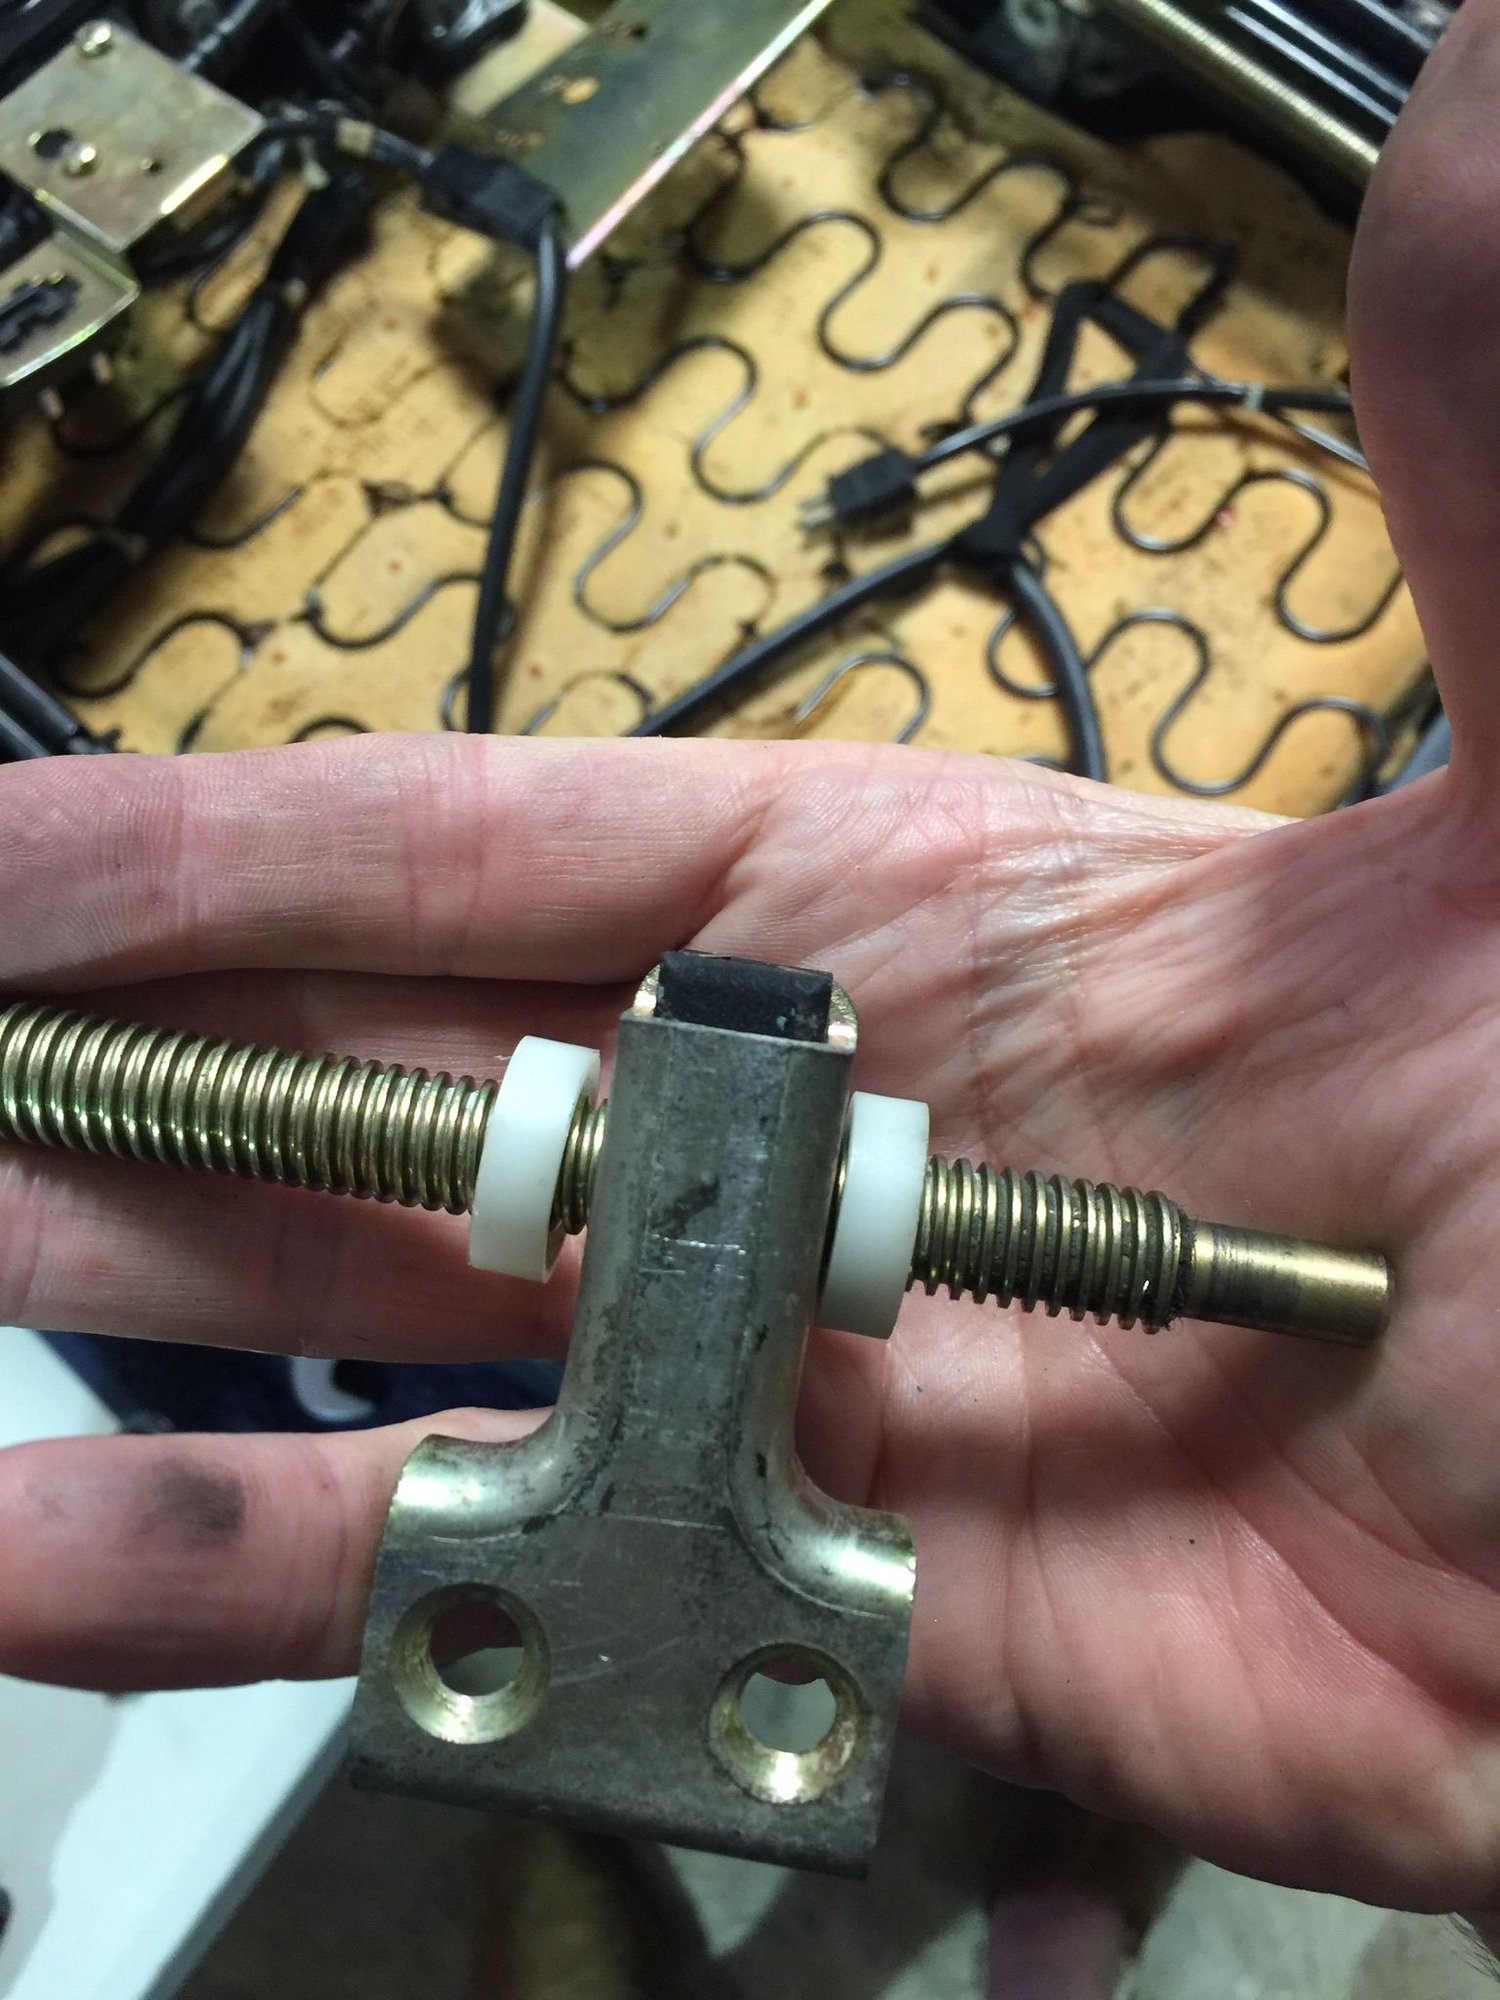
Wind the holder back on the shaft. Make sure the orientation is correct and that the block moves freely on the screw. Also make sure you have a white nylon spacer on each side as those come into play when the seat has reached its travel limit. The rearmost one has the beveled edge facing the rear bush
Last edited by John McM; 02-22-2018 at 10:44 AM.
#14
Rennlist Member
Thread Starter
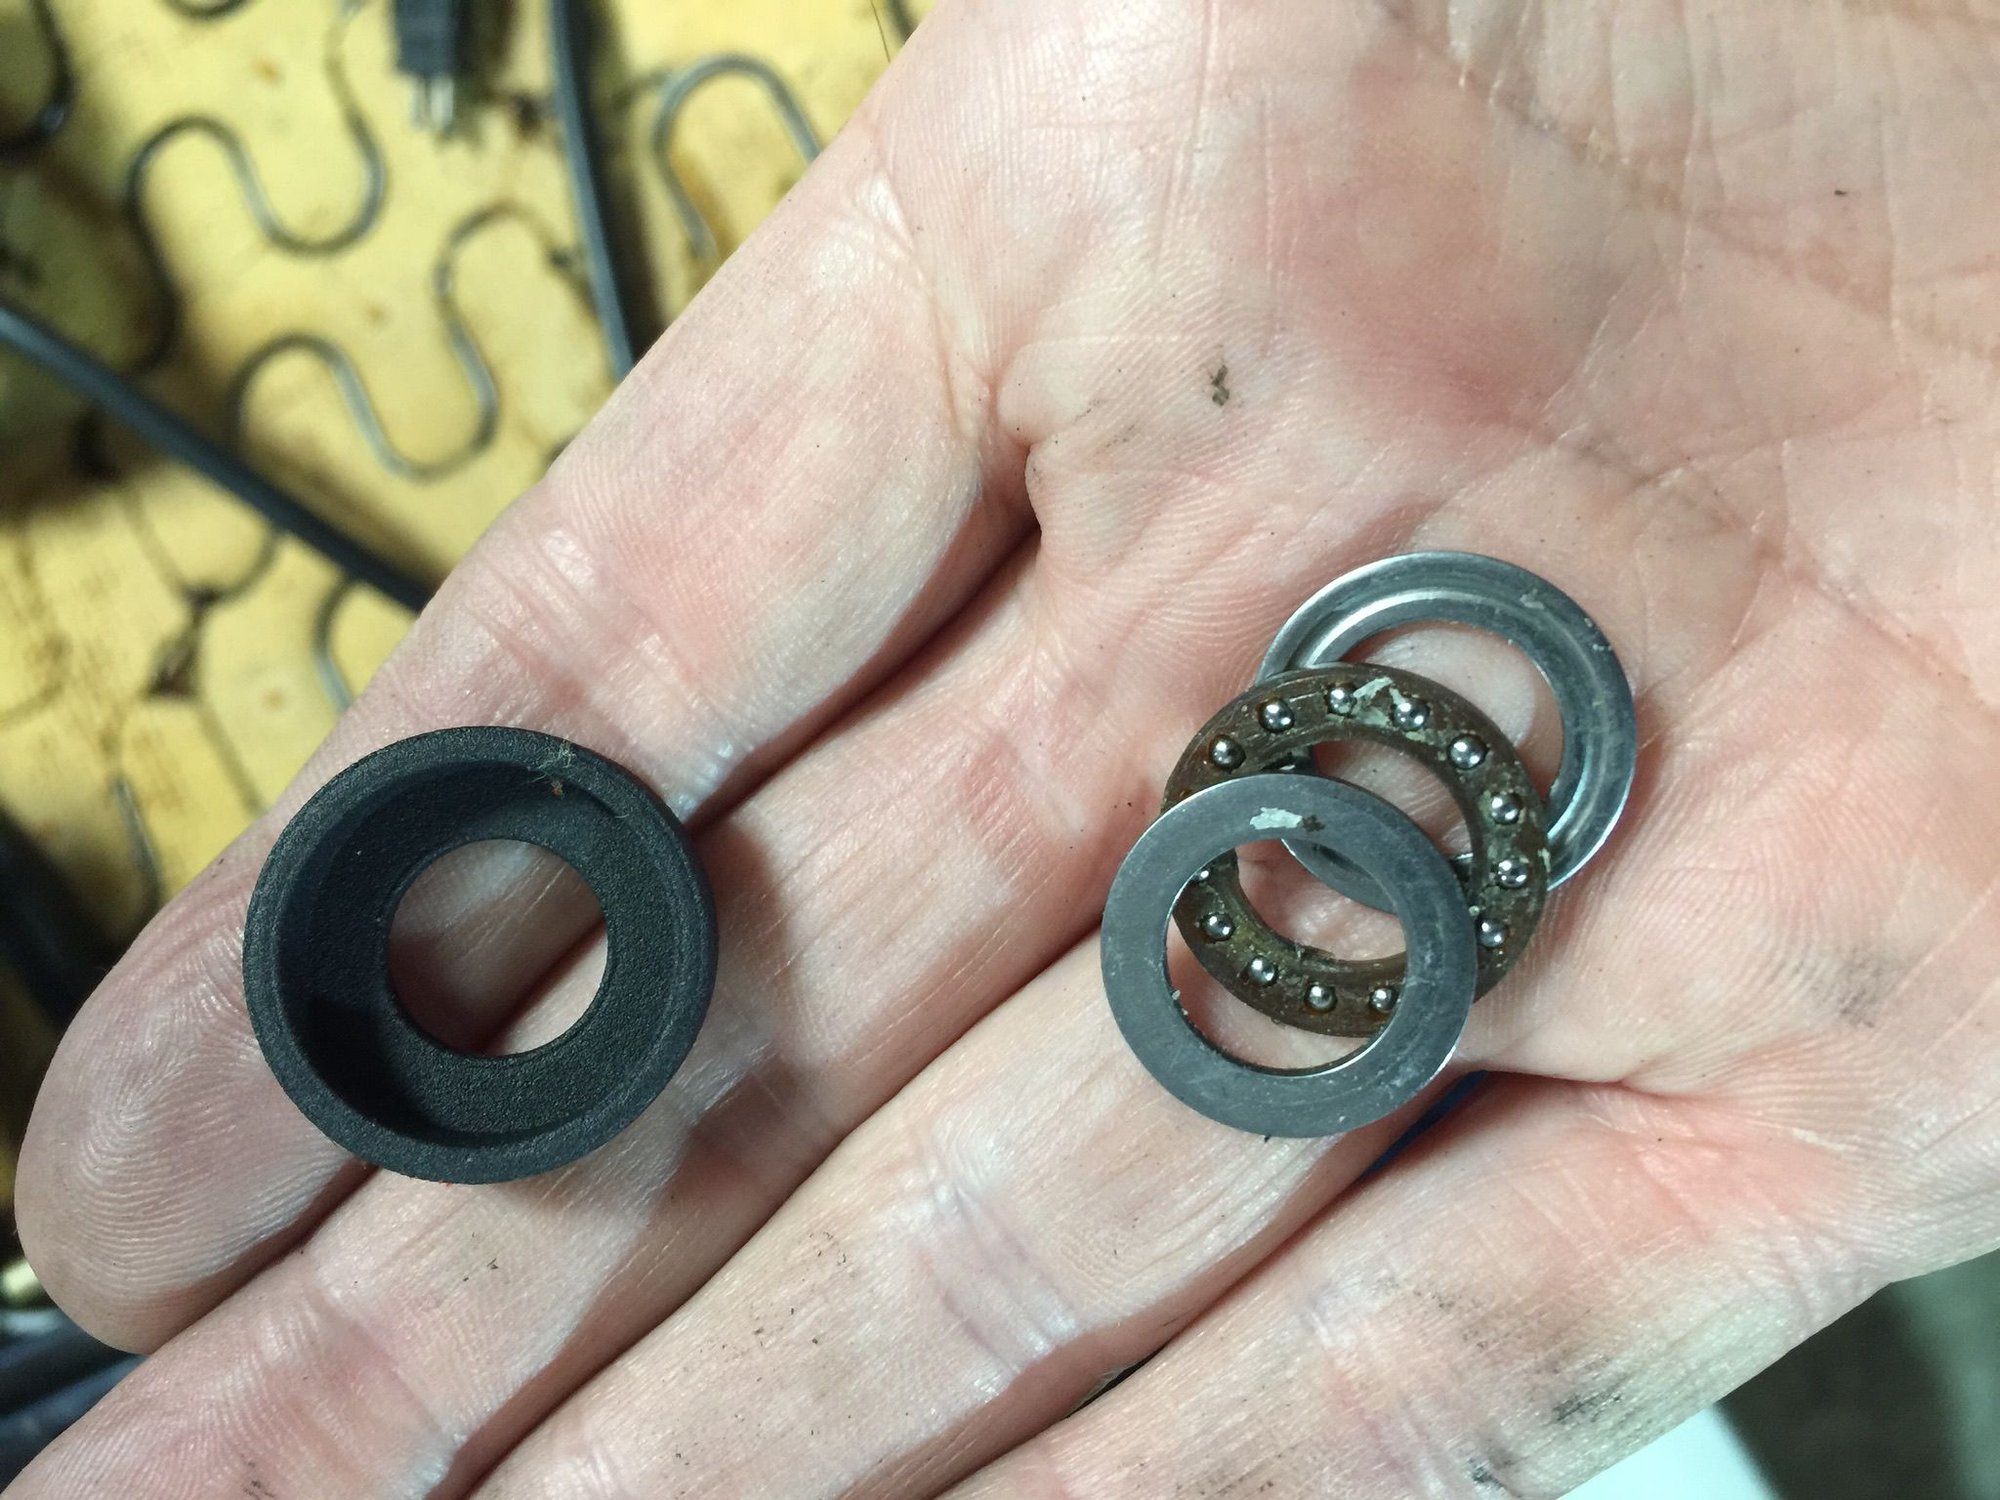
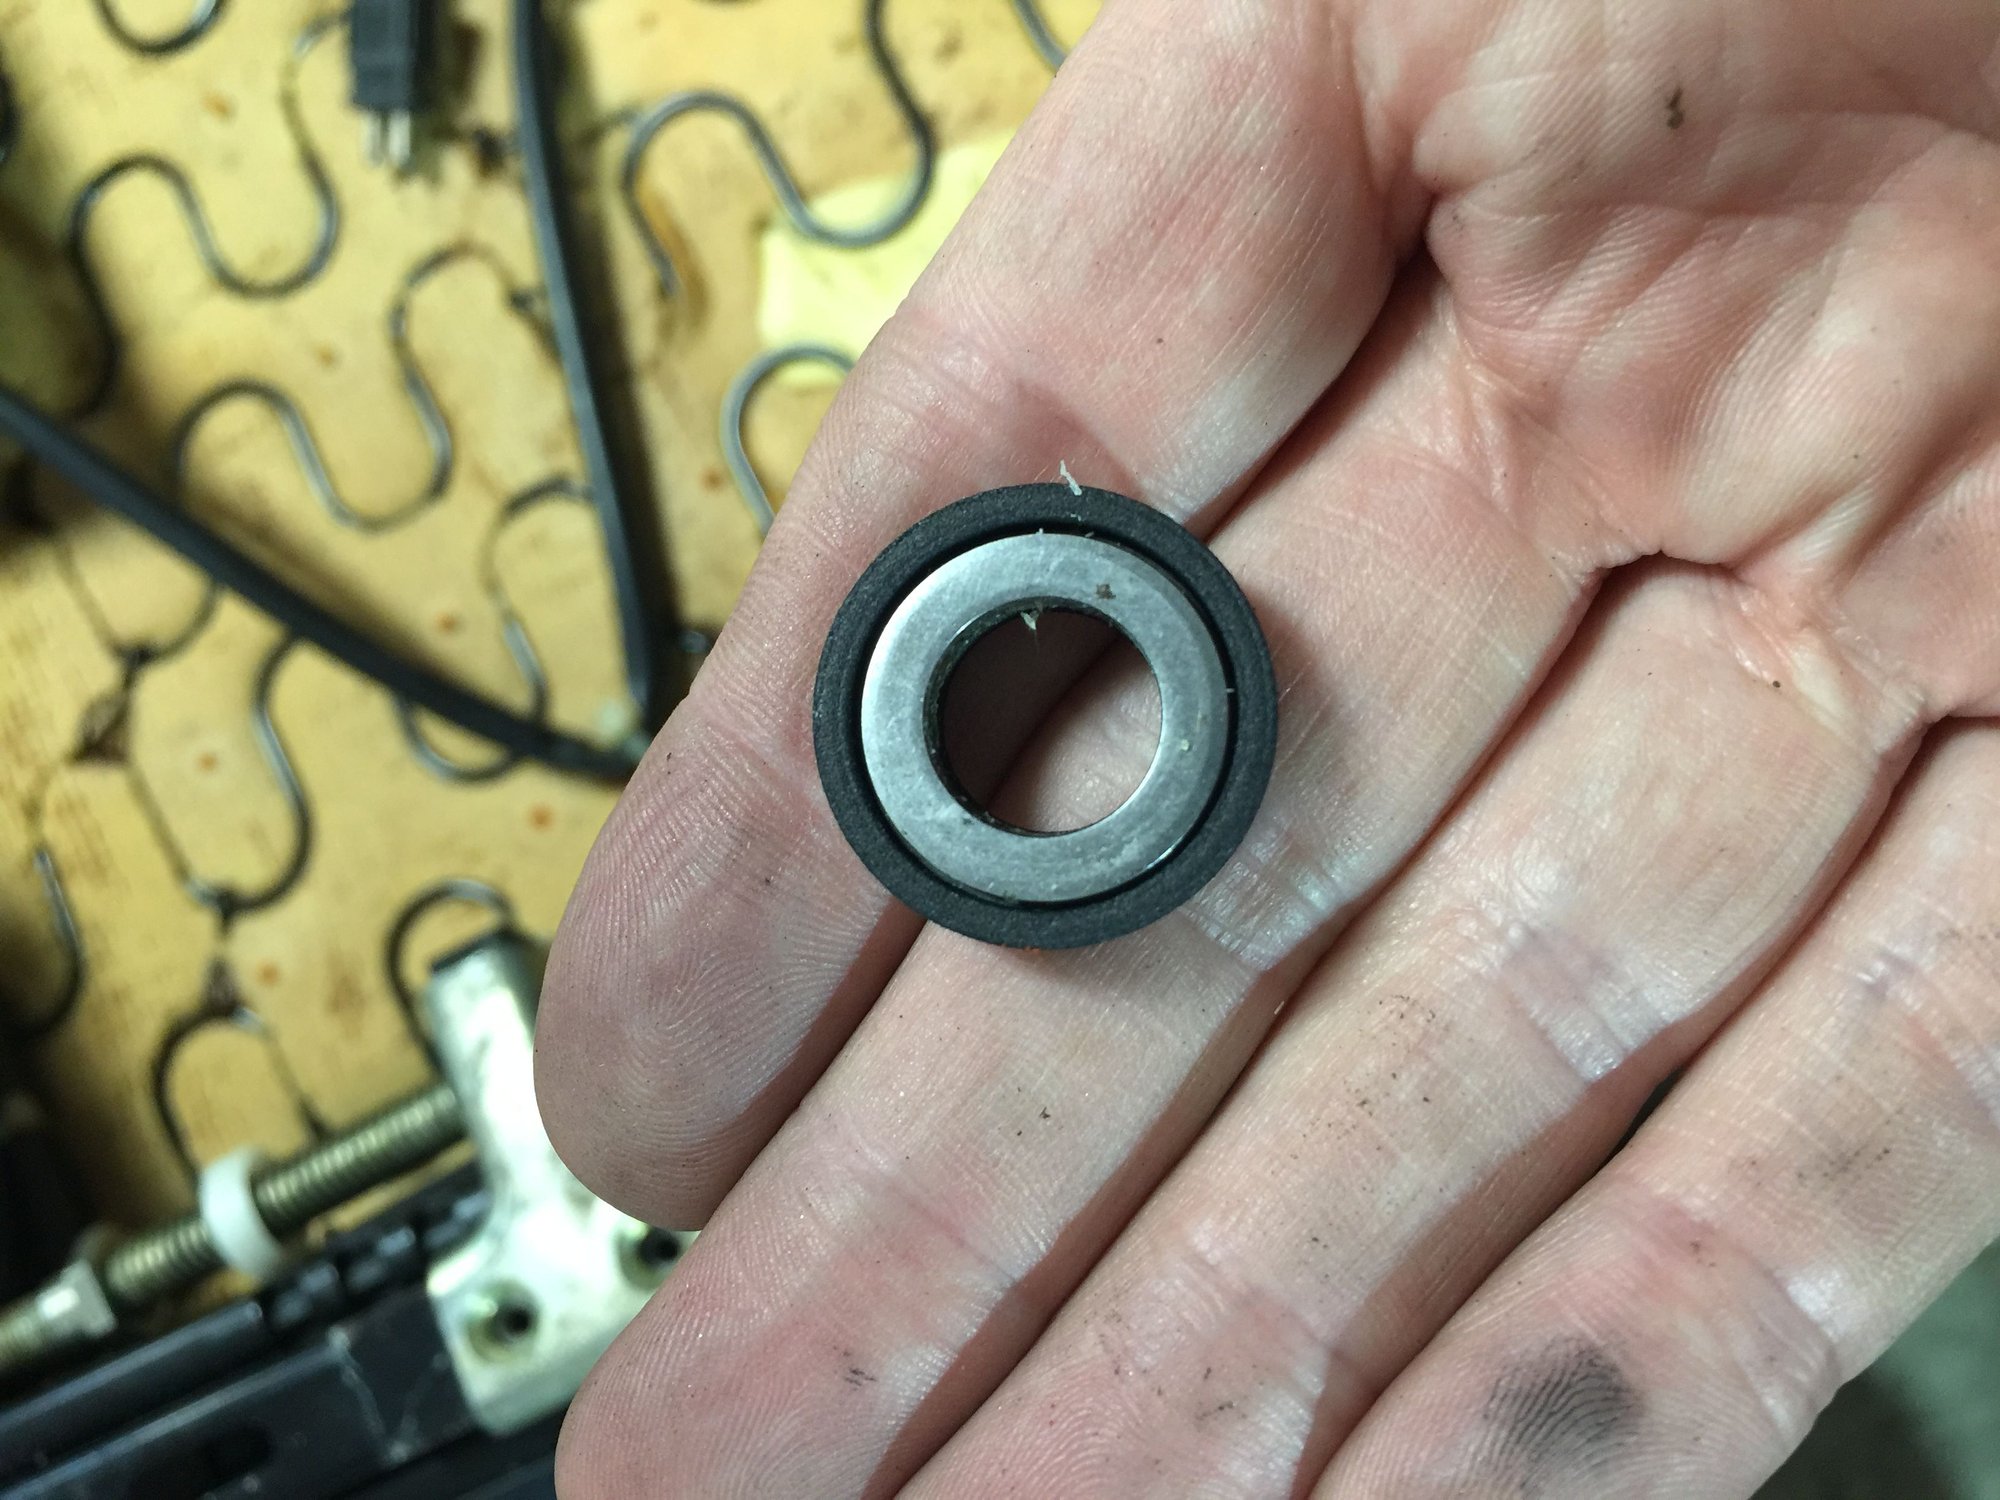
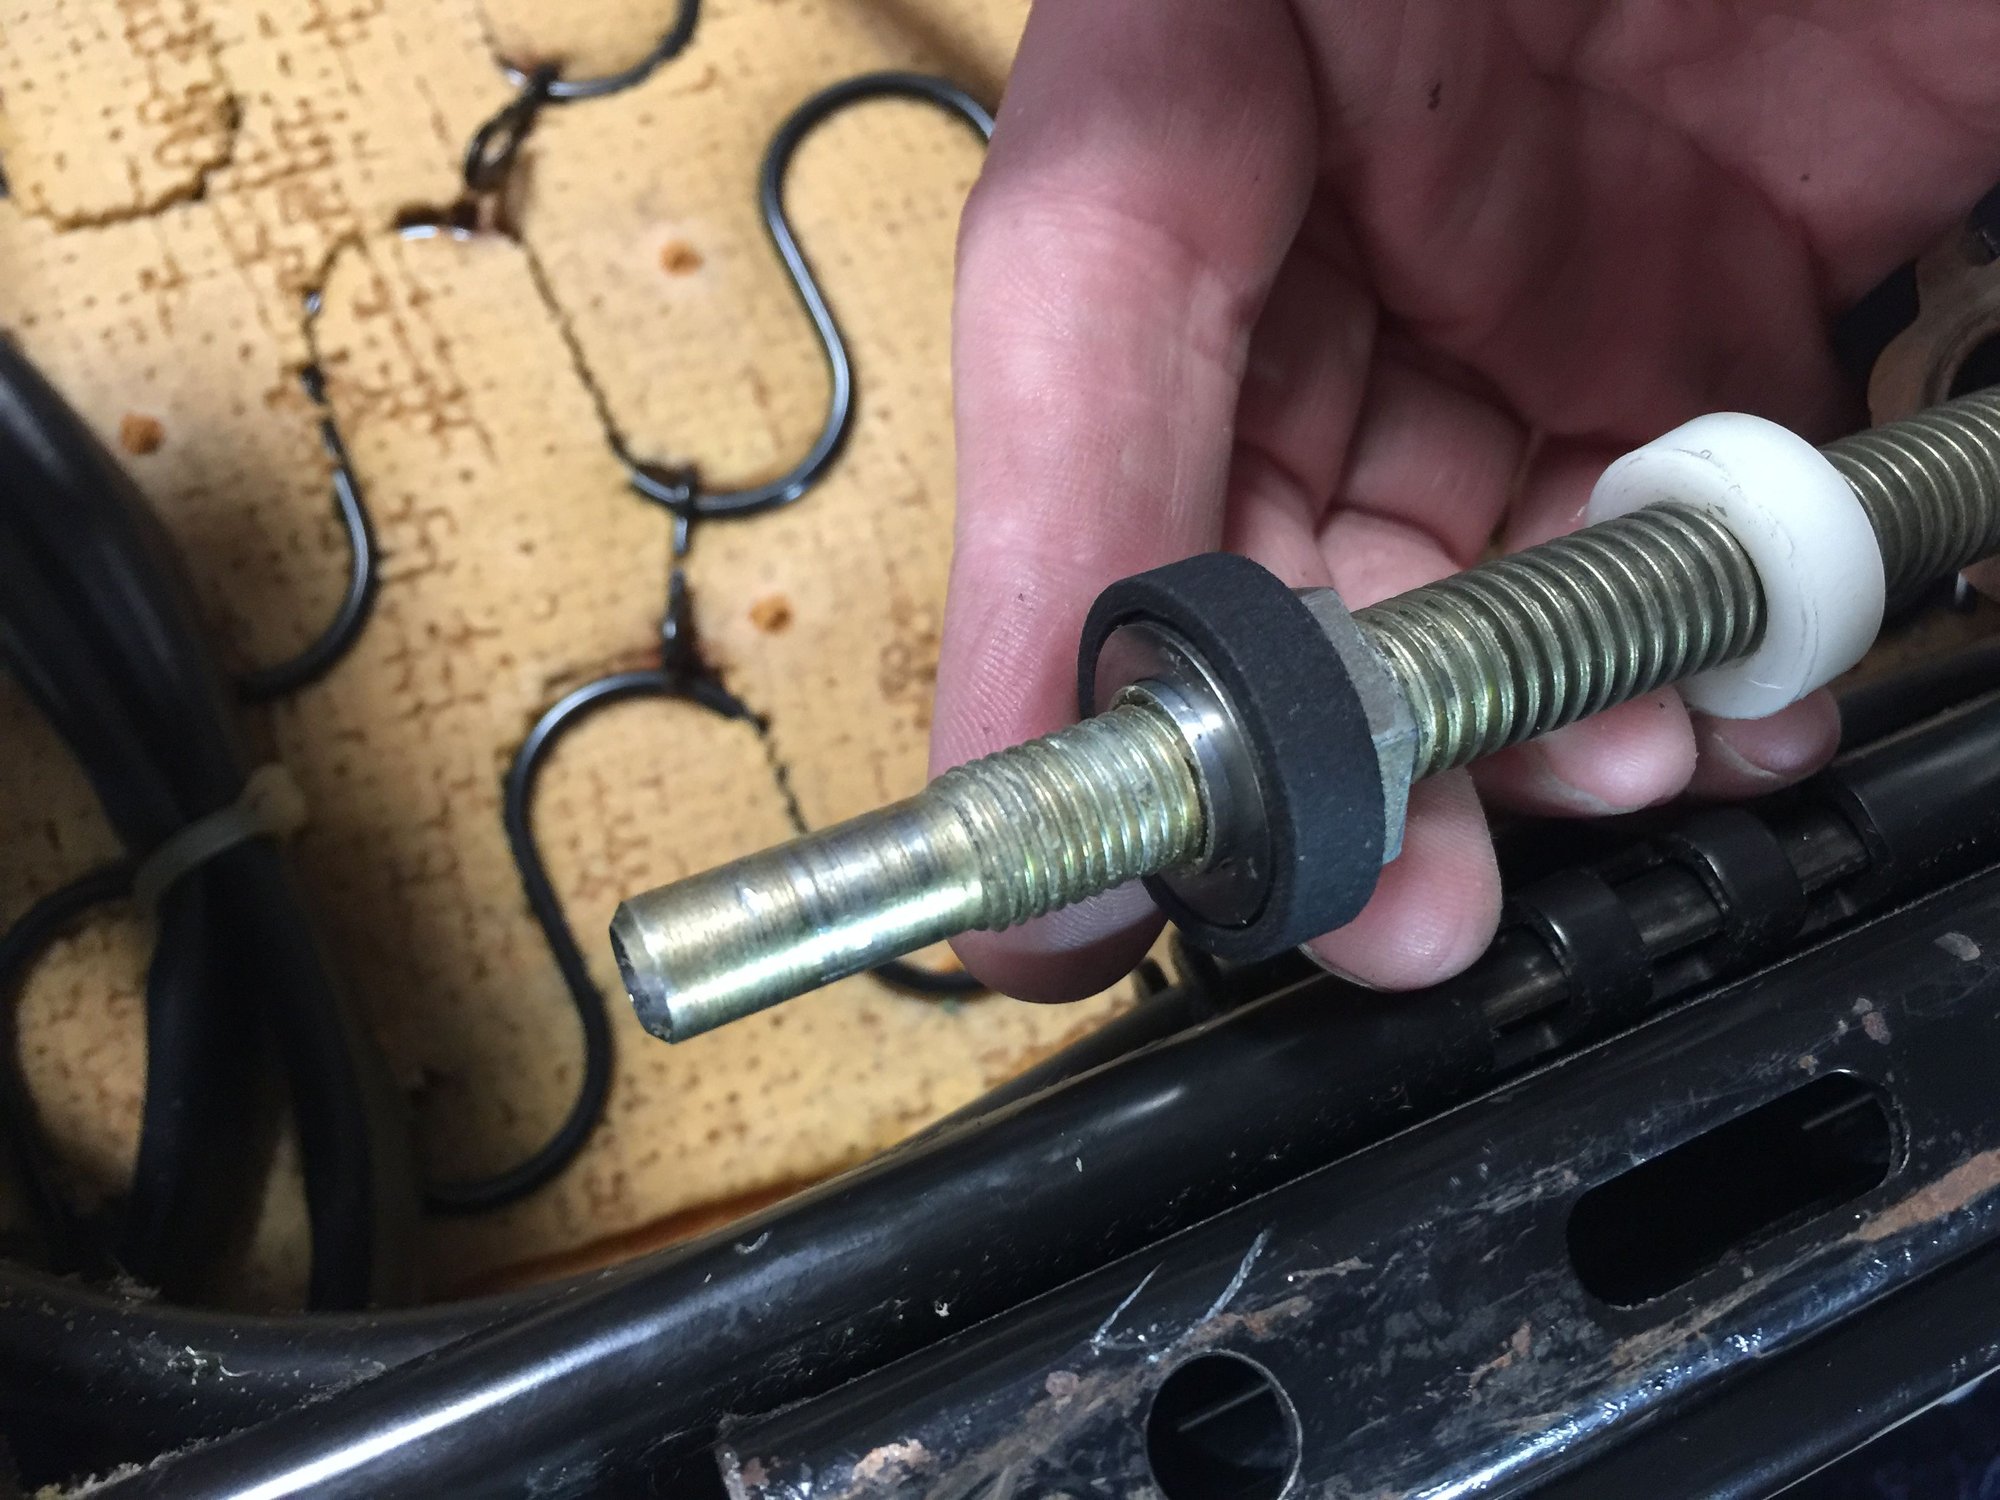
With the rail holder on, now place the normal washers and ball bearing washer into the spacer and place over the front end of the shaft. Note that one side of each washer has grooves for the ball bearings.
Last edited by John McM; 02-22-2018 at 10:46 AM.
#15
Rennlist Member
Thread Starter
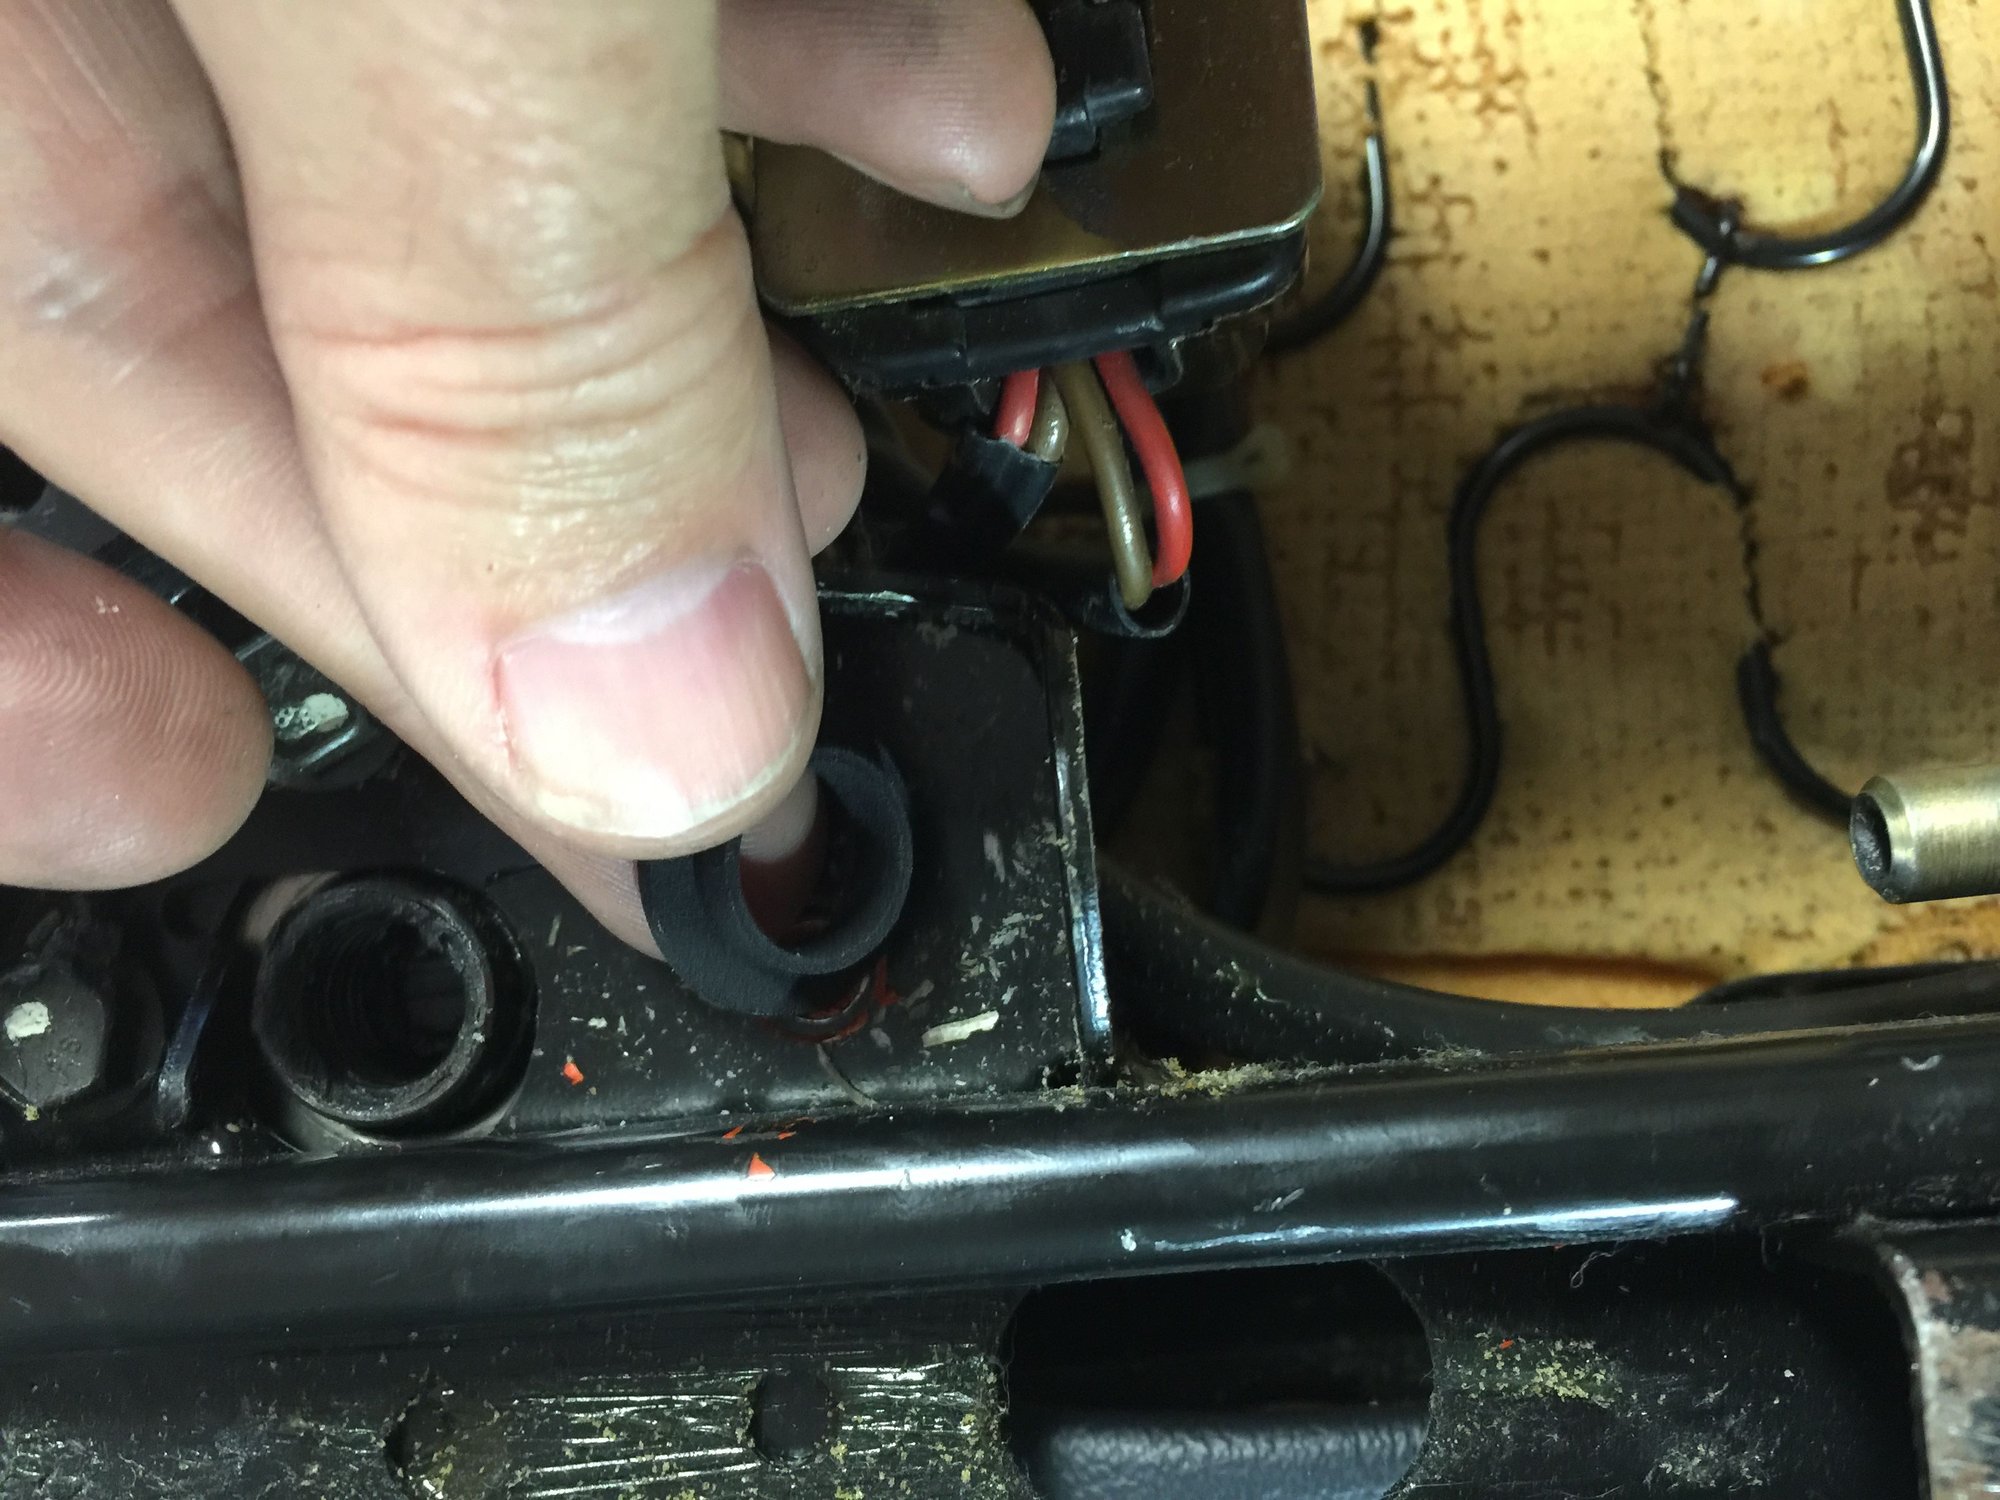
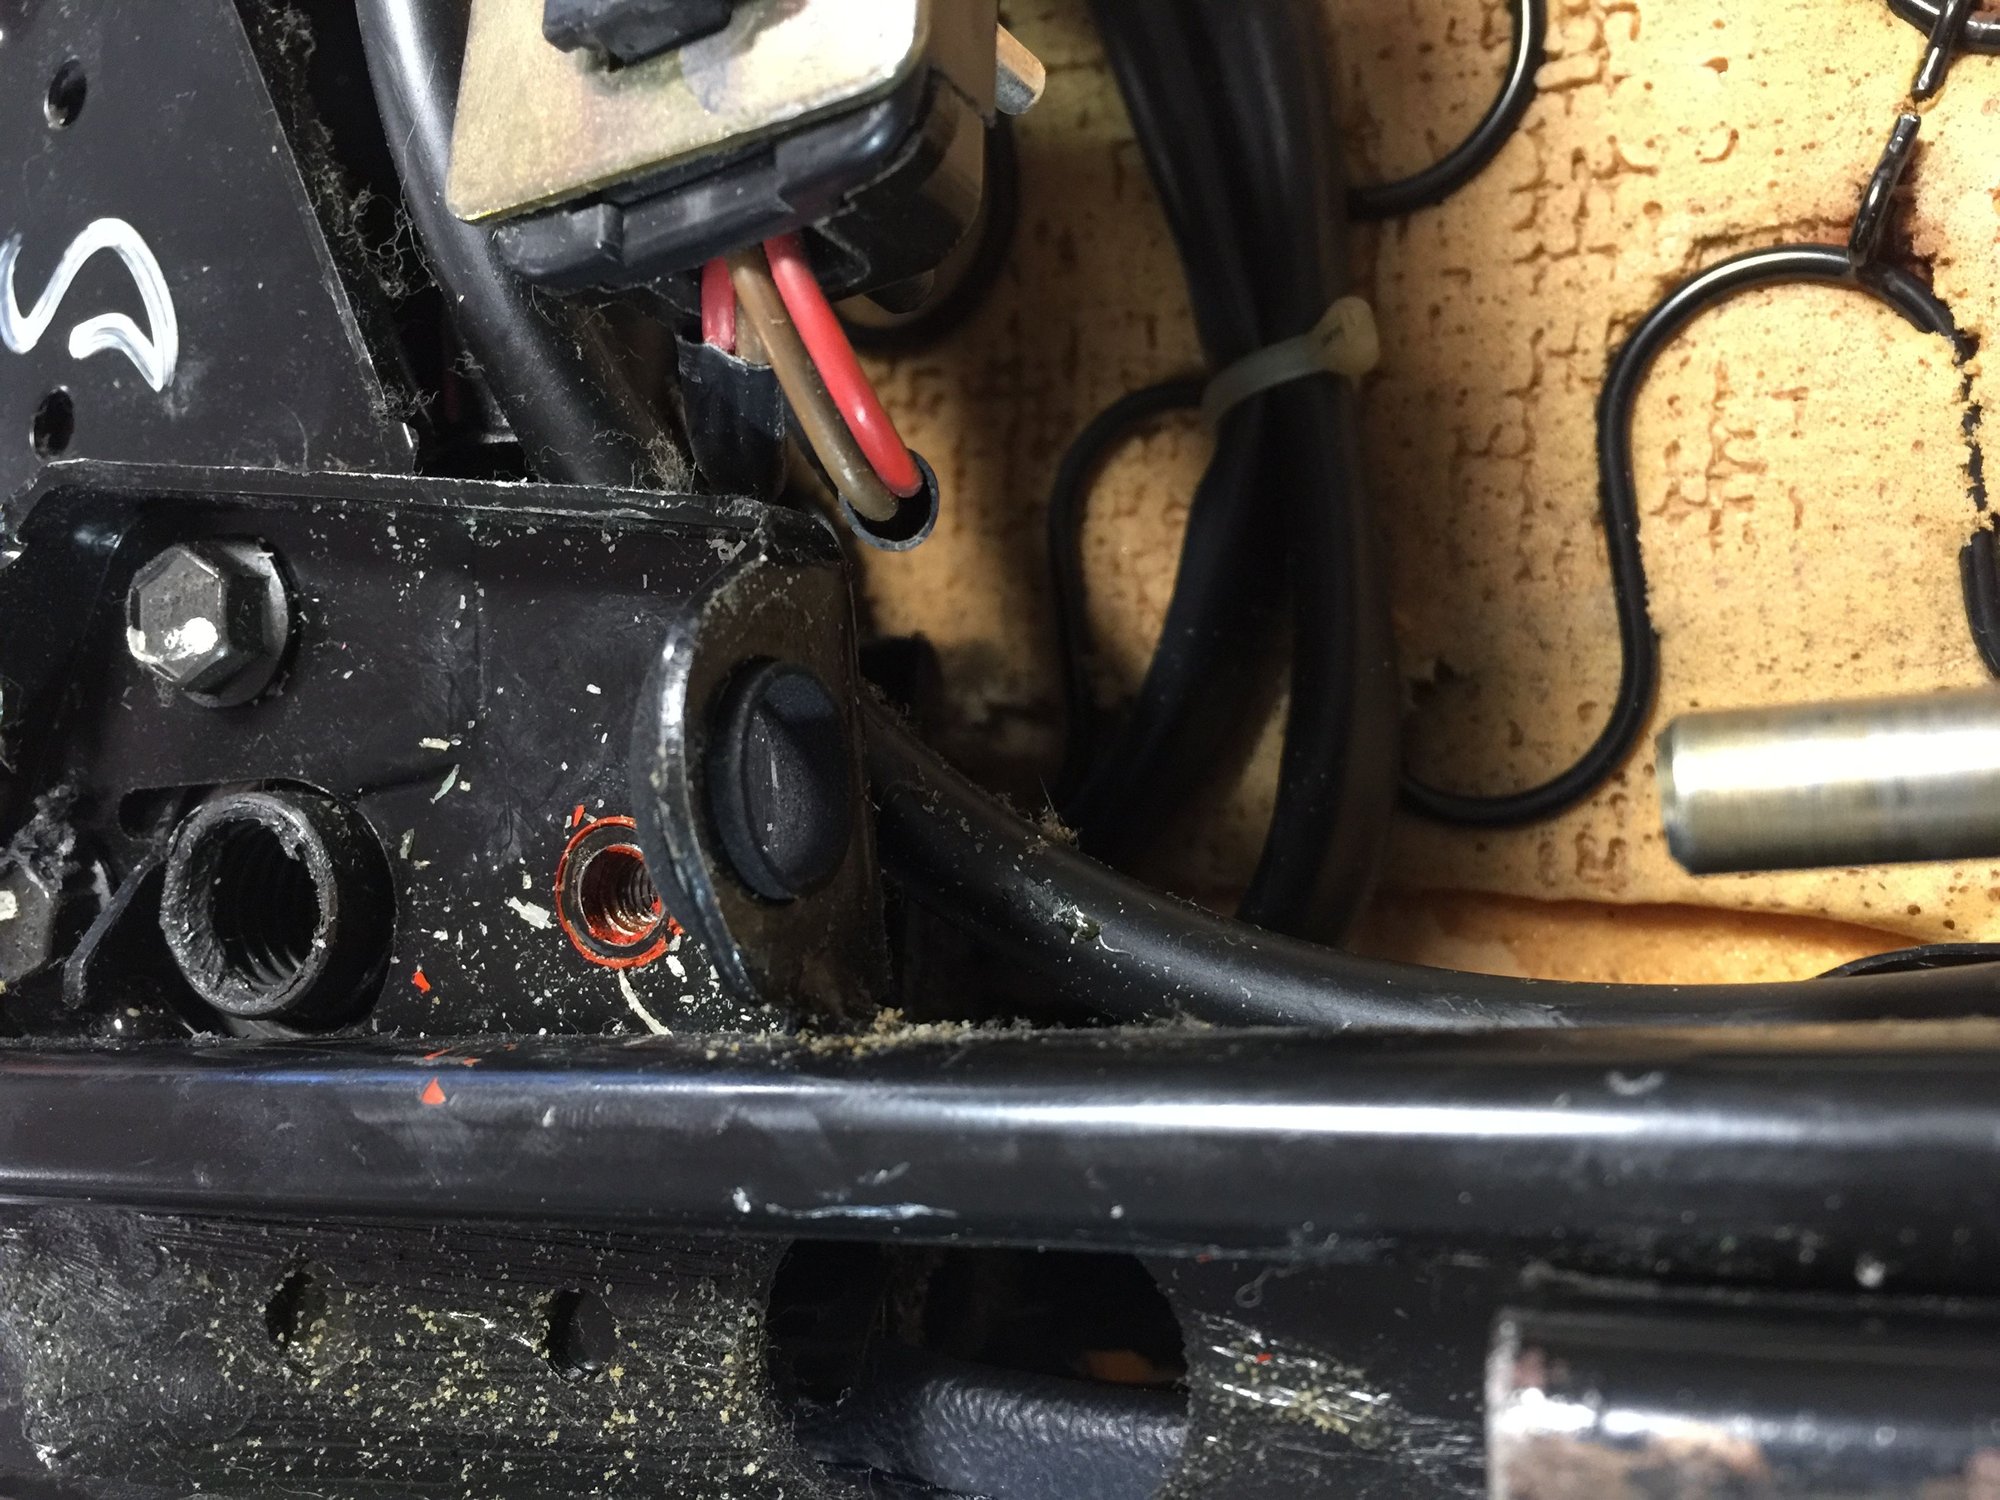
Place the thin spacer in the hole that the shaft will go through. Insert it from the front and make sure ití's fully inserted. The inner part will act as a bearing for the screw shaft.
Last edited by John McM; 02-22-2018 at 10:47 AM.


