When you click on links to various merchants on this site and make a purchase, this can result in this site earning a commission. Affiliate programs and affiliations include, but are not limited to, the eBay Partner Network.
Also to add, if you look at photos 1 and 2 you see a round thing in the bottom where the long center pin/shaft sits into.
That piece floats loose in the bottom and sits under the six brushes you see. The brushes are very delicate and easy to bend or damage.
They can be straightened, if bent, using very long skinny needle nose pliers. I bent one with my finger by accident trying to straighten out the round cup part.
The cup part will rattle around in there like a dice in a cup. You just have to shake the housing to get it back to center where it is supposed to sit and the shaft will go back together properly.
Be very careful when pushing the winding back into the upper unit because it only goes in one way. If you are off by 90 degrees the unit will not sit all the way up inside the upper portion "the section with the hose barbs" That part as seen in the photos is held on by the clip.
There are two synthetic washers. One site at the top of the shaft. The other synthetic washer sits underneath the metal washer and then are held in place by the clip. You can see the groove where the clip goes.
Also make note of the orientation of the unit when you take it apart. The center winding/upper hose barb section can go into the bottom section 180 degrees apart so make sure you get the correct orientation for that also.
That's a good point. Mine was stuck in the bottom but I will see if it comes out when I get the new seal ordered. I am a little ways off from needing the unit. Still in the disassembly stage of car.
My ISV is leaking too so I'm in the same situation although I'm rebuilding a spare so I can have it ready to go ahead of time. I went to the local hardware store & bought an o-ring with the following dimensions.
OD = 1.4375", ID = 1.1875", H = 0.125" (36.5mm x 30.16mm x 3.18mm)
It's a tight fit and will probably work. If I end up using it I'll lube the o-ring with oil or something so I don't end up tearing it during the assembly process. I'm shopping around for a smaller wall thickness o-ring but not likely going to find anything locally I suspect.
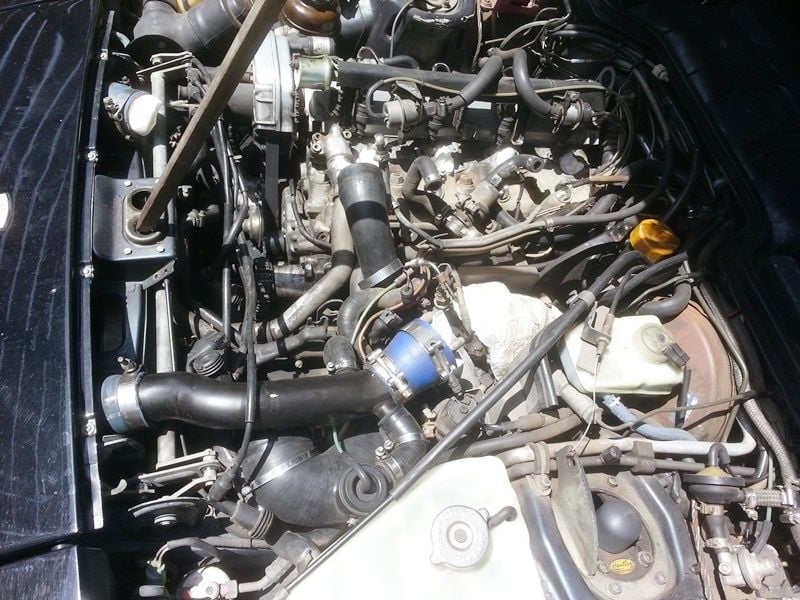
For a number of reasons I had to get under the intake manifold and got inspired by the familiar ISV pictures.
Maybe 7 years (~30k miles) ago I bought a new ISV, since the OE one with 180k miles had worn the commutator down to almost nothing. At that time I noticed that even the new one had a small leakage at the connector (and individual pins) and now thought it was a good time to seal that up. It turned out that the housing was now leaking at the bottom as well (O-ring area).
The �usual� mess under the IM:
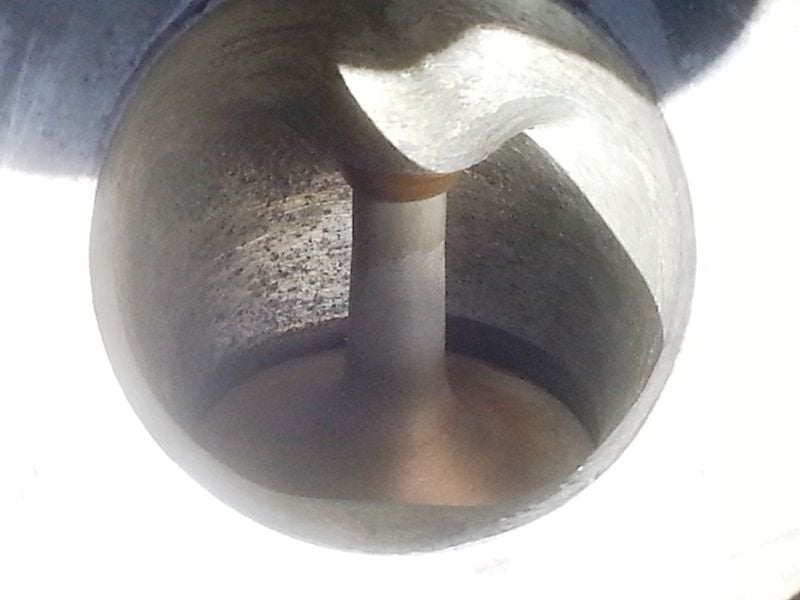
Since the dreaded smog check is coming up soon I checked the spark plugs, which all looked good, but had a gap of 0.9mm, which I adjusted to the specified 0.7mm. All the intake valves looked surprisingly good and similar to this 3rd valve:
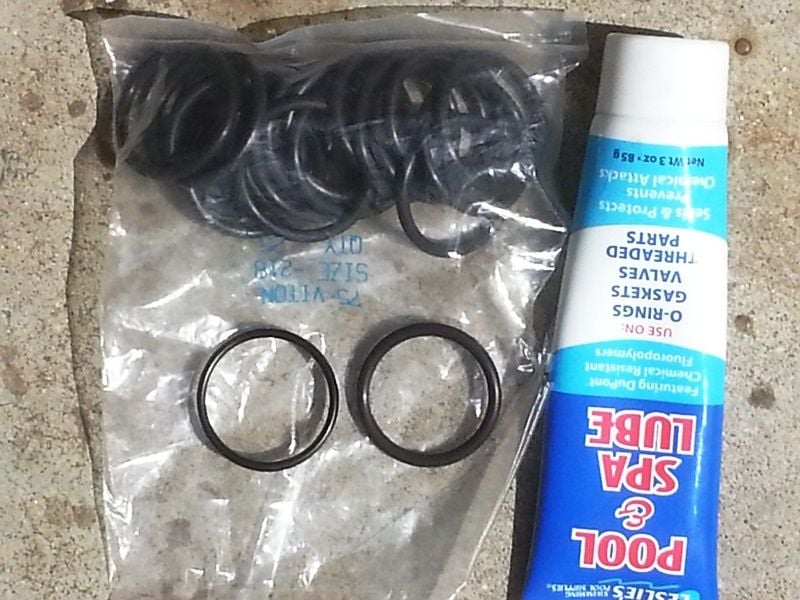
Since the ISV was leaking at the bottom I had to open it up to find a new O-ring for it. Fortunately I had Viton rings at the right size, maybe slightly thicker, but an easy fit with the use of silicone grease (a.k.a. �dielectric� in an auto store). The McMaster P/N is 9464K39 (https://www.mcmaster.com/#o-rings/=173fma7). The old ring shown to the right was squeezed flat and actually broke, when I bent it, clearly not the right material for this purpose.
Somehow this picture got flipped upside down, so right is left.
The piece mentioned in a previous post, which sits loosely on top of the rotor shaft, is a conical piece of plastic which is meant to lead the 3 brushes (contacts) onto the commutator when closing the ISV.
So when separating the two parts, there is a strong magnetic force against the separation, but do it in one motion, since the �closing force� without the conical lead-in could damage (bend) the brushes.
Also, remember to mark the two parts (for rotational orientation) before separating them.
Is the lettering on the electrical plug actually stamped on the unit or did you edit that on the photo? Looks real if it's not
Ha! I added the lettering to the photo. It's not on there for real...
Laust's comment about the viton ring material is a good one. I have no idea what I have from the hardware store. It came from the plumbing section so probably not a high temperature material.
The 2 flat washers....there are 2 plastic ones and one metal one. I think the 2 plastic ones act as a seal on the long metal shaft.
I will search to see if I can find something. I tested the unit closed up and a small amount of air travels down into the chamber with the brushes when blowing on one end and plugging the other end.
In addition when I blew on the plug unit....yes I put it in my mouth LOL... I could hear air entering that way and coming out the ports.
Interesting. I'll take a look at those plastic washers too.
More o-ring research...
The o-ring standard is AS568 & then dash numbers define the size.
The standard lists fractional sizes and actual sizes. Here's a sizing chart.
The o-ring Laust ordered from McMaster Carr is AS568-218
1-1/4"ID X 1-1/2"OD X 1/8"CS
Actual: 1.234"ID X 0.139"CS
Metric: 31.34mm ID X 3.53mm CS
The one I specified in a previous post is AS568-217 (and is too small ID really)
1-3/16"ID X 1-7/16"OD X 1/8"CS
Actual: 1.171"ID X 0.139"CS
Metric: 29.74mm ID X 3.53mm CS
I shopped around but found the o-ring store you posted above will sell small quantity without charging an arm & a leg for shipping. Nice find. I needed new o-rings for the center caps on my Fikse wheels so ordered them too.
The 2 flat washers....there are 2 plastic ones and one metal one. I think the 2 plastic ones act as a seal on the long metal shaft.
I will search to see if I can find something. I tested the unit closed up and a small amount of air travels down into the chamber with the brushes when blowing on one end and plugging the other end.
In addition when I blew on the plug unit....yes I put it in my mouth LOL... I could hear air entering that way and coming out the ports.
Must find flat round washer seals
Dynamic seals are nearly impossible to make airtight. Instead I sealed the joint between the metal housing and connector from the outside with a reasonable adhesive. With a toothpick, steady hands and good eyes (or a magnifying glass) you can seal the 3 pins to the connector as well. My final test was "distasteful" , but showed zero leakage .
I used E6000 as a "reasonable adhesive". Epoxy or JB-Weld would probably work equally well.
Cool thread. I've never seen the IAS taken apart before. I have 2 good stabilizers I can sell. One is oem 1988 bosche one is recently manufactured and a different brand. PM if interested.

 04-03-2017, 10:38 AM


 , but showed zero leakage