When you click on links to various merchants on this site and make a purchase, this can result in this site earning a commission. Affiliate programs and affiliations include, but are not limited to, the eBay Partner Network.
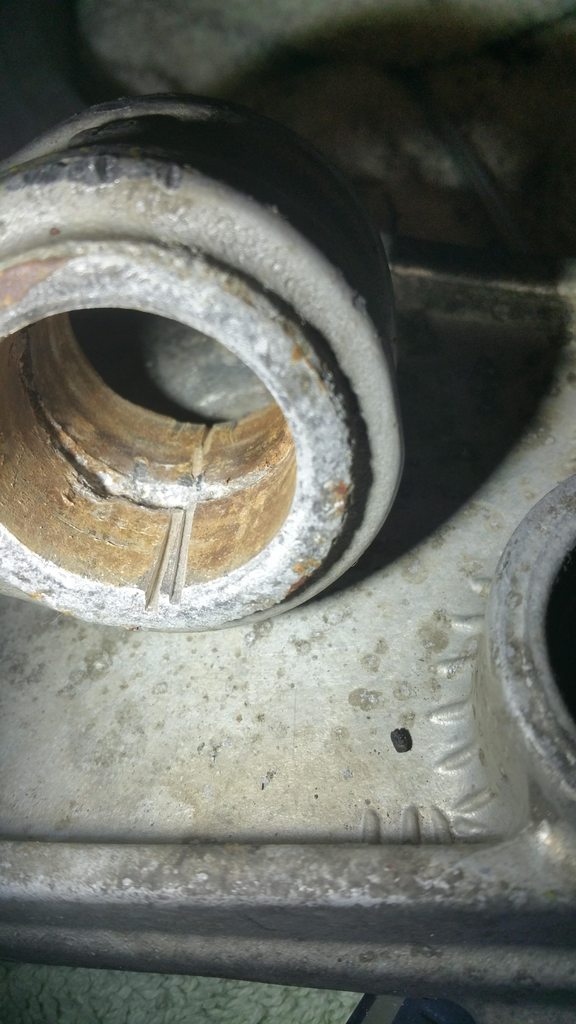
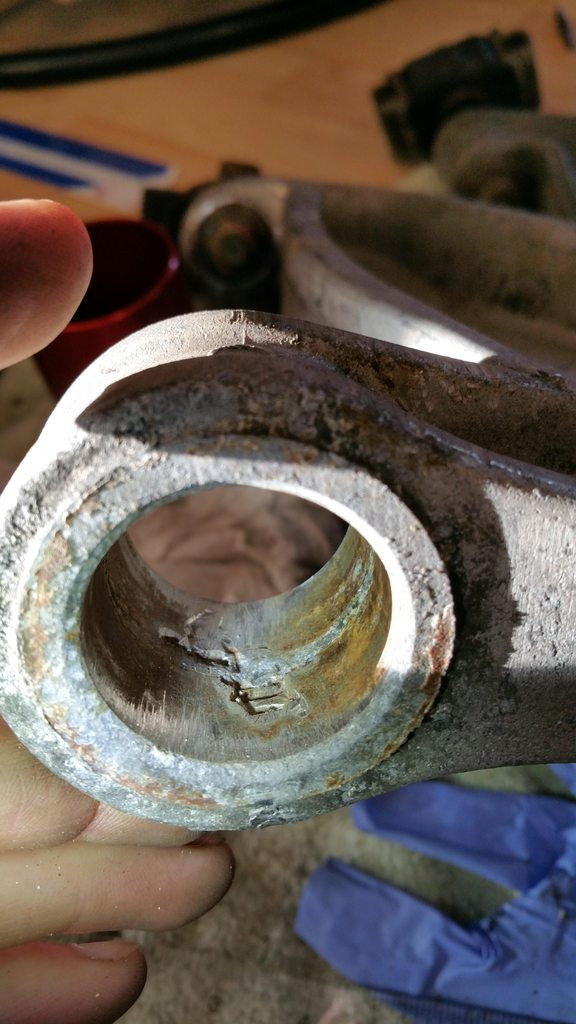
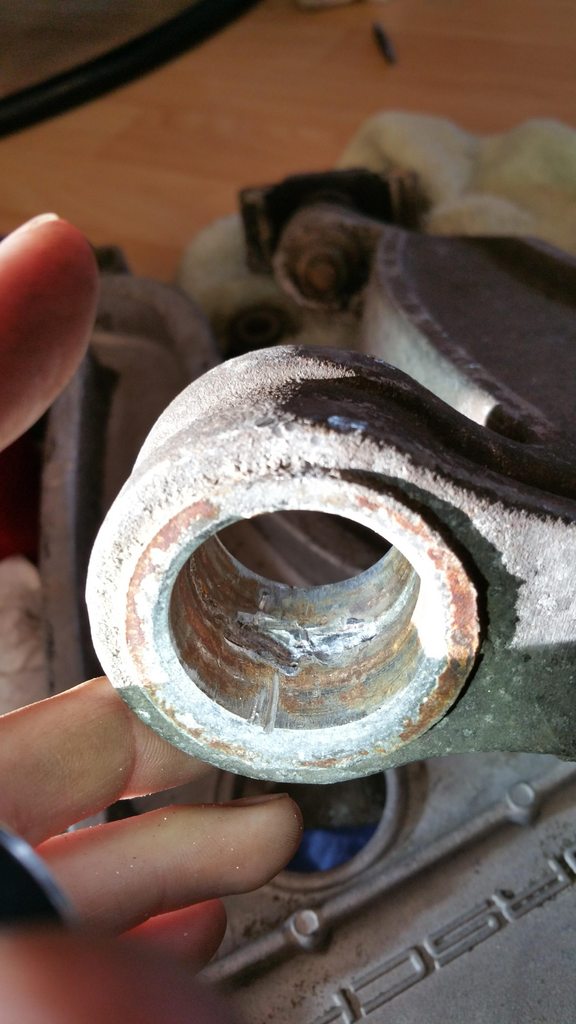
I am having a very hard time trying to replace these bushing without destroying my control arm in the process. I cut the metal sleeves out with a sawzall at first and put some deep grooves in them that someone said not to run, so I bought another pair on ebay and used a hacksaw to try to just cut through them, but then gouged them up with the screwdriver pounding them out. Are any of these safe to use? Would a gouge or shallow cut in on section cause them to break in half/fail? I don't want to continue adding to my control arm collection.
JB weld won't structurally reinforce it enough to be worthwhile. They're probably fine to run. If it's an early offset car, I have 2 great control arms I'd let go for cheap. One is 1999 and one is 2006 or something.
Nobody is going to tell you these are ok to use as any cuts or gouges like that are stress points that have weakened the arms. Jb Weld is not a fix, maybe a good welder can fill and smooth back to stock. I know this is the second time you have attempted this job so it must be quite frustrating, however although this is quite an easy job if you don't follow all the steps and work carefully it is easy to ruin an arm.
Did you heat the aluminum part of the arm first? I suspect not. Heat would have made the job a lot easier.
Why did you use a flat blade screwdriver when a drift or punch is recommended and is less likely to cause that damage?
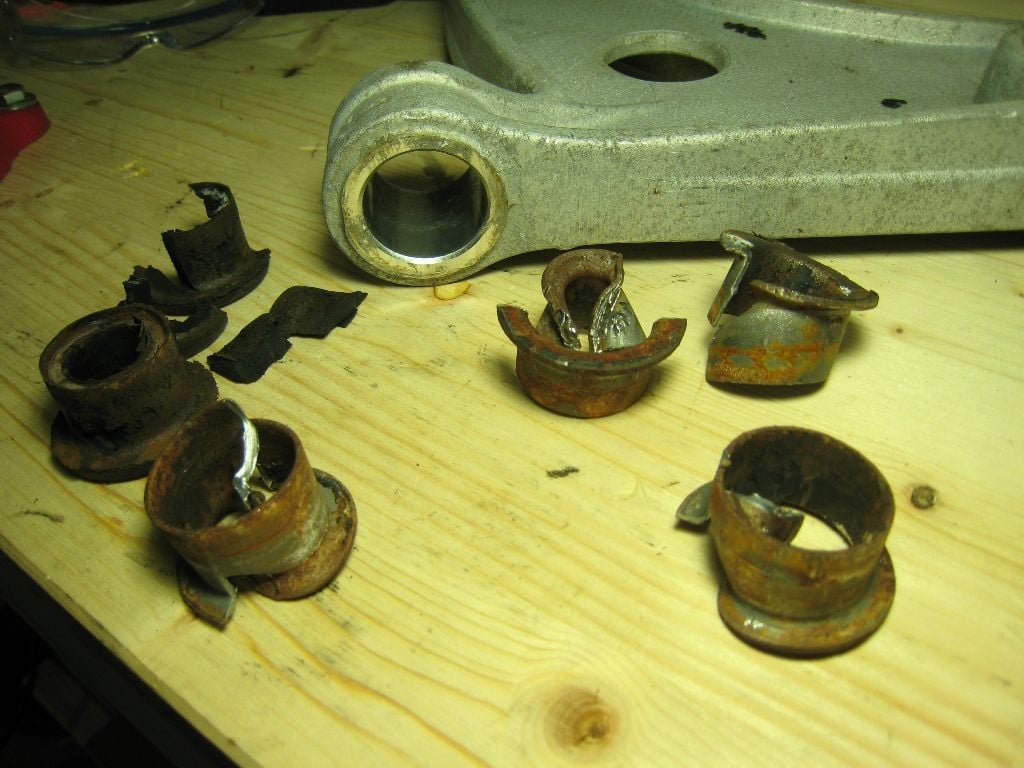
Why did you try to drive them out complete instead of collapsing them in to themselves? I'm not certain which procedure you are following but most say use a punch to collapse the bushings rather than to drive them out. They should look like this when removed:
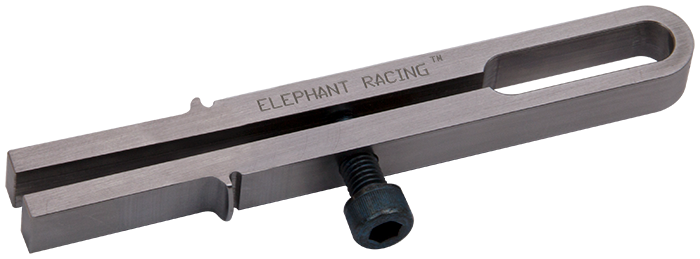
If you don't have the correct tools or are not confident or patient enough, your local machine shop can heat and press those out in no time. There is also a special tool you can use to make the job easier, I've never found it nessesary but if you find it difficult I suppose it would help.
Here is good video showing how those steel split bushings are removed from an aluminum arm using that tool:
I could not find any guides searching on here, so no I didn't do it that way. Heat and a punch does sound much easier and less likely to damage it. I still had issue using the hacksaw though, it's hard to tell when you're through the sleeve and into the arm, so I just guessed based on how thick they are, and still nicked the arm in a spot.
And then how would you collapse them on themselves? Hit the lip on the outside? My arms are still rusty and rough inside, did you clean/polish your somehow? Do you have a link to a guide? That video makes it seem much easier though.
I have a late offset '88 or that would be nice. I'd rather not waste another $150-200 on arms again.
I saw that when looking, actually, but it just says they're easy to remove with a hacksaw and shows the results. So I assumed it wouldn't be too bad and it didn't mention heating them. My first arm with the sawzall went better, then trying to be gentler with the hacksaw led to me gouging up the arm trying to get them out. I think the heat and punch would be better, and just trying to guess better on hacksaw depth.
I didn't need to heat. Just care with a hacksaw. Cut part way and then crush the edge of the flange in the jaws of a vise to crack the area that the cut is made. It really should not be too difficult. Actually it should be pretty easy. I could not imagine trying to do it with a sawzall. I just ripped out my bathroom to the studs with a sawzall. There is nothing precise about that tool.
Hey! That's my workbench, control arms and bushings! From like 5yrs ago. Funny how pics that end up on the internet go on to live forever....
Good pictures, I saved it on my Pinterest board for future reference.
Originally Posted by bradthebold
I saw that when looking, actually, but it just says they're easy to remove with a hacksaw and shows the results. So I assumed it wouldn't be too bad and it didn't mention heating them. My first arm with the sawzall went better, then trying to be gentler with the hacksaw led to me gouging up the arm trying to get them out. I think the heat and punch would be better, and just trying to guess better on hacksaw depth.
If you look at the video you will see where and for how long to apply the heat. You heat the aluminum to expand it and break the "seal" with the steel bushing. You don't want to be heating the steel bushing directly, though it will get somewhat hot from the aluminum.
First cut the bushings at the part that bends over the hole as it's easier to judge how deep you are cutting there and you are not going in blind. You can see in the picture above that the bushings were cut all the way through by the bend but not further in the bushing, you don't need to cut all the way through further in the bushing. This is because once cut all the way through at the bend and then partially cut further in the bushing, you can simply fold the bushing into itself using a vice and punch/drift. You are not pushing down into the arm, but rather forcing the bush up towards the center, less chance of damaging anything. Again do this immediately after applying heat.
Last edited by MAGK944; 02-12-2017 at 03:57 PM.
Reason: Predictive text correction
Ha, what tricked me was how deep the gap is between the sleeves inside the arm. Your arm looks oddly smooth and uniform, in my first pic you can see how deep that gap is even after the sleeves are out. The hacksaw was taking forever and I thought I had plenty of room left even after using the sawzall. Then I realized they are not that thick.
For heat, do I just need a basic propane torch? I'll need it for the trailing arms too. I was able to get the exhaust out (and the rest of the car disassembled) without it so far.
Ok, that makes sense using the vice to crush the outside lip after you cut it. Thanks. I guess I'll order another pair.
I just did some control arm bushings. All I needed was the reciprocating saw (sawzall) and angle grinder with cutoff wheel for cutting the old sleeve, and a pneumatic chisel to knock them out. I think I got that idea from one of Van's posts. I barely scuffed the aluminum arm in a couple of spots, because I went very gradually.
I do have an air hammer, but on my 3rd round of this I'm going to try heat and avoid hitting the arm at all. Got a hold of Lart though and he has a good price on arms that need rebuilt.


 02-12-2017 | 12:59 PM