When you click on links to various merchants on this site and make a purchase, this can result in this site earning a commission. Affiliate programs and affiliations include, but are not limited to, the eBay Partner Network.
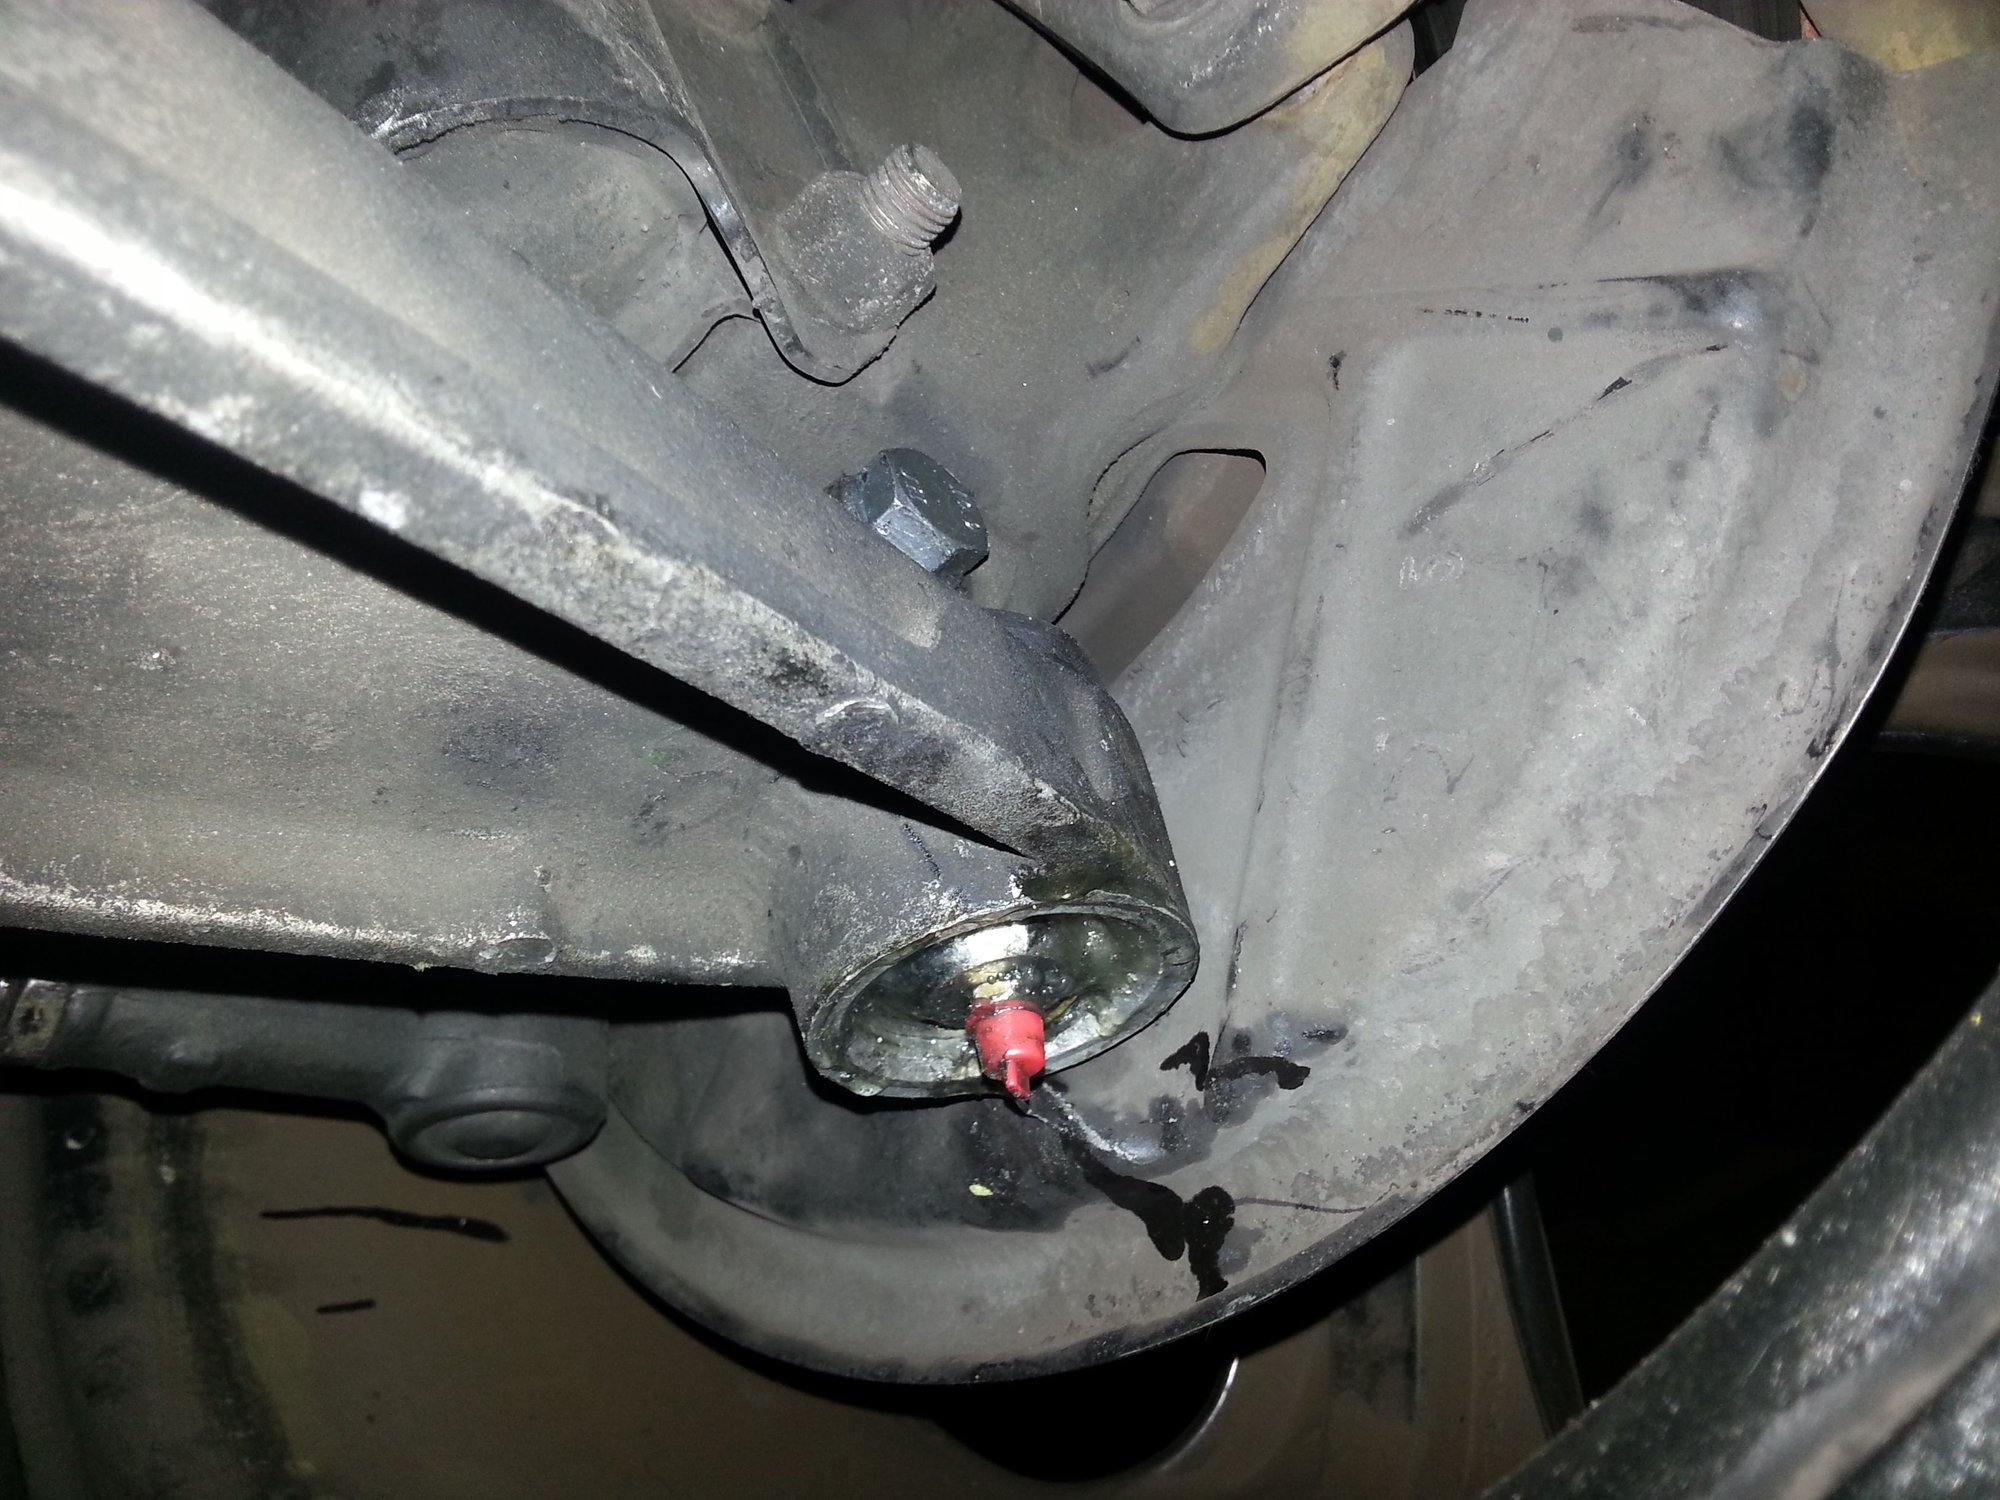
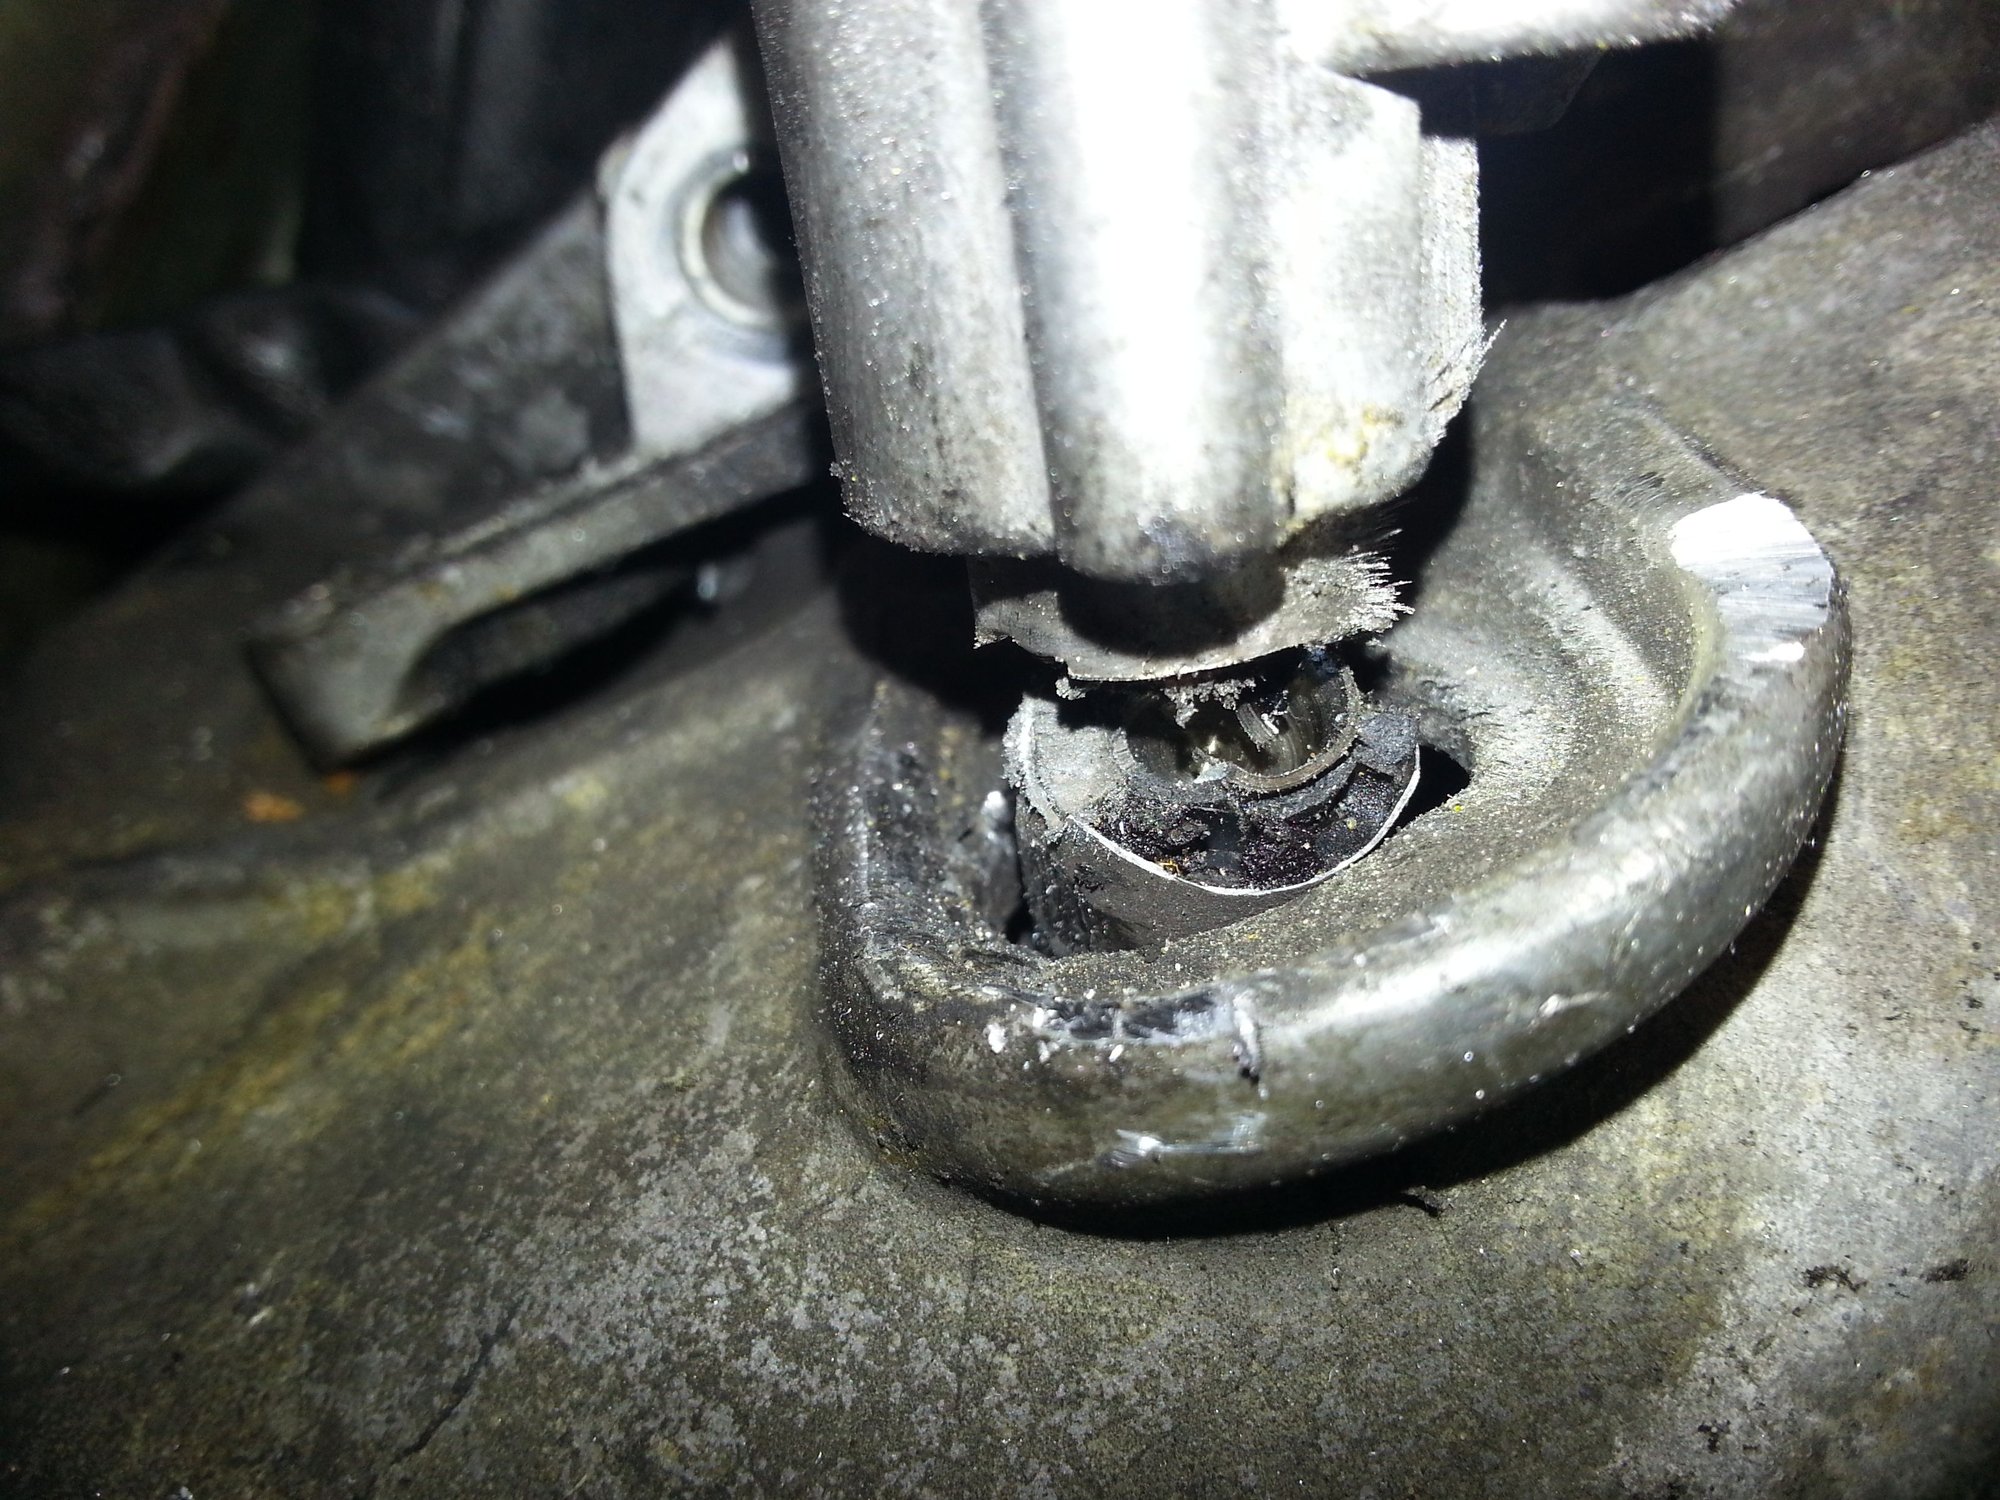
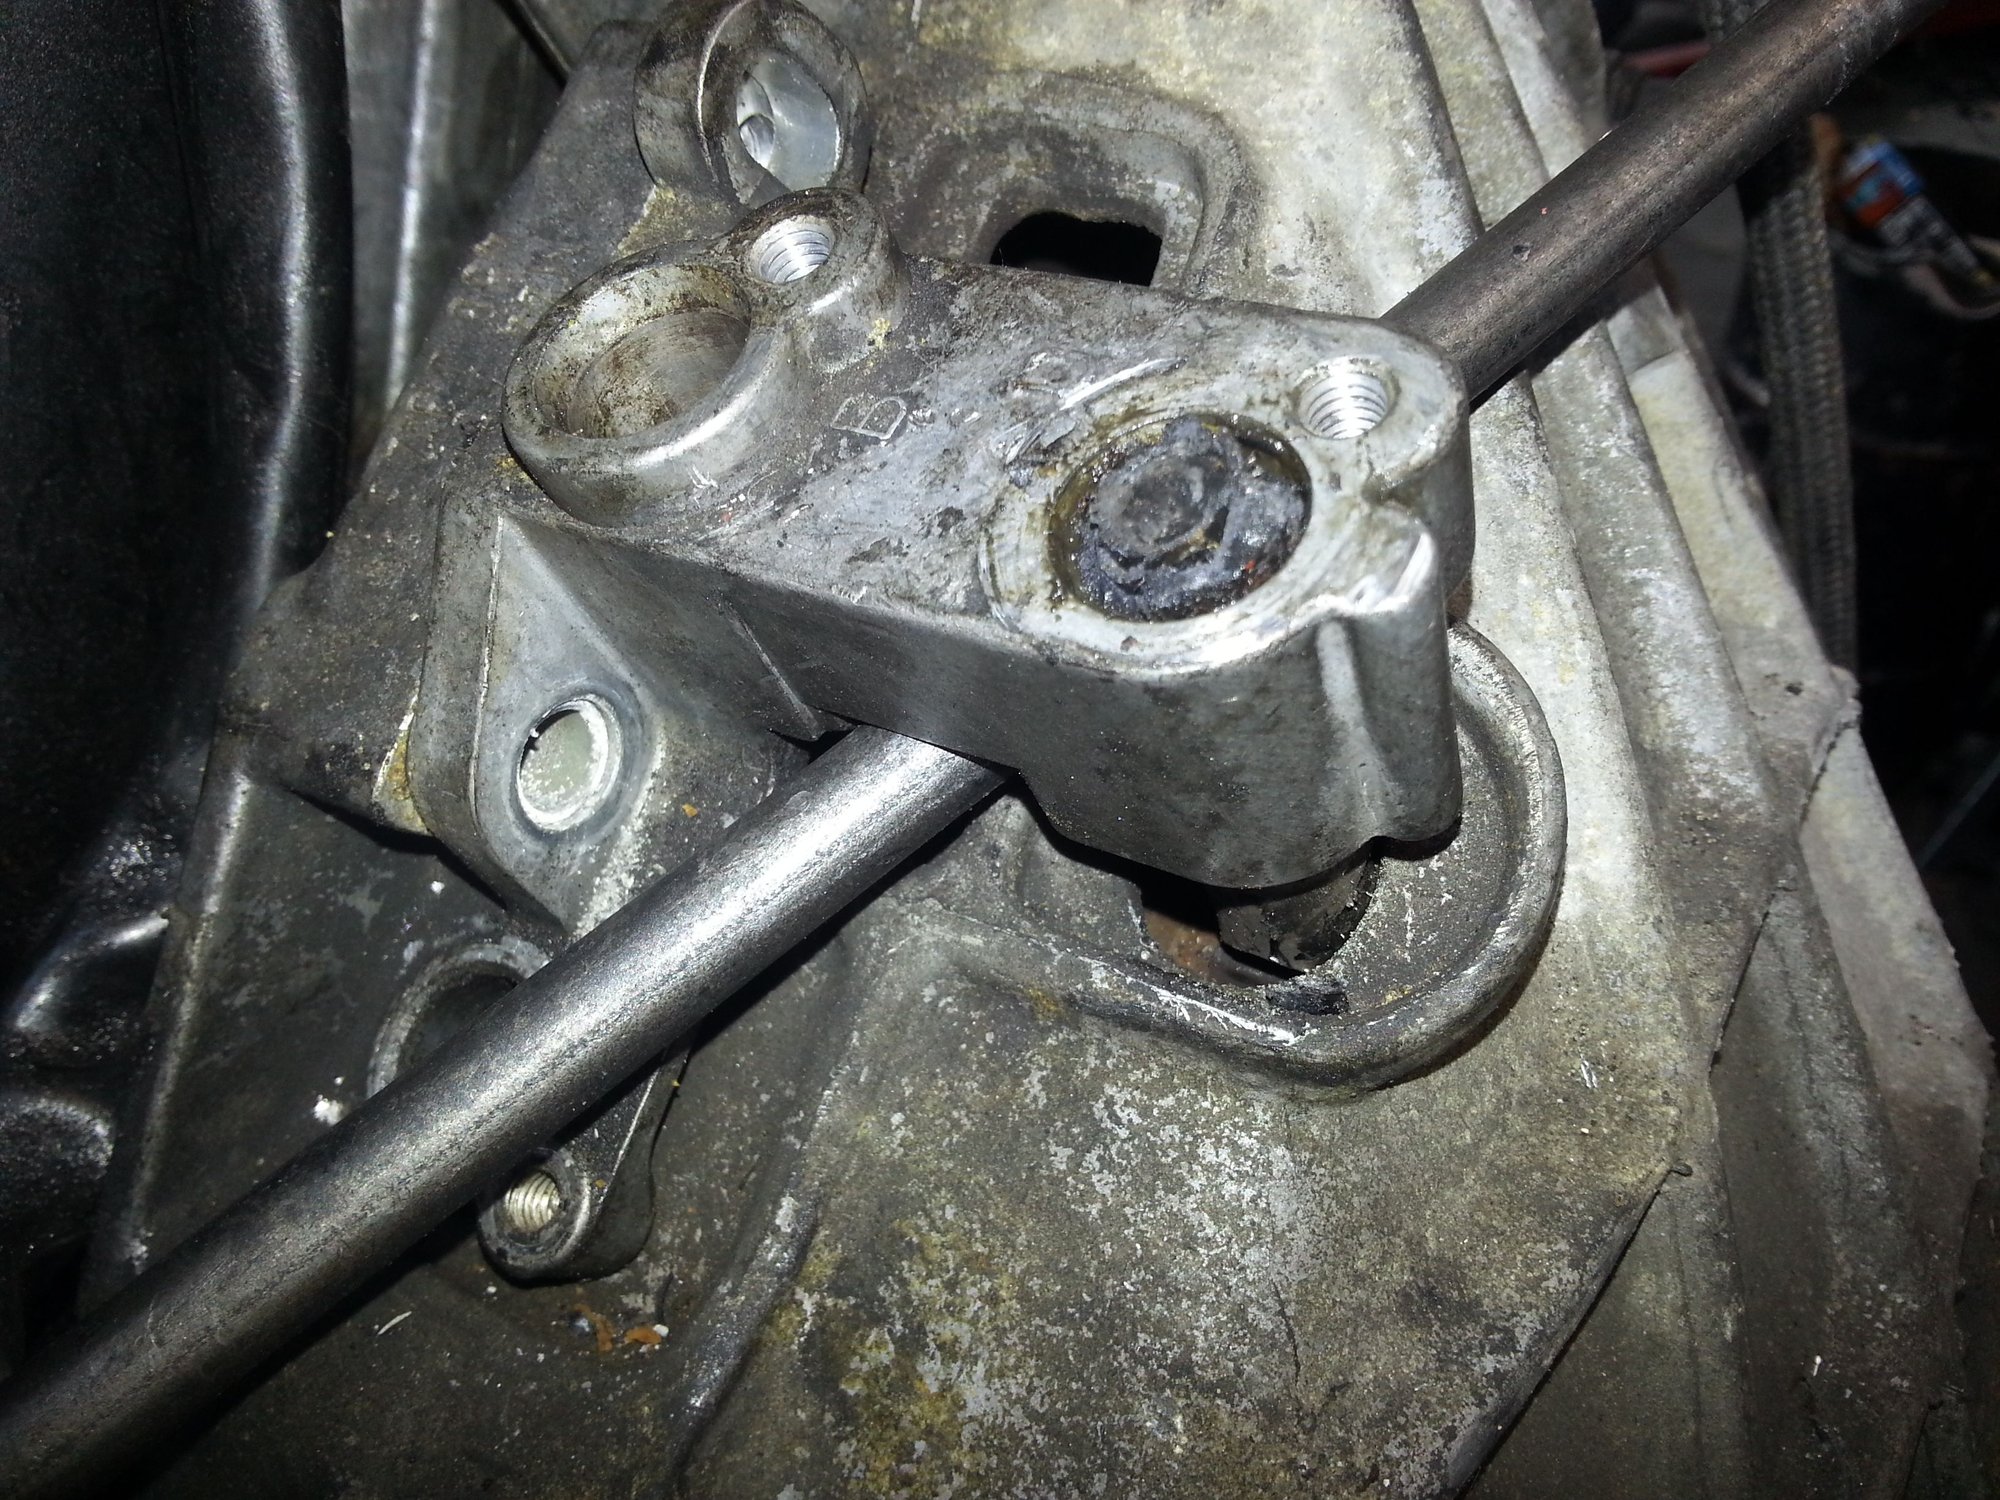
Went to pull my speed and reference sensors, speed sensor came right out, reference stuck solid. Could get it to turn back and forth using an open ended wrench and a screw driver but wouldn't budge by hand. Letting it soak in PB overnight and trying again tomorrow.
grumpyf14d & Jon951 Nice work, I know grinding that body glue sux. Jon951 I like the heat vent setup for your body kit. Glad to hear all the progress with everyone's Turbo.
How is engine vibration with solid engine mount's and balance shaft delete? I see that the upper balance shaft housing still uses the turbo oil feed and you added a restrictor or is that a turbo oil filter? Nice work.....
Originally Posted by Jon951
Installing fuel cell
Originally Posted by Jon951
The balance shaft cover is almost cosmetic but it also serves as a mounting brace for the dry dump oil pump.
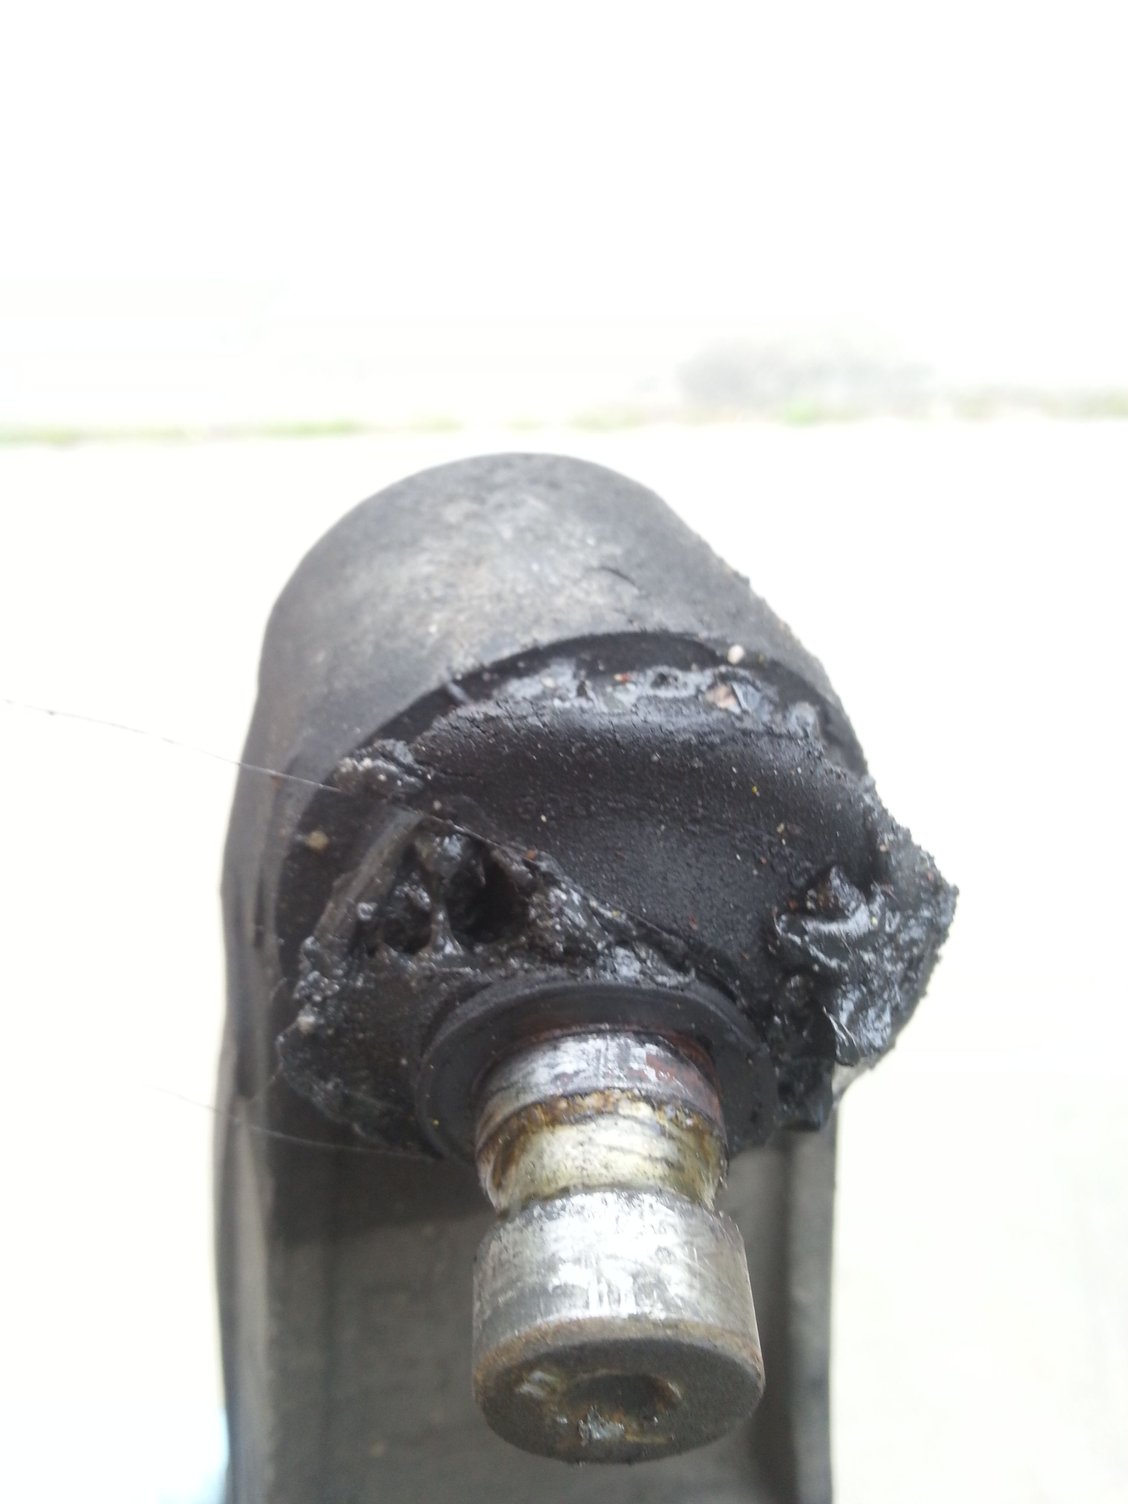
That's scary stuff PorscheFanatic202, I think that's one of the thing's that crosses our mind while installing this kit is for this type of failure to occur. I had good experience with the rennbay bronze ball joint kit. I made sure that the grove that the snap ring sits in was not damaged and cleaned of any debris. When I set the new snap ring I tapped the snap ring all around with a small punch to set the ring in the grove properly before I filled in the epoxy. and I made sure that the epoxy glue cured for at least 24 hours on the snap ring under the ball joint.
You might be able to re-install the ball joint if the grove where the ring sit is still deep and not damaged. But you might have to order that special snap ring from rennbay again. Goodluck I had 26.8mm sway bar inner link stay brace stretch and break on me before.
Originally Posted by PorscheFanatic202
I unsuccessfully installed the ball joint kit into my right control arm. I think the channel that the snap ring goes into is shot.
That sux NCLA951,
When those o-rings and sensors metal jacket get's stuck. You have to carefully think of your options to remove the sensor. 1st option always is to spray down the sensor with Lubrication to saturate the sensor dry o-ring's, then to wiggle the sensor back and forth clockwise and counter clockwise while pulling the sensor out by hand first. If to hard to turn by hand back and forth then you can use pliers or needle nose pliers. But be worn the sensor will probably give and fall apart while you keep chewing away on the sensor trying to bite on it with pliers. If you wanted To break the sensor down and use needle nose pliers to pull the pieces out really only works with the cheap non Bosch sensors that don't have the metal shield on the sensor. Another option is to try to remove the bracket that holds the sensor's. Or as a last resort use a chisel to break off the bracket eye loops bolt corners without damaging the mounting bolt holes on the rear engine block if the HEX bolts are stripped and rounded off. JUST DON'T DROP ANYTHING IN THE BELL HOUSING, SMALL PLASTIC PIECES OF THE SENSOR ARE THE ONLY FORGIVING OBJECT THAT CAN FALL DOWN THERE. Good Luck
Originally Posted by NCLA951
Went to pull my speed and reference sensors, speed sensor came right out, reference stuck solid. Could get it to turn back and forth using an open ended wrench and a screw driver but wouldn't budge by hand. Letting it soak in PB overnight and trying again tomorrow.
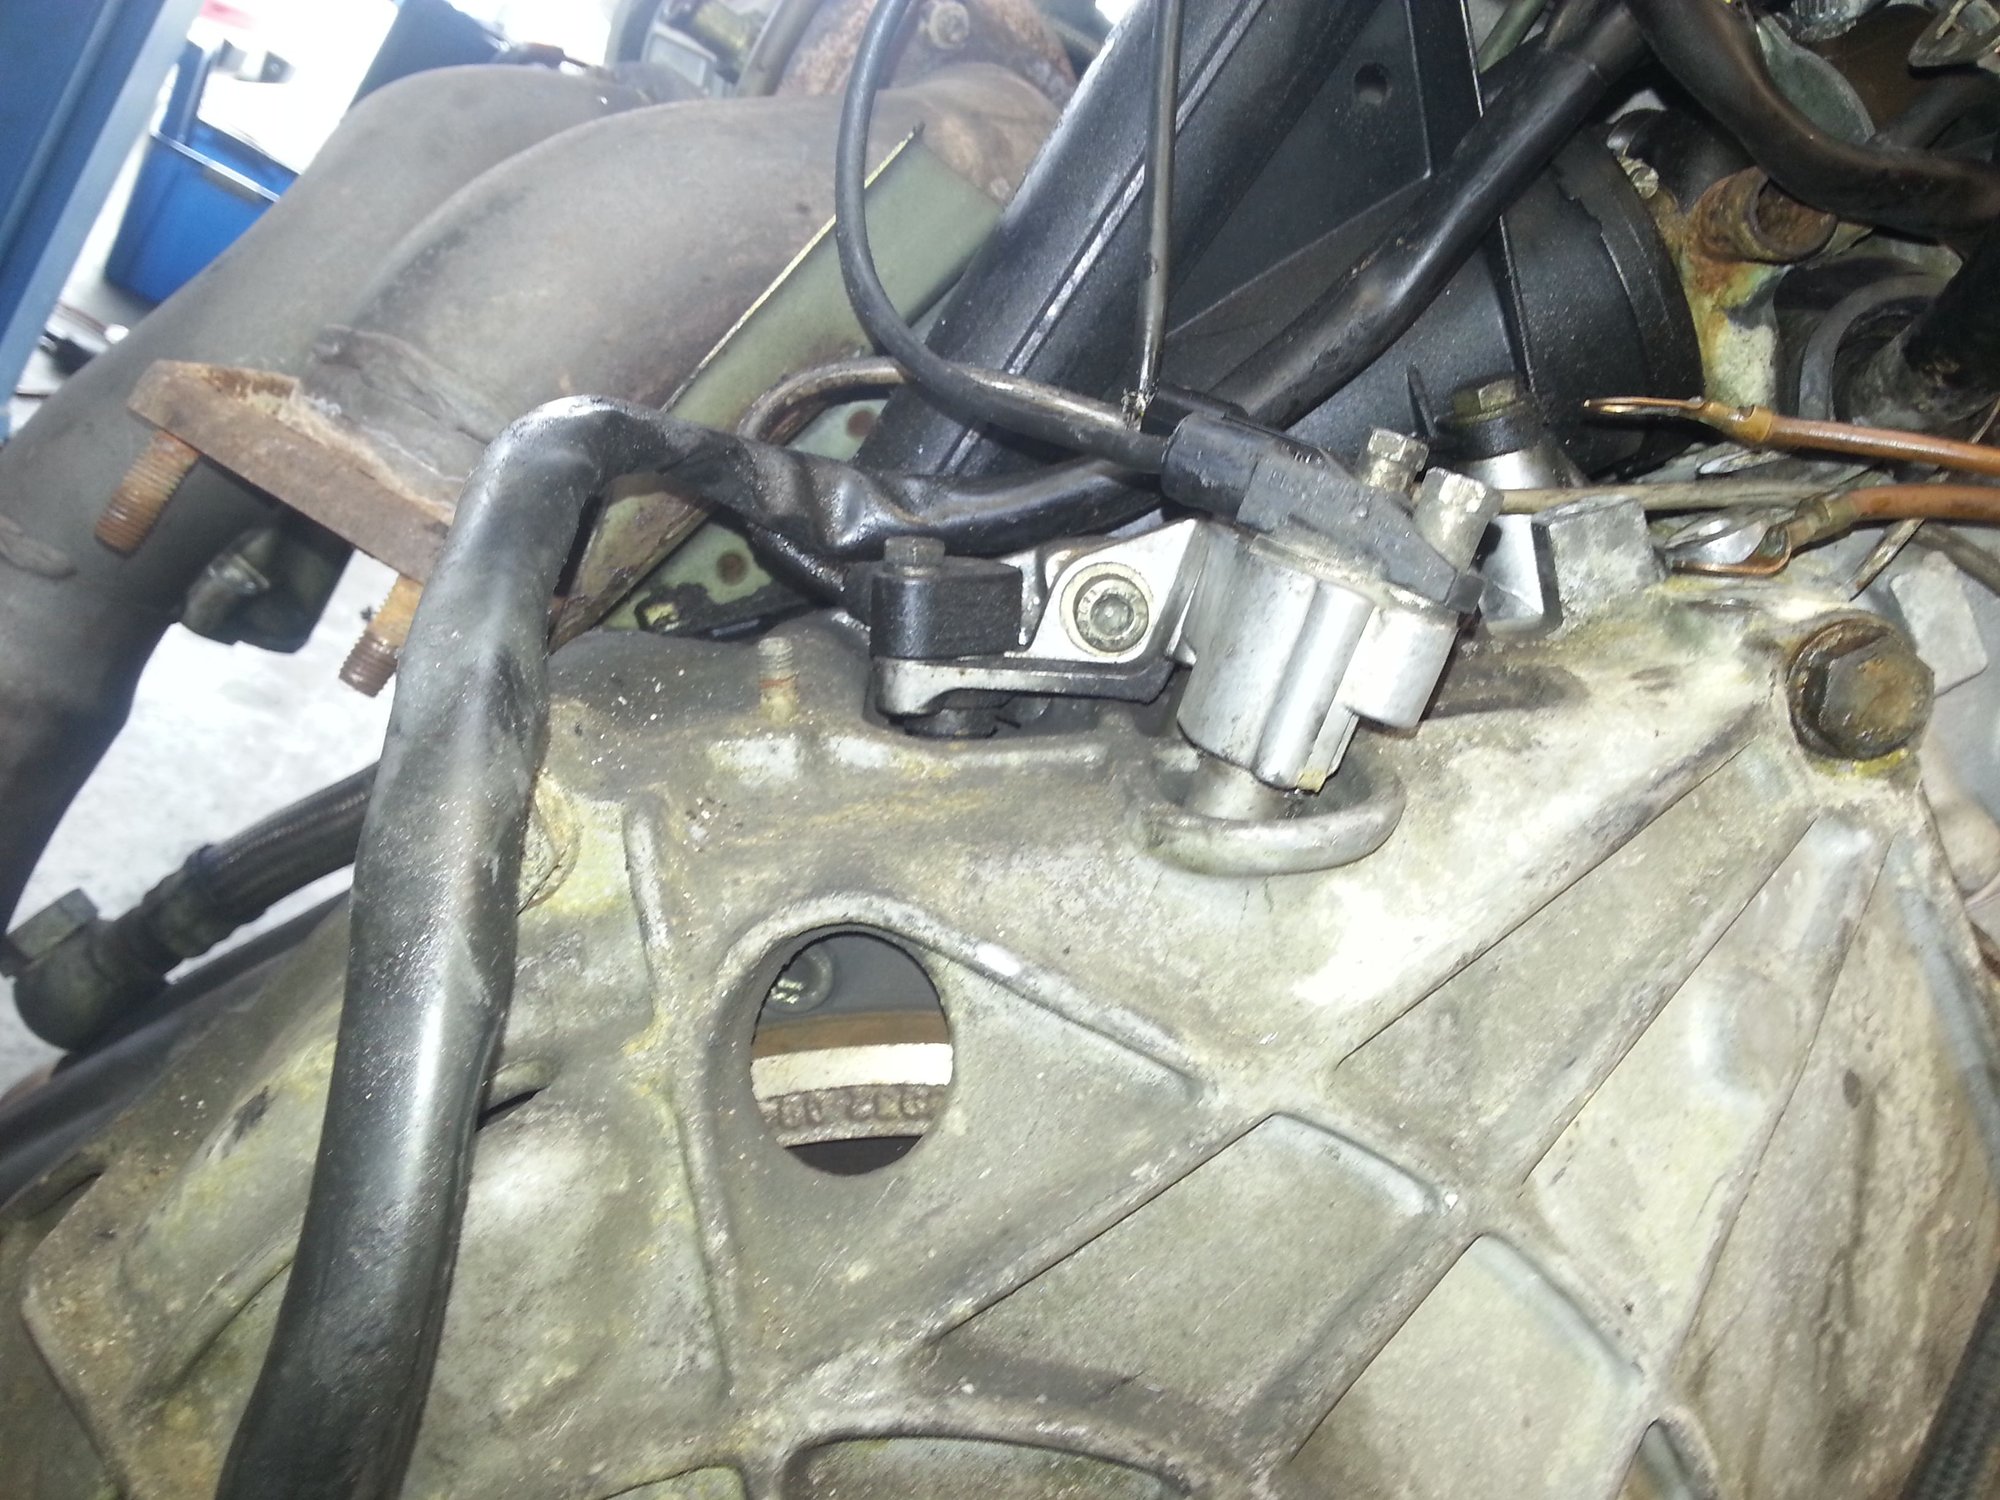
ended up cutting it out during my rebuild.The sensor that's away from the block had to be cut under the bracket on the sensor. This has to be done to clear the bell housing to be able to pull the bracket away from the block while the sensor tip stays on top of the clutch ring gear while removing the bracket. Be careful not to drop anything in the bell housing.
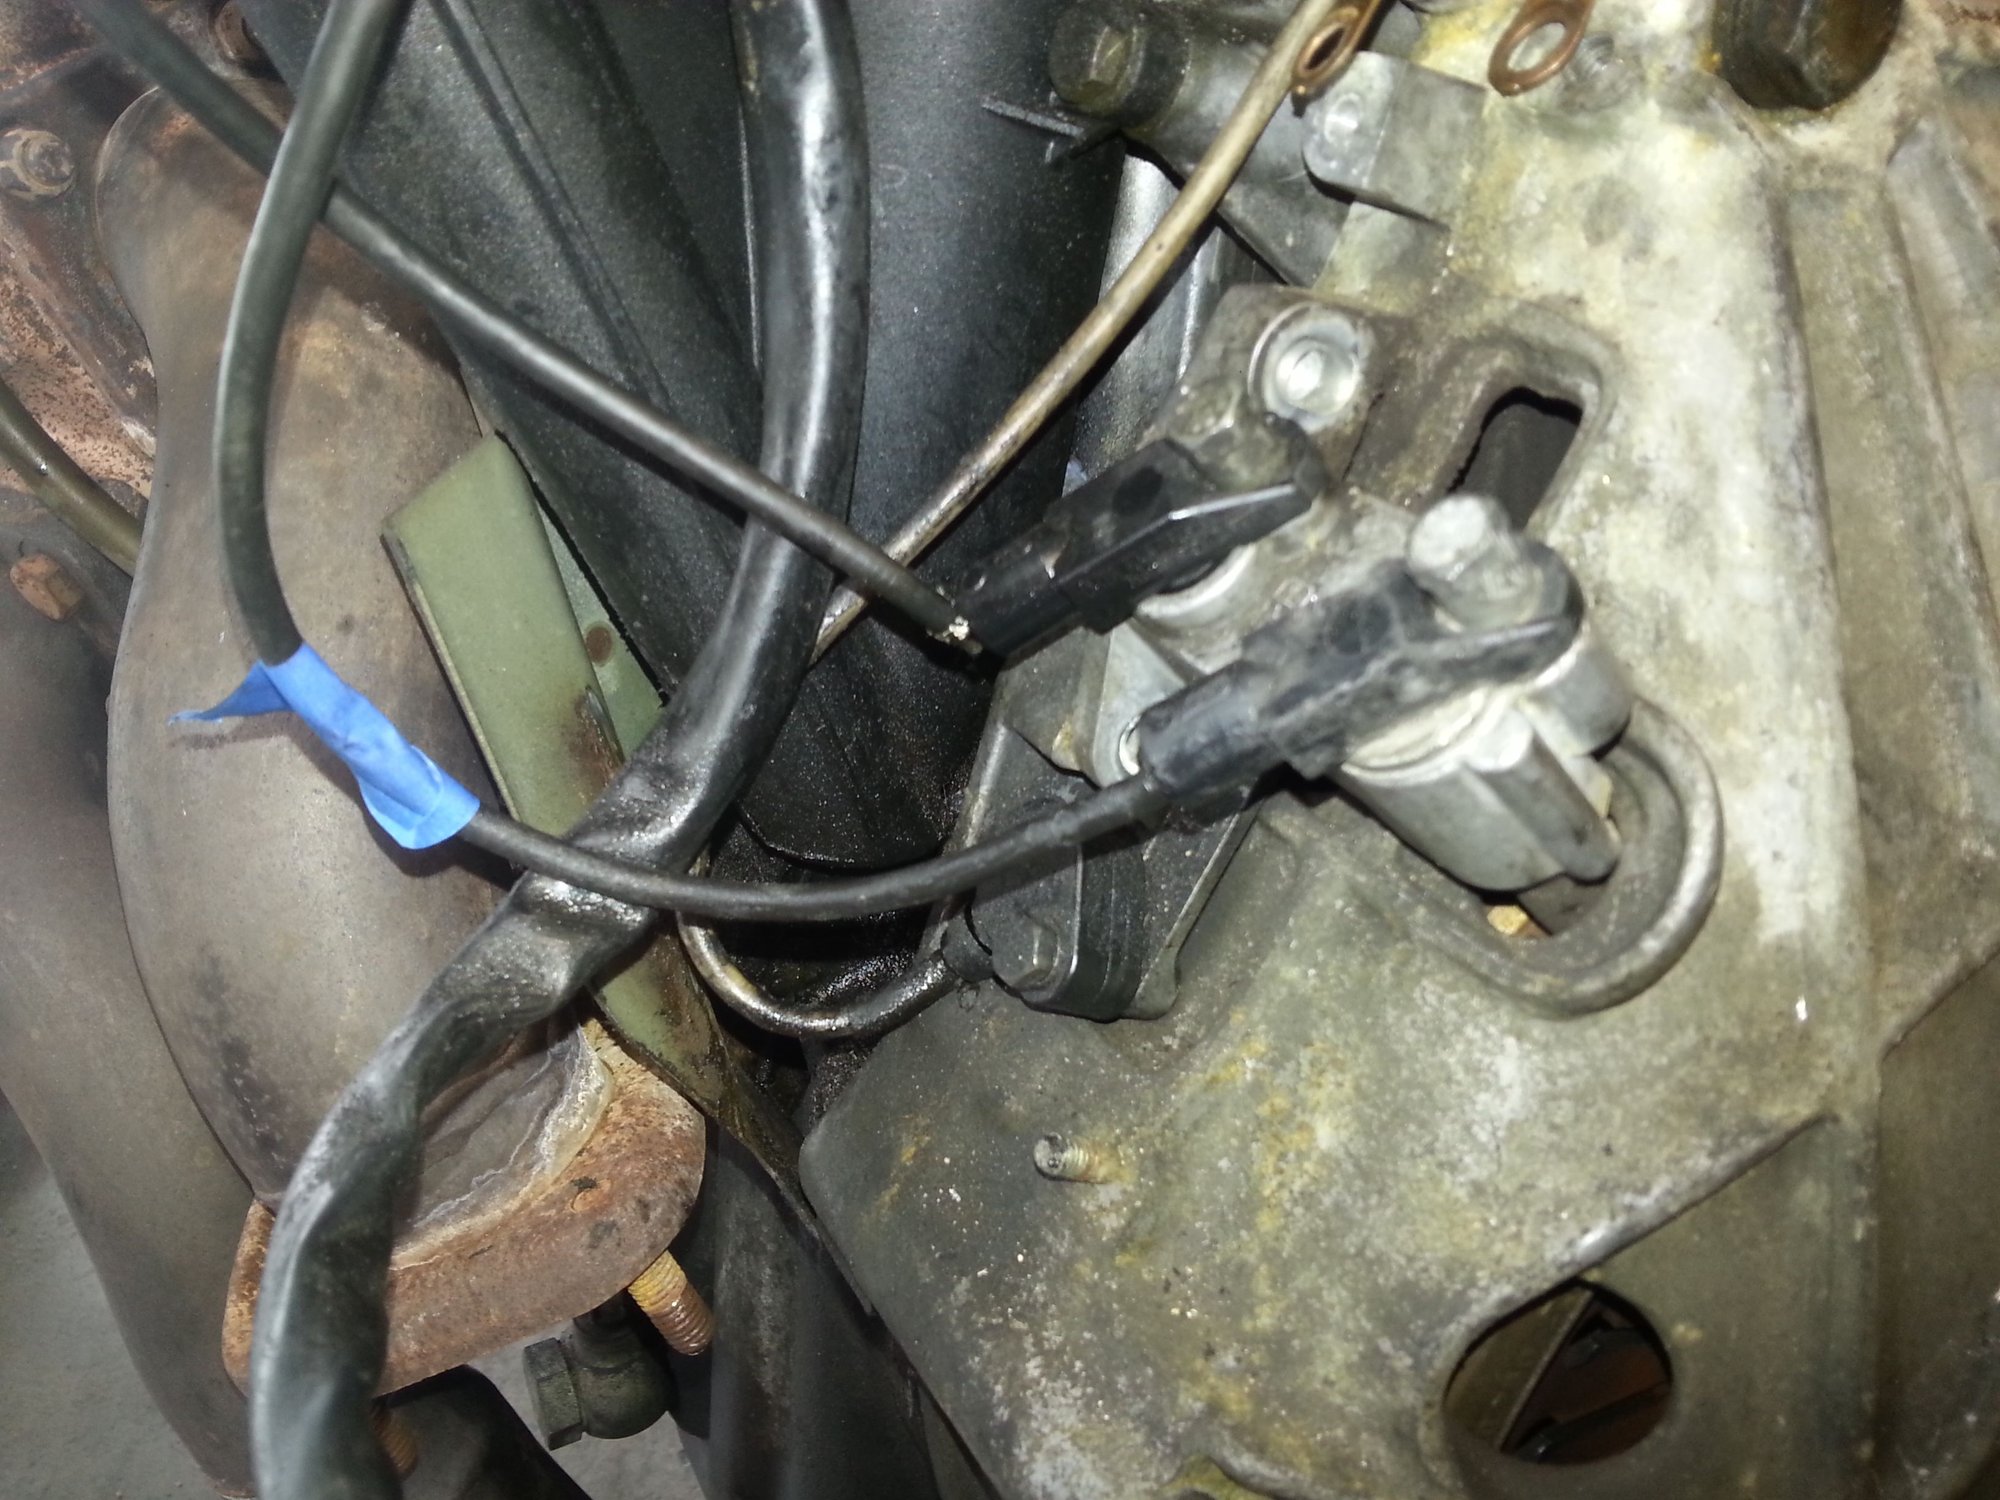
The pliers just chew it away.
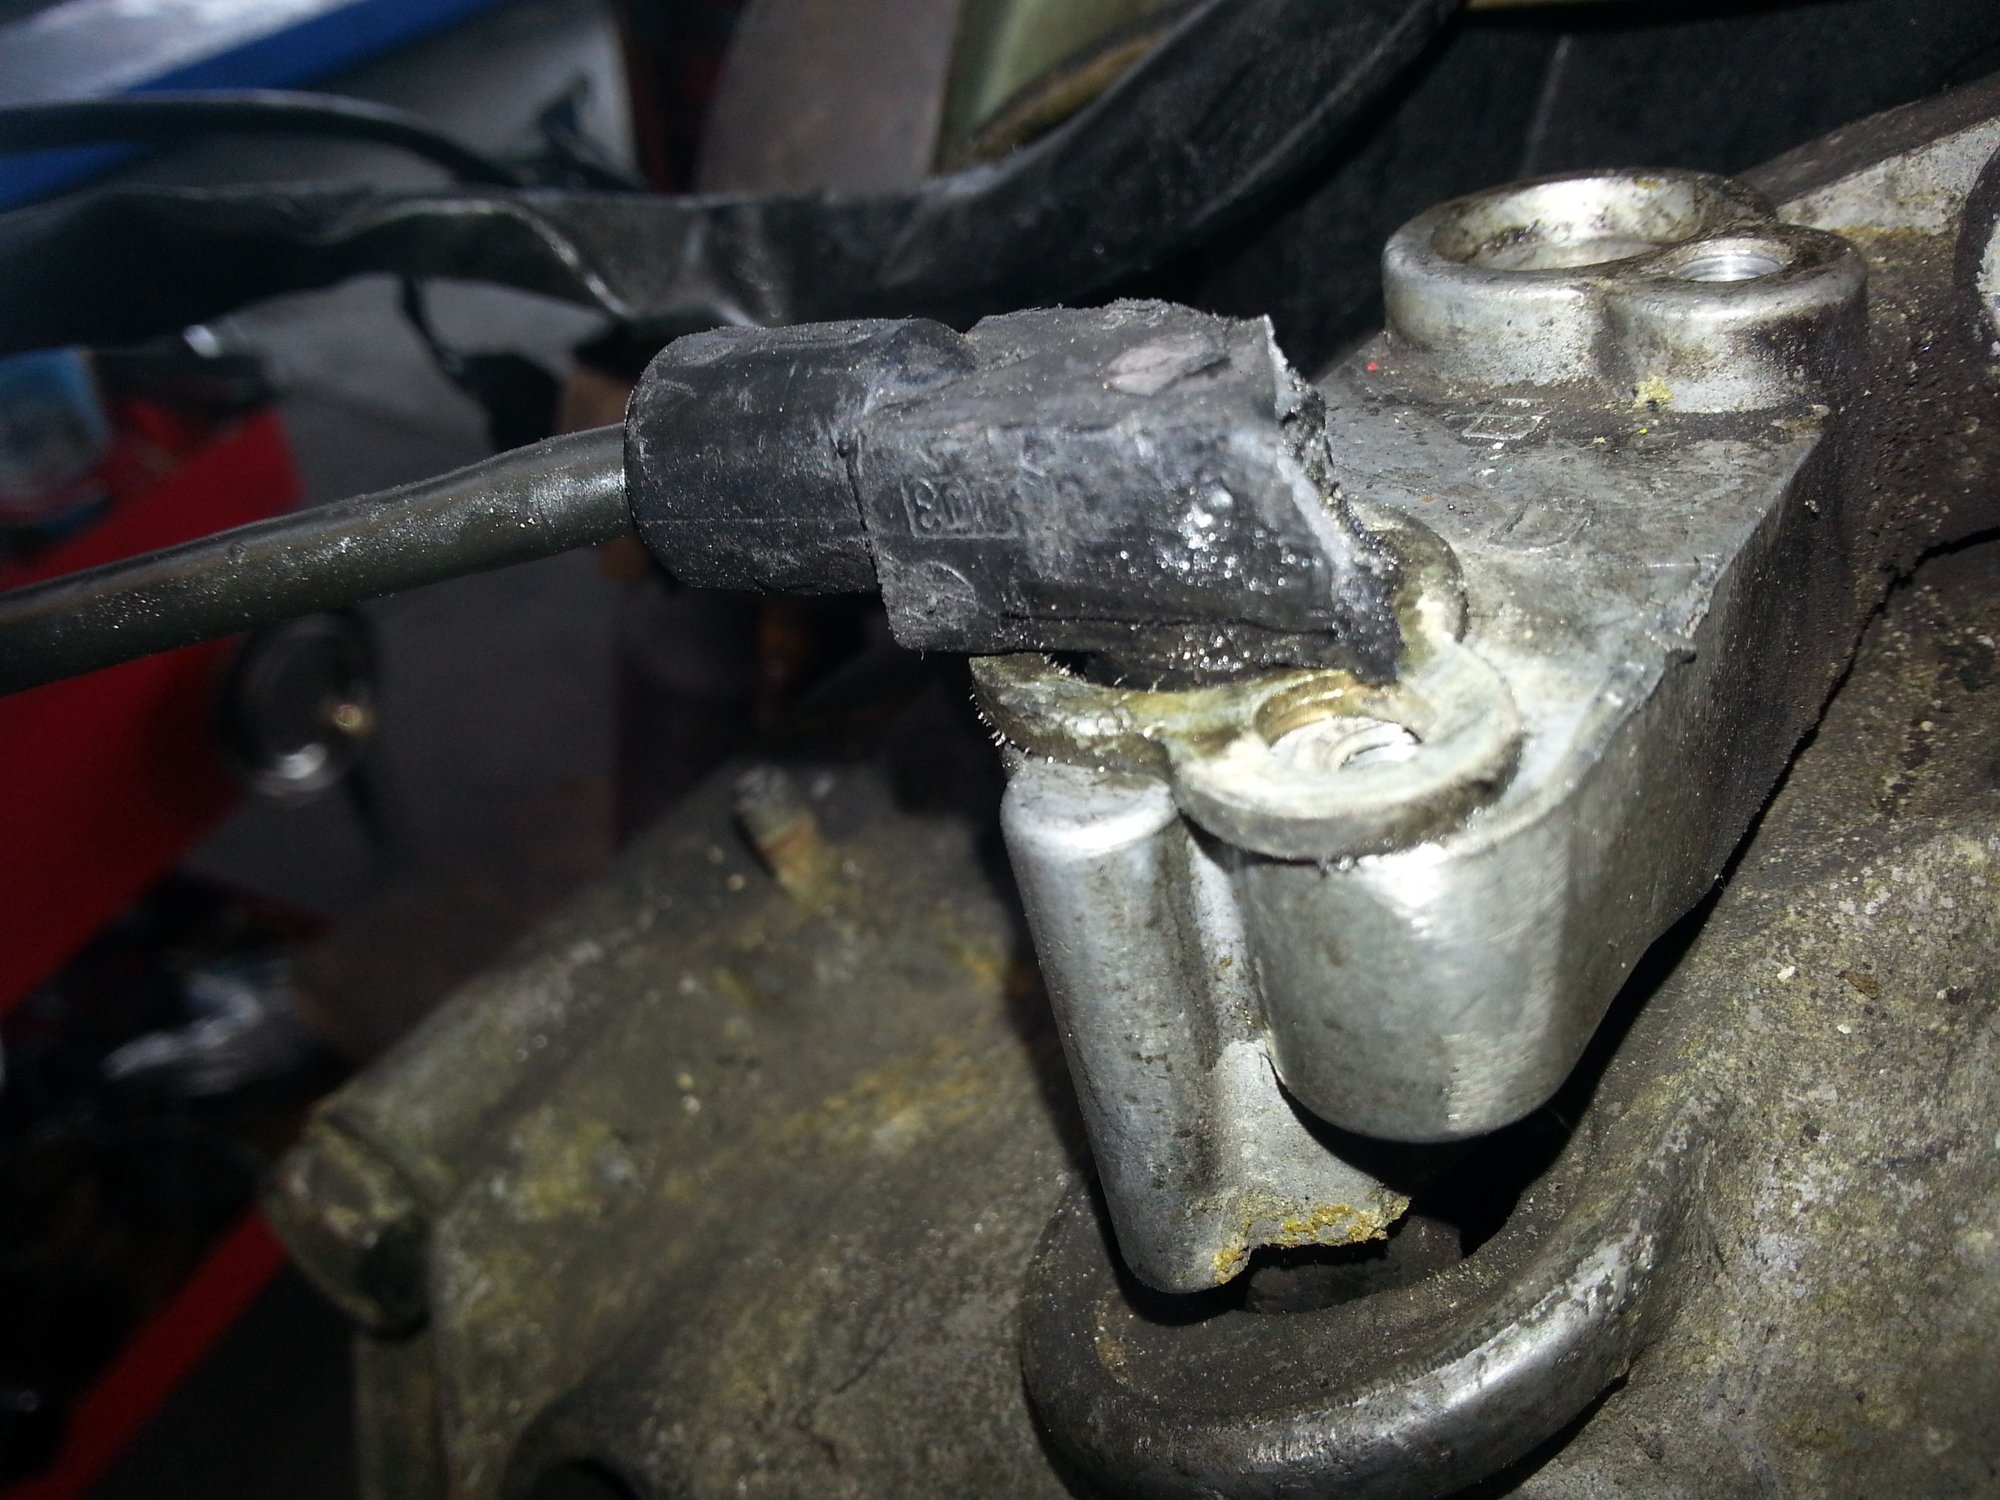
you can see how it's stuck good, but it did come out without damage to the bracket. The bolt next to the ground cables is the side of the bracket that pivots. I used the BMW Bosch Sensor 0261210002. it's cheaper but the cable is longer. remember to gap sensor correctly 0.8mm
Last edited by FRANCOCORPS; 01-03-2017 at 04:22 AM.
The solid motor mounts with balance shaft delete is distractingly buzzy, vibrating everything in the car. Ran that way for several years. I'd even have to retighten the bodywork after a race weekend, particularly Seabring... Installed stock motor mounts and find it to be more drivable for me. Transmission mount is solid.
What you're seeing on the oil line to the turbo is a filter.


 01-01-2017, 10:18 PM