Refresh951's Hybrid Stroker - A Blown944 Design
 06-26-2012, 09:38 PM
#61
Rennlist Member
Damn. That's crappy packing for that sort of damage, soft metal and all.
 06-26-2012, 10:30 PM
#62
Rennlist Member
Thread Starter
 06-26-2012, 10:34 PM
#63
Race Car
The ones that came from Porsche also looked like they'd been handled some. I was a little po'd. They were ok but if they weren't do hard to get I would have sent them back. It looked like they had to piece the set together. Pretty un professional imo
06-28-2012, 10:35 PM
#64
Rennlist Member
Thread Starter
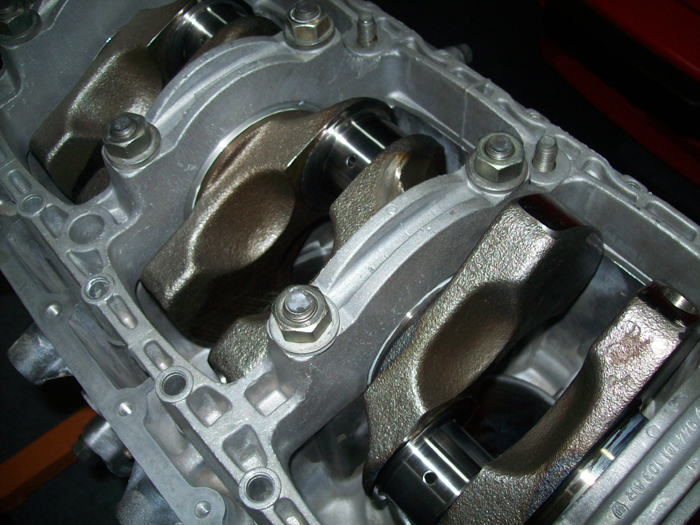
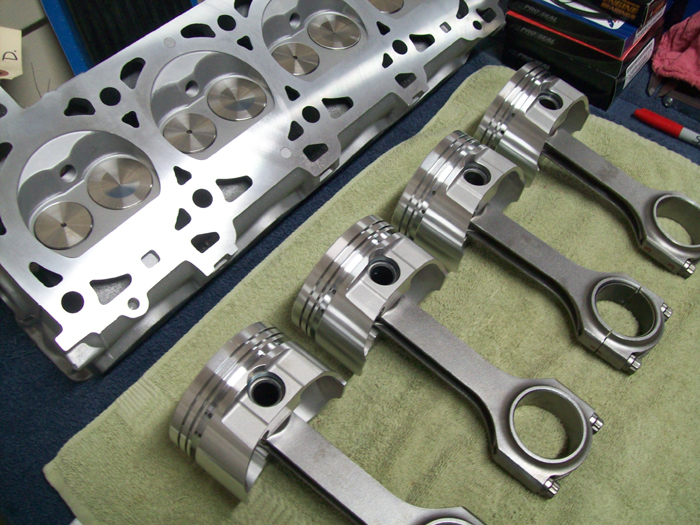
Got the replacement main bearings delivered tonight so I test fitted the crank and checked deck clearance. Everything is looking very good so far. Plan is to check valve clearance tomorrow and get the short block assembled this weekend. Then I hope to pull my 2.5L out of my 951 next weekend. I will be reusing a lot of parts from the 2.5L. My hope is to be back on the road by August 1st.
 06-29-2012, 12:35 PM
#66
Race Car
I'll be curious to see what your valve clearance is with those pistons in comparison to mine.
Did you take any photos of the rod ends after you had the work done? I'd be curious to see those too. Although our builds are close these little differences intrigue me.
When you check for valve clearance make sure you have a lifter that is pumped up. I had to scour through my parts to find one.
Did you take any photos of the rod ends after you had the work done? I'd be curious to see those too. Although our builds are close these little differences intrigue me.
When you check for valve clearance make sure you have a lifter that is pumped up. I had to scour through my parts to find one.
06-29-2012, 12:45 PM
#67
Race Car
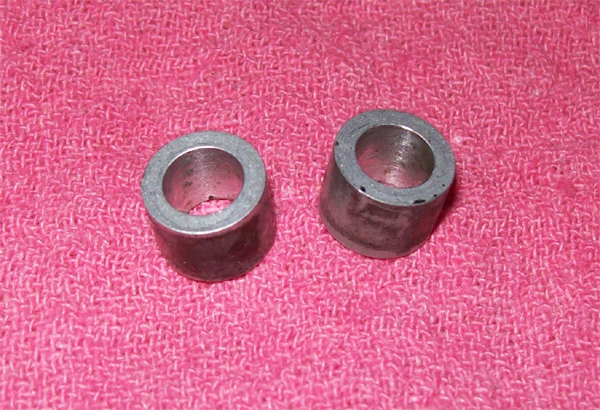
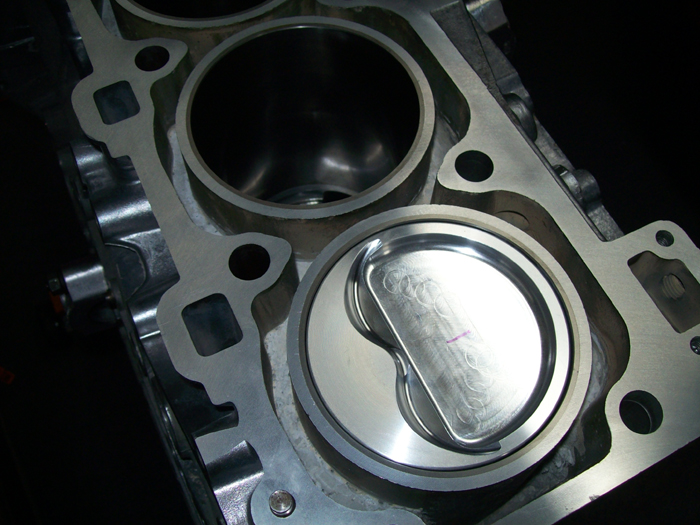
Also, I see that you have the sleeves that are shorter than the full depth. You'll want to clean up the area under the sleeve so the piston does not ride on it at all.
This only needs to be done where the skirt is.
This only needs to be done where the skirt is.
06-29-2012, 11:07 PM
#68
Rennlist Member
Thread Starter
Thanks Jonathan
Few nights ago went out and searched around for pumped up lifters, luckily I found a couple. Thanks.
Hopefully I will have valve clearance numbers this weekend.
Great point. Thanks!

I'll be curious to see what your valve clearance is with those pistons in comparison to mine.
Did you take any photos of the rod ends after you had the work done? I'd be curious to see those too. Although our builds are close these little differences intrigue me.
When you check for valve clearance make sure you have a lifter that is pumped up. I had to scour through my parts to find one.
Did you take any photos of the rod ends after you had the work done? I'd be curious to see those too. Although our builds are close these little differences intrigue me.
When you check for valve clearance make sure you have a lifter that is pumped up. I had to scour through my parts to find one.
Hopefully I will have valve clearance numbers this weekend.
07-03-2012, 09:02 PM
#69
Rennlist Member
Thread Starter
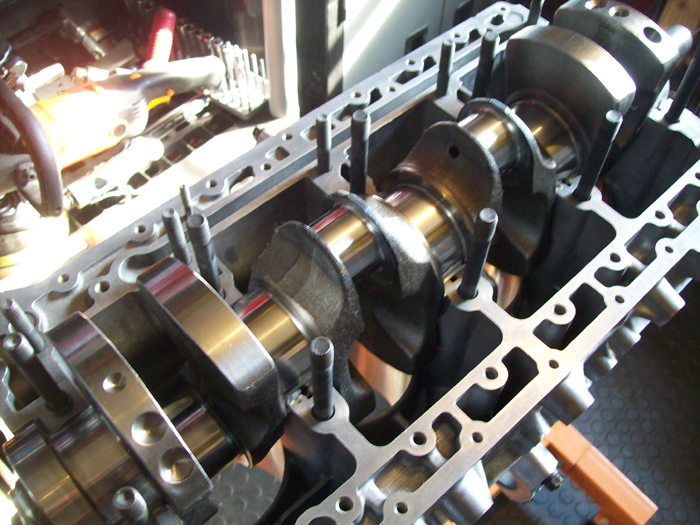
Ran into an issue with the crank, heavy offset grind bent the crank slightly. We tried to straighten it and were somewhat successful but finally decided to turn the mains down 0.010" to get it dead on. Not a big deal except I have to go with +.25mm oversized mains which are not cheap. If I do this again I will plan for oversized mains from the beginning which will add $200 to the build cost. LR does carry +.25mm mains and had them in stock. I should have them by Friday. 
07-14-2012, 07:38 PM
#70
Rennlist Member
Thread Starter
Had the main journals ground 0.010. My machinist did it for free as no one at his shop checked the crank for straightness after the offset grind.  It was one of those "I thought you checked it" type of things. I offered to pay but he refused. He is really a stand up guy. Received over sized mains from LR and crank is now perfect.
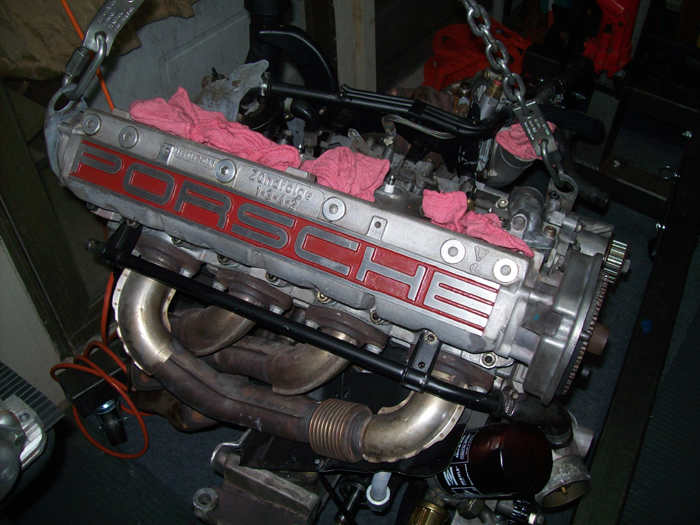
ChrisJ951 and Josh B came over today and helped me pull the old motor. I really appreciate the 944 community in the ATL. I will be re-using a lot of parts from this motor. I will miss this motor as it has been good to me producing 350 rwhp but it is a casualty in the absurd quest for more
  . Hoping to be ready to install the new stroker motor in two weeks but you know how that goes...
It was one of those "I thought you checked it" type of things. I offered to pay but he refused. He is really a stand up guy. Received over sized mains from LR and crank is now perfect.ChrisJ951 and Josh B came over today and helped me pull the old motor.
I really appreciate the 944 community in the ATL. I will be re-using a lot of parts from this motor. I will miss this motor as it has been good to me producing 350 rwhp but it is a casualty in the absurd quest for more . Hoping to be ready to install the new stroker motor in two weeks but you know how that goes...
07-15-2012, 02:28 AM
#72
Drifting
Join Date: Mar 2006
Location: midwest
Posts: 2,931
Likes: 0
Received 0 Likes
on
0 Posts
Curious how you were able to determine bent crank from just a preliminary assembly? Were you able to spin the crank/assembly fast enough to detect it visually?
 07-15-2012, 11:24 AM
#73
Rennlist Member
Thread Starter
Plastiguage is must as per the manual. Also, I set the crank in the block and did not install the girdle. When the journals were high/low, the crank rotated freely. When I turned it 90 degrees I felt the additional resistance. Therefore I knew the crank was bent in the plane of the journals.
I think in general you will need to turn the mains if you do the offset grind. I have heard of a guy in CA who says this can be done without turning the mains, but I would not purchase main bearings until it was done and checked.