
Installing SS braided fuel line fittings
 06-10-2006, 10:58 PM
#1
Addict
Rennlist Member
Rennlist Member
Thread Starter
Join Date: Mar 2003
Location: South of the St-Lawrence river
Posts: 1,498
Likes: 0
Received 1 Like
on
1 Post
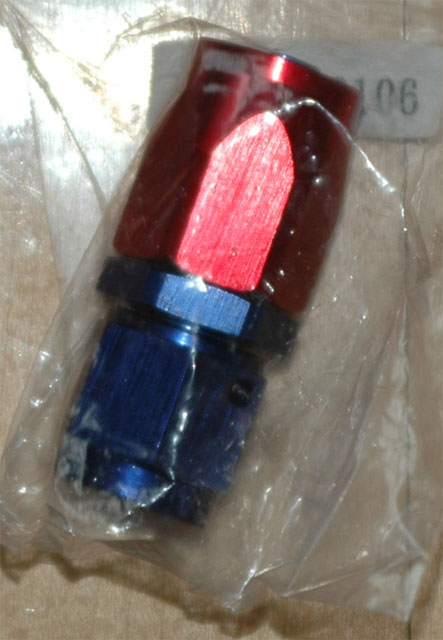
There definitely is a learning curve to assembling SS braided fuel lines from Lindsey Racing (LR). As you guys saw in my other thread, I became extremely frustrated with the process. All those who responded to that thread gave me some excellent advice, but I was still having difficulties. So I finally called LR and spoke with Dave who was more than helpful. He was able to quickly able to lay out the procedure for me over the phone and I was finally able to get one connection correct. The others were then a piece of cake. Hopefully this write-up will help others as they tackle this project.
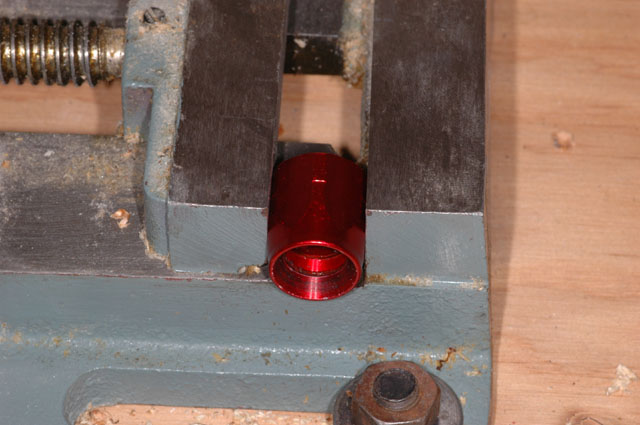
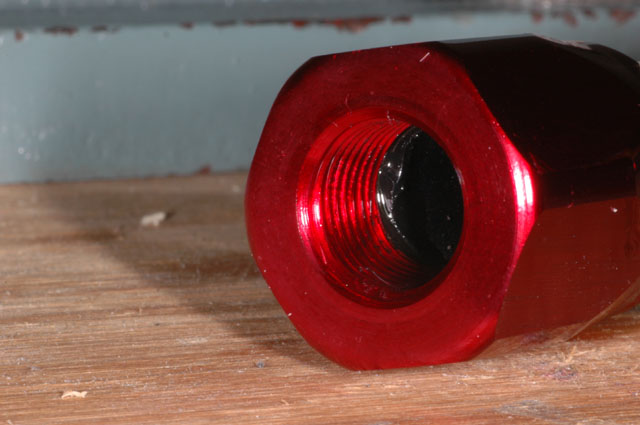
The main problem is caused by the fact that the SS braided lines tend to splay apart when they�re cut. This can be seen in this picture of the fuel line as it was before I started the project.
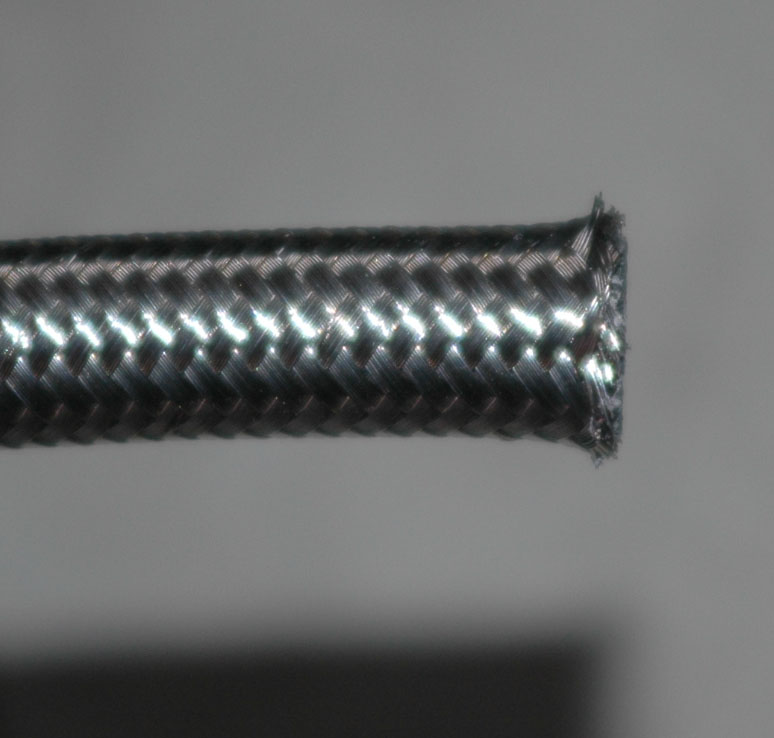
You can see in the next picture that it won�t go into the red female portion of the fitting.
You will need the following for this project:
a. 3M painting masking tape
b. Dremel tool with heavy-duty cut-off wheel #420
c. Bench vise
d. 19 mm wrench or 12 inch Adjustable wrench
e. Lubricant (WD40, ReleaseAll, etc.)
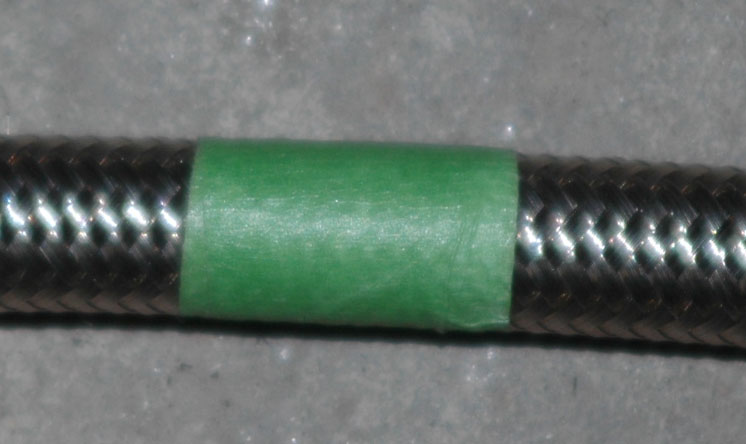
1. Tape the section to be cut using 3M painting masking tape. Go around the SS fuel line twice with the tape.
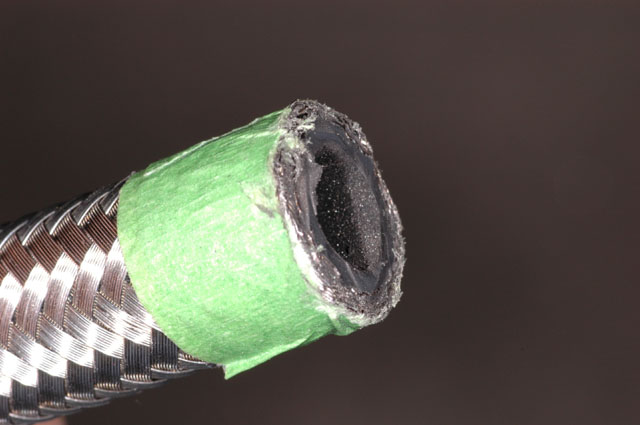
2. Very carefully cut the SS braided line with the Dremel tool and heavy-duty cut-off wheel. I have found that this wheel makes a better and cleaner cut that the thinner cutting disk. Make sure that your cut is straight and true. Also, I have found that it is better to make small repetitive cuts and slowly go around the circumference of the line to section through the braid before cutting through the rubber hose inside.
3. Once the line has been cut, make sure there are no frayed ends that stick out. I used the flat portion of the cutting wheel to smooth the edges. Leave the tape on the cut end as this will ensure that the ends will not splay apart. So have suggested that leaving the tape on is not necessary, but I have found that leaving the tape gives you peace of mind.
4. Unscrew the red female fitting from the blue male fitting and secure red fitting to the bench vise.
5. Very liberally spray the inside of the red fitting with the lubricant.
6. Gently place the cut end of the SS braided line into the opening of the red fitting and make sure that there are no frayed metal ends sticking out.
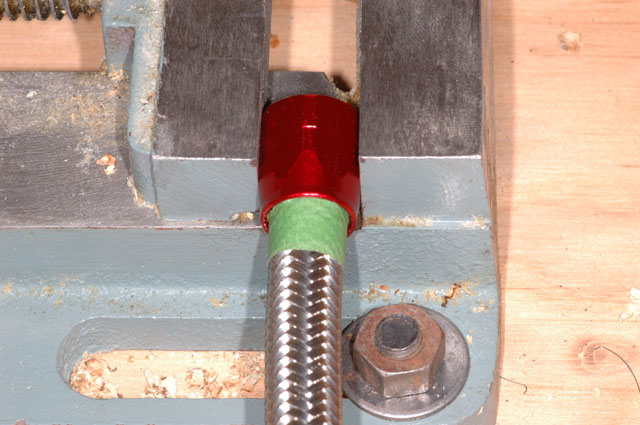
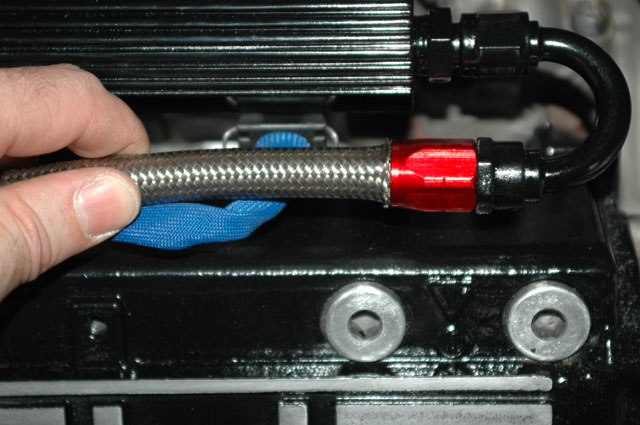
Then slowly push in and turn simultaneously the line into the fitting. Push in until the hose rests against the inside ledge as seen in the next picture.
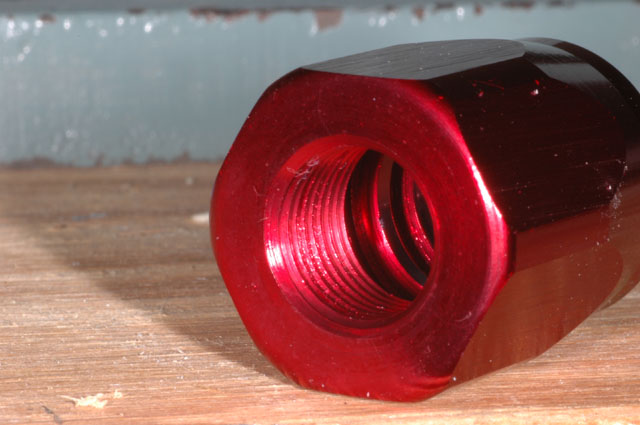
7. Reposition the red fitting such that the other end now sticks out and, using a 19 mm wrench or an adjustable wrench, slowly screw in the blue fitting.
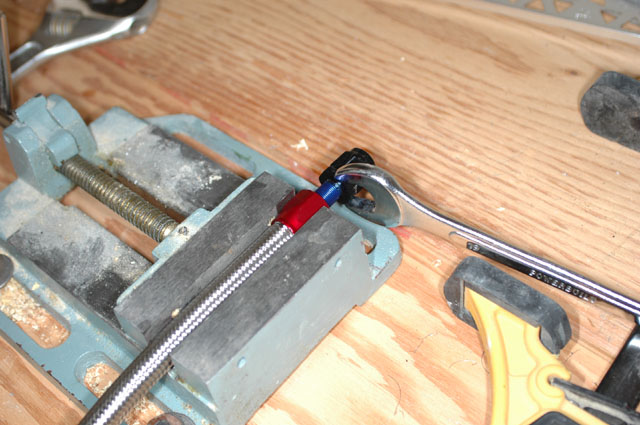
Make sure that while you are doing this the SS line does not back out of the red fitting. Voil�! Your SS braided fuel line is now joined to the fitting.
8. The next steps are just a succession of screwing the fitting, measuring the length, cutting the line and installing a fitting at the other end.
Again thanks to all those who submitted their suggestions and to Dave at Lindsey Racing.

The main problem is caused by the fact that the SS braided lines tend to splay apart when they�re cut. This can be seen in this picture of the fuel line as it was before I started the project.
You can see in the next picture that it won�t go into the red female portion of the fitting.
You will need the following for this project:
a. 3M painting masking tape
b. Dremel tool with heavy-duty cut-off wheel #420
c. Bench vise
d. 19 mm wrench or 12 inch Adjustable wrench
e. Lubricant (WD40, ReleaseAll, etc.)
1. Tape the section to be cut using 3M painting masking tape. Go around the SS fuel line twice with the tape.
2. Very carefully cut the SS braided line with the Dremel tool and heavy-duty cut-off wheel. I have found that this wheel makes a better and cleaner cut that the thinner cutting disk. Make sure that your cut is straight and true. Also, I have found that it is better to make small repetitive cuts and slowly go around the circumference of the line to section through the braid before cutting through the rubber hose inside.
3. Once the line has been cut, make sure there are no frayed ends that stick out. I used the flat portion of the cutting wheel to smooth the edges. Leave the tape on the cut end as this will ensure that the ends will not splay apart. So have suggested that leaving the tape on is not necessary, but I have found that leaving the tape gives you peace of mind.
4. Unscrew the red female fitting from the blue male fitting and secure red fitting to the bench vise.
5. Very liberally spray the inside of the red fitting with the lubricant.
6. Gently place the cut end of the SS braided line into the opening of the red fitting and make sure that there are no frayed metal ends sticking out.
Then slowly push in and turn simultaneously the line into the fitting. Push in until the hose rests against the inside ledge as seen in the next picture.
7. Reposition the red fitting such that the other end now sticks out and, using a 19 mm wrench or an adjustable wrench, slowly screw in the blue fitting.
Make sure that while you are doing this the SS line does not back out of the red fitting. Voil�! Your SS braided fuel line is now joined to the fitting.
8. The next steps are just a succession of screwing the fitting, measuring the length, cutting the line and installing a fitting at the other end.
Again thanks to all those who submitted their suggestions and to Dave at Lindsey Racing.
 02-04-2011, 08:17 PM
#2
1st Gear

Join Date: Feb 2011
Posts: 1
Likes: 0
Received 0 Likes
on
0 Posts
I just want to put up here that the part that goes over the braided hose has reverse threads. This makes all the difference in the world. Before learning this I had no progress after learning this I had 4 AN connections done in 45 min. Remember the reverse threads.
02-04-2011, 08:50 PM
#3
Three Wheelin'
I like to draw a line, with a sharpie, where the hose goes into the outer fitting. This gives a good indicator if the hose backed out while tightening. You can use other methods to mark the hose, but a sharpie line does not slip or fall off.
 02-05-2011, 01:08 PM
#6
Nordschleife Master
02-05-2011, 01:21 PM
#7
Three Wheelin'

My LR lines also came assembled, I purchased the black lines in the Fall of '10 just for a reference. I still took them apart and reassembled just for peace of mind.
Trending Topics
02-05-2011, 01:50 PM
#8

If you run the lines over the headers, you should get something like this.
http://www.thermotec.com/products/18...t-sleeves.html
From LR site:
This Thermal Insulation slips over the outside of the fuel lines and protects them from the heat radiating off the headers and other under hood heat sources.
Select the 36" (18" x 2) option for covering both fuel lines, and the 42" if you're wanting to protect the jumper hose from the fuel damper to fuel rail hose (7") as well.
Last edited by Bri Bro; 02-05-2011 at 02:11 PM.
03-21-2012, 10:14 AM
#9
Addict
Lifetime Rennlist
Member
Lifetime Rennlist
Member
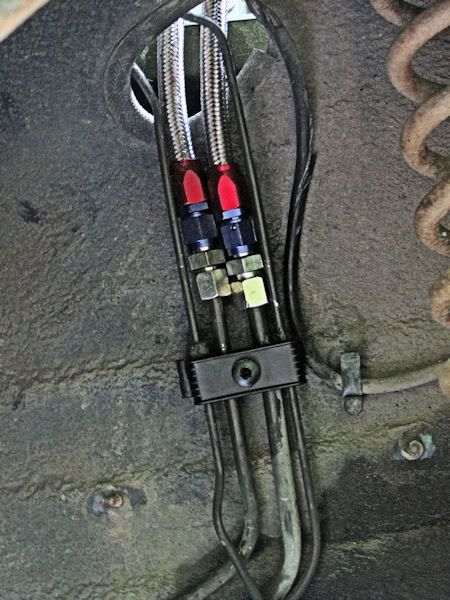
Bringing back an old-ish thread... here is a pic of the LR fuel lines installed, plus the above-mentioned thermal insulation on top of that. I also used some 1" heat-shrink tubing on the fuel rail ends of both connections to keep the ends from fraying, plus I think it looks nice  .
.
.
03-22-2012, 10:41 AM
#13
Rennlist Member
03-22-2012, 12:44 PM
#14
Basic Sponsor
Rennlist
Site Sponsor
Rennlist
Site Sponsor
Bringing back an old-ish thread... here is a pic of the LR fuel lines installed, plus the above-mentioned thermal insulation on top of that. I also used some 1" heat-shrink tubing on the fuel rail ends of both connections to keep the ends from fraying, plus I think it looks nice .
.