When you click on links to various merchants on this site and make a purchase, this can result in this site earning a commission. Affiliate programs and affiliations include, but are not limited to, the eBay Partner Network.
Must be a 944 thing (yes, I realize this is a 944 forum...) - I don't think that's possible with a 968.
if its just a belt /roller job then there is no need to remove the crank pulley. The only difference with the 968 is the hydraulic tensioner, everything else is functional the same (yes, small differences in parts but they are interchangeable)
As others have said, it's not a hard job. Just need the right tools, namely the spanner wrench and maybe a ground open end wrench for tensioning the belts. I would say the trickiest parts of the job are 1. getting the timing belt onto the crank pulley, and 2. tensioning the belts. Nothing really overly complicated, just some trial-and-error kind of stuff. I deliberately broke a piece of the TB cover off the bottom to be able to more easily slide the TB into place onto the crank pulley. It's really tight otherwise, and there's not way I'd have the patience to take the rear cover just for the belt. Haven't had any problems.
So my son Evan came to town Friday night, we started work Saturday about 8 AM, worked until about 8 PM (with a 1.5 hour trip to the parts store and lunch in there), and on Sunday worked from about 8 AM to 2 PM. We completed the following:
Timing belt and balance shaft belt replacement
Replaced the front main seal, both balance shaft seals, I think the upper balance shaft housing o-ring was the one that gave me the oil leak, but time will tell.
Replaced the speed and reference sensor
Free air calibration of wide band O2 sensor
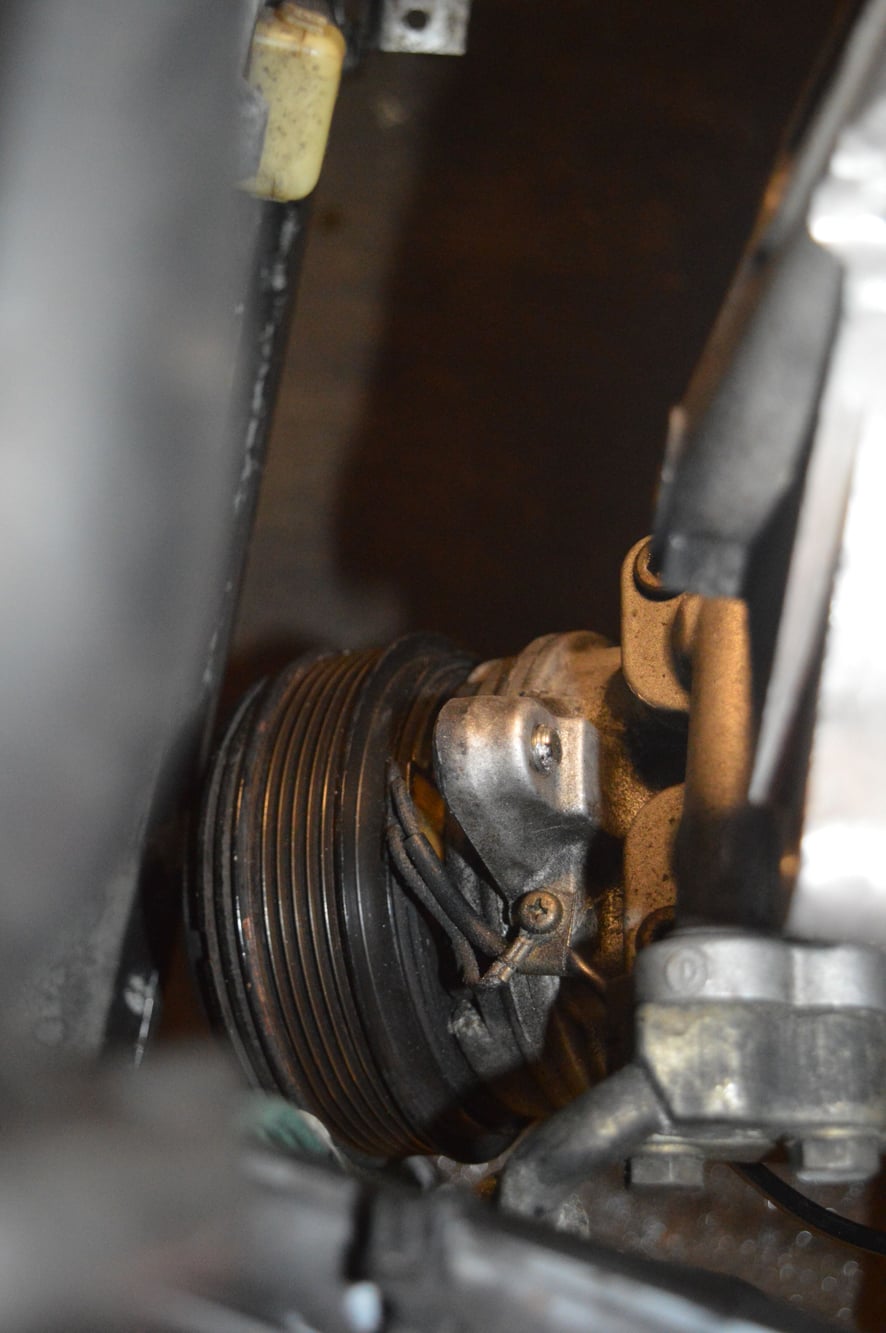
Can't believe it, but extracted the broken bolt from the AC compressor! This required removal of the Quest alternator and compressor. I replaced all the hardware with Porsche bolts I had laying around, I think that will also make a difference so they don't snap in the future.
Extensive training for Evan on how a 944 turbo works!
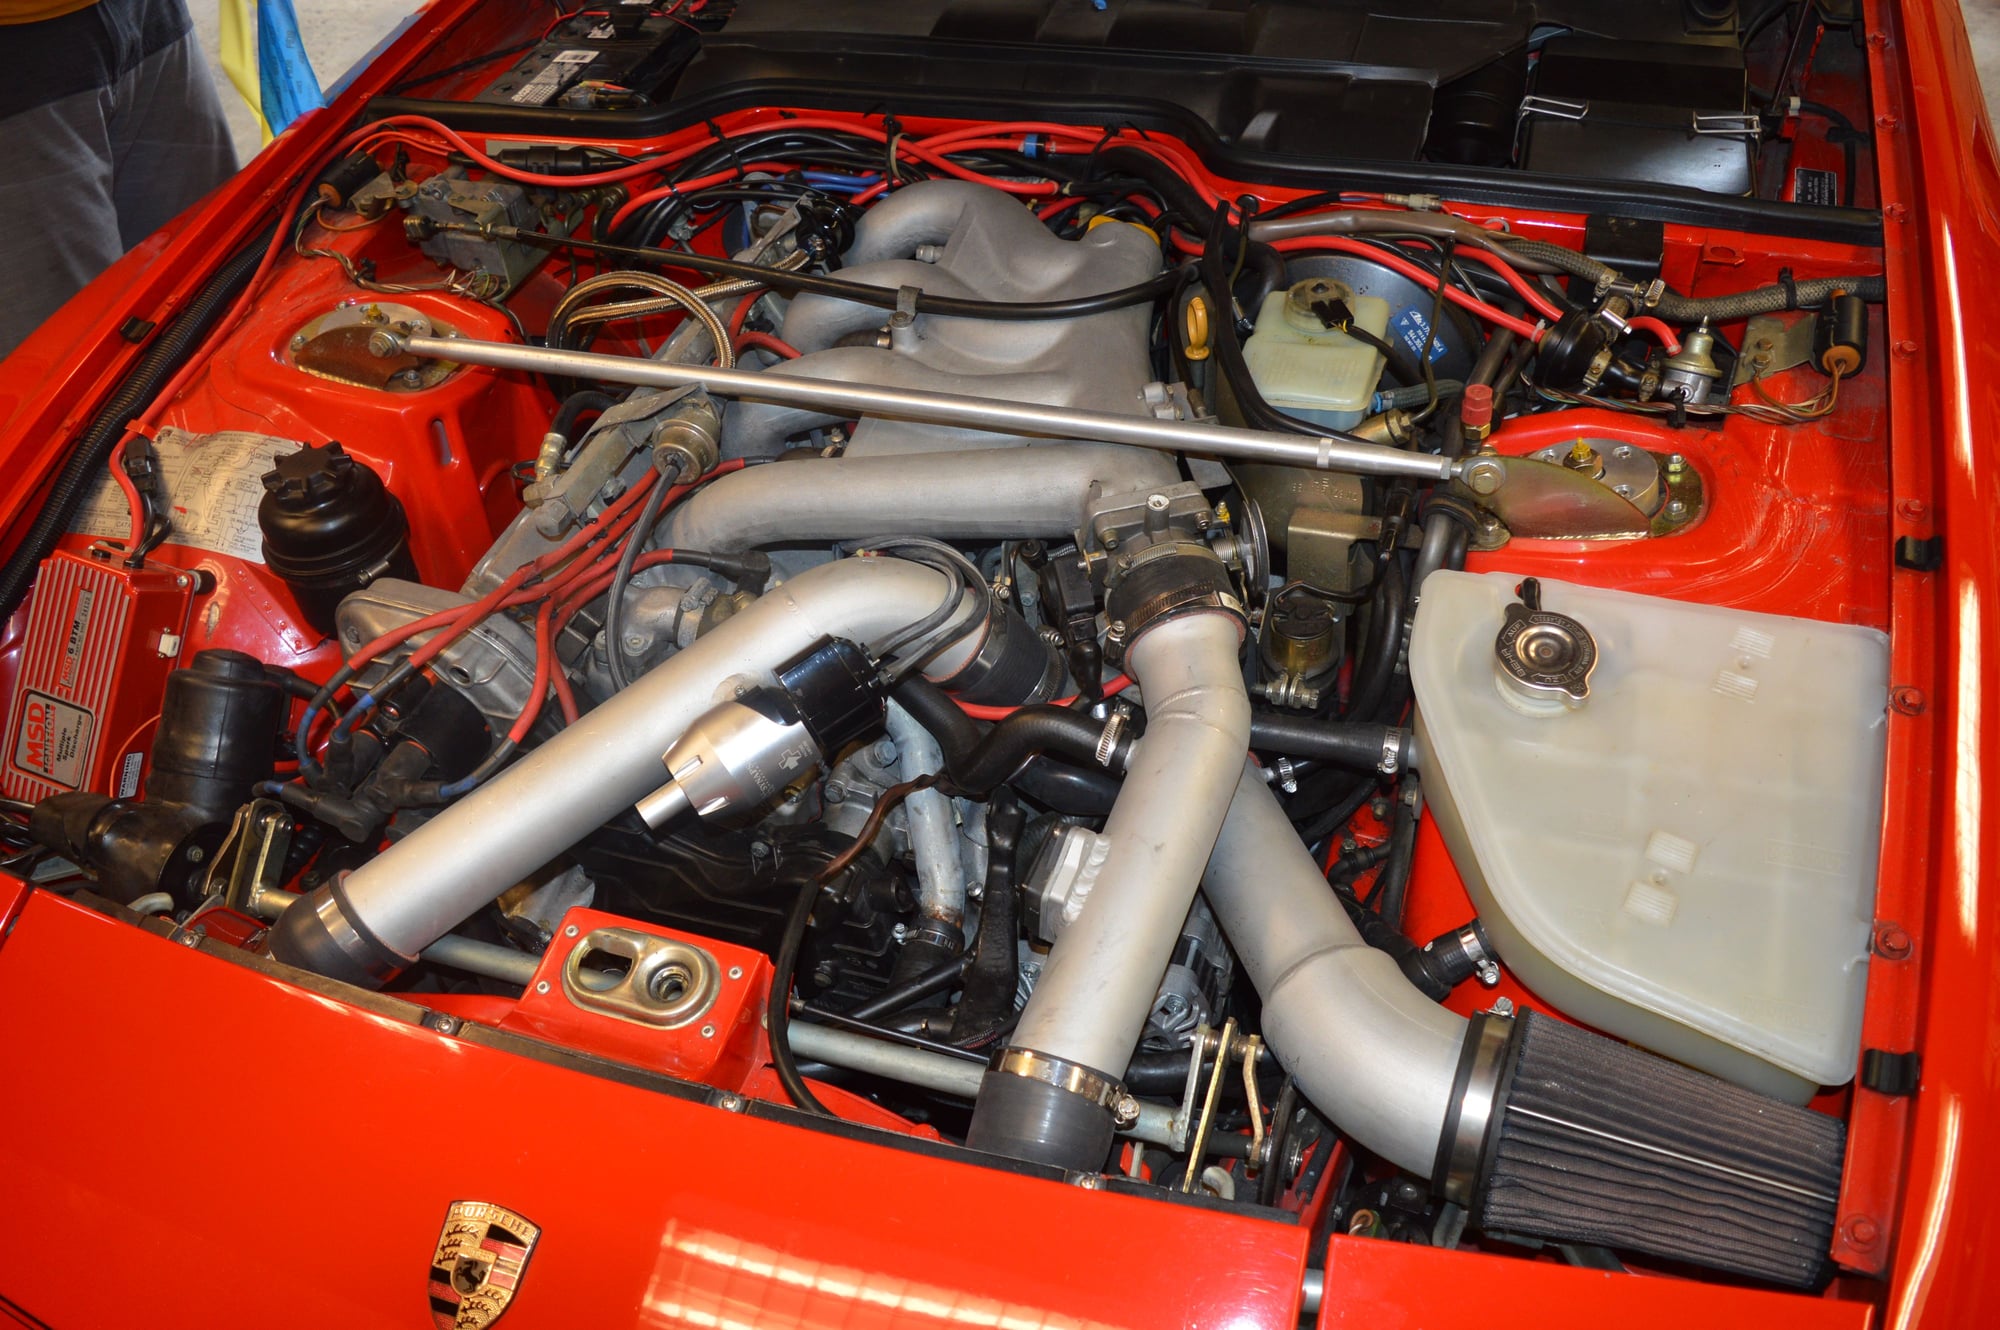
Put everything back together and took it for a test drive.
There is something hitting the body, I think it's the starter heat shield, my son was in charge of that, so I blame him. I will have to put it back up on jackstands and inspect it tonight. Still have the following to do:
Change the brake fluid
Get the AC working, it was working previously, I don't know if the clutch is not picking up now or if it has a freon leak.
Put the radio all the way into the dash.
Drive it some more before my son takes it to Ft. Wayne next weekend.
It sure starts easier, i.e. like 1/2 flywheel turn before it catches, before if I had to guess it would be more like 2 flywheel turns.
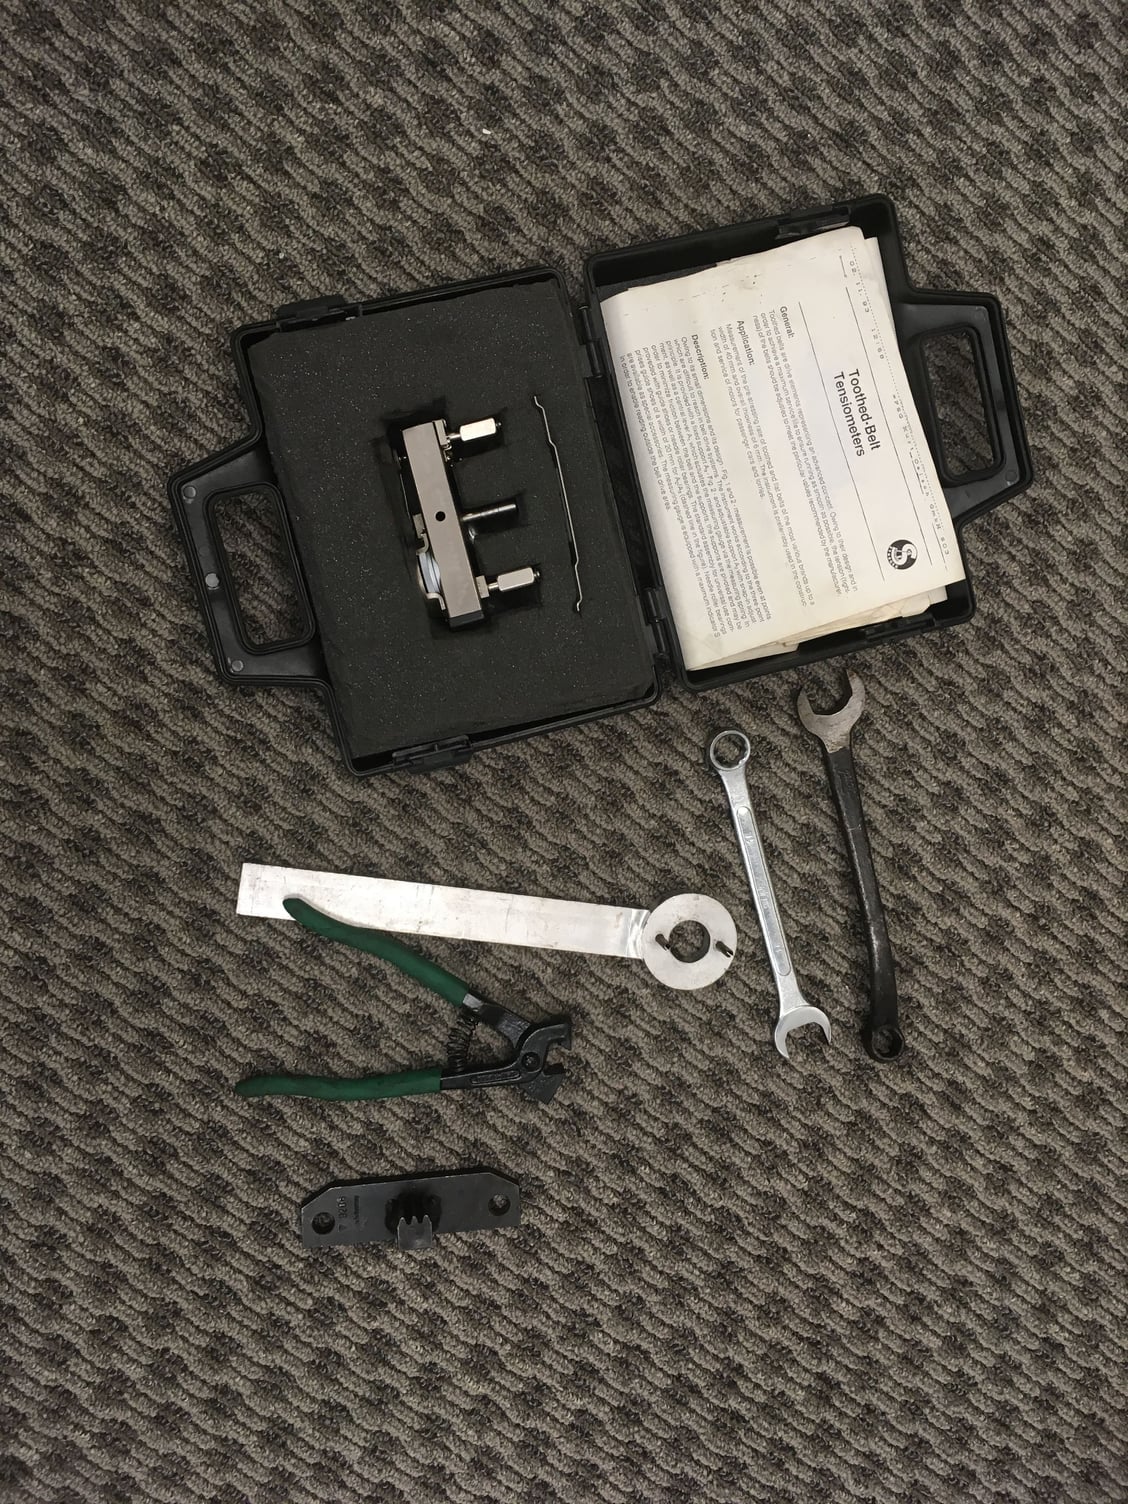
I have to say a HUGE thank you to sh944 for lending me the specialist tools, basically couldn't do it without them. I have to troubleshoot the one thing before I send them back.
Here's a few pictures:
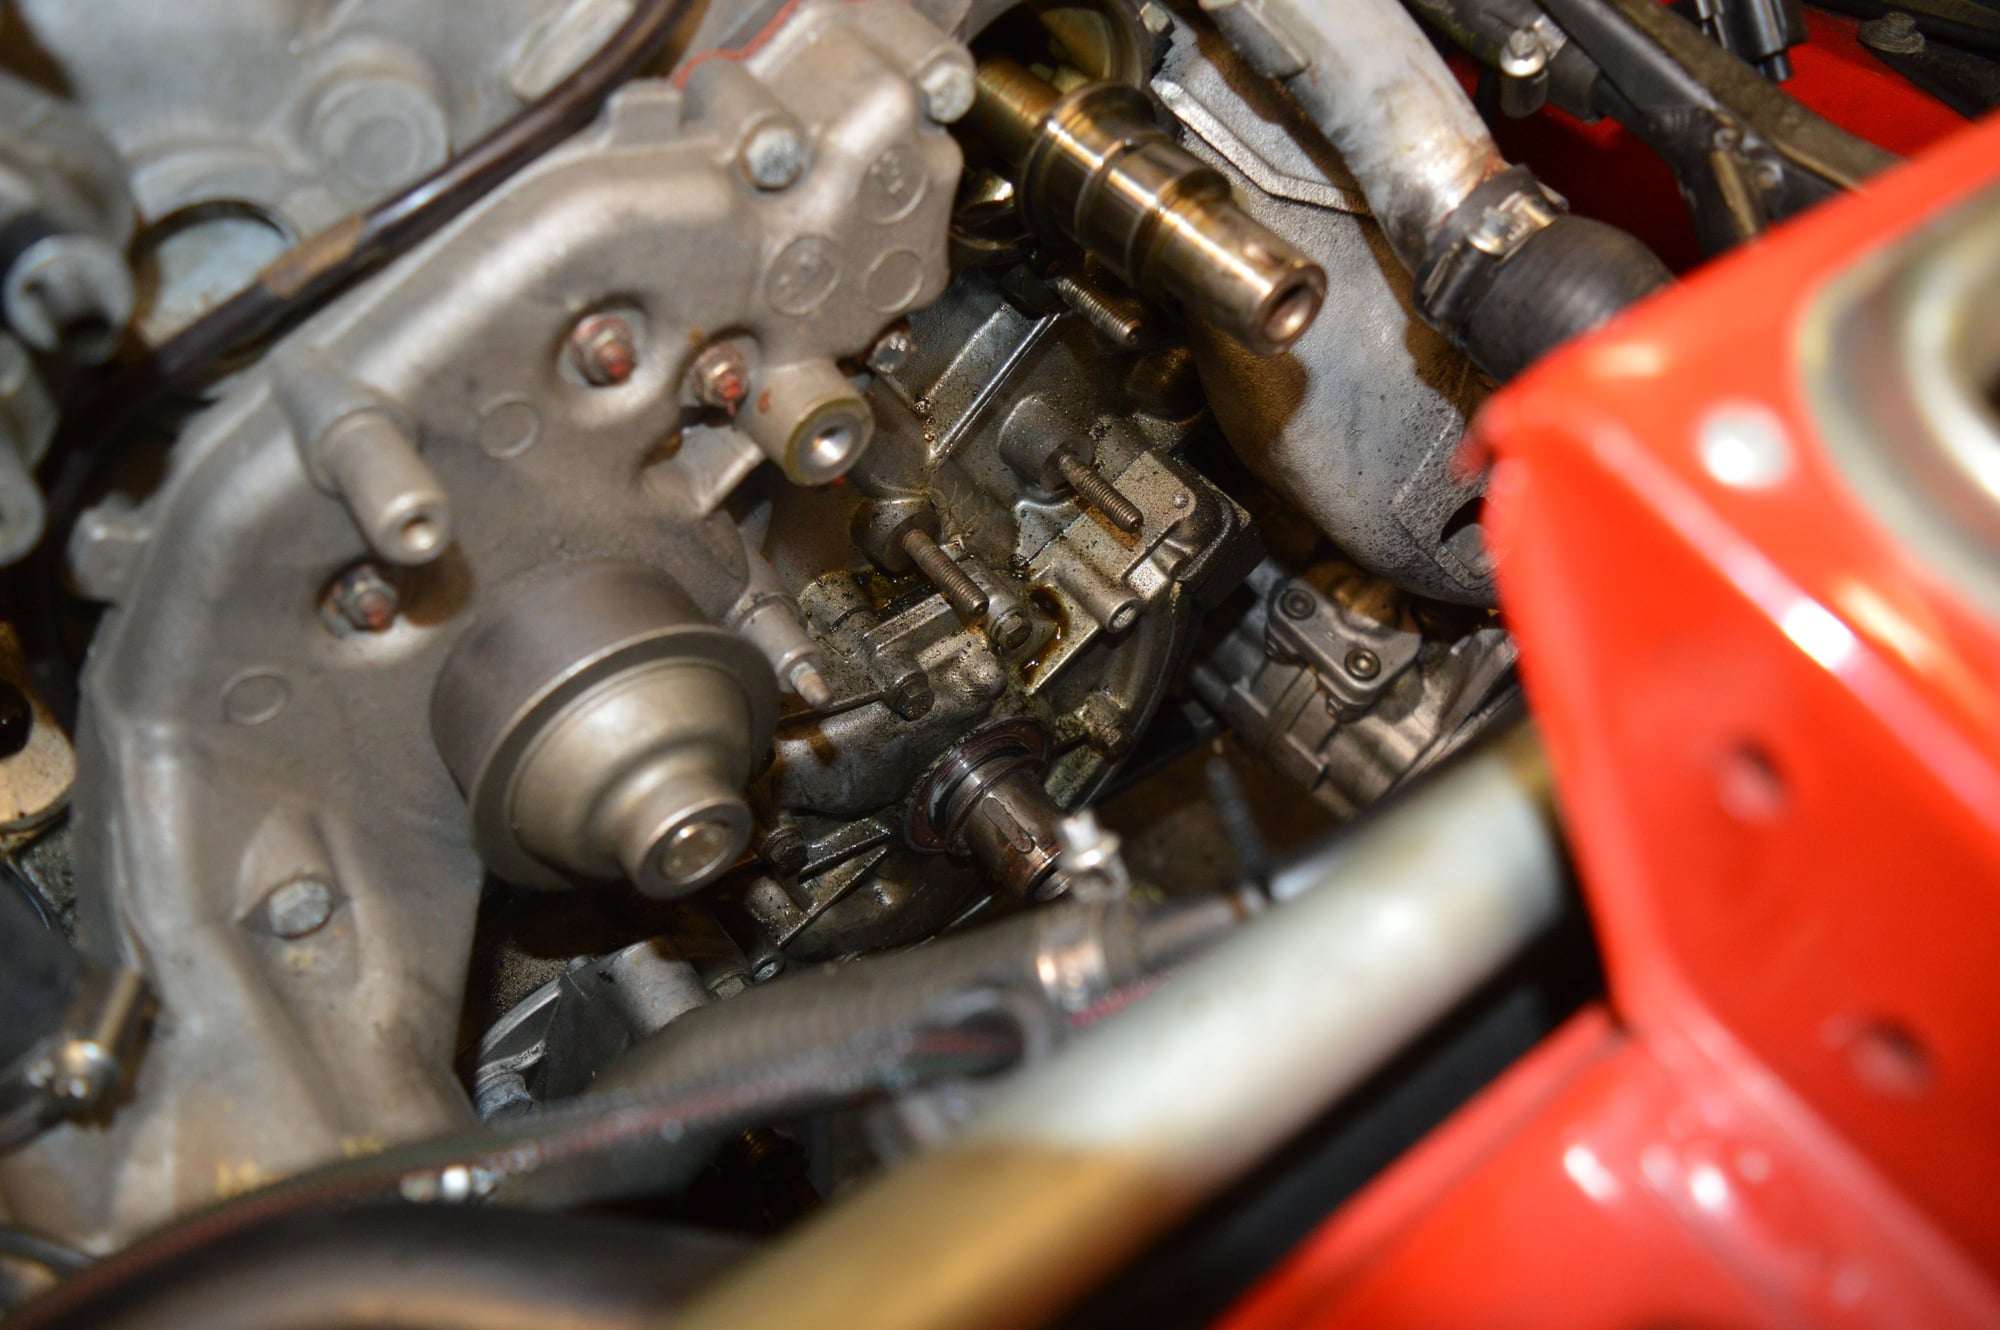
Upper balance shaft housing seal that was leaking, you can see it pool around the oil pump cover below.
The upper balance shaft housing which appears to be the leak, but I am not 100% certain. I believe it was the o-ring, the one that came out was hard as rock.
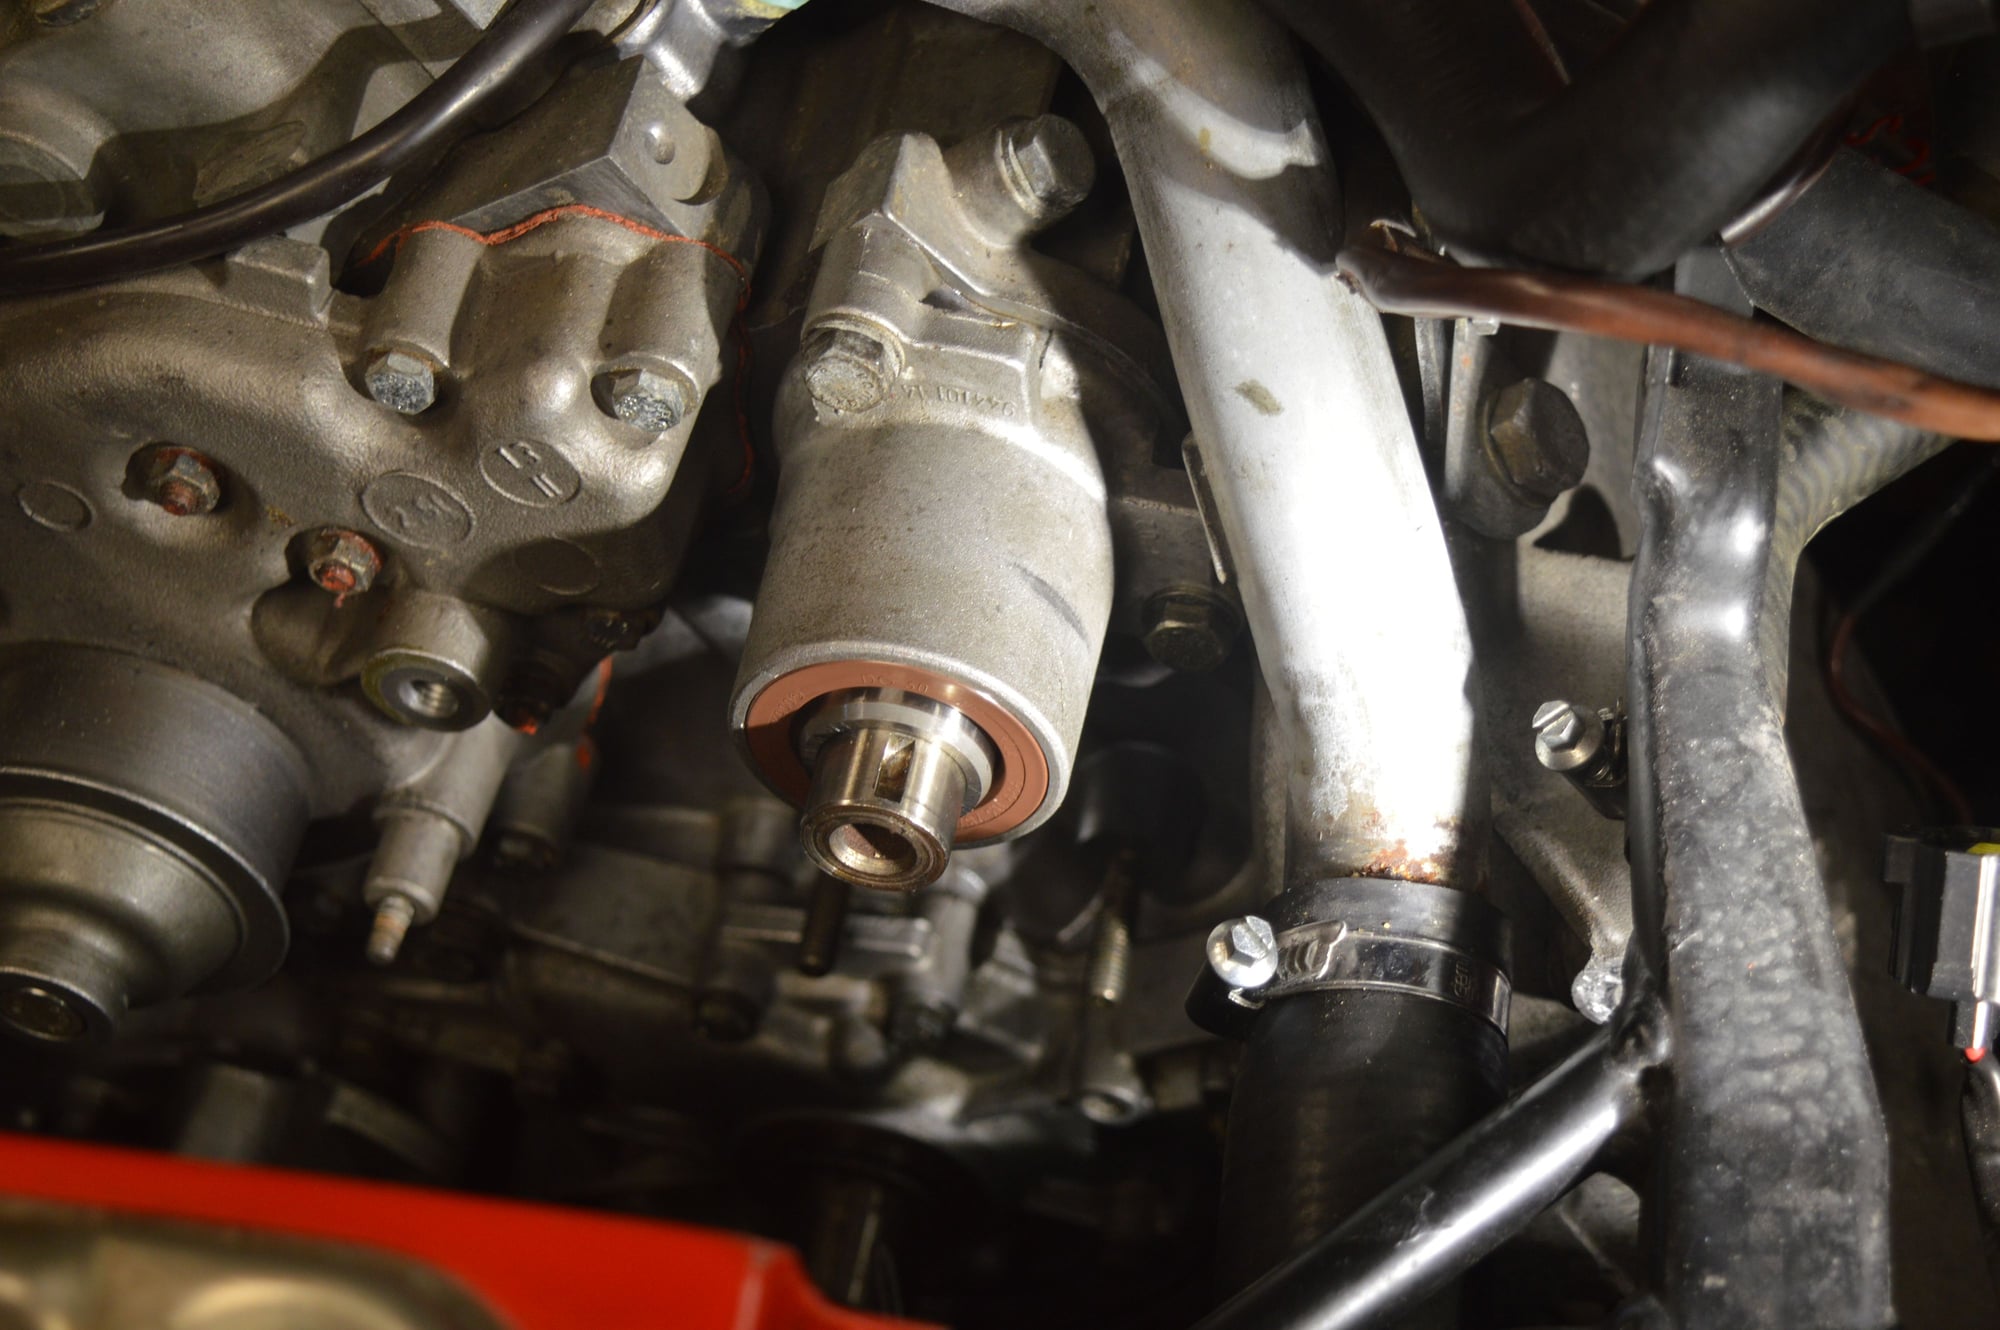
New front seals on the balance shaft and main shaft. I rolled the OEM seal on the crank shaft because I wasn't paying attention and it got caught on the oil pump gear sleeve, found a replacement at O-Rielly's and installed it. I put the seal over the gear first then slide everything on and taped it home.
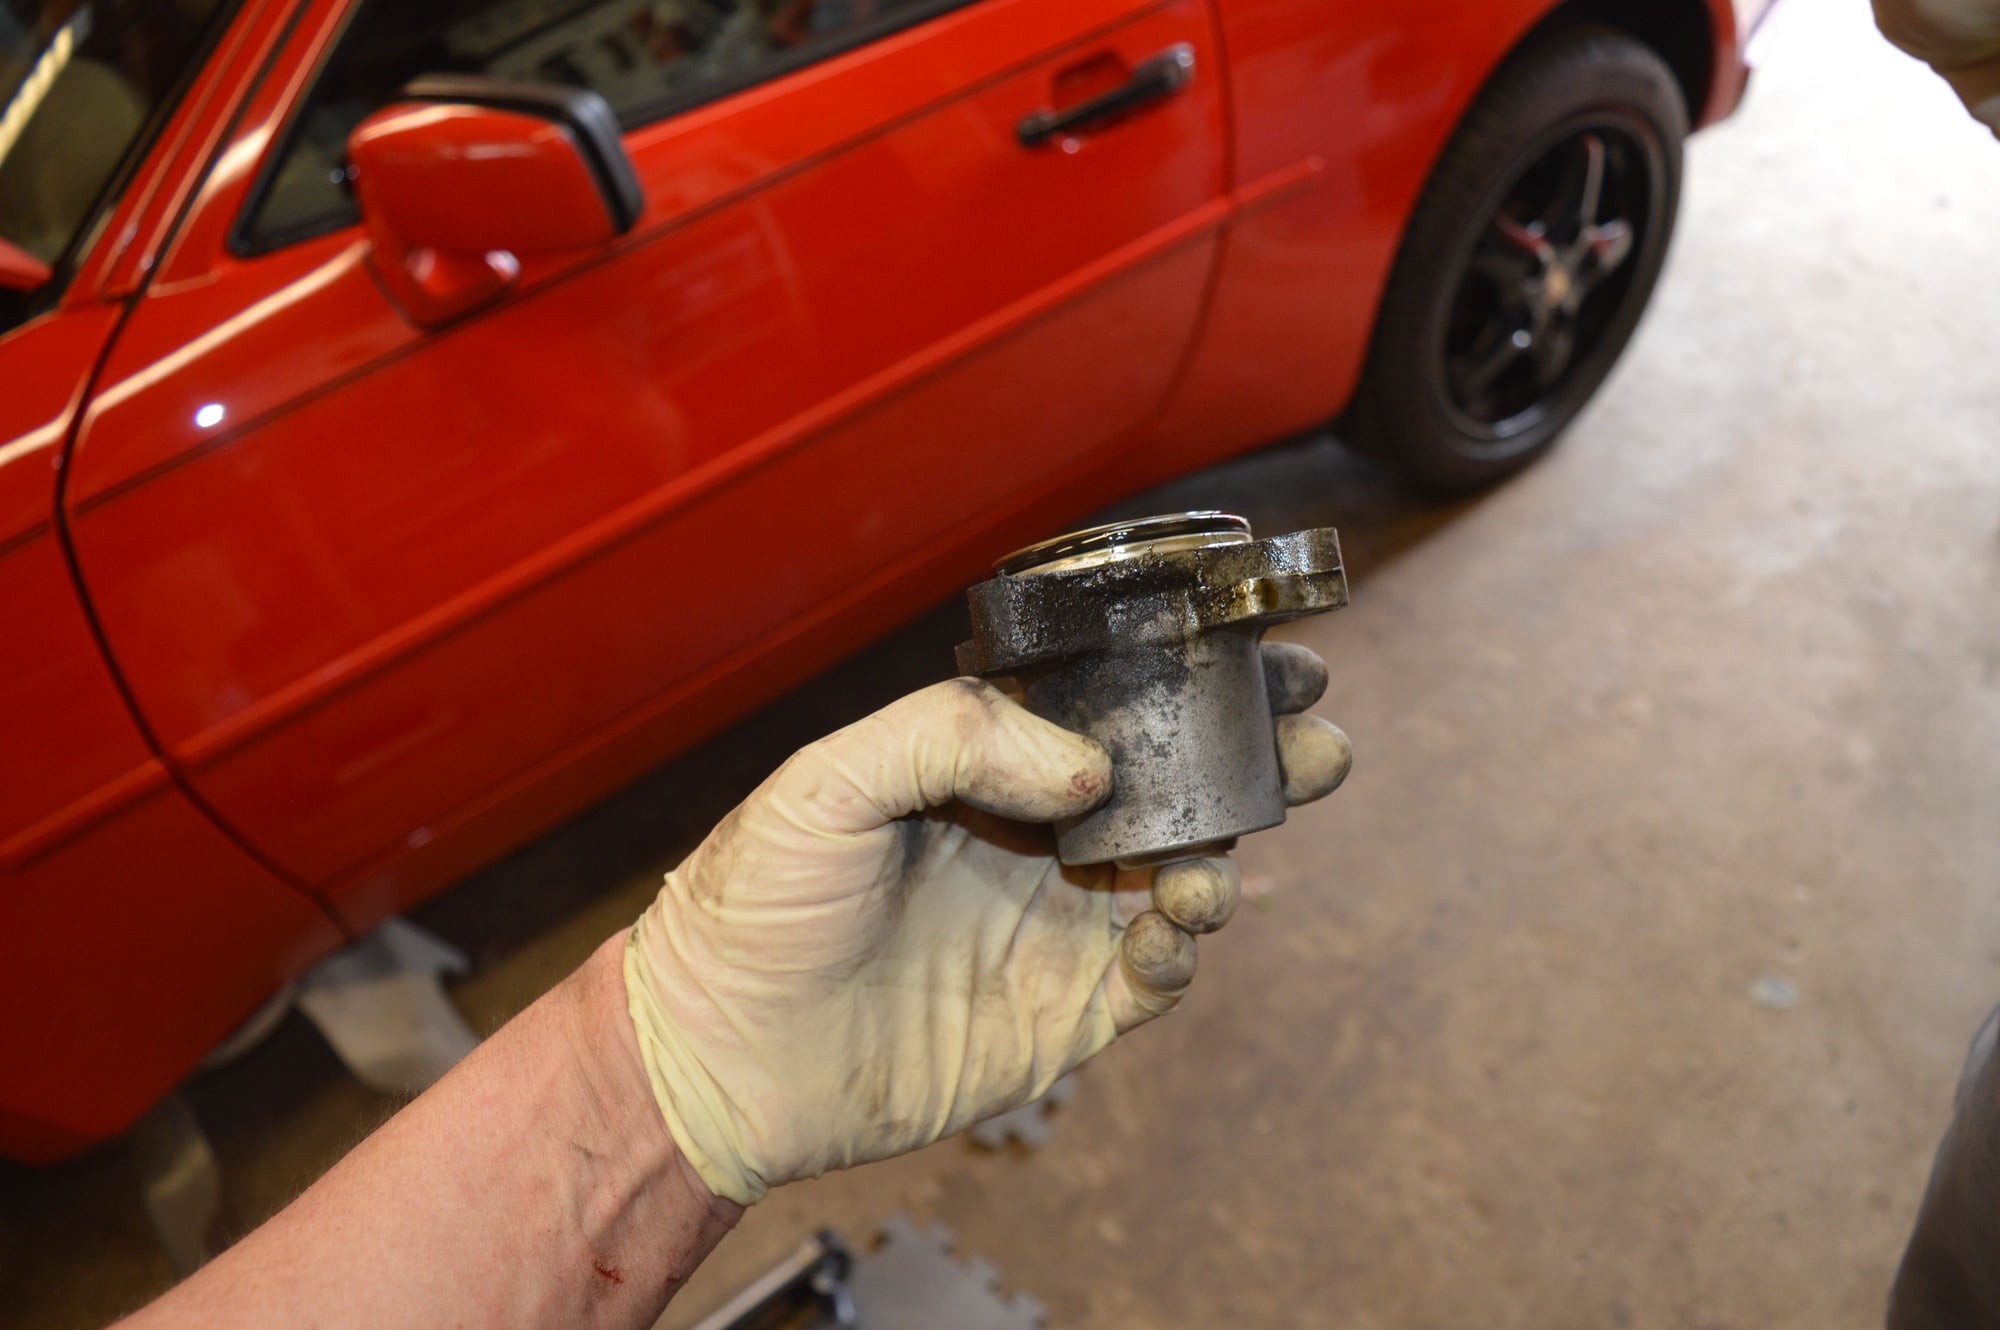
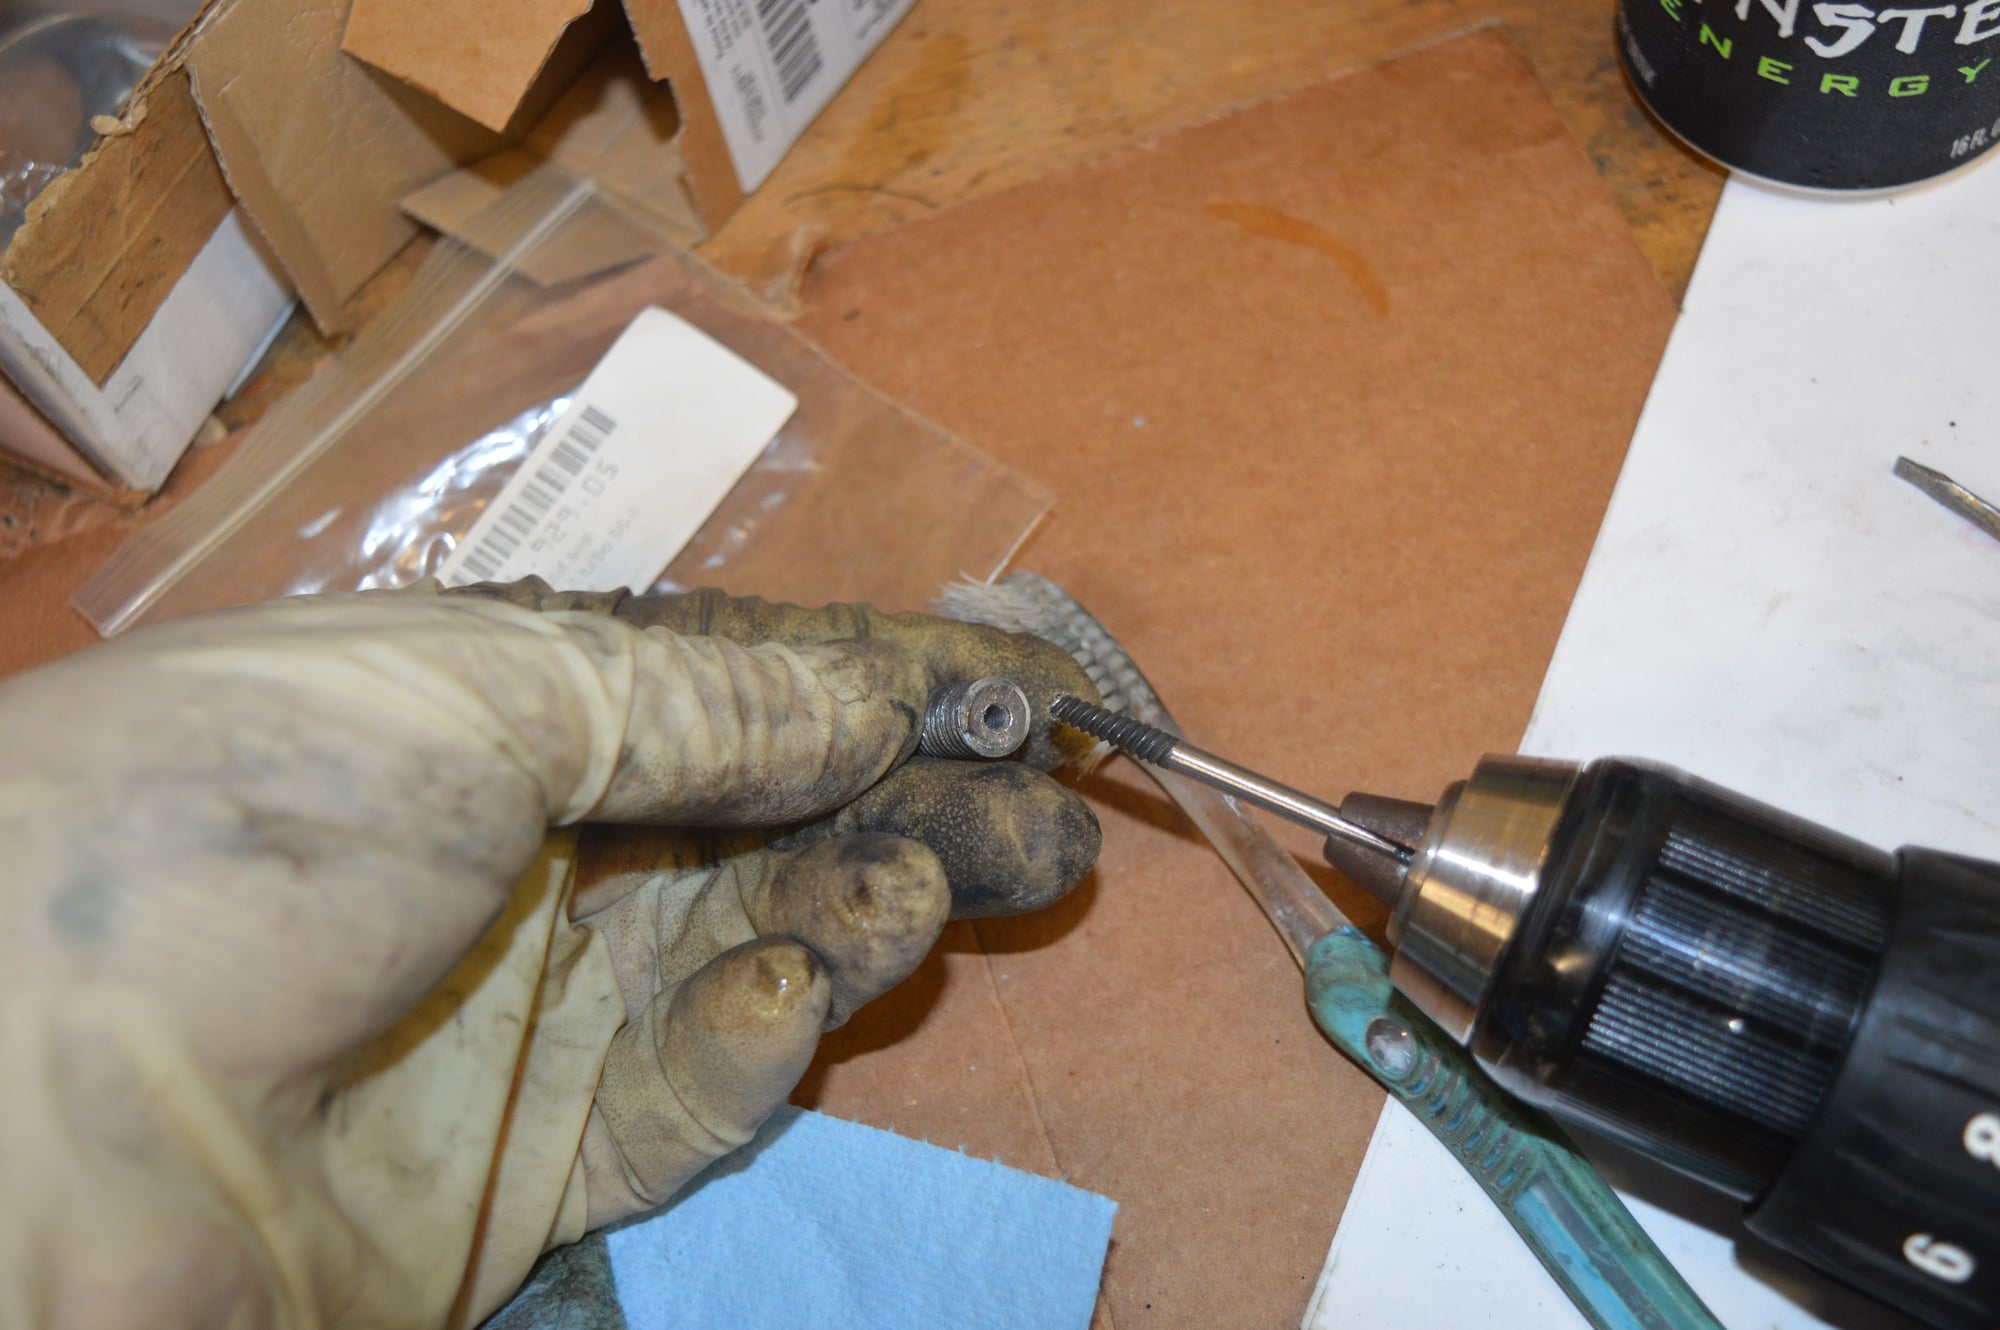
Here is the broken bolt on the front of the AC compressor. That's all that was sticking out of the rear, couldn't get it to budge, it's flush with the front where it sheared. I ended up using a small drill bit for a pilot hole, then a 7/64" and then an easy out and it worked! OMG!!!!
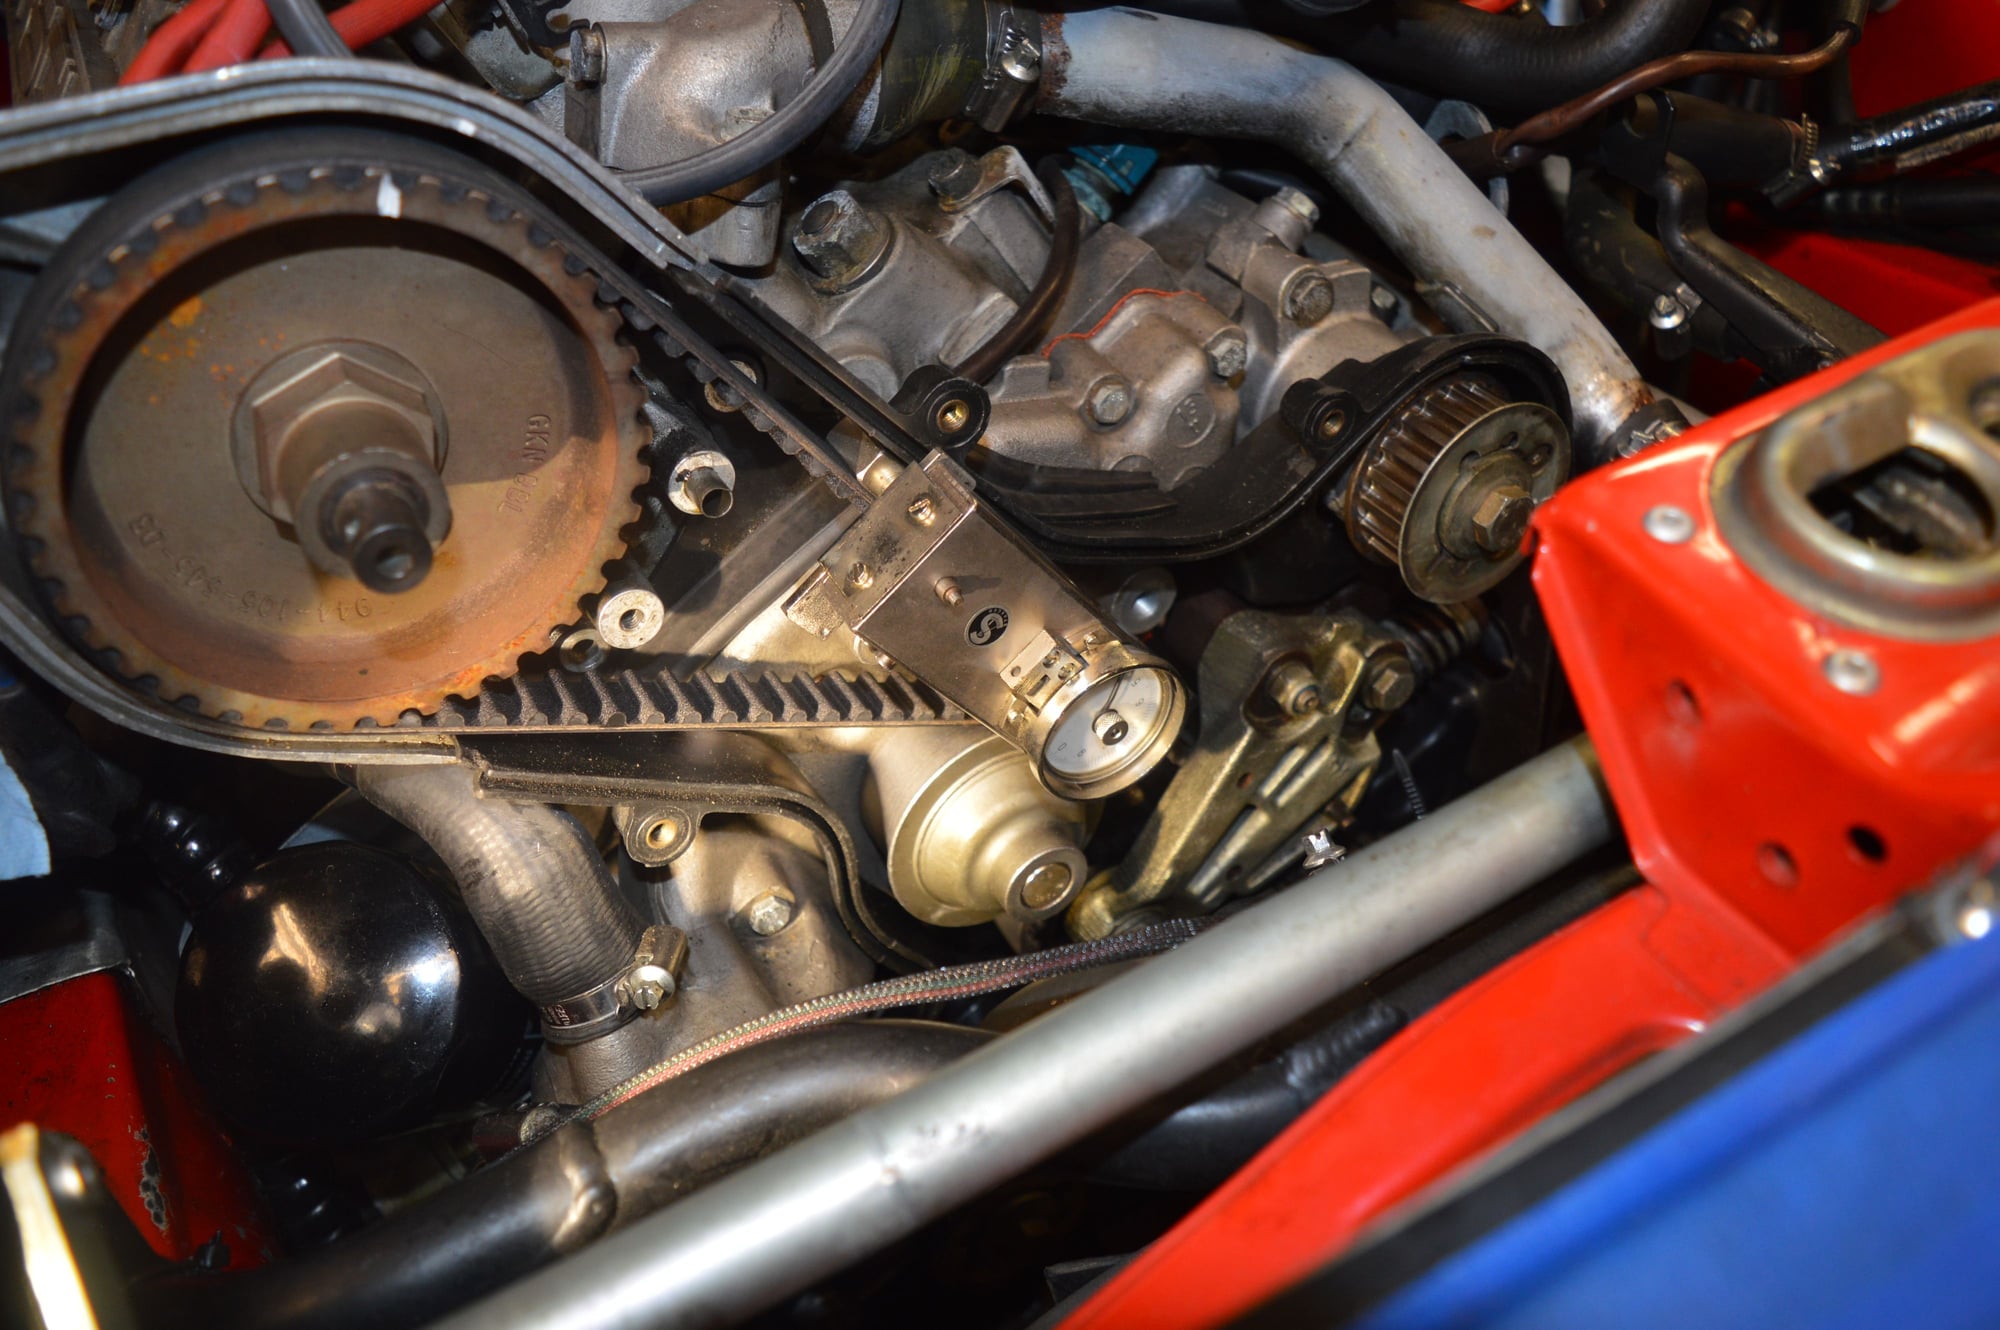
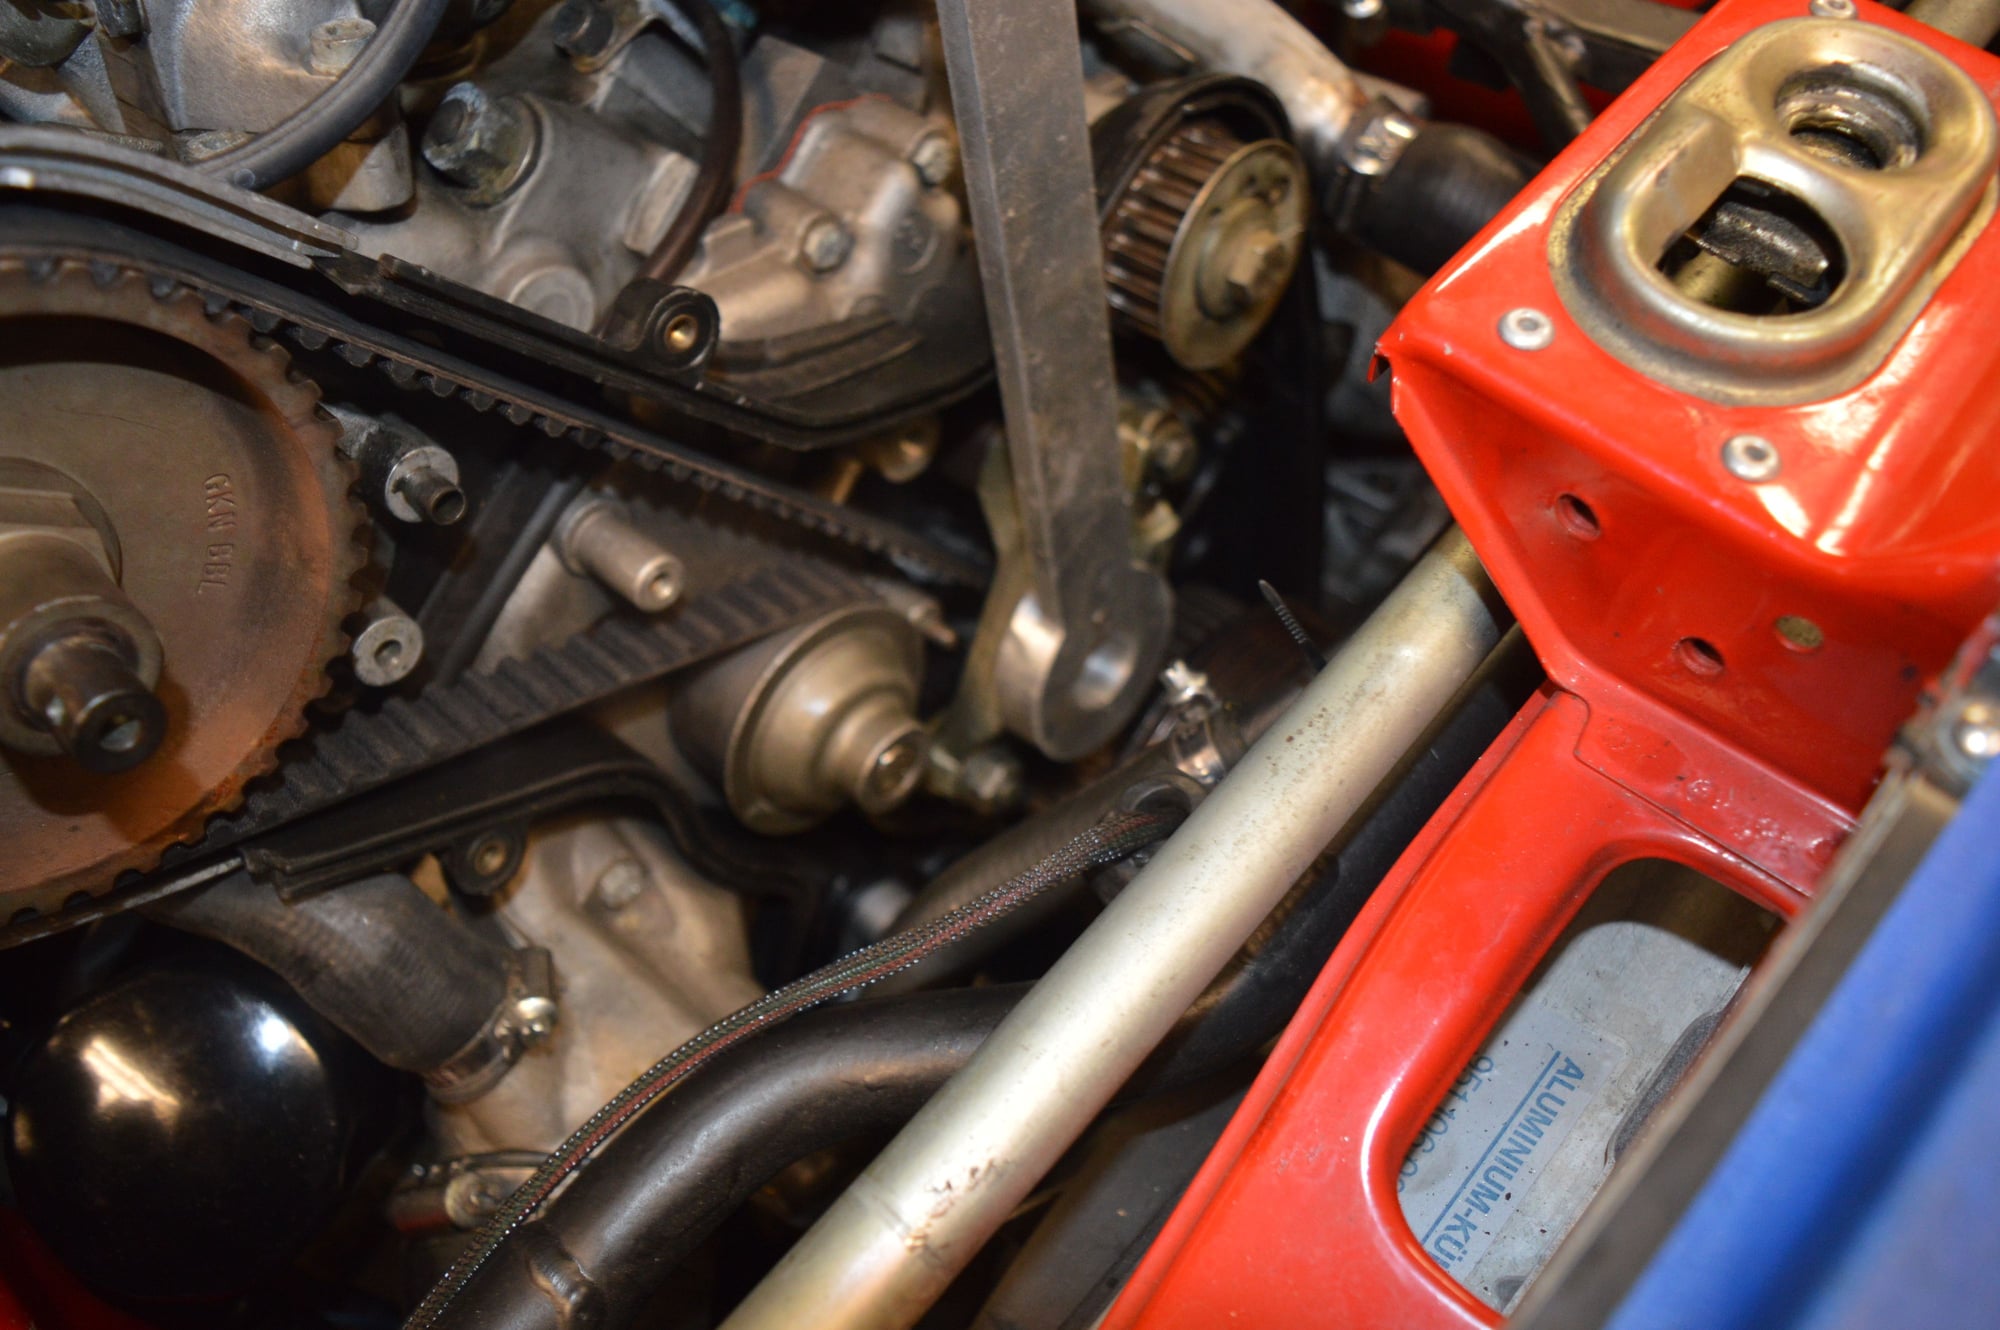
Having the belt tension tool and the tool that holds the balance shaft and tensions the tensioner with the two roll pins is heaven sent! Would be very difficult to do without. I was amazed how little tension (almost none) is on the balance shaft belt.
My son who will be taking the car next weekend and keeping it for a while, he takes care of his stuff. He did at least half the work or more. I made sure to yell at him during the whole process!!!!
No, we had a great time! He is a civil engineer who has a lot of mechanical skill since he was in high school.
All done and buttoned up. Ran with a M3 during the test drive!
I sort of hate to says this after your are done....but I didn't see new sleeves in your parts pile. They almost always have grooves on them from the old seals....
The sleeves were in the two cardboard boxes with the 928 part numbers and I had the oil pump gear separate from the previous owner, so yes, they were replaced.
The sleeves were in the two cardboard boxes with the 928 part numbers and I had the oil pump gear separate from the previous owner, so yes, they were replaced.
I have searched quite a bit and my OCD is forcing me to ask what the torque specifications are for two nuts that secure the timing belt guide rail to the water pump. I can't remember what I did when I changed the timing belt previously and I can't find anything in my notes. I did not use any blue thread locker apparently, but I am considering using it this time. In the process of using a torque wrench on every other fastener in the front of the engine, I feel the need to torques these as well. Thank you.

 05-07-2019, 01:42 PM