When you click on links to various merchants on this site and make a purchase, this can result in this site earning a commission. Affiliate programs and affiliations include, but are not limited to, the eBay Partner Network.
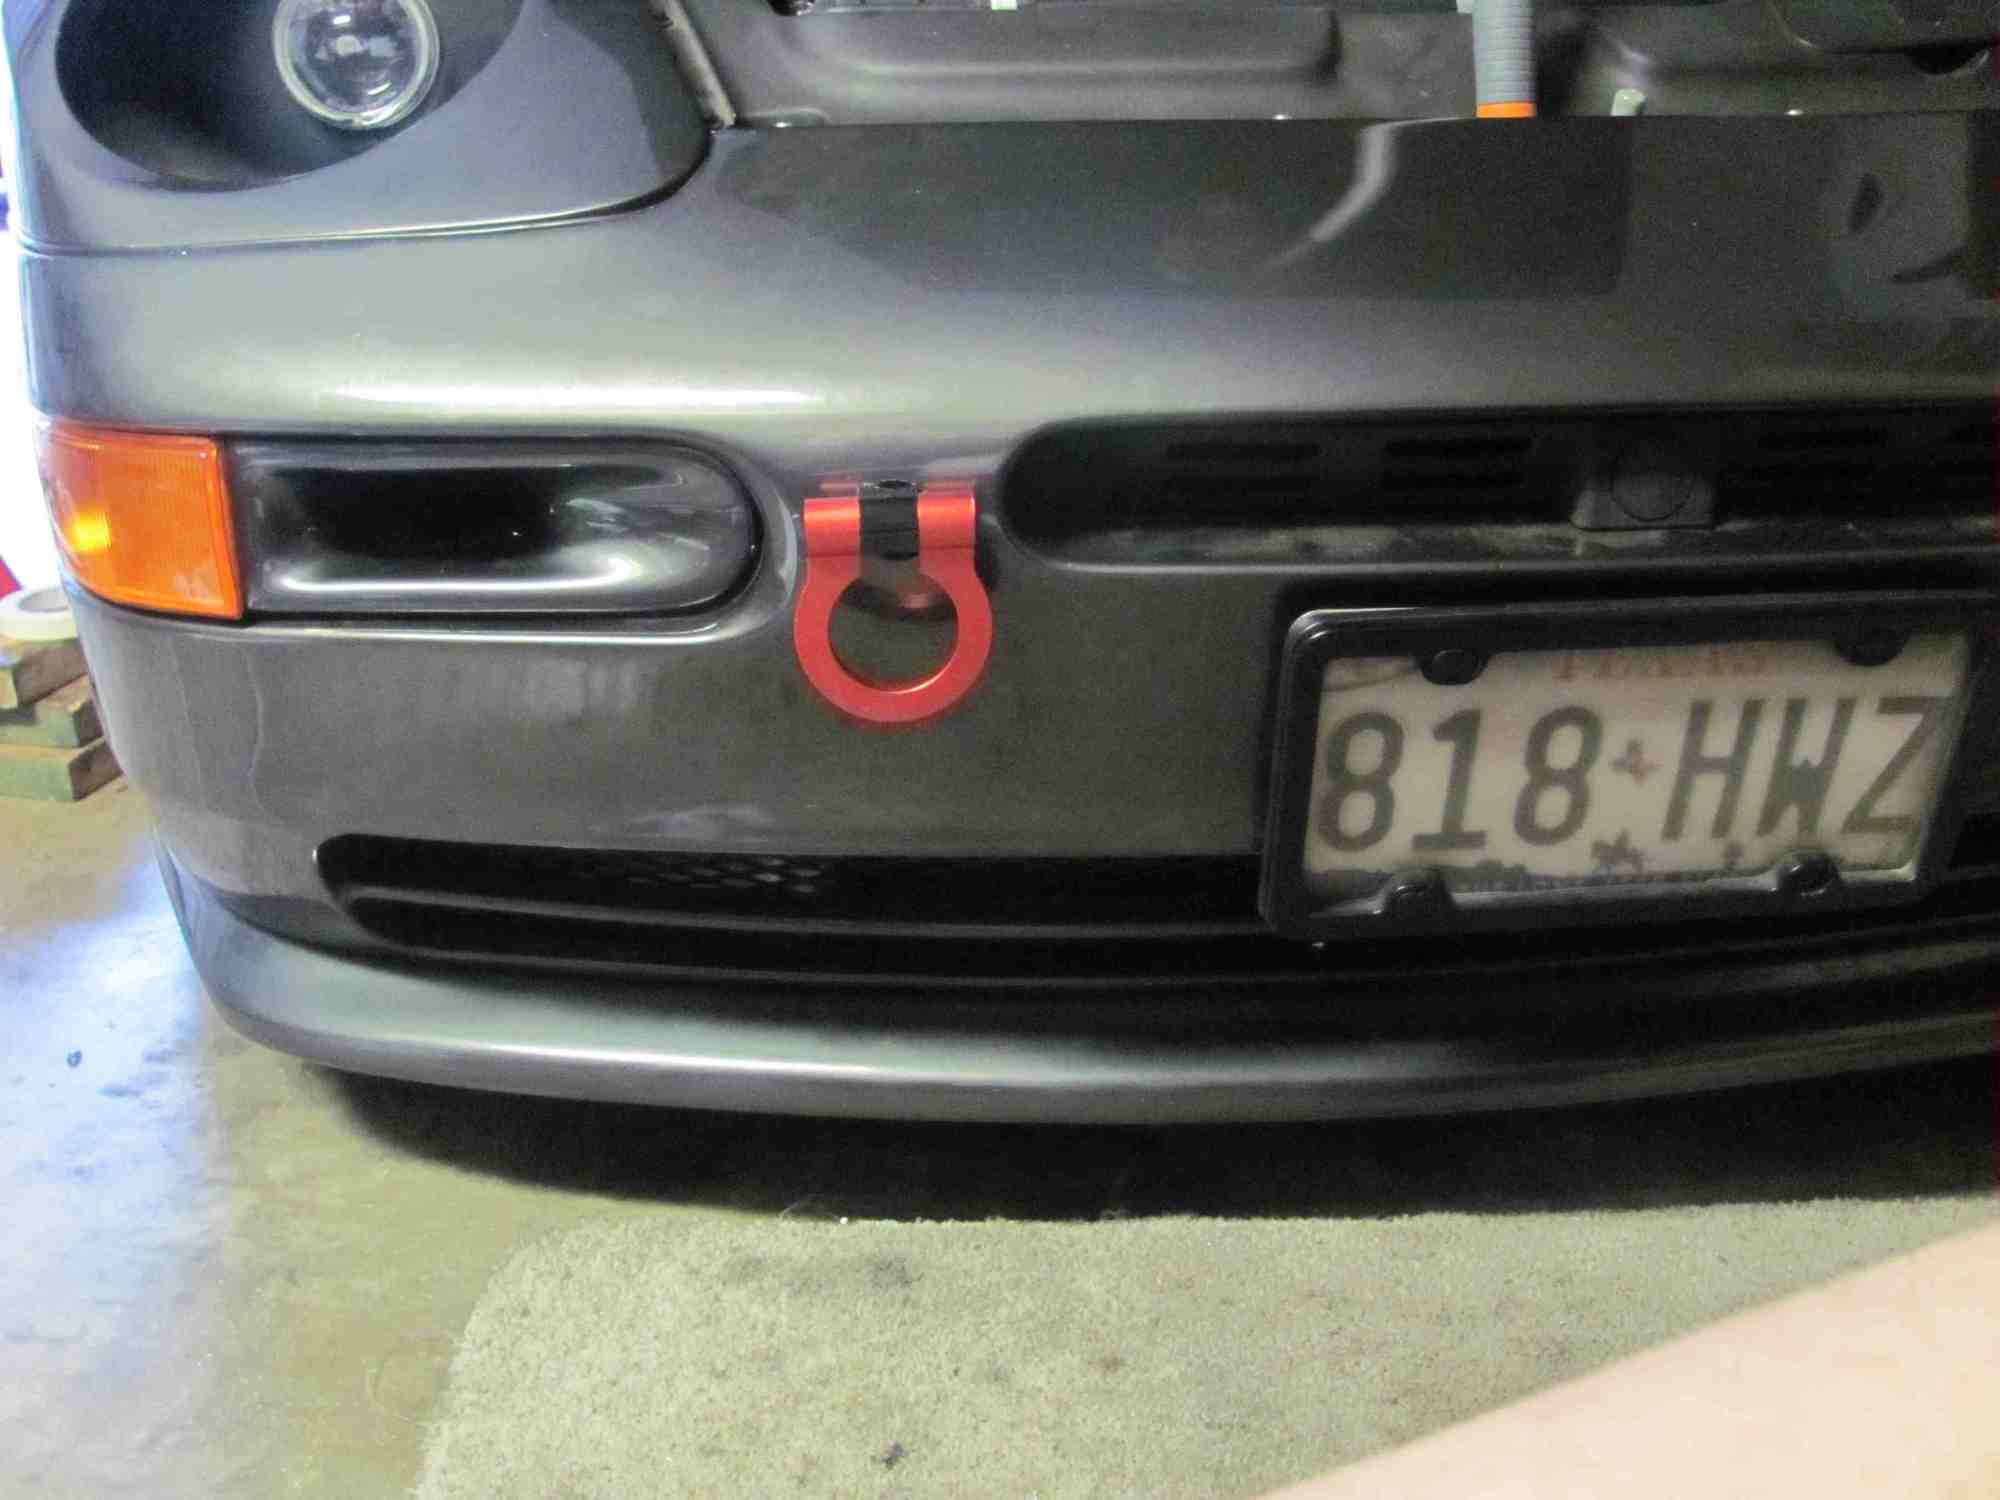
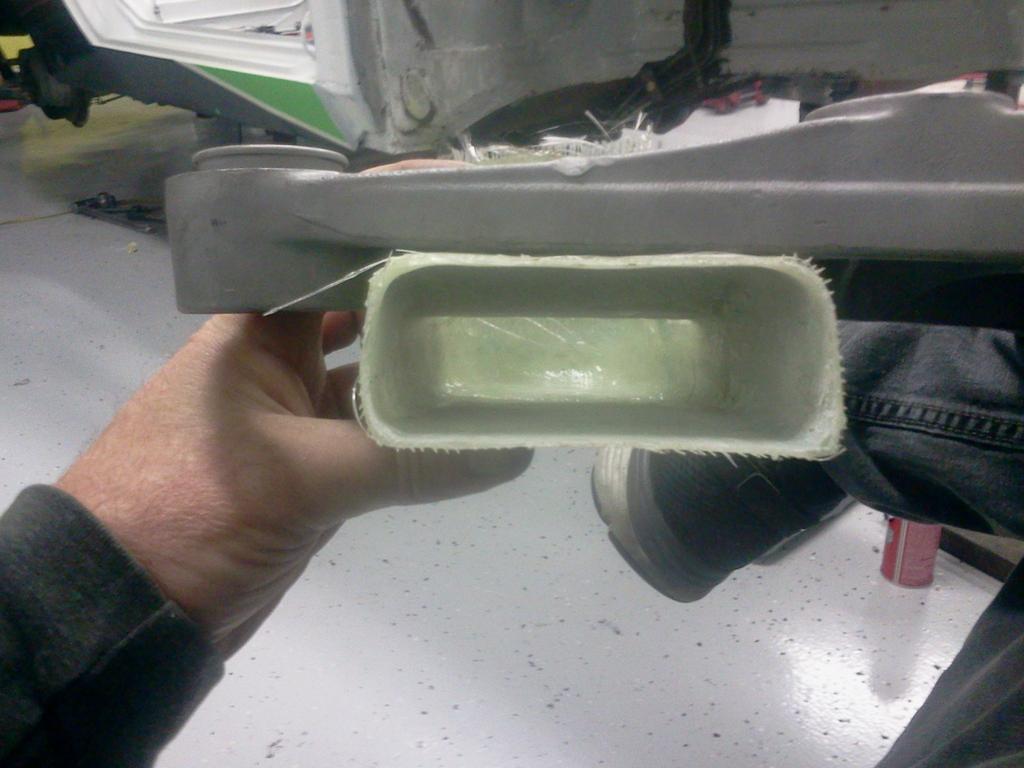
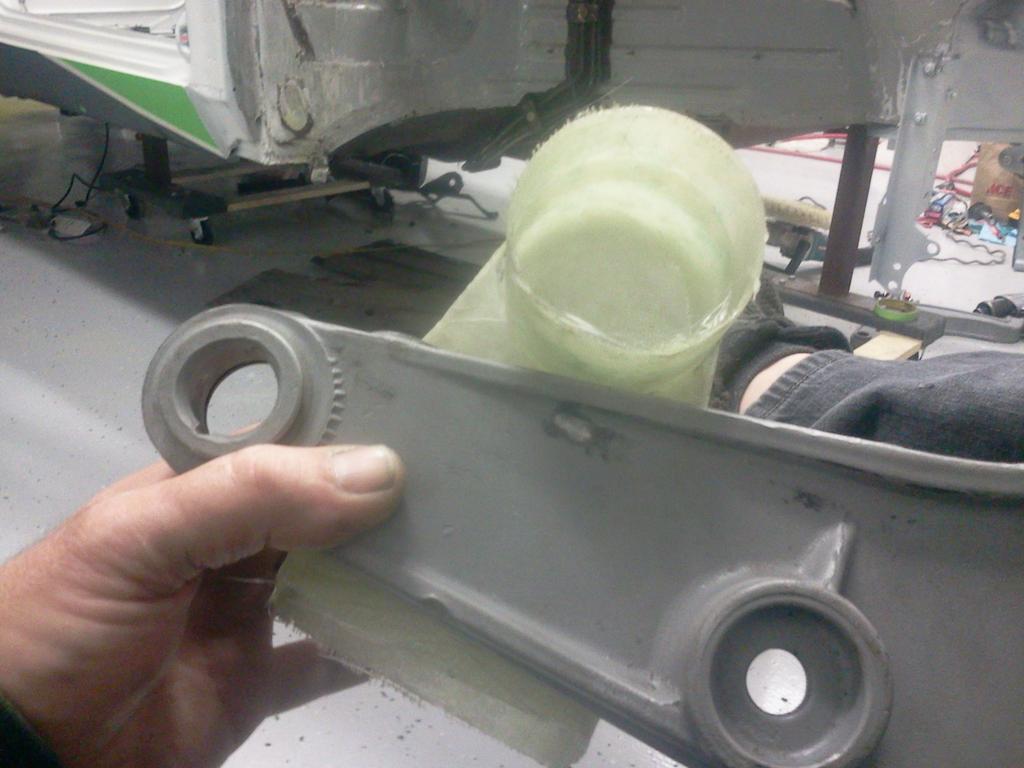
I have a set of rectangular brake duct scoops that fit in my 968's front bumper cover in place of the fog lights as pictured below (sorry the pictures came out so big):
Front view
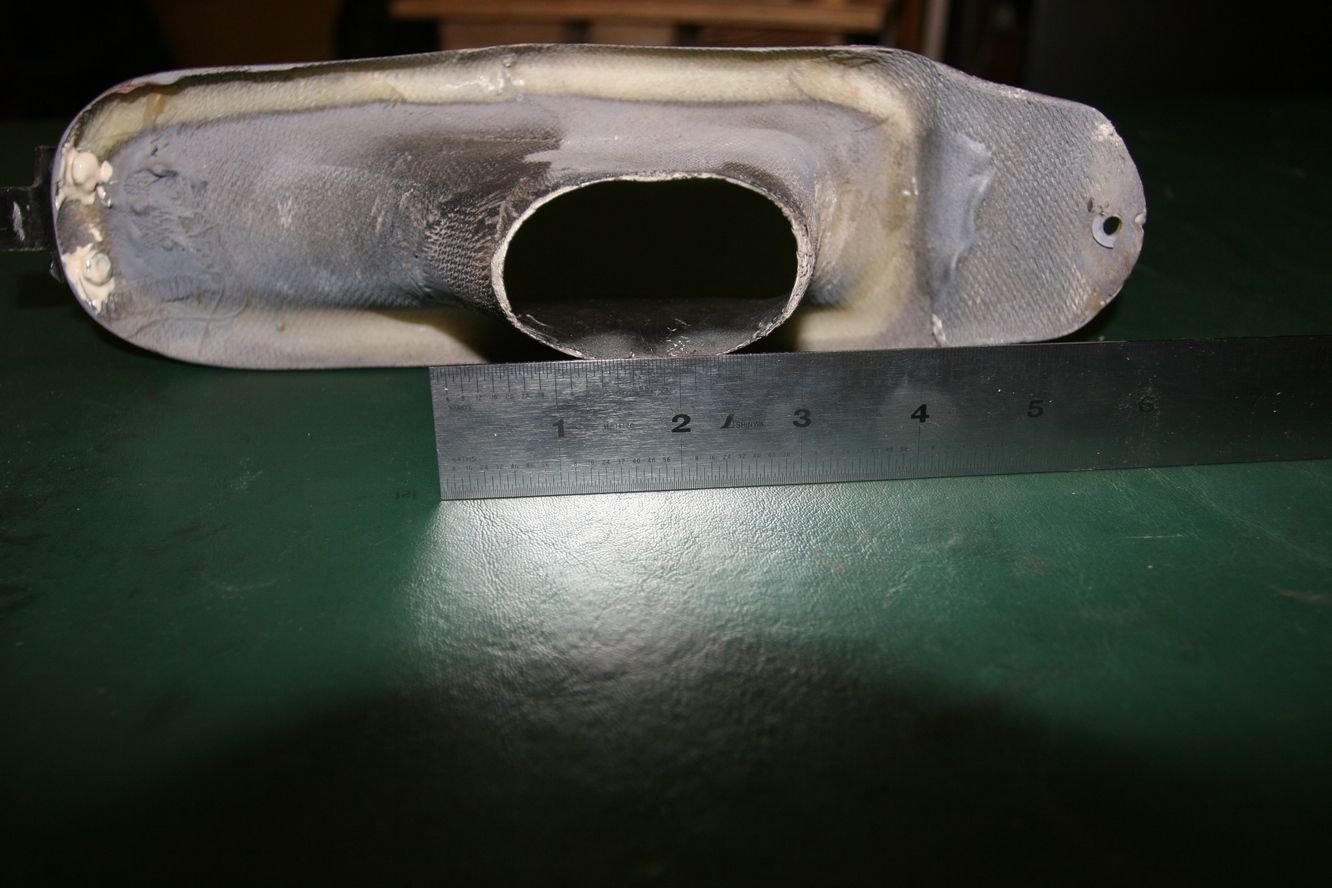
Back of scoop
This has to be the most idiotic design they could have come up with, since I'm now faced with figuring out how to attach a round hose (3" diameter) to a very rectangular opening. Not only that, but the opening tapers from the attachment point to the scoop forward. It's as if the brianiacs who designed this scoop did everything they could to maximize the chances of the hose falling off. But it's what I have, so I have to make it work. I was thinking of somehow attaching (probably by gluing) some sort of spacers to the top and bottom of the scoop to turn the rectangle into something resembling a circle. Also, I plan to secure the hose to the opening in the fender liner that the hose has to pass through to get to the brakes (possibly using the flap for the opening), causing the hose to exert some compressive force through the hose's coiled wire forward against the scoop to help hold the hose in place. That, and lots of Gorilla tape to help hold the hose to the back of the scoop. Any other suggestions? Thanks.
Ok. I'll give it a try. Not the optimal solution but functional enough. I would suggest some small pan head type screw in the edge of the back side opening where the hose will attach to to give a "lip" for the hose to grab onto and then use s thin aluminum dryer hose and a few zip ties to secure the hose to the opening. A little rigged up but should be functtional and not visible from outside the car.
A more professional approach would be to mold in a proper tube with fiberglass resin to hold a real air duct brake hose.
Thanks as usual for the suggestions. This is definitely my go-to forum for help with fabrication-oriented projects, among other things. But I forgot to mention a couple of "boundary conditions" in my original post:
1. I've never worked with fiberglass, and have zero artistic/craft-oriented skill, so reshaping the opening from a rectangle to a circle would be an absolute last resort, as I would probably botch it three times before coming close to getting it right. I need to have this project done before my next track session this coming Saturday, which means doing it all during the week after work, so I don't have a lot of time to learn a new skill, even one that would probably be good for me to have.
2. I would like to avoid drilling any holes through the duct scoop, as they are visible from the outside. Yes, it's primarily a track car, but one that's still holding on to some semblance of streetability, so I'd rather not drill screws into painted surfaces if I can avoid it.
3. If at all possible, I'd like to avoid removing the bumper cover, just because it's such a pain. Or maybe I'm just being lazy because it's so damn hot. The fog light openings are right at 3" tall by maybe 5" wide, so ideally I'd like to attach the hose to the scoop when it's off the car, then push the hose through the opening, and attach the scoop.
Sorry for not mentioning these in my original post.
Last edited by Cloud9...68; 07-22-2018 at 05:02 PM.
pop rivets will not be visible from the outside vs screws to secure the duct hose.
get a size up of duct hose and slit the end so it sort of wraps onto itself (imagine making a cone out of a tube end) and hose clamp it.
pop rivets will not be visible from the outside vs screws to secure the duct hose.
get a size up of duct hose and slit the end so it sort of wraps onto itself (imagine making a cone out of a tube end) and hose clamp it.
Rivets might work, especially since I could paint their heads with a black sharpie. I'm not sure I'm following your idea of getting a size up of duct hose. How would I attach it to the 3" hose going to my brakes?
Given that you want to attach the hose to the duct (scoop), the duct to the bumper. In attaching my own set-up years ago, I made two simple brackets from steel strips, probably 3/4" wide stock. My car's a 944S so a different bumper, etc. But the idea was to attach the brackets to available and unused M6 nuts / holes in the sheet metal, adjacent to the radiator and near the power steering cooling loop (RHS) and horns (LHS). The brackets run under the duct and are attached to it by one or two small bolts (M4 probably) with fender washers to spread the load in the fiberglass. The hose is attached to the duct as you would expect with simple hose clamps. I did not attach the ducts to the bumper using pop rivets, etc.: fragile, ugly, and not necessary. Good luck!
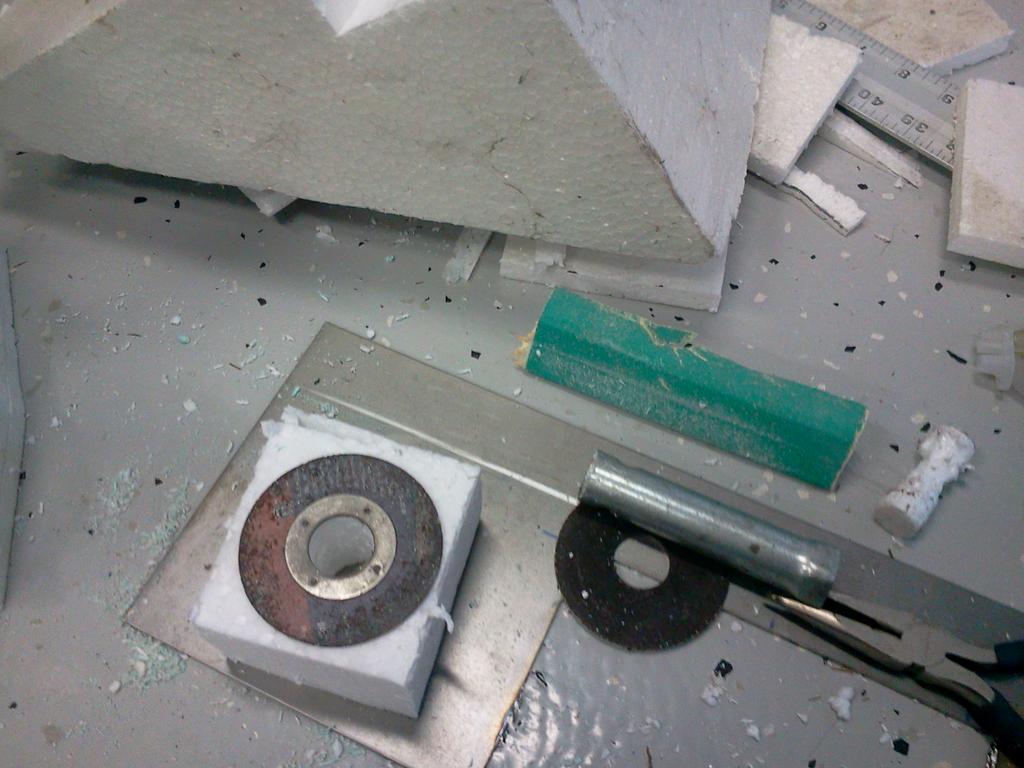
This is the method that I use to make stuff like this around the shop at home.
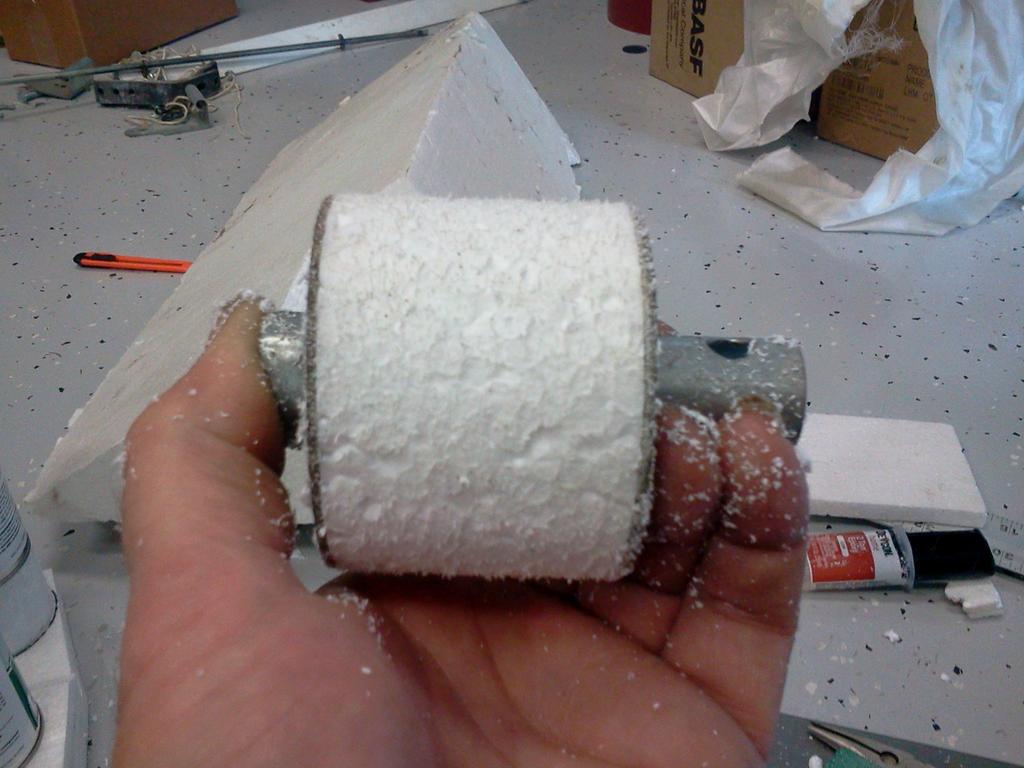
All you need is something flat and round at the dimension you want, in this case, some discarded cut off wheels that are no longer good enough to use with the grinder..., large washer, etc, anything you can find around home/shop works as long as the sandpaper will not eat it away easily.
Note the 80 grit sticky paper stuck to a paint stirring paddle.
In this instance I made a guide hole in the middle to use a hollow sleeve to keep alignment but 3m spray adhesive works to keep your pattern guides stuck.
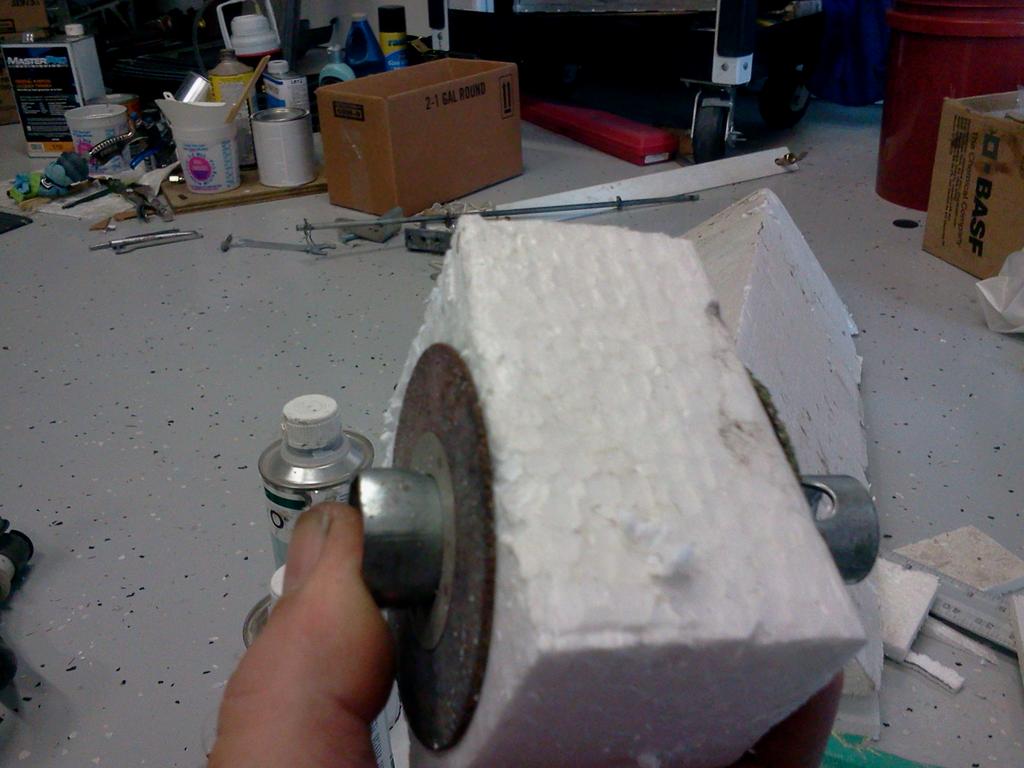
So, here it is, .040" cut off wheel on each side and ready to form,
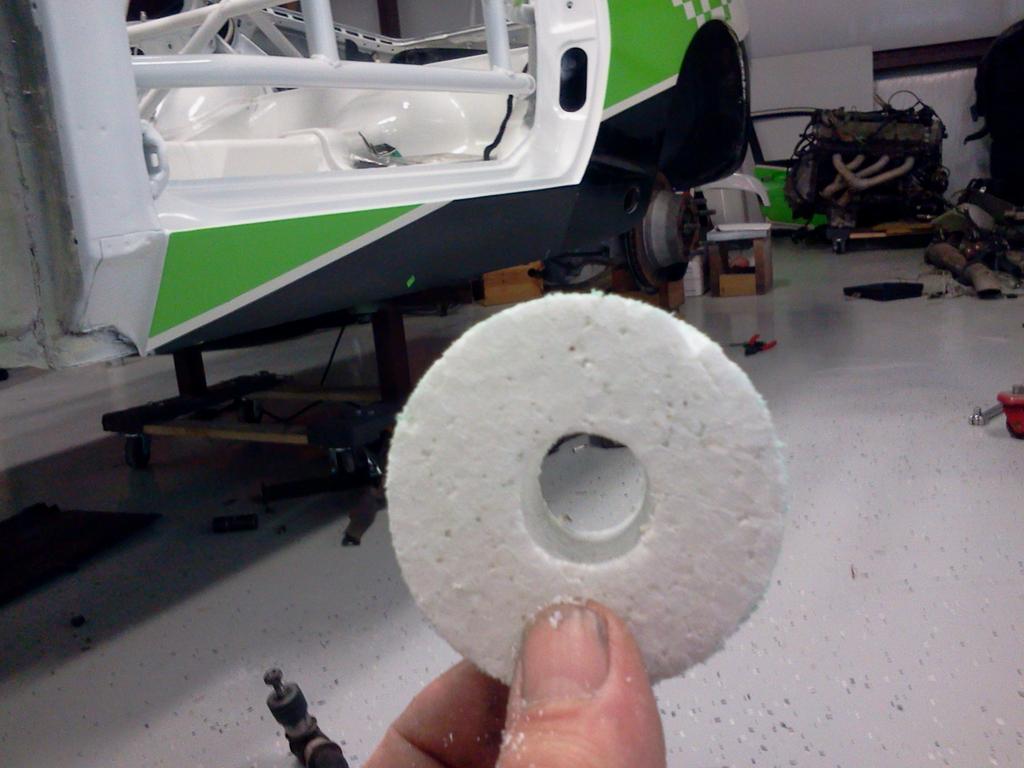
This is the end result of using the 80 grit paper stuck to the wooden stick along the cut off wheels as a sanding guide....total sanding time 1 minute...
This where Cloud would just grind away the oblong hole he has, insert this into his duct and just build layers around the od with cloth and resin.
Important note on resin, polyester resin (comes with FG kits) will melt this foam in 2 seconds. You must seal up the od with masking tape first with this resin, epoxy will not.
In either event, either resin, a light coat of vaseline with your finger on the piece makes easier separation later.
If your part is poly, use polyester if it is epoxy, use epoxy, there's an issue with the molecular structure of each that makes them really not compatible.
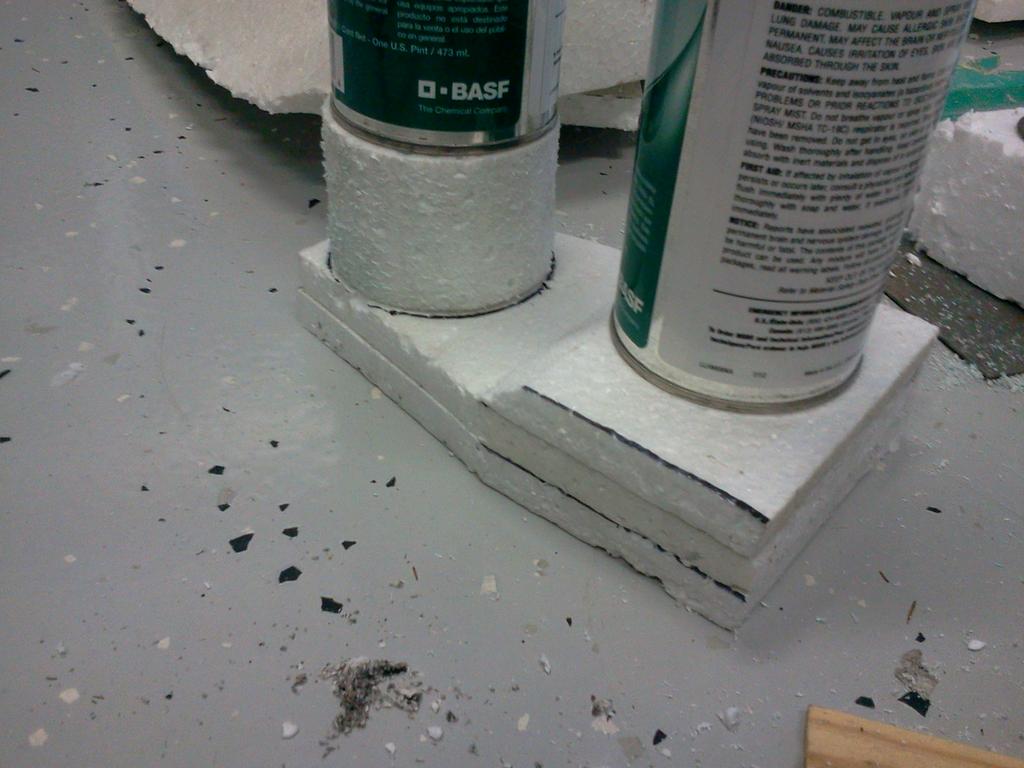
Just more demo, I take this further to show how easy this is.
Self explanatory, you see in next pics.
The round part was just a component to this duct I was trying to make to mimic Cayman rear brake cooling duct.
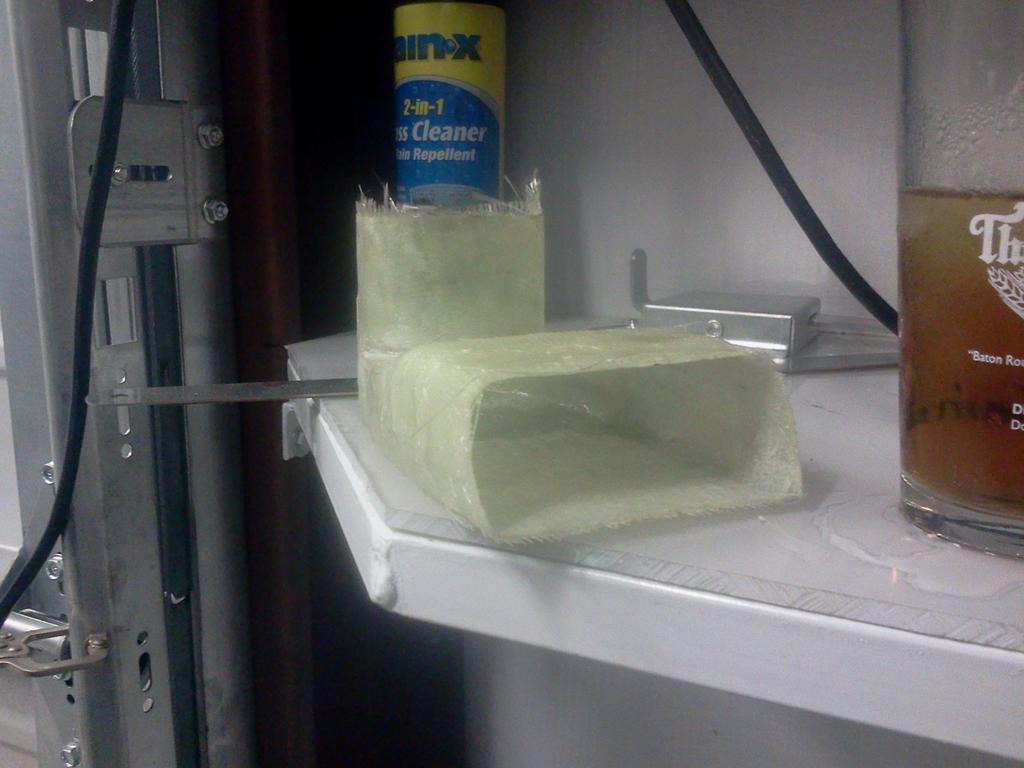
This is what the part became after two layer of cloth/epoxy.
Any chemical that unfriendly to foam, in my case, brake clean, eats away the foam and melts it from the piece.
You can chunk it out with a screwdriver and your fingers and it breaks away easy if you coated with a release layer like vaseline or wax.
So, this was not useful for me inside a 16" wheel, but it would make a reasonable cooling duct for people with larger wheels.
I never used them, and they are free for whoever wants them if I can lay my hands on the pair.
This is so easy to do to make anything you want, you jut have to be creative.
I'm not sure I even got up out of my chair the entire process....
1) 100% disavowal of any item in background of pics that could be self incriminating...,
2) My "S" key is missing from this laptop so I have to consciously force an s, some may be missing from above post.
3) Message is "long winded" and lengthy due to inclusion of jpegs, outside the parameter set herein by ' 2018 Humbold post length treaty' policy.....
No laptop keys were hurt in the making of this post.
Thanks for the lesson - I just may give this a shot. I tried sending a response to your latest PM, but it got kicked back because your inbox is full. Could you please discard a few items so I (and others) can PM you? Thanks!
Thanks for the lesson - I just may give this a shot. I tried sending a response to your latest PM, but it got kicked back because your inbox is full. Could you please discard a few items so I (and others) can PM you? Thanks!
10-4, done.
Went from 95% to full since I looked, really quick...., sorry about that, I get a lot of PMs.
To cut back on the refill,
Yes, I built the car.
Yes, I built the cage.
Yes, I build the engines.
Yes, I built the transmission.
Yes, I did the body work and paint.
No, it is not vinyl.
Yes, I built the whole shop and did the floor paint myself.


 07-22-2018, 02:34 PM