When you click on links to various merchants on this site and make a purchase, this can result in this site earning a commission. Affiliate programs and affiliations include, but are not limited to, the eBay Partner Network.
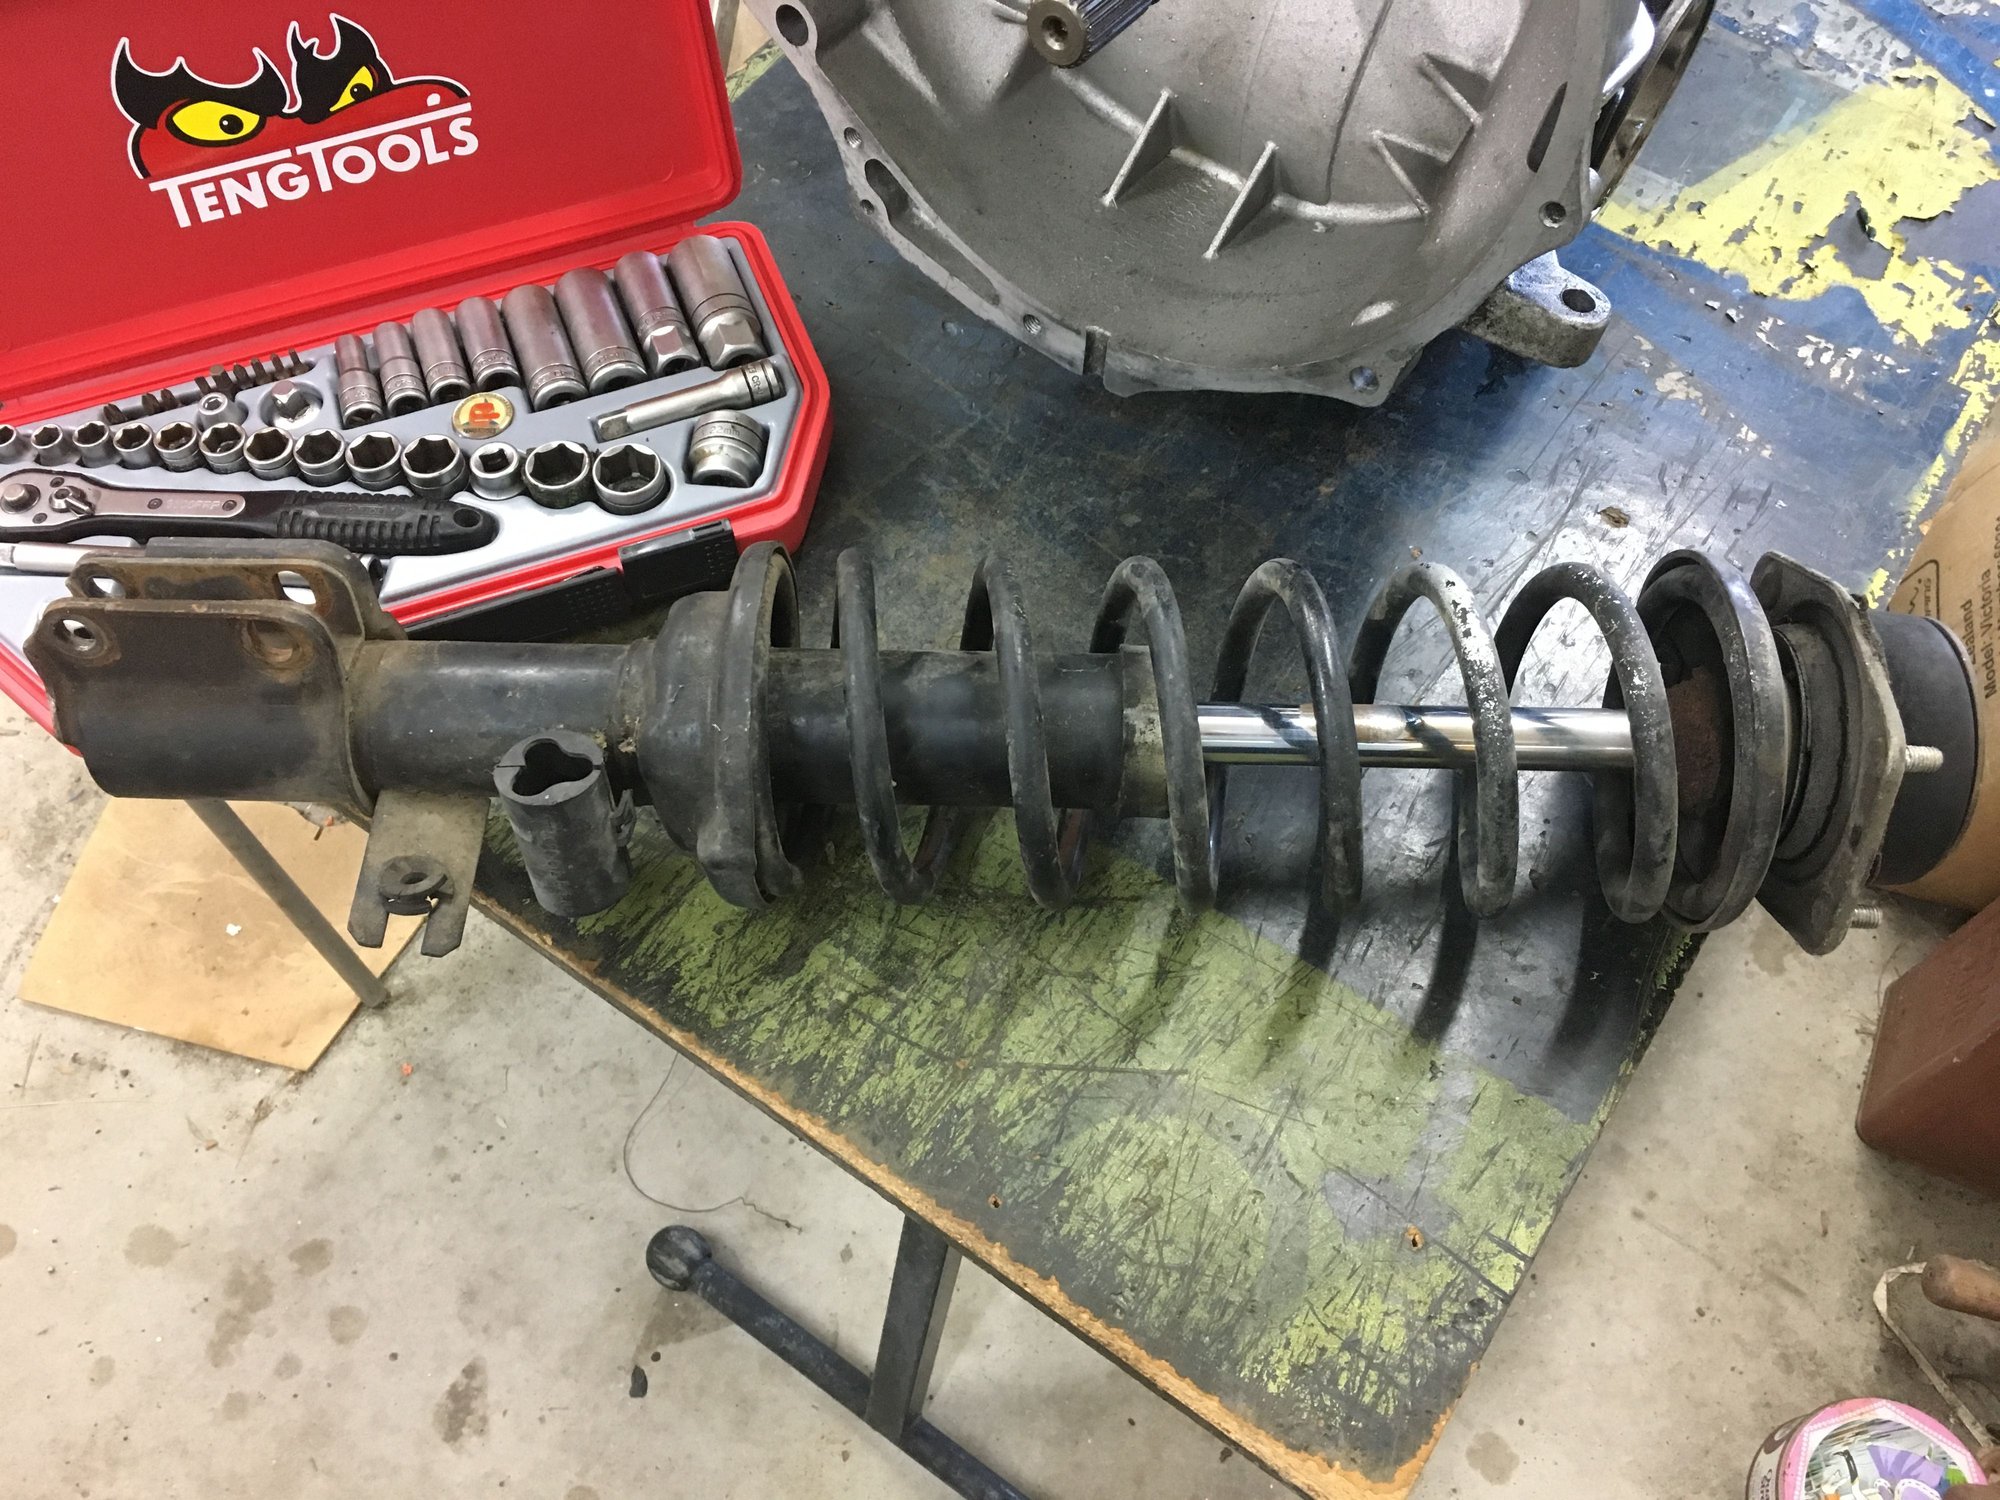
Looking for 1991 944 S2 suspension parts in good shape for an upcoming suspension rebuild. Looks like the front struts are sealed so also looking for some advice on the best way to replace those. Not quite sure if replacement camber plates are recommended as well?
From what I've looked at so far with some folks the suspension is likely original or close to it.
Located near MD/DC but can travel a bit for pickup if more economical than shipping.
Don't have any parts, but I did do the front strut Koni inserts. It requires cutting the stock struts to be able to put in the new inserts. Kits can be found at places like Paragon Products.
You can also convert the front struts for Bilstein B6 Sport inserts which I personally prefer to the Koni Sport inserts (I have cars with both). The Bilstein conversion requires a bit of welding but any weld shop should be able to do that for you for a few $. Ultimately it is a neater looking job than the Koni chop route. Check out this how to video which is very detailed.
Jurgen is an obsessive compulsive kind of guy and owns every tool on the planet and uses them all. I do this conversion by clamping the struts to the bench and cutting with a hacksaw and get the same results
I am just making up some more of the threaded inserts so drop me a pm if you need a set.
Speedwagenparts do not export but I make sets up every once in a while. Just about to make some more up next week. $75USD each. Anyone need any let me know and I'll run a few extra. PM me. Edit: I've ended up making quite a few of these sets now so can reduce the price to $49USD each (plus $19USD shipped worldwide per pair)
The cutting and preparation is very easy. I'm doing a conversion for a local P club member this morning. I'll post up some pictures.
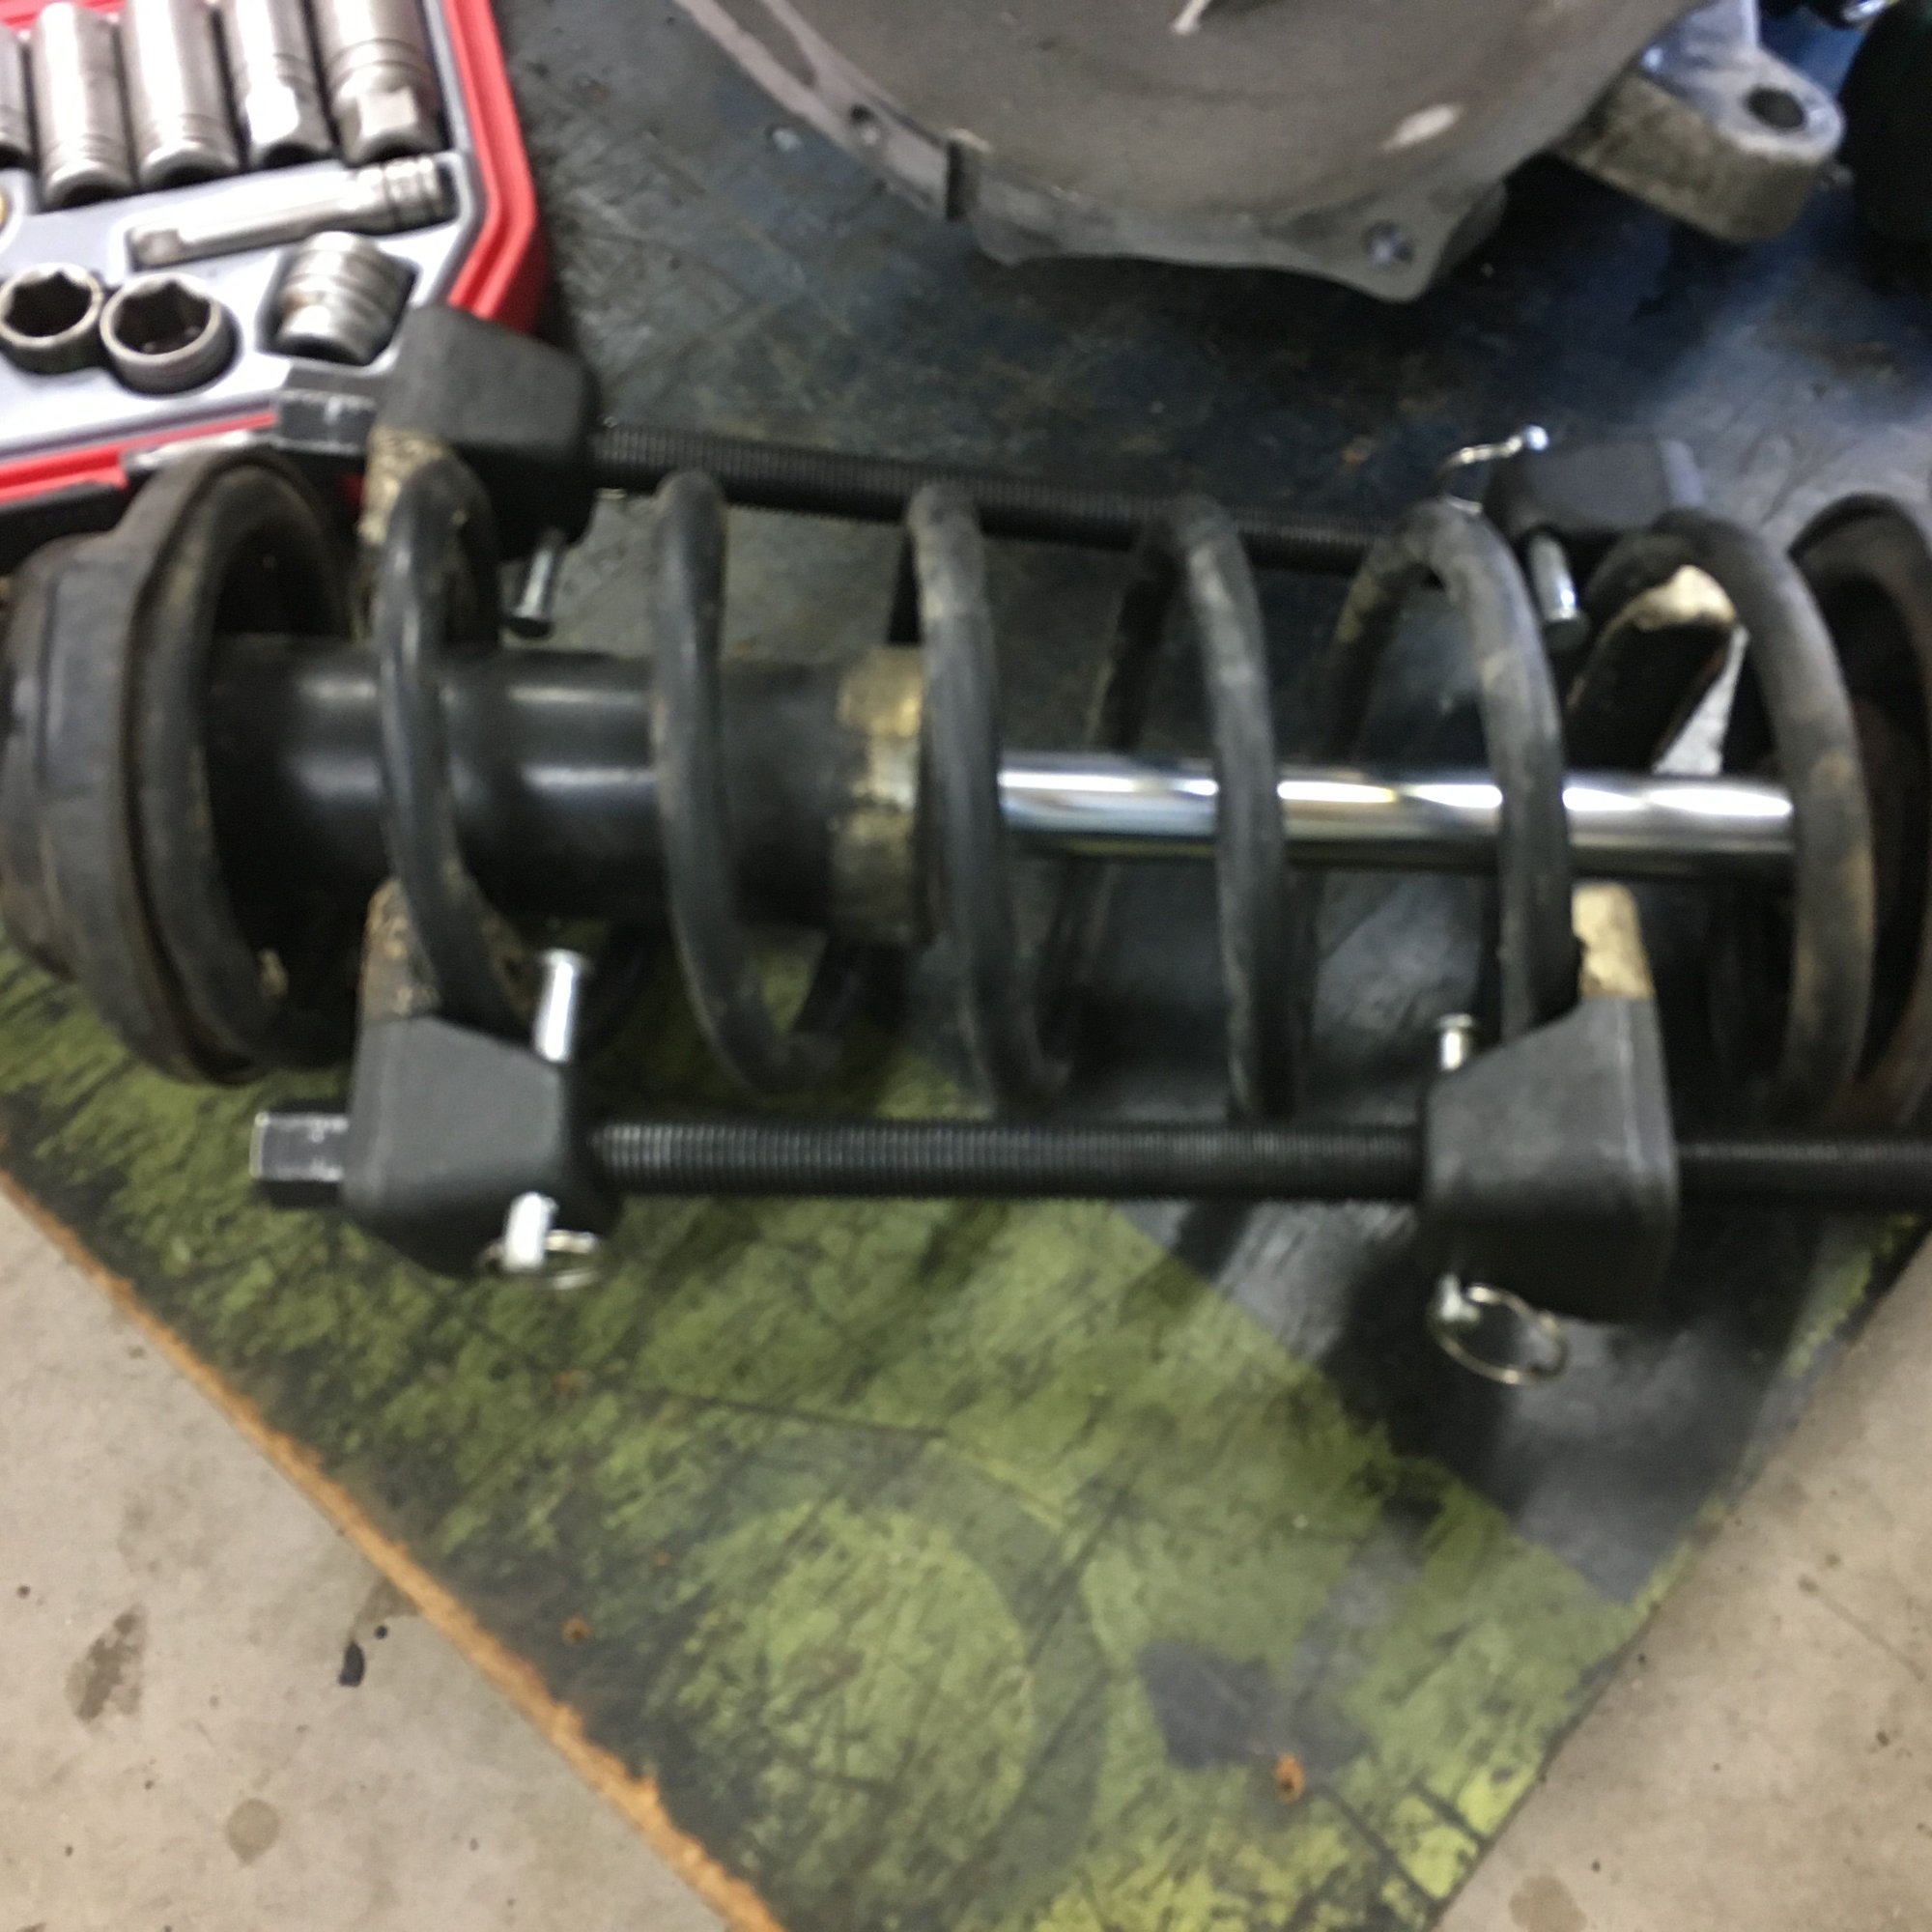
I have made a miter box in the past to cut pipe and angle with a reciprocating saw. It gives surprisingly square cuts and is waaaay faster than a cut off wheel or hack saw. In Jurgen's video he installs the strut with the spring compressors in place. Is this necessary because the overall length at full droop will not line up the holes on the hub. As in there is pre-load on the strut assembly at full suspension droop.
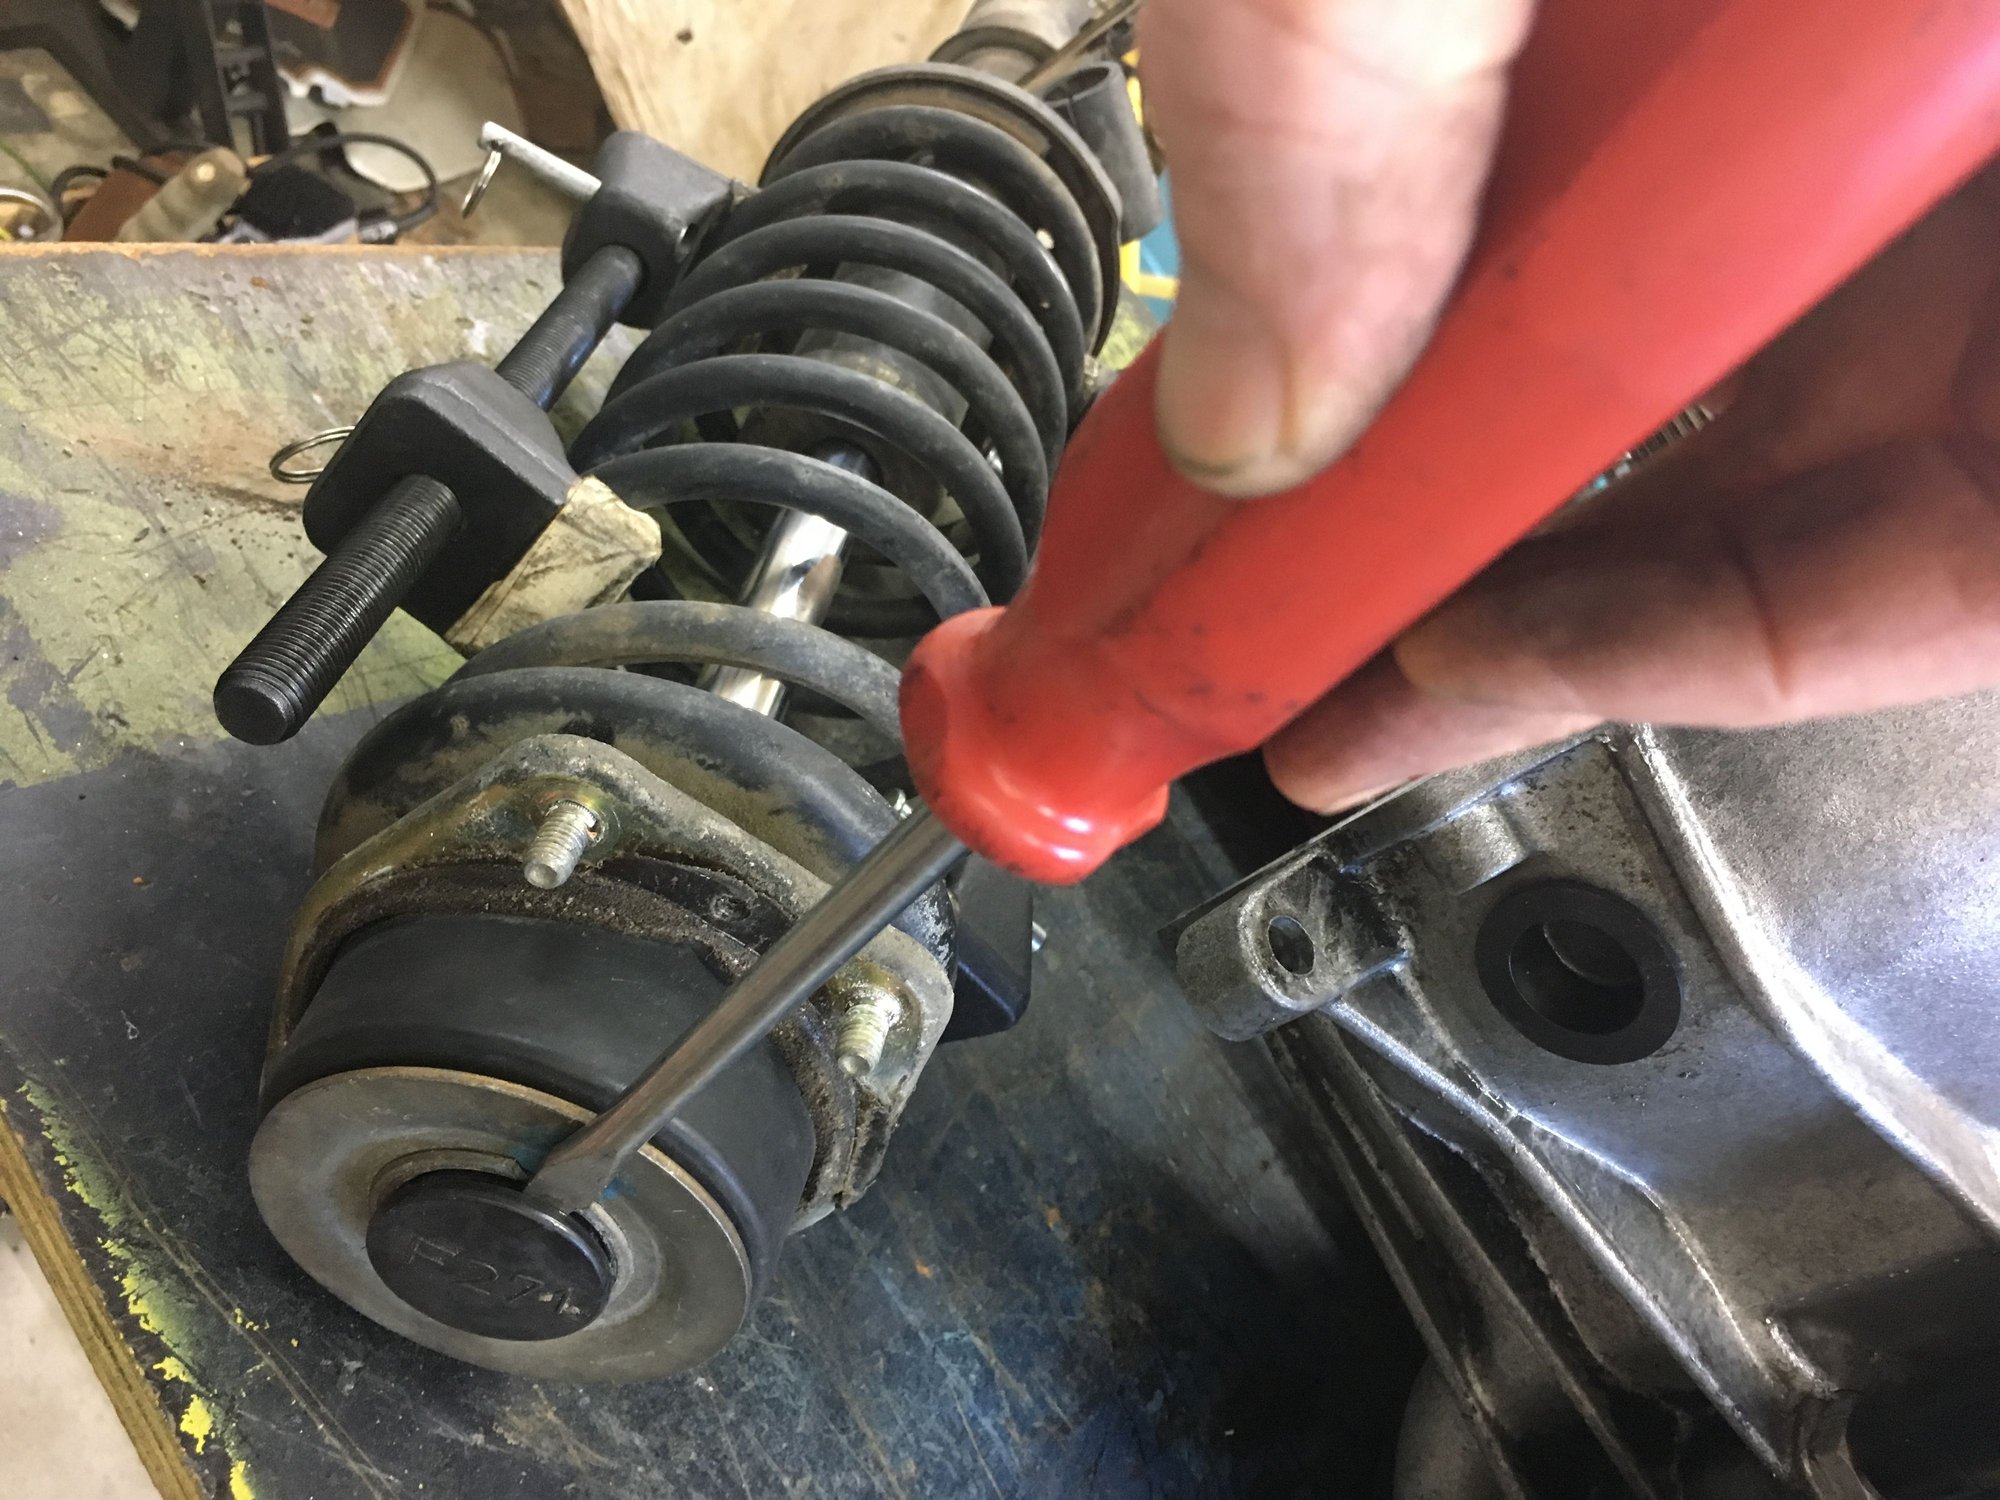
Jurgen is a very thorough chap and his workmanship is excellent. Sometimes however he seems to make things a little more complicated than they need to be. You will see from the pictures I'm about to post that there is no need to remove the cap from the strut body which tiresome process. also I have always replaced the strut assembly without needing the spring compressors in place ... that again is a difficult way of doing it. It is fairly tight in there anyway ... All that is needed is a little pull down on the A Arms to align with the strut.
Here is a picture diary of preparing a 944S sealed Sachs strut for conversion over to a Bilstein insert. This was 25 mins work including dismantling the strut and stopping to take pictures
Next week I will put together the second instalment which is the fitting of the collar and rebuilding of the assembly.
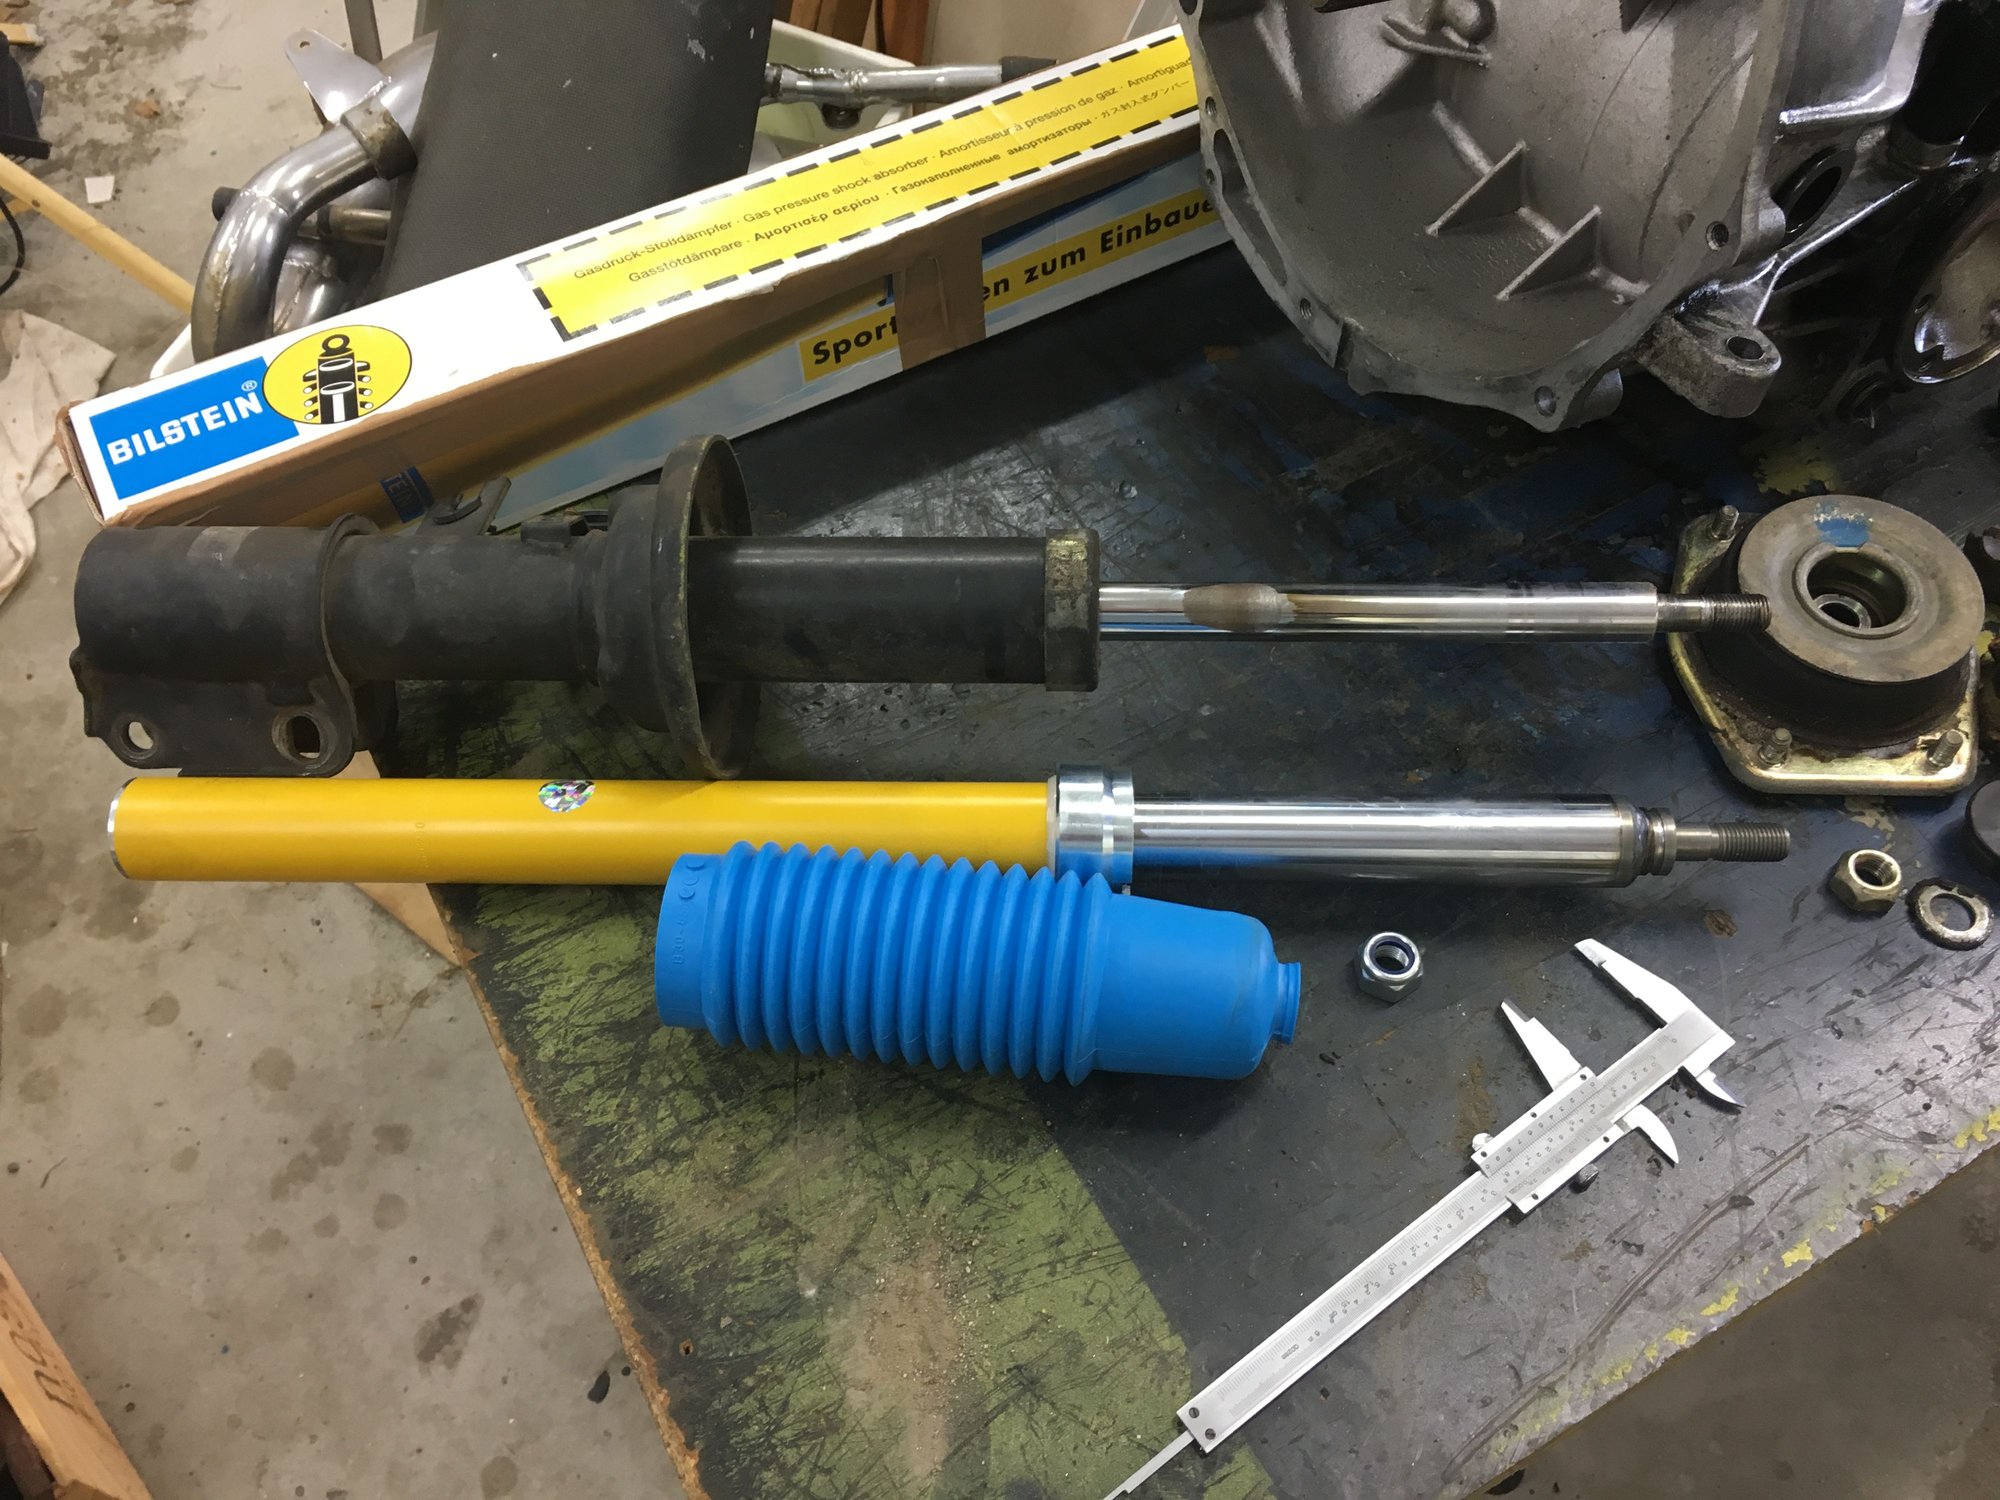
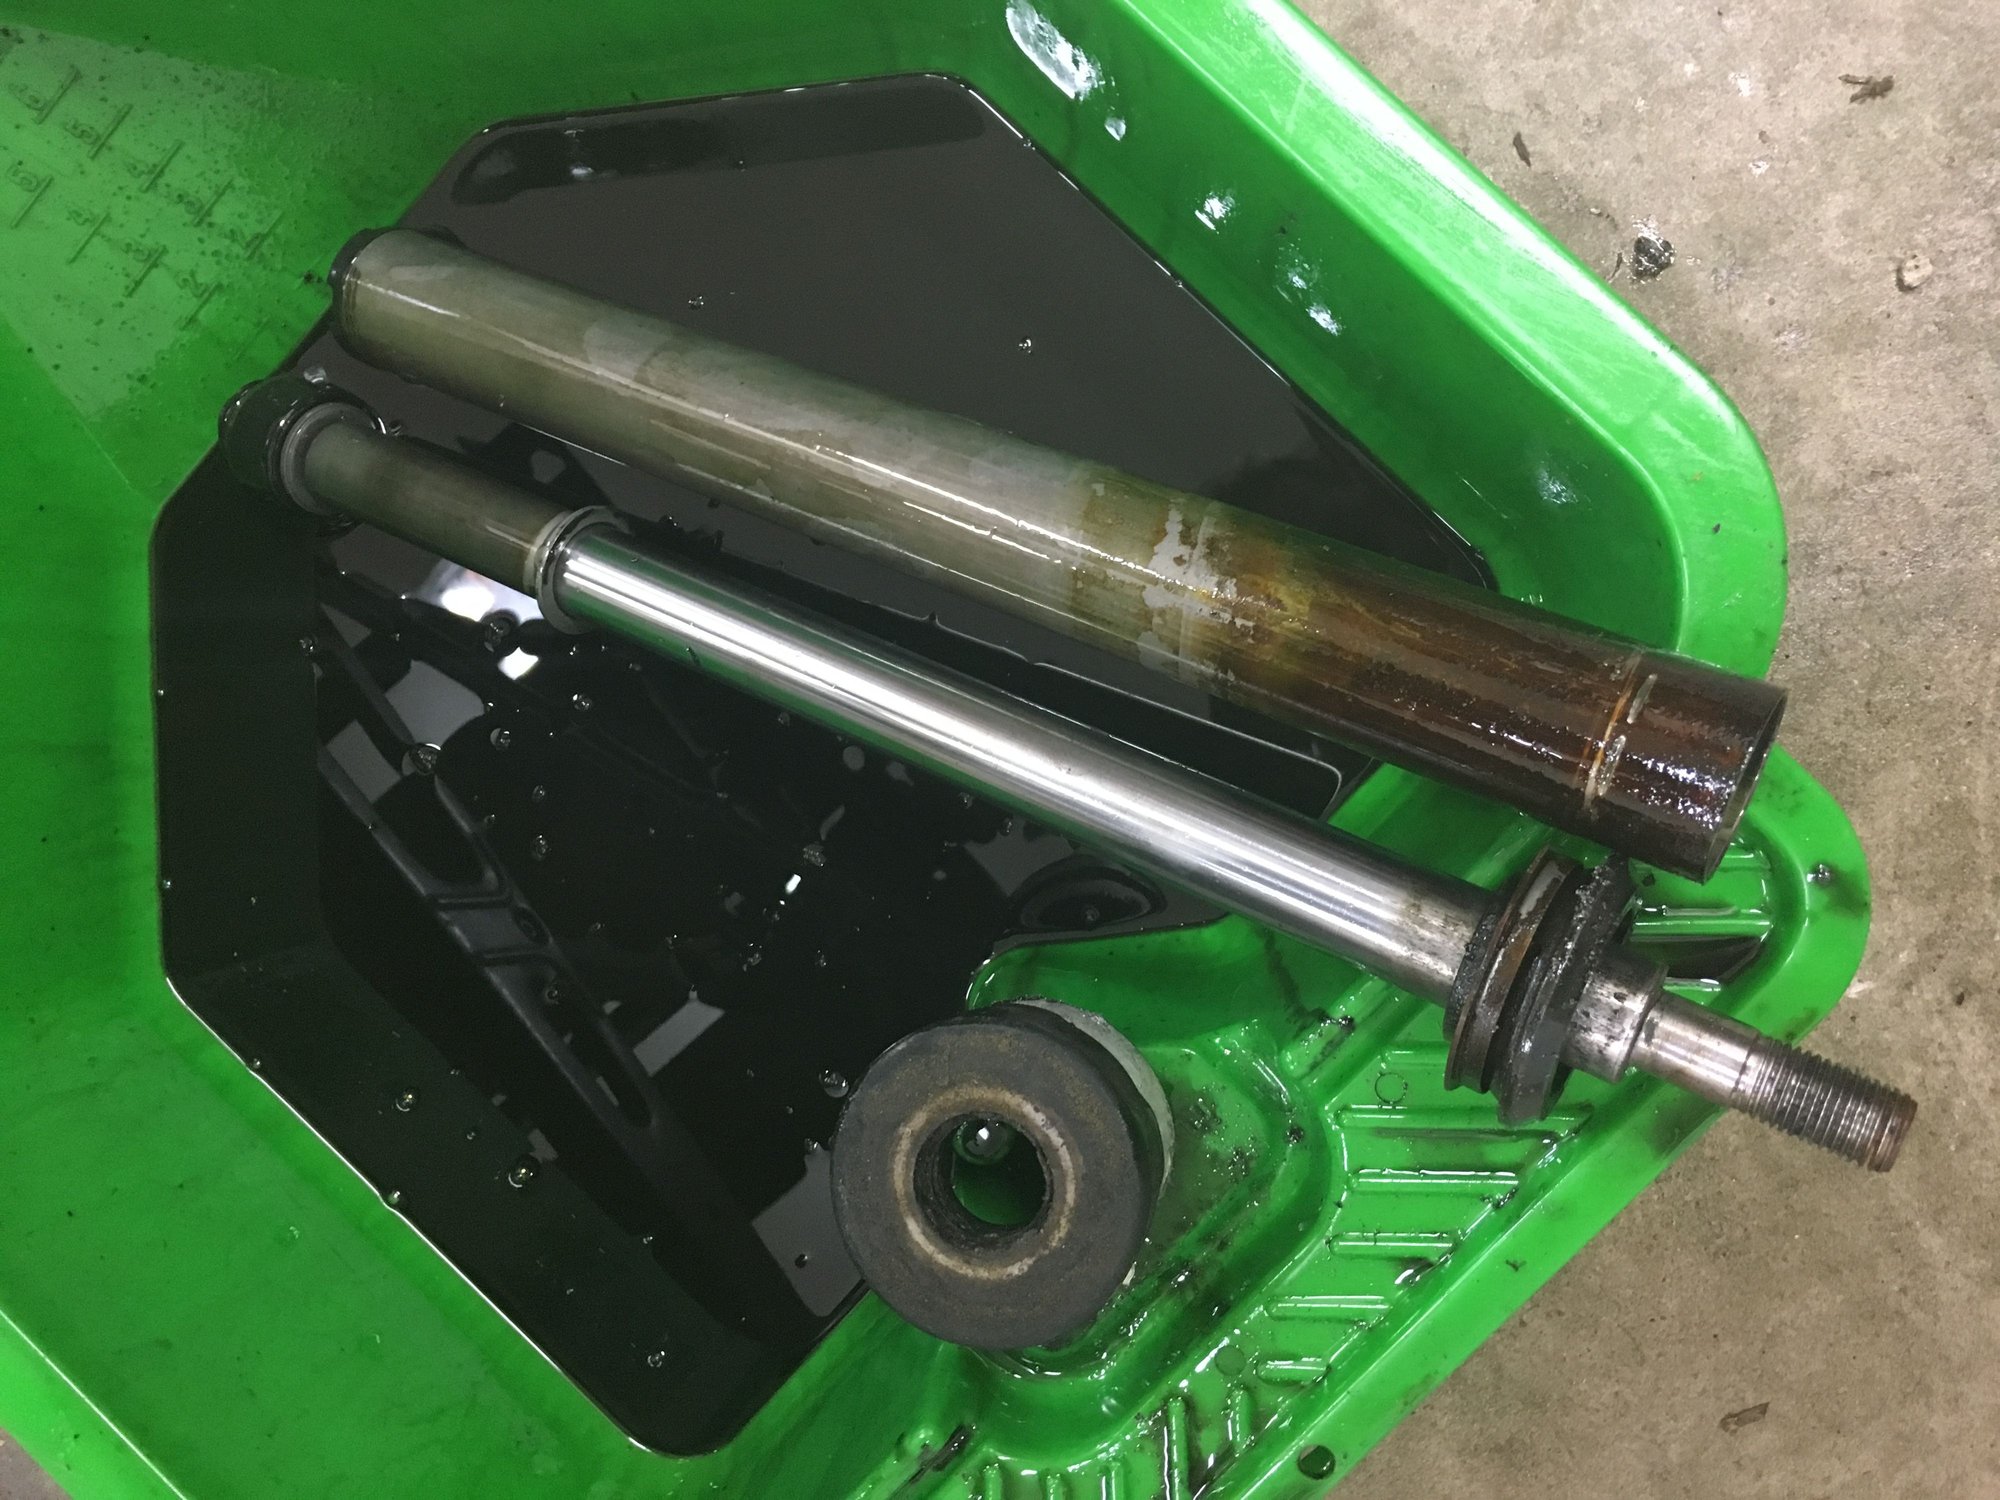
Tired Sachs sealed unit OEM from a 944S
As well as having just about zero damping the chrome on the shaft had worn through. I have yet to dismantle one of these Sachs/Boge units that isn't completely rooted
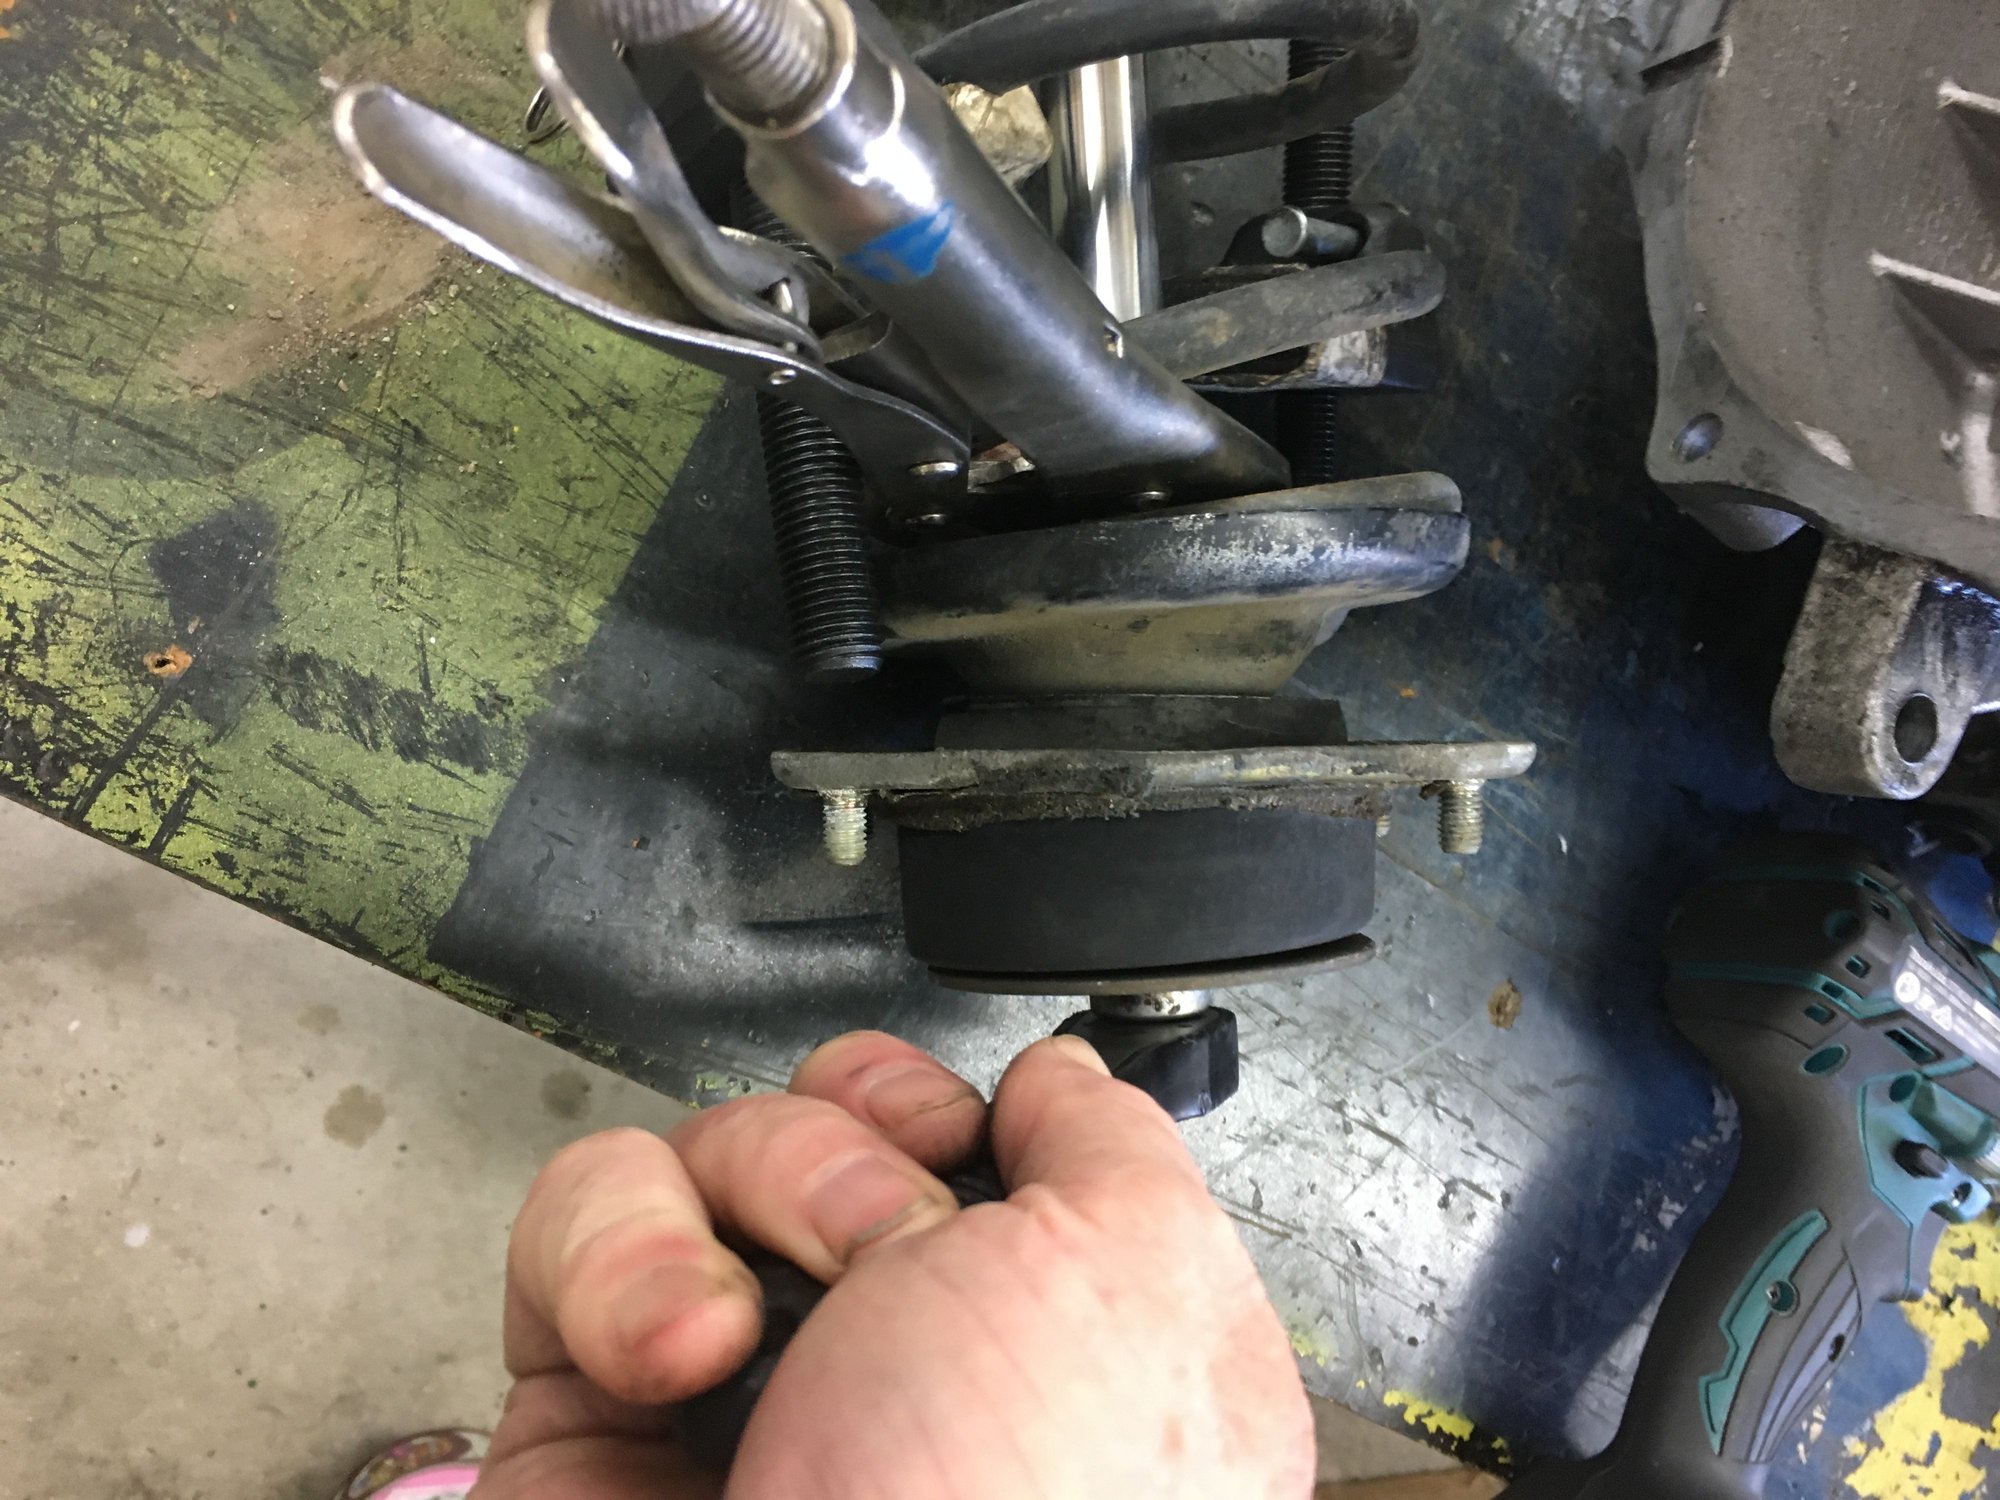
Spring compressors in place
Once the spring is compressed and the top hat is loose then the strut can be dismantled. IMPORTANT ensure that the springs are compressed BEFORE dismantling. Remove plastic cover
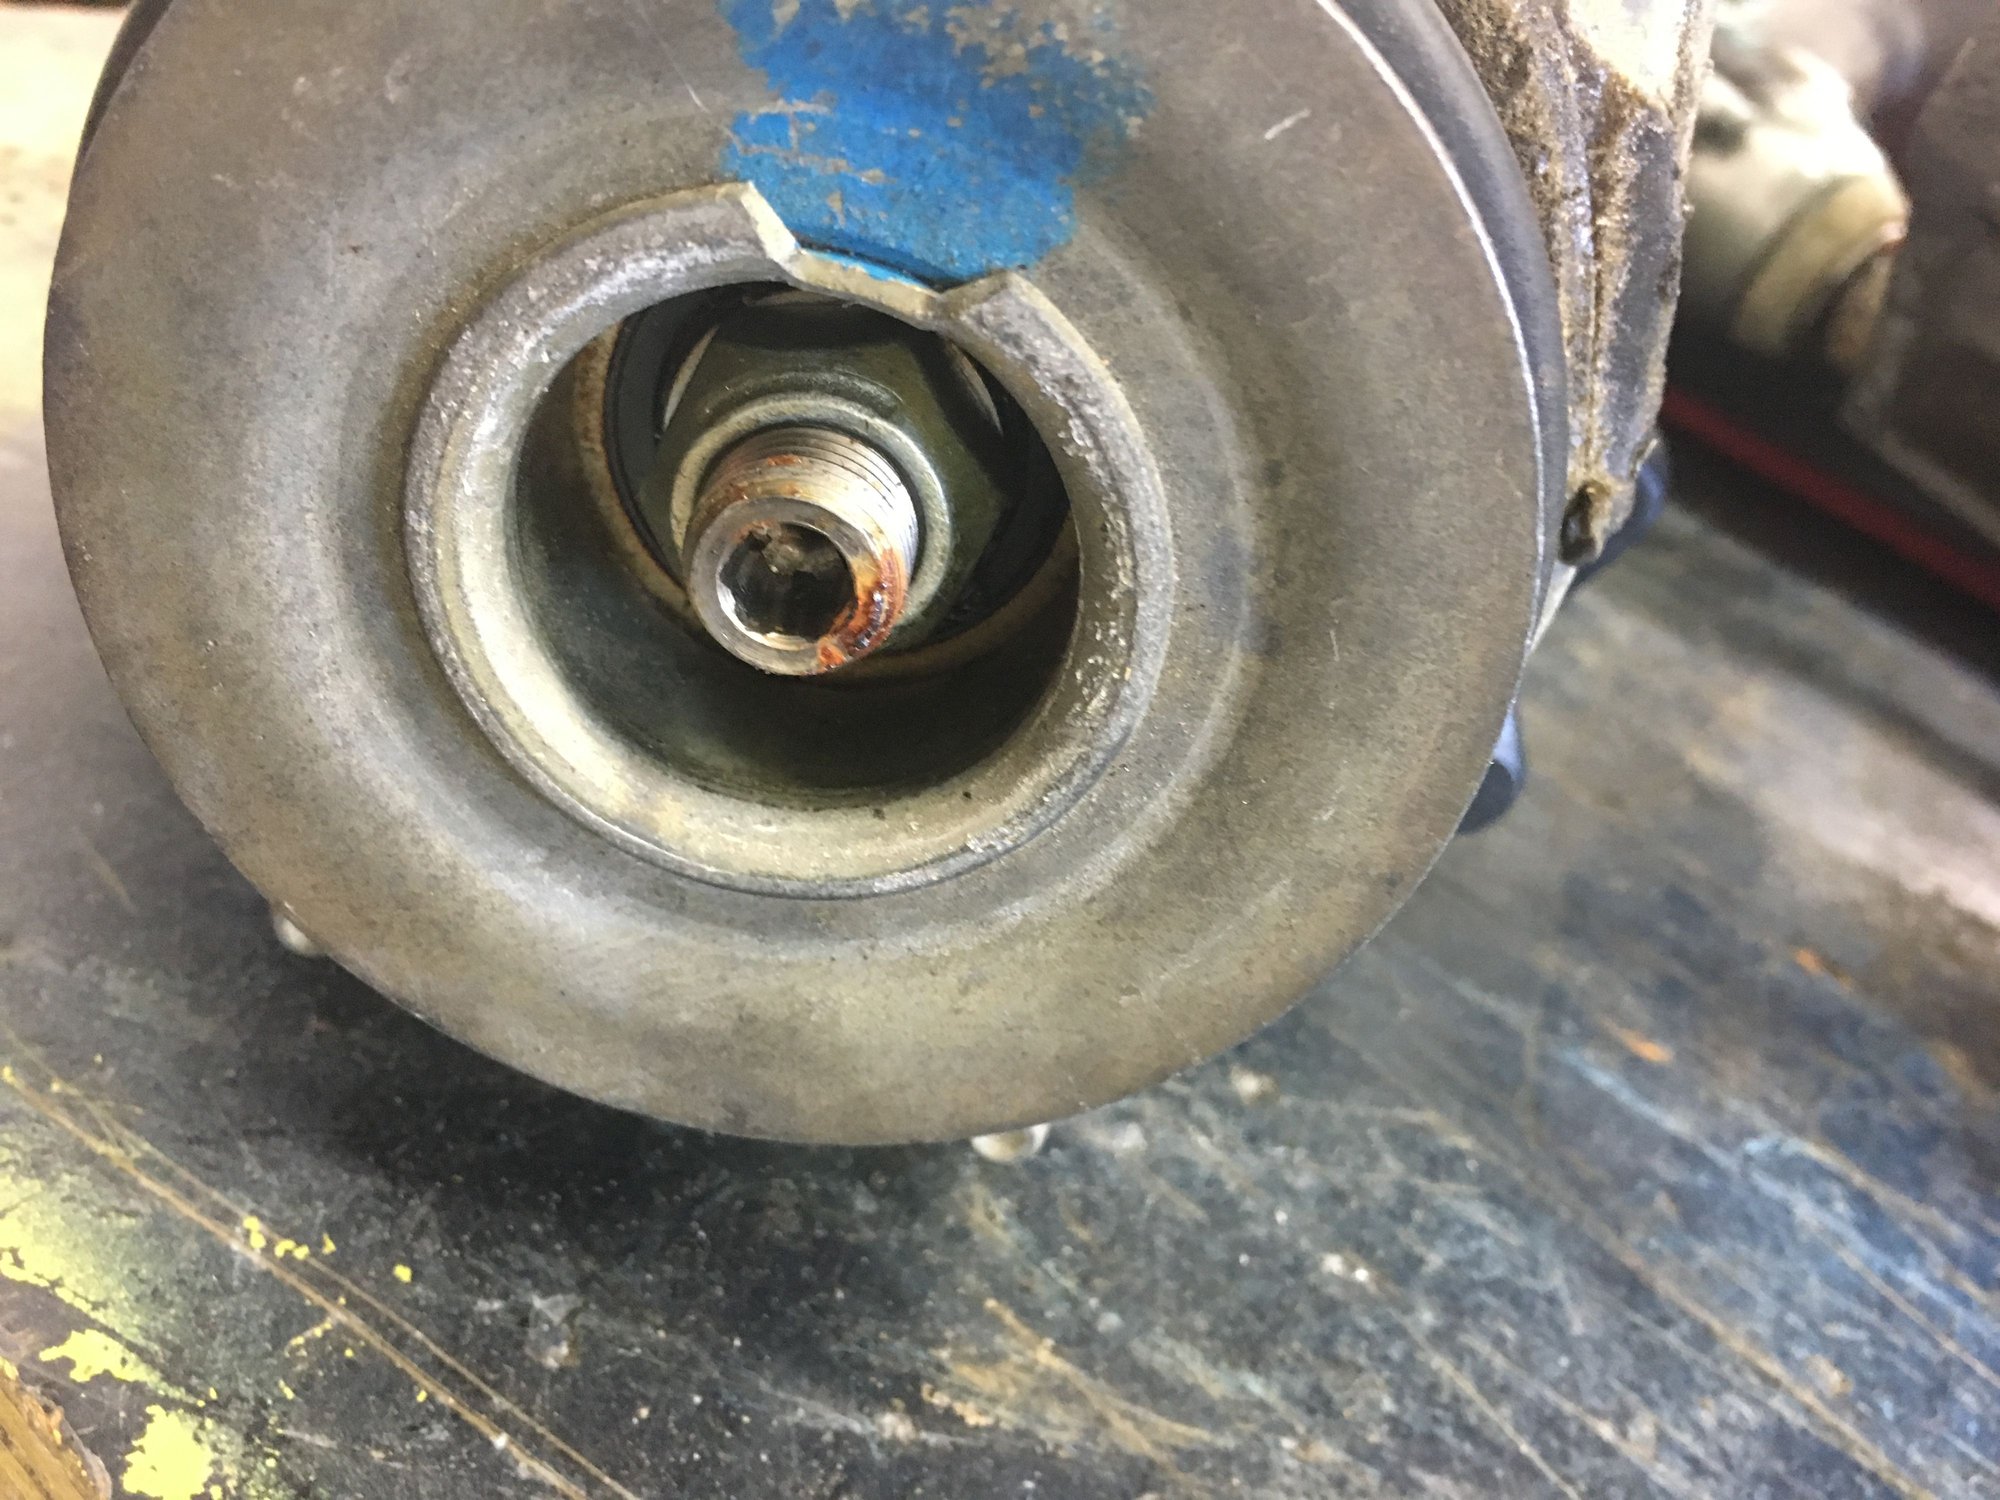
OEM locking nut is 22mm
The internals are on way to the bin so if is fine to hold the shaft with Mole Grips and then remove the 22mm lock nut
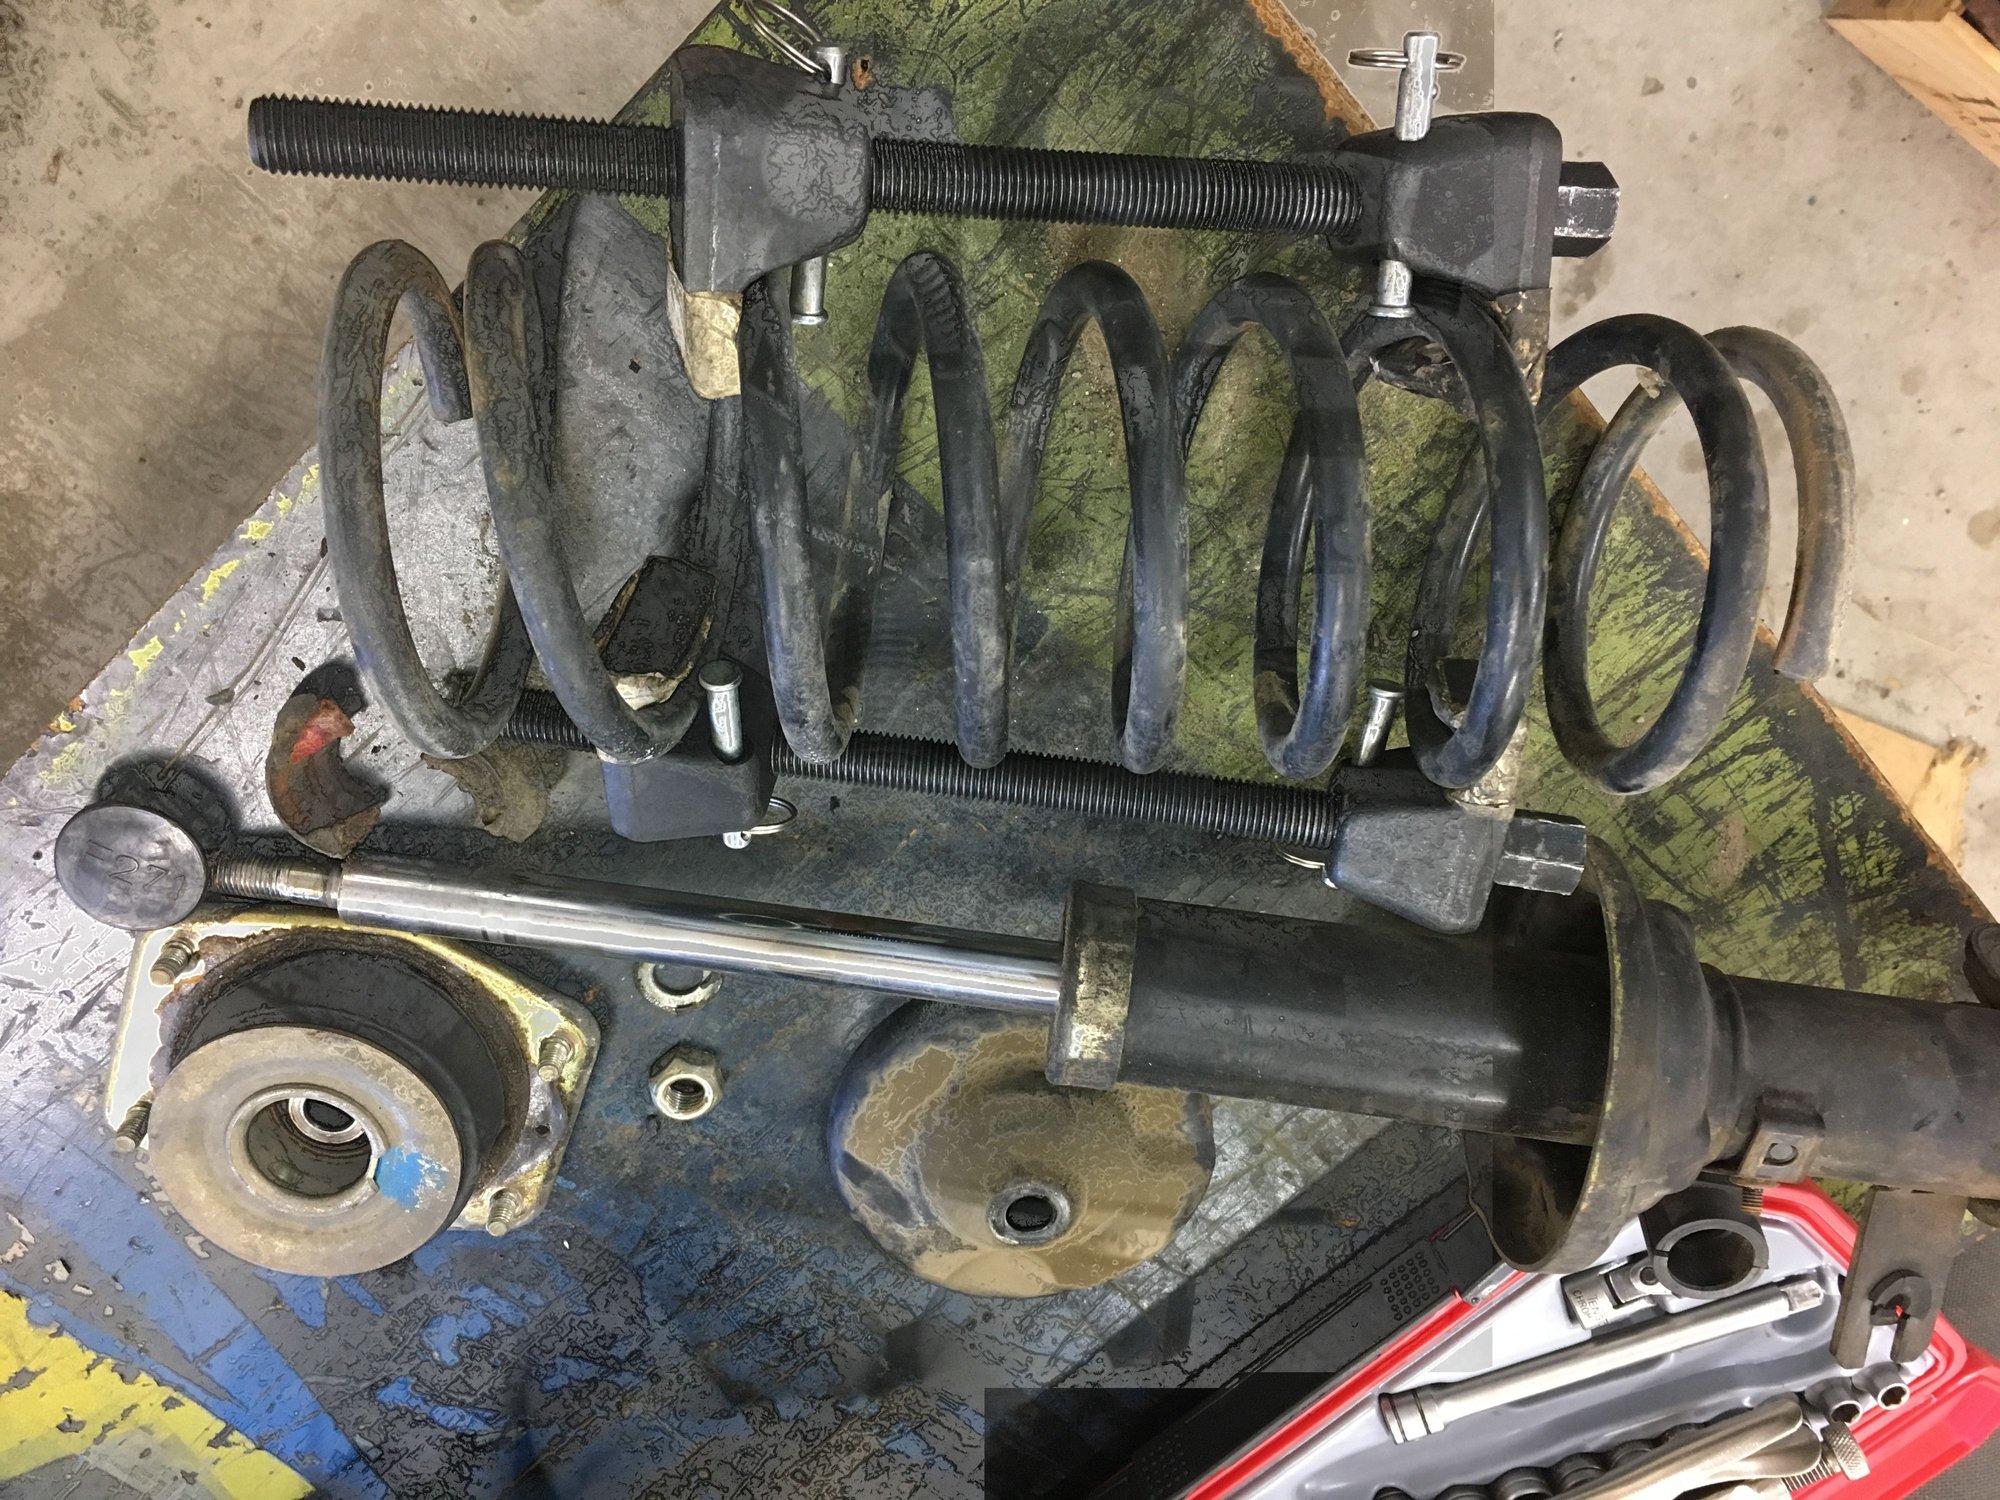
Now it comes apart. Note perished and split bump stop. The new Bilstein units have internal bump stops so we won't be worrying about those again
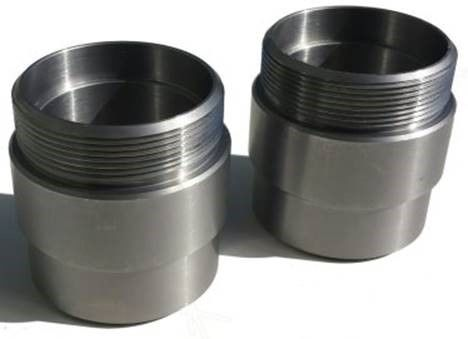
Here we have the old strut lined up against the new Bilstein unit. Note the puny 22mm Sachs shaft vs substantial 32.5mm Bilstein unit.
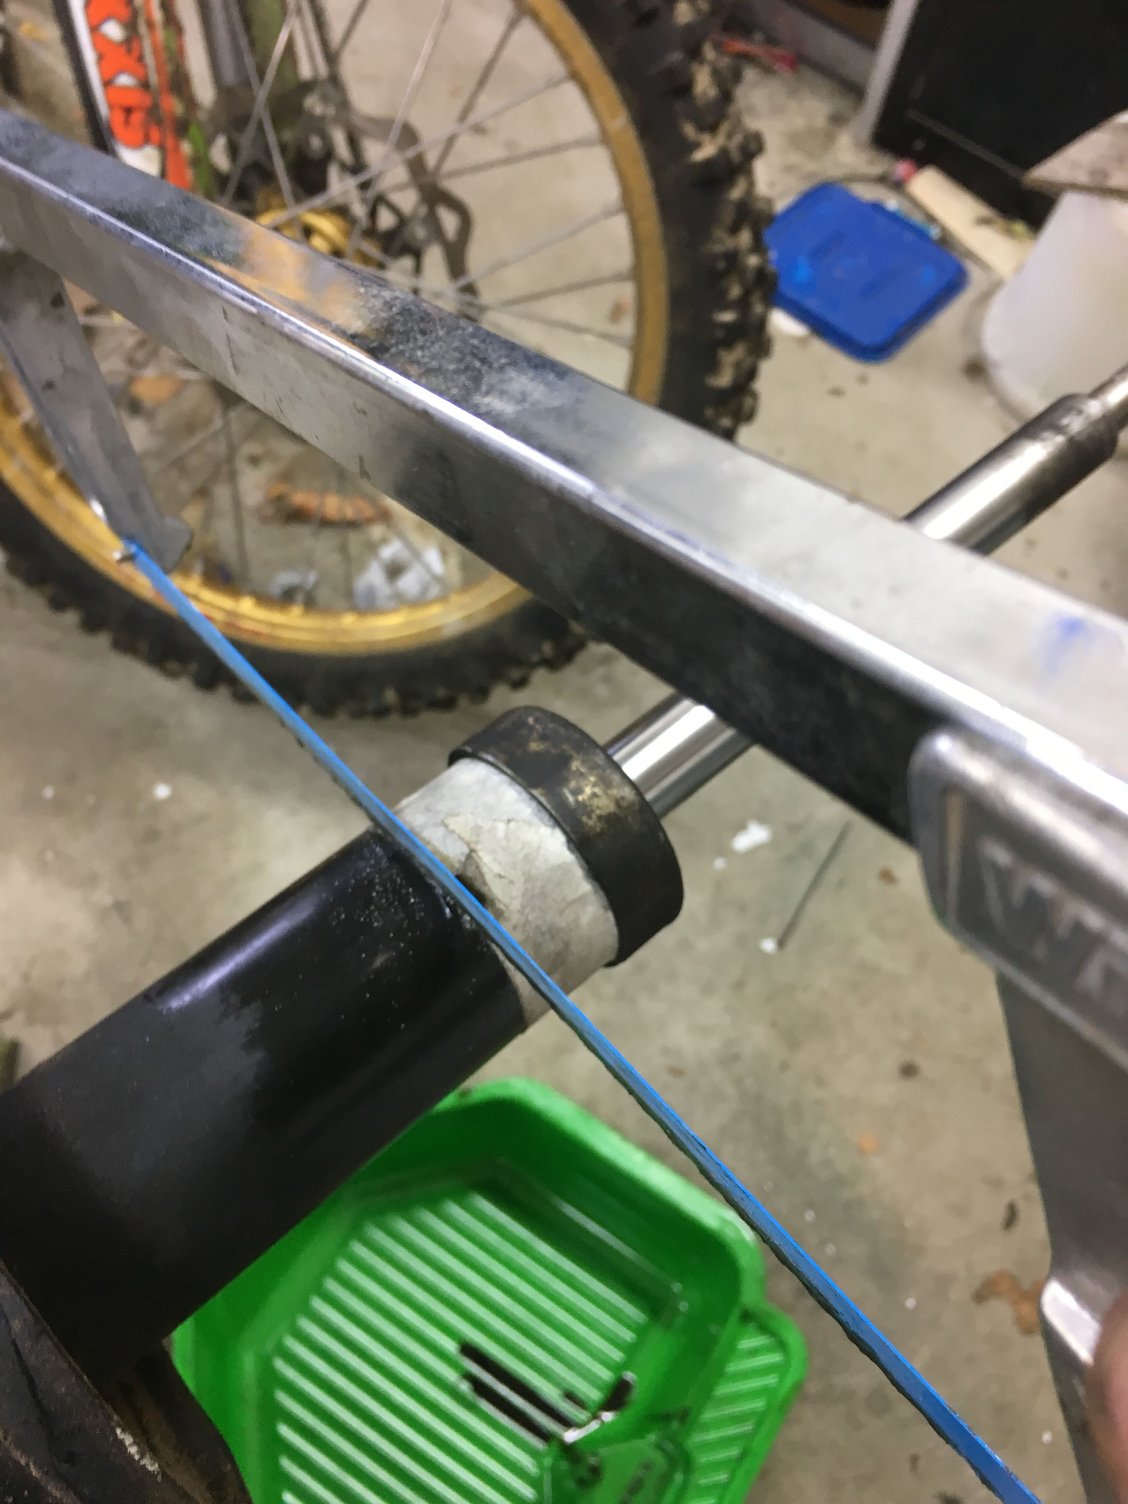
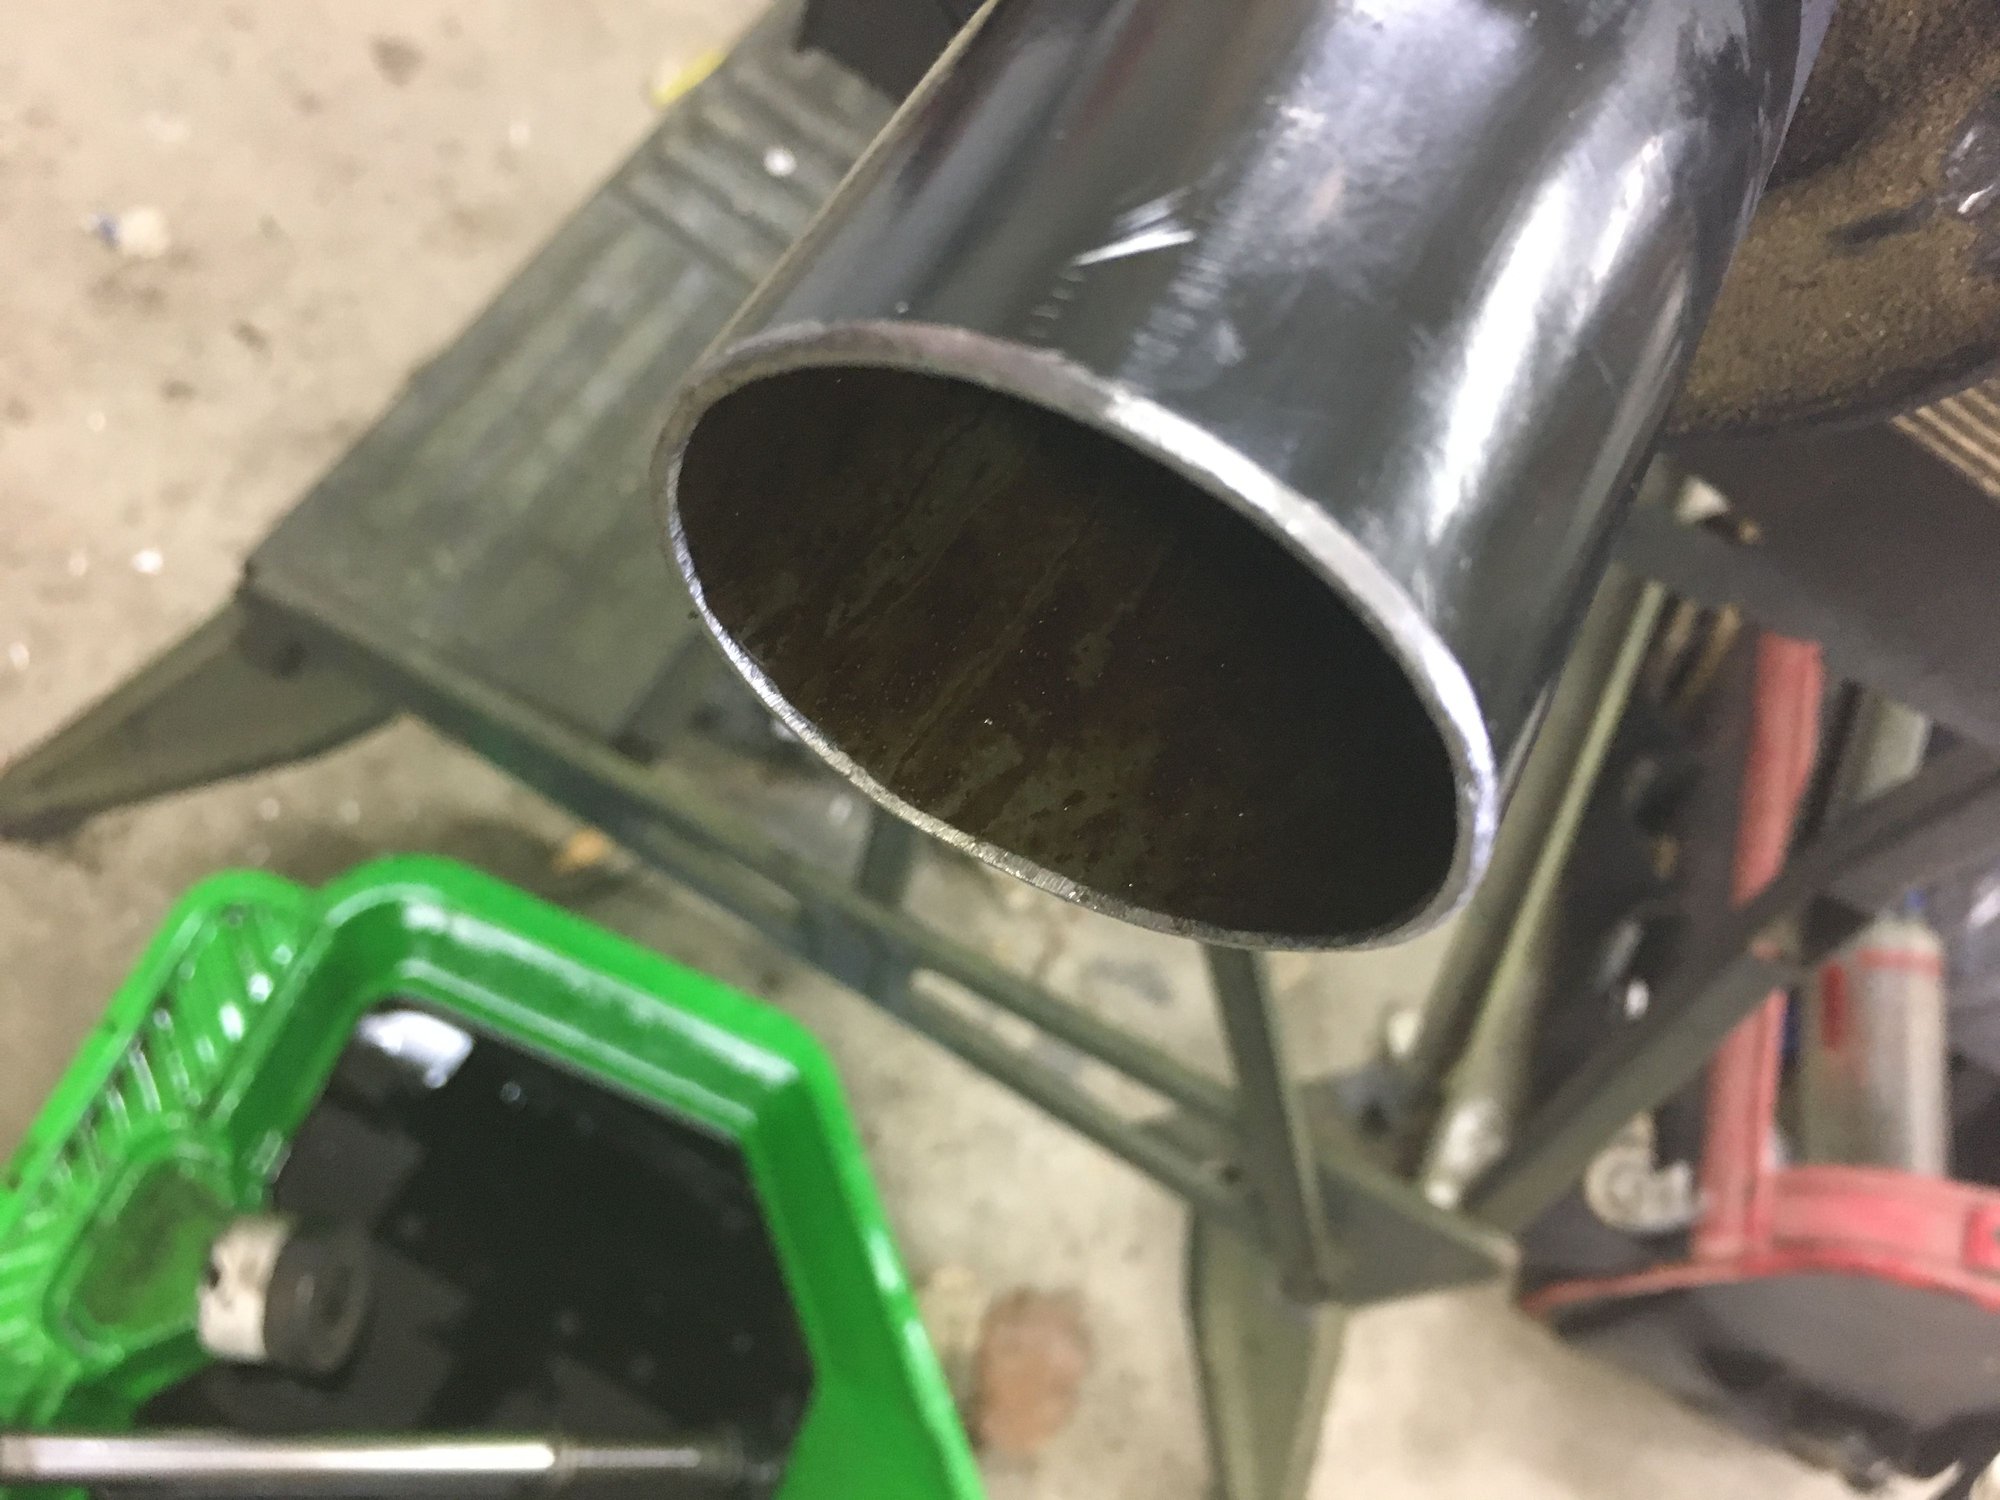
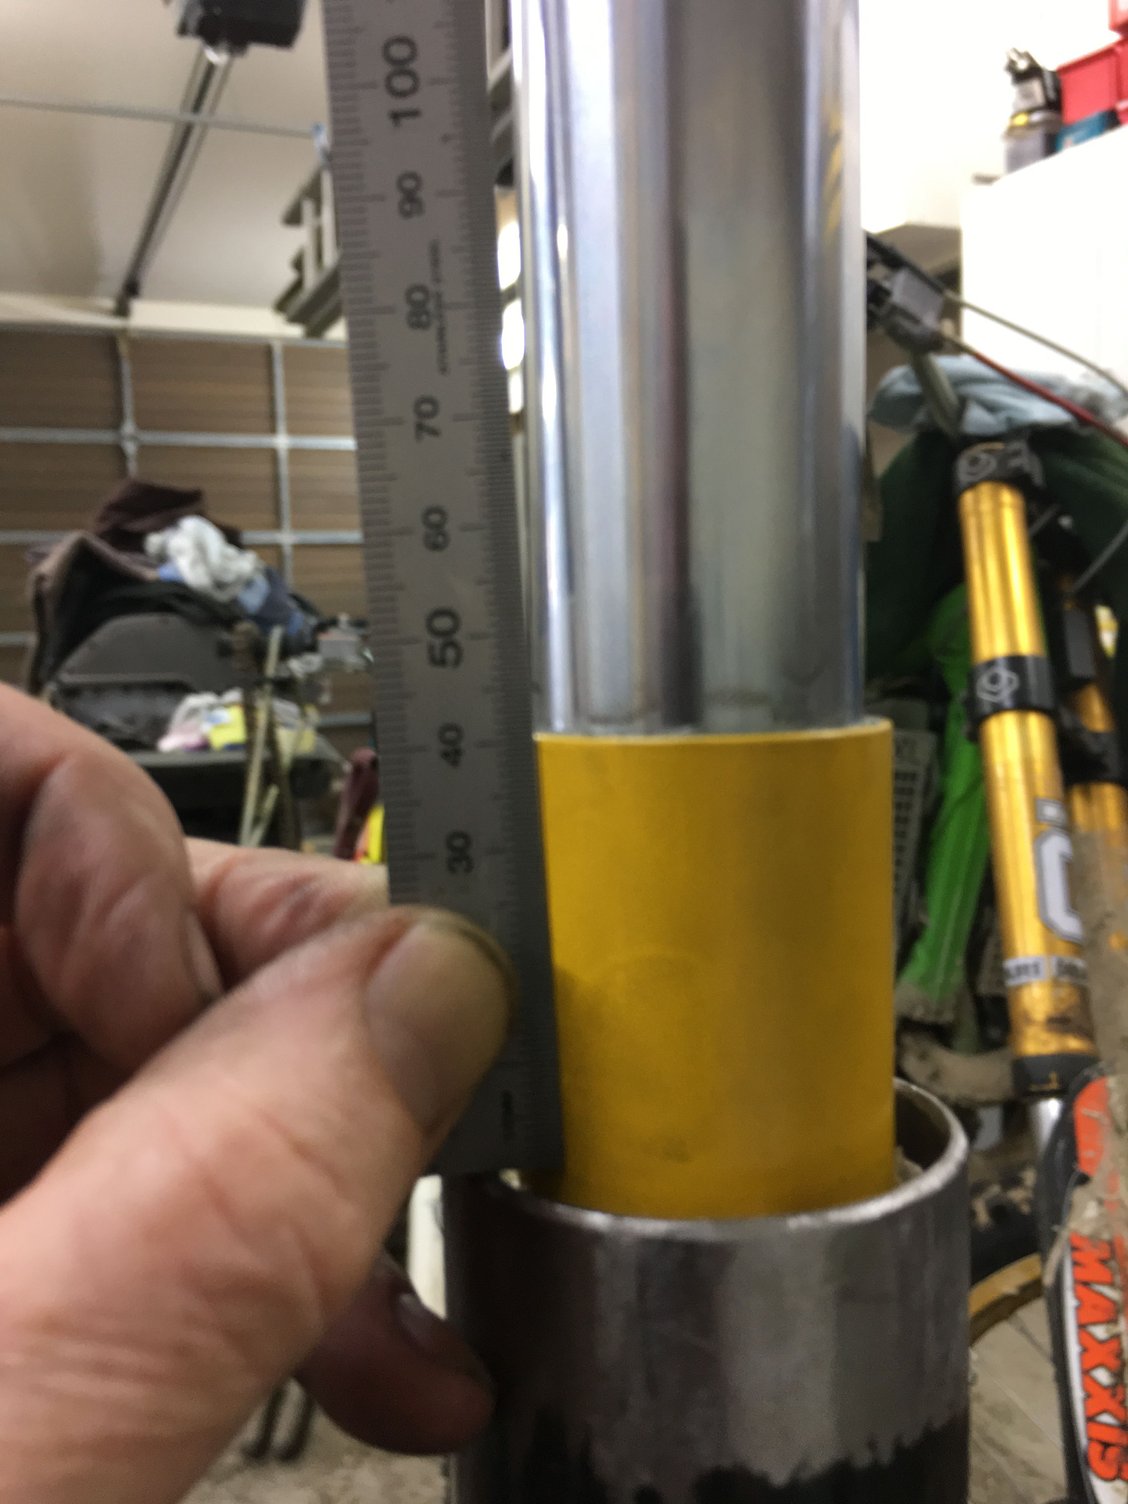
The threaded collar is dimensioned so that the strut body is cut 25mm (1") below the cap. So 25mm masking tape works well as a cutting guide Set up with a catch tray below. It is about to get messy!
A sharp blade in your hacksaw makes this easy work. Turn the strut body as required to cut carefully along the masking tape line. I have designed the collar to accomodate +/-2mm of error. I'm generally accurate to 0.5mm so that leaves plenty of margin.
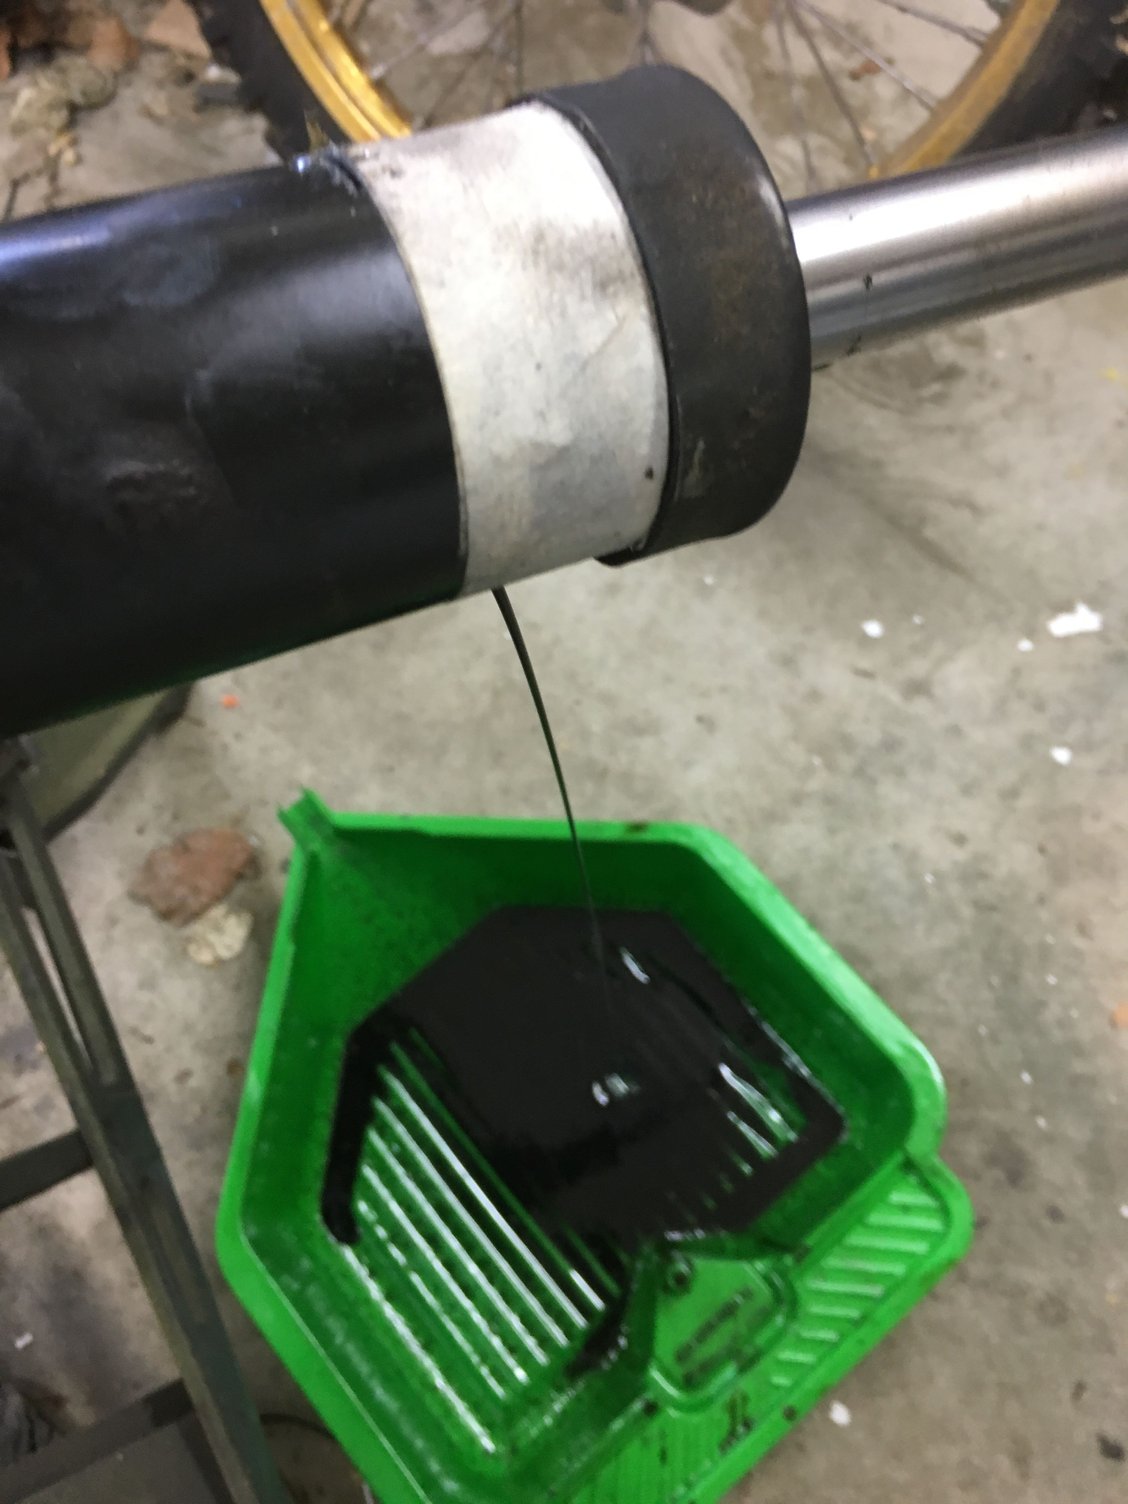
Here comes the mess!
Now we can pull out the internals
Trash!
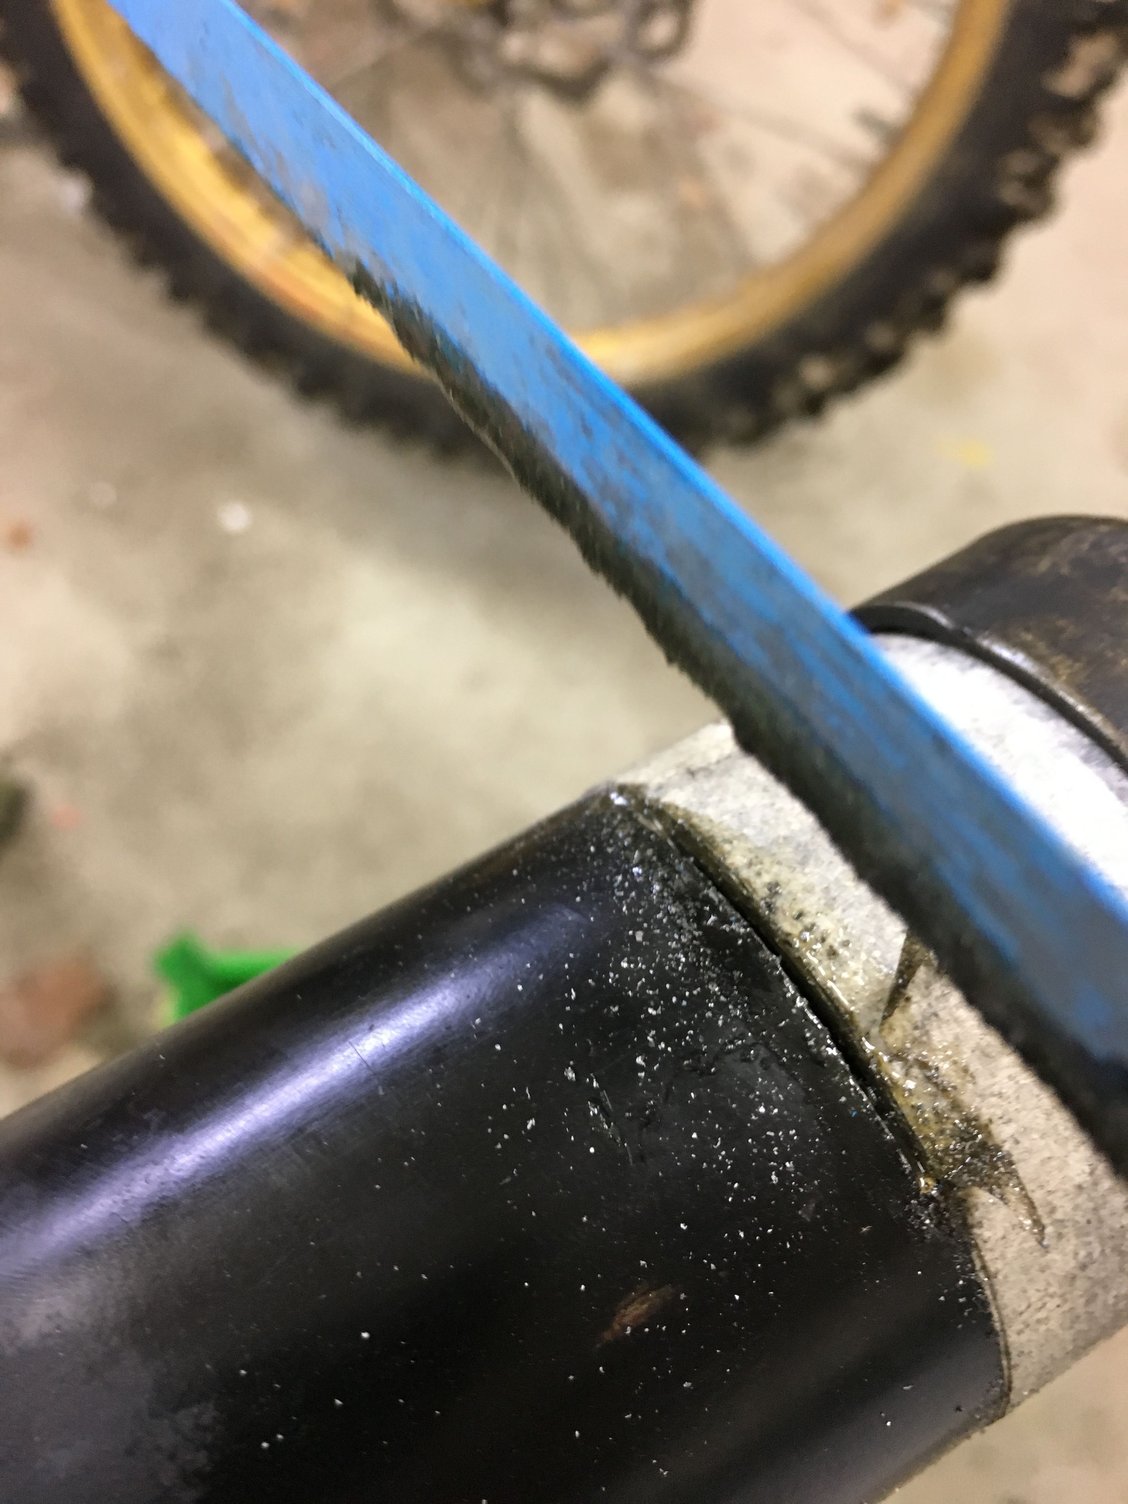
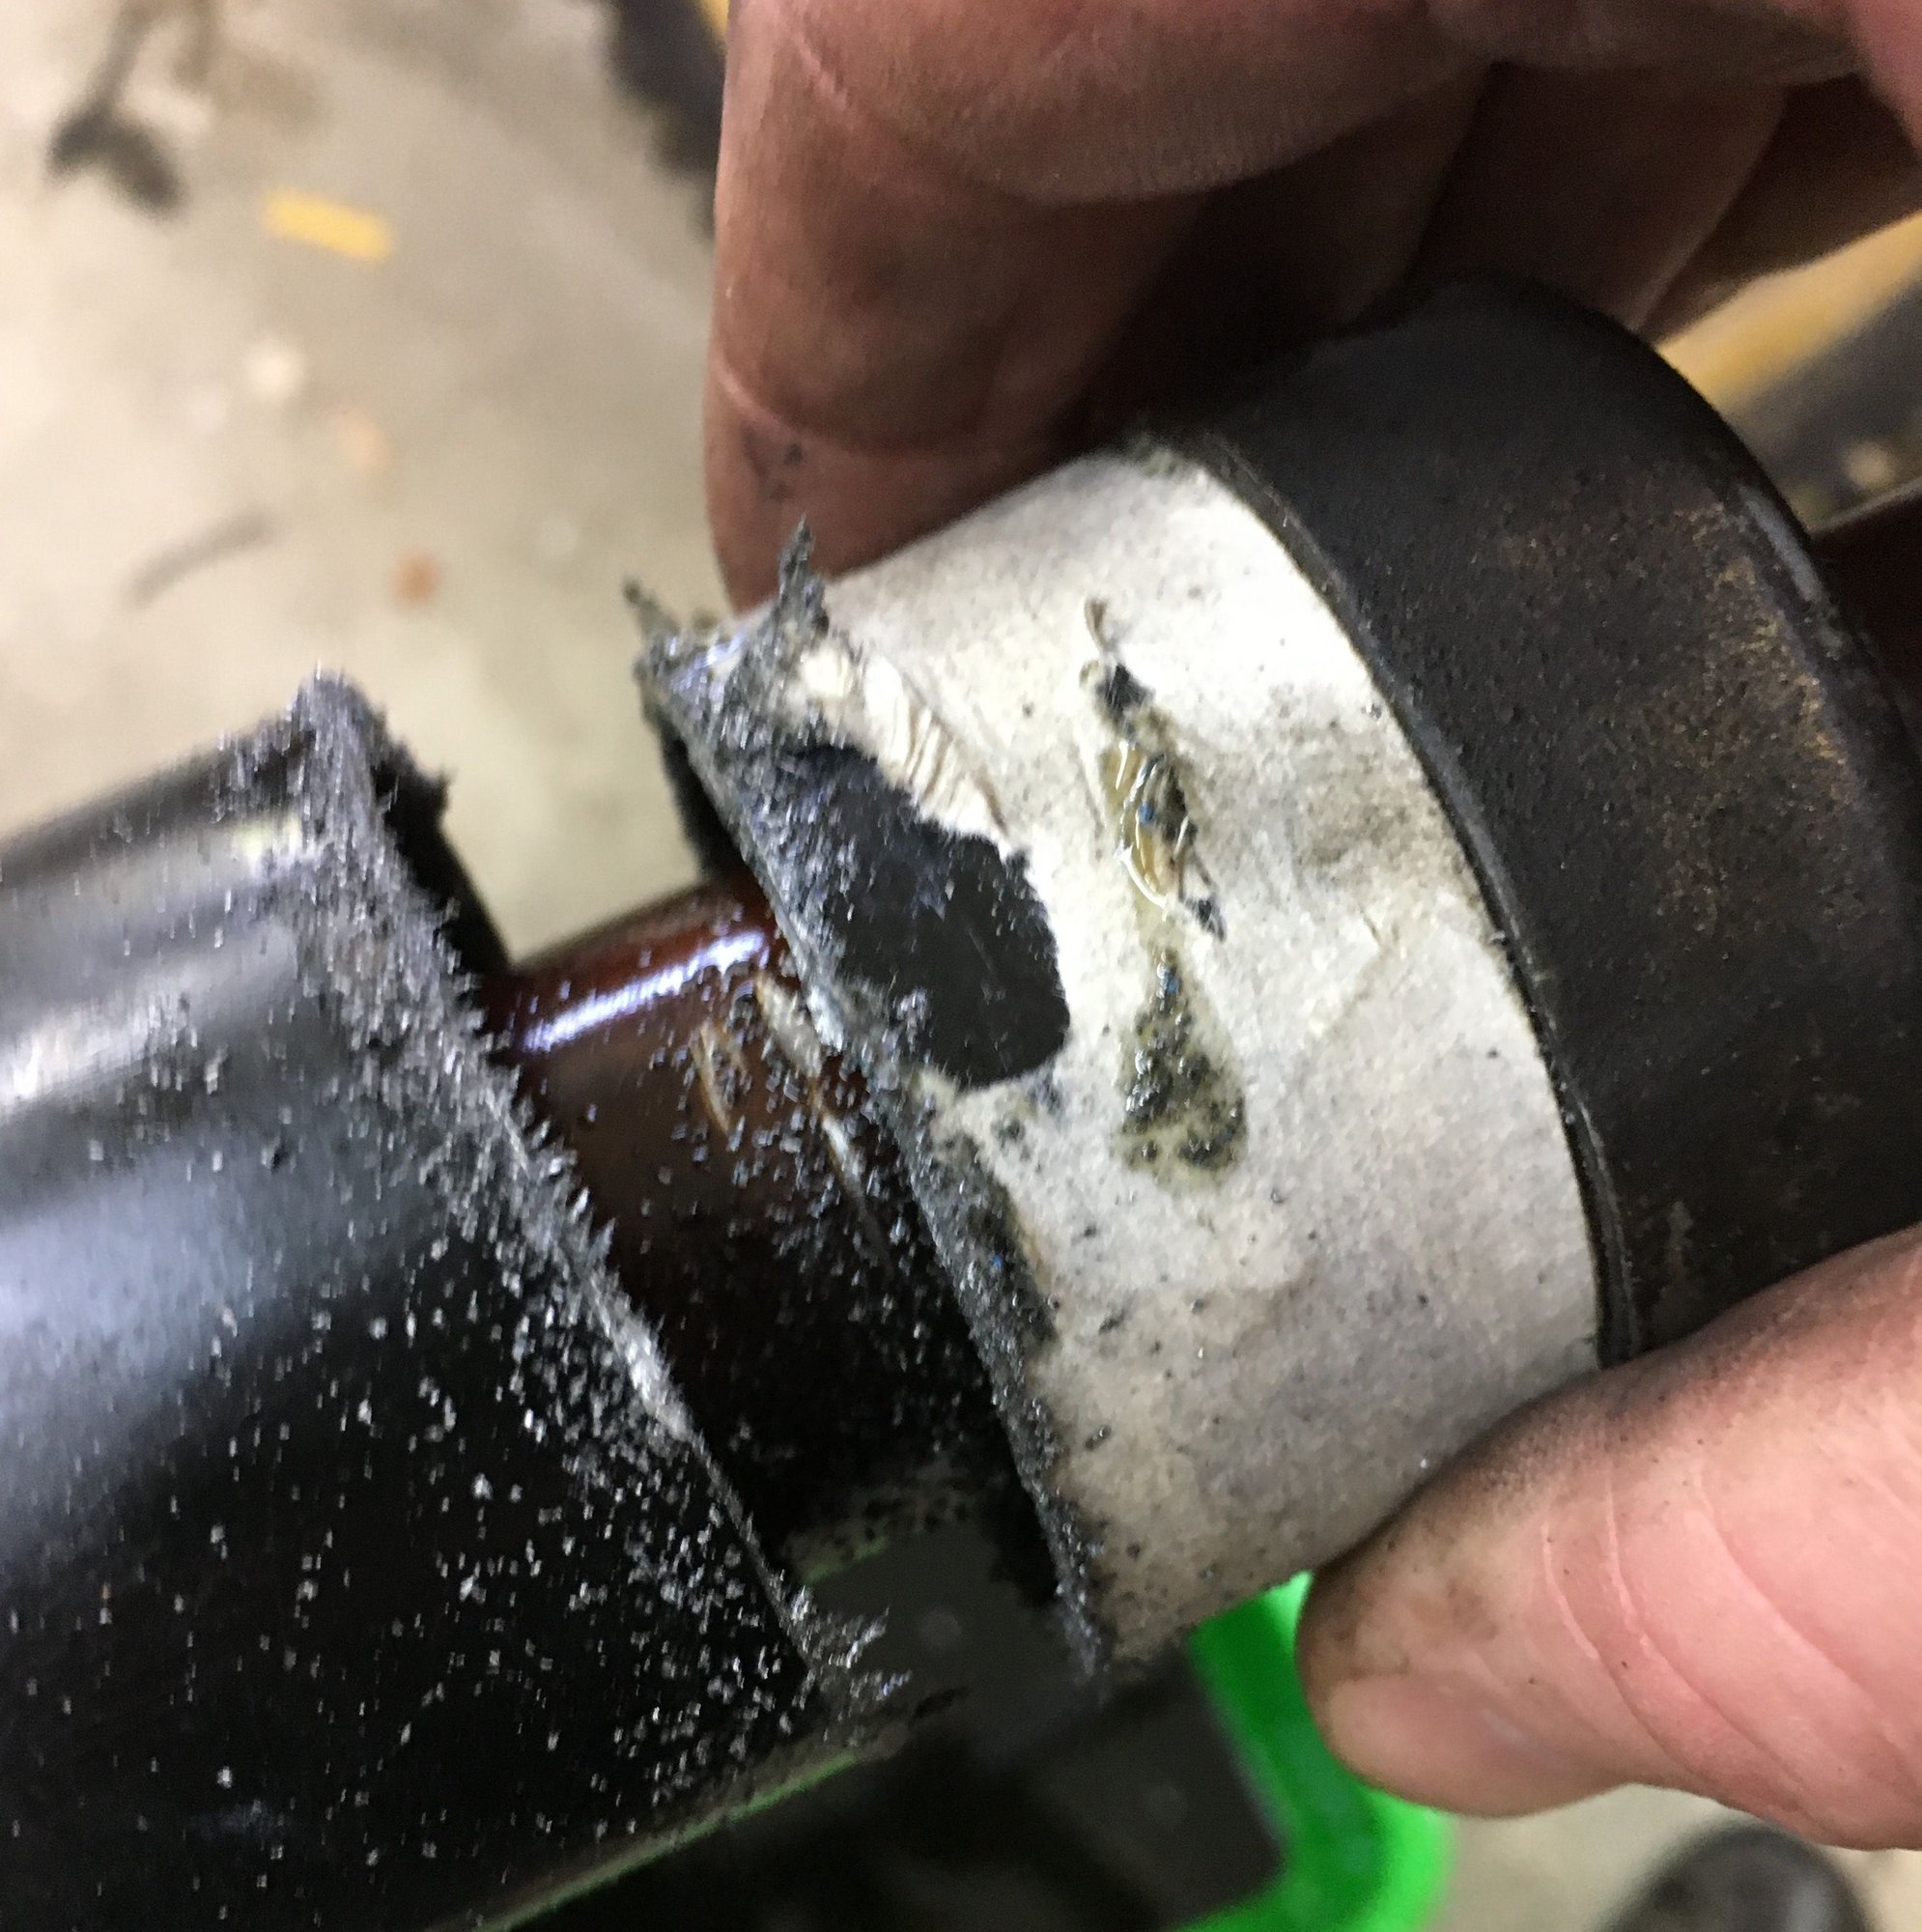
Quick tidy up of the cut with a file and a slight bevel to the outer edge.
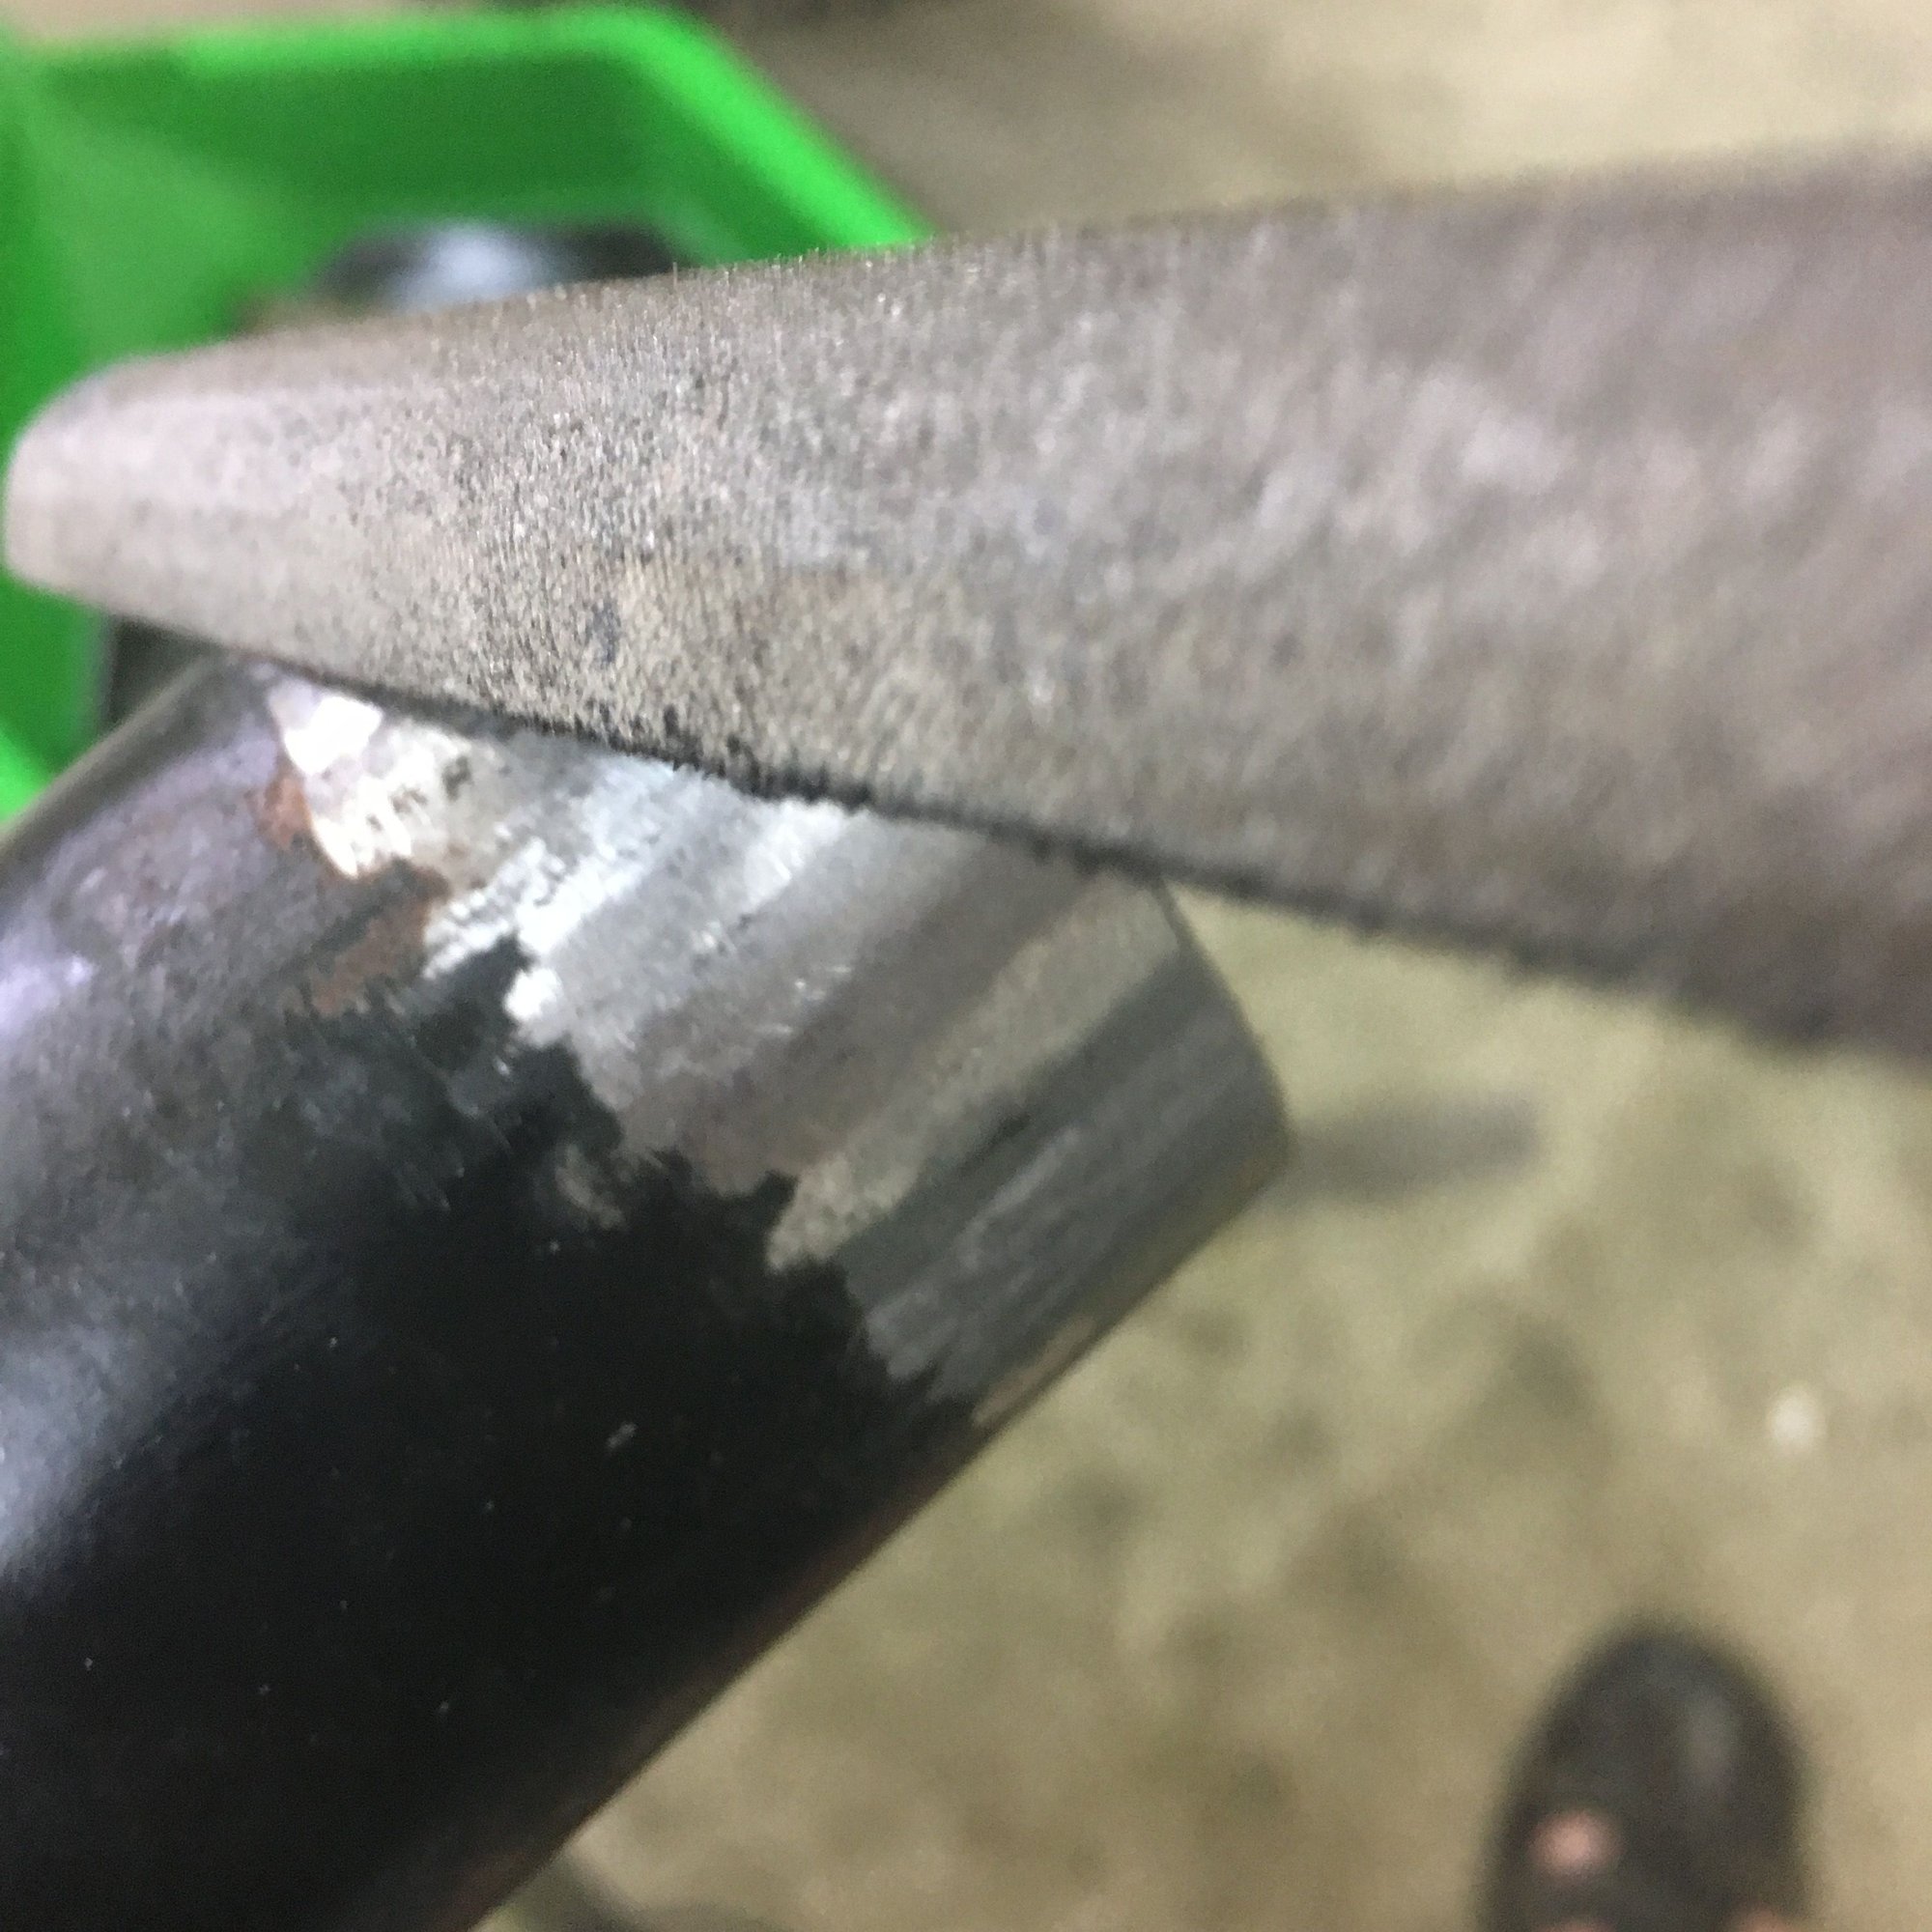
File back the paint and galvanised primer for approx 20mm back from the cut. This is in preparation for the welding of the collar.
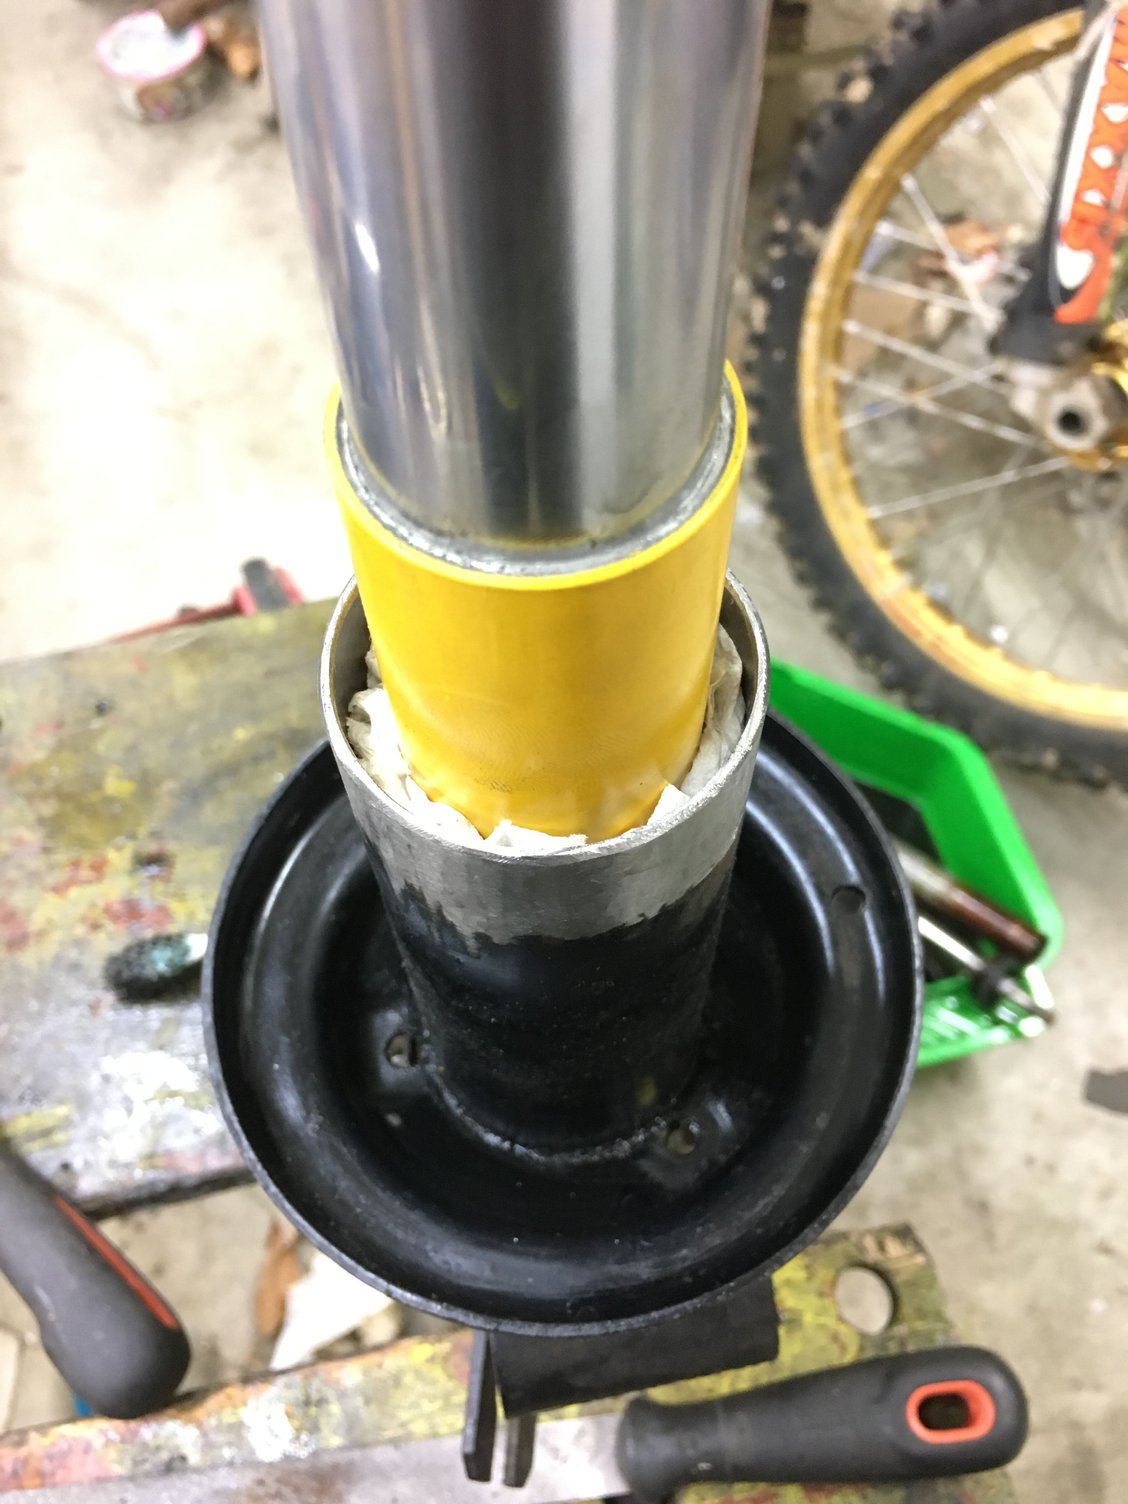
Now it is time to test out the insert and see how good a job you did with your cut. Give the inside of the strut body a good clean out and then position the Bilstein insert. I use a few pieces of kitchen paper to centre it.
Now measure from the cut to the outer body of the insert. If you have done a good job it will be 40mm. Prep work all completed. Now you are ready to fit the collar
How is the dampening with the S or S2 springs? These are used on some lightweight lower spring rate cars (924's and beetles). However that could just be compatibility from a fitment standpoint.
The damping of the B6 Sport is great with stock springs but designed to give a sportier ride than the original OEM set up. Saying that all the stock ones I've had apart have had close to zero damping. You can pull the shaft in and out with 2 fingers!
I've also tested them on a 944S with Welmeister 250lb springs and that was a very nice combo. Probably one of the nicest 'fast road' set ups I've experienced on a 944. I now run Bilstein Motorsport/Escort coil overs (944 S2) and that is a sensational track ride but not as good as the B6 Sport/Weltmiester combo for the road. I don't mind it on the road, but my wife complains
Quite a few of our local club members have gone with the Bilstein B6 sport option and I've only had positive feedback.

 04-01-2017, 06:48 PM