When you click on links to various merchants on this site and make a purchase, this can result in this site earning a commission. Affiliate programs and affiliations include, but are not limited to, the eBay Partner Network.
Here is the post of what I have done so far. I'm at the point in the project where I have the cross member out and all the parts cleaned.
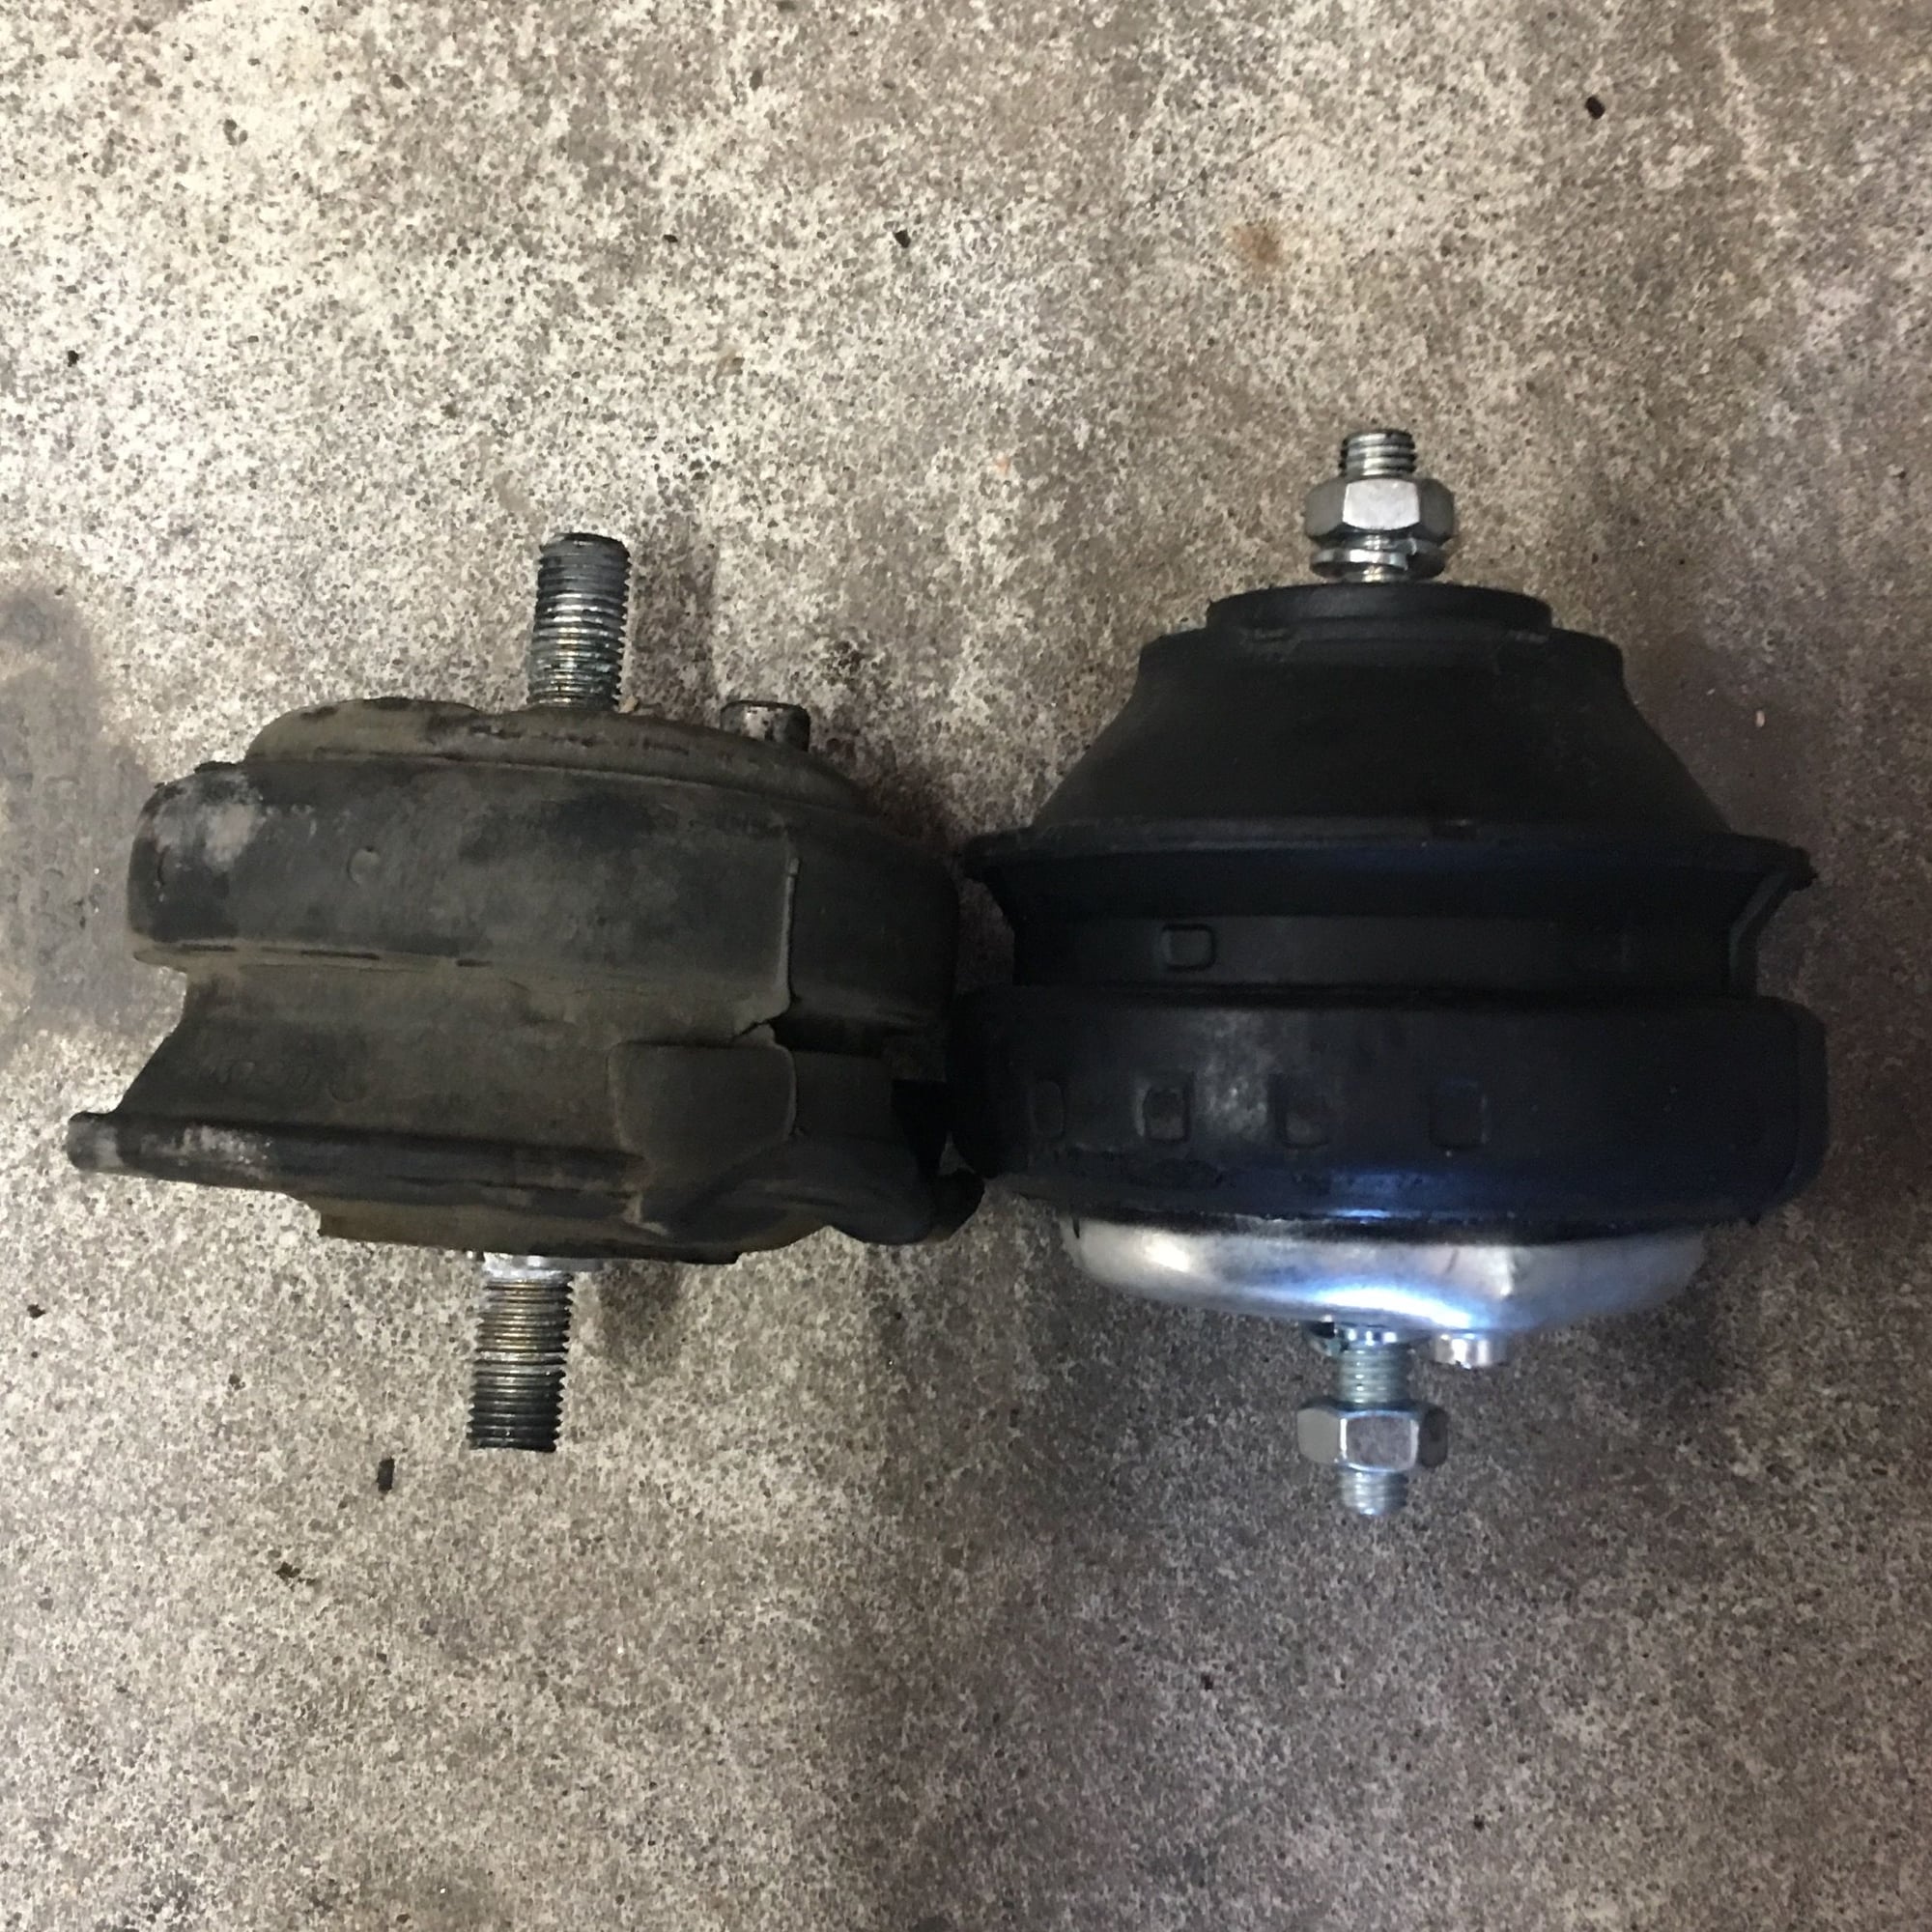
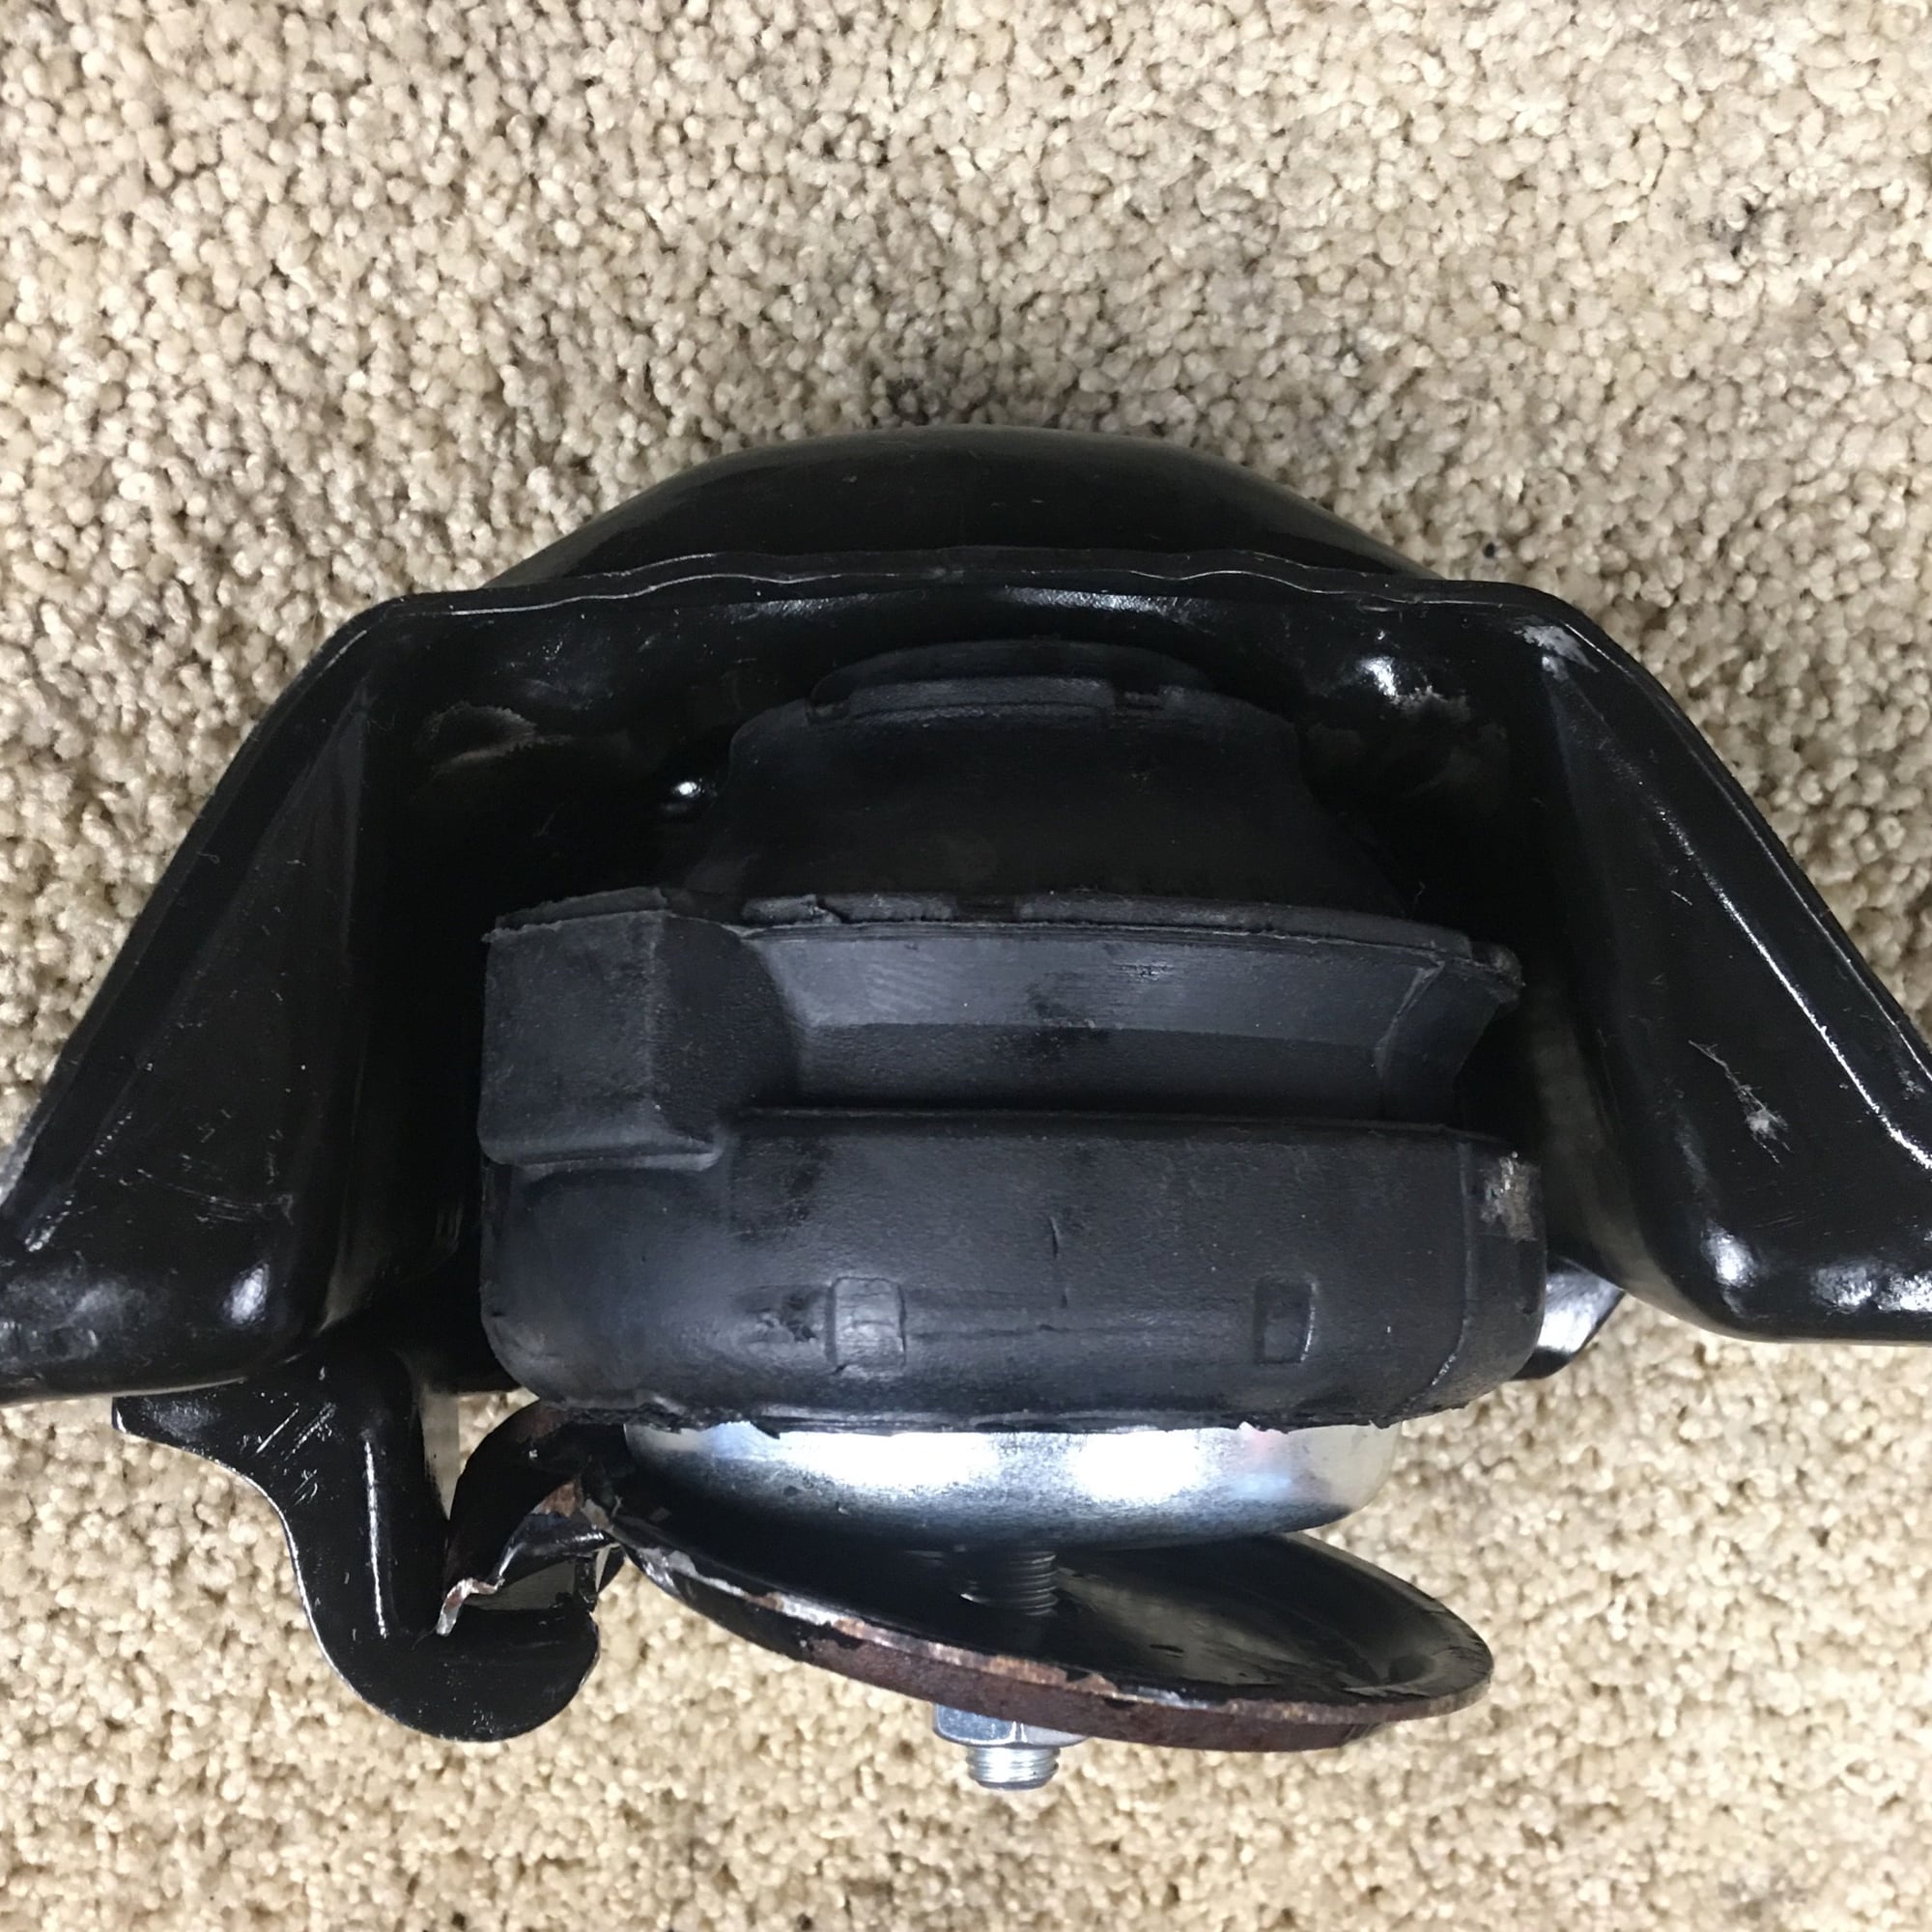
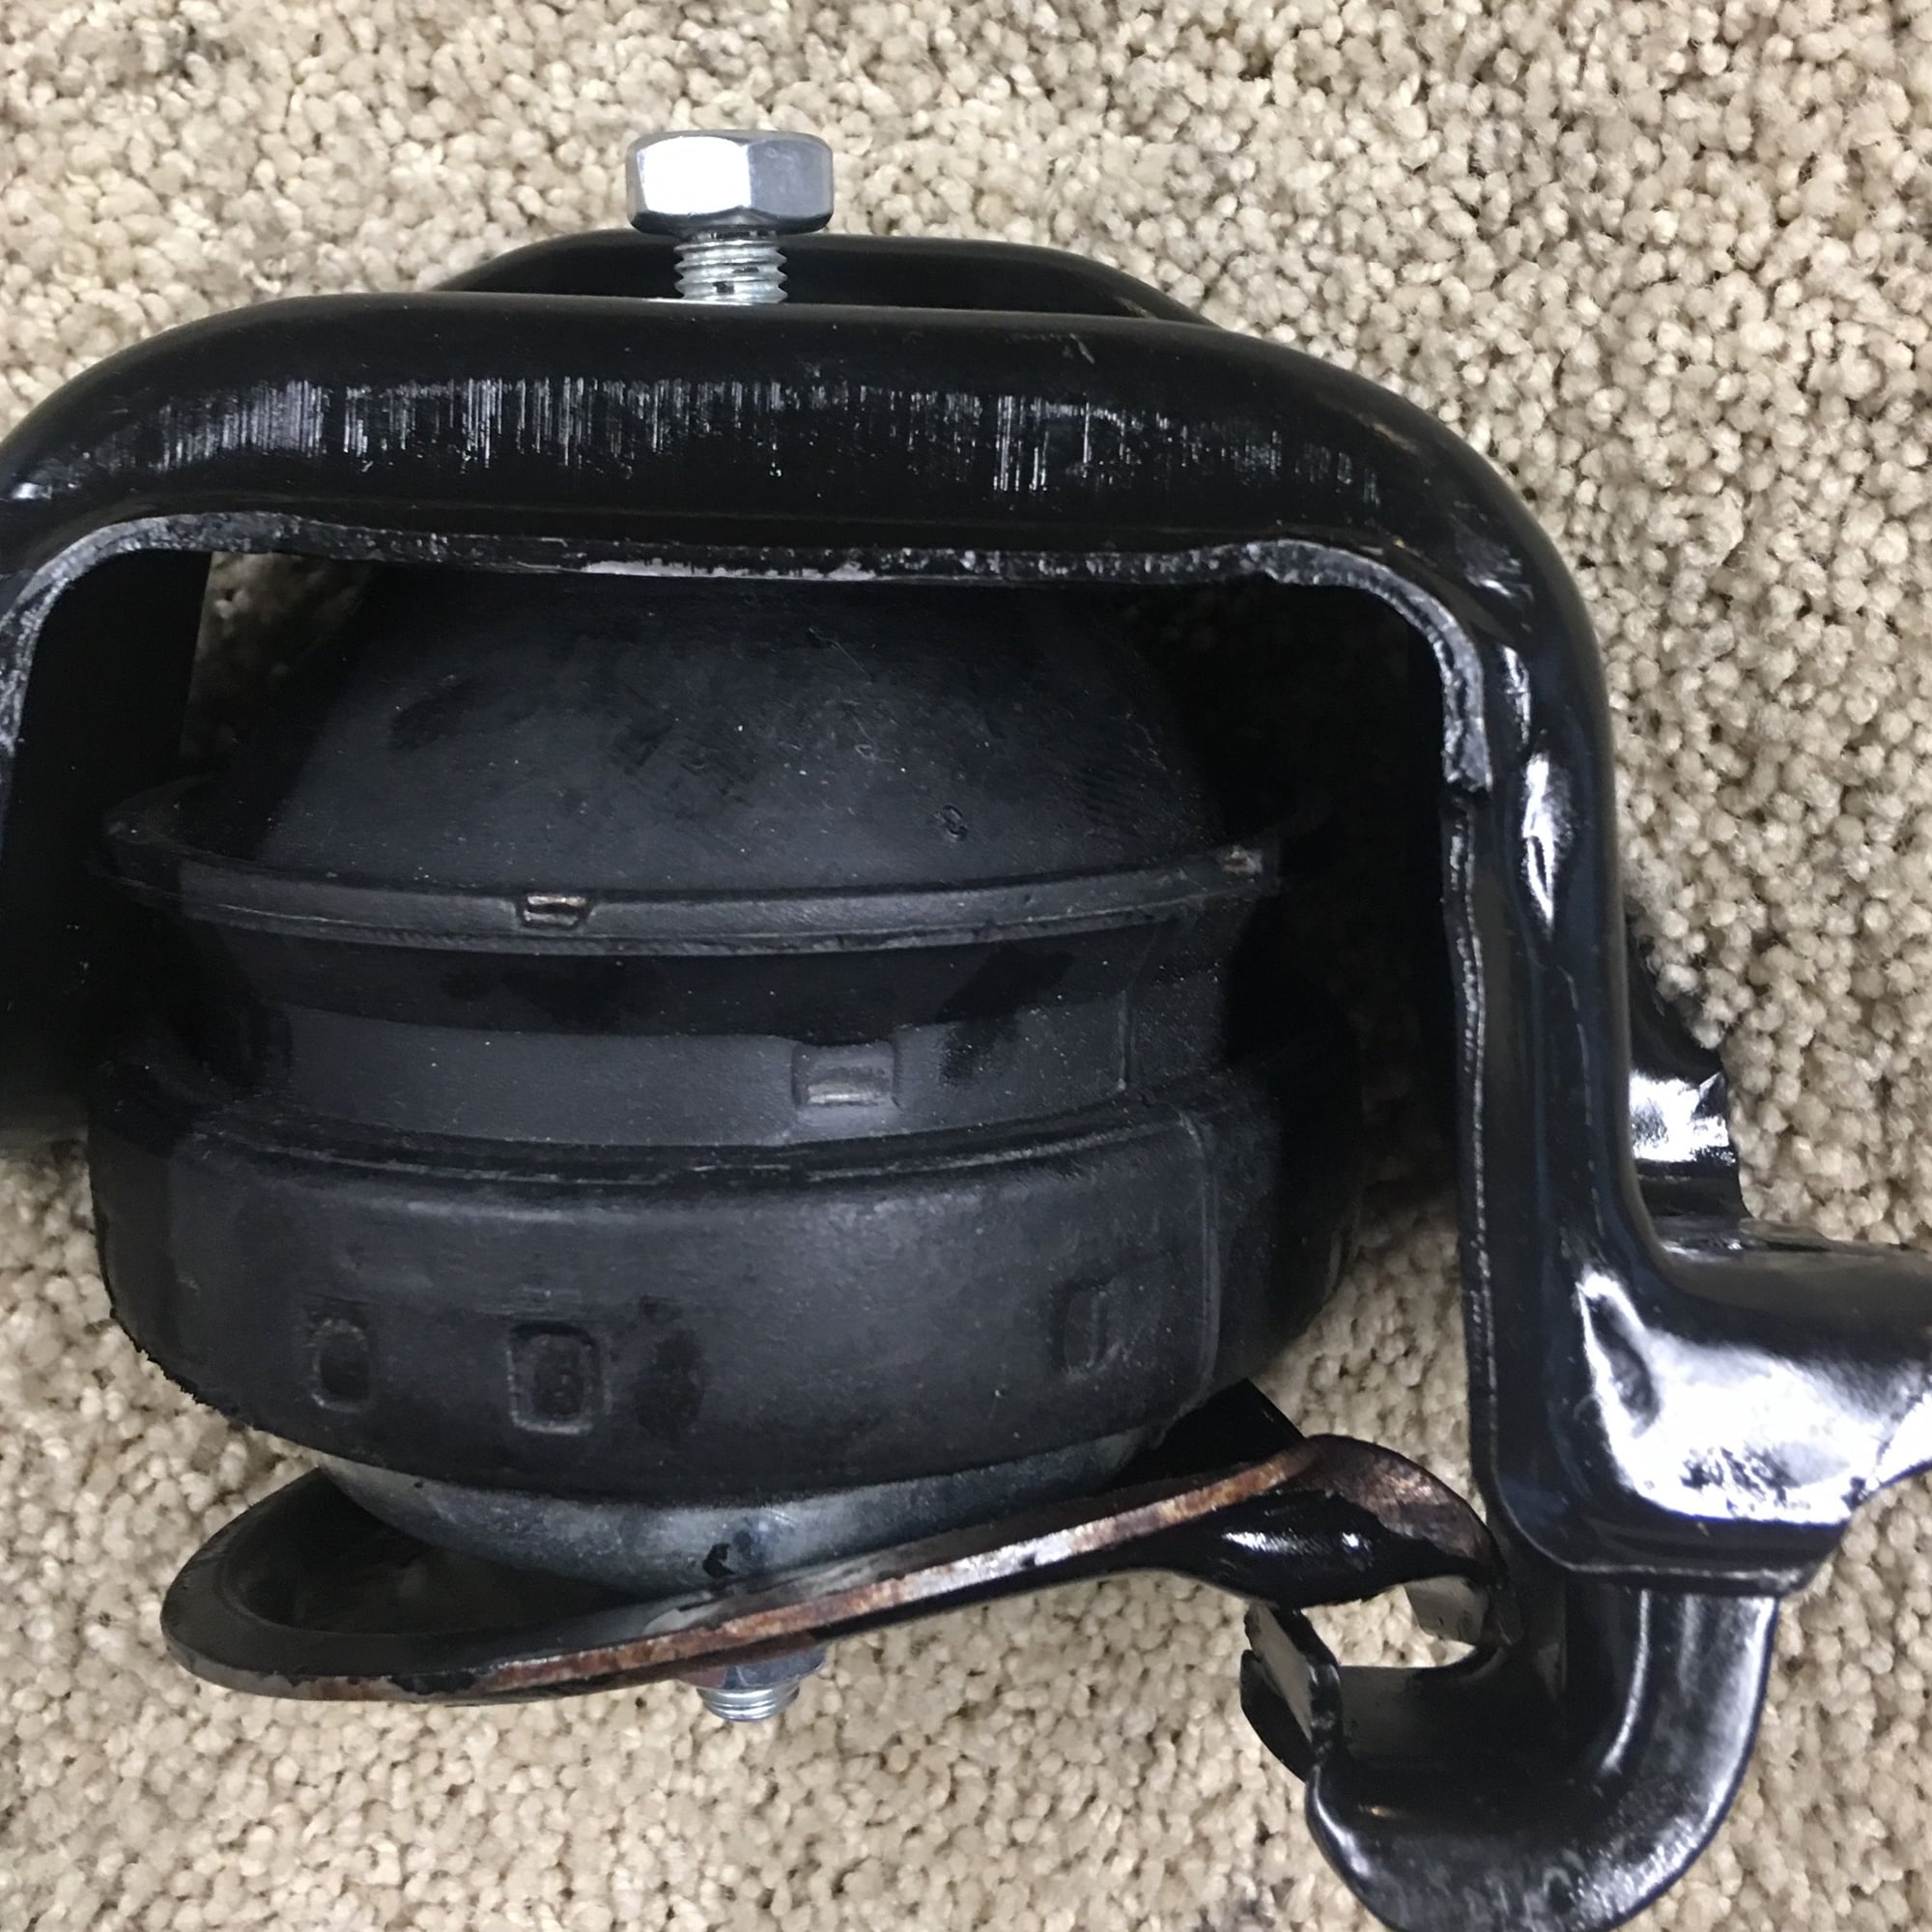
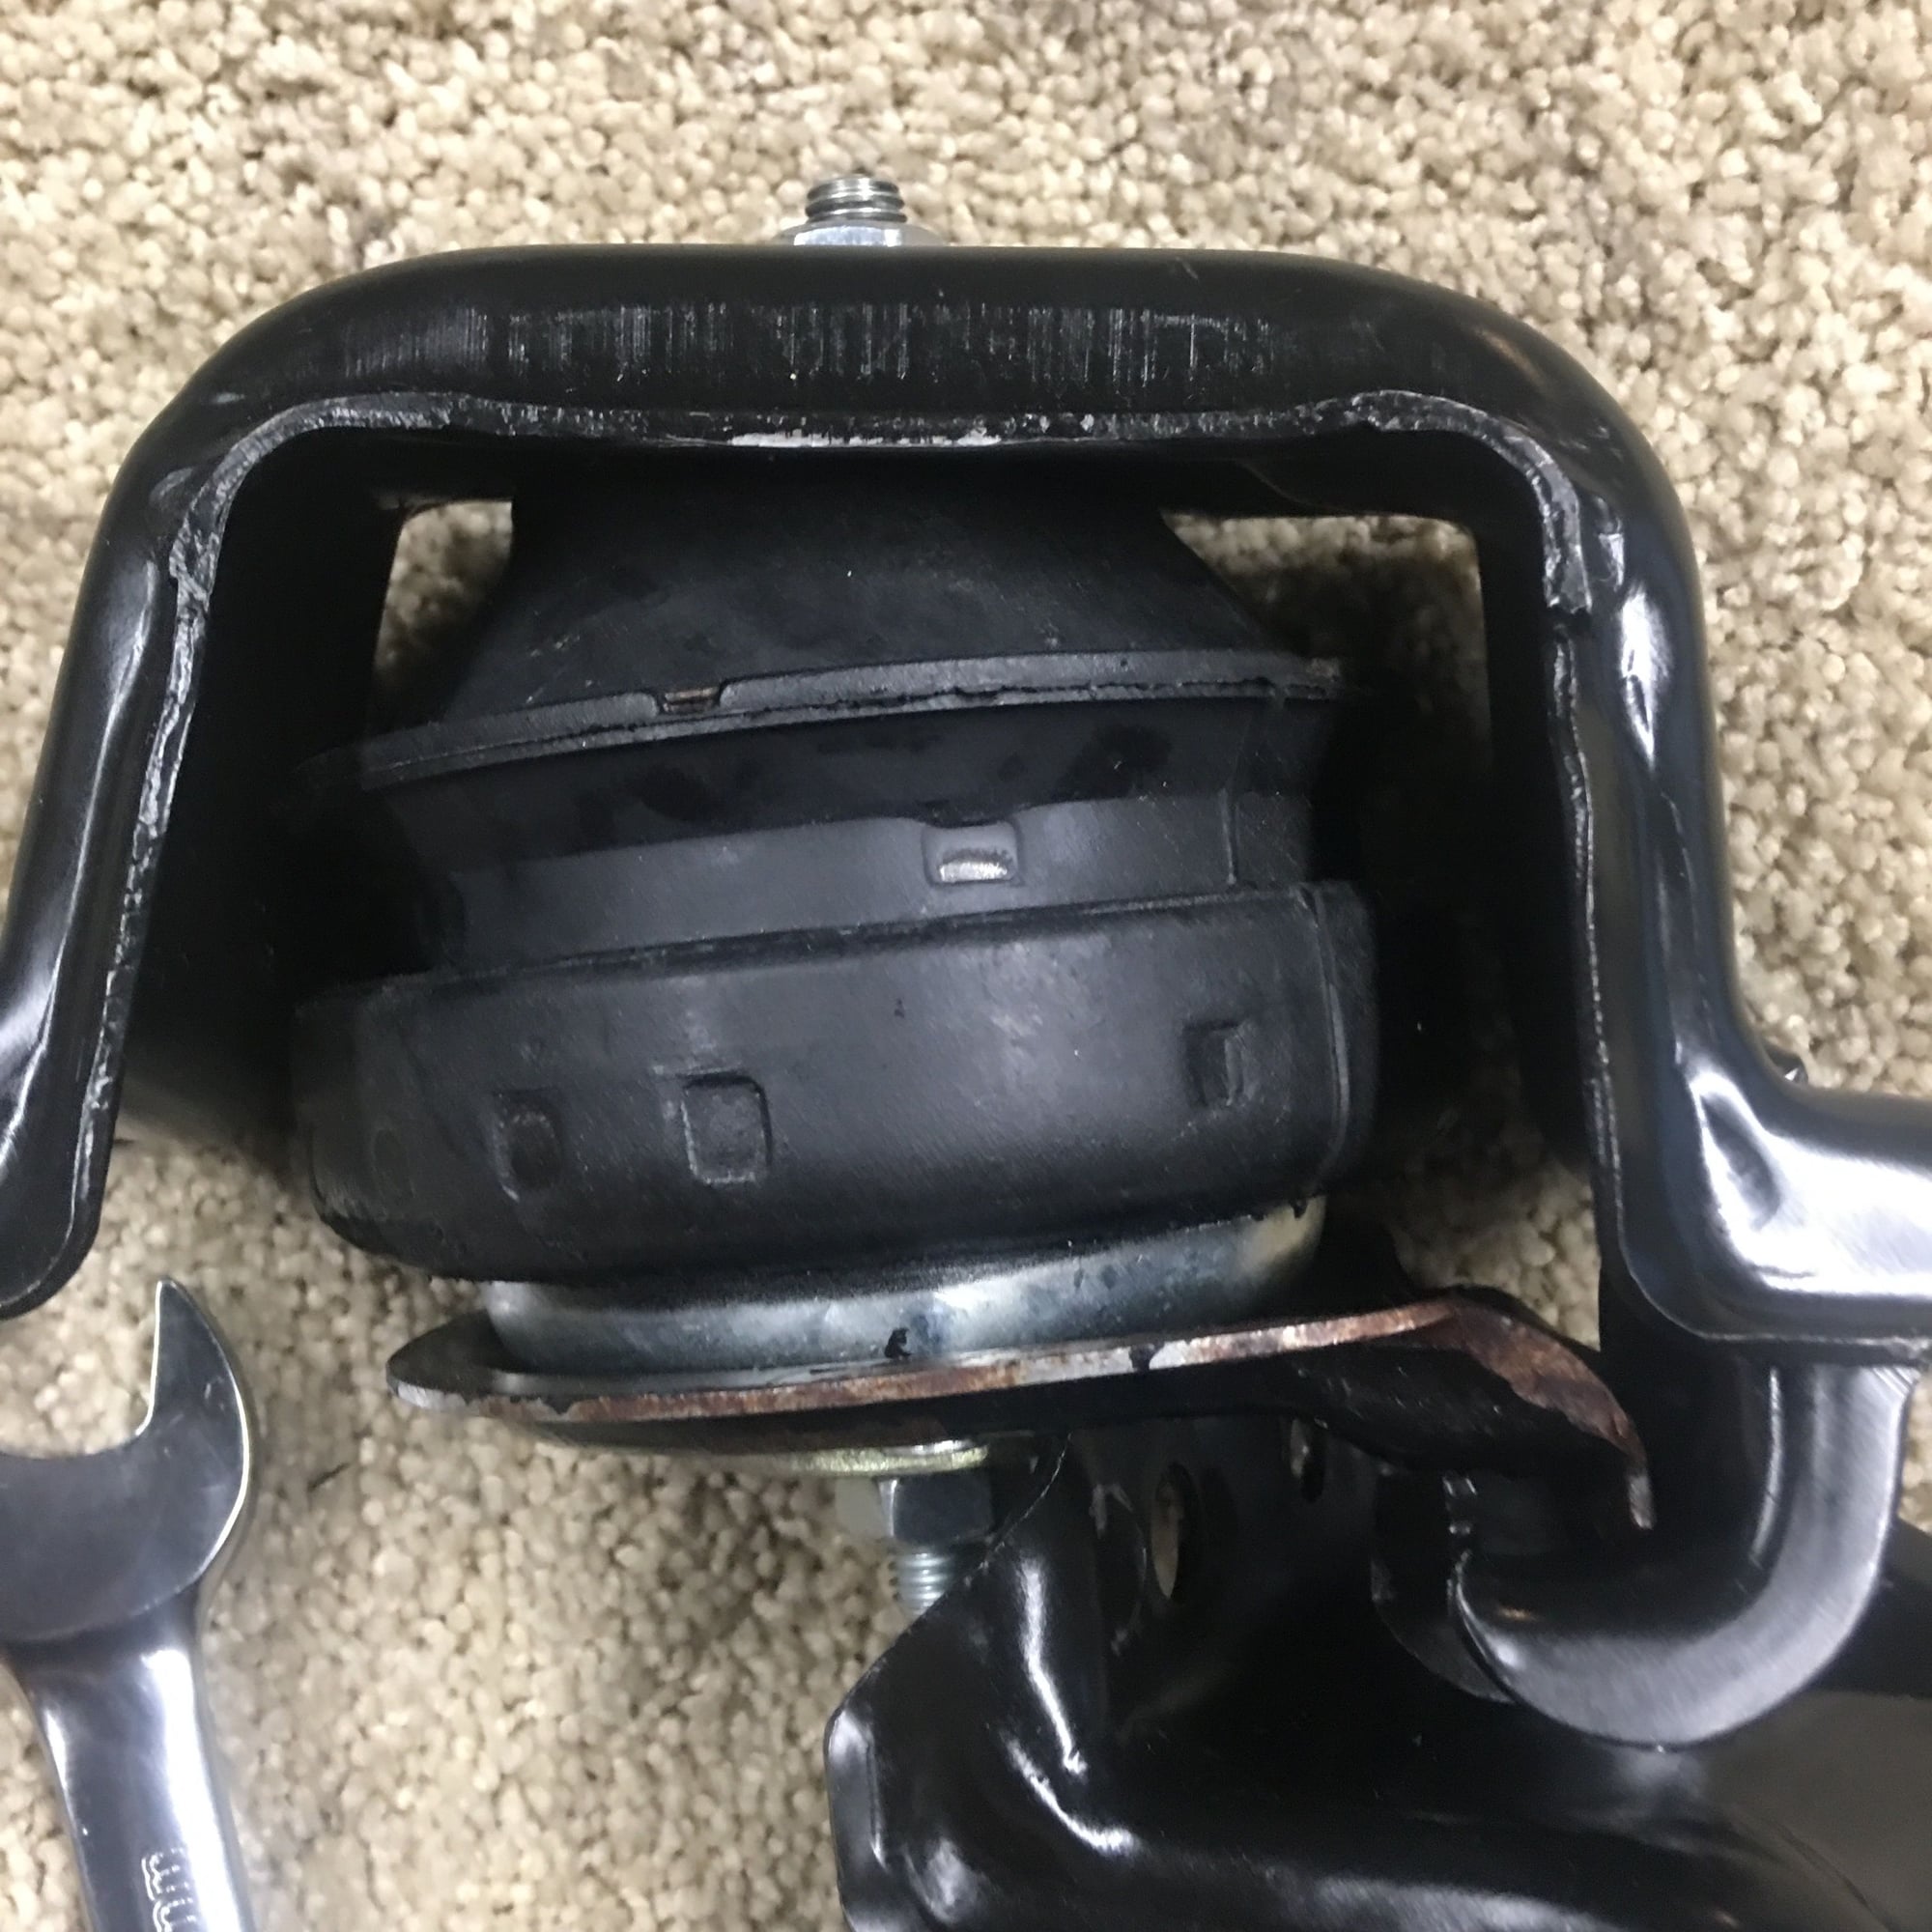
First: I am using the Volvo mounts sourced from Roger at 928srus. These are considerably taller than the stock and don't quite fit into the mount retaining brackets. How should I install these to best align them? Do I align the hook fingers on the brackets and force/compress the mount using the bolts (which ended up with a crooked mount or do I turn the bottom bracket so the hooks don't align but I have a very well positioned mount?
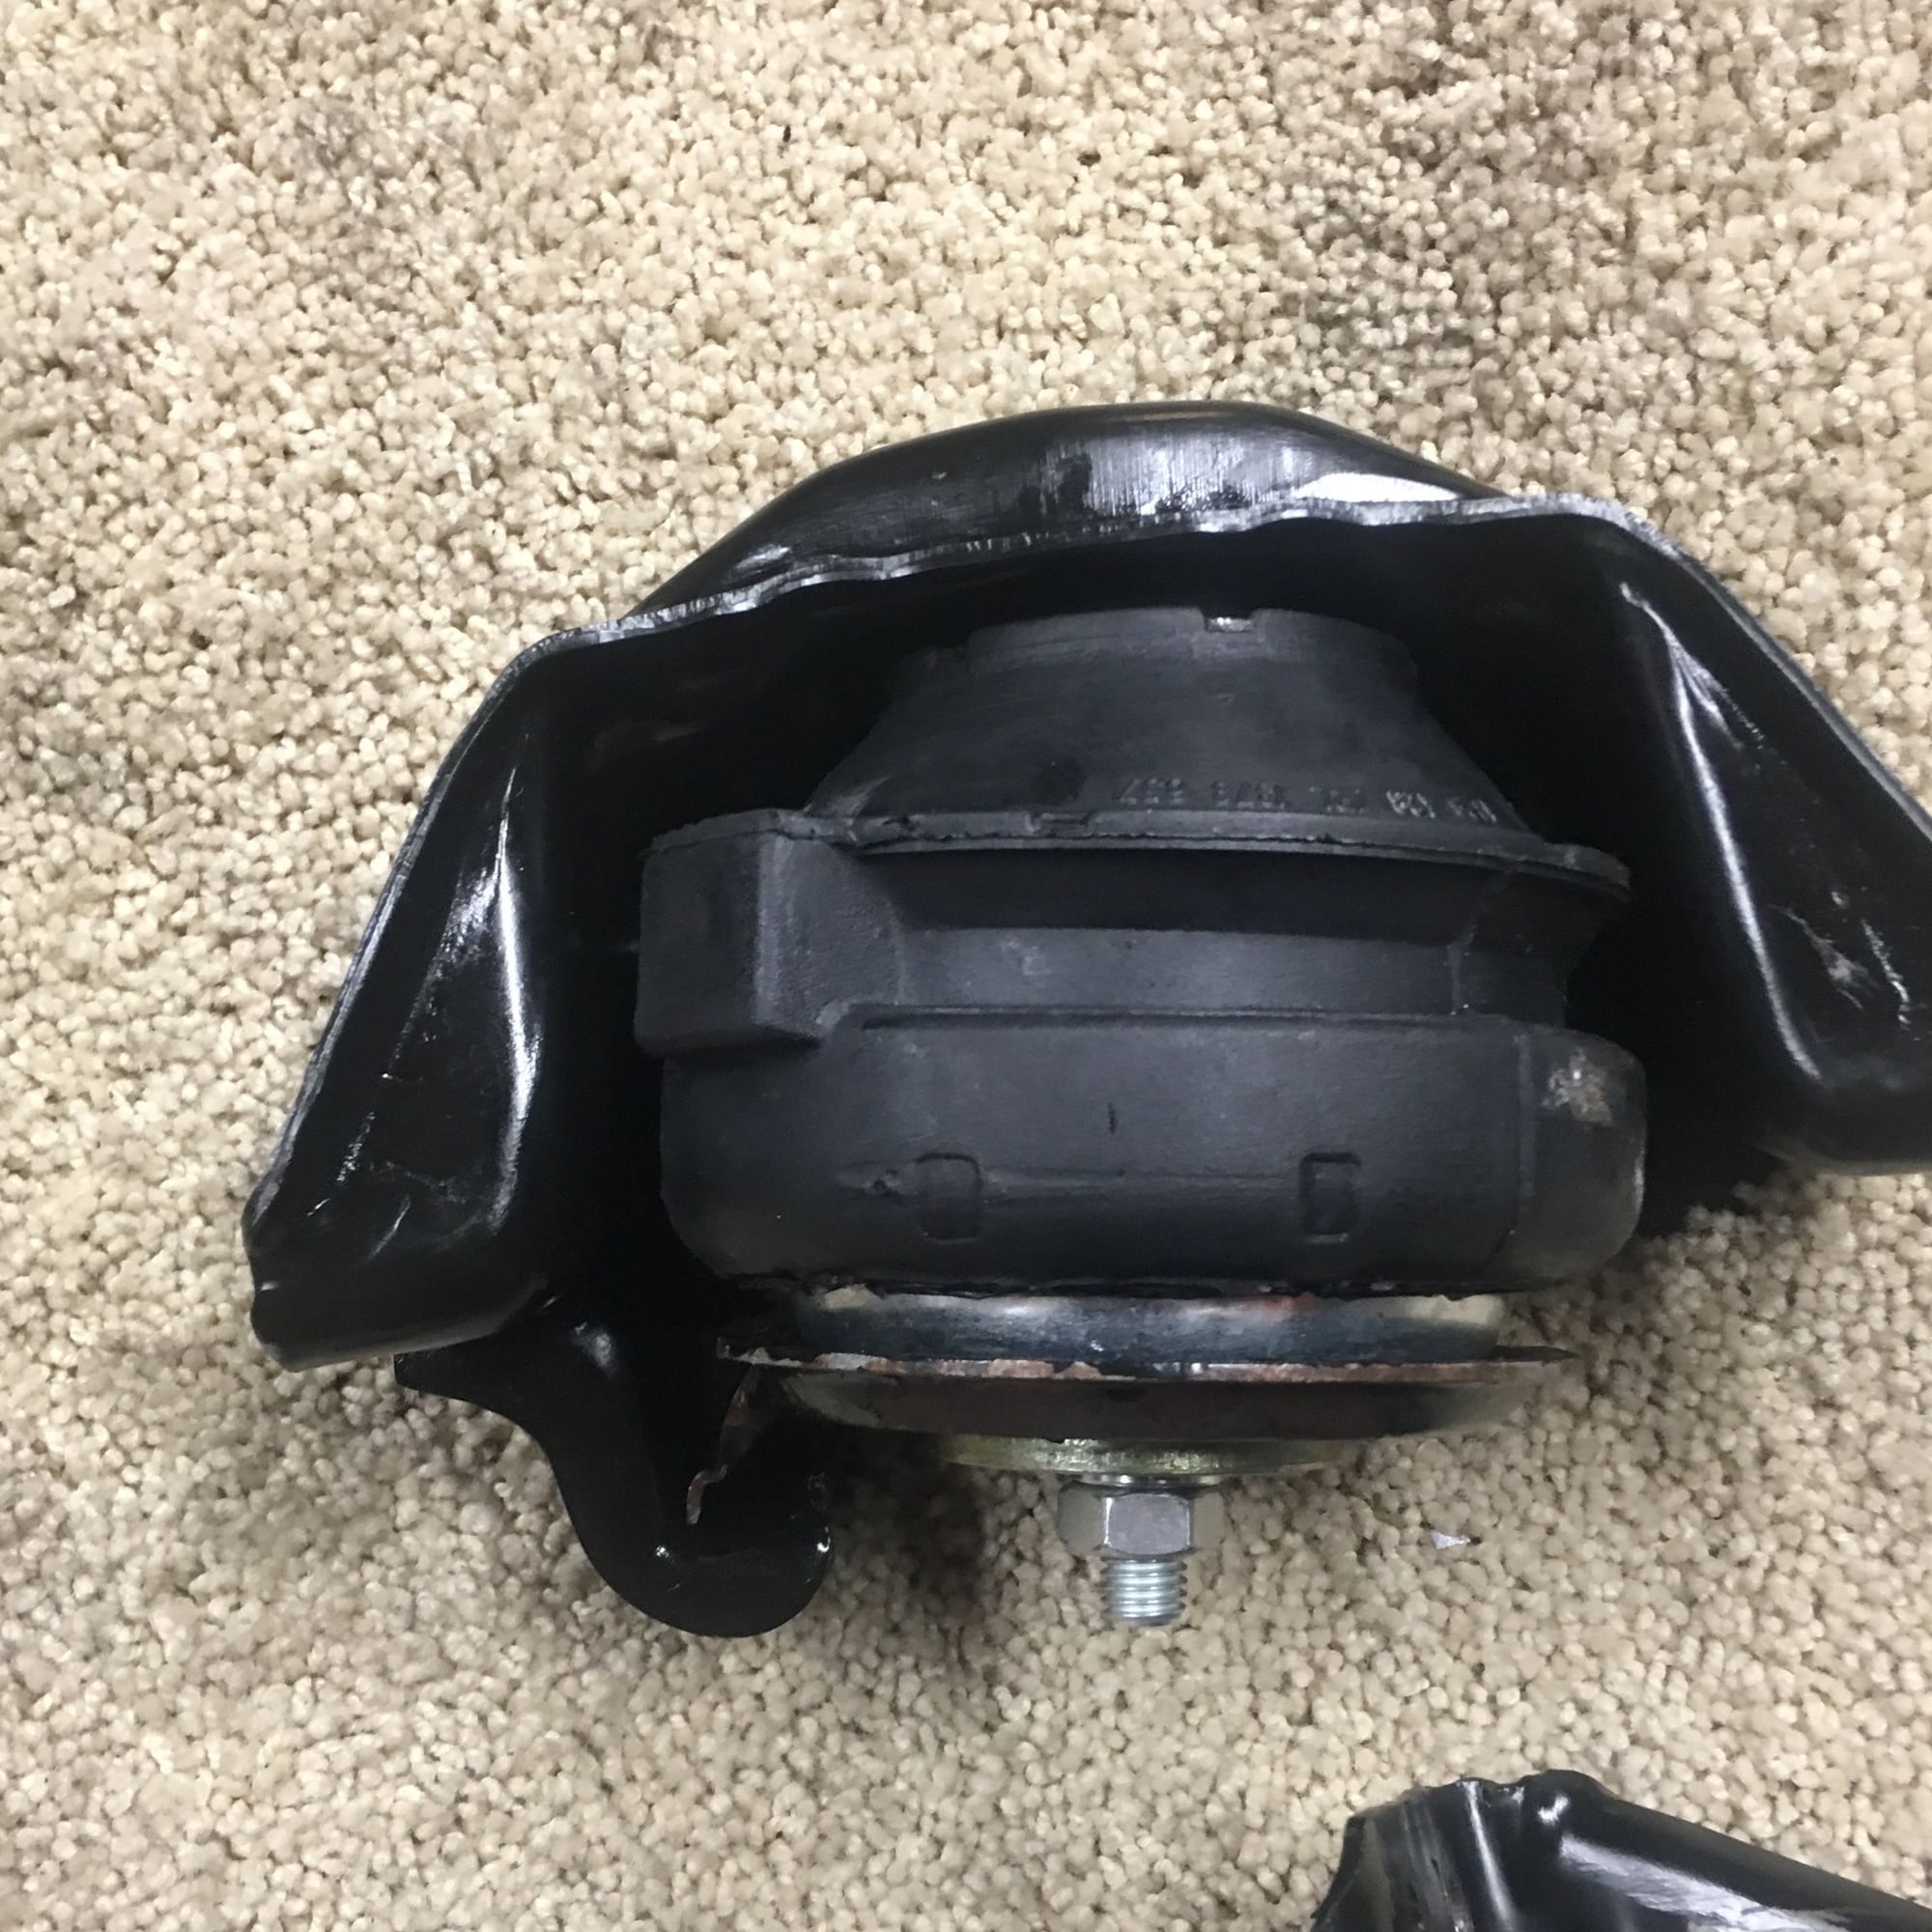
Next question regarding the locating pin on the mount. It's shorter than the OEM mount and does not protrude very far
into the cross member. The locating pin is hollow and could be tapped which would allow me to but a 10mm bolt anchoring it to the cross member. Thoughts?
Also, I didn't pay attention to the orientation of the mounts+cages on the cross member when I removed them. PET shows the left side with the hook forward but it also shows the upper crossmember bolts in backwards from what I saw on my car and all the guides. Can anyone confirm or does it not matter
I'm going to head back out to the garage and start doing recon on removing the oil pan to replace the gasket. I understand cleaning before removal is important. Does anyone have any tips or tricks for cleaning this area without creating a total mess on the garage floor on your arms and face? I think I am going to start with dry rags and stiff bristle brushes before going in with solvent.
Looking forward to your responses. this is mocked up on the workbench.
Kiddie pool from Wally world under the front end. It'll catch all the crap, solvent, debris, etc.... Enjoy. It's definitely a right of passage. Good luck. :-)
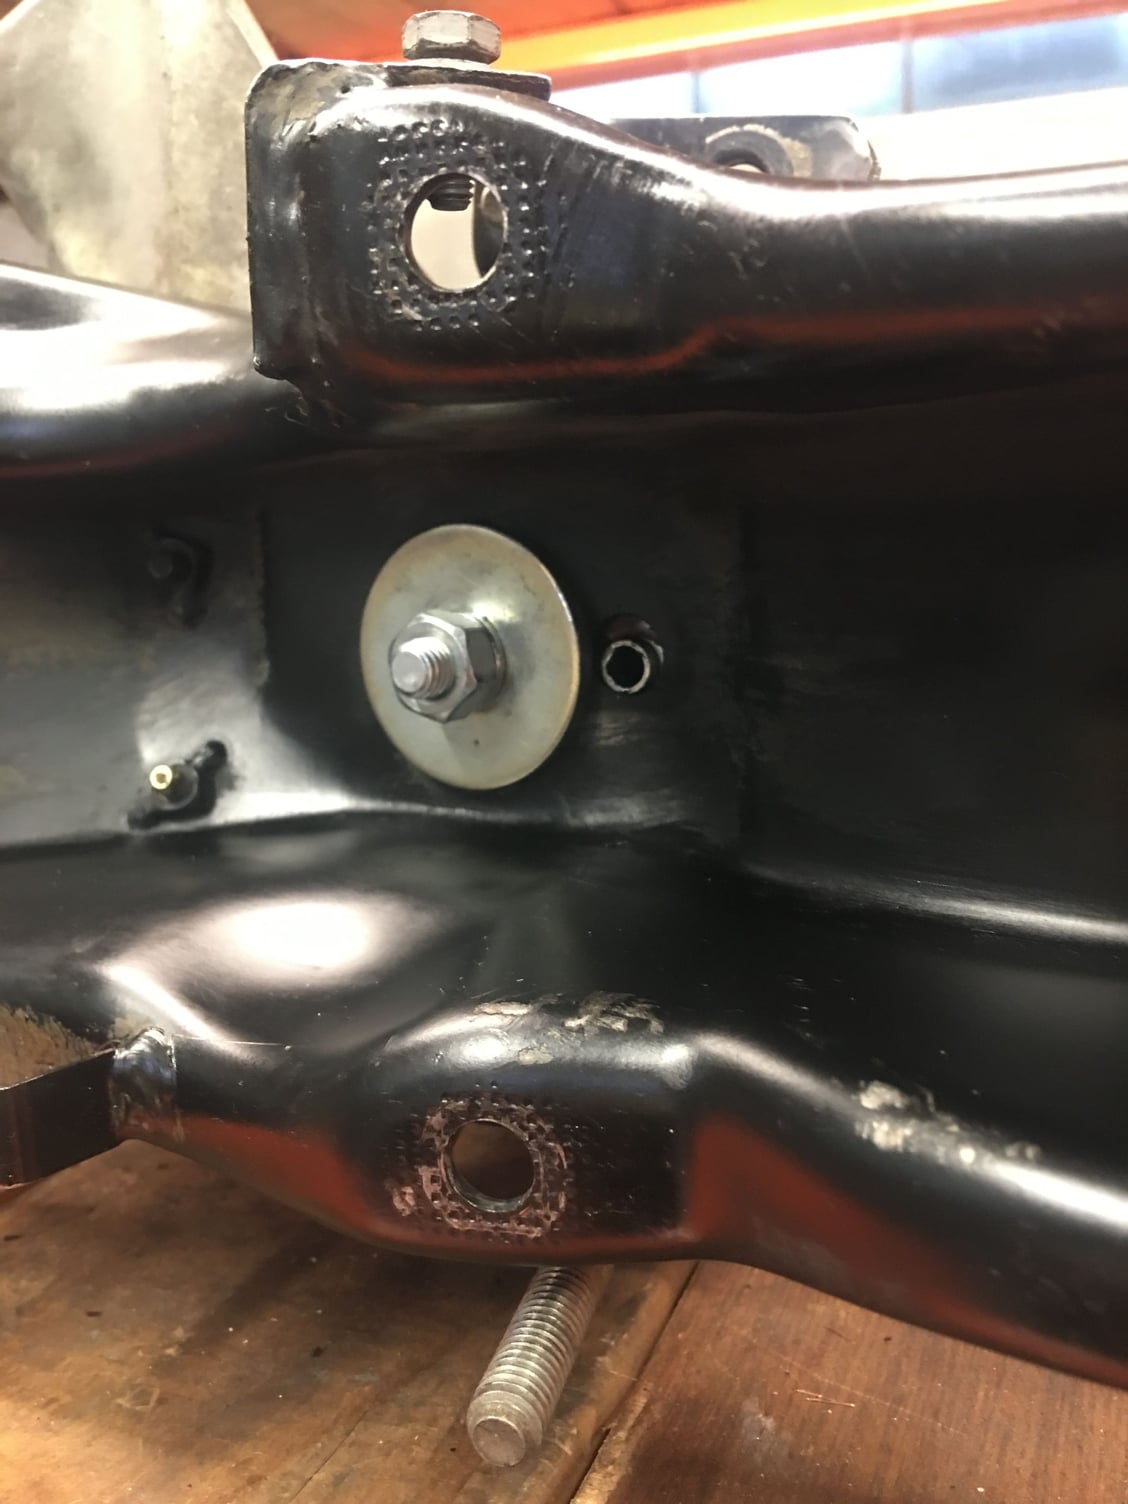
Ok here is the update on the oil pan recon... First, let me reiterate, the oil pan gasket is NOT leaking. Second, I noticed a few of the bolts were loose, no surprise. Third there were long bolts in the short bolt locations. I noticed that some of the bolts were not tight because they had bottomed out. On further inspection the holes were only 26mm deep these were the four short bolt locations on the left and right sides. The bolts in these holes were the longer ones. Additionally, some of the bolts were miss-matched. This got me thinking, someone was in here before so I did a double check of the repair history. Sure enough, the oil pan gasket was replaced in 2007 (about 10K miles ago). In looking at the receipt, they used the factory part number.
So now my new question is, do I replace the oil pan seal? I figure just check all the bolts and re-torque. Thoughts?
Last edited by Michael Benno; 07-03-2017 at 03:39 PM.
I remember looking at that drawing in PET to check orientation of heat shields. It does show the mounts and heat shields correctly, but as you say it has the horizontal support bolts the wrong way round, though I can't see that this would matter at all. Either way round those bolts are a pain to locate, unless you've ground a point on them.
Bend the finger on the bracket slightly, flattening it slightly. That will give the slight clearance improvement needed with the Volvo mounts.
On the OPG: obviously a top-tier installation 10 years and 10k miles again. Bolts in the wrong places, some bottomed out and all. Gonna r&r bolts until you get the right ones in the right holes? Do them all at once, with the new gasket this time.
You can tell me "I told you so" in a couple years.
Originally Posted by dr bob
Michael--
On the OPG: obviously a top-tier installation 10 years and 10k miles again. Bolts in the wrong places, some bottomed out and all. Gonna r&r bolts until you get the right ones in the right holes? Do them all at once, with the new gasket this time.
To Dr. Bob's extreme dismay, I decided not to replace the OPG. The OPG looked to be in very good condition and it wasn't leaking anywhere. As a compromise, I decided to replace all the miss matched bolts and ensure the correct sizes were in the correct spots and they were all properly torqued with Locktite.
Interestingly, I was missing 3 bolts and 4 of the bolts were loose enough that there was a visible gab between the washer and the pan
I had to remove the starter to get to that missing bolt.
The underside cleaned up easier than I thought. I used a spray bottle filled with Home Depot heavy duty solvent mixed 50% plus a paint brush to agitate and loosen dirt with a oil drip pan under each section. I used a rag g to wipe things clean and then a follow up with light soapy water in a spray bottle to neutralize the solvent.
Quick update - my power steering return line sprung a leak Bugger! It was probably a weak line and all the tugging on the rack made it give up. I'll pull the line and see if repair is possible, but will likely need to be replaced.
To Dr. Bob's extreme dismay, I decided not to replace the OPG. ...
No dismay here. Just sharing a thought on how close you are to the gasket without taking that last step and replacing it. Pulling all the bolts one by one to get them in the correct places? Cleaning each hole to prep for a drop of loctite? Using a new-gasket torque setting on the old gasket? You mentioned that you already have the new gasket in hand. Can I suggest the safest place to store that new gasket? Just a thought...
No dismay here. Just sharing a thought on how close you are to the gasket without taking that last step and replacing it. Pulling all the bolts one by one to get them in the correct places? Cleaning each hole to prep for a drop of loctite? Using a new-gasket torque setting on the old gasket? You mentioned that you already have the new gasket in hand. Can I suggest the safest place to store that new gasket? Just a thought...
Carry on with scheduled activities! [salutes]
Thanks drbob! How should I store it? Also thanks for the tip on bending the mount plat finger hooks. That helped quite a bit.
It was a tough couple days under the car, I'll post an update later.

 07-03-2017, 02:13 PM


 How should I store it? Also thanks for the tip on bending the mount plat finger hooks. That helped quite a bit.