When you click on links to various merchants on this site and make a purchase, this can result in this site earning a commission. Affiliate programs and affiliations include, but are not limited to, the eBay Partner Network.
I have found that because my car is an early build '83 the recirc vacuum pod I need is the one used from 78-82 and is NLA. I have determined three options to repair my recirc flap.
1. Attempt to repair my rubber diaphragm. If this were any other vacuum pod I would try this but because of the difficult access to this one I do not like this option.
2. Find a used working vac pod but it will be just as old and likely to fail. I do not like this option for the same reason above.
I am left with option 3. Source a newer style 'suction housing' as the PET calls it so that I can use my new vacuum pod.
The question is, are the 'suction housings' interchangeable? The only difference seems to be the flap mechanism itself within the housing.
Newer style suction housing and vac pod (other peoples photos):
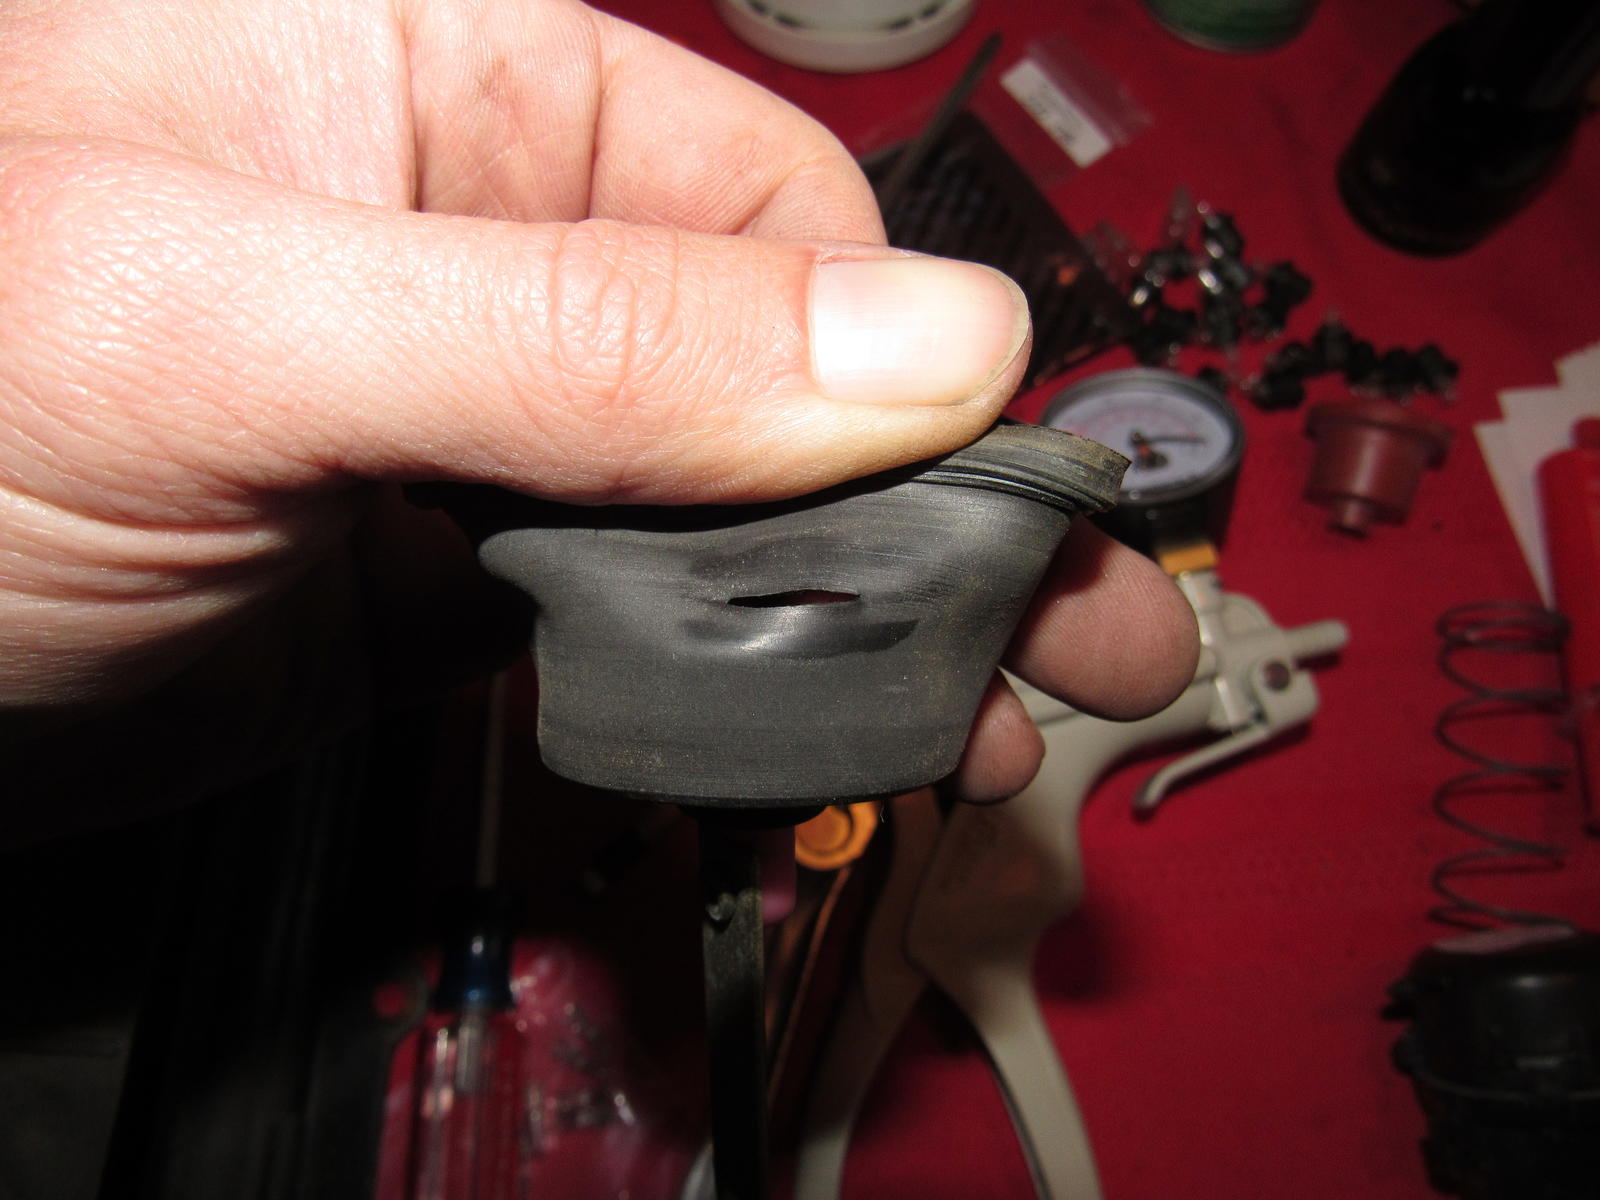
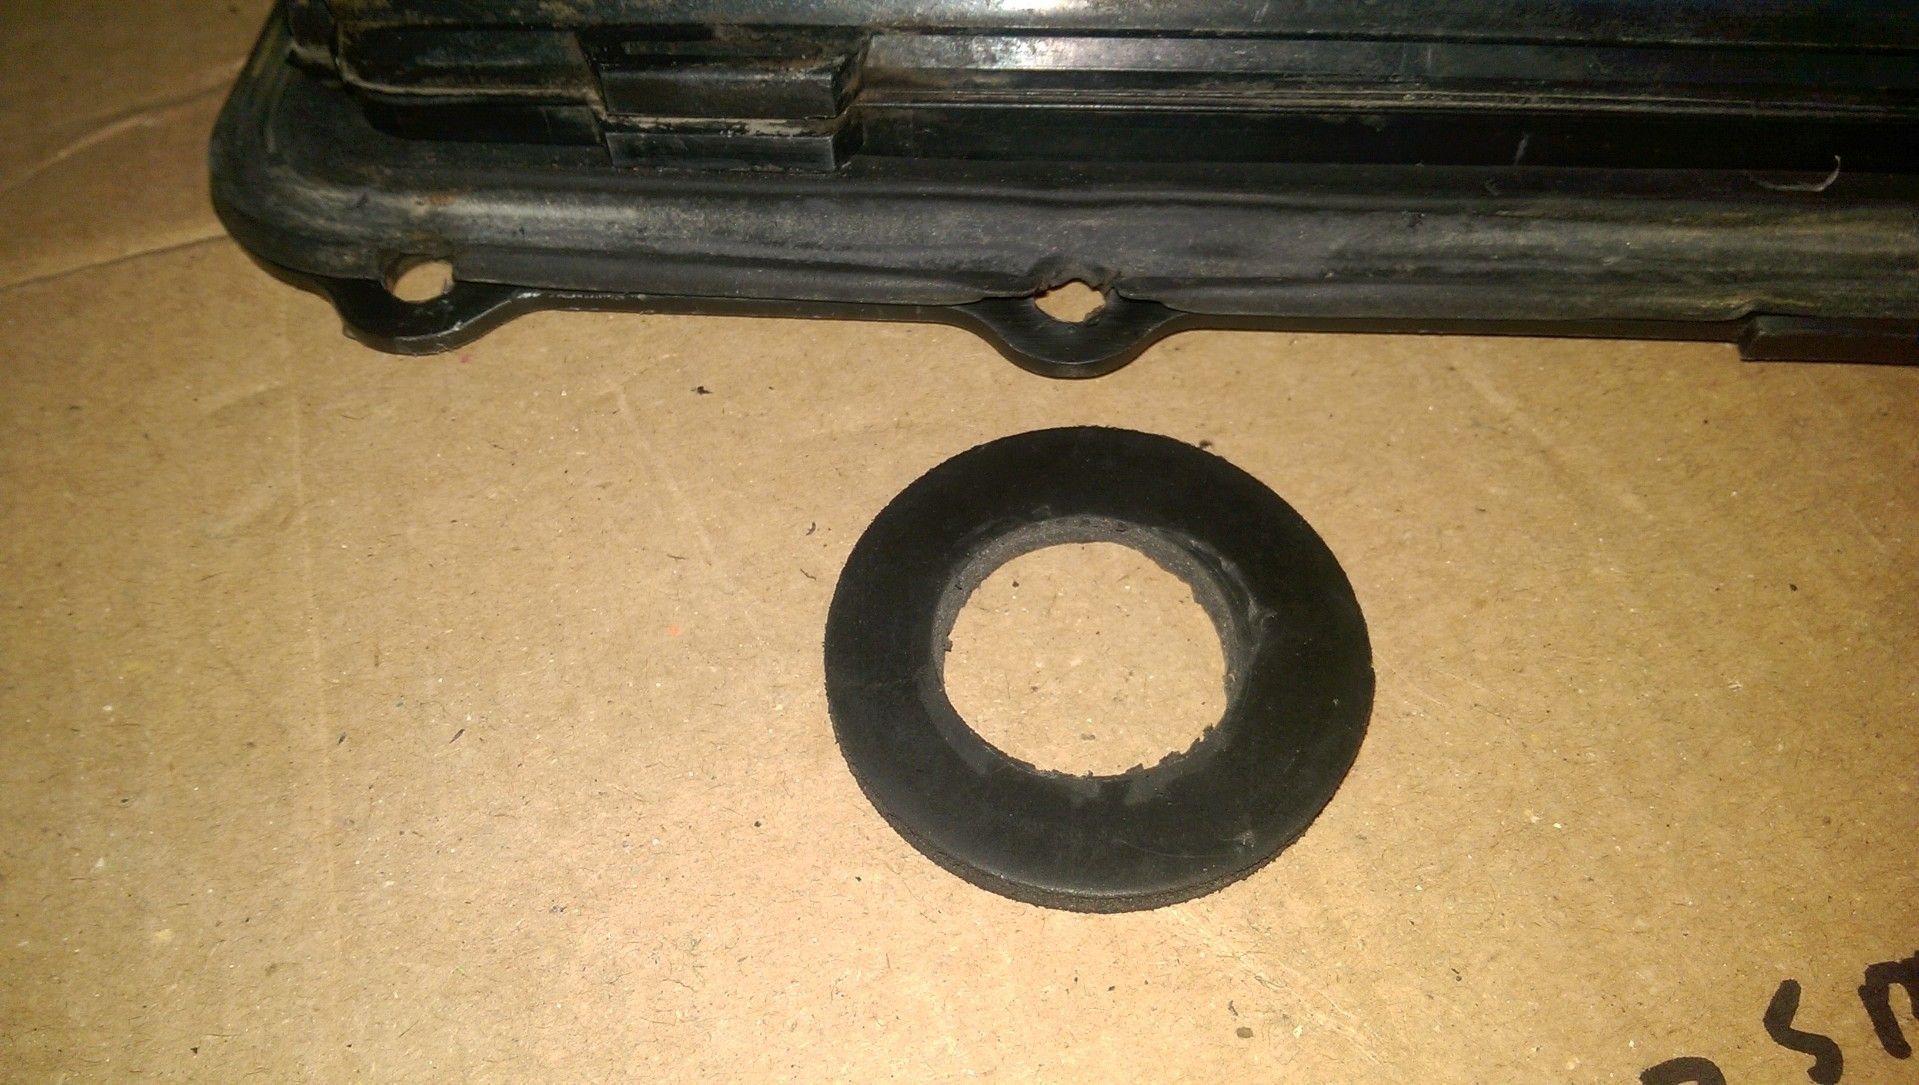
I have a later pod but they are different designs, the new one has a shorter arm and less deep diaphragm.
This is what happens when I insert the new rubber into the old housing.
If I somehow retrofitted the new pod into the suction housing, the arm would not have enough range to fully close or open the recirc flap. The old vac pod is mounted by three plastic pins that protrude from the pod body and is fastened from the inside with metal clips with teeth - totally different.
I found a VW/Audi pod that I was able to retrofit to fit. It was used and NLA too In concept, the modification can be made, if we can find another similar pod. I'll post pictures this evening.
Here are some pictures of the modification I made. You gotta think there are other pods that will fit. I have not figured out how to control the order the photo import, so they are in no particular order.
Enlarged the opening. Pod fit tight with a spacer. Here is the actuator pod I used. I had to grind the end of the rod to the round its end. The rod length matched the stock pod. I used a rubber washer from Ace Hardware. The interior hole was too small, so I enlarged it.
I bought a used housing (84+) and put it into my 81 and replaced the valve while I was at it exactly because of the age issue and replacing it is a pain.
I haven't had any problems since as it swaps in no problem. You can get a used one from Mark @ 928 International.
Thank you gentlemen. I think I will try and fit the new vac pod to my housing, but it is good to know that if this fails I can swap with a newer style housing.
[QUOTE=Majestic Moose;14173810]I have a later pod but they are different designs, the new one has a shorter arm and less deep diaphragm. Attachment 1164172
This is what happens when I insert the new rubber into the old housing. Attachment 1164173
Your positioning of the new diaphragm in the housing appears to be incorrect. I believe the "lip" of the diaphragm should rest on the "lip" of the housing and is then compressed by the cap, which causes it to seal. Yours appears to be pushed down too far into an area of the housing with a smaller diameter, causing that wrinkle.
Can you confirm that the new diaphragm has the same diameter as the old one?
I have a later pod but they are different designs, the new one has a shorter arm and less deep diaphragm. Attachment 1164172
This is what happens when I insert the new rubber into the old housing. Attachment 1164173
Your positioning of the new diaphragm in the housing appears to be incorrect. I believe the "lip" of the diaphragm should rest on the "lip" of the housing and is then compressed by the cap, which causes it to seal. Yours appears to be pushed down too far into an area of the housing with a smaller diameter, causing that wrinkle.
Can you confirm that the new diaphragm has the same diameter as the old one?
You are correct, that photo is only to show the difference and how the new rubber is incompatible with the old vac pod. The new rubber is less deep and if pushed all the way down into the old housing, the 'lip' area gets pulled down into the narrow area of the vac pod. I could seat it properly, the diameters are nearly the same, but to do so would raise the extended length of the arm 10 to 20cm and thus the recirc flap would not fully close.
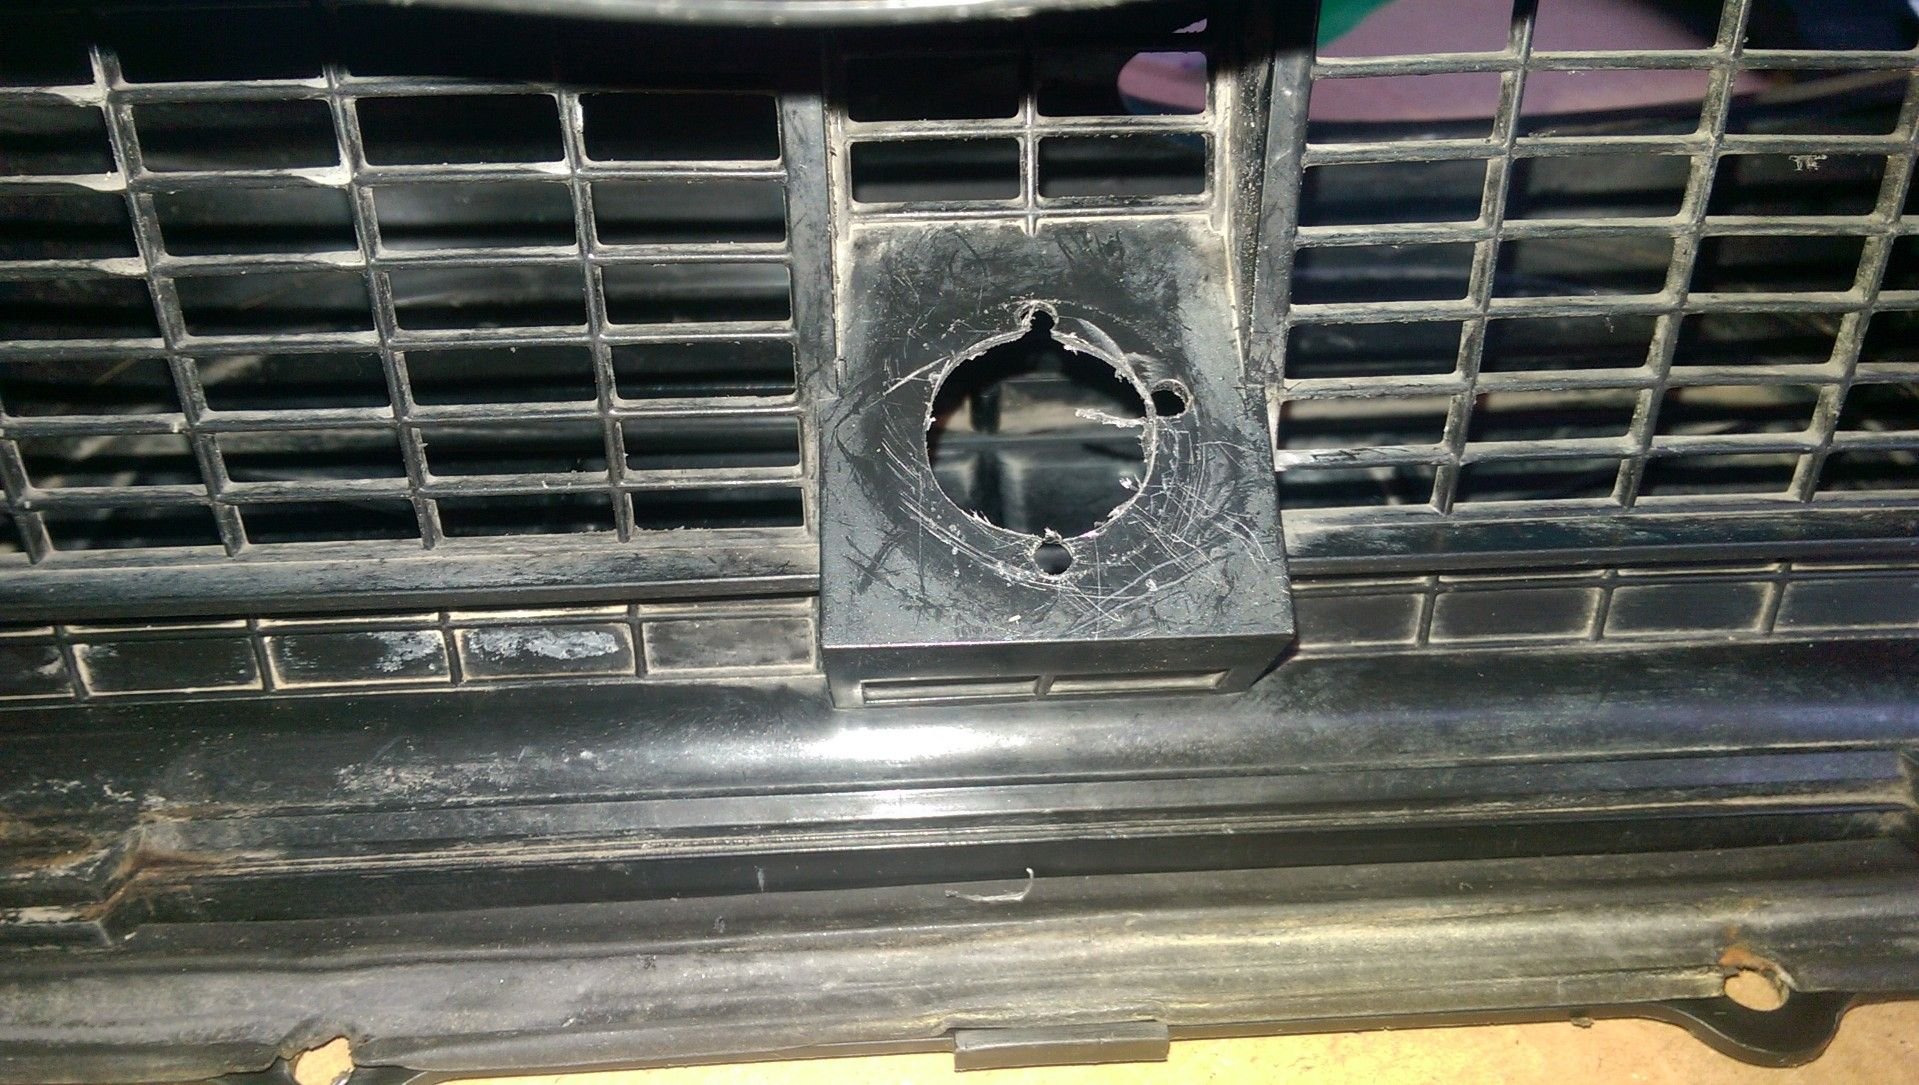
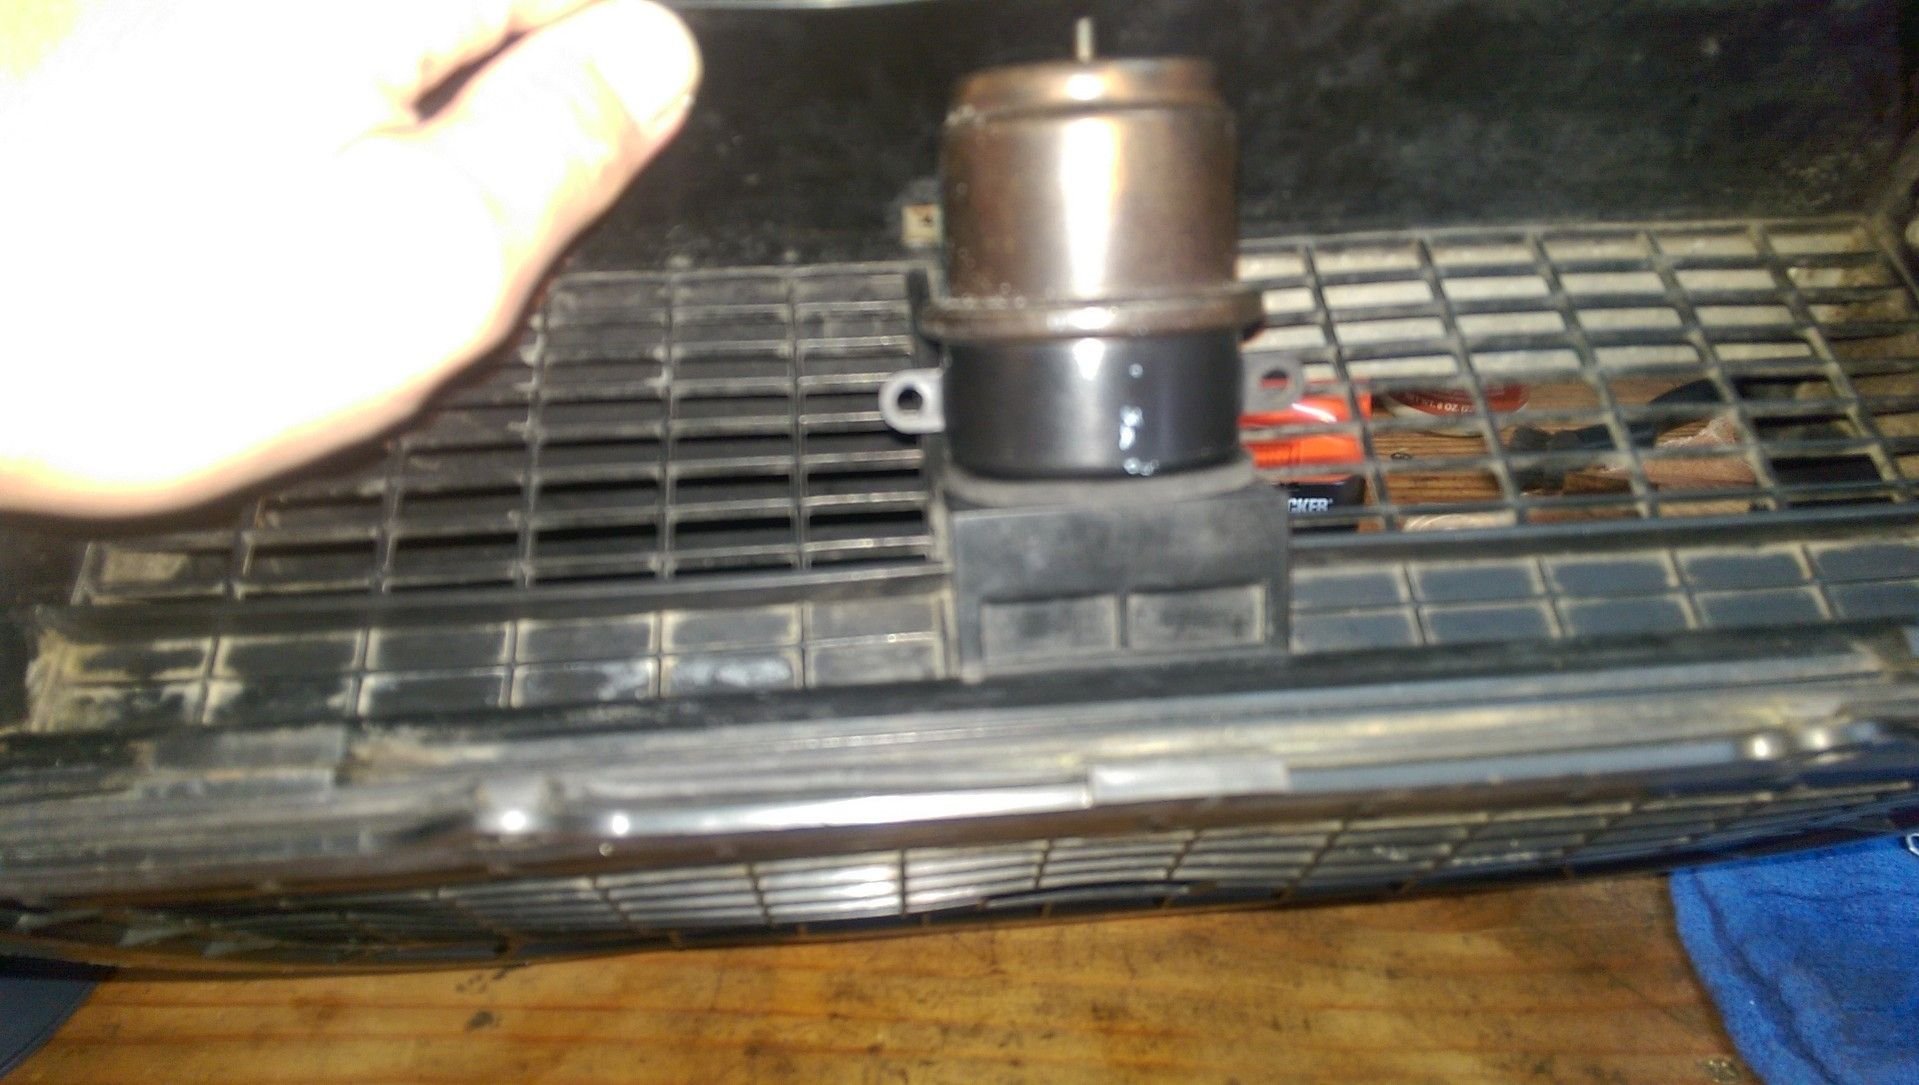
I took measurements of the new vacuum pod and made myself a pattern, taped it to the mounting surface and did my best with a dremel tool to enlarge the center hole and cut the four holes for the mounting clips. There is no straight-on access so this is difficult. Once I got it to where the pod would clip in it wasn't as secure as I would have wanted so I roughened the surfaces and JB-welded the pod base to the housing. It works perfectly; the flap opens and closes fully! Next time it needs to be replaced I can just replace the rubber so it does not matter that the pod base is permanently attached.


 05-10-2017 | 11:13 AM


 In concept, the modification can be made, if we can find another similar pod. I'll post pictures this evening.


")