When you click on links to various merchants on this site and make a purchase, this can result in this site earning a commission. Affiliate programs and affiliations include, but are not limited to, the eBay Partner Network.
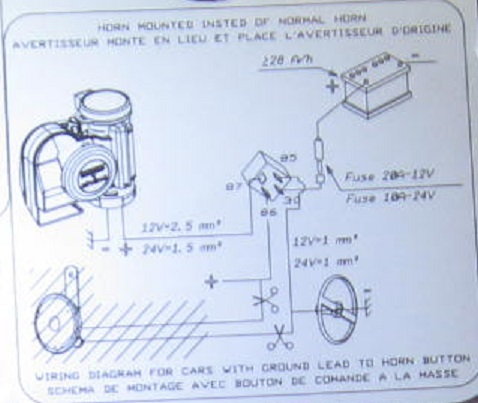
Here is the diagram provided with the Stebel. It also has a new relay which was provided. I apologize for the image quality, the provided diagram was practically printed as a microdot.
I believe that this diagram provided with the aftermarket Stebel horn shows installation the car's existing horn button completing the circuit to the ground side.
Does the original 928 horn button complete the circuit to the ground side?
Is the existing 928 horn relay sufficient to supply an aftermarket horn?
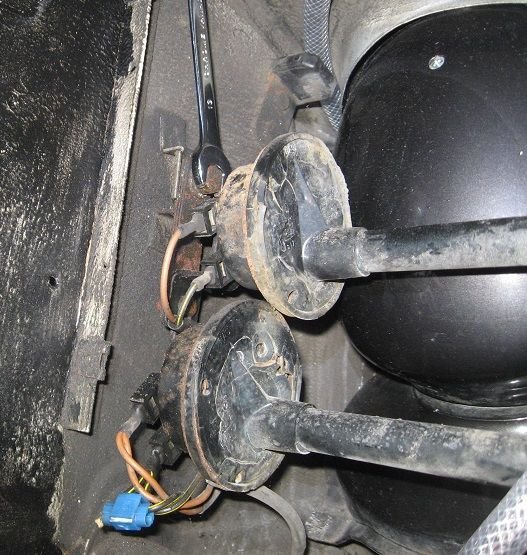
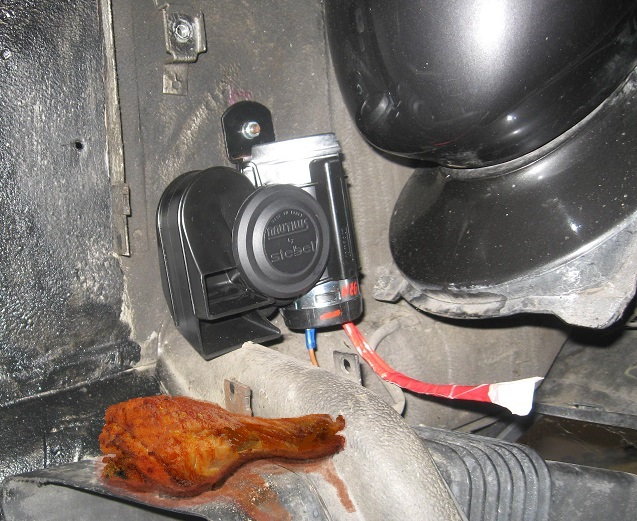
At this point I have the "ground side" of the Stebel horn connected to the brown ground wire from the original horn wiring circuit.
How would you proceed from here in the wiring project? THANKS ! ! !
Last edited by Daniel5691; 02-04-2017 at 10:15 PM.
Assuming the new relay is mounted next to the new horn, I'd make it really simple and use one of the original wiring pairs to trigger the relay and the power wire from the other original wire pair to feed the 87/30 pins of the relay that then power the new horn.
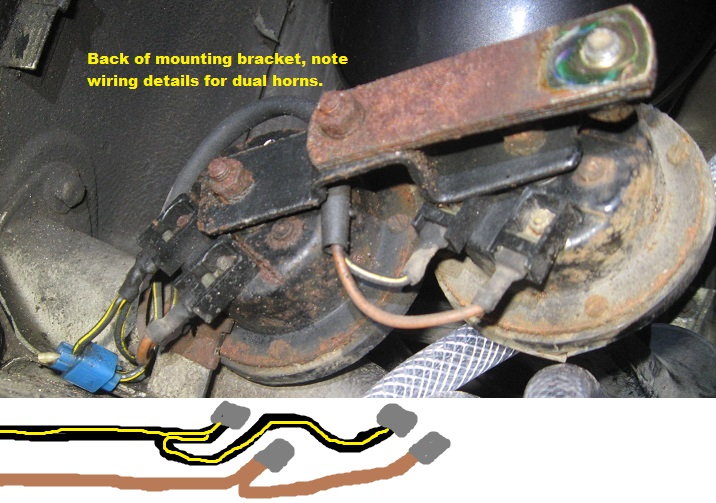
What GlenL said above: The car has a horn relay installed already. It's all fused already for you. All the wiring is done for you. Just connect the existing wires to the new horn and you will be golden. Looks like black with yellow tracer is positive, and brown as always is the negative/ground side.
Stash that new relay, socket and wiring into a ziplock, and toss it into your 'extra stuff I don't need right now' bin.
---
I have a very similar horn installed in my car, with a WOLO brand name on it. The manufacturer's amp rating is for max inrush current to get the motor spinning. The current falls off really fast (fraction of a second), so it's well withing the capability of the 16A fuse-protected circuit in your car.
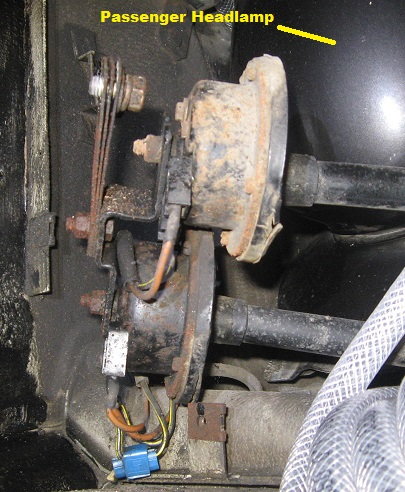
While it's louder than the originals, it's still well buried there under the headlight bucket, with no clear path for the sound to pass to the outside.
Respectfully disagree on the chicken leg.
Glen is correct as usual.
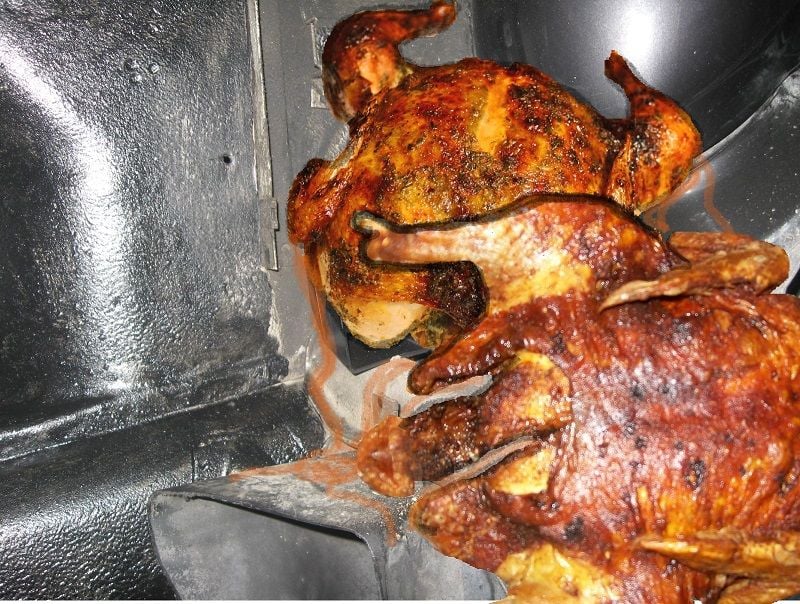
The leg is optional, it's only real use is to act as a heat sink for the brake ducts. And, if you are street driving, it just is not relevant.
I will take it further if you need me to: chickens are bred SAE, not metric. So if you do this mod Dan, you need to get it right... Game Hens are metric.
And Dan, some of these legs are 30 years old. What do you think is going to happen if they ooze chicken fat at those temperatures. Bare minimum, you need to replace it...
Roger has new units with flame sleeves, and if you are concerned about cost, well, consider it the price of admission.
Looks like the primitive makings of a little Sooooza music there. Got horns, and the makings of a drum line. How do you like your music, regular or extra-crispy?
You people are hopelessly immature hooligans, looking for the quick laugh, the big ha-ha, oh yeah, I know the type.
It's all fun and games until the chicken leg falls out of the wheel well.
Maybe ZEISCO has an aftermarket mounting kit for me.
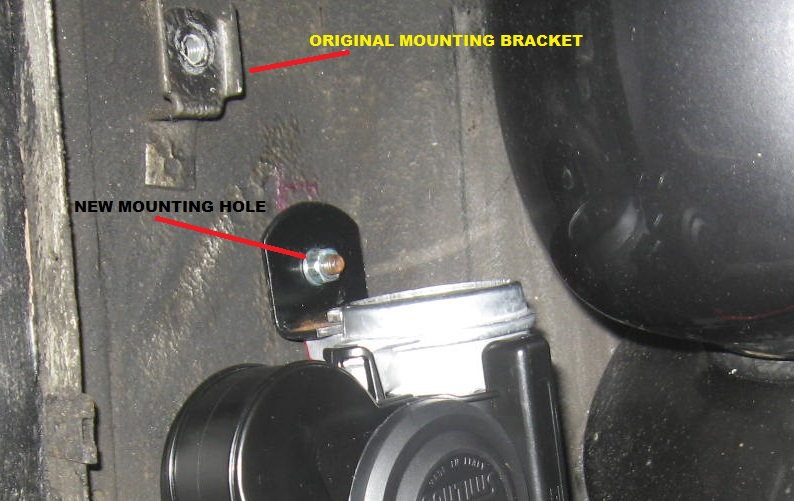
Obviously, Randy V. is the only normal, mature, reasonable person here in this thread. Thank you, Randy. The reason for the new mounting hole was to allow clearance for the rotating headlight. After attaching the chicken legs to the light, the horn was binding up on the drumsticks.
Last edited by Daniel5691; 02-05-2017 at 09:02 PM.
Obviously, Randy V. is the only normal, mature, reasonable person here in this thread. Thank you, Randy. The reason for the new mounting hole was to allow clearance for the rotating headlight. After attaching the chicken legs to the light, the horn was binding up on the drumsticks.

 02-04-2017, 09:57 PM