When you click on links to various merchants on this site and make a purchase, this can result in this site earning a commission. Affiliate programs and affiliations include, but are not limited to, the eBay Partner Network.
Failed upper and lower engine cradle seal post-mortem
Last year I reassembled a '90 S4 engine that came to me totally in parts.
Within minutes of running up to temp there was a leak between the engine halves near the PS ground strap. Now that I have pulled the engine and rotated to get a closer look it appears the PS rear corner did not properly seal.
Here's a couple of pictures:
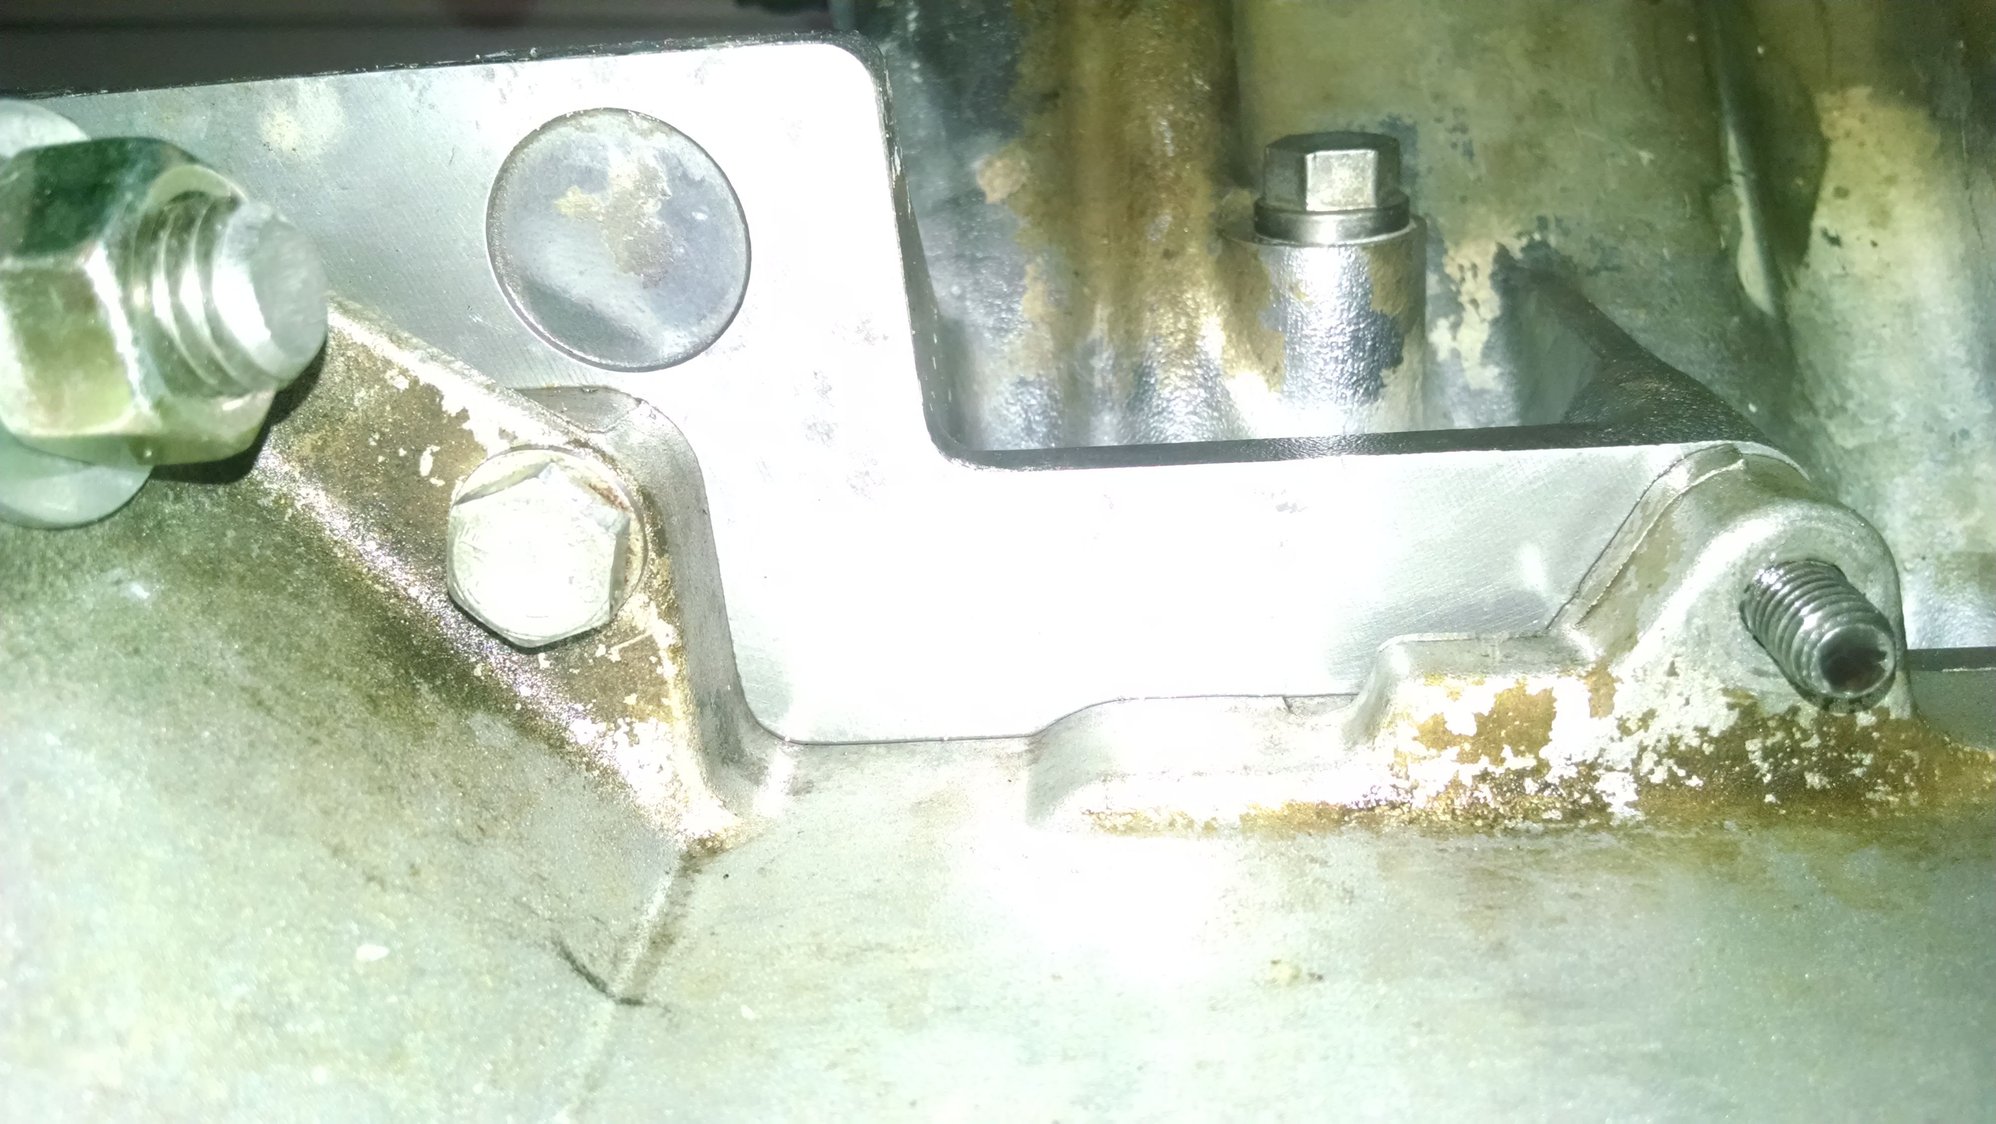
This where the oil leak was coming from. Hard to see but there is also a drip of oil on the tip the the stud I used to replace the ground strap hole when it stripped.
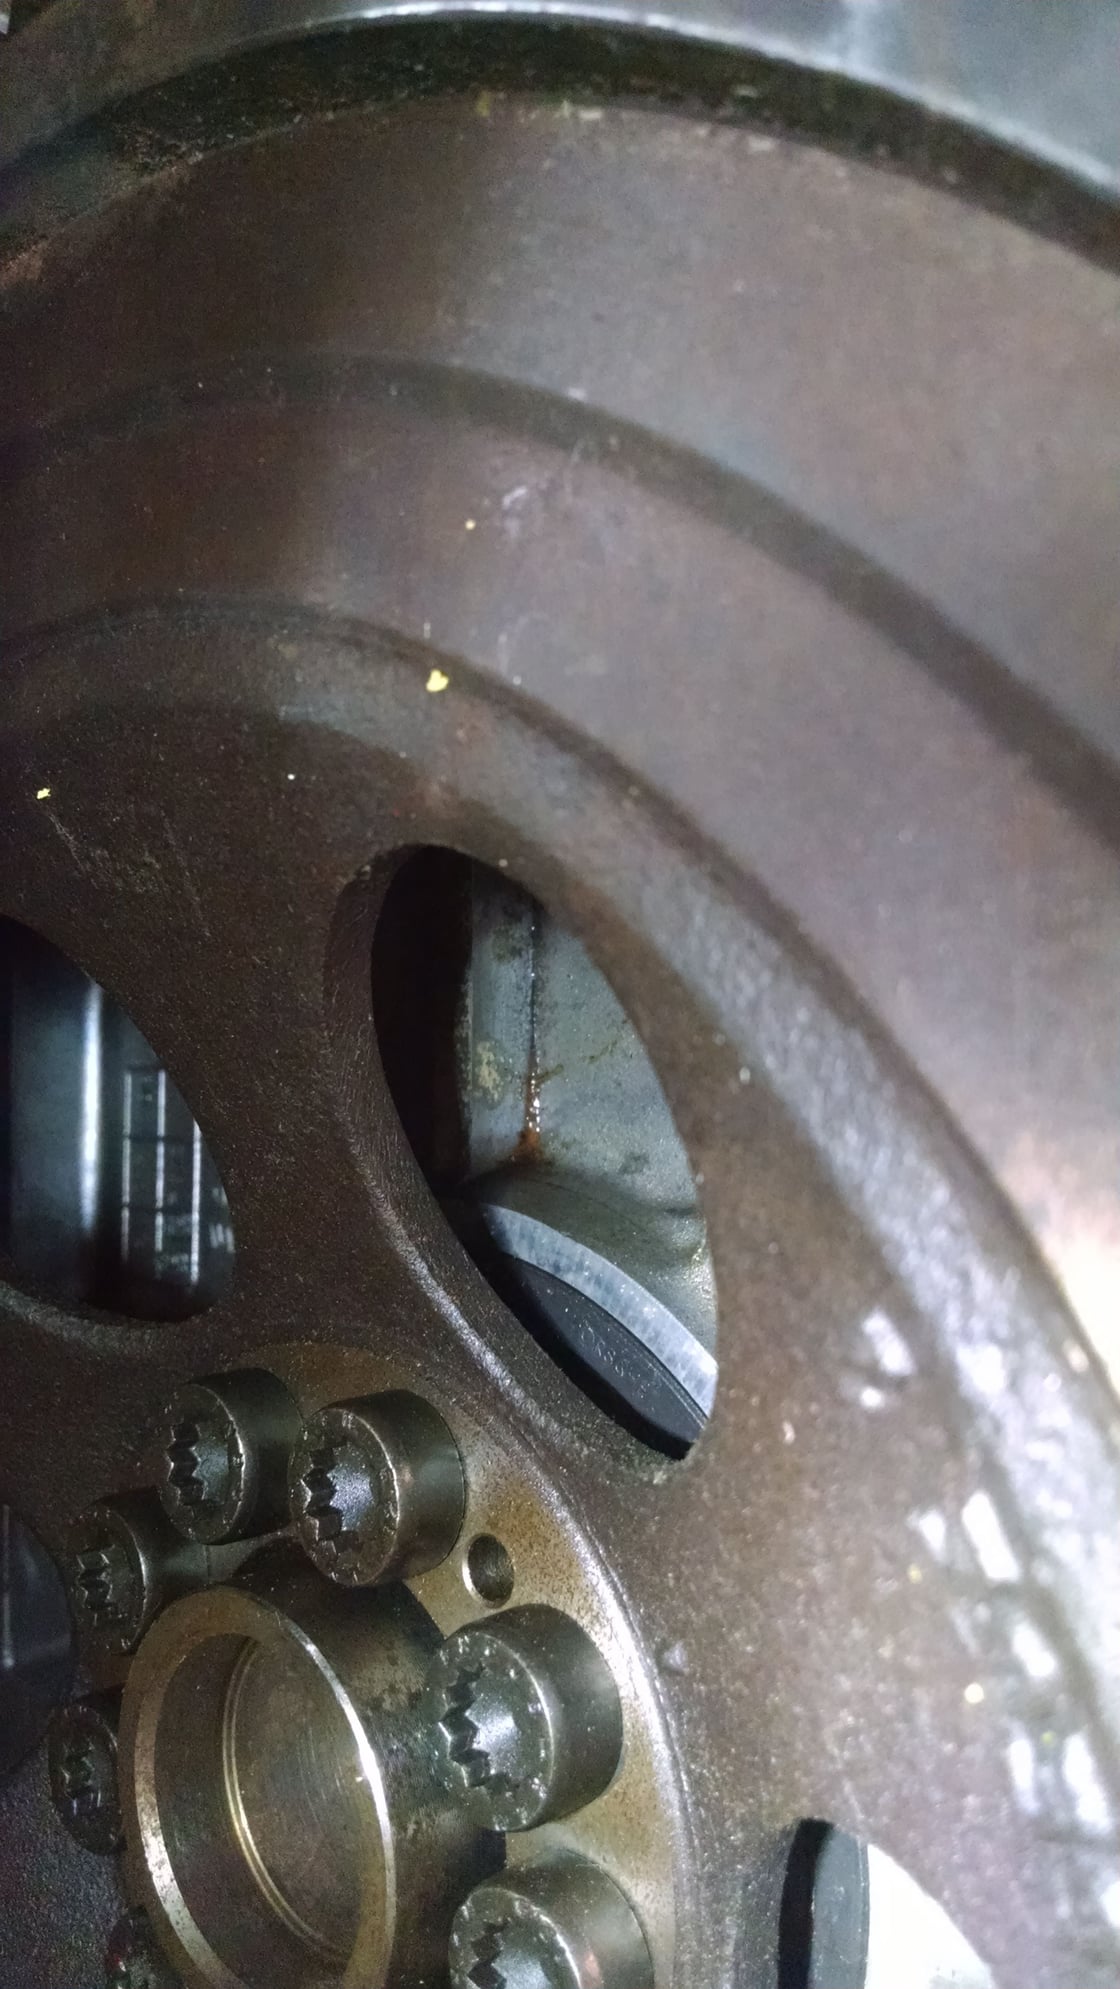
This is a shot of the joint of the upper and lower engine halves at the passenger side. Seems to be a very tiny weep in the same corner as the larger leak.
I diligently followed the WSM. Applied a single coat of the Loctite sealant and immediately put the halves together and tightened the lower girdle nuts in the correct order and torque. So, this failure mystifies me.
I plan on separating the halves and redoing everything. Although I must admit it was tempting to simply over torque the 13mm bolts on that corner.
But, given the headache of R&R of the engine I would like to understand why the failure occurred and what steps I can take to verify the seal is made properly.
It is likely that once I separate the halves I will have the flatness of each halve verified.
My foggy memory includes some shelf-life issues for the anaerobic sealants. There's a basic life-since-manufactured number, and a much shorter life-since-opened number. Worth looking into if your bottle was not new for this project.
So, here's the plan. Move crank to 45dg before TDC, loosen the timing belt, spin the engine upside down, remove the AC bracket and oil pickup tube then unbolt the lower engine half. Clean both surfaces, apply Loctite 574 to one surface (upper?) bolt the lower engine half in place following WSM.
Kevin did you go over both surfaces of the girdle/block with a razor blade held perpendicular to the surface?
This would have shown any irregularities ..
NOTE when the 574 dries it will look clear,
rubbing the blade across the surface will remove a small layer of the cured sealant.
it will come up as white powder
This will happen to everyone a couple of times, before they figure out how to properly use the product. In my younger days, I redid a couple of 911 engines before I got smart enough and had enough skill to prevent this from happening.
It's no fun!
More important than the actual leak, when you take it apart, there will probably be a thick layer of Loctite that you will have to scrape off. (I've seen this thick layer up to .010" thick on engines I've redone. .005" is common.) You need to keep in mind that these (and 911 engines) are align bored without any sealant between the two halves. Imagine what .005"-.010" of separation between the two halves does to main bearing clearance!
You should check the rod bearings, if you have this thick layer....so much oil leaks past the main bearings, the rod bearings can get starved. (This is actually the most common cause of rod bearing failure on "new" engines.)
I used a razor to clean both surfaces before I applied the LocTite 574. I used a thin layer as the WSM suggests. I applied it with a 3" roller.
Greg, I think you are saying that I applied it unevenly. Could you please help me avoid this the next time by telling me what you learned along the way?
Also, post assembly the engine has less than 1 hour of use. Basically never left my garage.
The problem is the view of "thin." I go for a layer that leaves no uncovered spots but is translucent so that the metal is barely orange. There are a tiny specs like "whitecaps" in each square inch where the nap lifts up a bit as it rolls along. It's right if the surfaces were covered and when torqued down there's almost nothing coming out. Like a water drop worth in 2 feet of edge.
In contrast, the wrong way is to make sure it's all covered "well" and presume that the excess will squeeze out.
The surfaces are machined to such a tolerance that it's not actually taking up any gap. It's there to prevent oil from just oozing through.
Hard for me to tell what happened, from here. There are places where I don't see any Loctite squeezing out, but if you are super ****, like me, you would have wiped off the excess off from around the edge. (Because there is a little bead of product at the flywheel seal junction, I suspect you wiped off the excess product.....so I doubt this is your problem.)
Take a picture of the residual Loctite when you drop the cradle and send me a PM to remind me to look at it.....it will tell everything.
Here's the basics:
Squeeze about 1/2 tube of the Loctite out onto a flat, perfectly clean surface. I use a large freezer baggy. Roll your super short knap roller through the Loctite until it is fully loaded.
Apply exactly like Glen has described....I couldn't possibly word it any better....he's got this figured out!
Here's the best additional clues I can give you:
Loctite 574 is an anaerobic sealant. Because it "goes off" when there isn't any air....there's pretty much only four things that can go wrong:
1. Old Product. This is pretty easy to identify. If what squeezes out gets hard immediately (after you are done tightening, then you then immediately wipe off the excess around the perimeter, and you can't wipe off the excess without there still being a hardened orange bead there) the Loctite is bad. (This is not what went wrong, for you!)
2. Not enough product (rarely happens.)
3. Too much product. (Common, but generally not an issue if you use the correct roller.) I described this problem in Post #10.
4. Mechanic is to slow. (Common.) Once the two surfaces touch each other, the sealant is no longer in contact with air and immediately starts to harden. You have to have all the required parts needed present, ready to install, and tighten. (If you need to go find a missing washer, nut, or bolt you are probably going to have grief. If you don't have all the proper sockets with the proper extensions (perimeter bolts), you are probably going to have grief. If you have to answer the phone, you are probably going to have grief.)
Here's the really sad part:
If you aren't all tied up with stress out about going too slow, you are going too slow!