

1983 928S
 07-20-2016, 11:14 PM
#91
Burning Brakes
Thread Starter
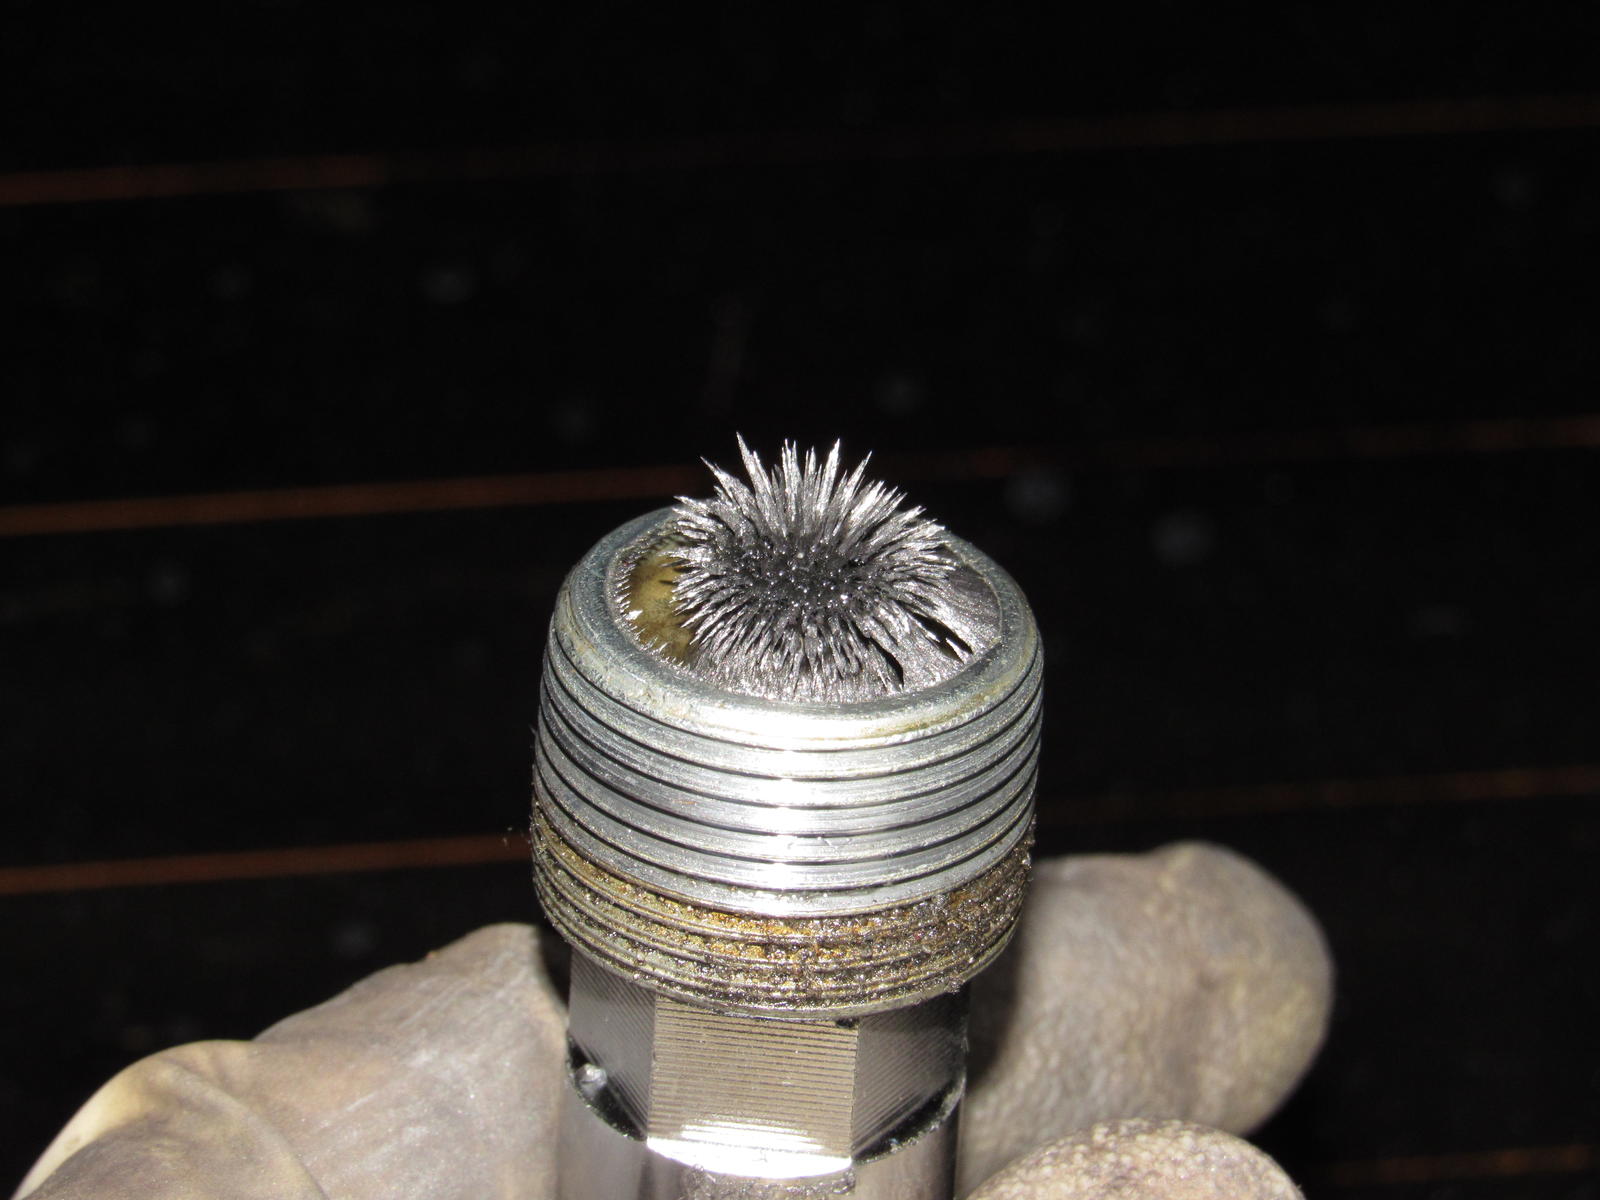
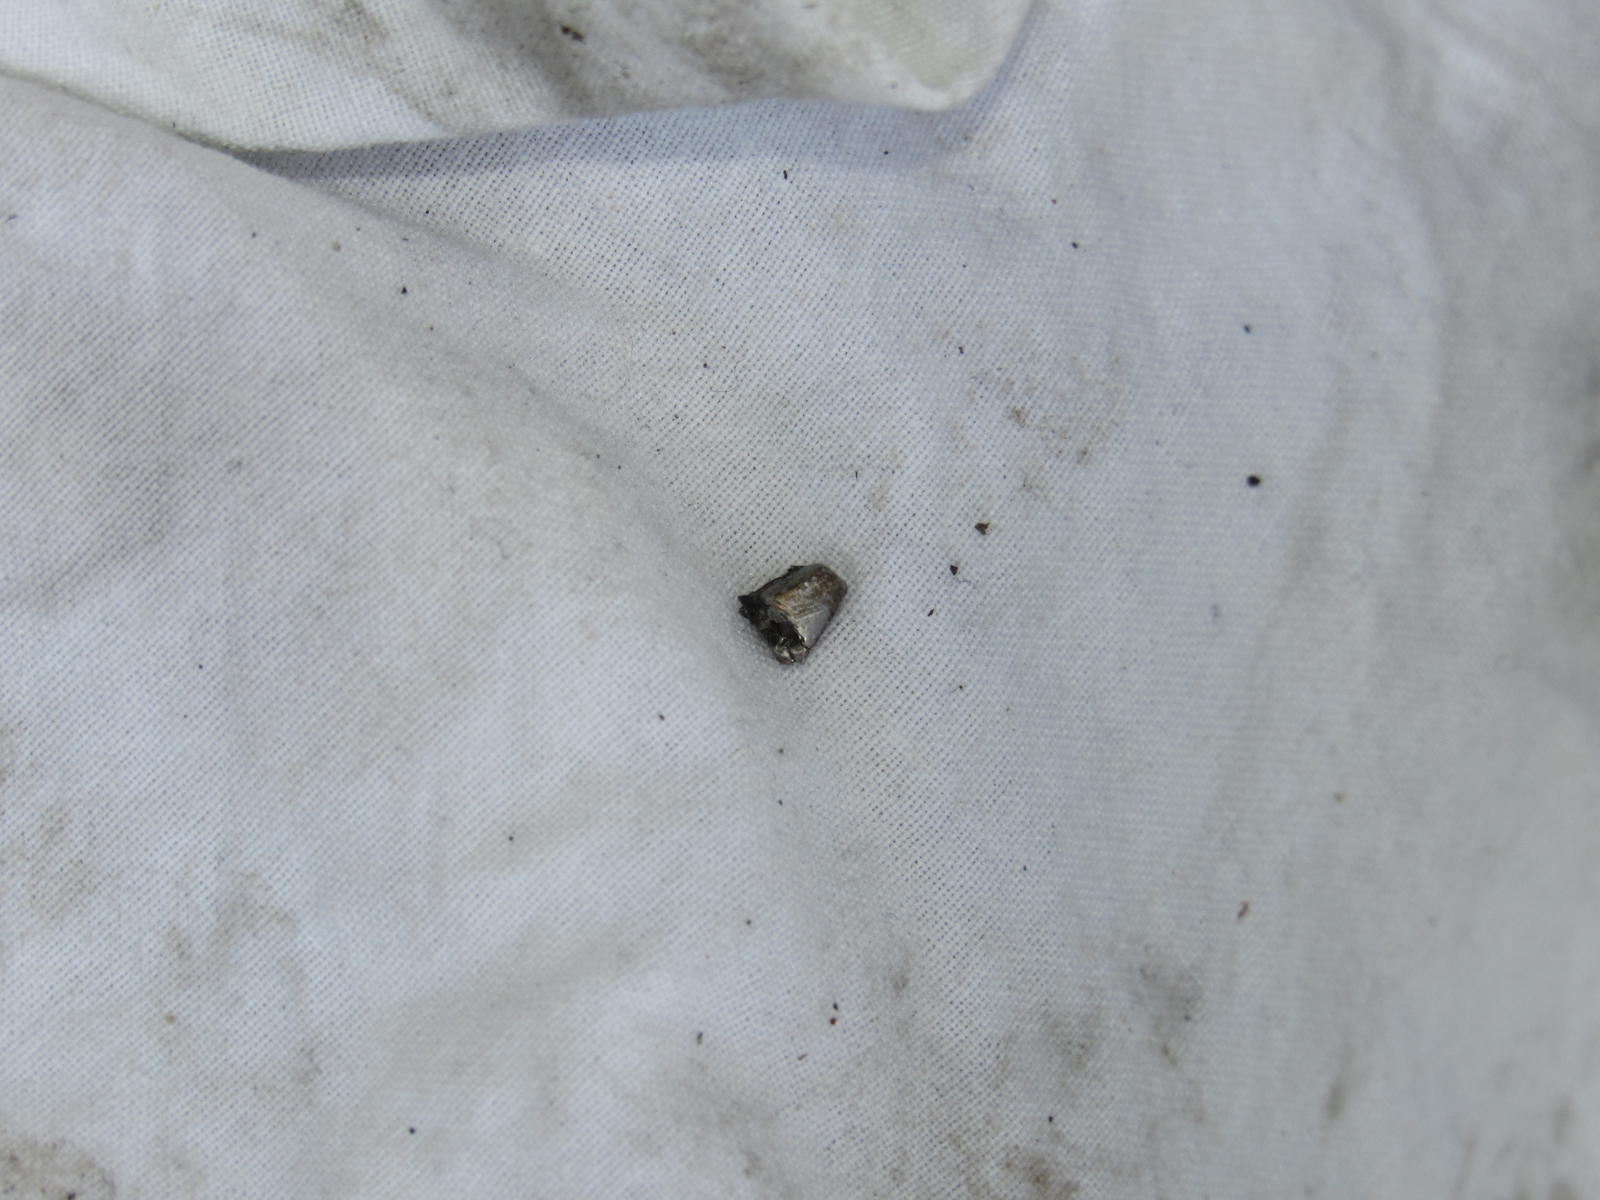
I've drained the transaxle and was surprised at the force with which the oil came out. It overshot my drainpan and made a mess. Sadly I have found debris, including what looks like a tooth of a synchronizer? The oil itself came out honey colored and did not have a strong odor. That will be my winter project. I wonder why at 73k miles there is such damage. Are replacement synchronizers any better 30 years later?
Last edited by Majestic Moose; 07-08-2017 at 01:08 AM.
 08-14-2016, 05:48 PM
#92
Burning Brakes
Thread Starter
It has been a while since I've posted any updates. Between work, a vacation, other priorities, and this heat I have slowed down but am still making improvements.
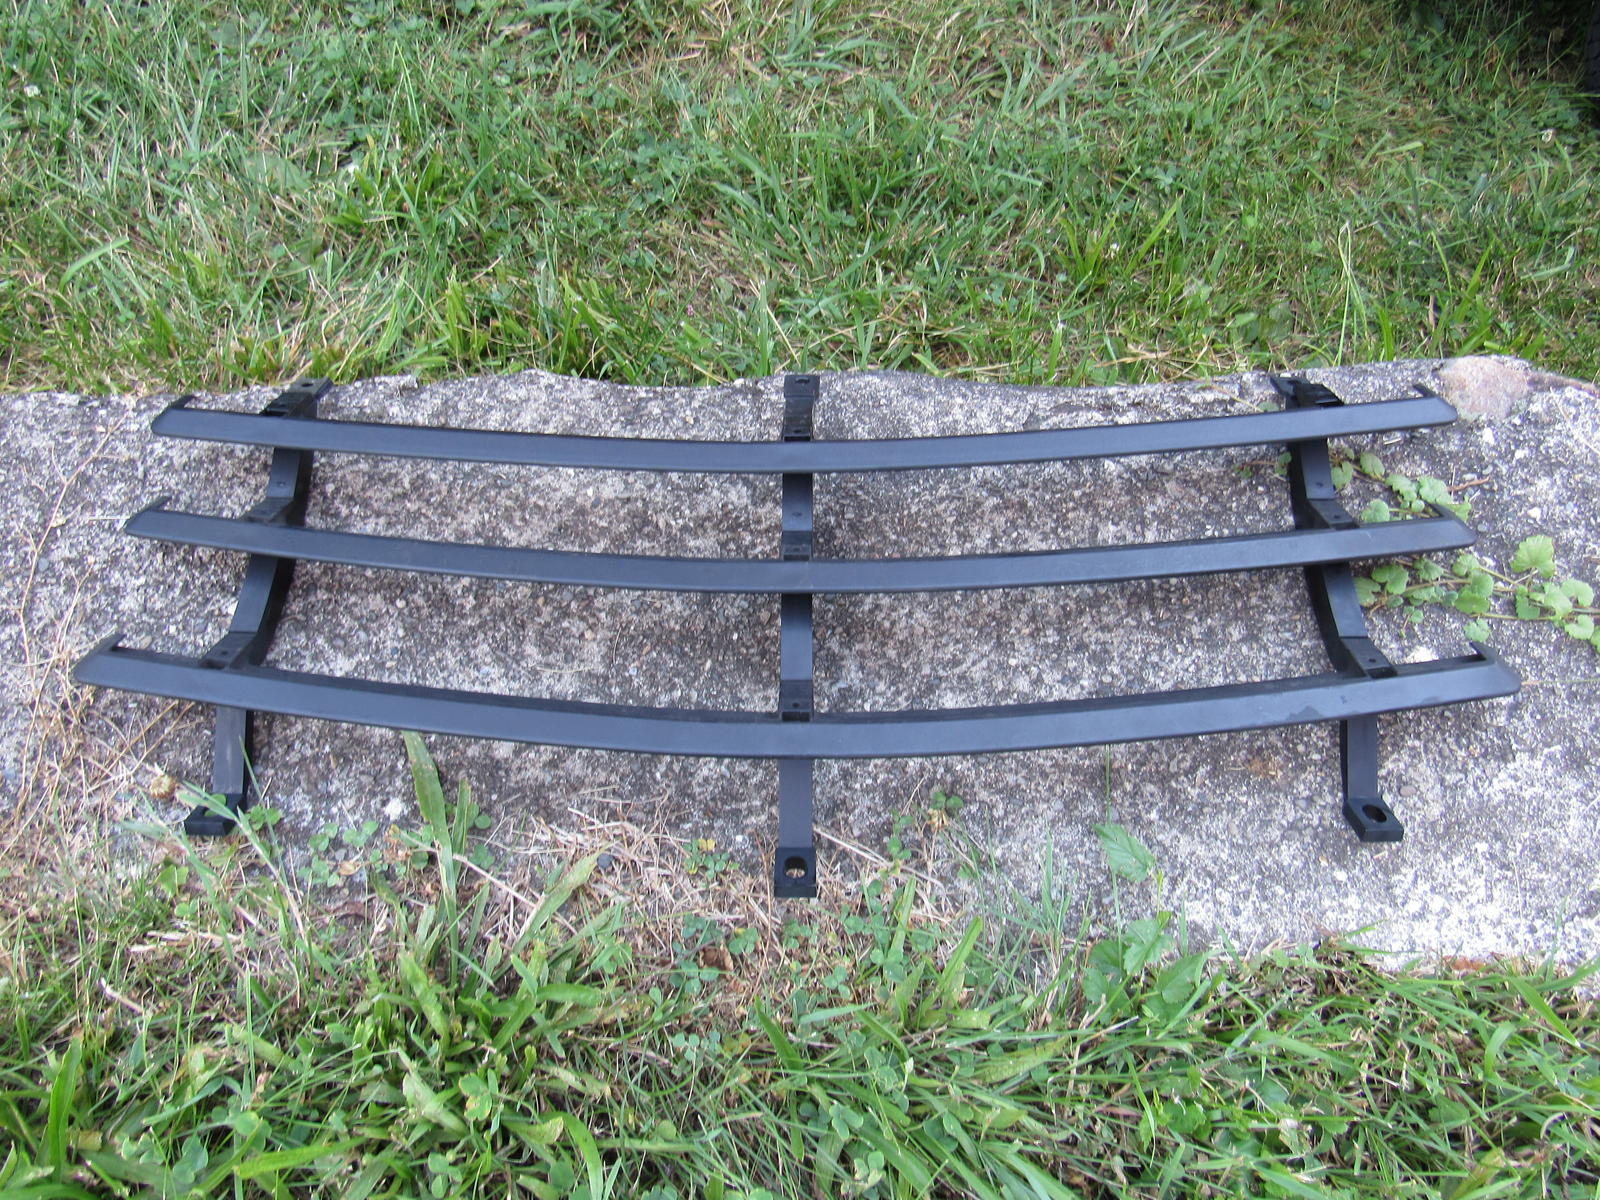
I assembled and installed a new grill assembly. I only had one horizontal slat in good shape, the other parts were ordered from 928intl with a disclaimer that they are poor reproductions but all that is available. I disagree, the parts were packaged as genuine Porsche parts and quality and fitment was excellent!
I've done other things like install a missing hatch latch insert which took care of the squeaks and clanking at the rear. I have been trying to fix the sunroof but I cannot get power to the motor. I have tried jumping the terminals to rule out a bad switch but I still get no potential at the motor. Is there a connection point that could have unplugged somewhere in the dash or A pillar (if that is how the wire is routed)?
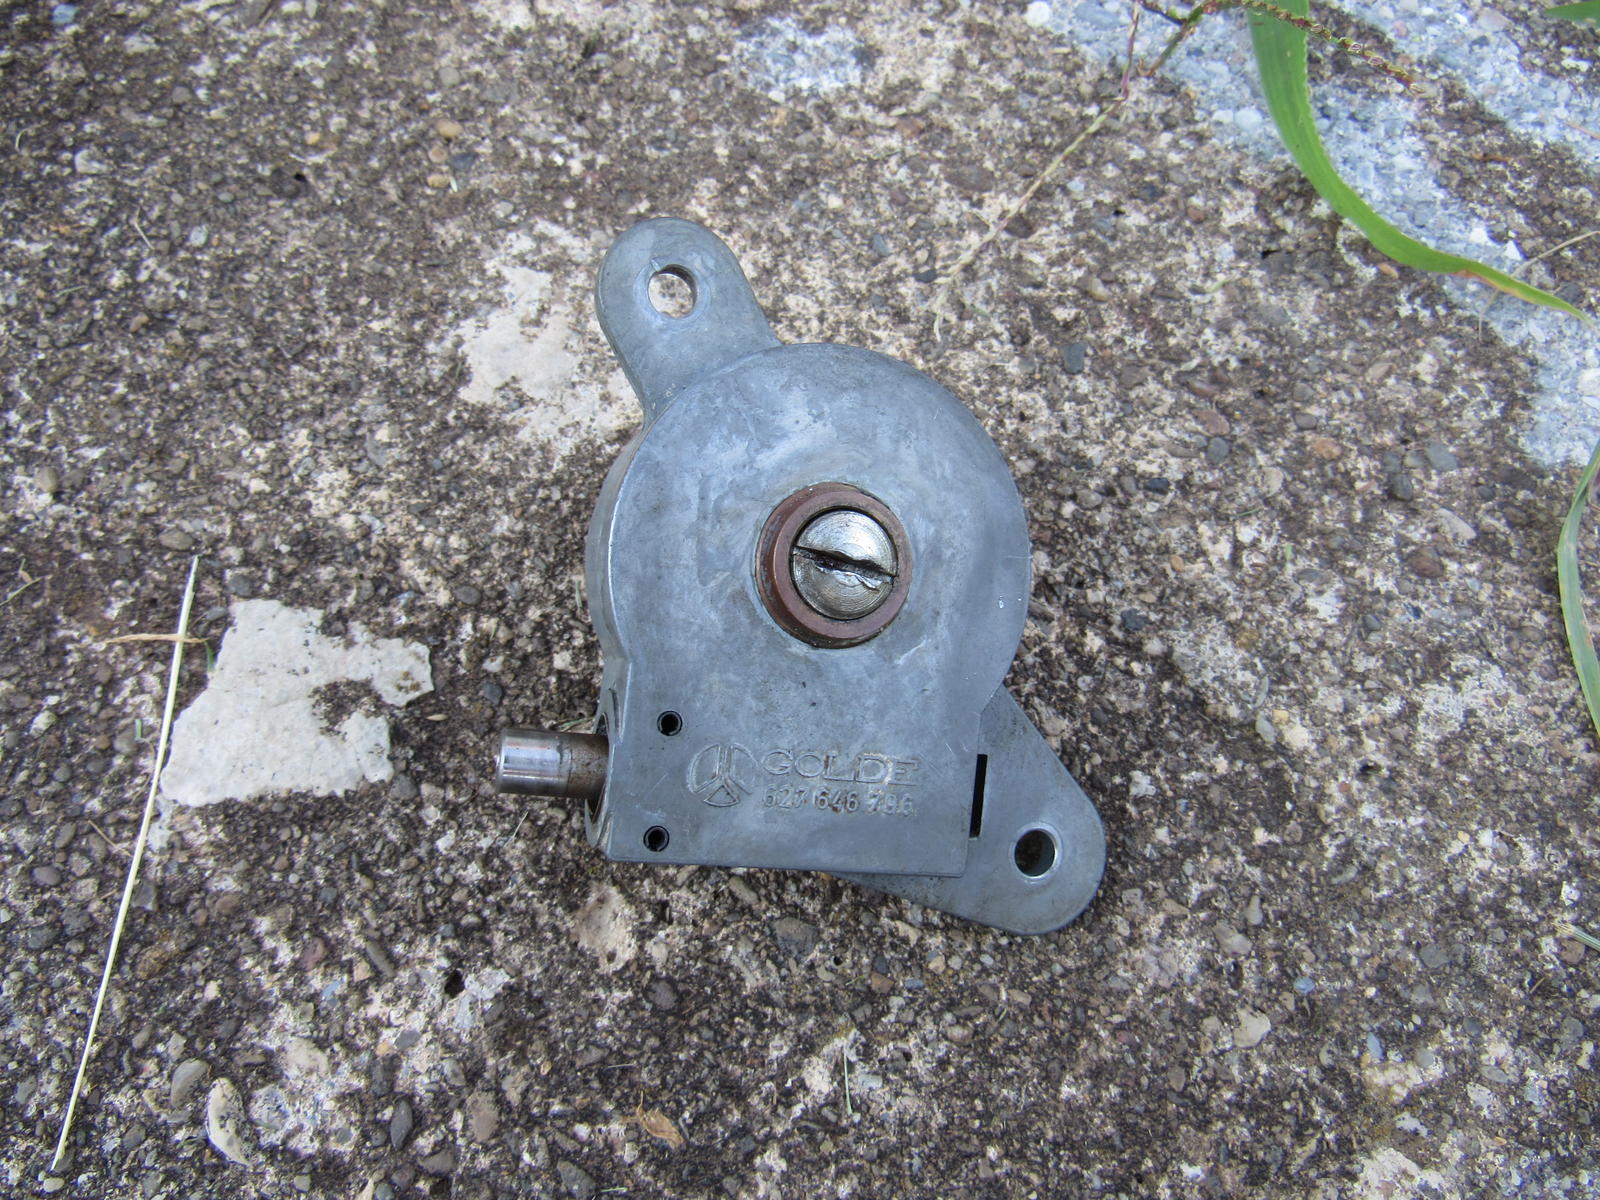
I did end up manually opening it by hand turning the rubber covered shaft to the transmission so the mechanism is all OK except when I closed it the back of the outside sunroof panel does not rise to the level of the roof.
The driver side window weather stripping has cracks and when washing the car I get a door full of water, strange there is no drain?
Otherwise I have replaced the thermo-temp and temp 2 sensors and I still have the up/down idle cycling on warmup.
Oh and I would like to finish off my jump post but the cover I have attained has the hole drilled too low it seems, and the second cap I bought is still the wrong style.
I have close to 600 miles on the car and really enjoy it, I just need to fix the AC or hope for cooler weather.
I assembled and installed a new grill assembly. I only had one horizontal slat in good shape, the other parts were ordered from 928intl with a disclaimer that they are poor reproductions but all that is available. I disagree, the parts were packaged as genuine Porsche parts and quality and fitment was excellent!
I've done other things like install a missing hatch latch insert which took care of the squeaks and clanking at the rear. I have been trying to fix the sunroof but I cannot get power to the motor. I have tried jumping the terminals to rule out a bad switch but I still get no potential at the motor. Is there a connection point that could have unplugged somewhere in the dash or A pillar (if that is how the wire is routed)?
I did end up manually opening it by hand turning the rubber covered shaft to the transmission so the mechanism is all OK except when I closed it the back of the outside sunroof panel does not rise to the level of the roof.
The driver side window weather stripping has cracks and when washing the car I get a door full of water, strange there is no drain?
Otherwise I have replaced the thermo-temp and temp 2 sensors and I still have the up/down idle cycling on warmup.
Oh and I would like to finish off my jump post but the cover I have attained has the hole drilled too low it seems, and the second cap I bought is still the wrong style.
I have close to 600 miles on the car and really enjoy it, I just need to fix the AC or hope for cooler weather.
Last edited by Majestic Moose; 07-08-2017 at 01:10 AM.
08-22-2016, 10:30 AM
#93
Developer
The synchros are brass, not ferrous metal. Hence, non-magnetic. Maybe your PO was a luggard... or lent the car to his kid...
Or your transaxle is equipped with LSD, in which case a certain amount of ferrous metal debris would be expected as normal.
The oil you drained out was Hypoid 90W. When you go to refill it, put a synthetic gear lube back in, it will shift easier.
Or your transaxle is equipped with LSD, in which case a certain amount of ferrous metal debris would be expected as normal.
The oil you drained out was Hypoid 90W. When you go to refill it, put a synthetic gear lube back in, it will shift easier.
08-23-2016, 12:08 PM
#94
Burning Brakes
Thread Starter
The synchros are brass, not ferrous metal. Hence, non-magnetic. Maybe your PO was a luggard... or lent the car to his kid...
Or your transaxle is equipped with LSD, in which case a certain amount of ferrous metal debris would be expected as normal.
The oil you drained out was Hypoid 90W. When you go to refill it, put a synthetic gear lube back in, it will shift easier.
Or your transaxle is equipped with LSD, in which case a certain amount of ferrous metal debris would be expected as normal.
The oil you drained out was Hypoid 90W. When you go to refill it, put a synthetic gear lube back in, it will shift easier.
I am able to avoid all grinding with careful rev matching and at a stop, pushing the clutch in and waiting two seconds before putting it in first gear.
Last weekend I replaced the chewed up bolts for the door stop with the triple square heads. They looked like someone tried tightening them with a drill bit. I was able to extract them now my problem is that the captured nut inside the body has fallen off. I've not pulled the wheel well liner yet but I am hopeful that there is access?? Might be a candidate for a rivet nut.
09-06-2016, 10:57 PM
#95
Burning Brakes
Thread Starter
So more than two weeks ago I charged the AC and it has held so far, I am pleased; and much cooler!
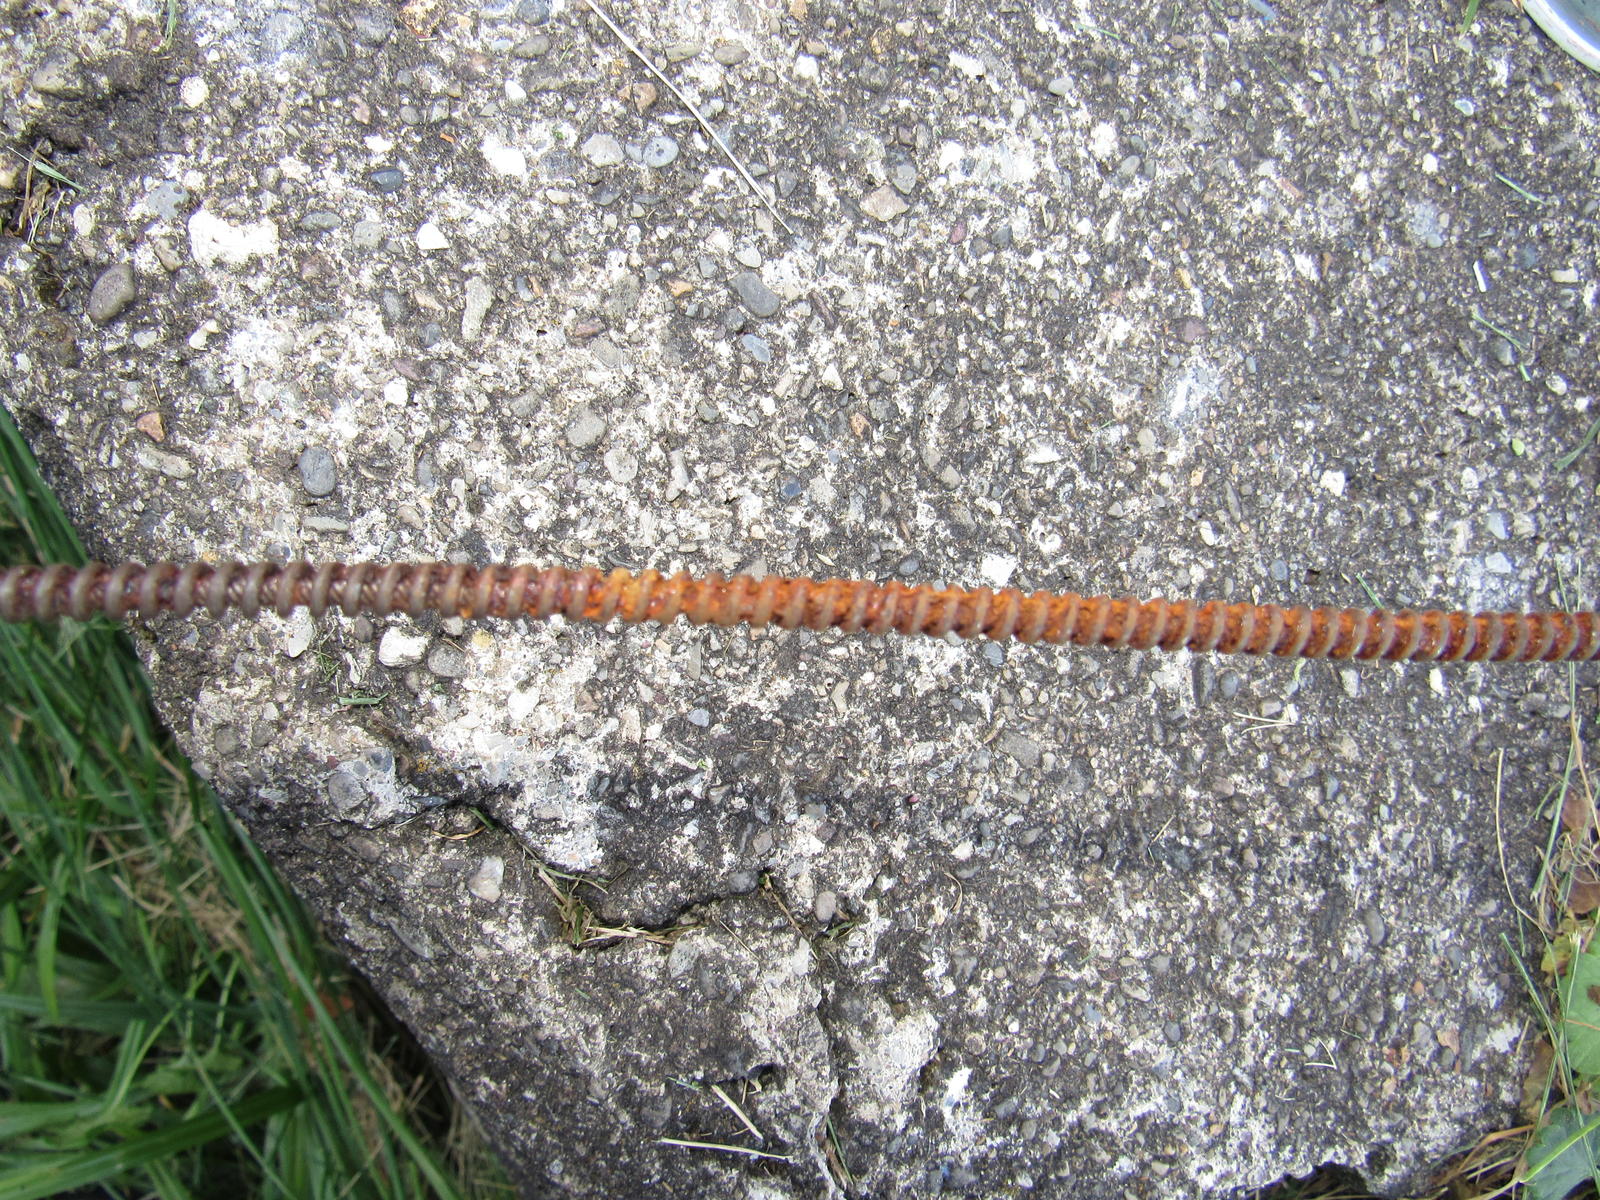
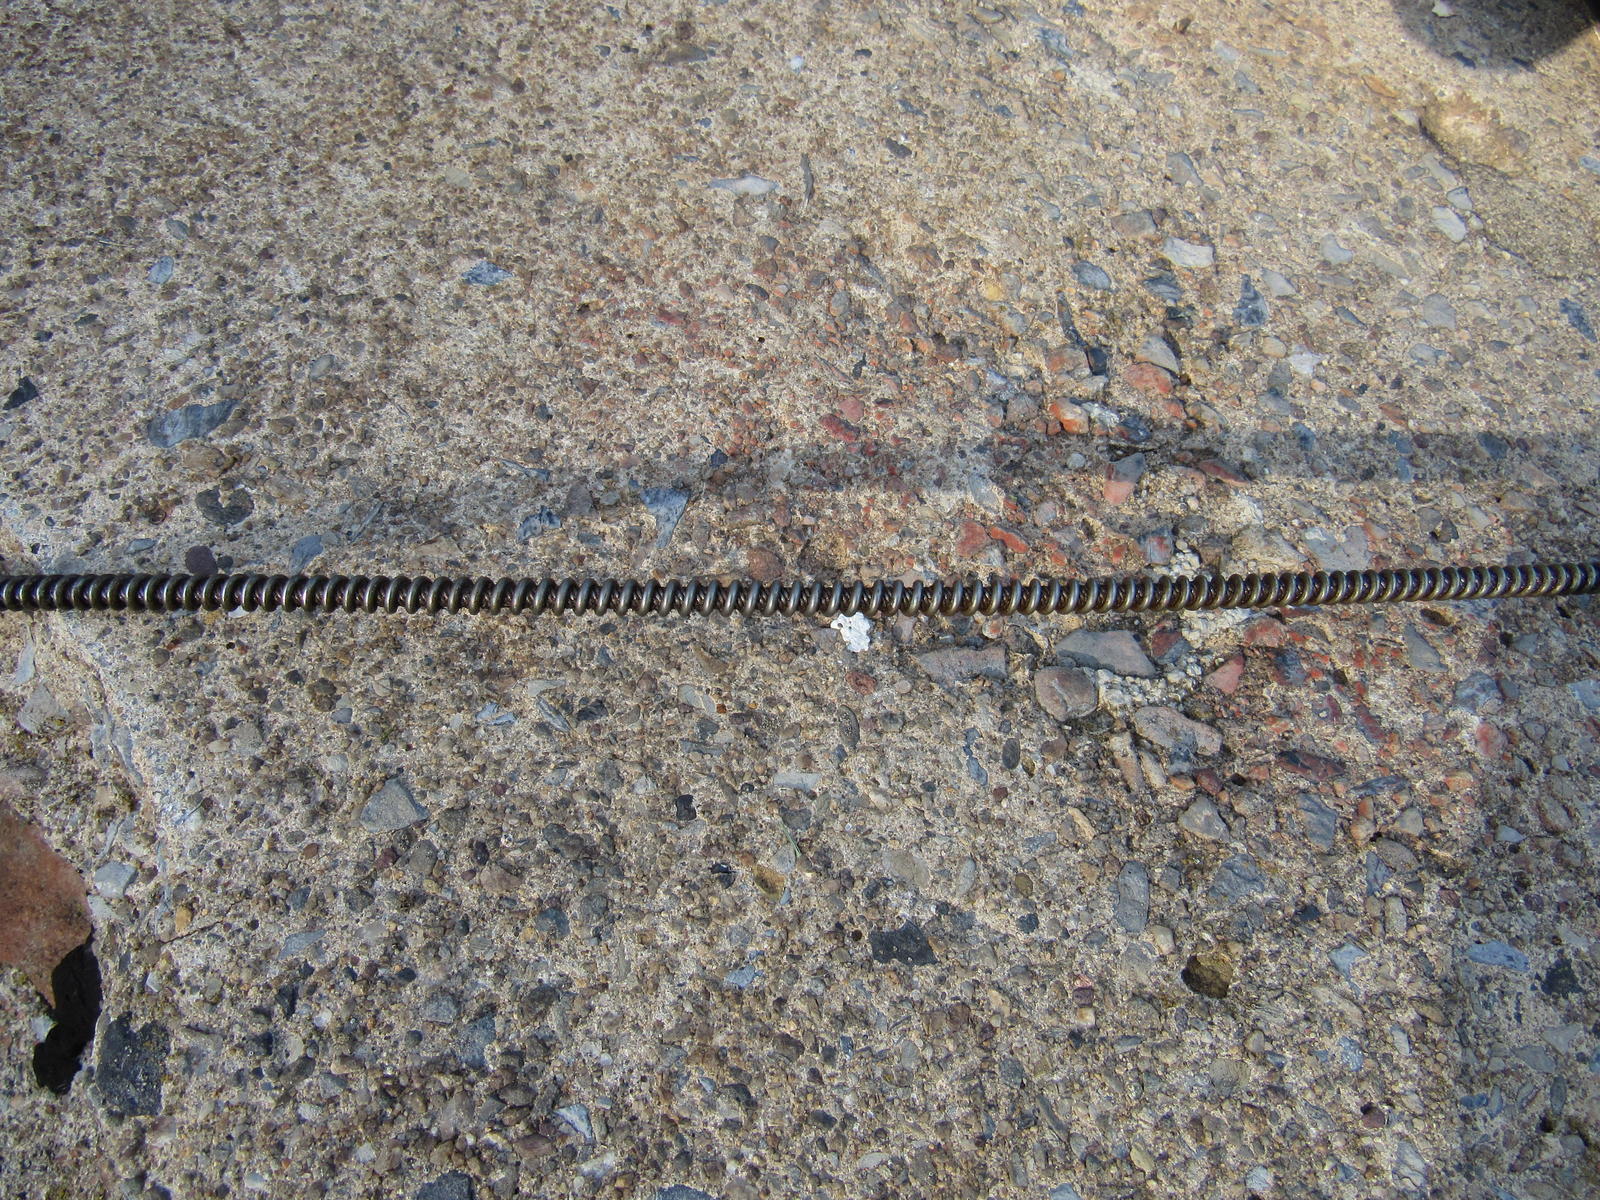
Yesterday I took the sunroof apart. I had manually opened it for a while and when I closed it the rear of the panel would not go up and created a ton of wind noise and bounced on every bump. With the inner panel removed I found one screw missing from each side 'attachment block' and the remaining two were loose. I have cleaned out 30 years of dried up grease and crud from all parts and rails. Some areas of the cables were packed with rust but cleaned up well with PBlaster and a wire brush.
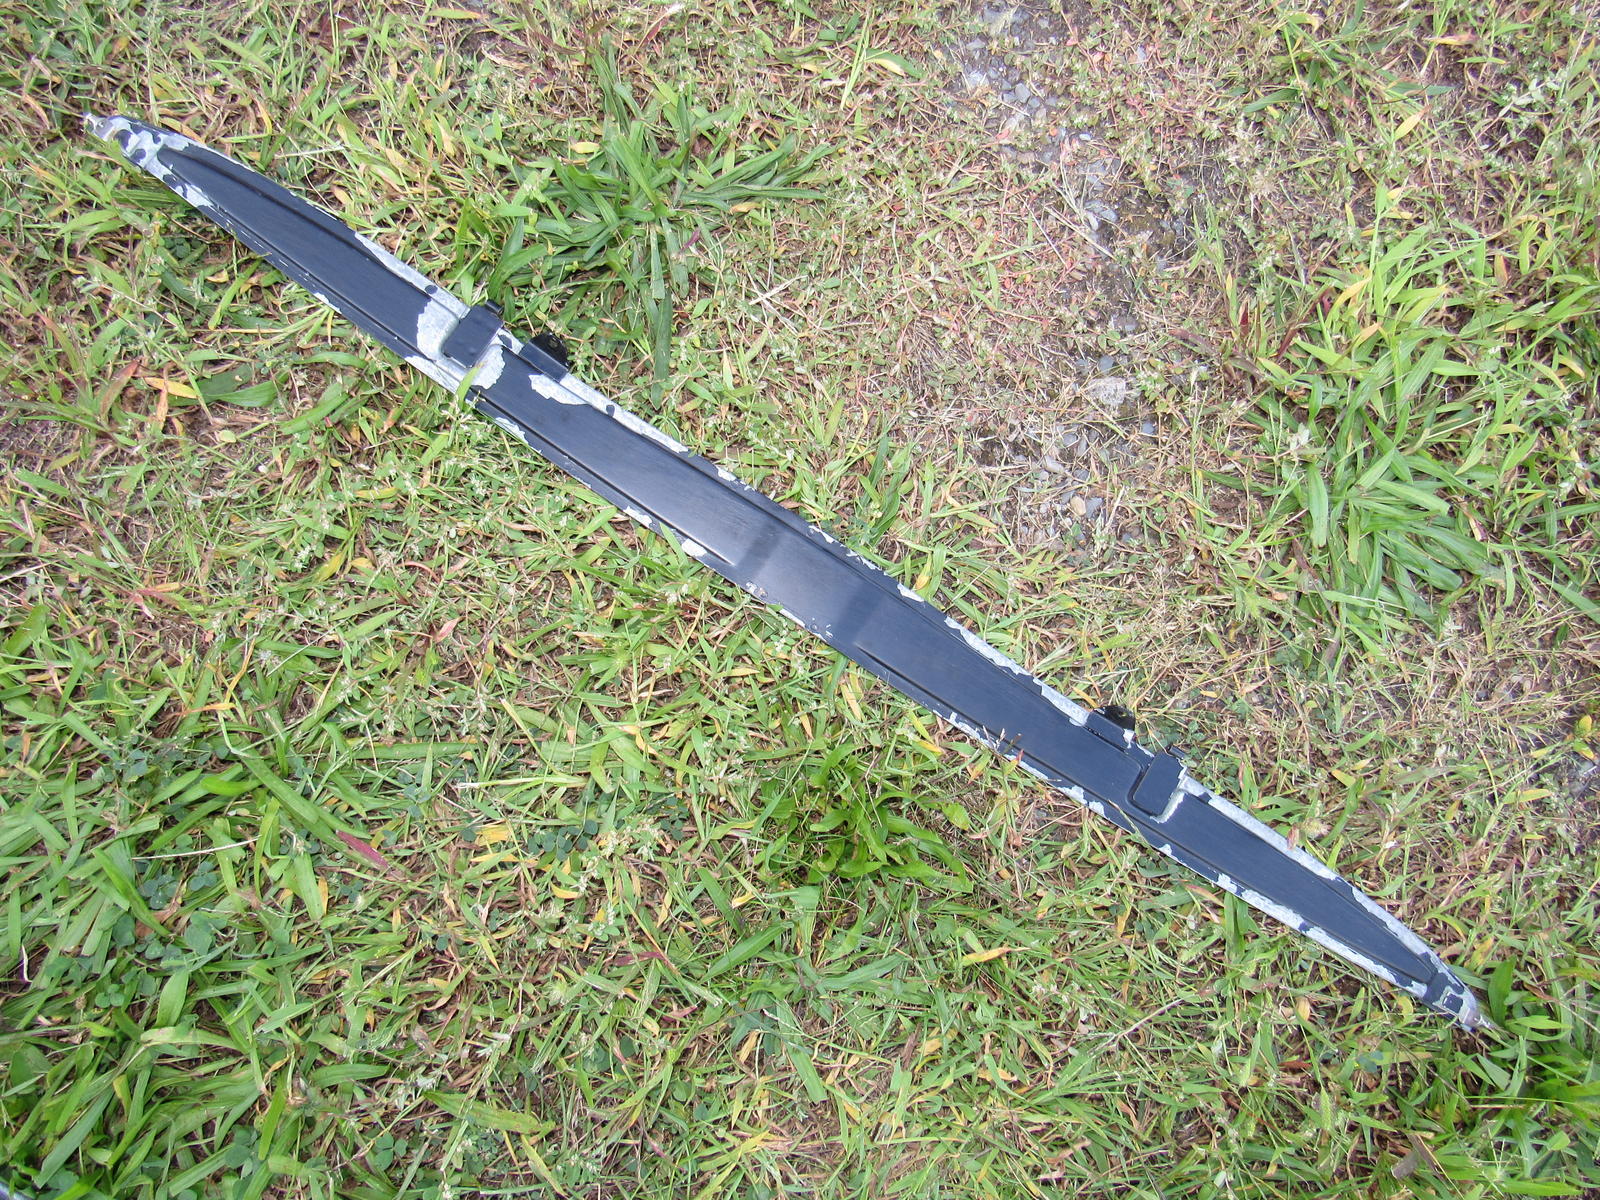
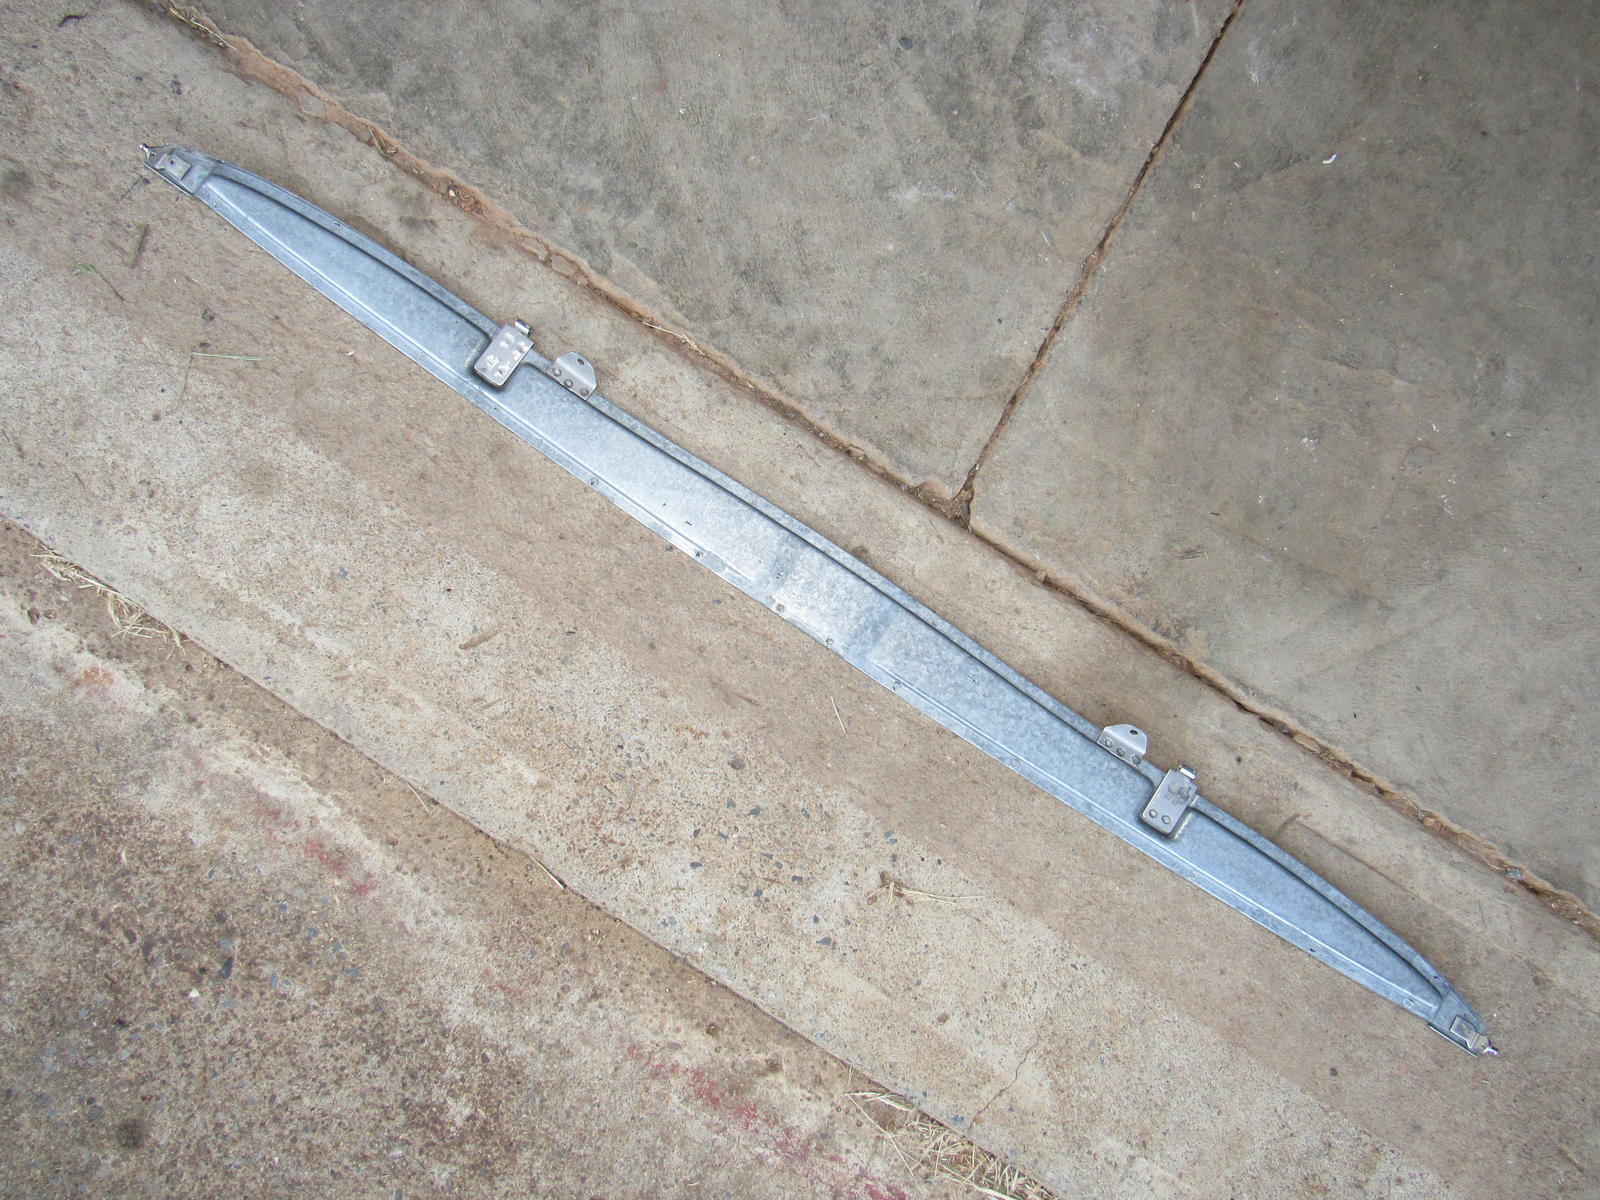
The paint on the wind deflector is all chipping off, seems that the galvanized metal was not etched properly before paint? I think I will strip all the paint off, use etching primer, and repaint. Here it is with the loose paint brushed off.
Does not the screw in the transmission come out? If I turn it very hard the gear on the opposite side turns with it.
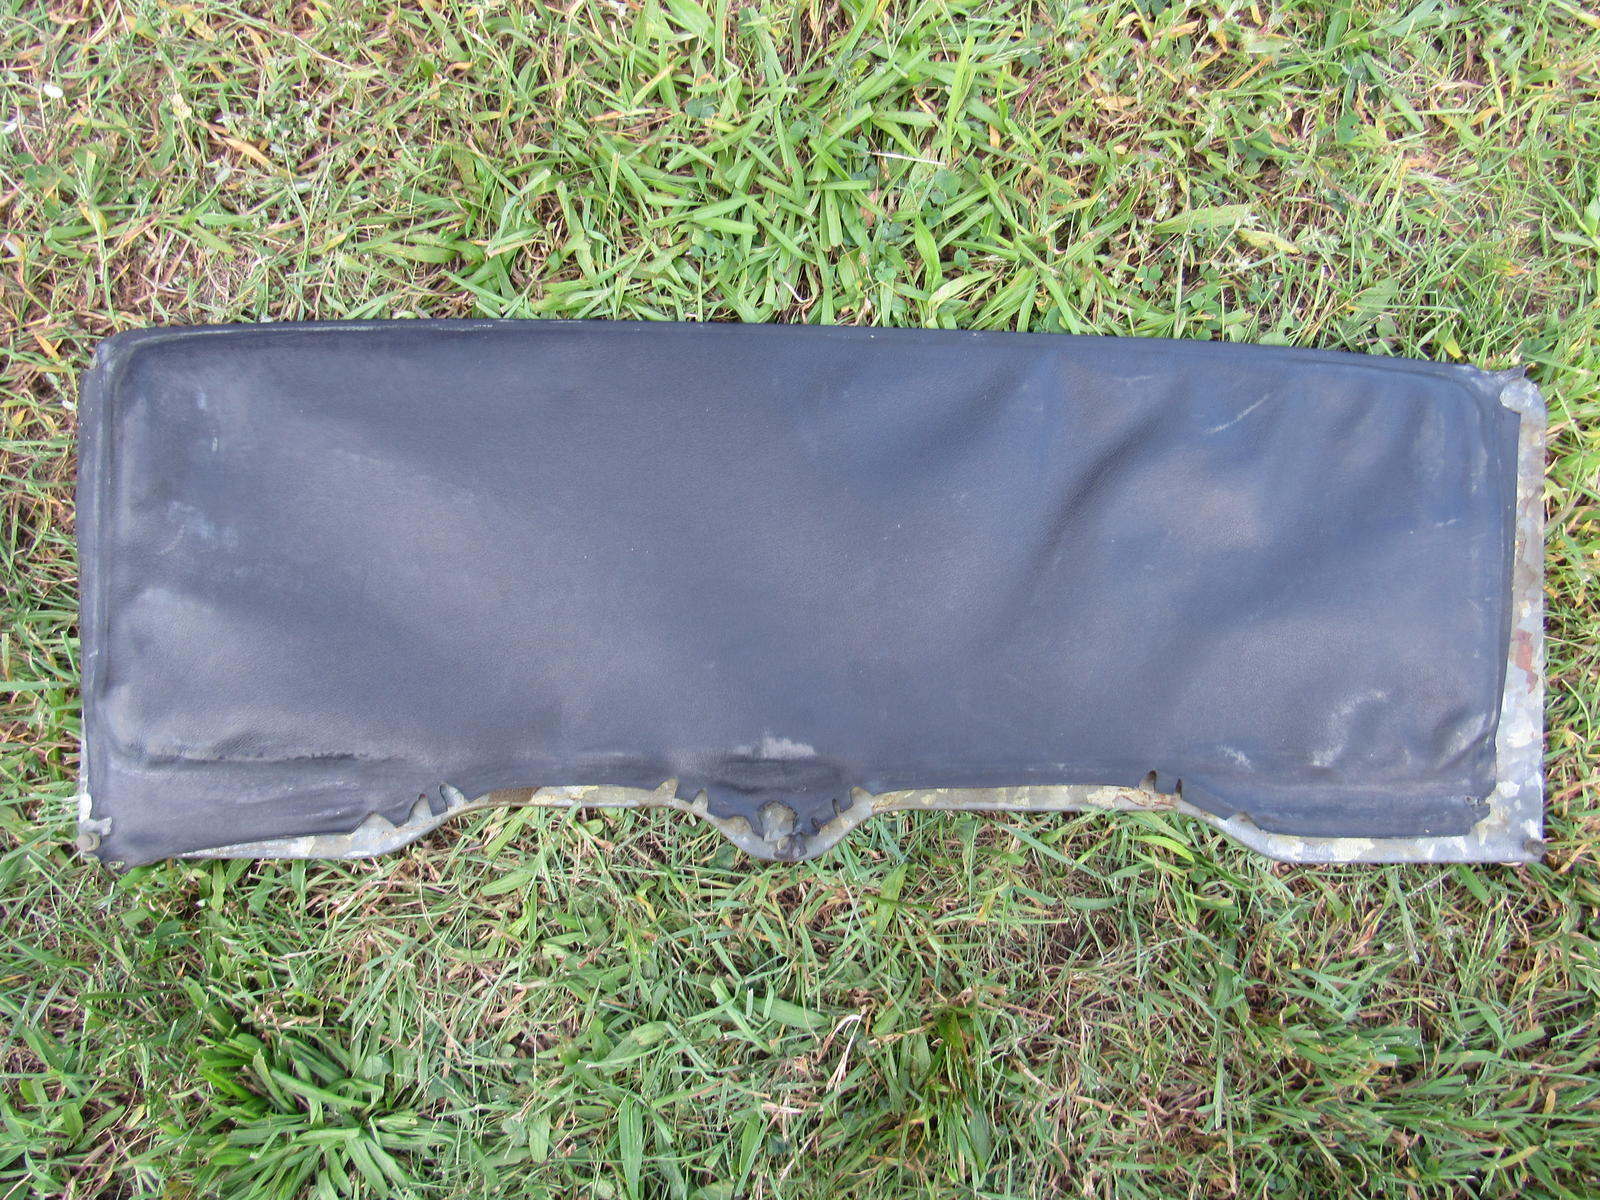
The vinyl on my inner panel is so dry and shrunken I will have to source a replacement.
I still need to clean out the cable tubes and it does not look like they can be removed without dropping the headliner. As for lube, I am thinking graphite powder?
Yesterday I took the sunroof apart. I had manually opened it for a while and when I closed it the rear of the panel would not go up and created a ton of wind noise and bounced on every bump. With the inner panel removed I found one screw missing from each side 'attachment block' and the remaining two were loose. I have cleaned out 30 years of dried up grease and crud from all parts and rails. Some areas of the cables were packed with rust but cleaned up well with PBlaster and a wire brush.
The paint on the wind deflector is all chipping off, seems that the galvanized metal was not etched properly before paint? I think I will strip all the paint off, use etching primer, and repaint. Here it is with the loose paint brushed off.
Does not the screw in the transmission come out? If I turn it very hard the gear on the opposite side turns with it.
The vinyl on my inner panel is so dry and shrunken I will have to source a replacement.
I still need to clean out the cable tubes and it does not look like they can be removed without dropping the headliner. As for lube, I am thinking graphite powder?
Last edited by Majestic Moose; 07-08-2017 at 01:20 AM.
09-07-2016, 07:23 AM
#96
The amount of debris on the trans-axle plug doesn't look that out of the ordinary...espedially for 73K. The broken piece looks like maybe a gear tooth, personally, I wouldn't go crazy about finding out where it came from unless you are experiencing issues. Could just be off the reverse gear, which would be pretty common.
The screw on the sunroof motor should come out. However, I took mine out while the motor was still installed. So, I believe the upper gear is being held from turning by the adjoining mechanism. You may have to hold the gear without damaging. That screw was super tight and you need a wide/narrow straight blade screwdriver or you will booger it all up...even more than it is.
Good luck,
Brian.
09-16-2016, 04:25 PM
#97
Burning Brakes
Thread Starter
I did a total teardown and rebuild of the sunroof last weekend and will be leaving it closed. I will post pictures later.
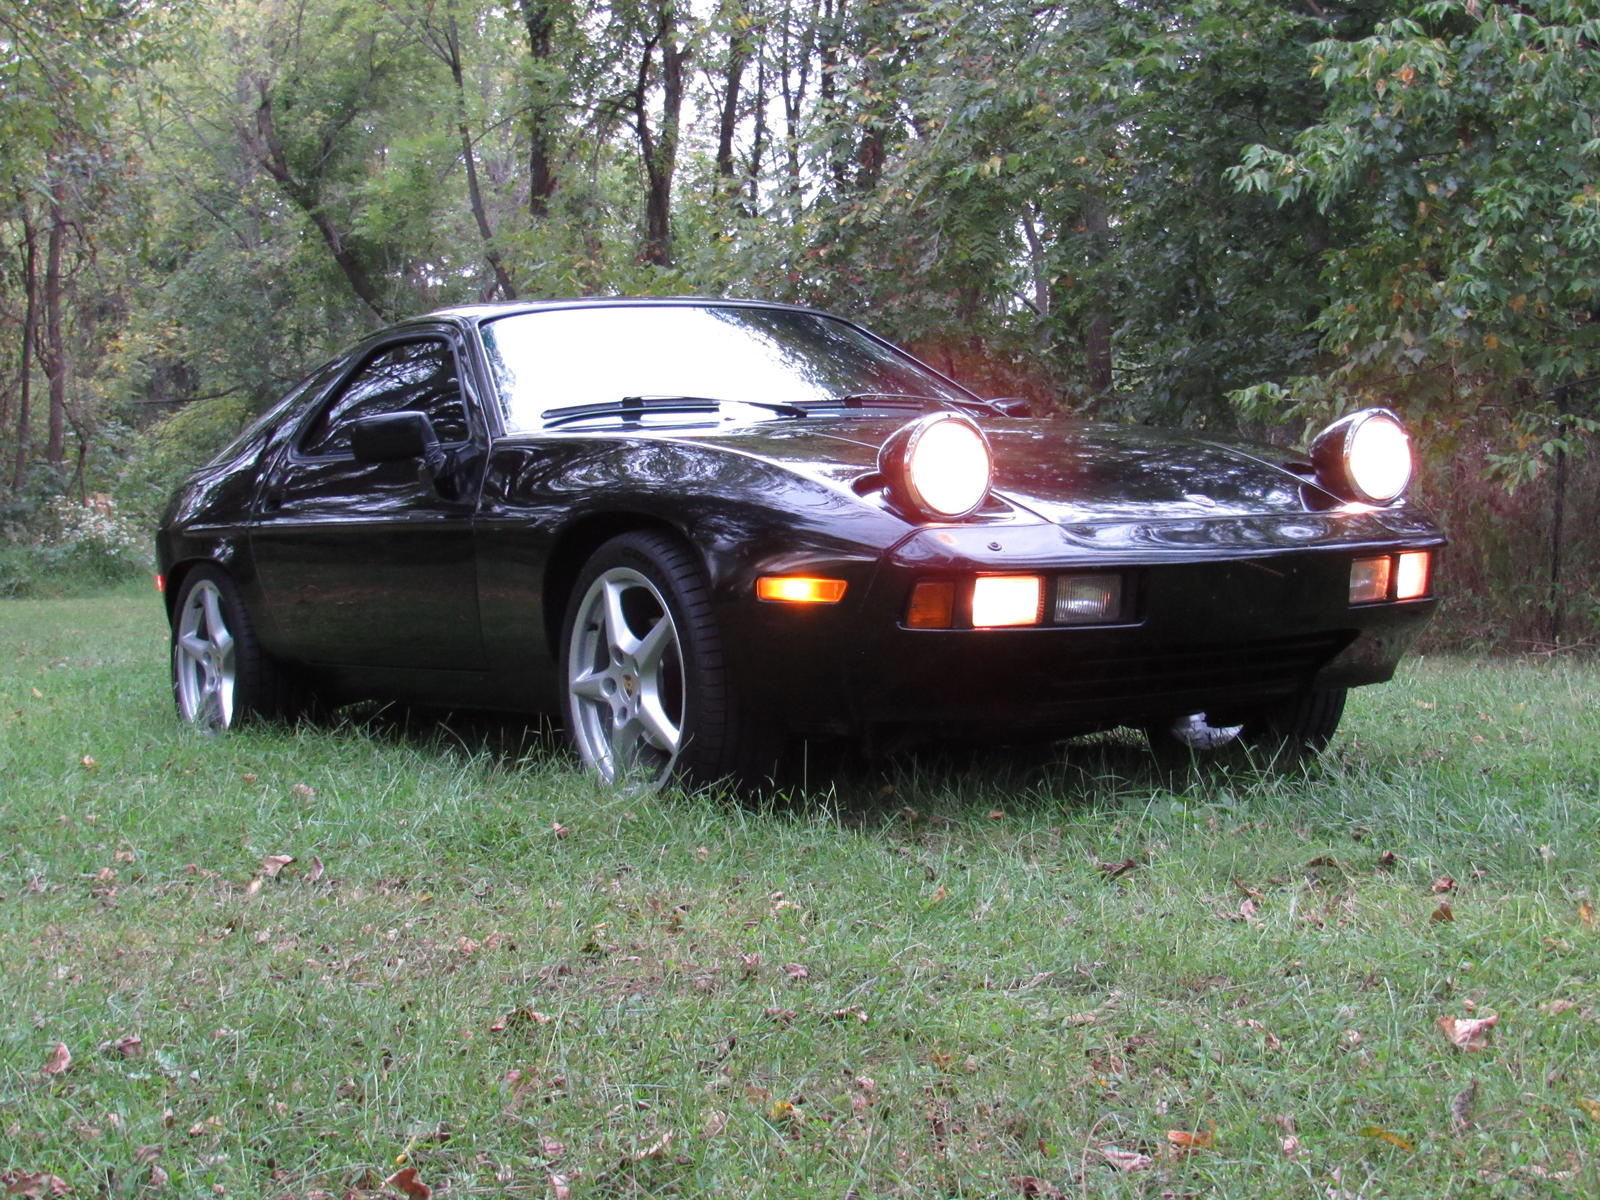
I have a head scratcher. I got Carrera III wheels installed and by the act of changing wheels my steering wheel is off center by quite a lot but drives exactly the same. I will check the steering rack to steering wheel alignment but I cannot think how that could have been affected. Anyone experience similar? Steering wheel is off almost 45 degrees.
Update: I can answer my own question. Steering wheel and rack are still centered to each other - phew, thought something weird might have happened. I did mess with the eccentrics on the right side LCA and thought I put them back as they were but this gave me a lot of toe in on that side causing the off center steering.
Last edited by Majestic Moose; 09-16-2016 at 07:41 PM.
09-16-2016, 08:18 PM
#98
Burning Brakes
Thread Starter
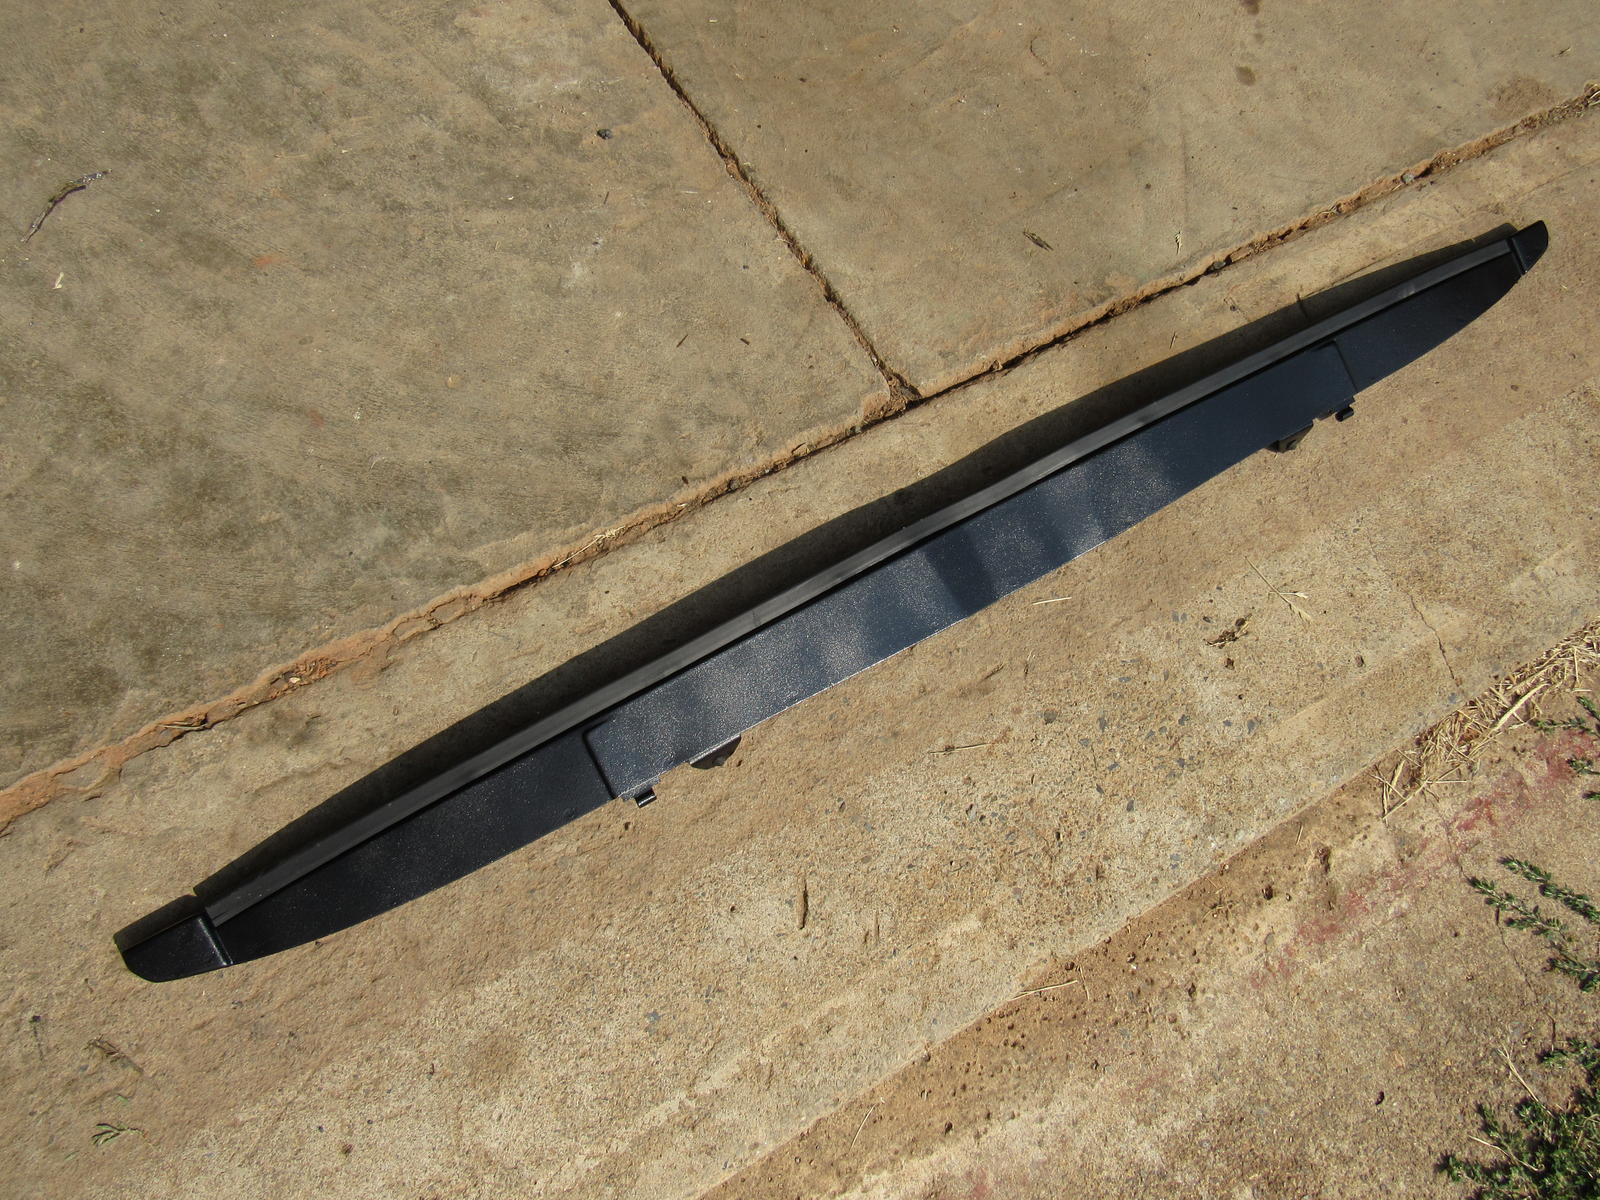
So last weekend I completed work on the sunroof. Stripped, primed, and painted the wind deflector.

I could not find a similar thin foam that is used on the sunroof inner panel so I tried some thin batting. I am pleased with it and would use again.
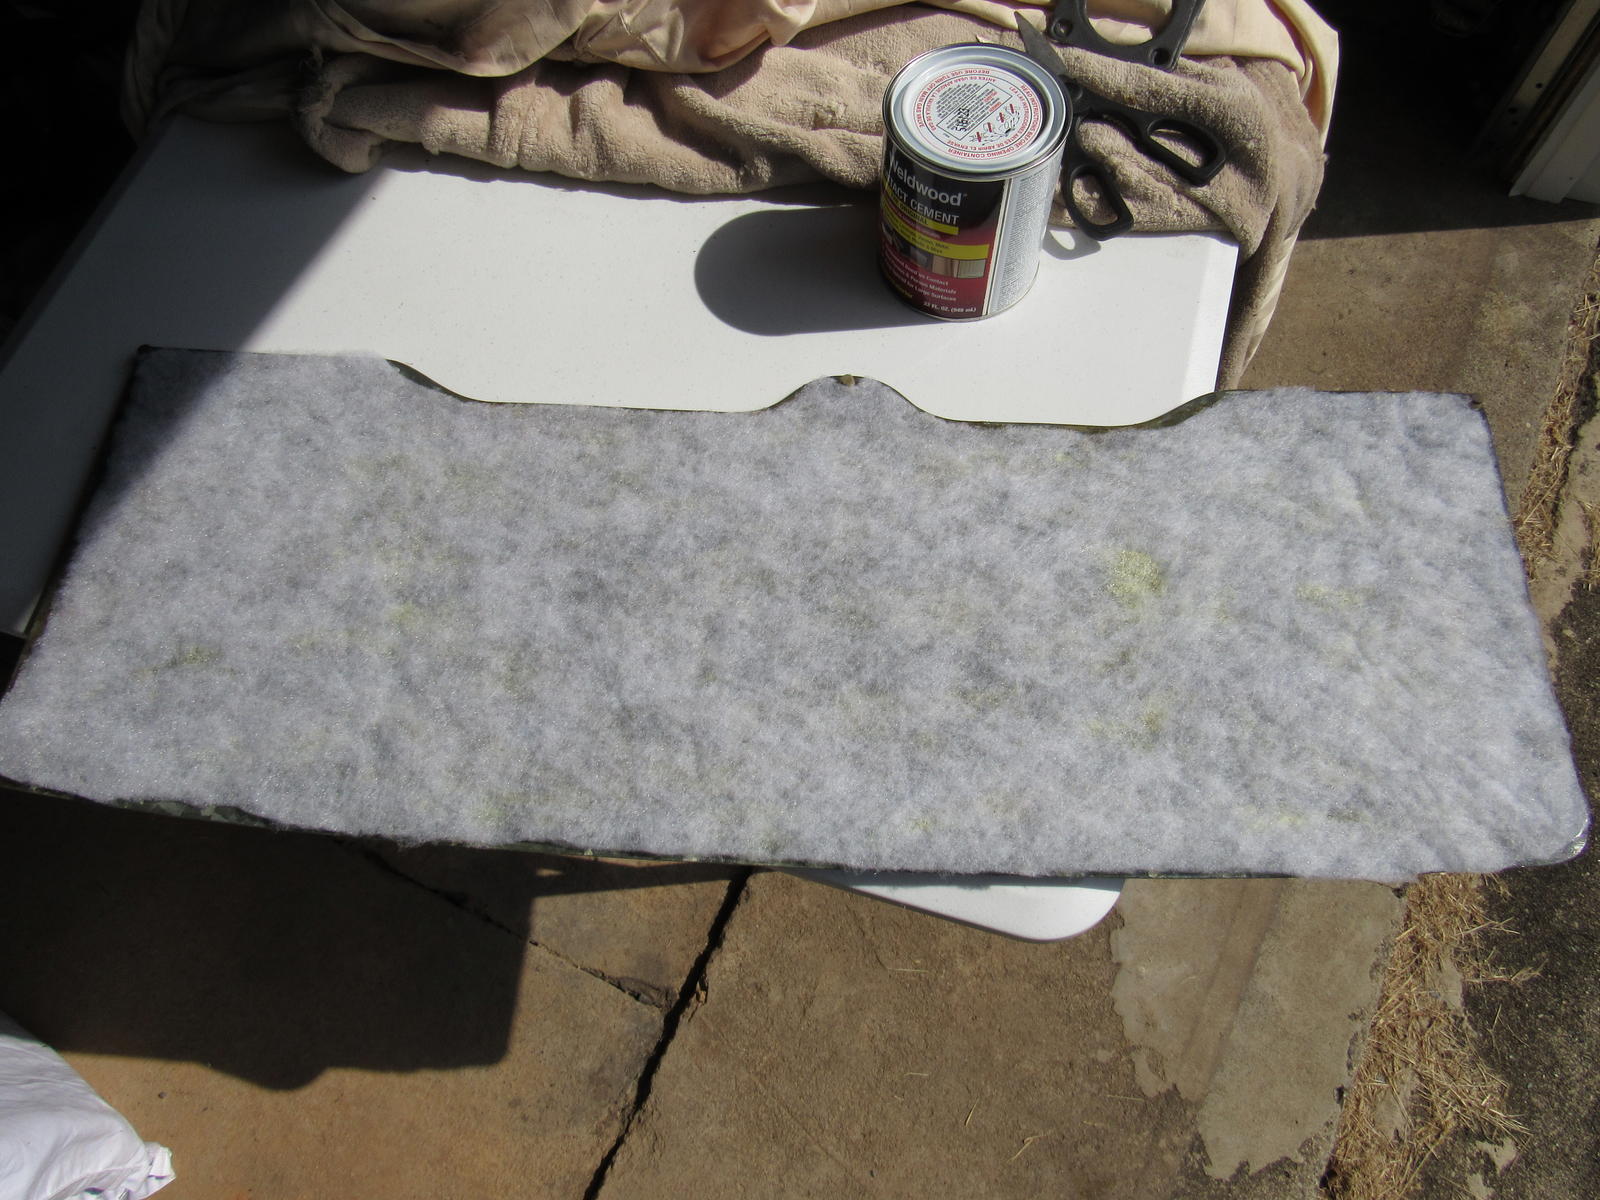
So I got vinyl to recover the panel. Now this is very much out of my bailiwick so I had to figure out how to do relief cuts in the material.
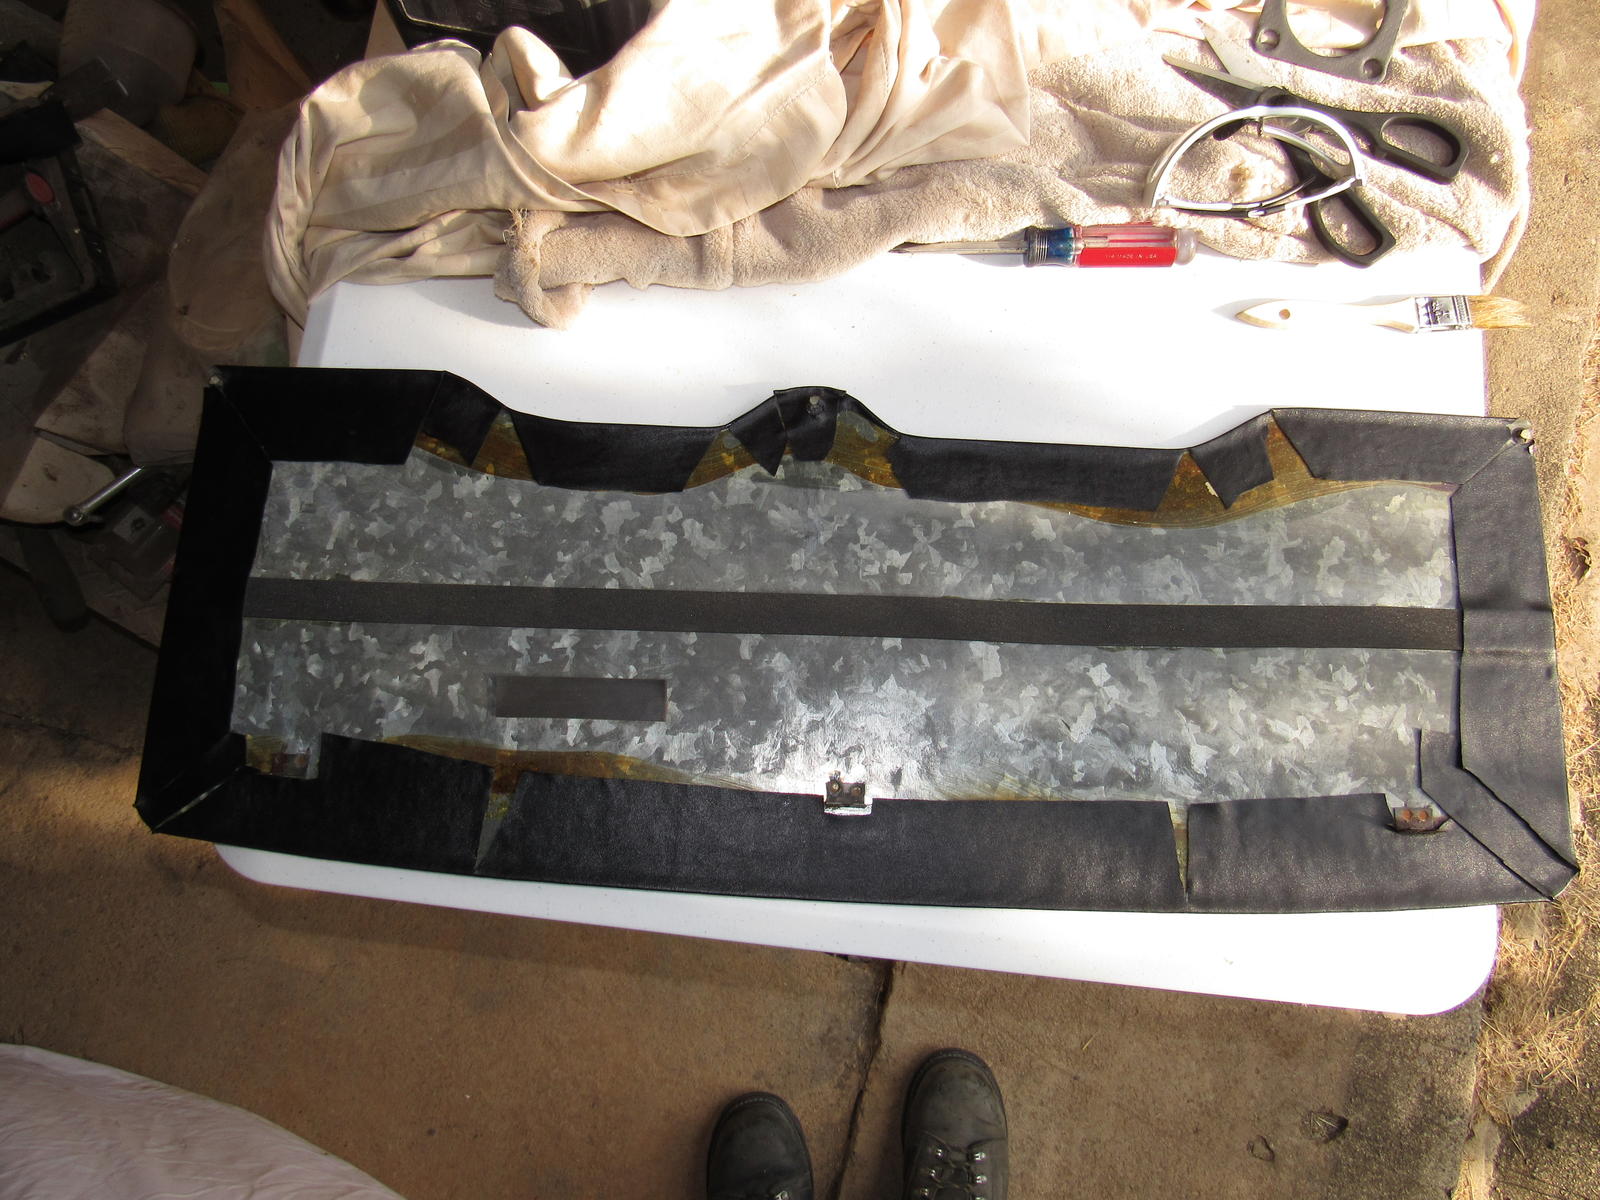
Here is where things went a little bad. The rubber cement I used soaked through parts of the vinyl and as you can see, resulted in an uneven texture.
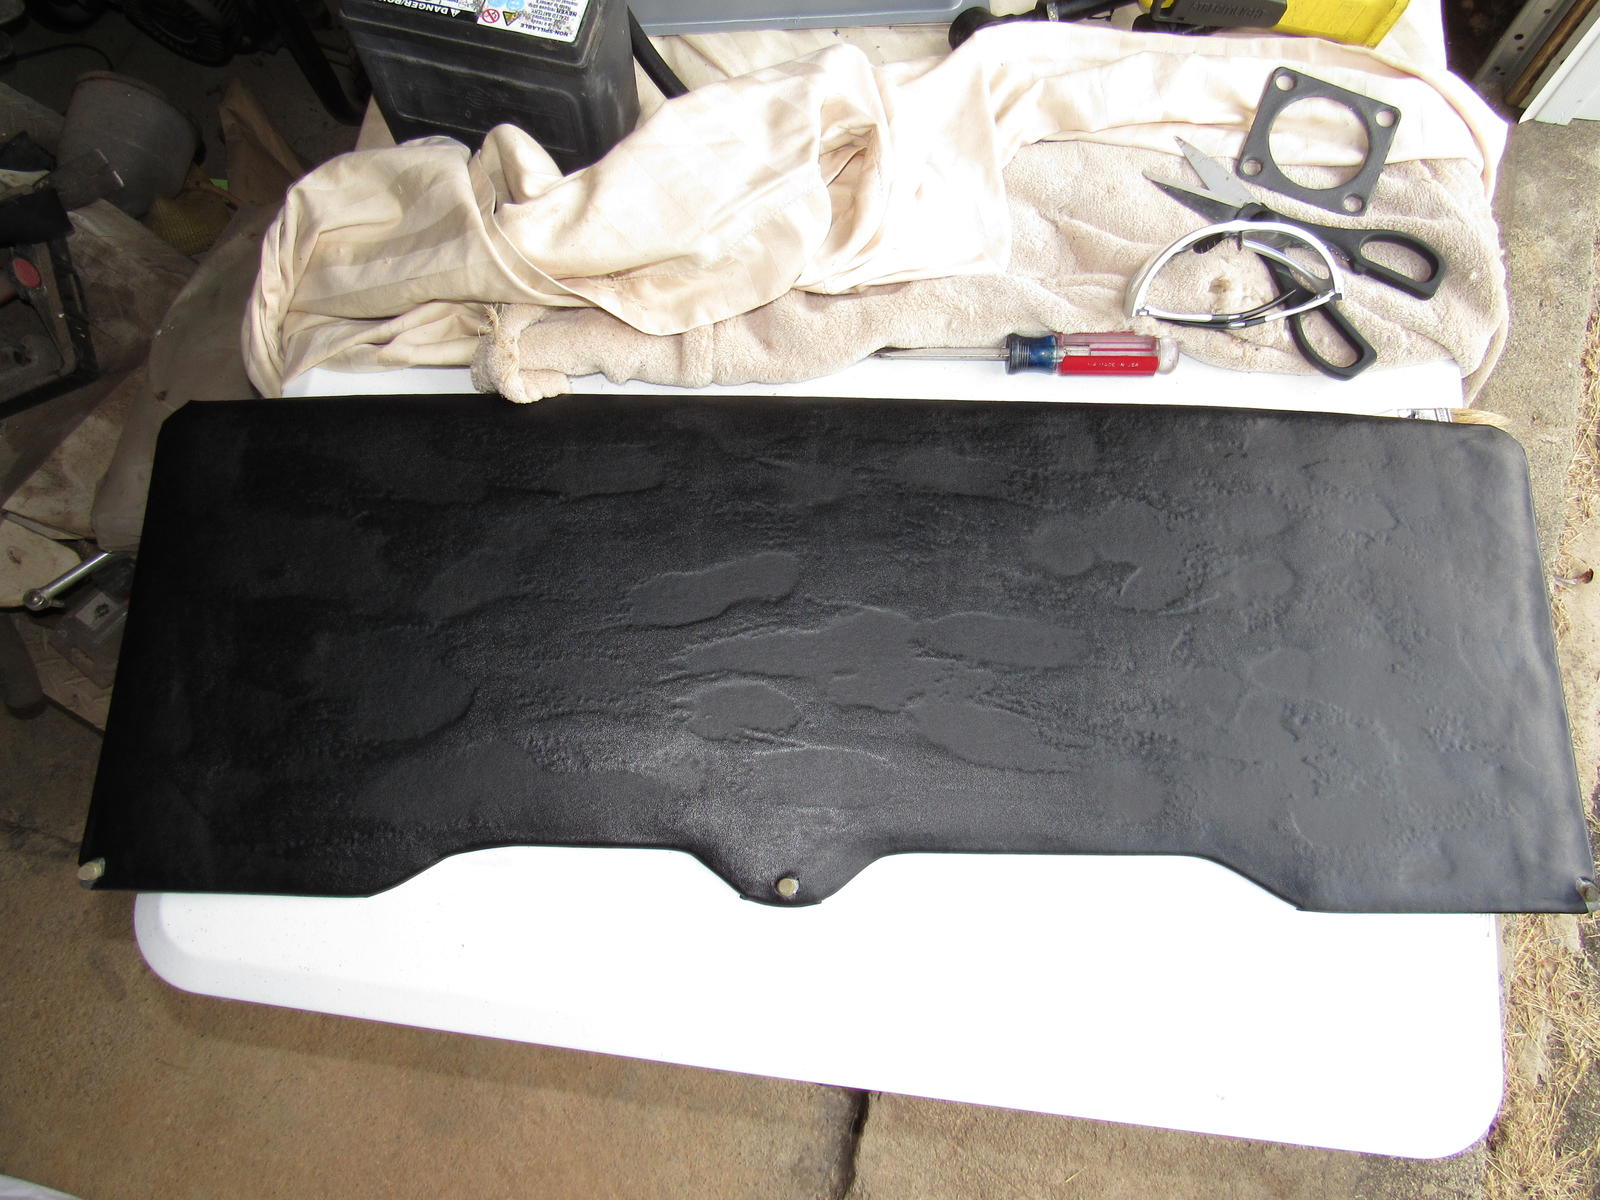
With tinted windows and all black cockpit nobody would notice but at some point I will redo it with leather. Everything is reinstalled but for some reason I always forget to take completion photos. More to come..
I could not find a similar thin foam that is used on the sunroof inner panel so I tried some thin batting. I am pleased with it and would use again.
So I got vinyl to recover the panel. Now this is very much out of my bailiwick so I had to figure out how to do relief cuts in the material.
Here is where things went a little bad. The rubber cement I used soaked through parts of the vinyl and as you can see, resulted in an uneven texture.
With tinted windows and all black cockpit nobody would notice but at some point I will redo it with leather. Everything is reinstalled but for some reason I always forget to take completion photos. More to come..
09-18-2016, 11:17 PM
#99
Burning Brakes
Thread Starter
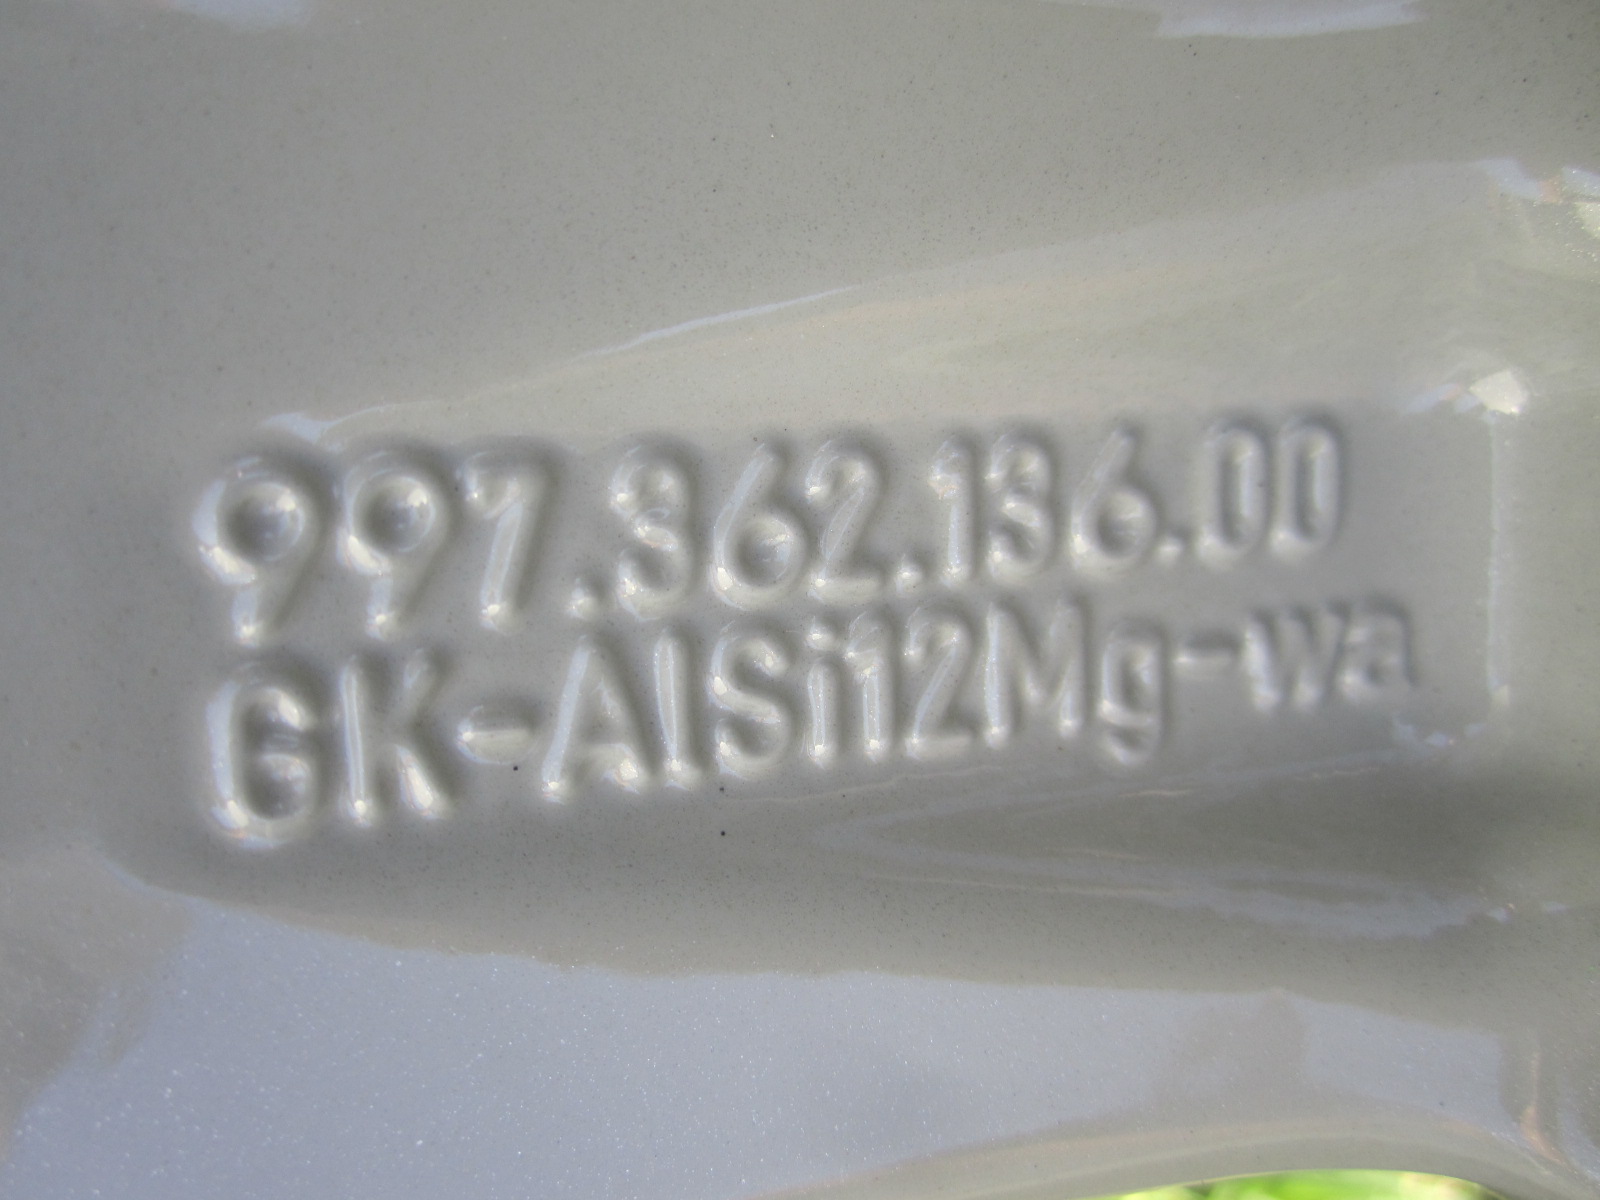
So I got a new set of Carrera 3 wheels and decided upon Continental DW in 235/40-18 and 285/30-18. The rear is actually the width of many 295 tires from other manufacturers and I went with a 30 sidewall because the last thing this car needs is taller gearing. Had to try a few different shops before I found one that could handle mounting them. Everything fits great. I got new concave center caps and I had to file down the mounting tabs to clear the front bearing caps.
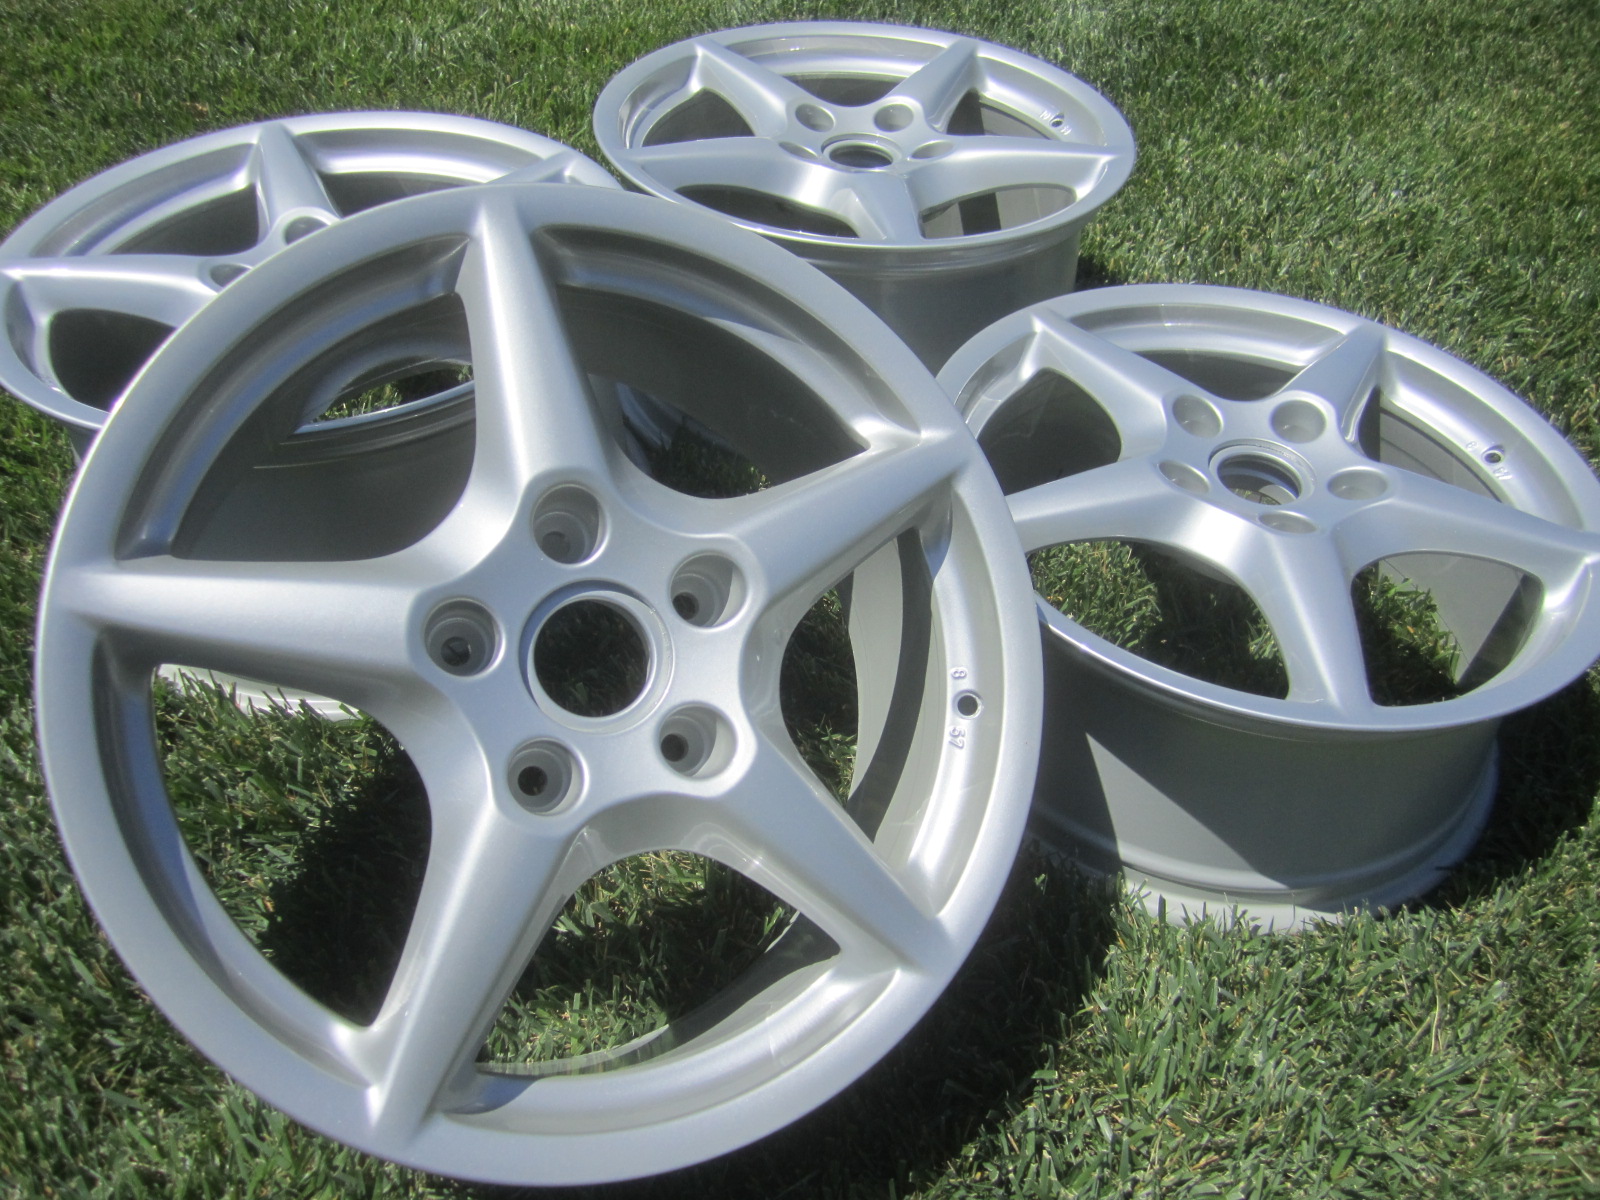
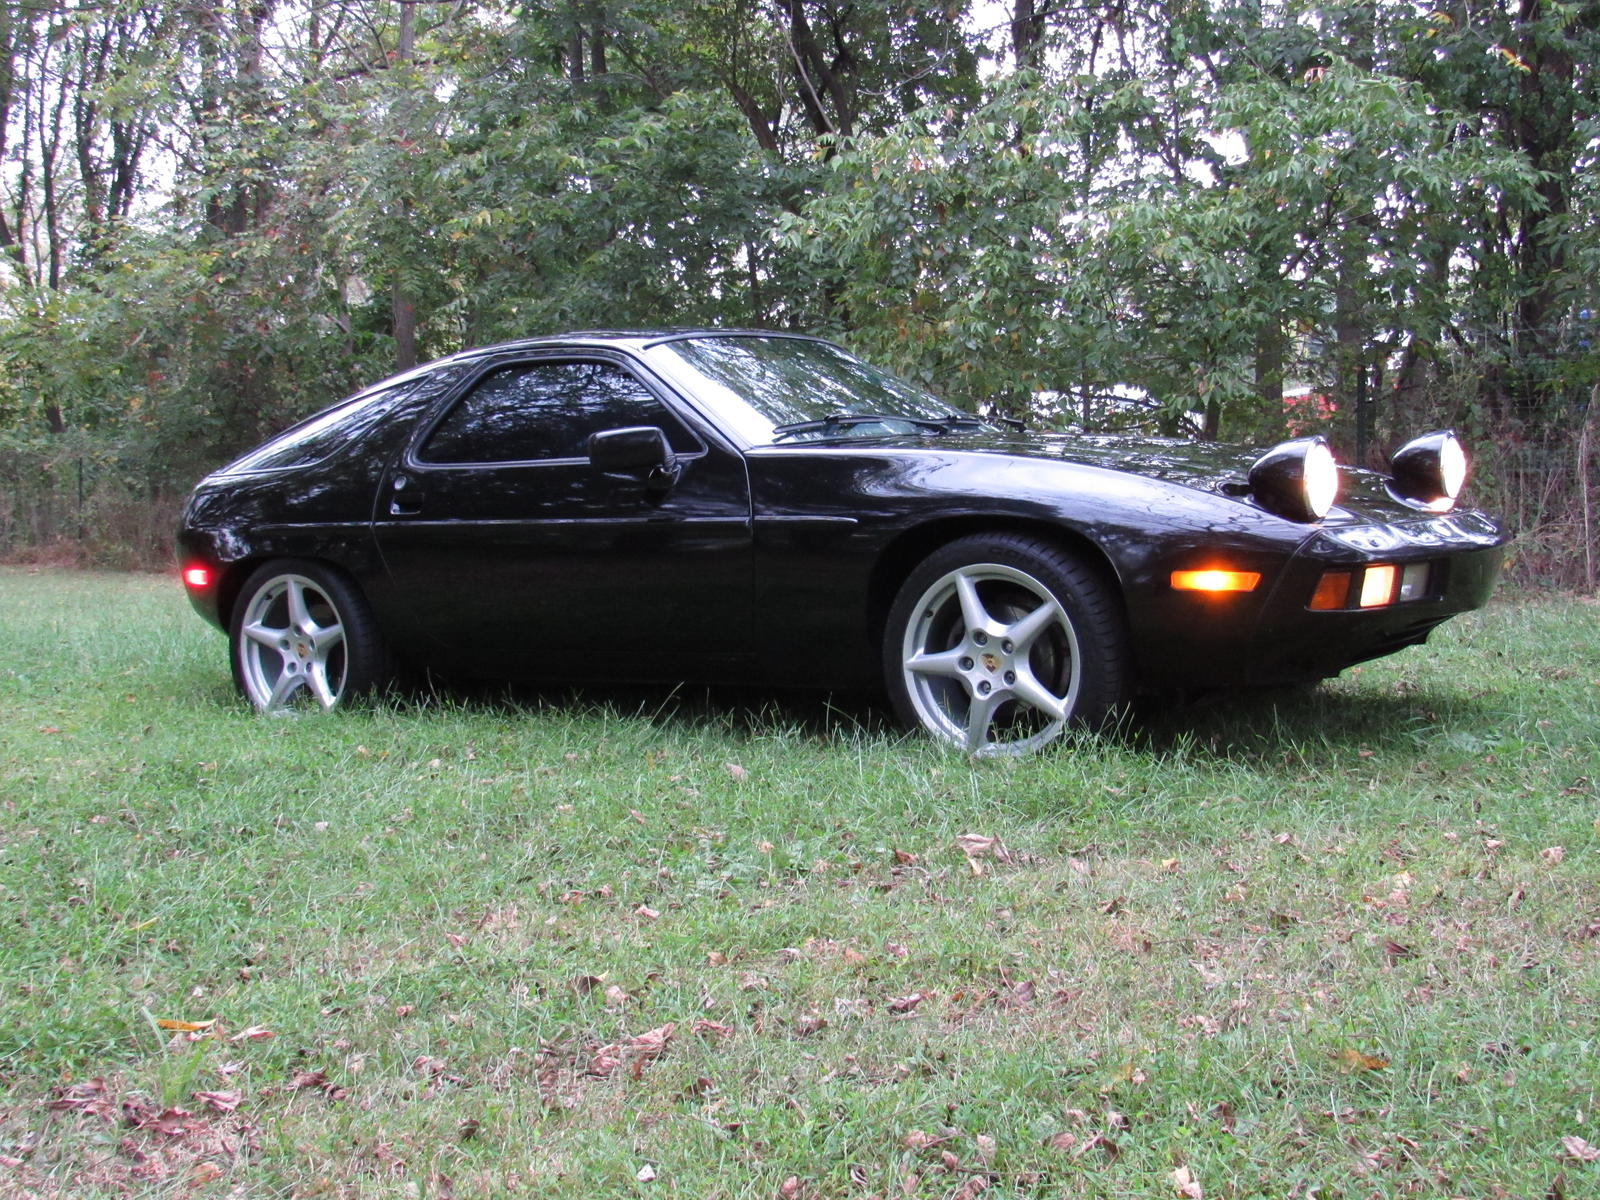
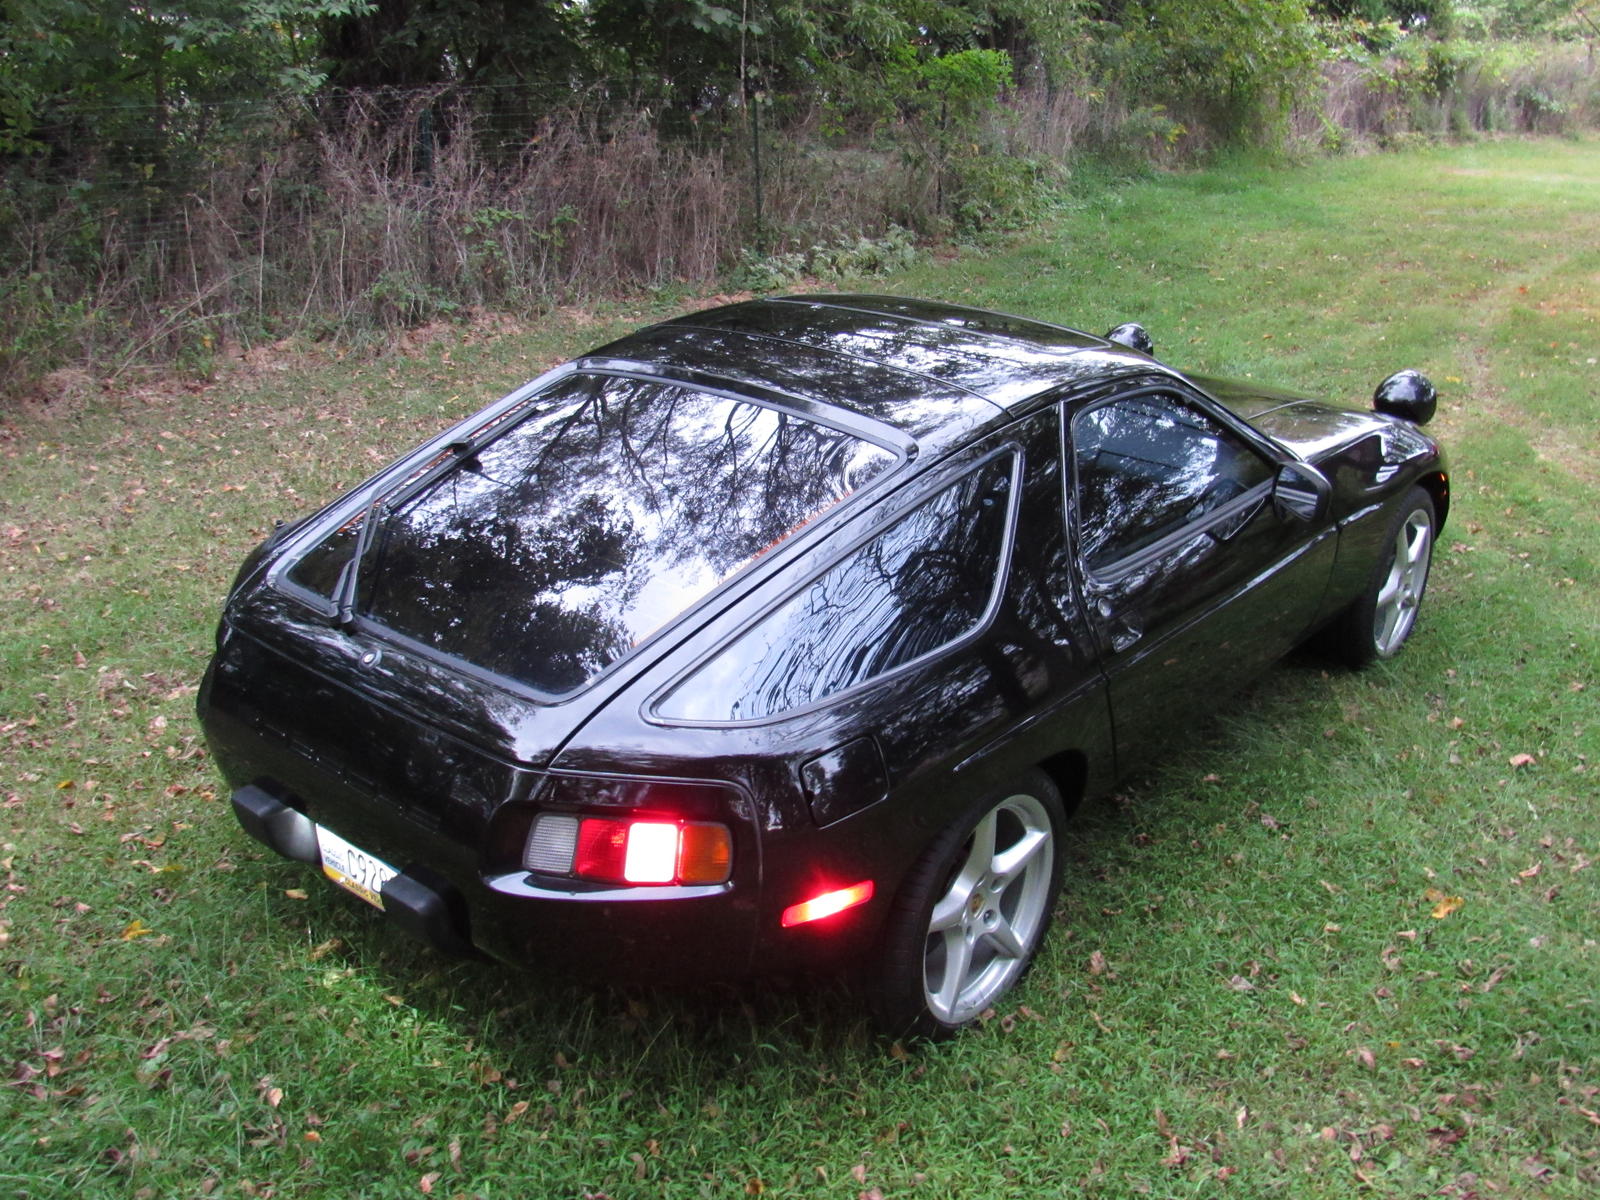
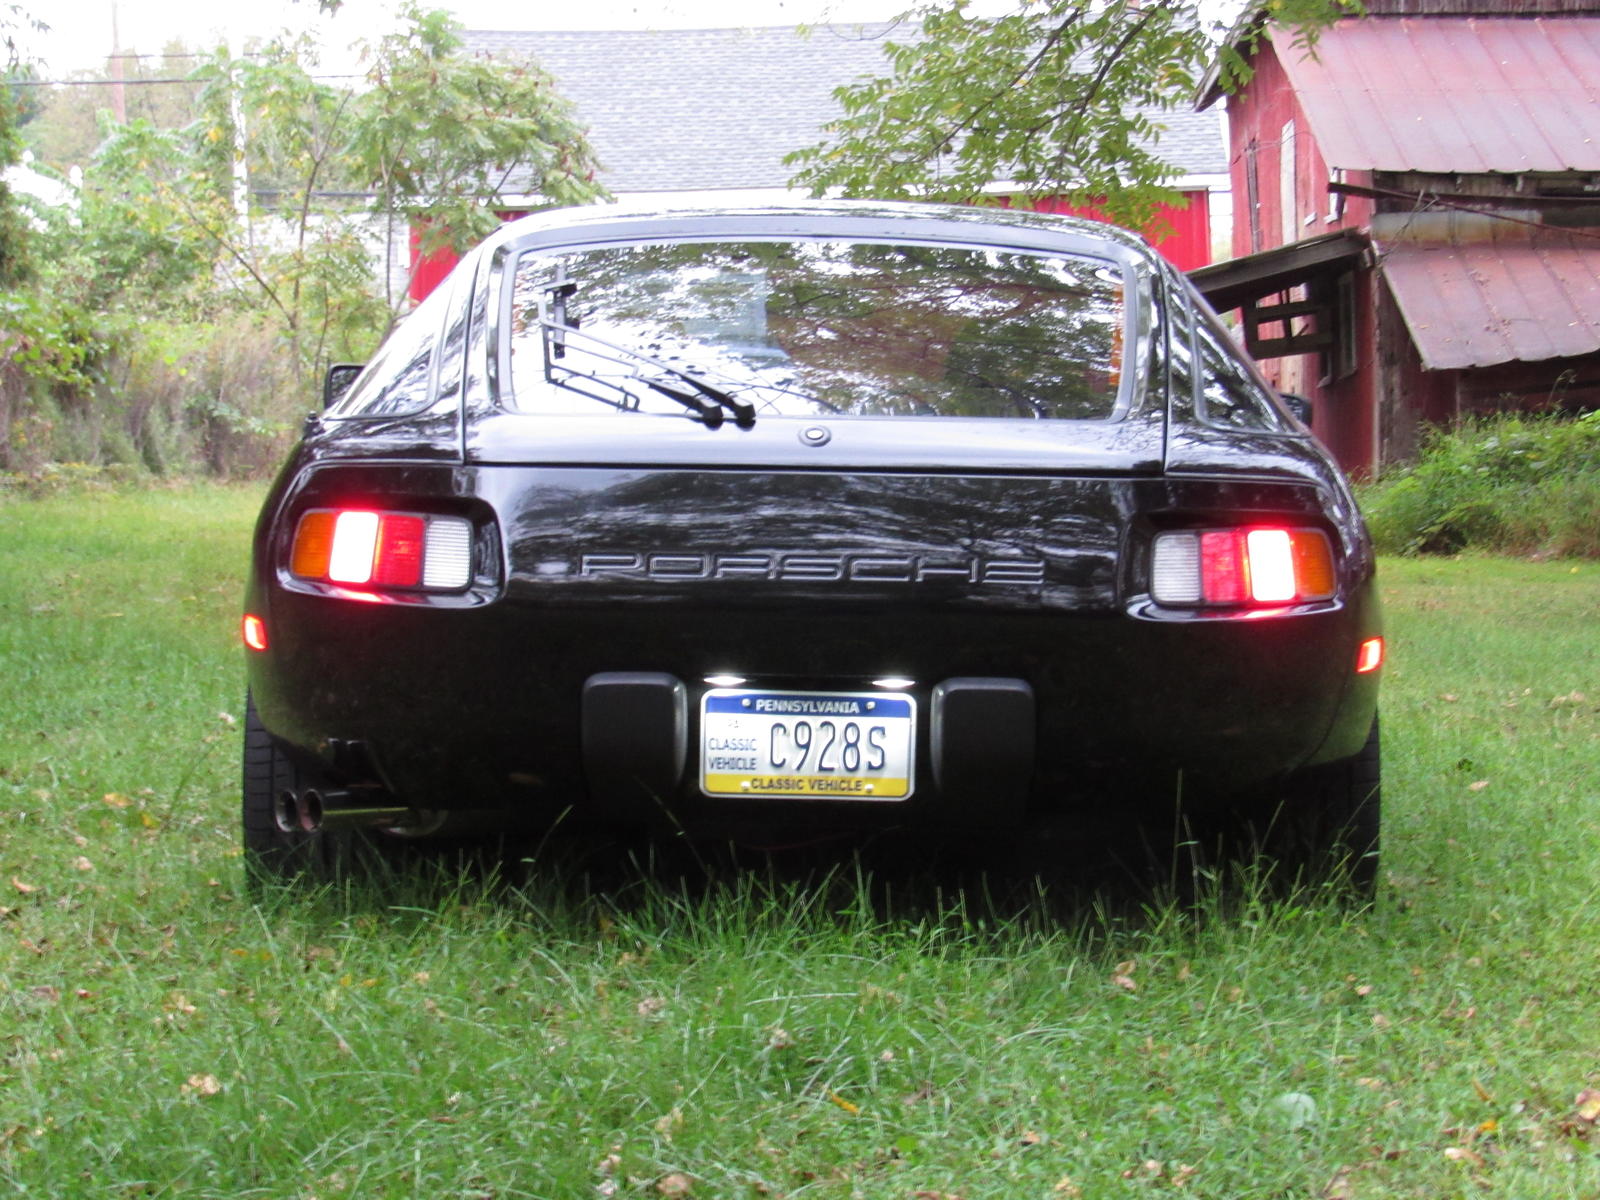
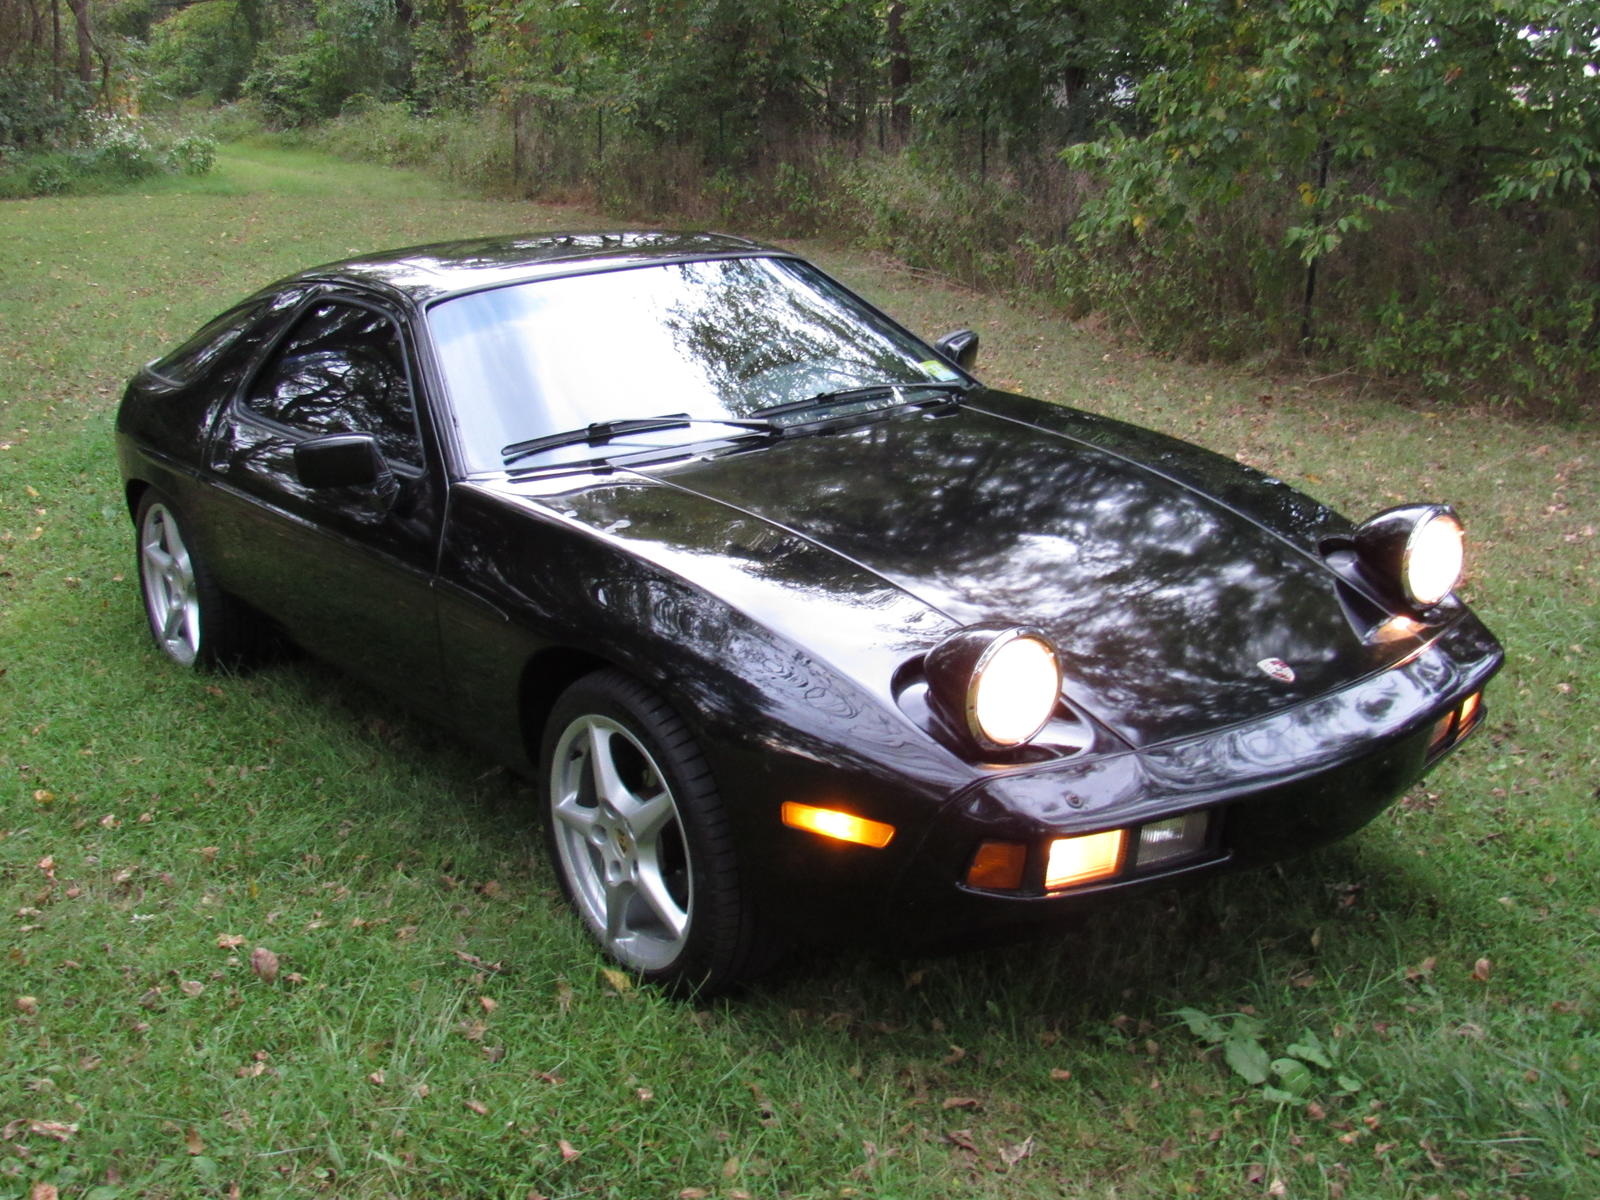
Sorry for the tall grass..
Sorry for the tall grass..
10-09-2016, 12:20 AM
#100
Burning Brakes
Thread Starter
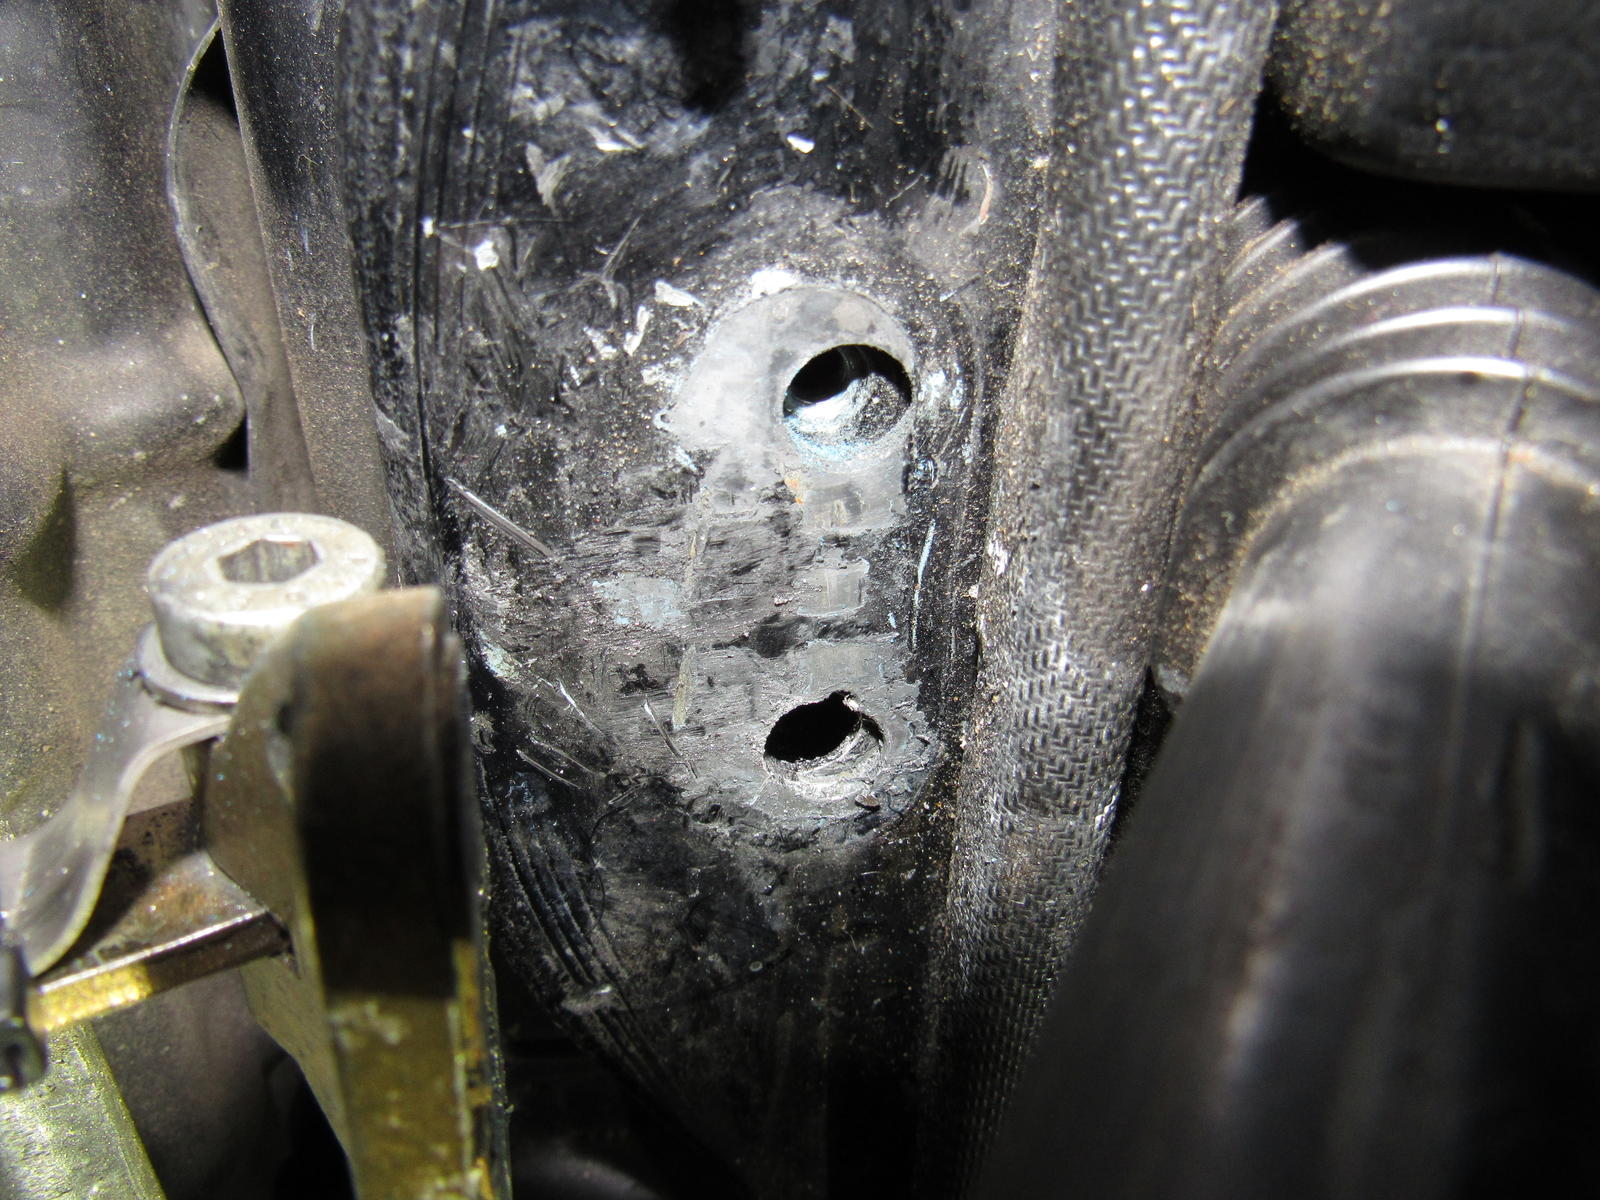
I finally took care of two major annoyances. Firstly was the driver door stop. The lower captured nut was gone and with every opening of the door I would get a loud 'CLACK, CLACK, CLACK' as the mount pivoted on the good top bolt and slammed on the inside door frame. Looking with a flashlight through the bolt holes it is apparent this area is boxed in and impossible to fit a nut from the backside. Perhaps my solution can help someone out because it worked out great.
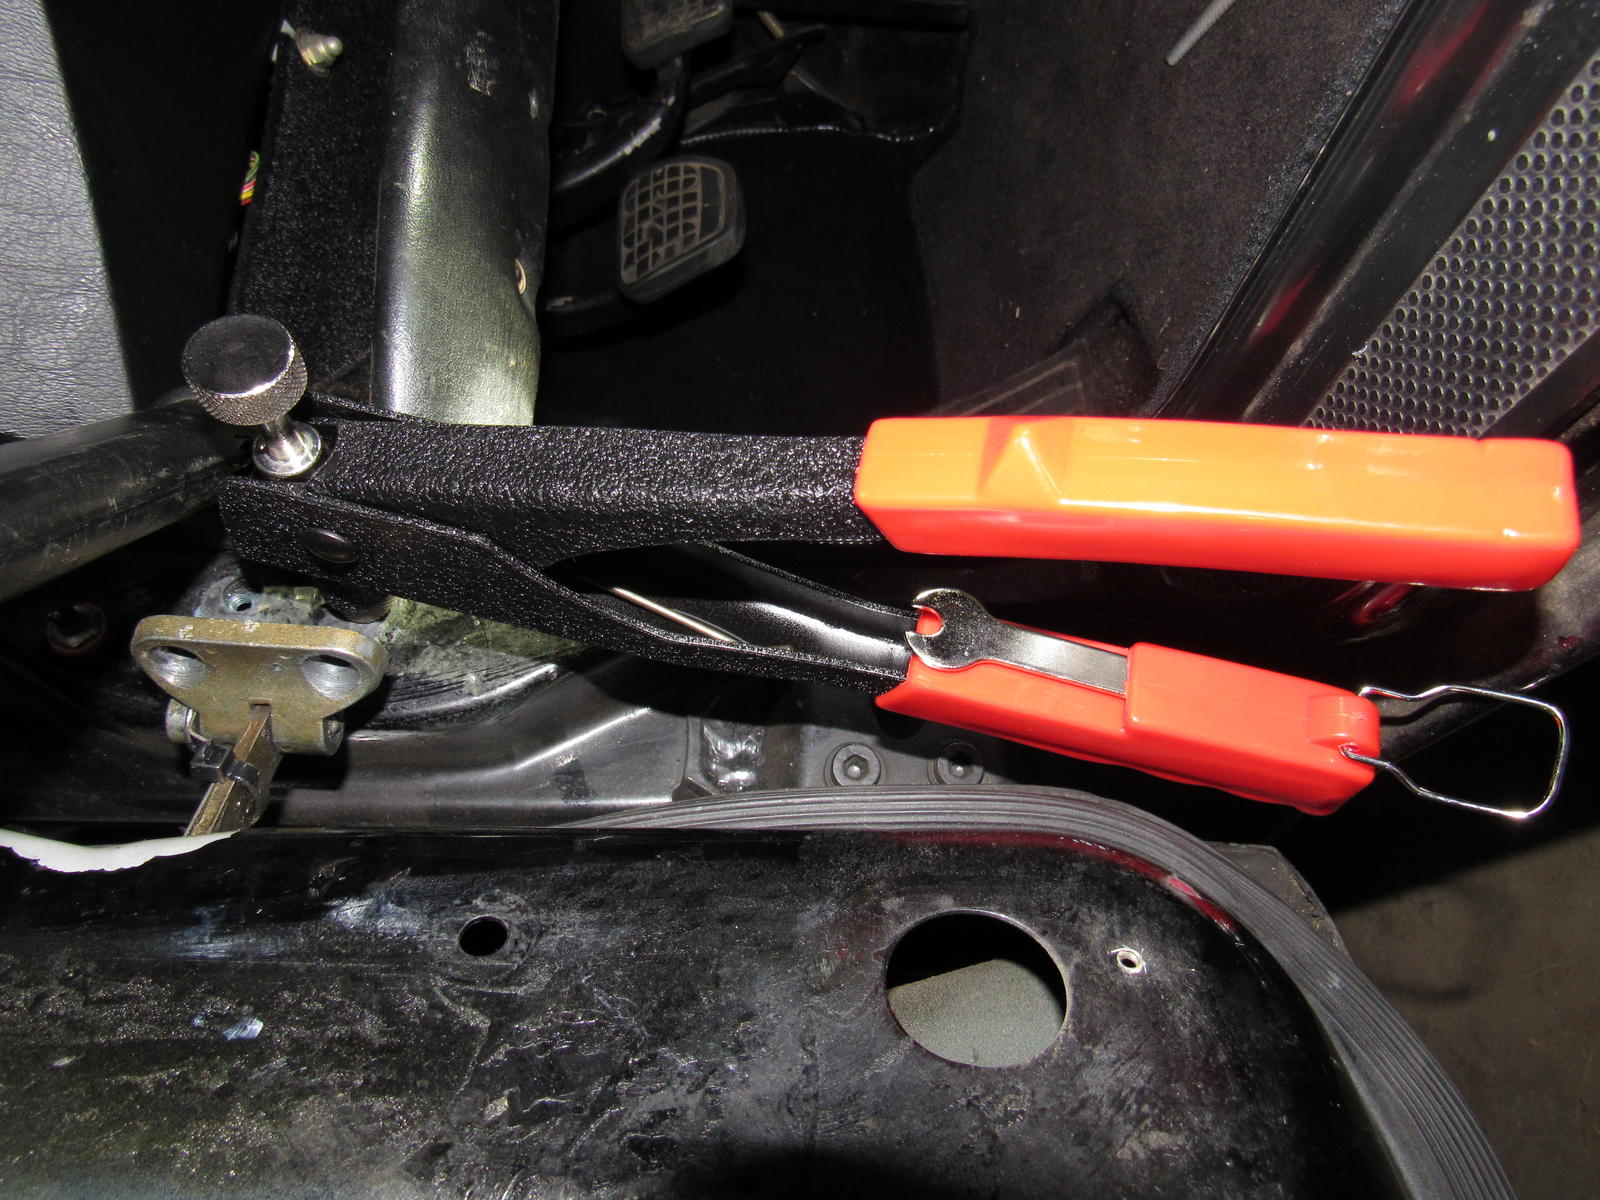
Harbor freight sells a 'threaded insert' tool kit for about $18. The threaded inserts are SAE however so you'll need a hex head in 1/4" - 20 thread X 1" long. Inserts and tool heads can be found online to use the correct bolt but it was looking like over $100 for tooling I would use one time.
I used a round file to slightly enlarge the hole to fit the insert and you will see there is a reinforcement plate below the surface.
Tool in place
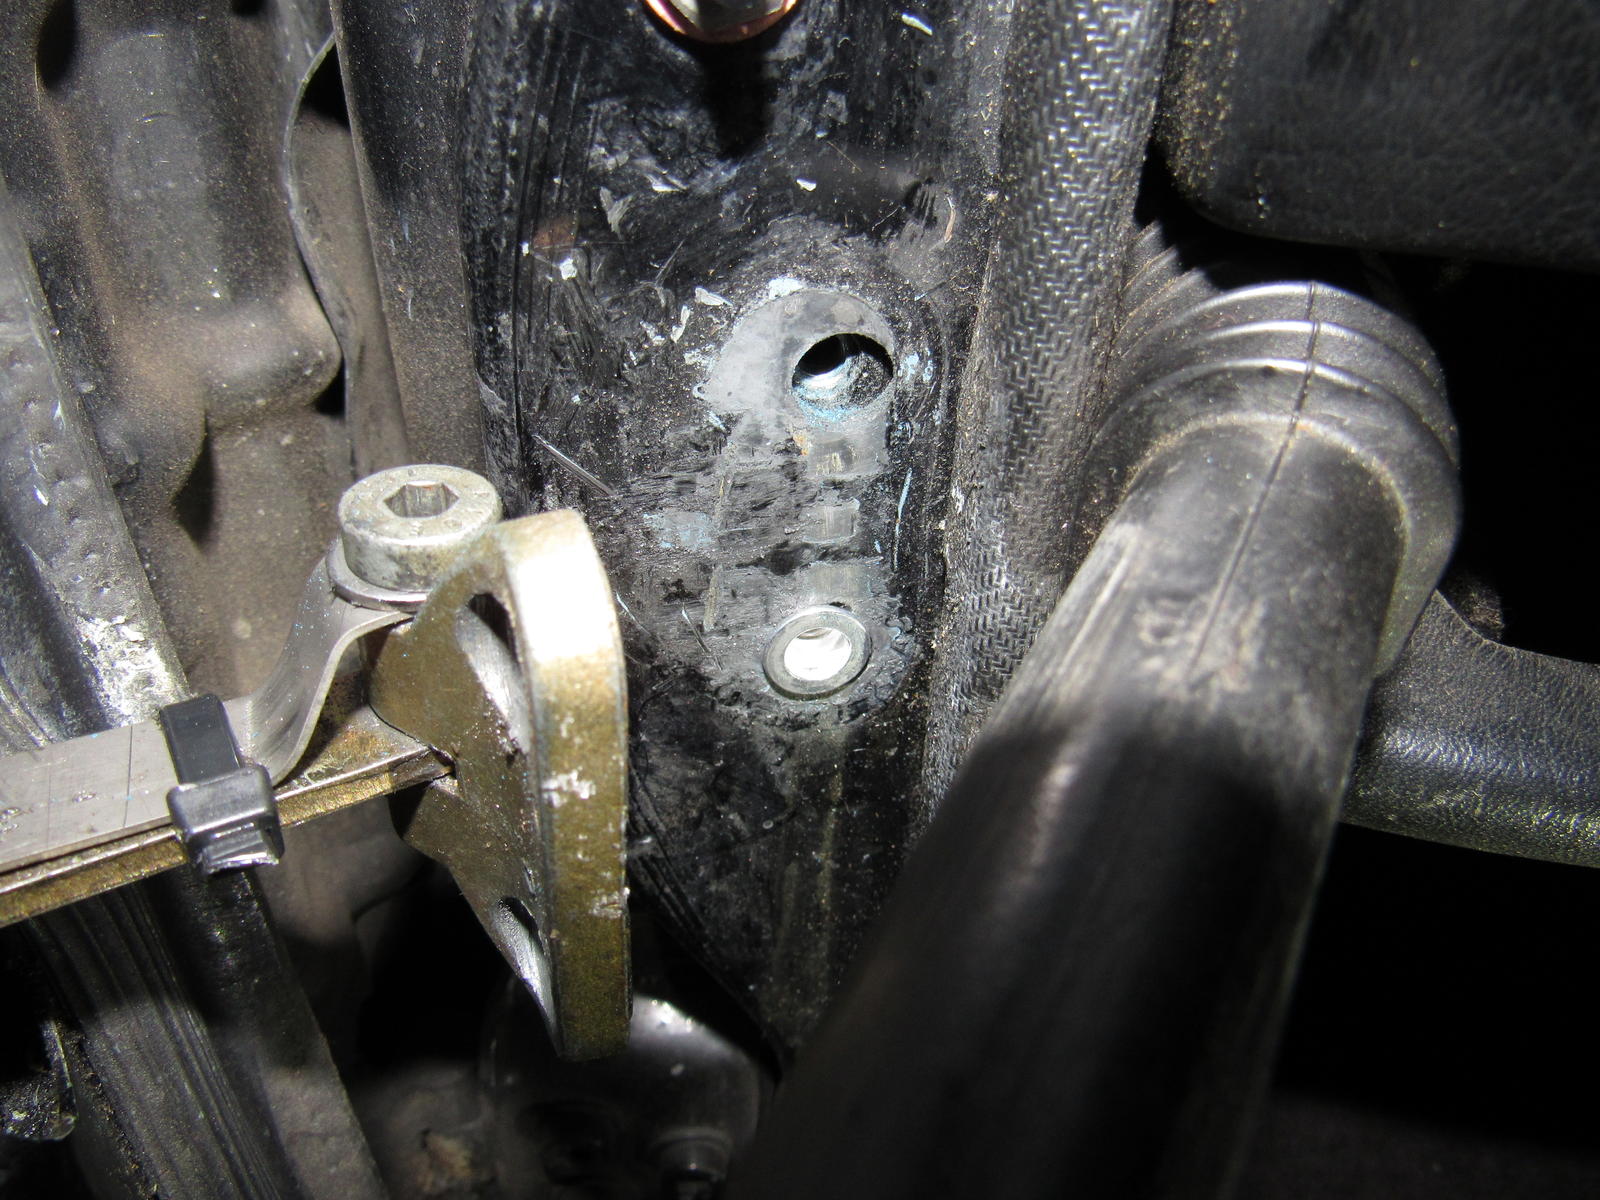
Threaded insert installed
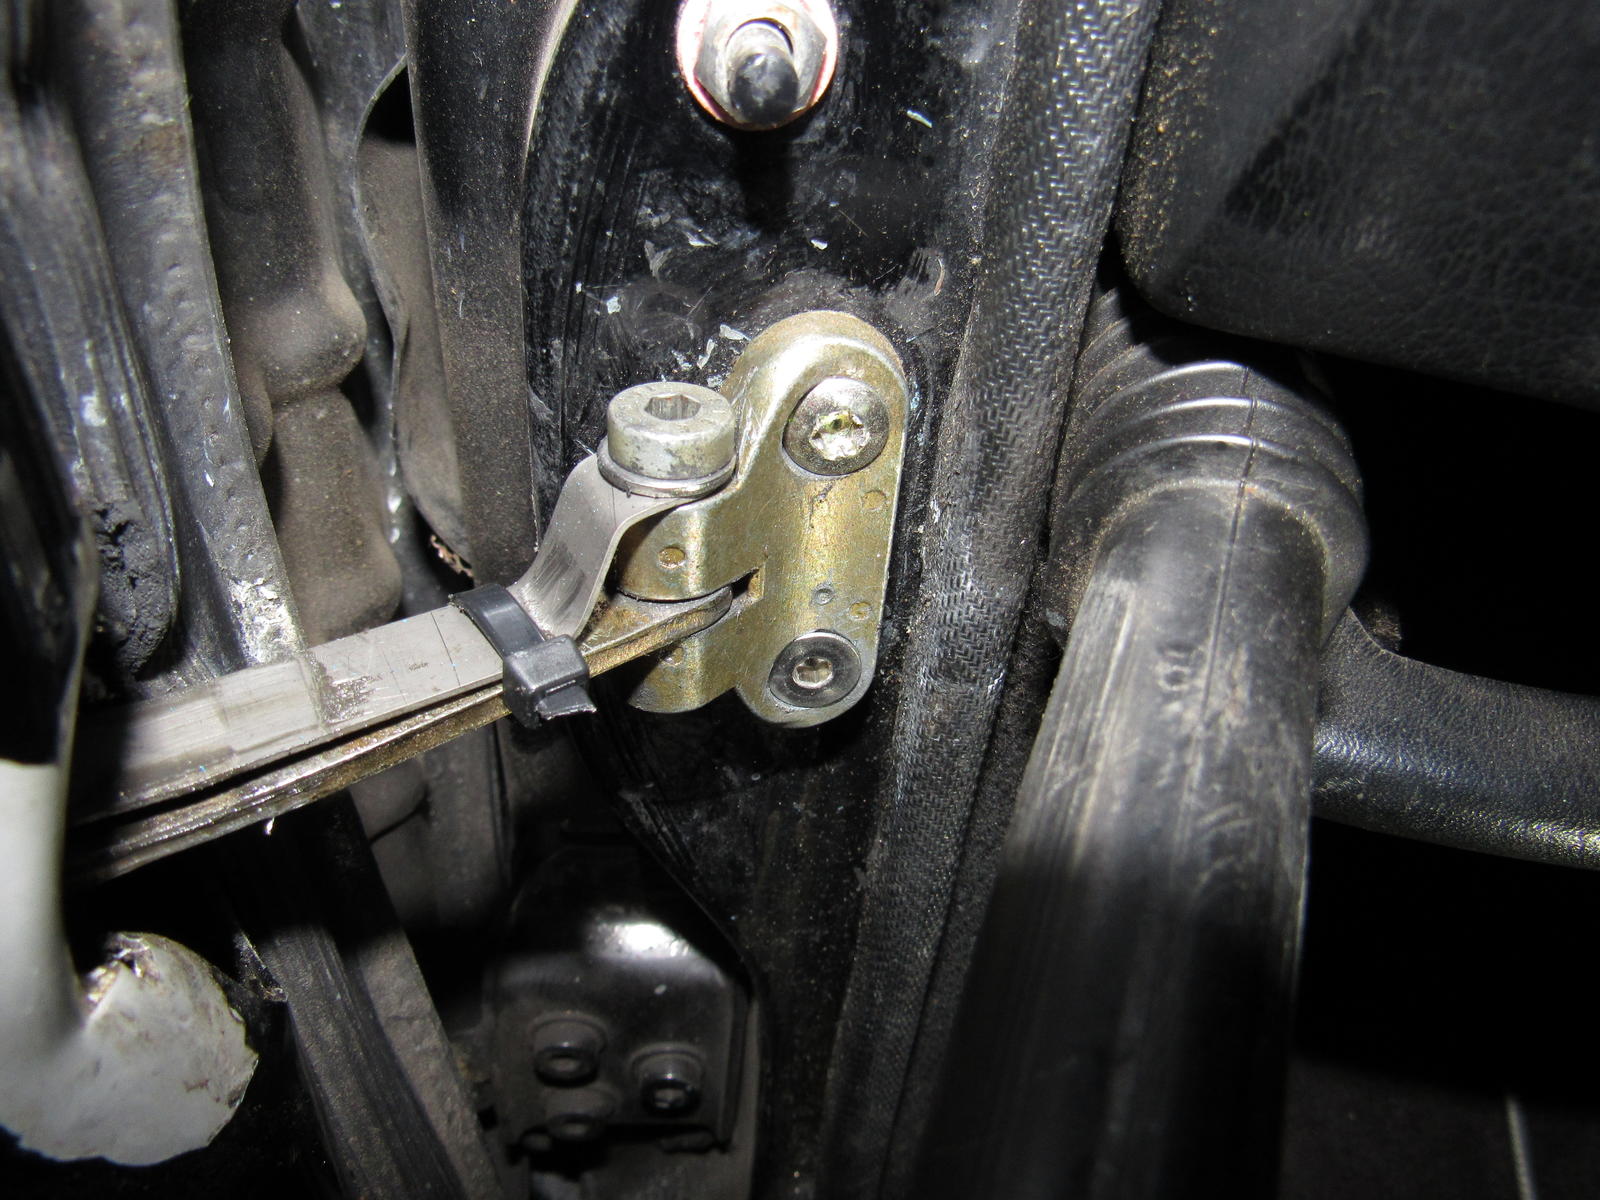
Job complete
Next up was the passenger mirror that has been electric-taped on since I bought the car. Turns out it was the hollow bolt that fell out.
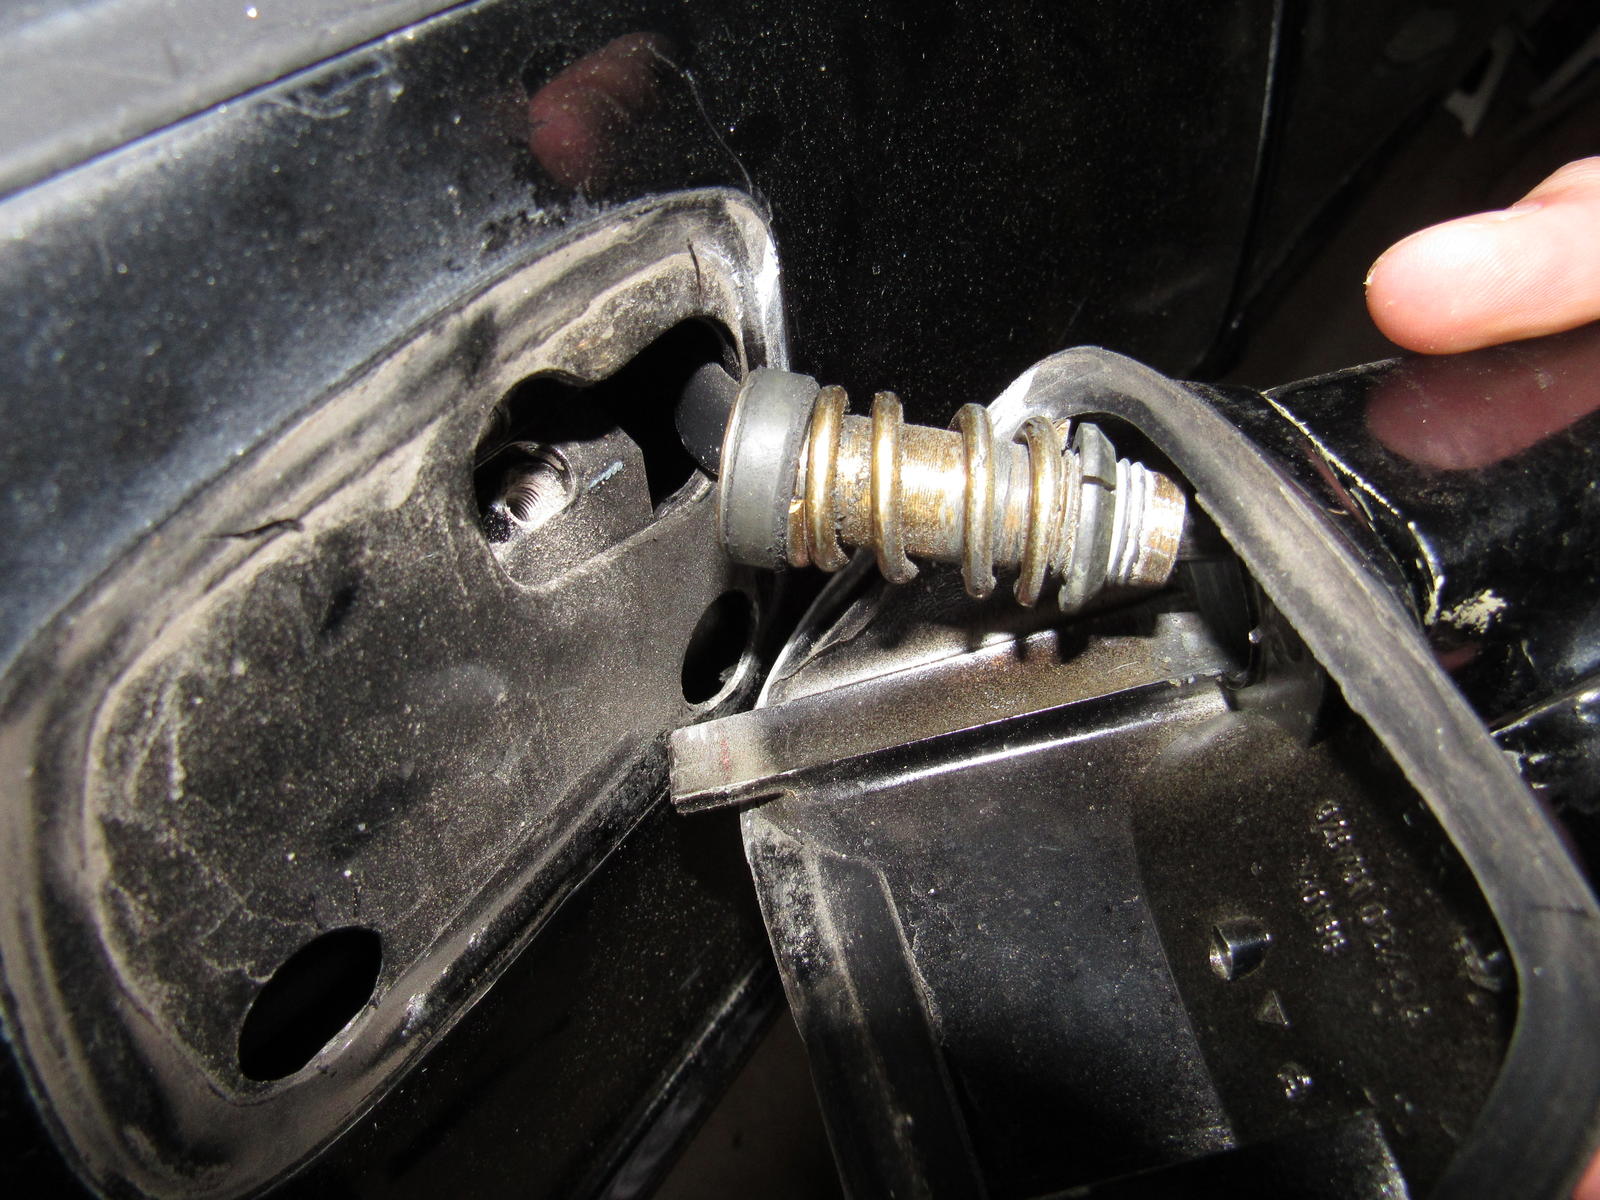
I removed most of the inner door panel thinking there would be a connector for the mirror wiring that I could pull the wire terminals out of so that the wire bundle could be pulled out of the hollow bolt to properly fit a triple square socket but I took a look in my driver side which has no door panel and I found no connection point. I did find there is a readily available pin removal tool for the round connector in the mirror housing at radioshack but before I went I gave it a shot jamming a screwdriver into the splines. The wire bundle bears no pressure with this method but you can only make about a third of a turn at a time. It took a bit of pressure to get it started but after that it is just a matter of spinning the bolt all the way home, oh and I used a generous amount of Loctite.

All done (and I need a paint job).
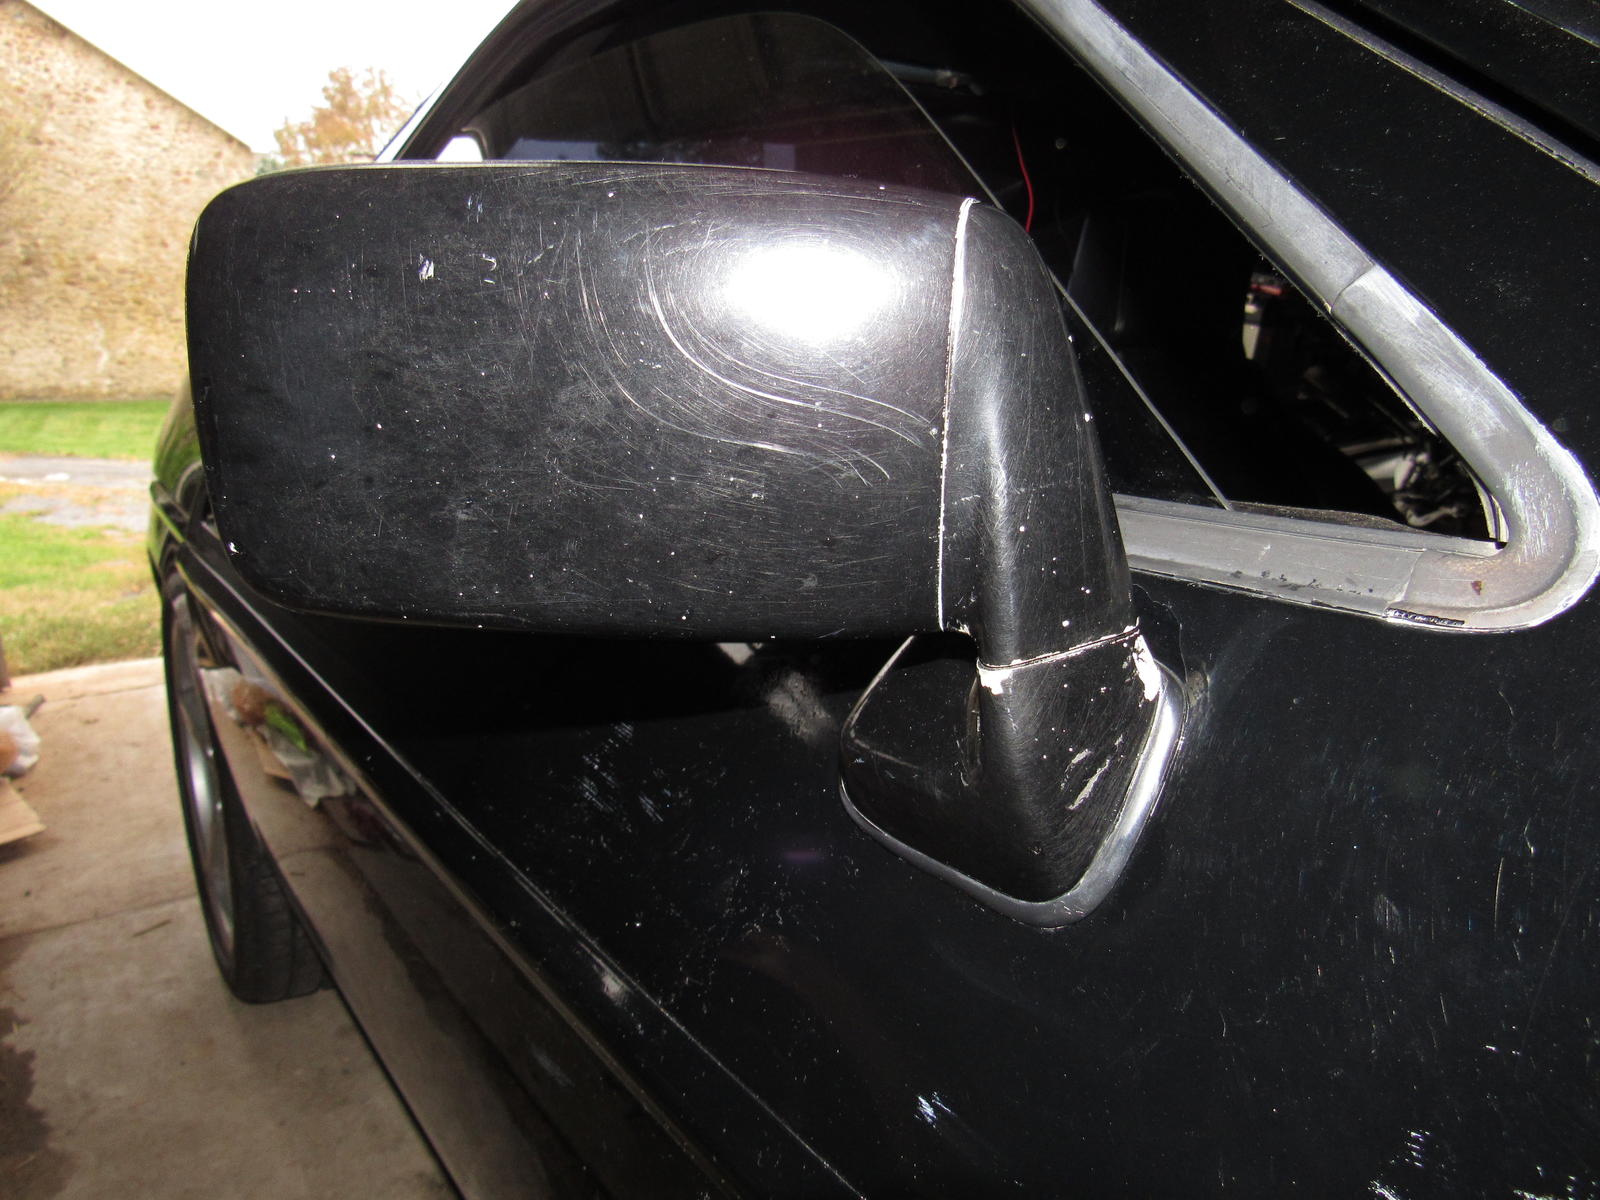
Now that I know what it is all about I could fix it again in less than ten minutes start to finish.
Harbor freight sells a 'threaded insert' tool kit for about $18. The threaded inserts are SAE however so you'll need a hex head in 1/4" - 20 thread X 1" long. Inserts and tool heads can be found online to use the correct bolt but it was looking like over $100 for tooling I would use one time.
I used a round file to slightly enlarge the hole to fit the insert and you will see there is a reinforcement plate below the surface.
Tool in place
Threaded insert installed
Job complete
Next up was the passenger mirror that has been electric-taped on since I bought the car. Turns out it was the hollow bolt that fell out.
I removed most of the inner door panel thinking there would be a connector for the mirror wiring that I could pull the wire terminals out of so that the wire bundle could be pulled out of the hollow bolt to properly fit a triple square socket but I took a look in my driver side which has no door panel and I found no connection point. I did find there is a readily available pin removal tool for the round connector in the mirror housing at radioshack but before I went I gave it a shot jamming a screwdriver into the splines. The wire bundle bears no pressure with this method but you can only make about a third of a turn at a time. It took a bit of pressure to get it started but after that it is just a matter of spinning the bolt all the way home, oh and I used a generous amount of Loctite.
All done (and I need a paint job).
Now that I know what it is all about I could fix it again in less than ten minutes start to finish.
10-12-2016, 07:21 PM
#101
Burning Brakes
Thread Starter
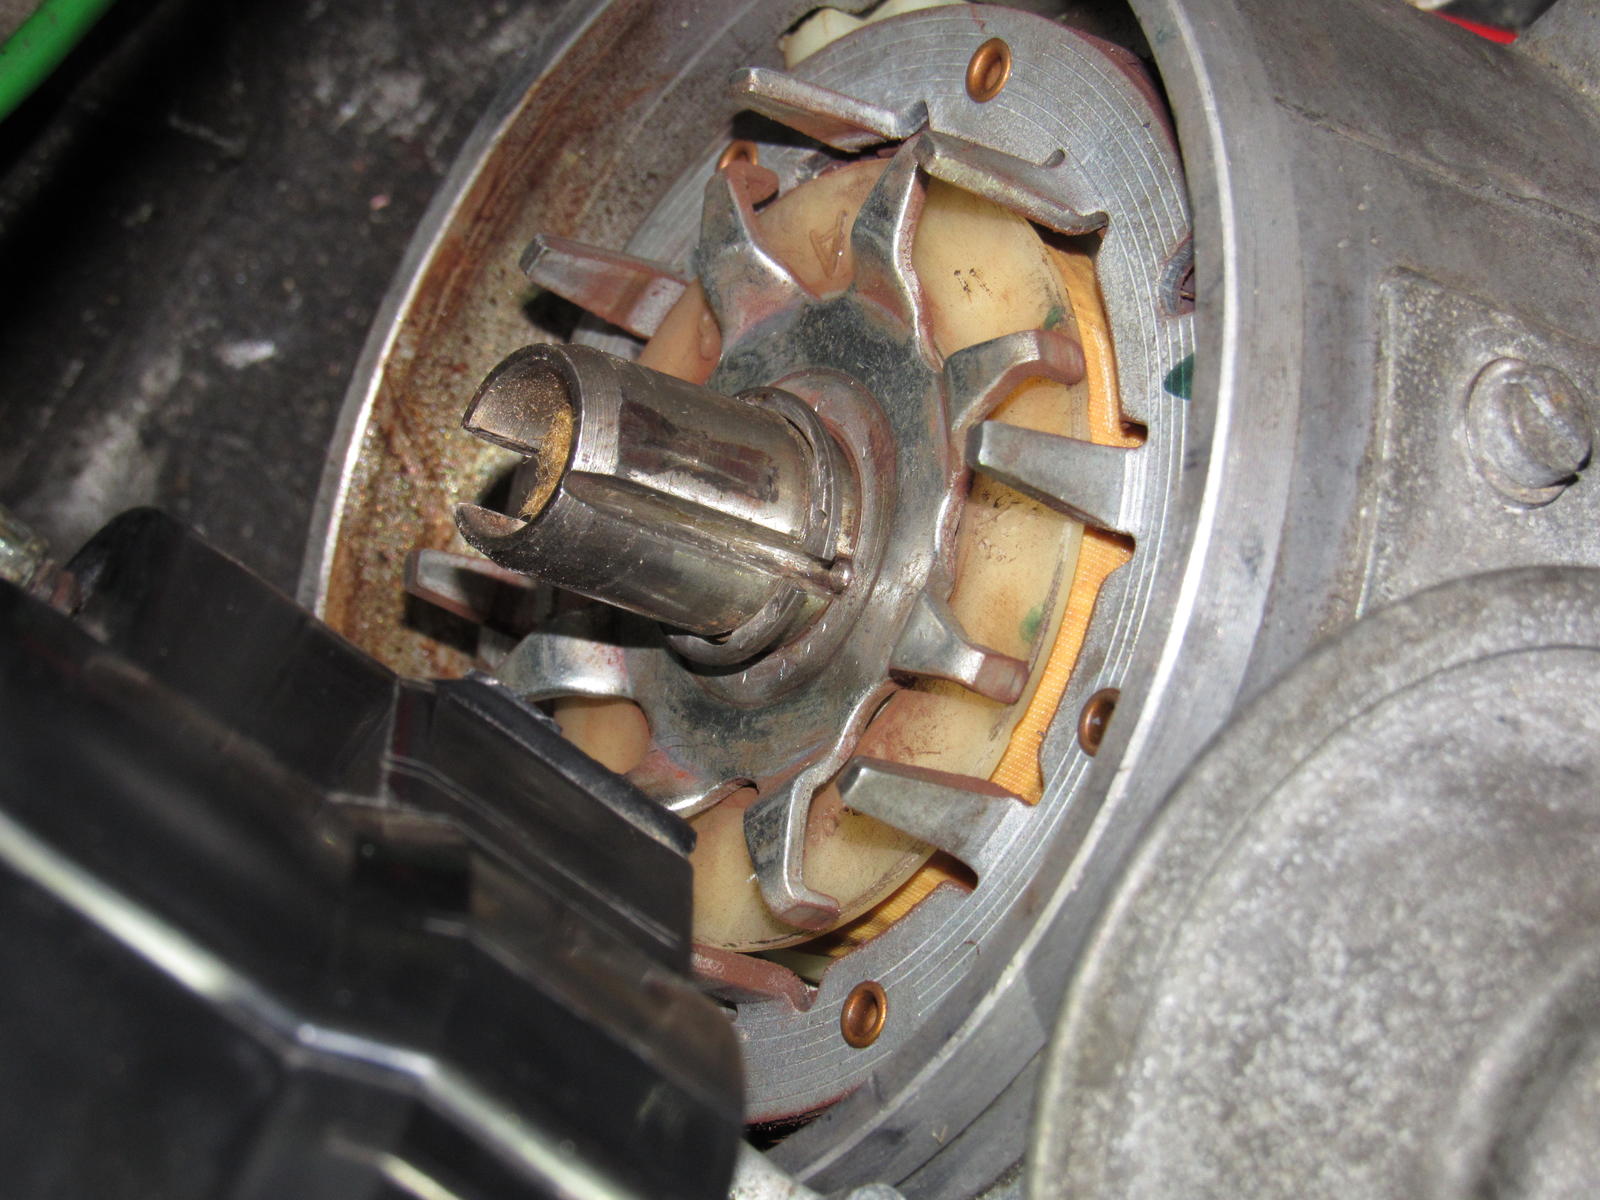
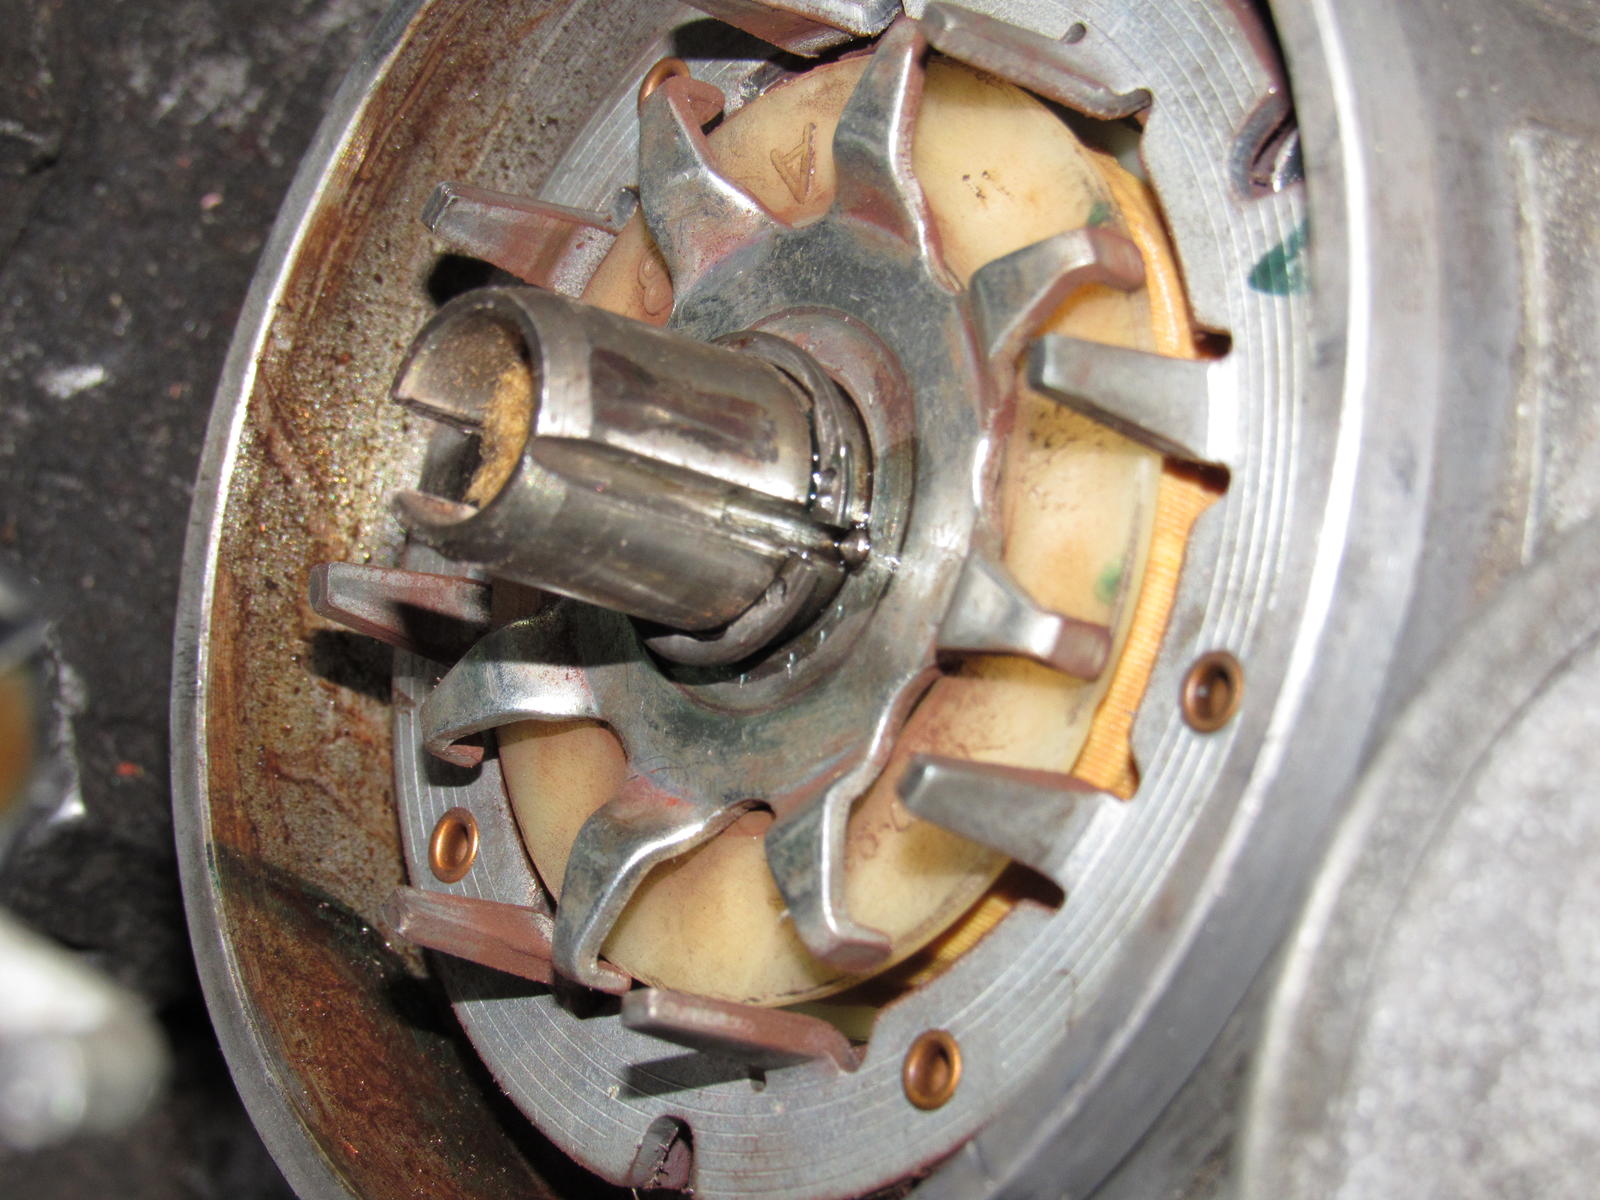
So here was the reason for my break down at Frenzy. Follow the slot down the distributor shaft and you see the head of a pin that fixes the reluctor's position. That had come out allowing the two parts to rotate independently and causing a bad misfire condition that progressed to no fire at all. Second picture shows it with a couple drops of green Loctite.
11-16-2016, 07:15 PM
#103
Burning Brakes
Thread Starter
It has been a while since I updated this. I have been working a lot but still tinkering when I can.
I FINALLY figured out my up/down idle on cold starts and at the same time why my fuel pump was wired directly to the battery with a switch run into the cabin. There is no power at terminal 30 for the fuel pump relay, that is the root cause and I will figure that problem out this winter when I tear out the CE panel for a cleaning.
Consequently, without the relay operating there was no power going out on terminal 31 to the supplementary air valve which should heat up a bimetal strip closing off the port. What was happening is that excess air was raising the idle to the point of fuel cutoff, dropping the revs and repeating.
During the summer was not a big deal, I would start the engine and after a minute when it would start misbehaving I would shut down and let the engine heat soak about 15 minutes. After that it would run just fine. It became more of an issue in this cooler weather where after a 60 mile drive on the highway it still did not heat soak enough to close the port; very annoying.
So for now I have jumpered terminal 31b which has switched power to 30. This is temporary but my air valve now works as intended!!
While diagnosing my no start issue at Frenzy, Stan found a cut wire at my CE panel. With the help of Alan it turns out to be the feed for the dome lights.
See snipped red wire out of black plug.
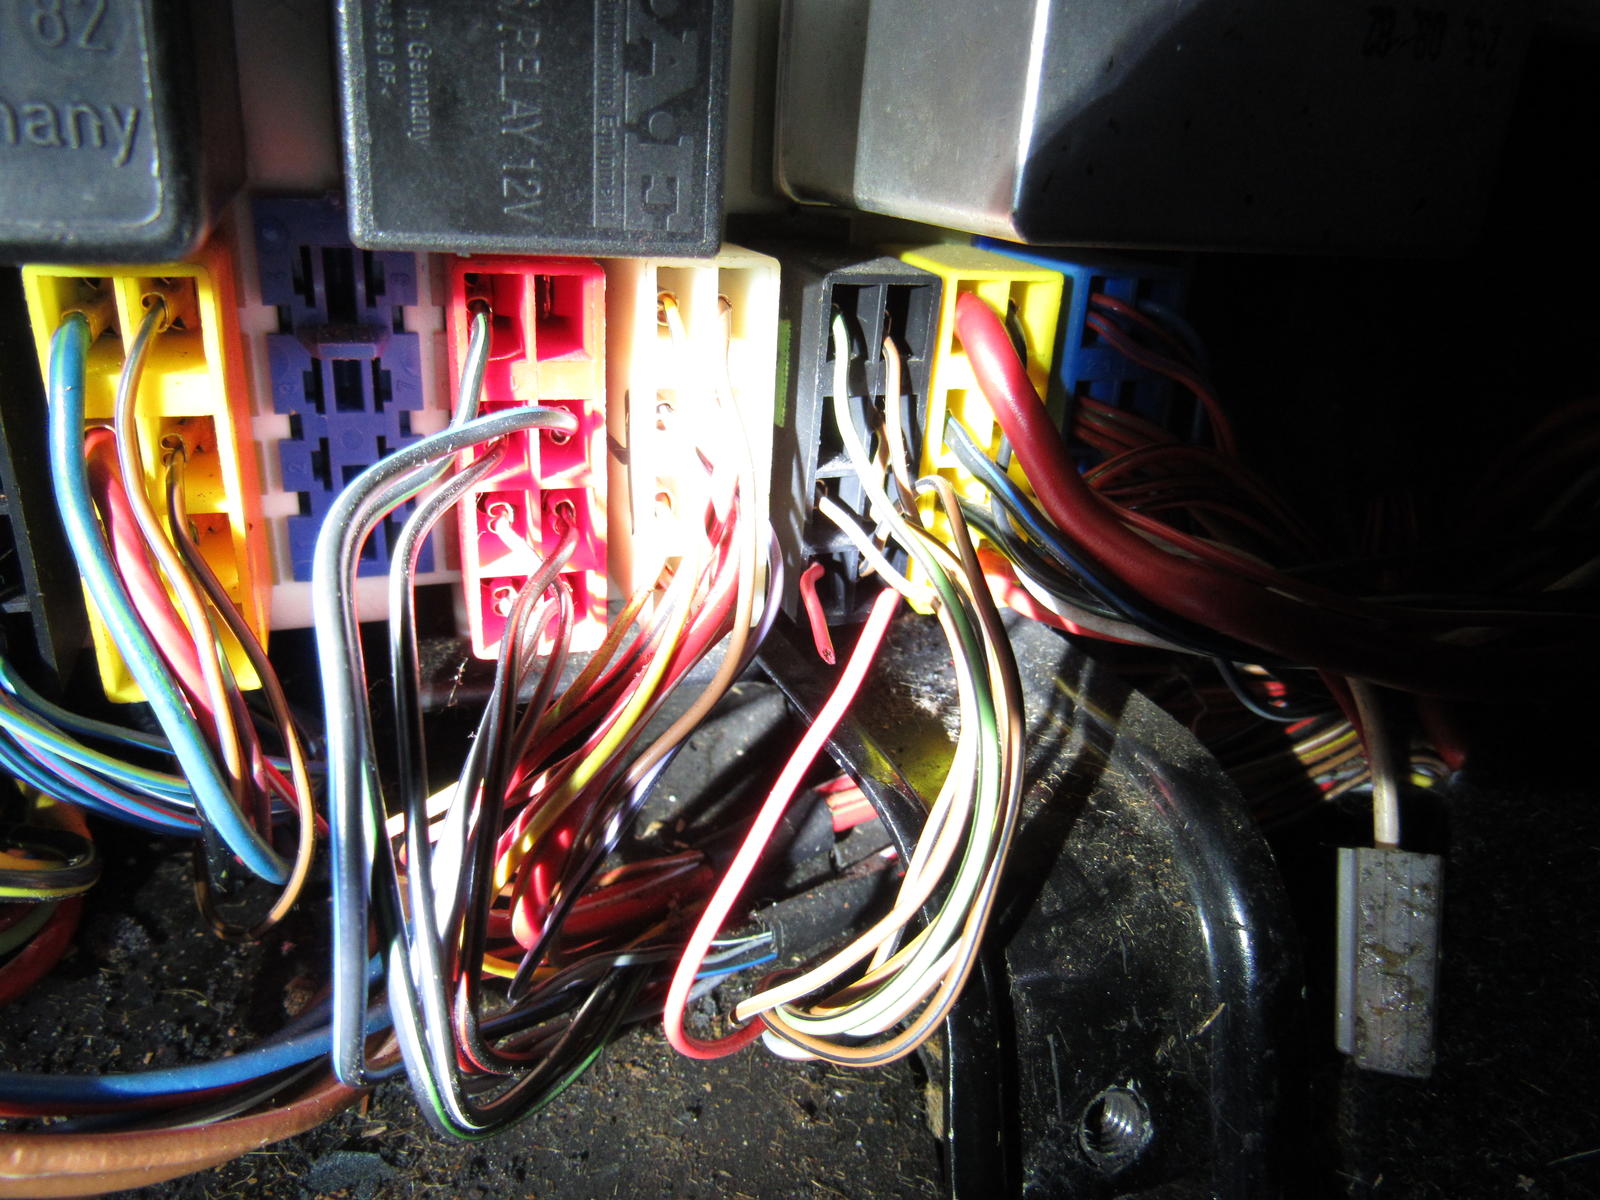
The lights had never worked and a desperate mechanic sometime in this car's history must have cut the wire to stop the fuse from blowing. The light fixtures were broken and the exposed ground wire was sitting on the roof metal.
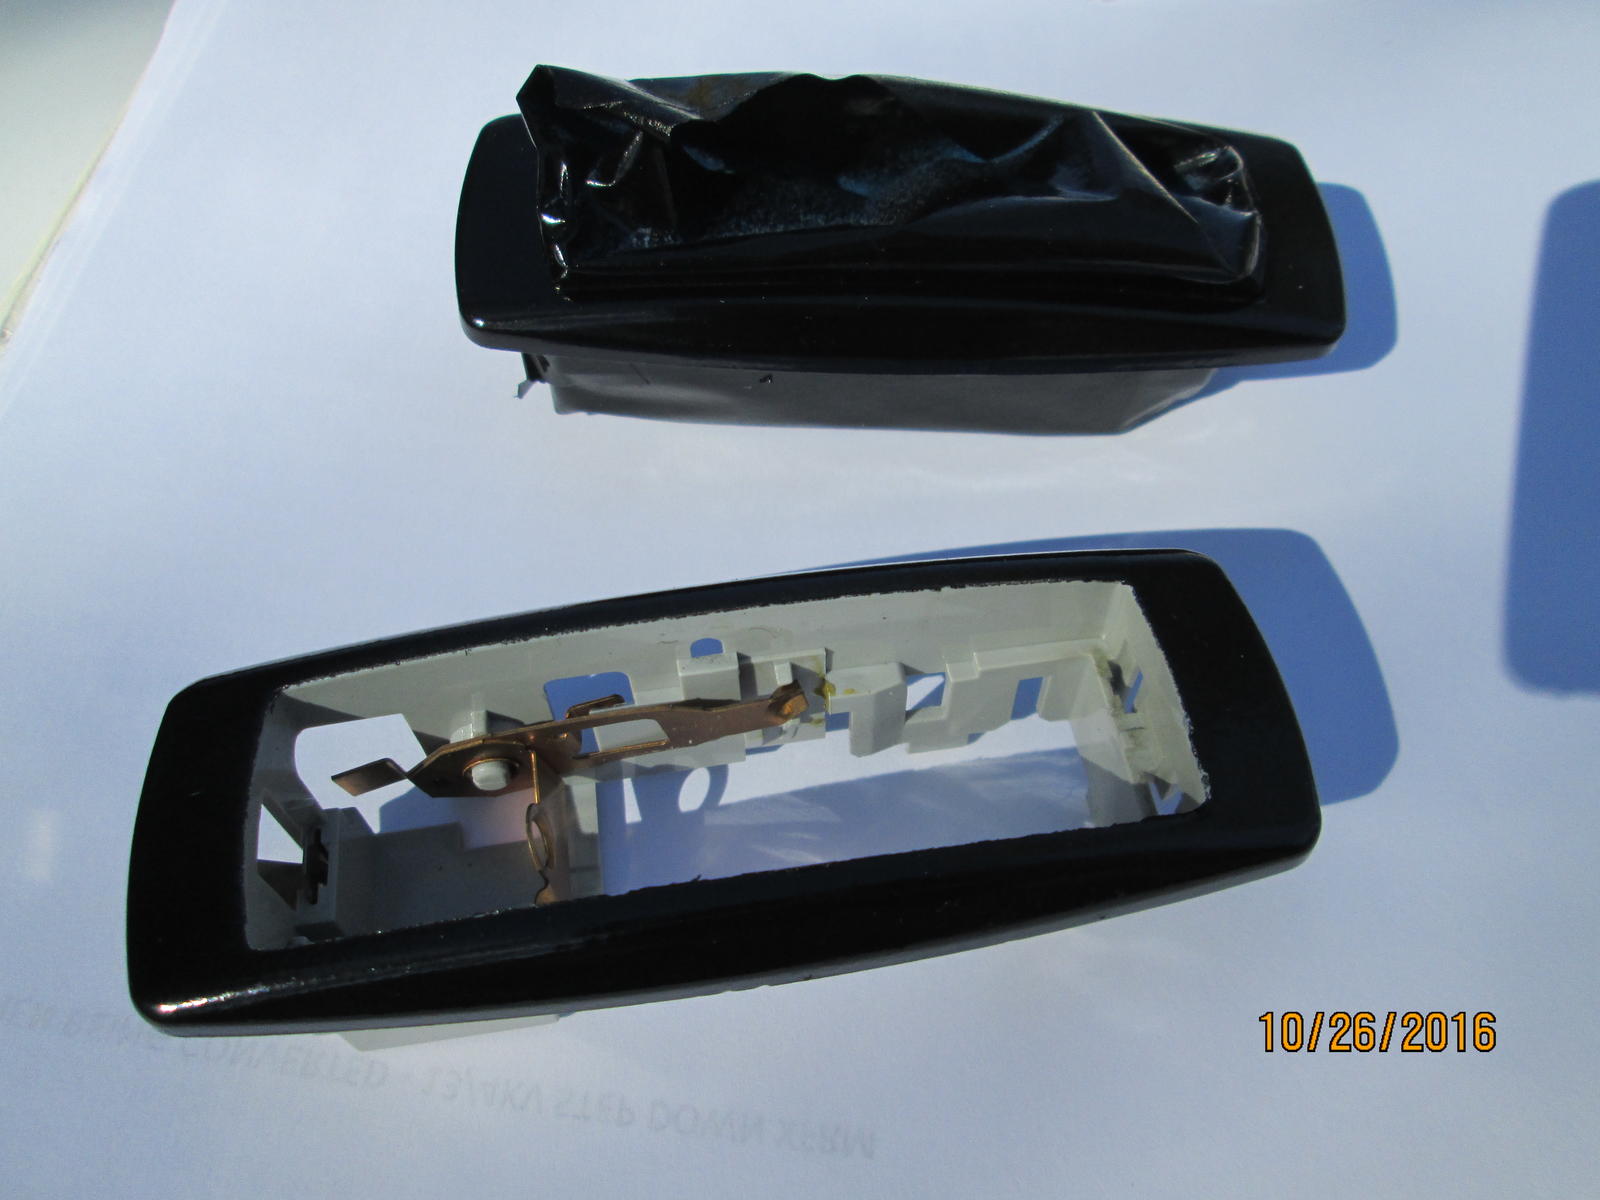
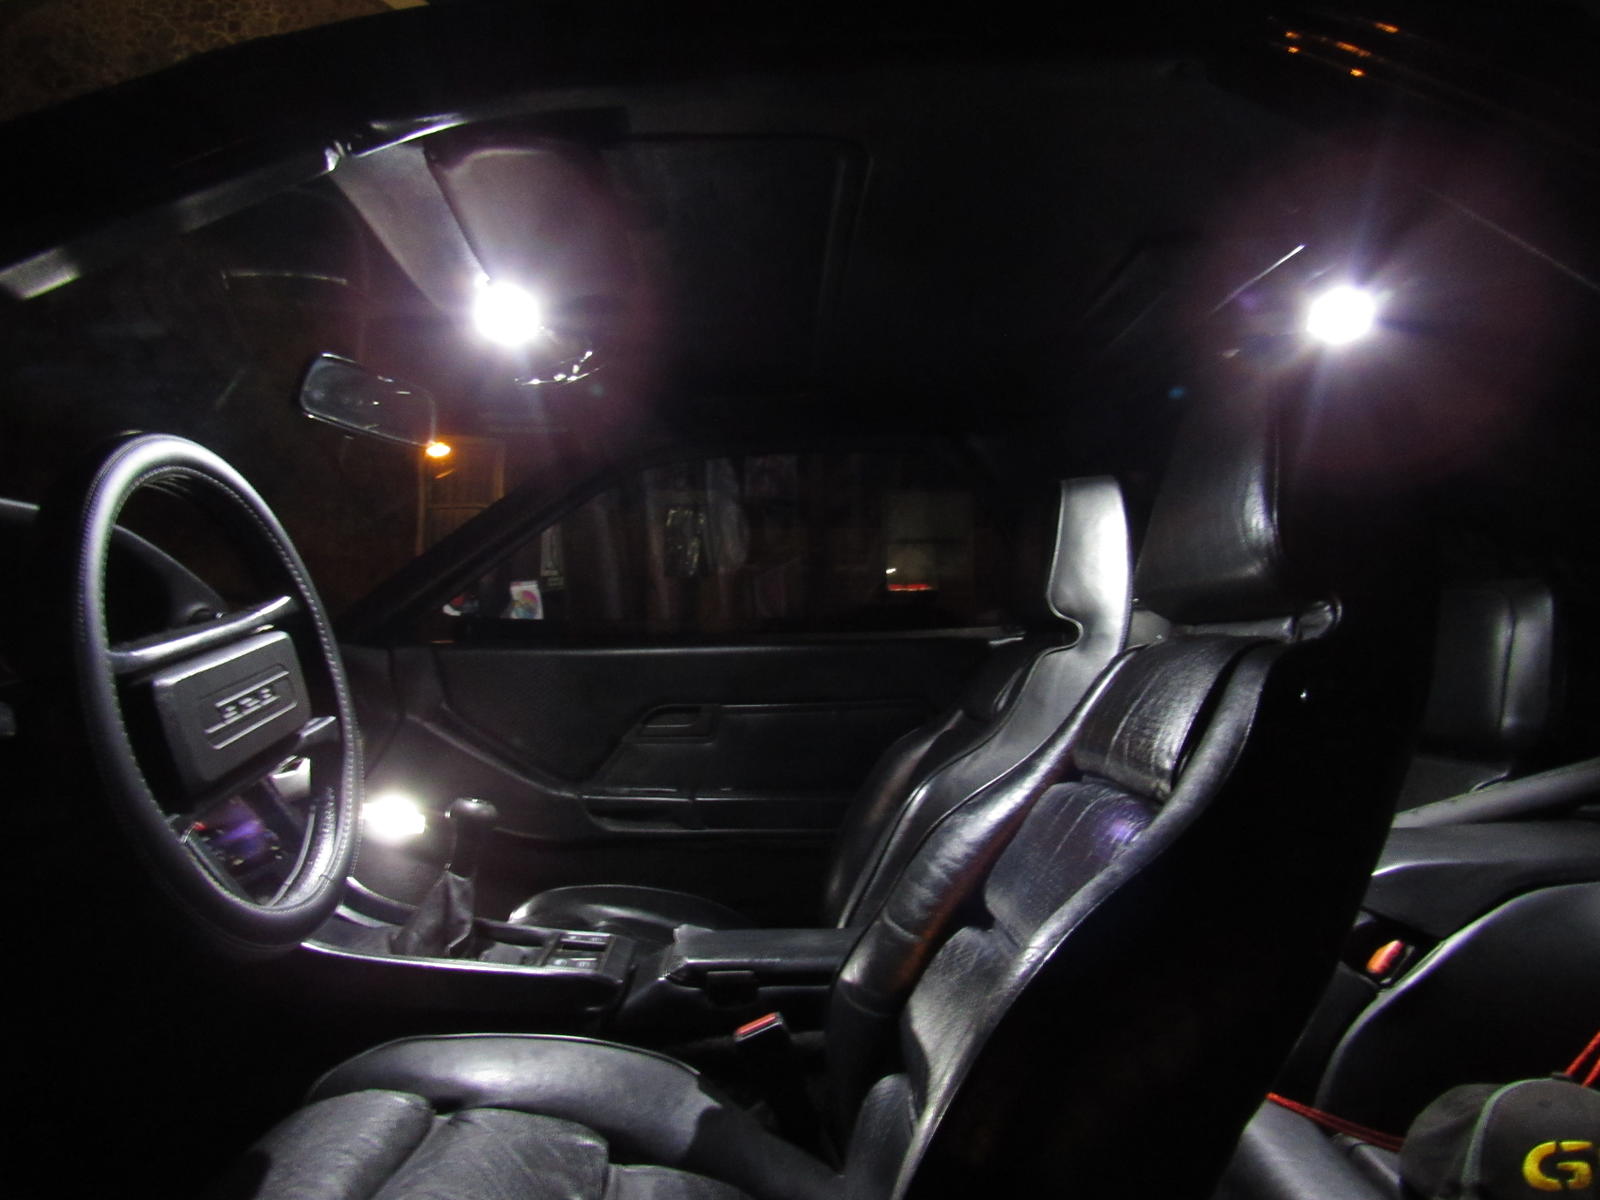
I procured VW lights to retrofit with pigtails on ebay. They were grey so I took them apart, lightly sanded, and painted them black to match my headliner.
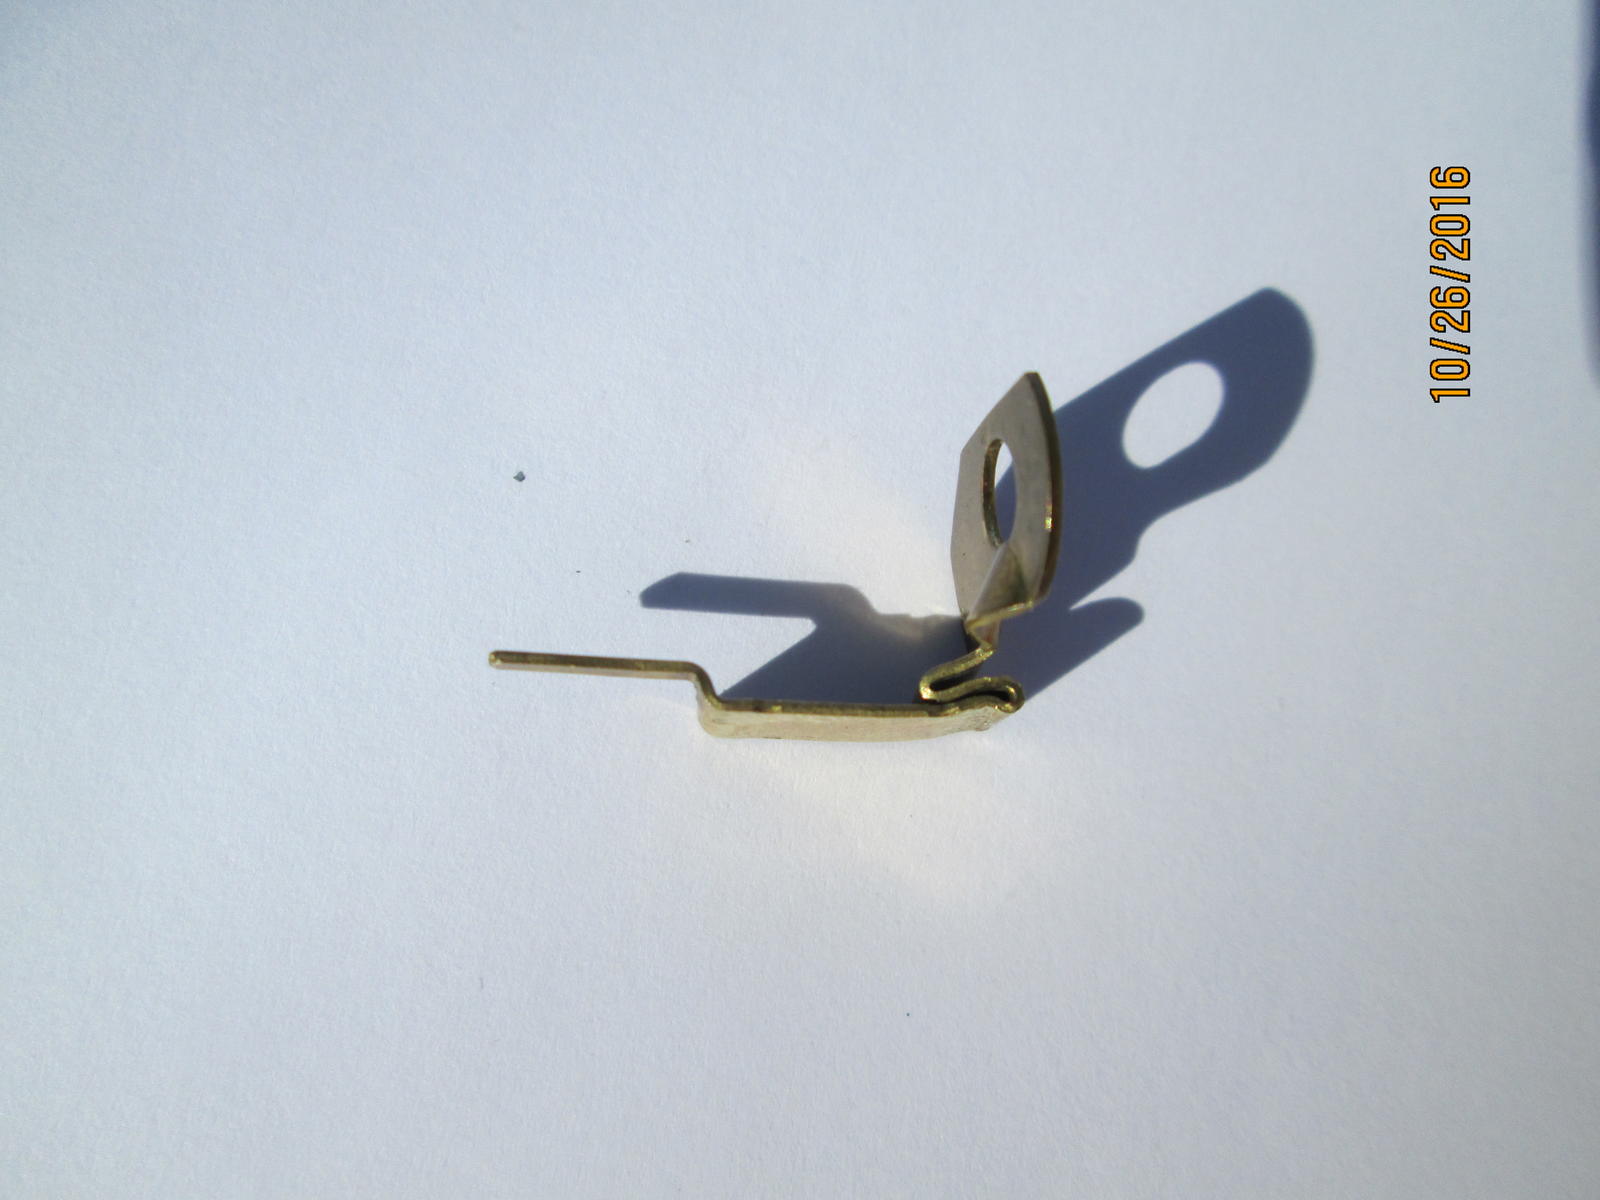
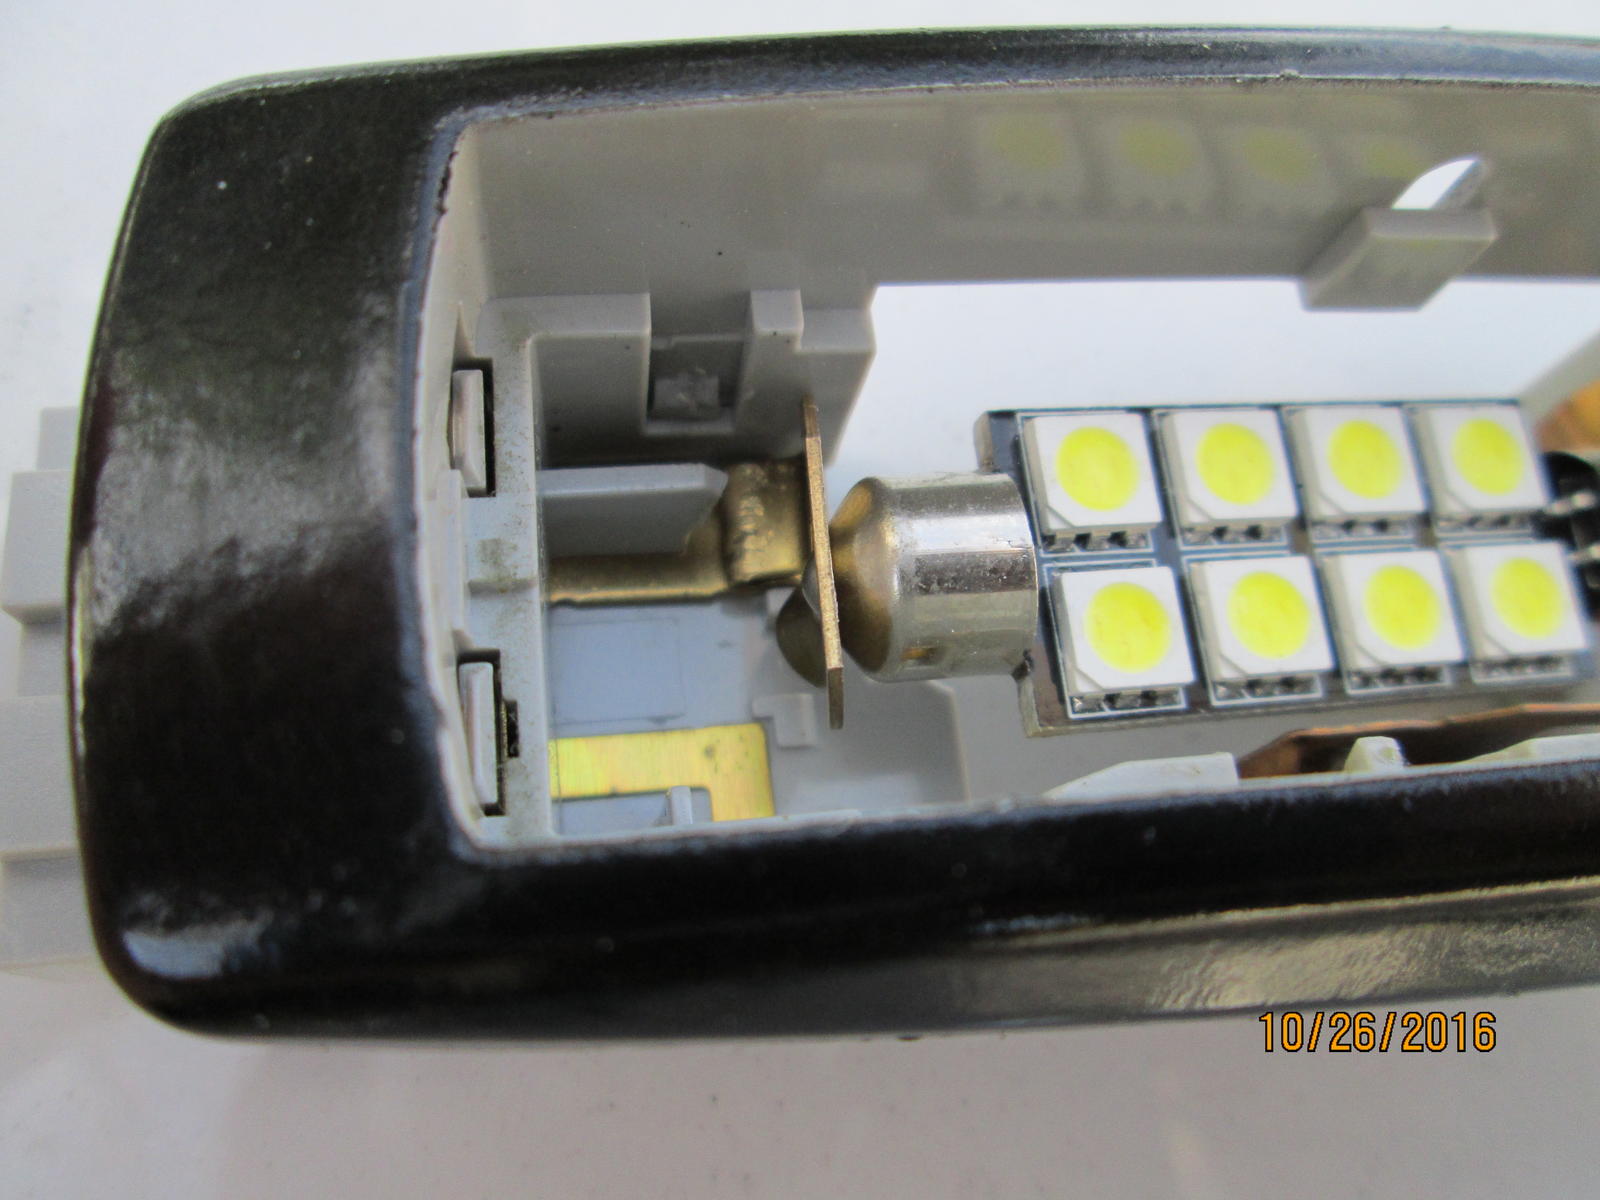
I also modified the fixtures to utilize longer LED bulbs. This is done by bending one of the contacts.
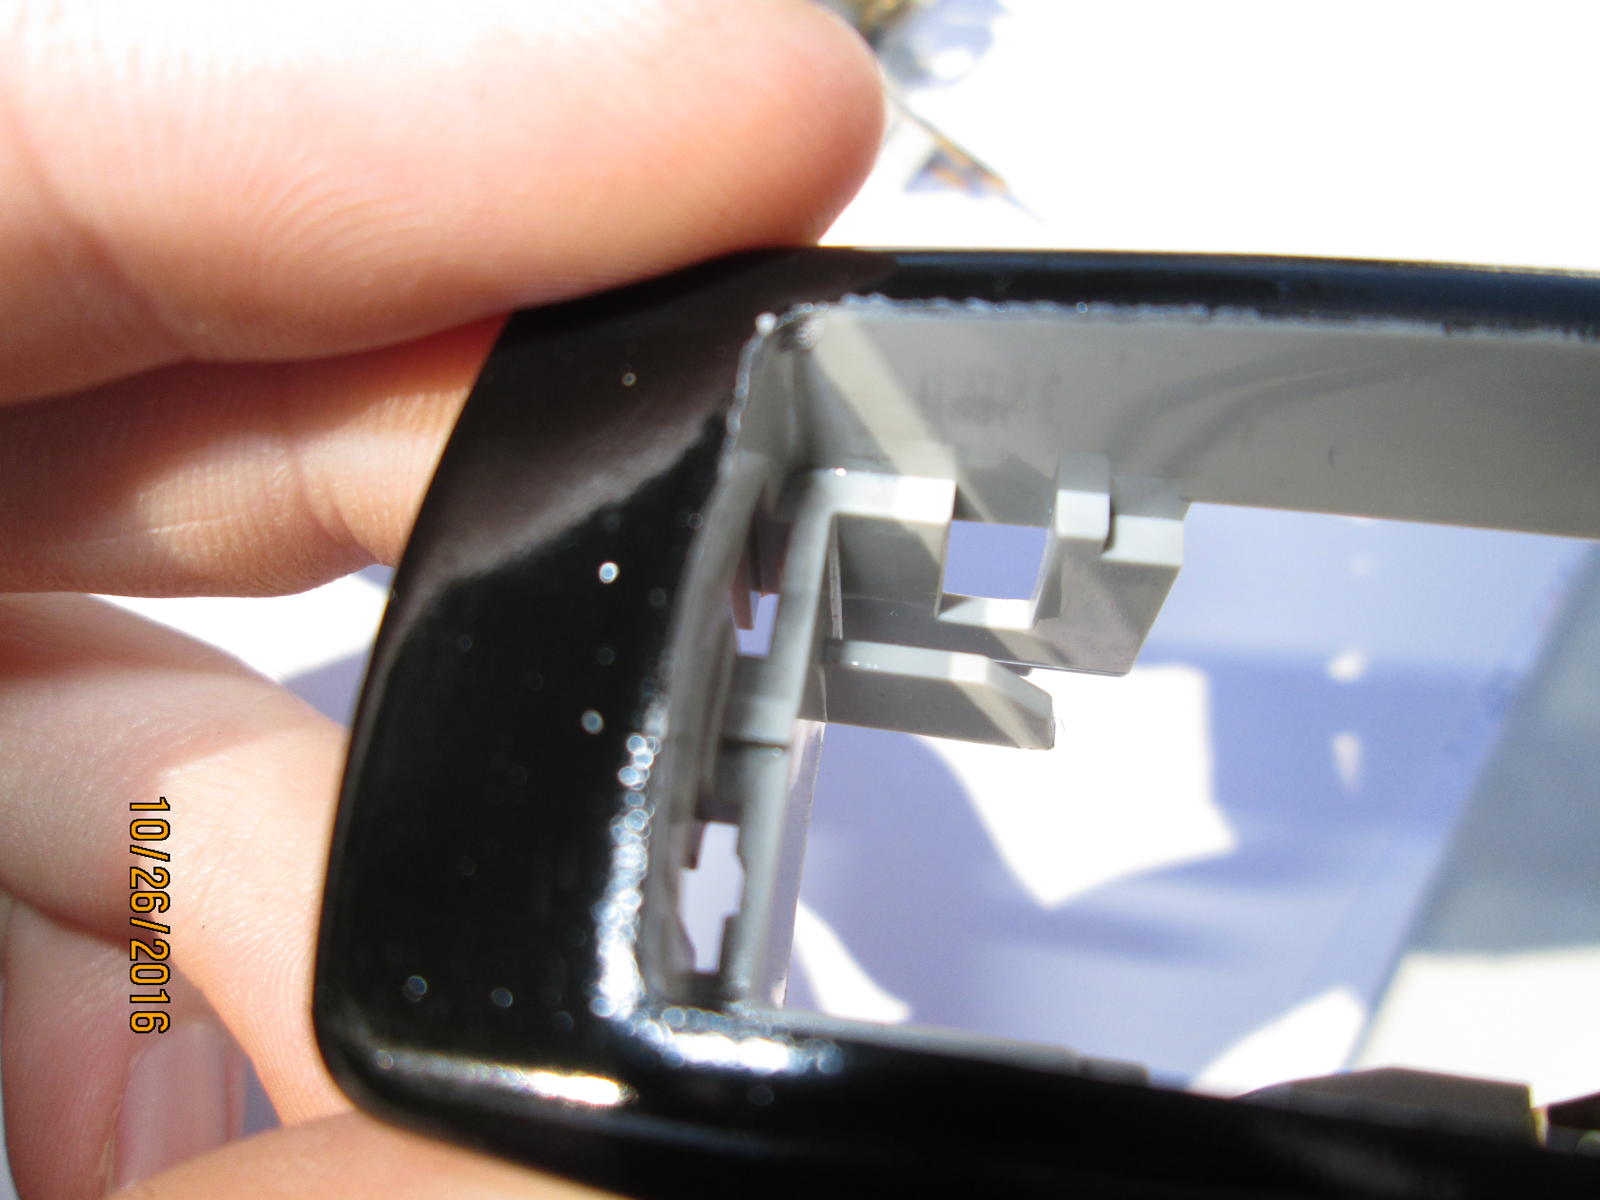
I did run into an issue with a plastic protrusion that holds the contact down when the fixture is reassembled. I simply snipped off about 4mm to make clearance for the now much thicker area of the bronze contact due to the folding modification.

And here it is reassembled with bulb in place.
They fit pretty well but not in the rear of the hatch, that will require some work on the pigtail connector as it is too long for the space. Other than that this little project came out really well.
Alan has a good guide here for the VW lights with LEDs https://rennlist.com/forums/928-foru...led-bulbs.html
I FINALLY figured out my up/down idle on cold starts and at the same time why my fuel pump was wired directly to the battery with a switch run into the cabin. There is no power at terminal 30 for the fuel pump relay, that is the root cause and I will figure that problem out this winter when I tear out the CE panel for a cleaning.
Consequently, without the relay operating there was no power going out on terminal 31 to the supplementary air valve which should heat up a bimetal strip closing off the port. What was happening is that excess air was raising the idle to the point of fuel cutoff, dropping the revs and repeating.
During the summer was not a big deal, I would start the engine and after a minute when it would start misbehaving I would shut down and let the engine heat soak about 15 minutes. After that it would run just fine. It became more of an issue in this cooler weather where after a 60 mile drive on the highway it still did not heat soak enough to close the port; very annoying.
So for now I have jumpered terminal 31b which has switched power to 30. This is temporary but my air valve now works as intended!!
While diagnosing my no start issue at Frenzy, Stan found a cut wire at my CE panel. With the help of Alan it turns out to be the feed for the dome lights.
See snipped red wire out of black plug.
The lights had never worked and a desperate mechanic sometime in this car's history must have cut the wire to stop the fuse from blowing. The light fixtures were broken and the exposed ground wire was sitting on the roof metal.
I procured VW lights to retrofit with pigtails on ebay. They were grey so I took them apart, lightly sanded, and painted them black to match my headliner.
I also modified the fixtures to utilize longer LED bulbs. This is done by bending one of the contacts.
I did run into an issue with a plastic protrusion that holds the contact down when the fixture is reassembled. I simply snipped off about 4mm to make clearance for the now much thicker area of the bronze contact due to the folding modification.
And here it is reassembled with bulb in place.
They fit pretty well but not in the rear of the hatch, that will require some work on the pigtail connector as it is too long for the space. Other than that this little project came out really well.
Alan has a good guide here for the VW lights with LEDs https://rennlist.com/forums/928-foru...led-bulbs.html