When you click on links to various merchants on this site and make a purchase, this can result in this site earning a commission. Affiliate programs and affiliations include, but are not limited to, the eBay Partner Network.
By the way, I�m still catching up on your thread but you installed an S4 gearbox in your �83? Dayum! Very impressive. How is that working out, how do the gear ratios compare? Did you keep the original final drive? Were any mods needed to get the later gearbox in? Wow!
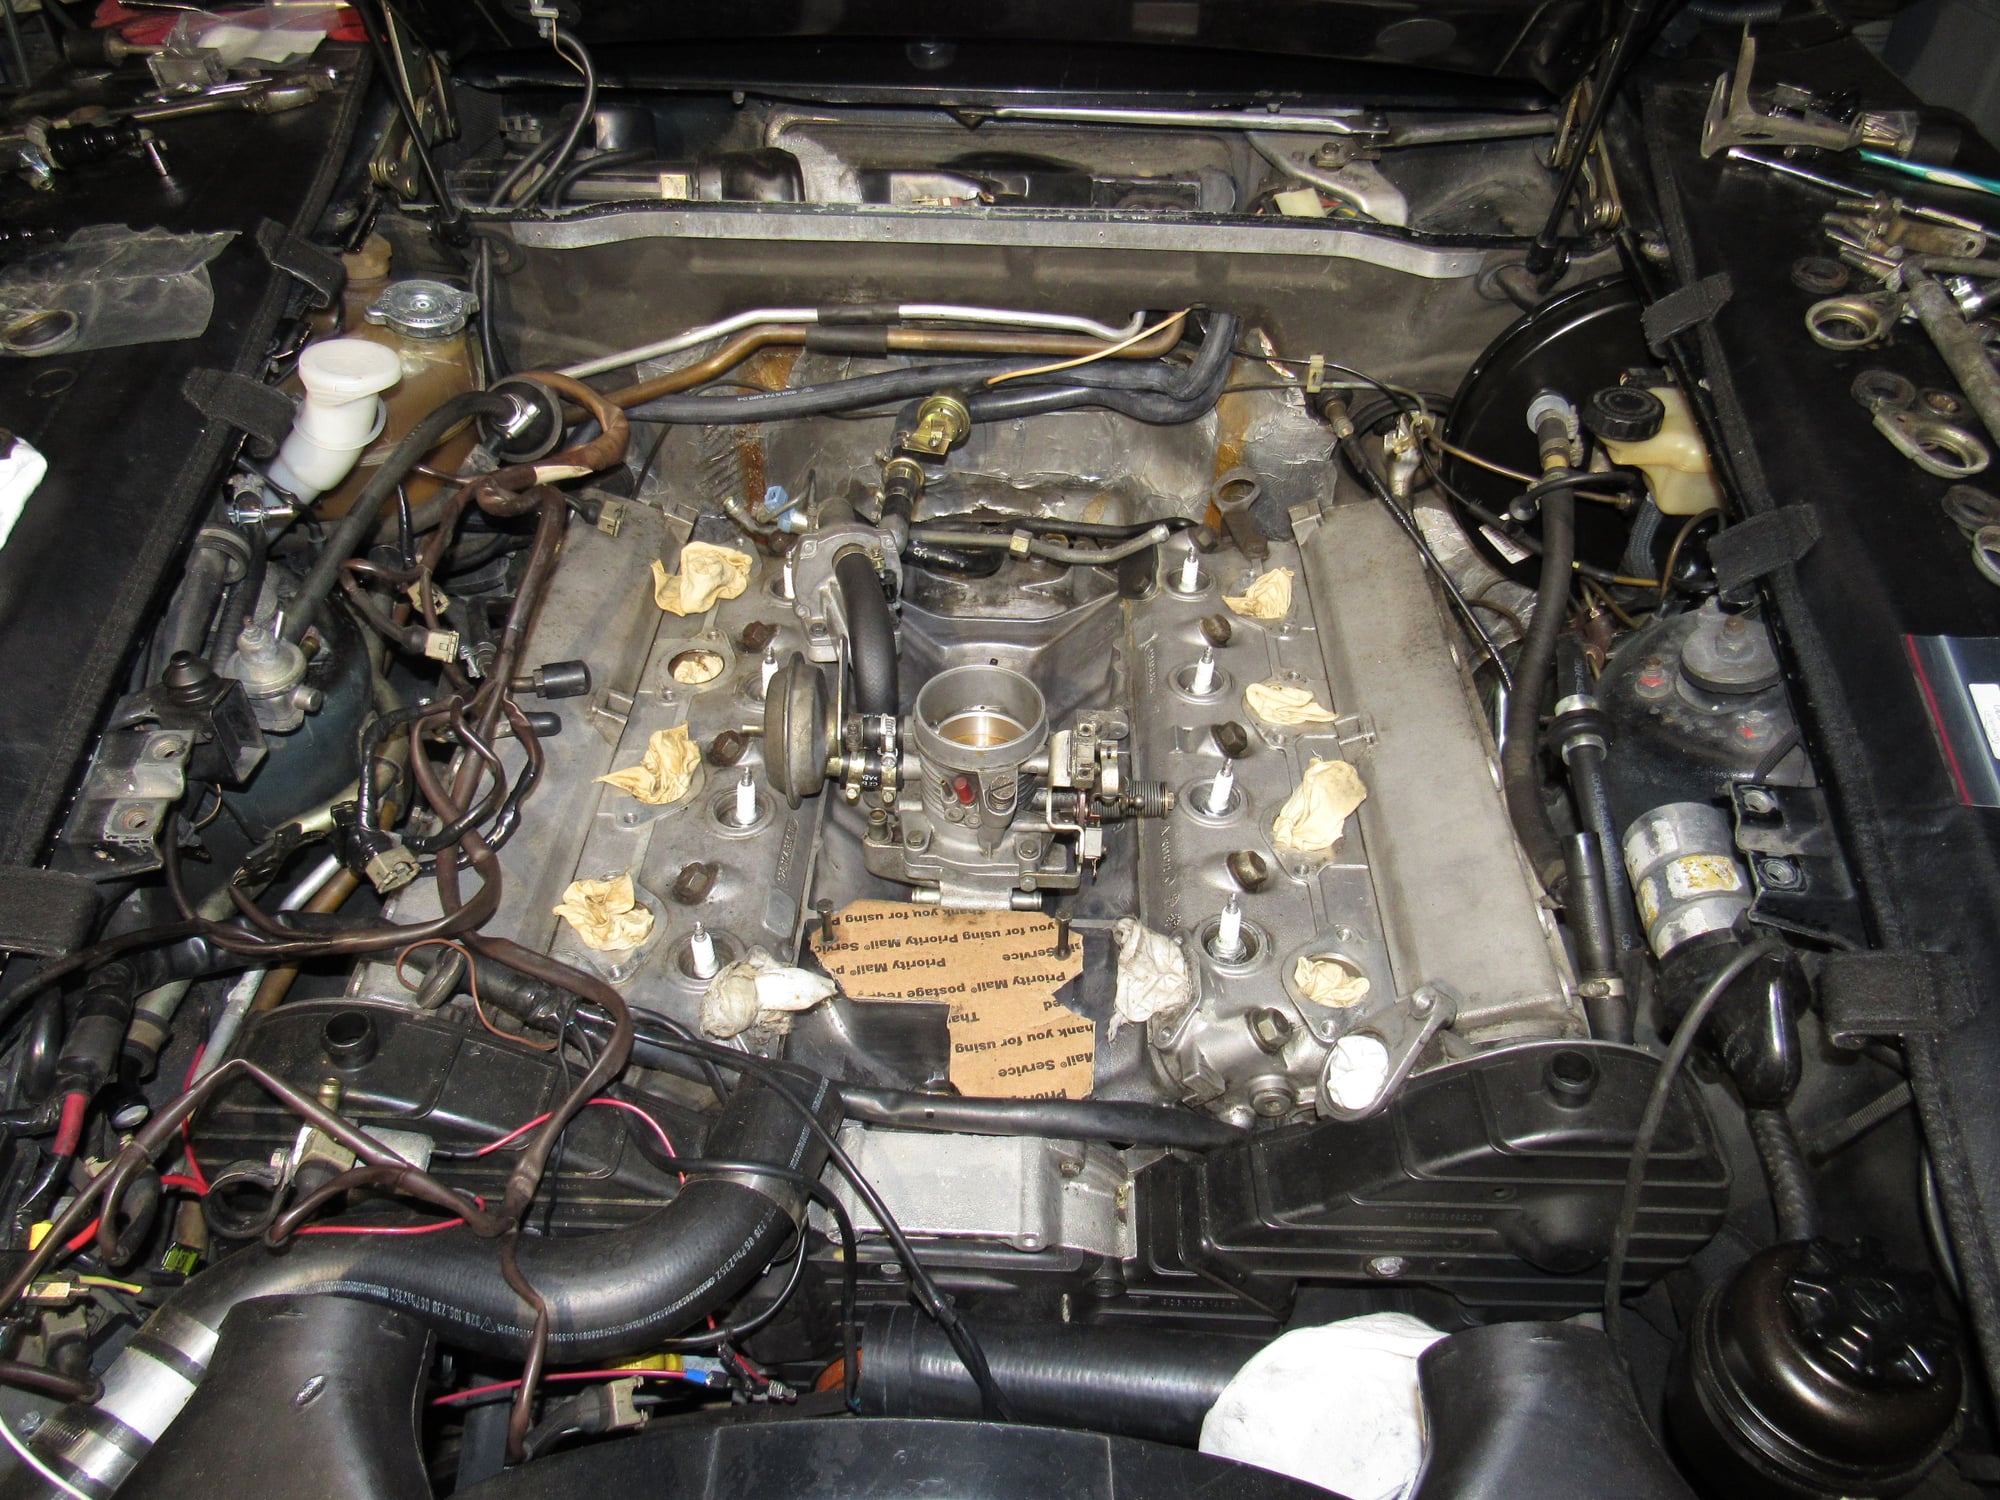
Good job Moose!! I like that you even replaced the booster and master cylinder, and very impressed that you removed the entire intake. Yeah you should be getting full open throttle. But rather disturbing about that cylinder
Have you considered replacing your Ljet harness and your engine harness? Those look original. Also Roger has a few original Porsche little harnesses that feed the idle up air valve. I�m replacing all those plus the green wire to hopefully be good for another few decades!
The LJet harness is original but the engine harness is new. I haven't had any problems with it and diagnosis is pretty simple. I actually have a new harness for the air valve but only found it in a box of stuff from the previous owner after I made my own. I will swap that in. Green wire is new.
Originally Posted by rjtw
By the way, I�m still catching up on your thread but you installed an S4 gearbox in your �83? Dayum! Very impressive. How is that working out, how do the gear ratios compare? Did you keep the original final drive? Were any mods needed to get the later gearbox in? Wow!
Yes I installed a '87-'88 G28/13 with LSD, it is a direct swap other than the shift rods are slightly different. It transformed the car. 1st and 2nd are carbon fiber synchros and are a bit notchy, but knowing they are indestructible I have no worries. The gearing charts say I went from 2.26 to 2.20 but the gears feel closer together with 5th being a little taller than before. It might only feel that way because I can shift quicker now. Either way, it is a huge improvement and now that I figured out how to adjust the pedals I can't wait to drive it and heel toe.
Now that you reminded me about the gearbox, I did crack the old one open to see the condition. It actually looks great, I believe the combination of missing clutch release arm bushing, sloppy shifter bushings, and bad clutch master and slave cylinders (they have been replaced before) probably crunched the synchros. If I ever want to put things back original, a few synchros is probably all it needs.
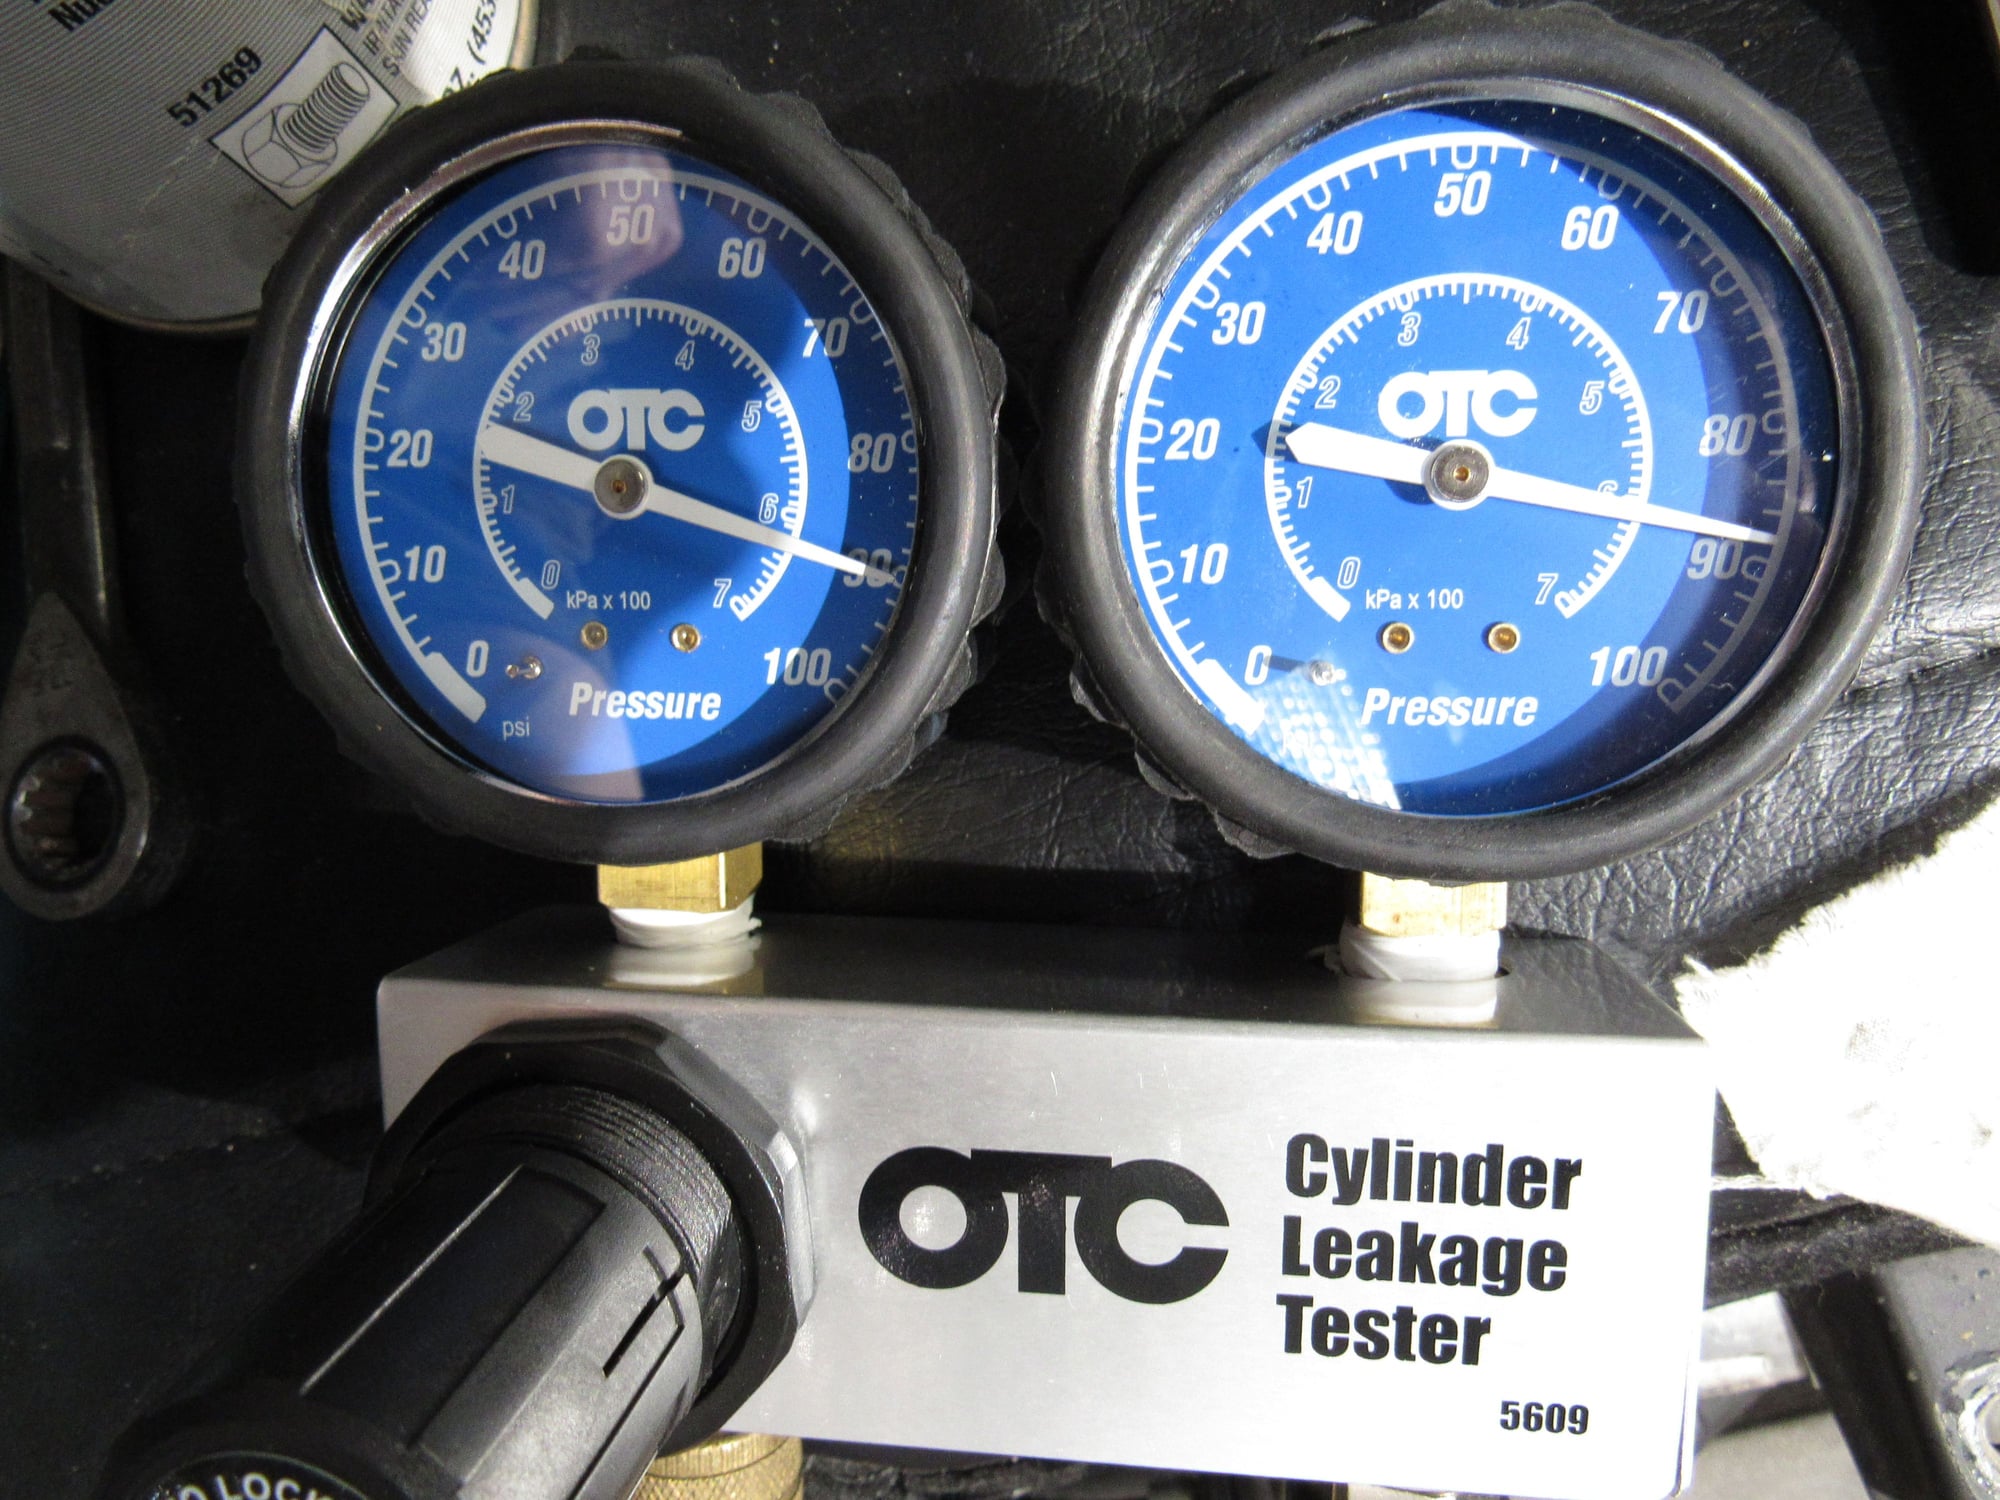
I got a leak down tester to see what is going on with the 55psi #4 cylinder. It held no pressure at all and I could see oil bubbles escaping the intake valve. On closer inspection I could see a small piece of intake gasket stuck on the valve keeping it from closing, it doesn't take much. I got some of it off with a Q-tip and compression went up to 135. Within a few combustion cycles that should all burn off or blow out so that is good news.
Tried to take a photo of bubbles during leak down test:
Just for fun I tried #8 and it is almost perfect seal:
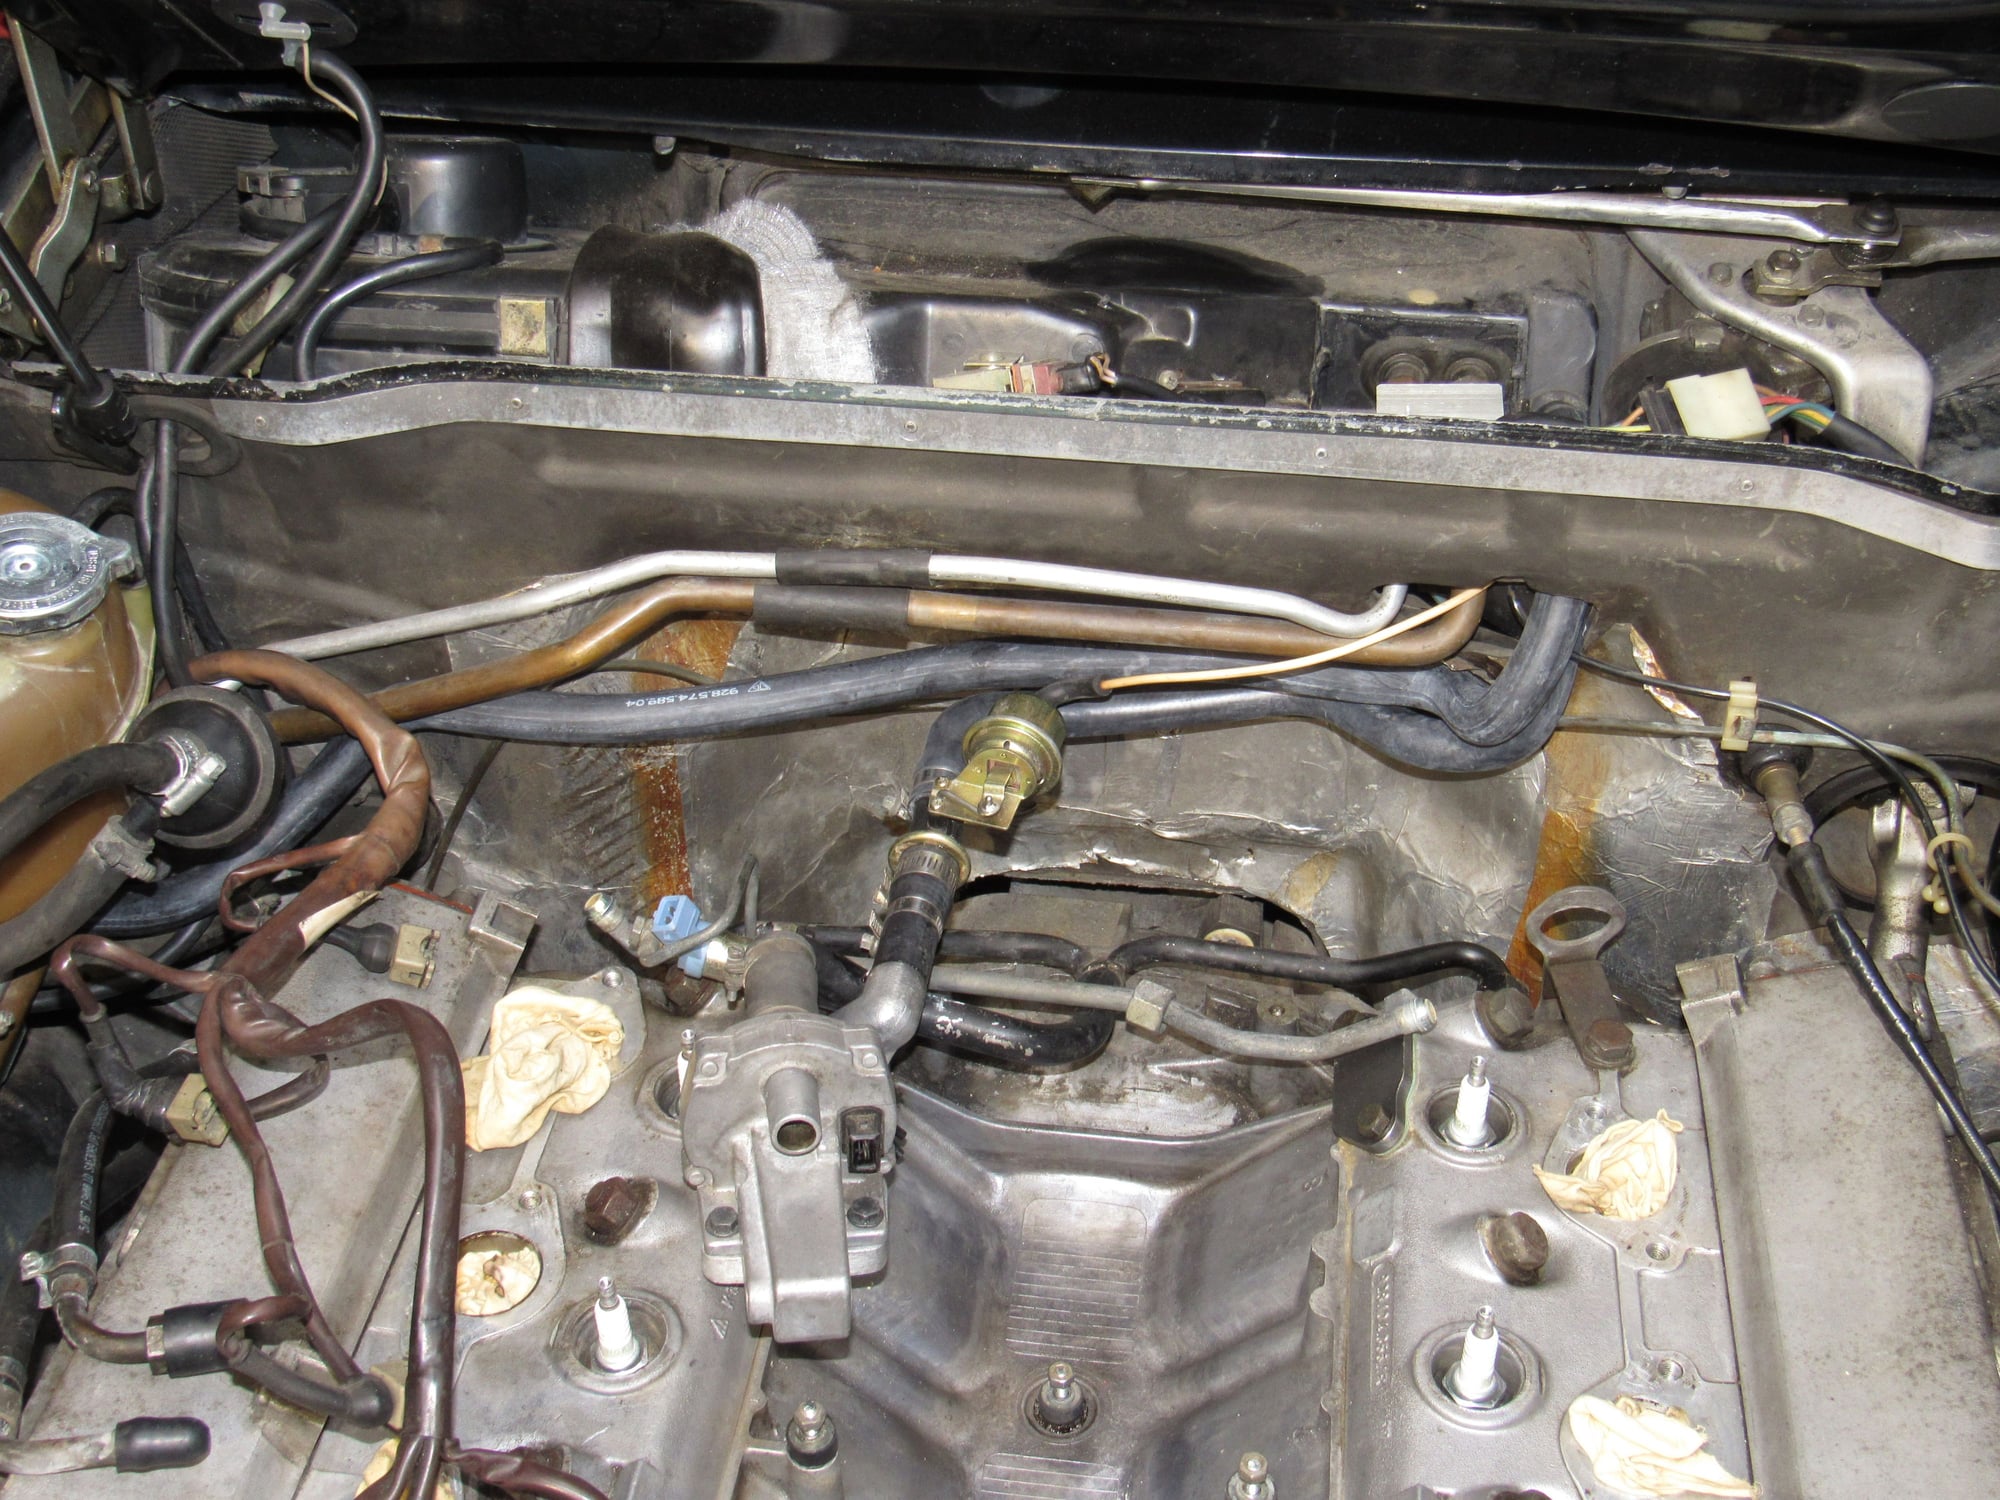
I am replacing every old hose left and I thought the heater hoses would be a headache but removing the wiper motor was surprising easy for access to the clamps:
New heater hoses installed
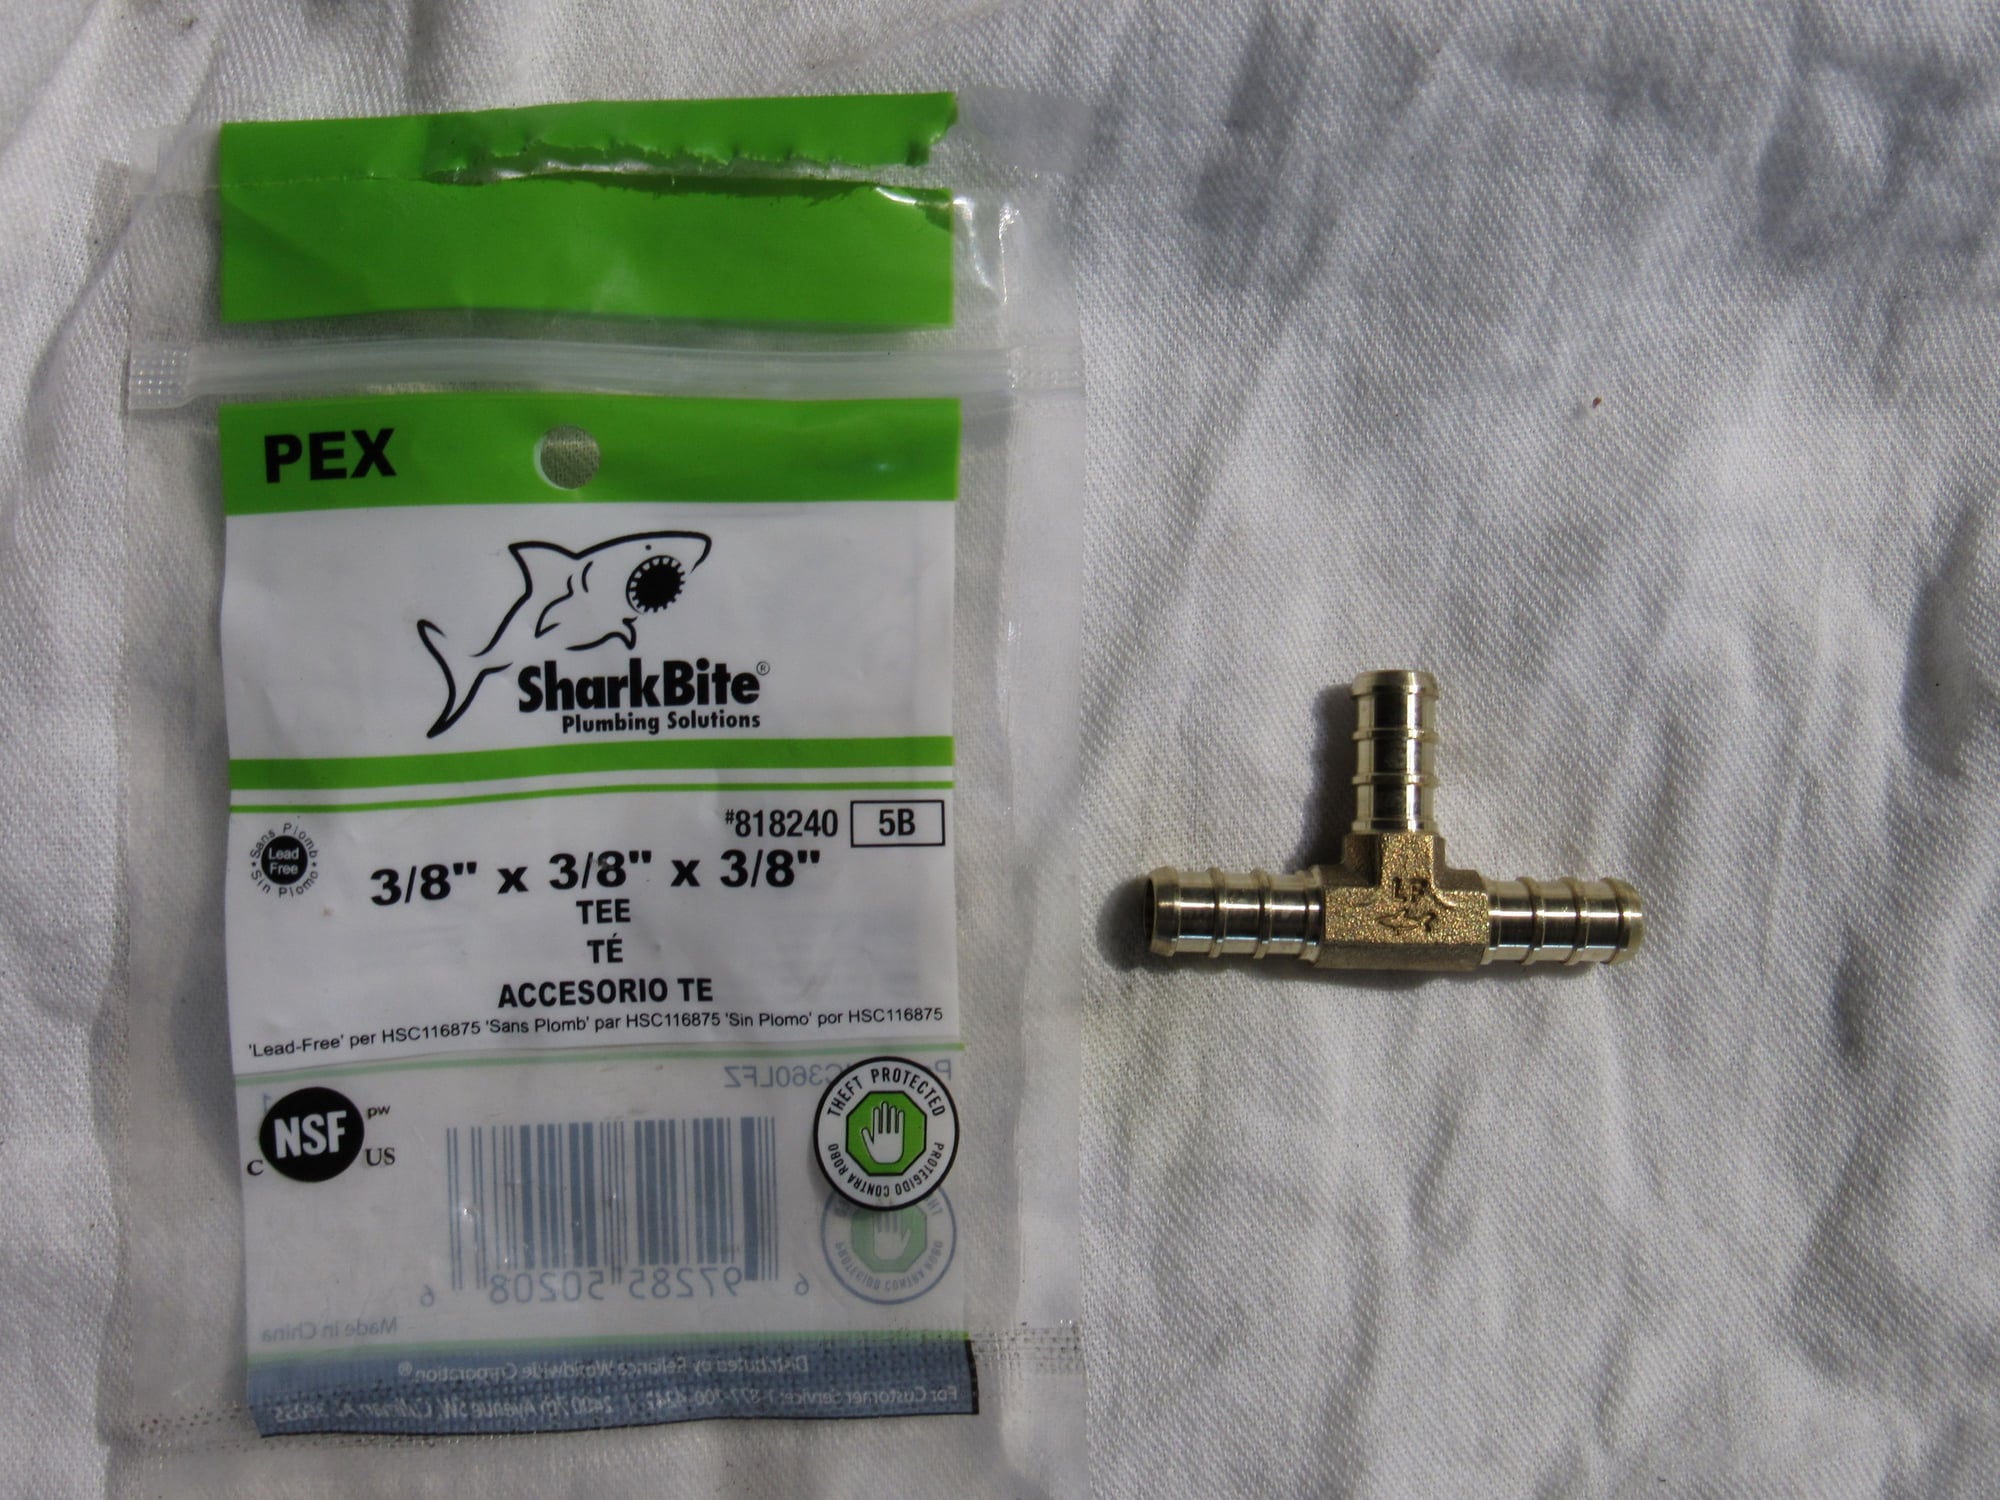
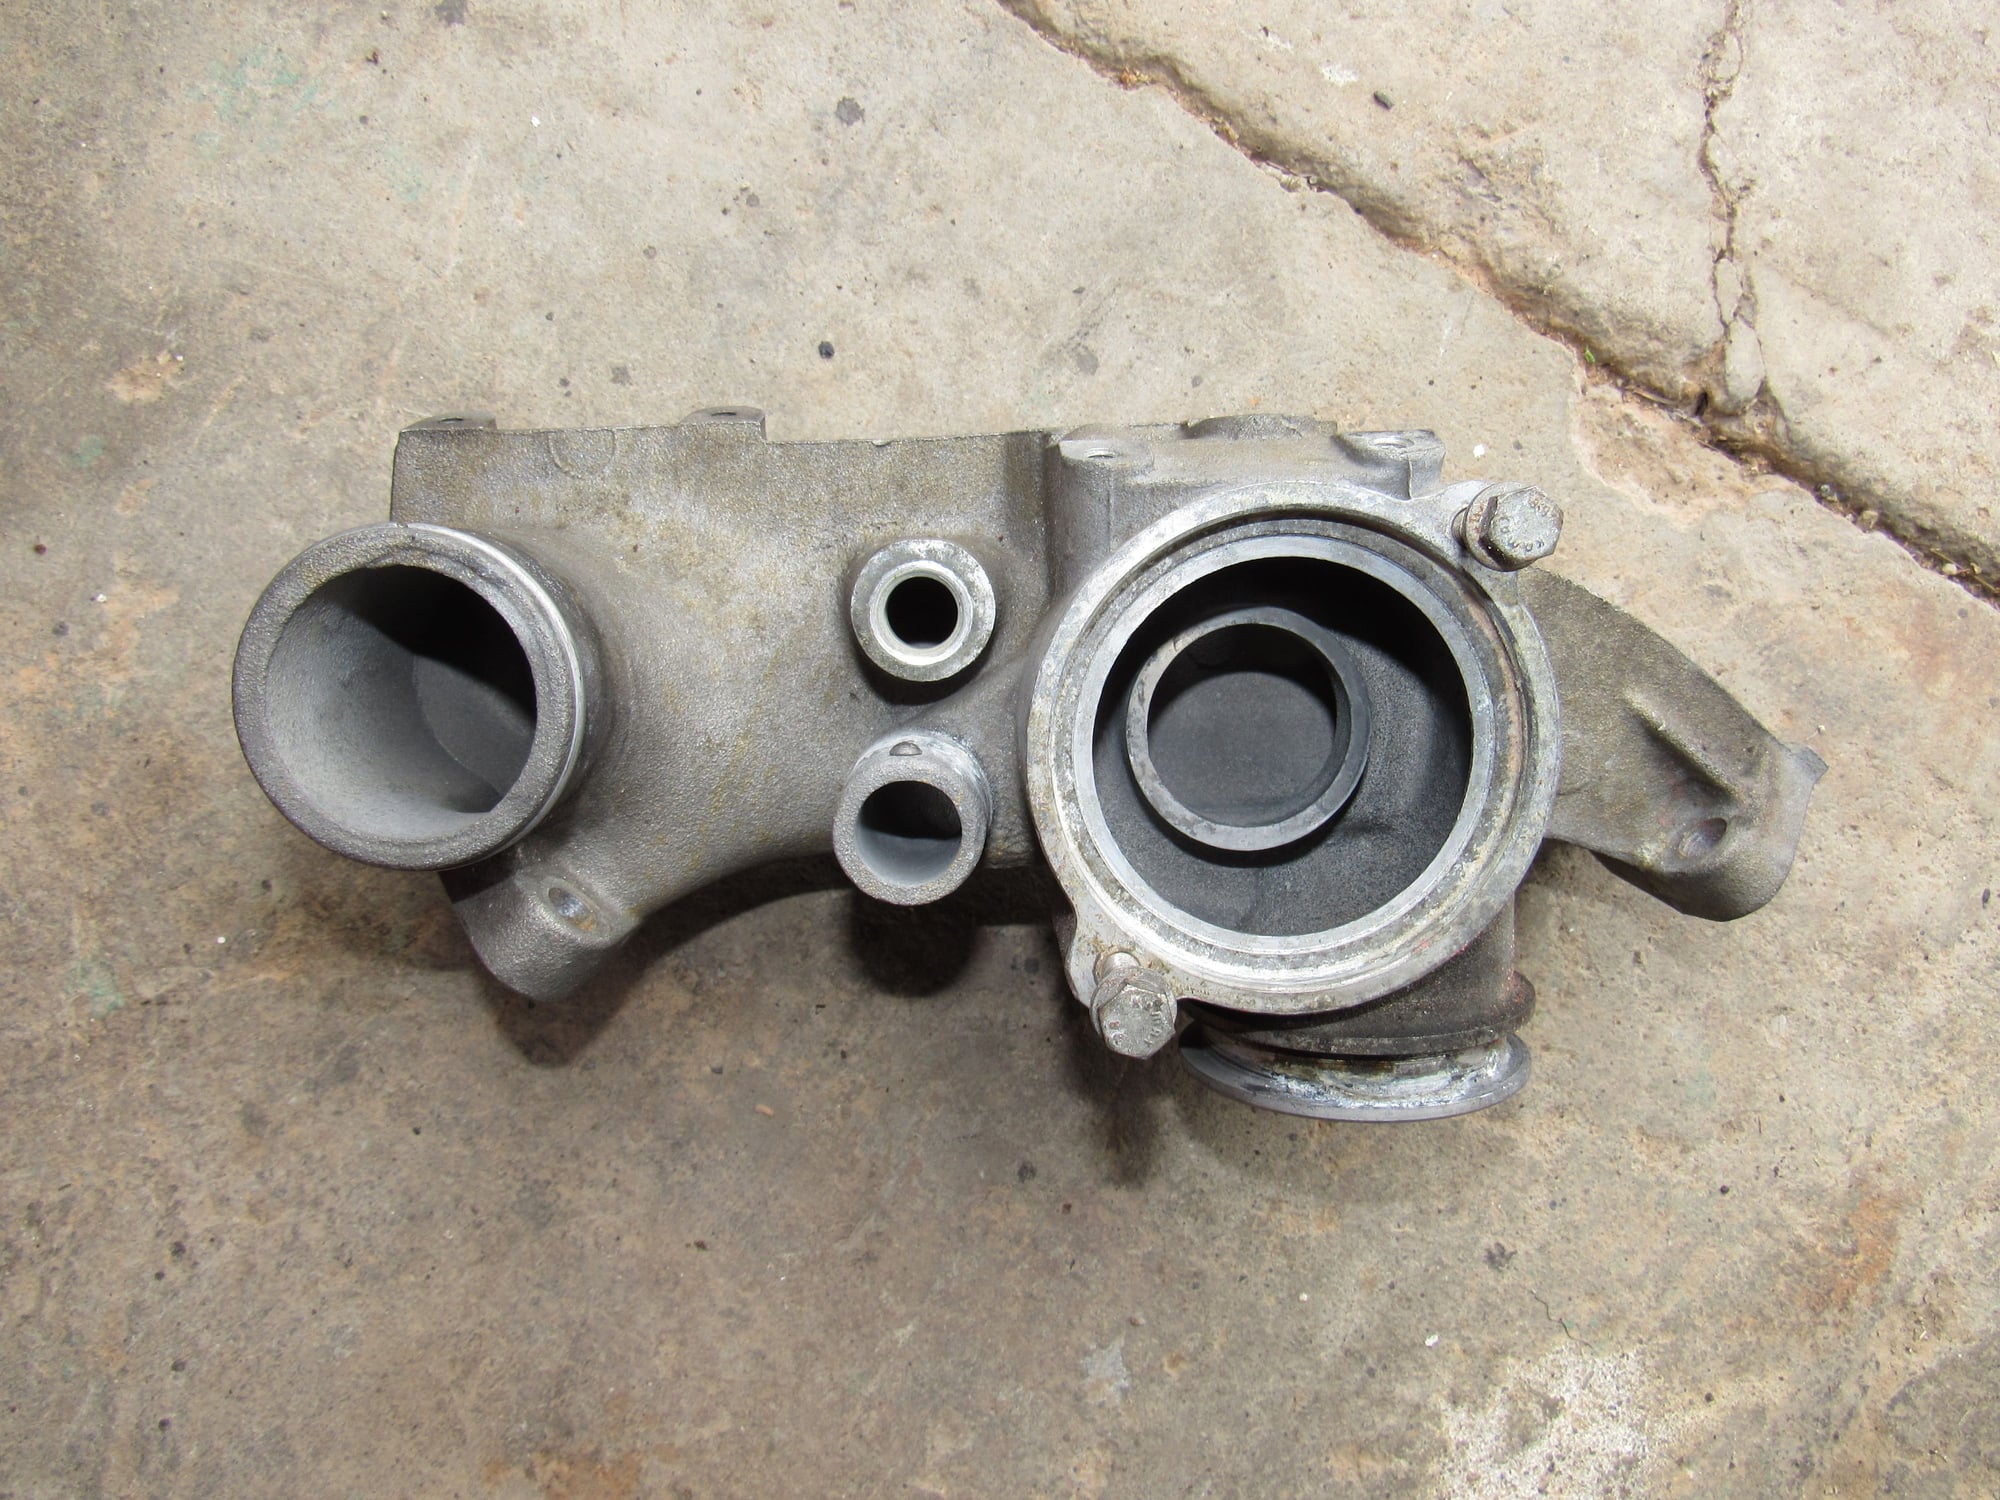
The older cars have a three way fitting on the reservoir to radiator hose that goes to the back of the water bridge. Mine was rusted and the part is NLA. I found this brass fitting that will work.
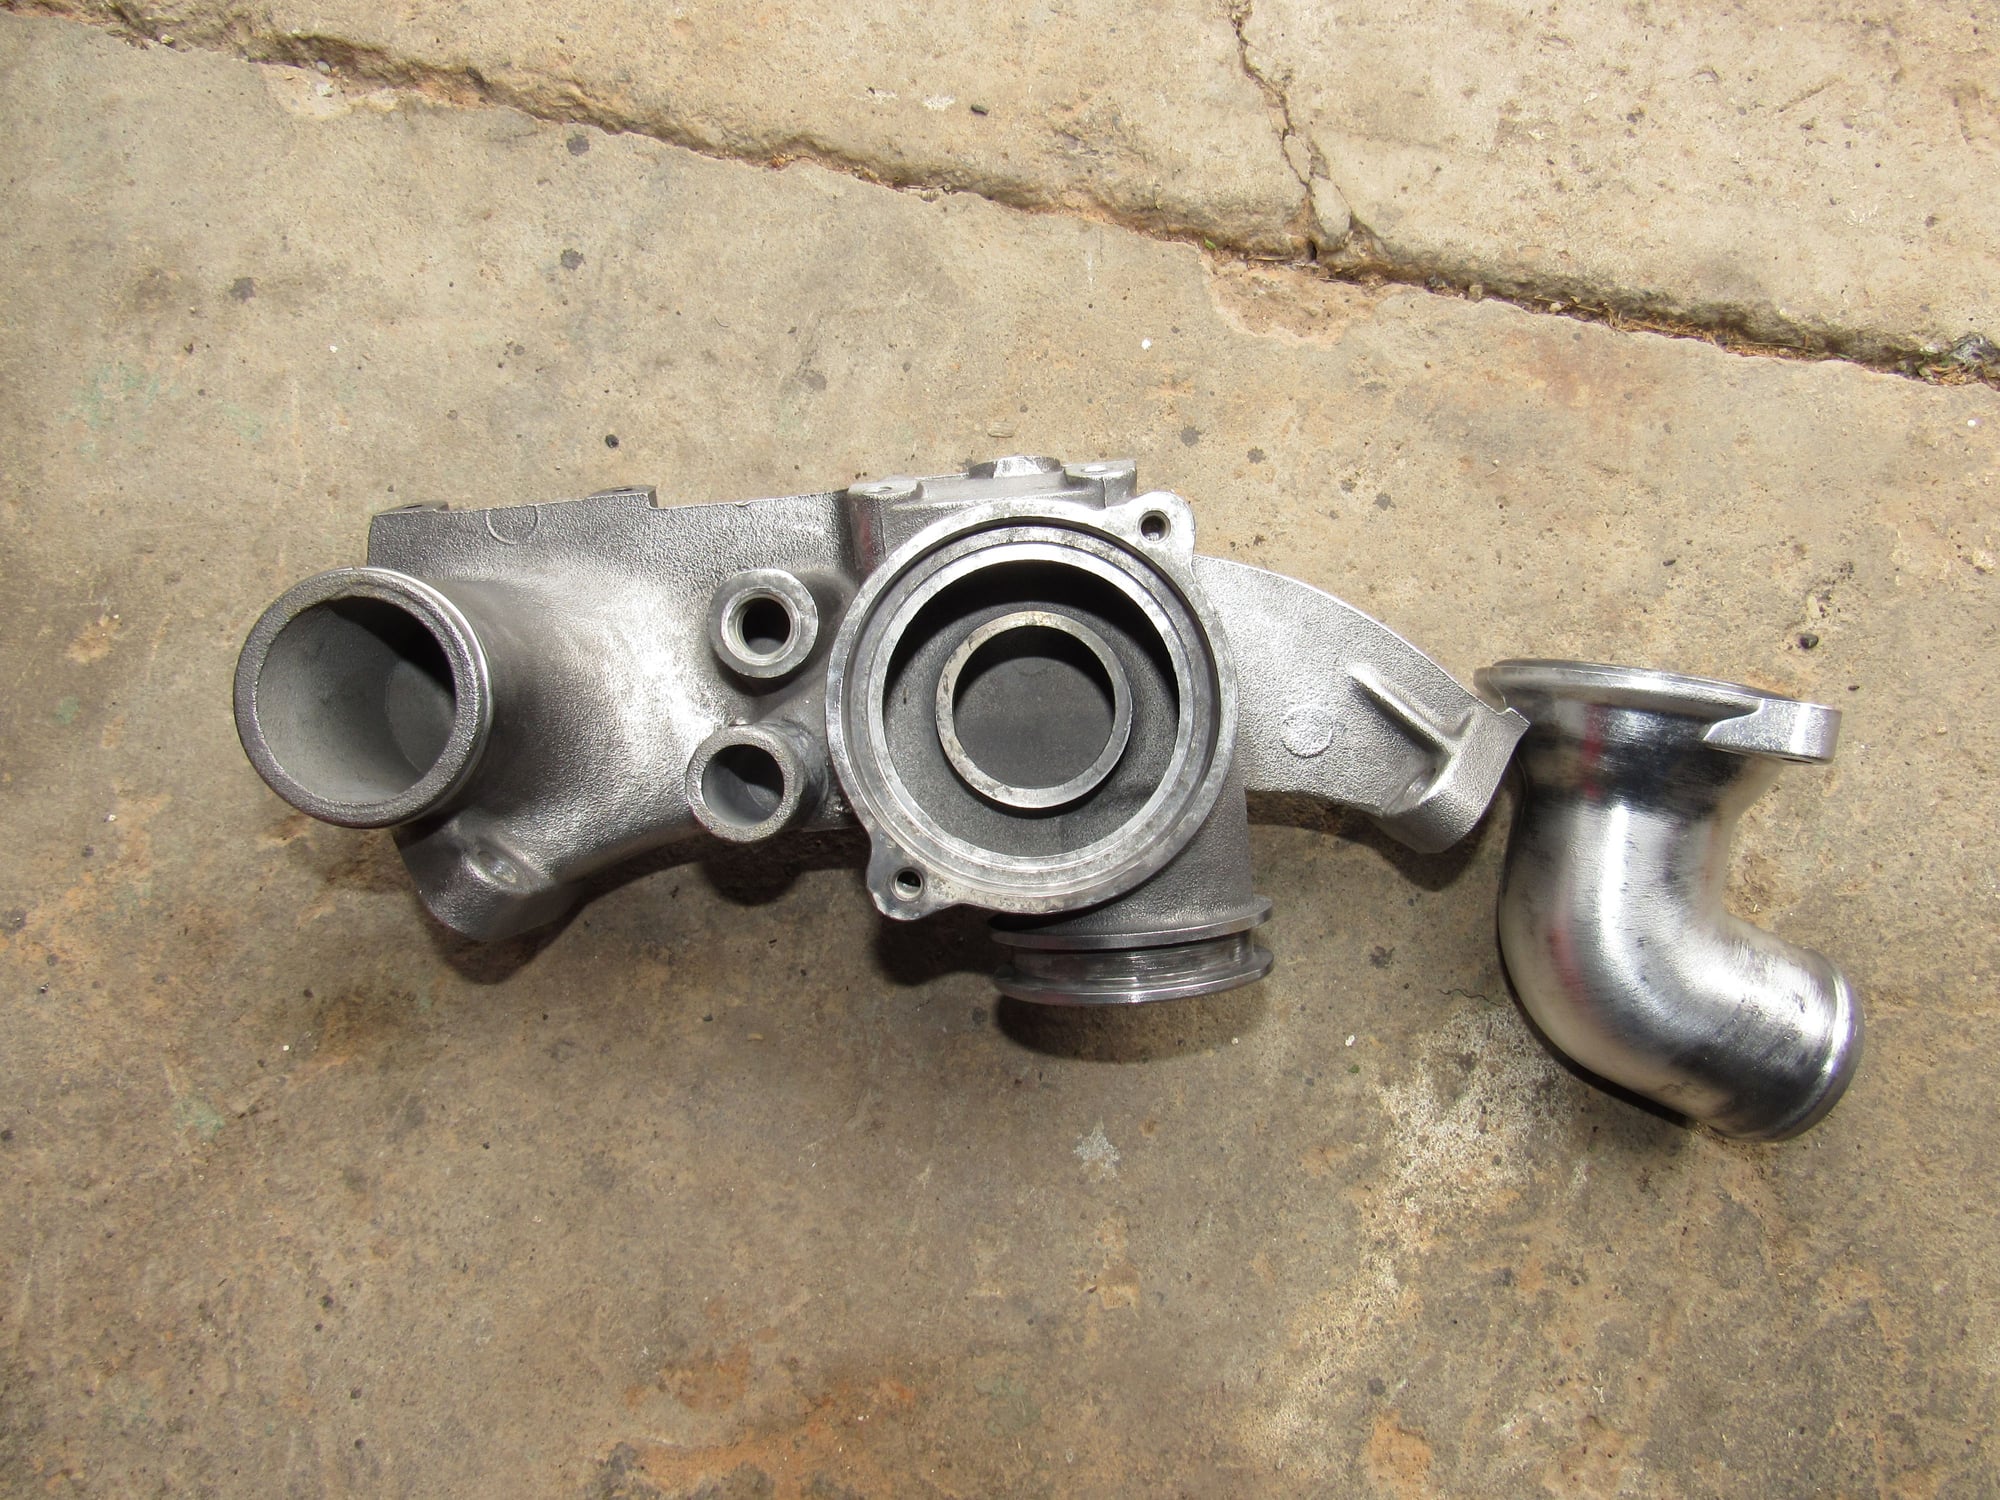
I got a good used coolant Y pipe. The inside was perfect but had some slight pitting on the outside of the ports. To prolong its life I wire brushed the ends and painted them for protection. I cleaned out and reinstalled the expansion tank and you can find the three way fitting next to the washer filler neck.
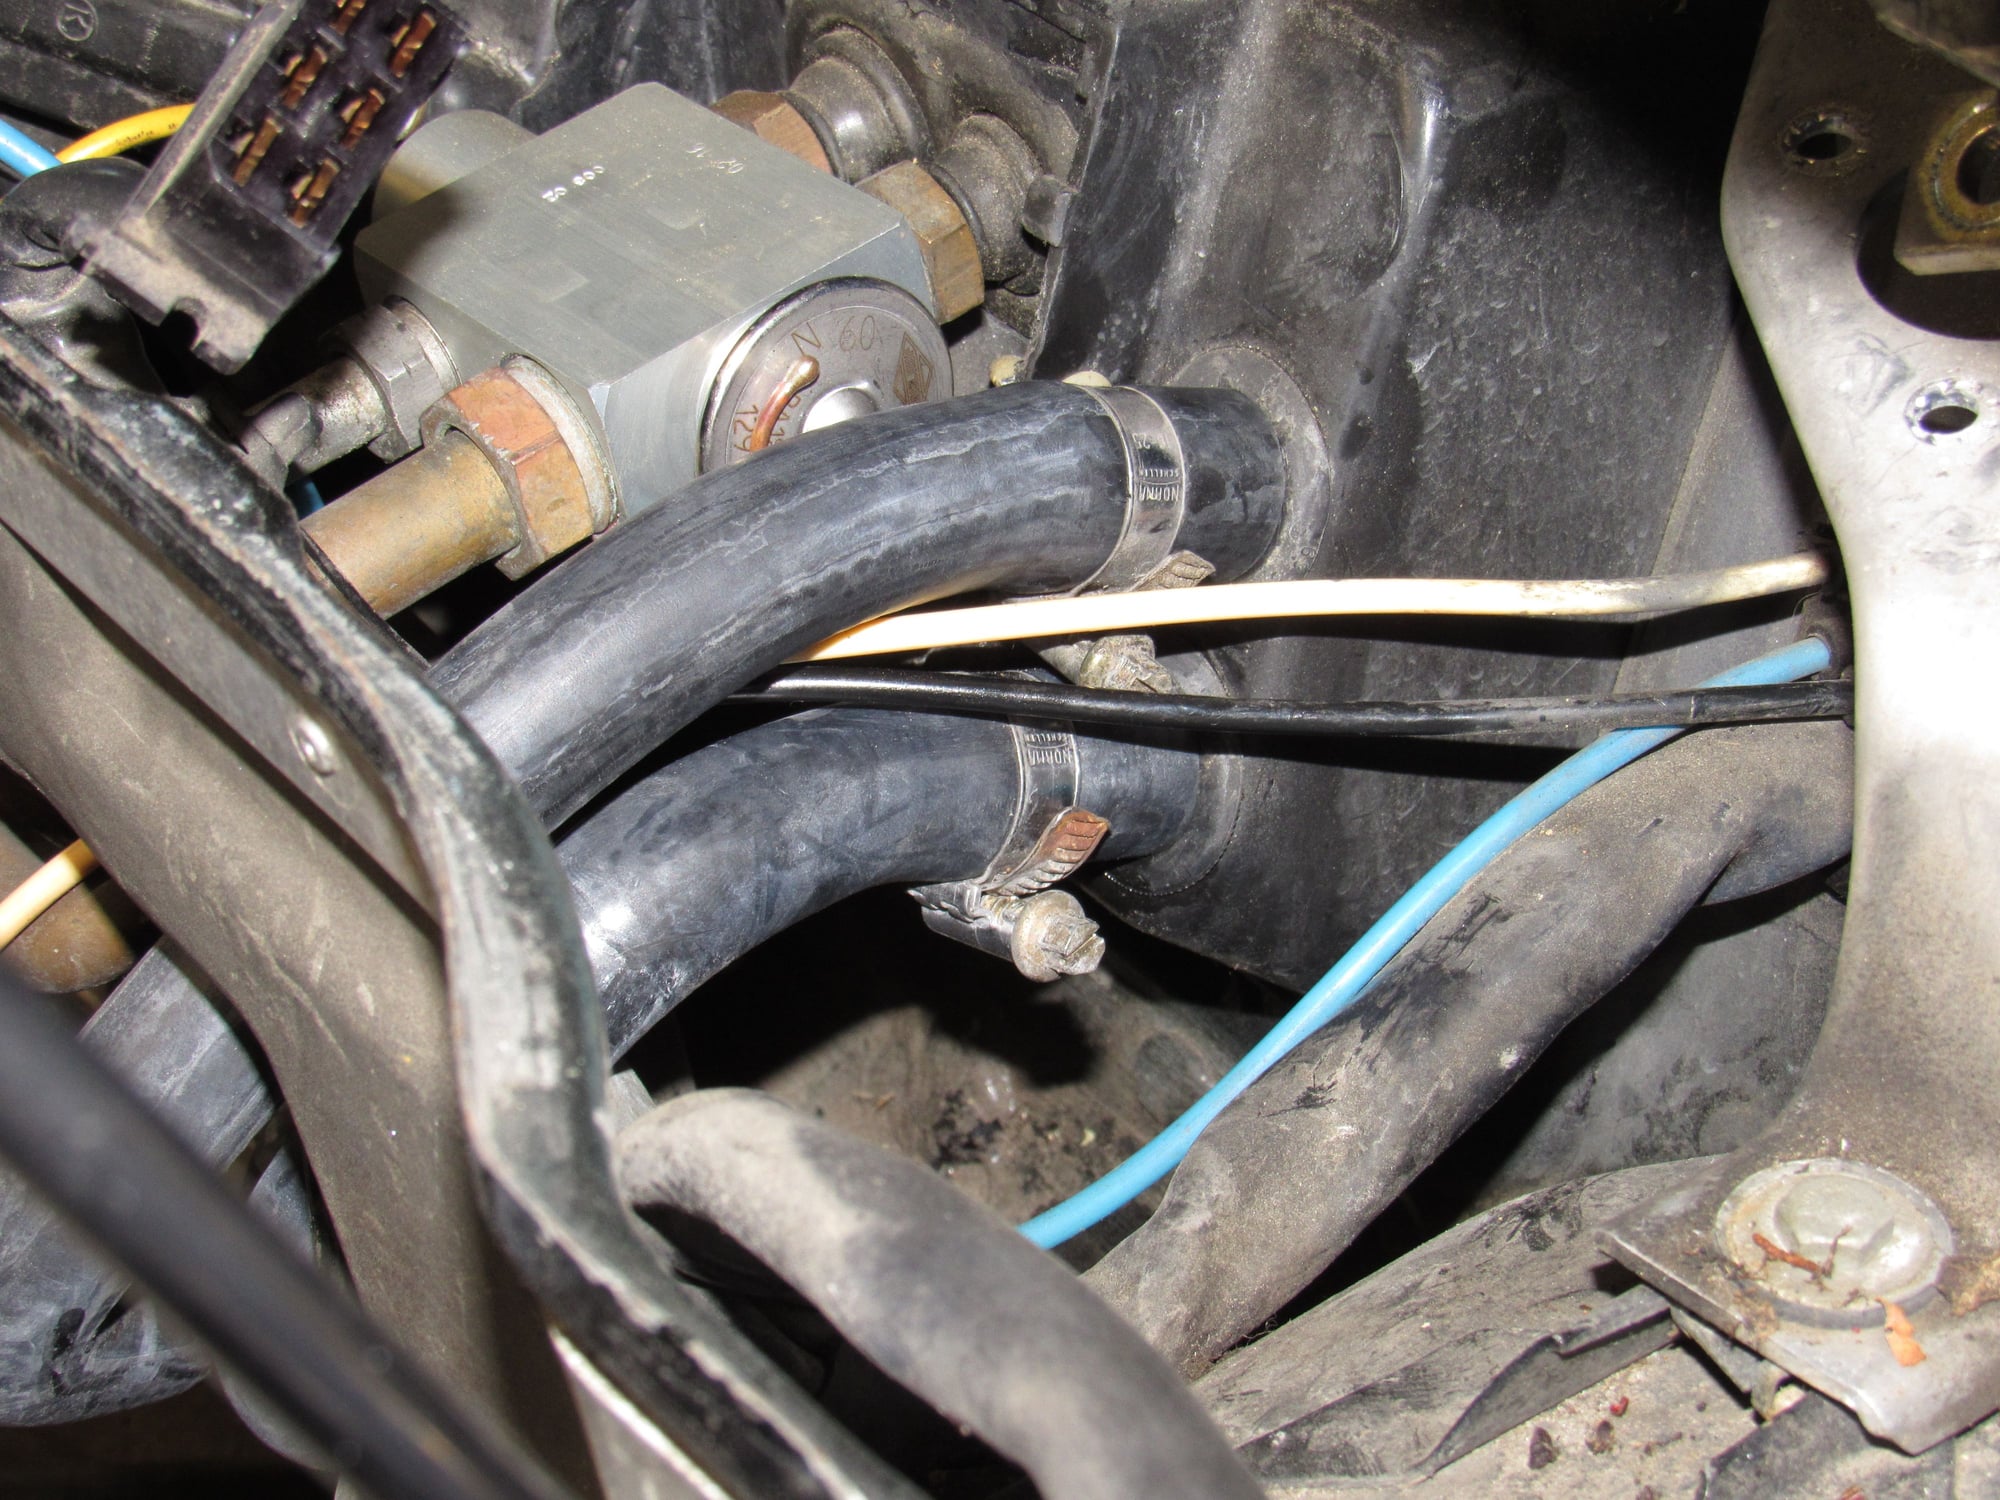
Heater coolant elbow and cold start air valve reinstalled:
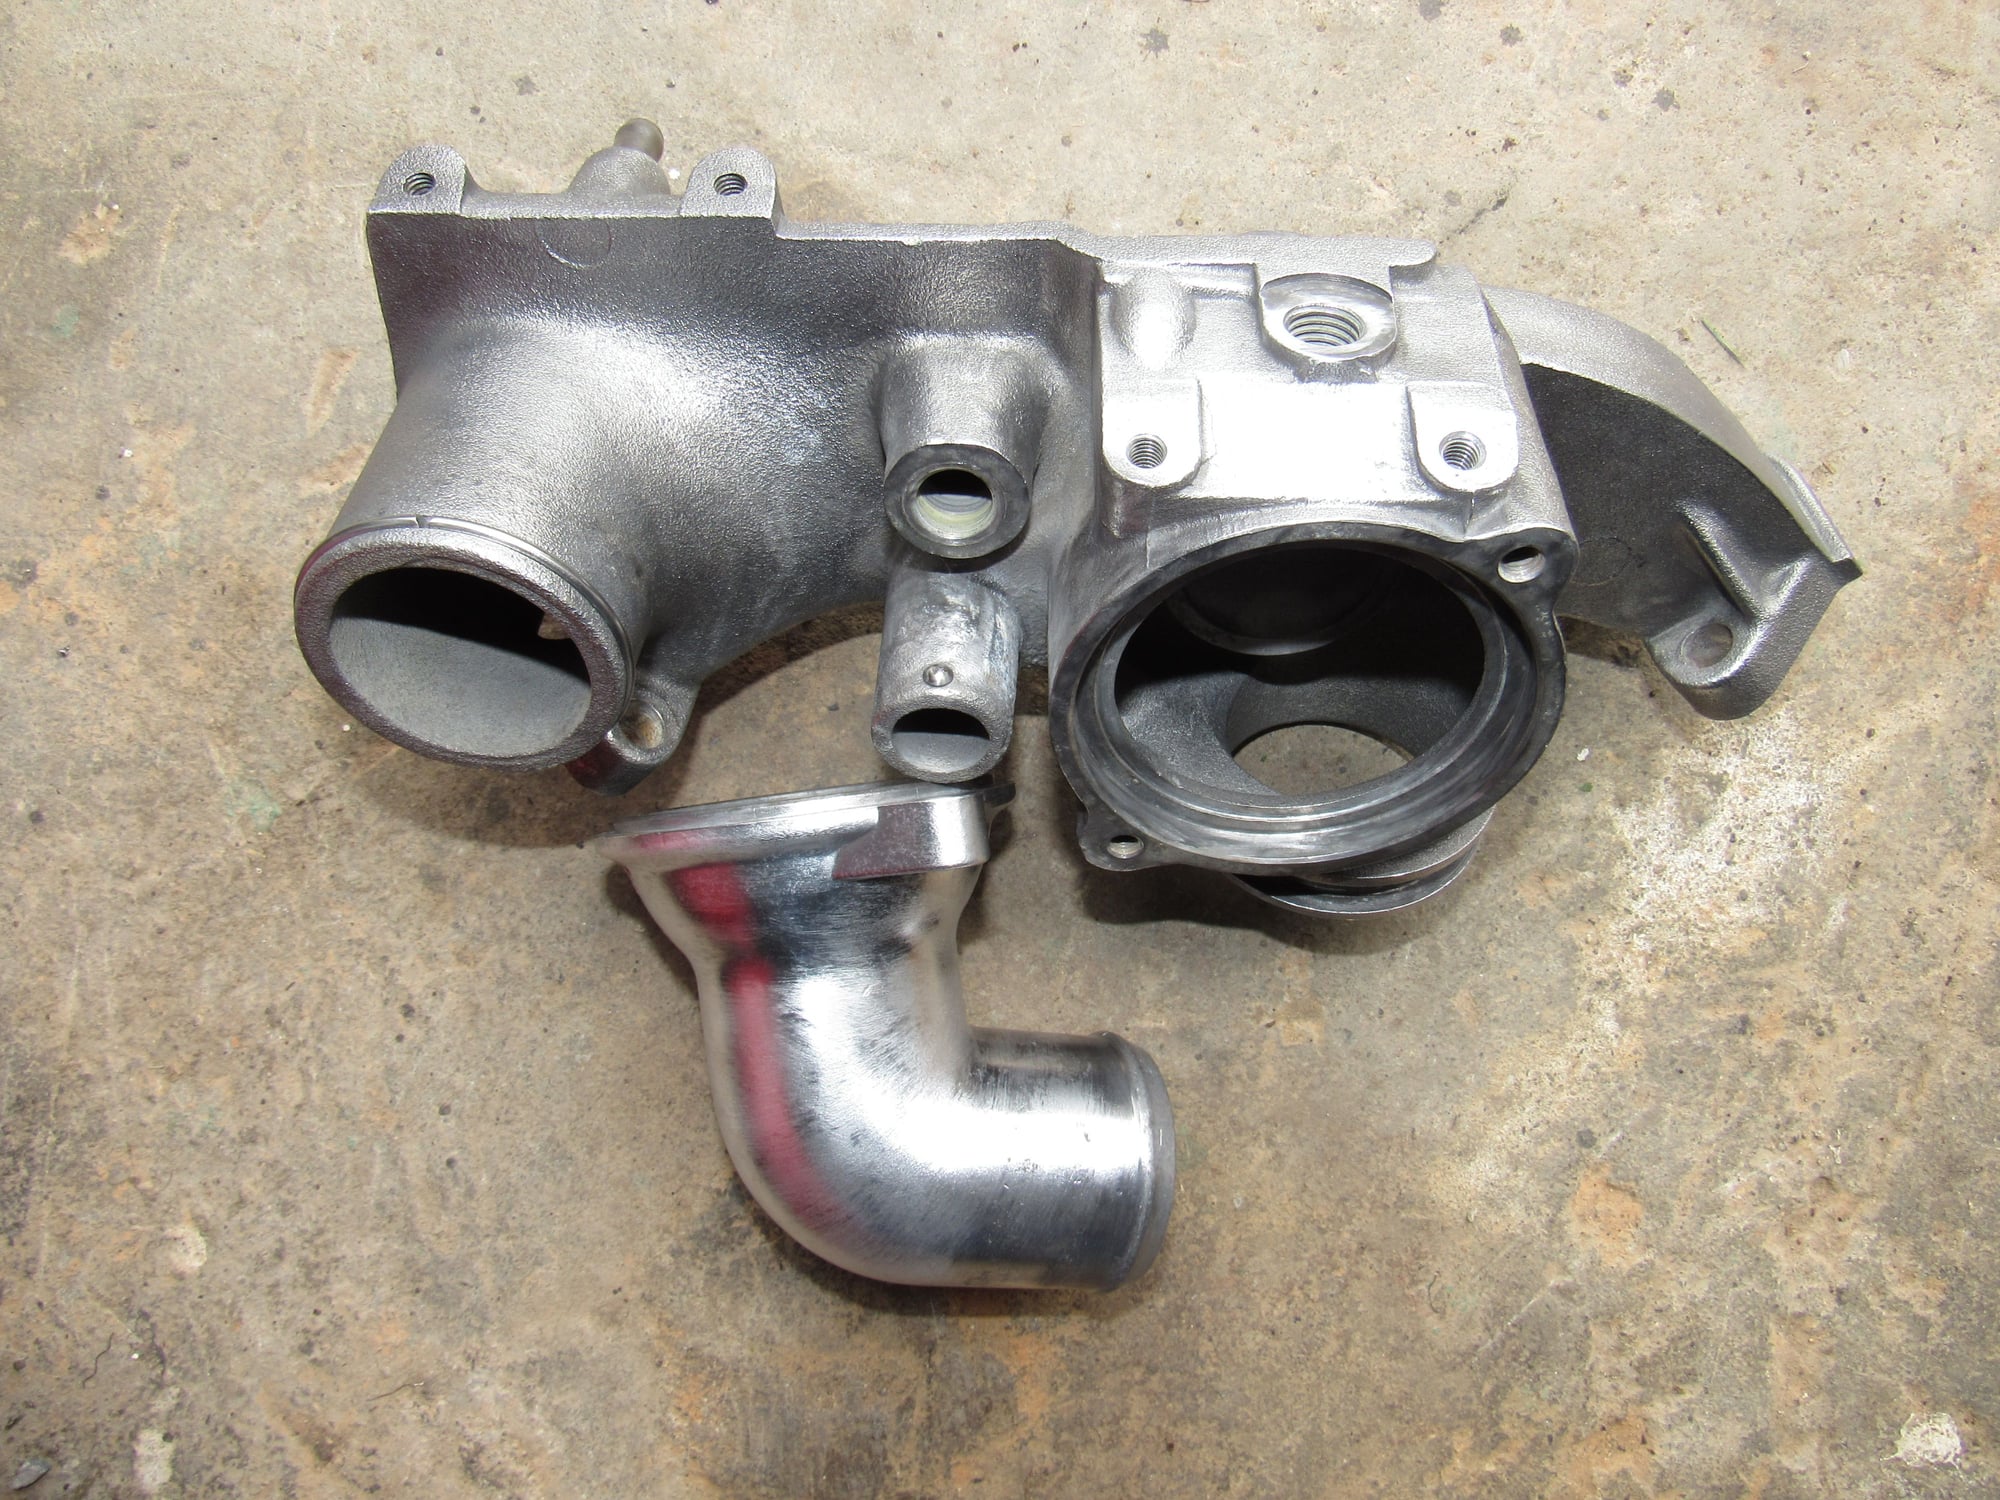
The water bridge was a little dirty looking so using my favorite tool the wire wheel, I brightened things up. Before:
After:
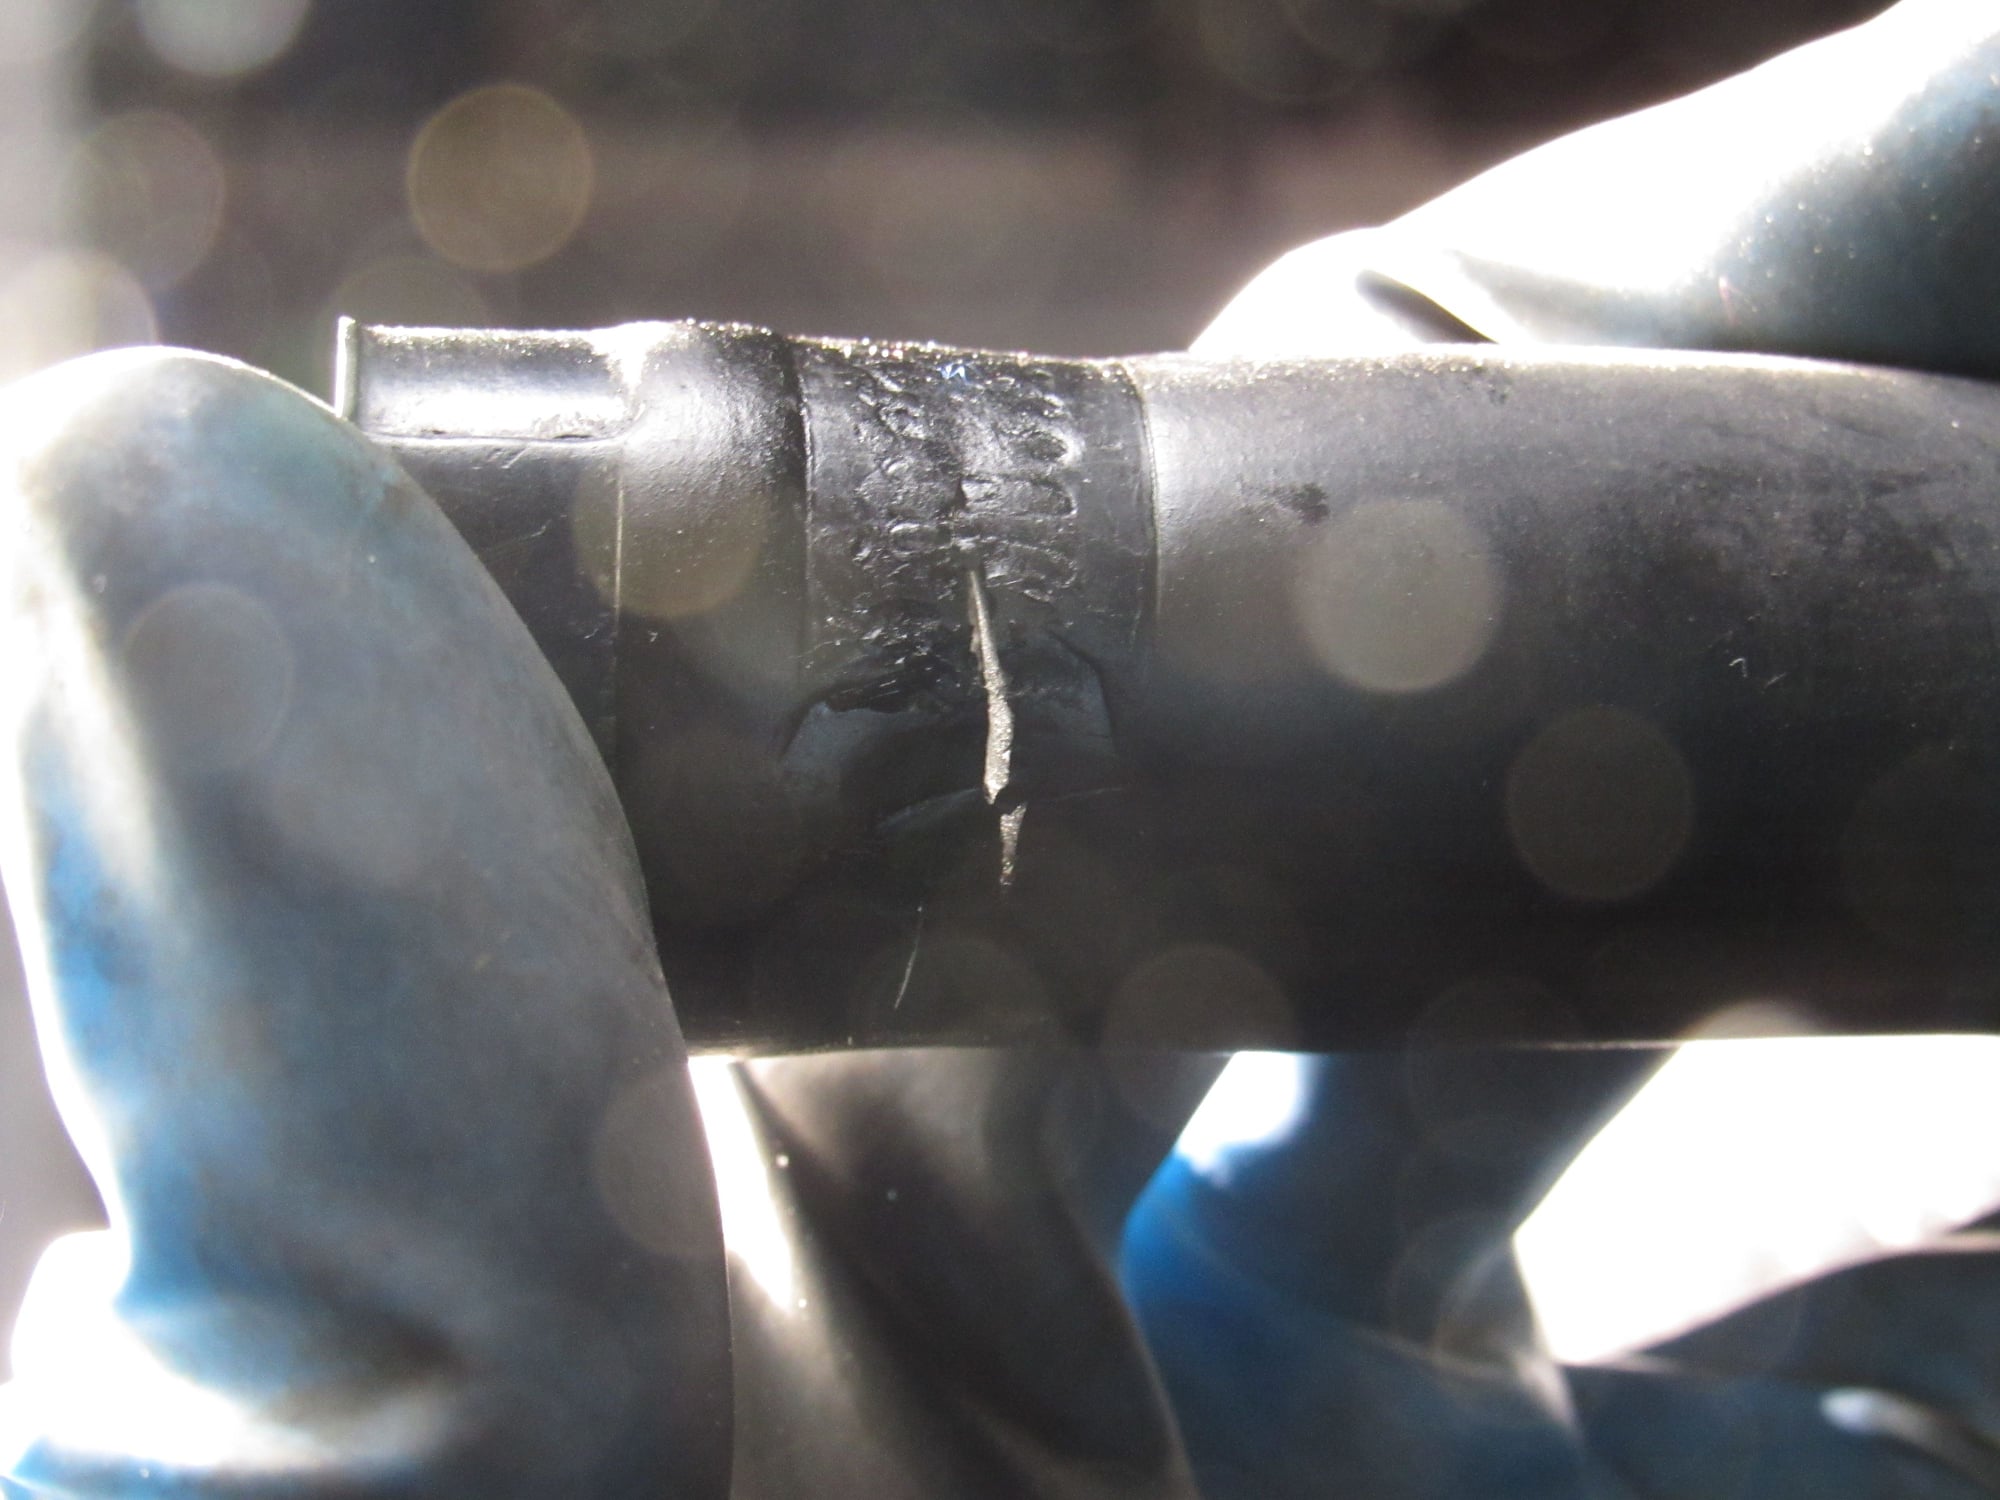
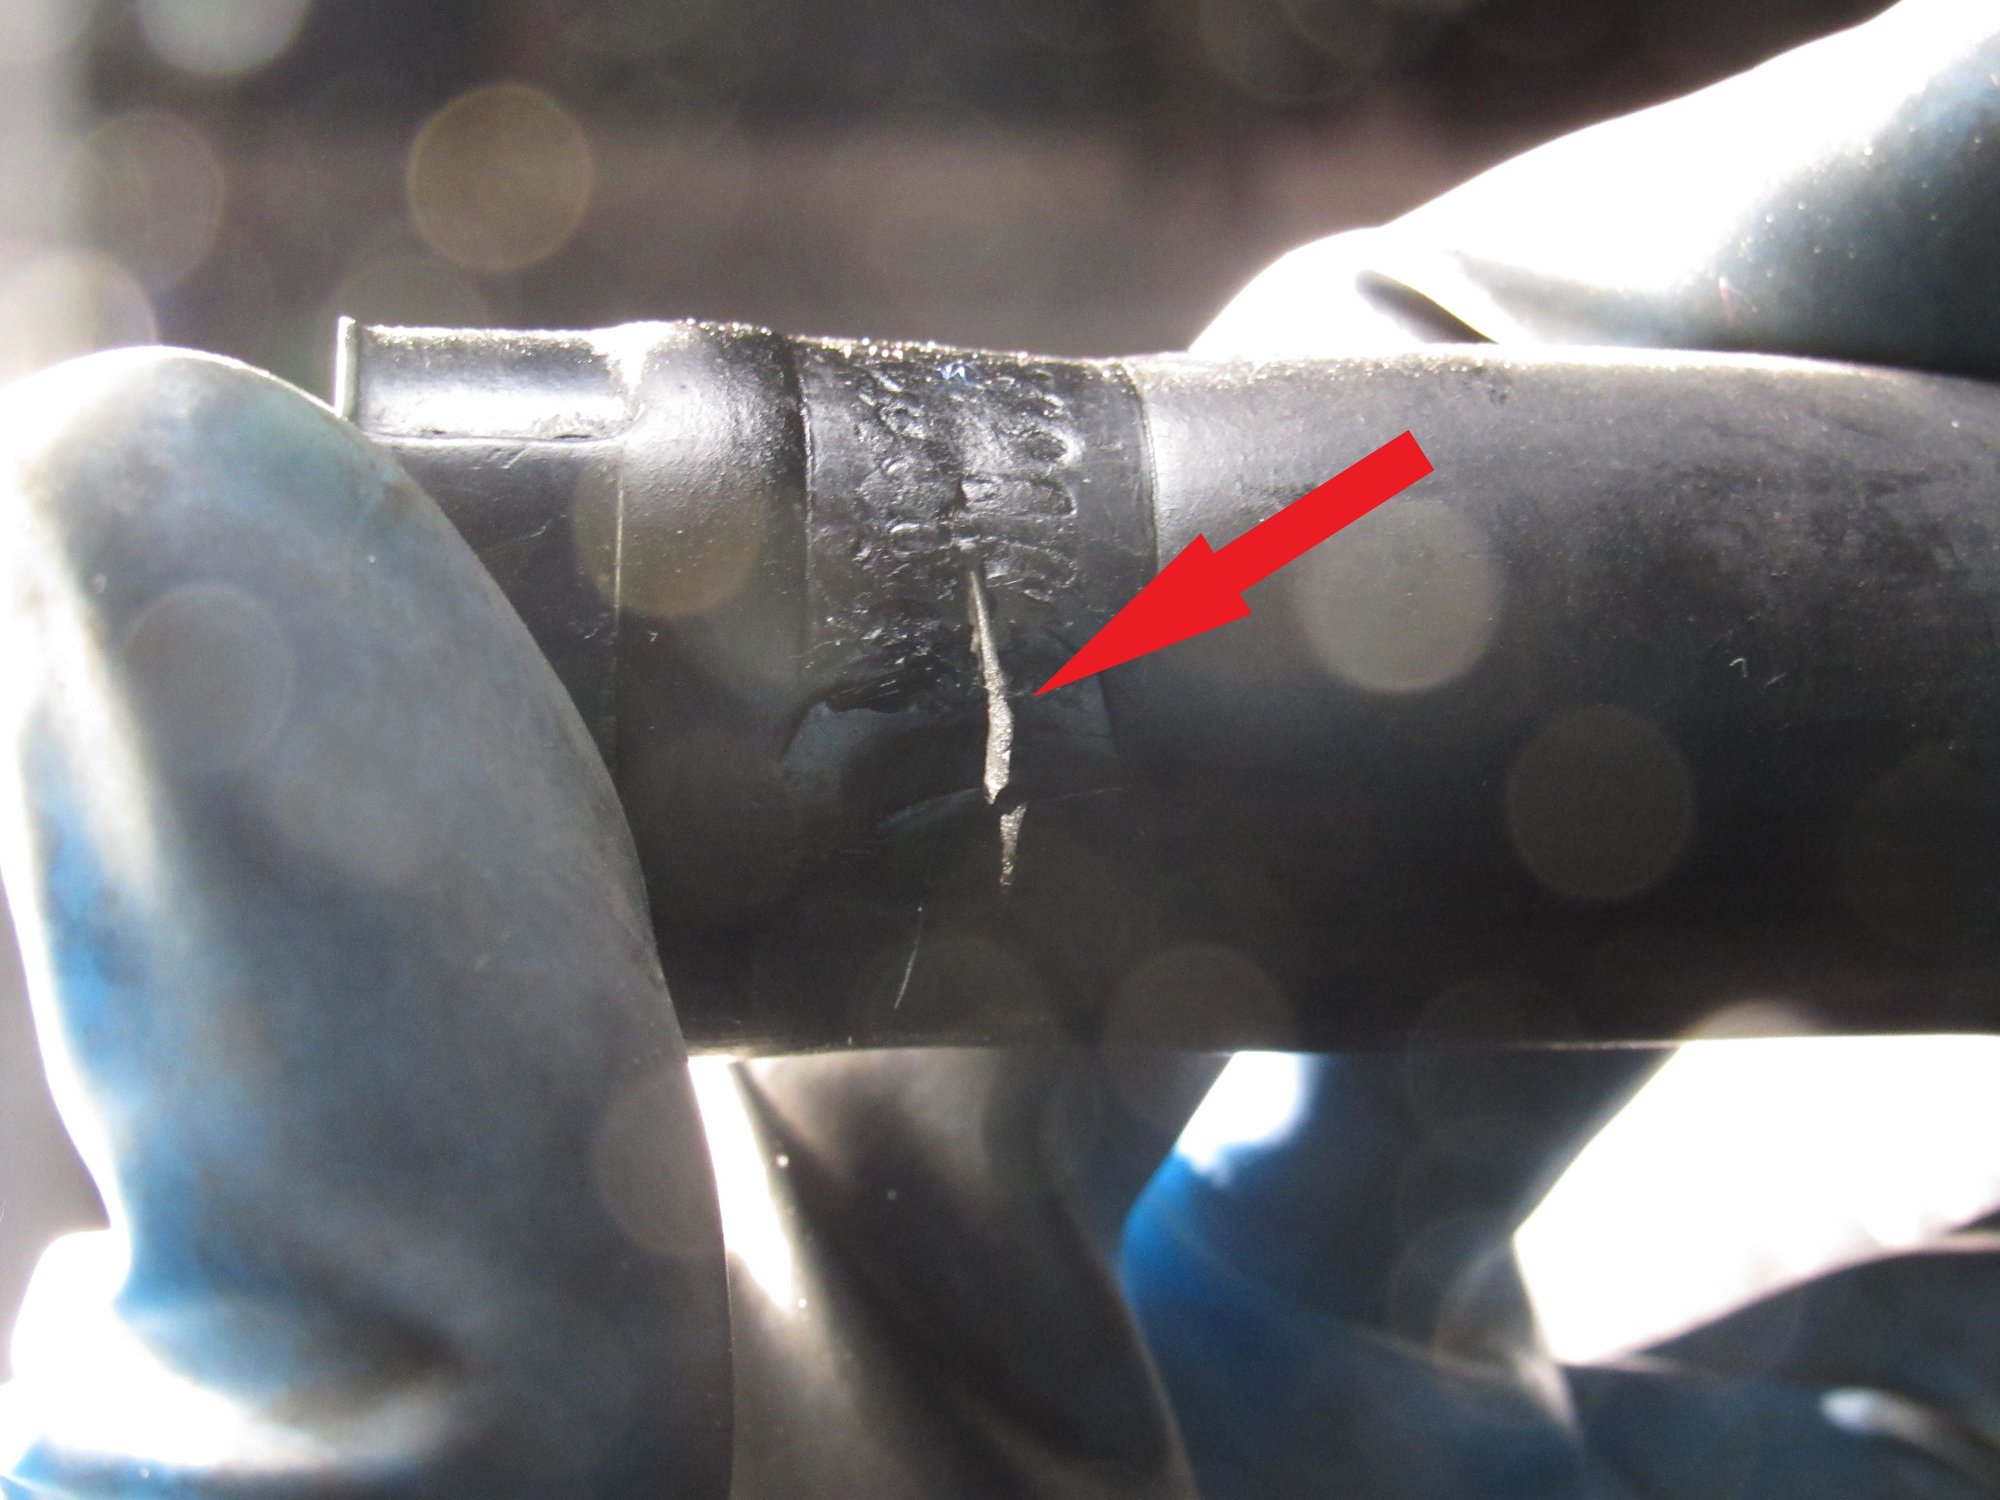
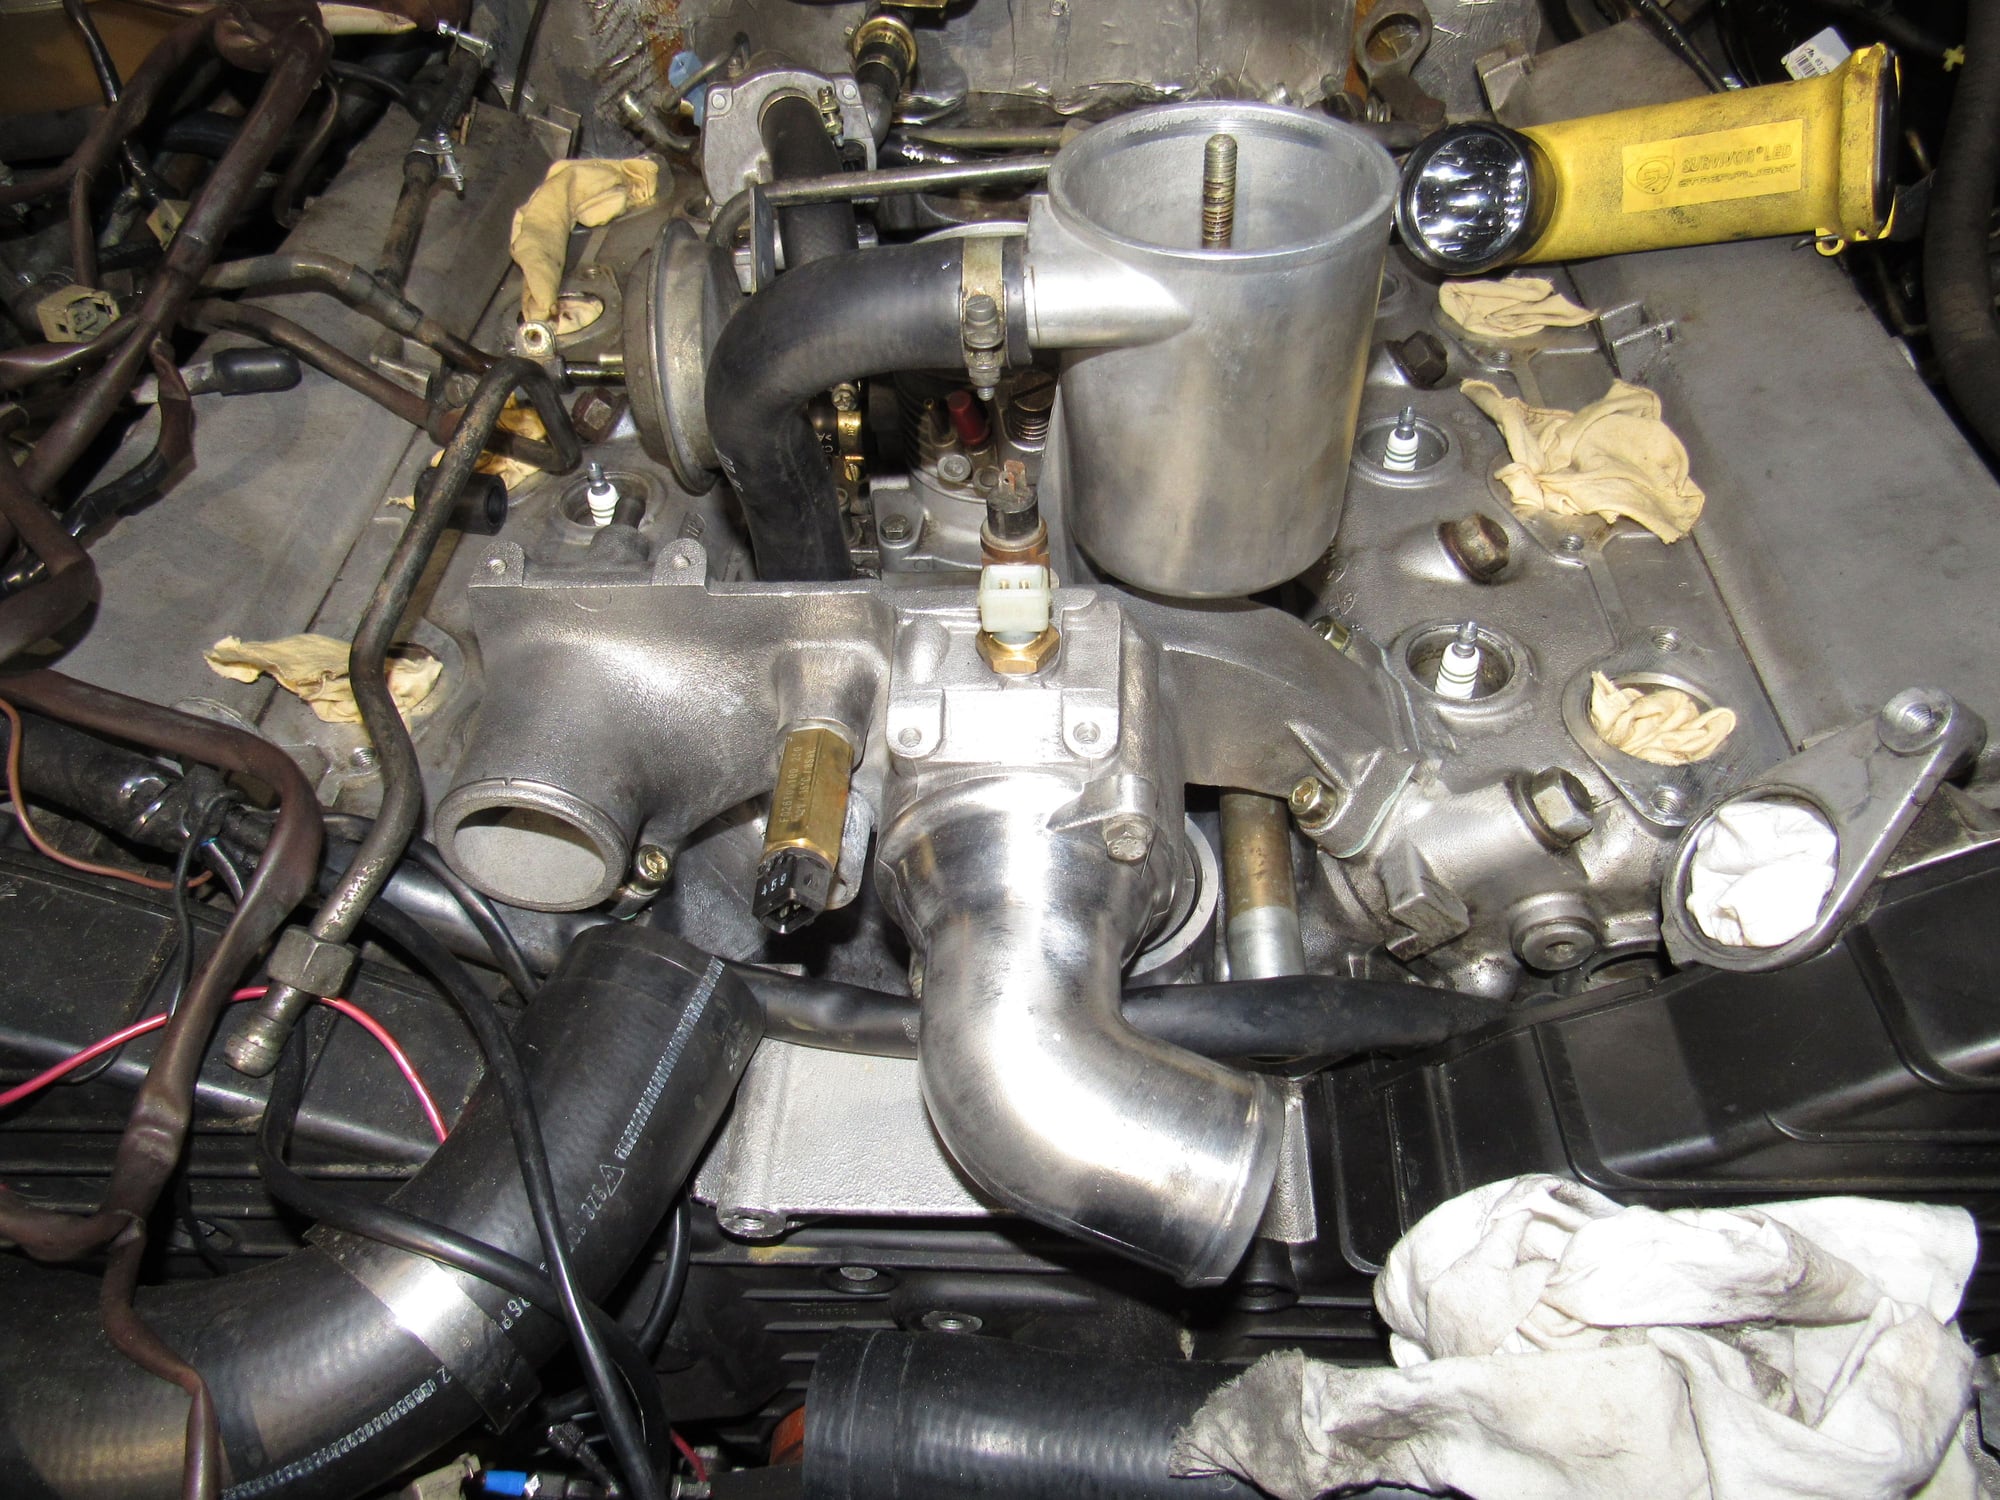
I reassembled the throttle body, installed it, and started fitting hoses. I did find one large crack in the throttle body to cold start air valve.
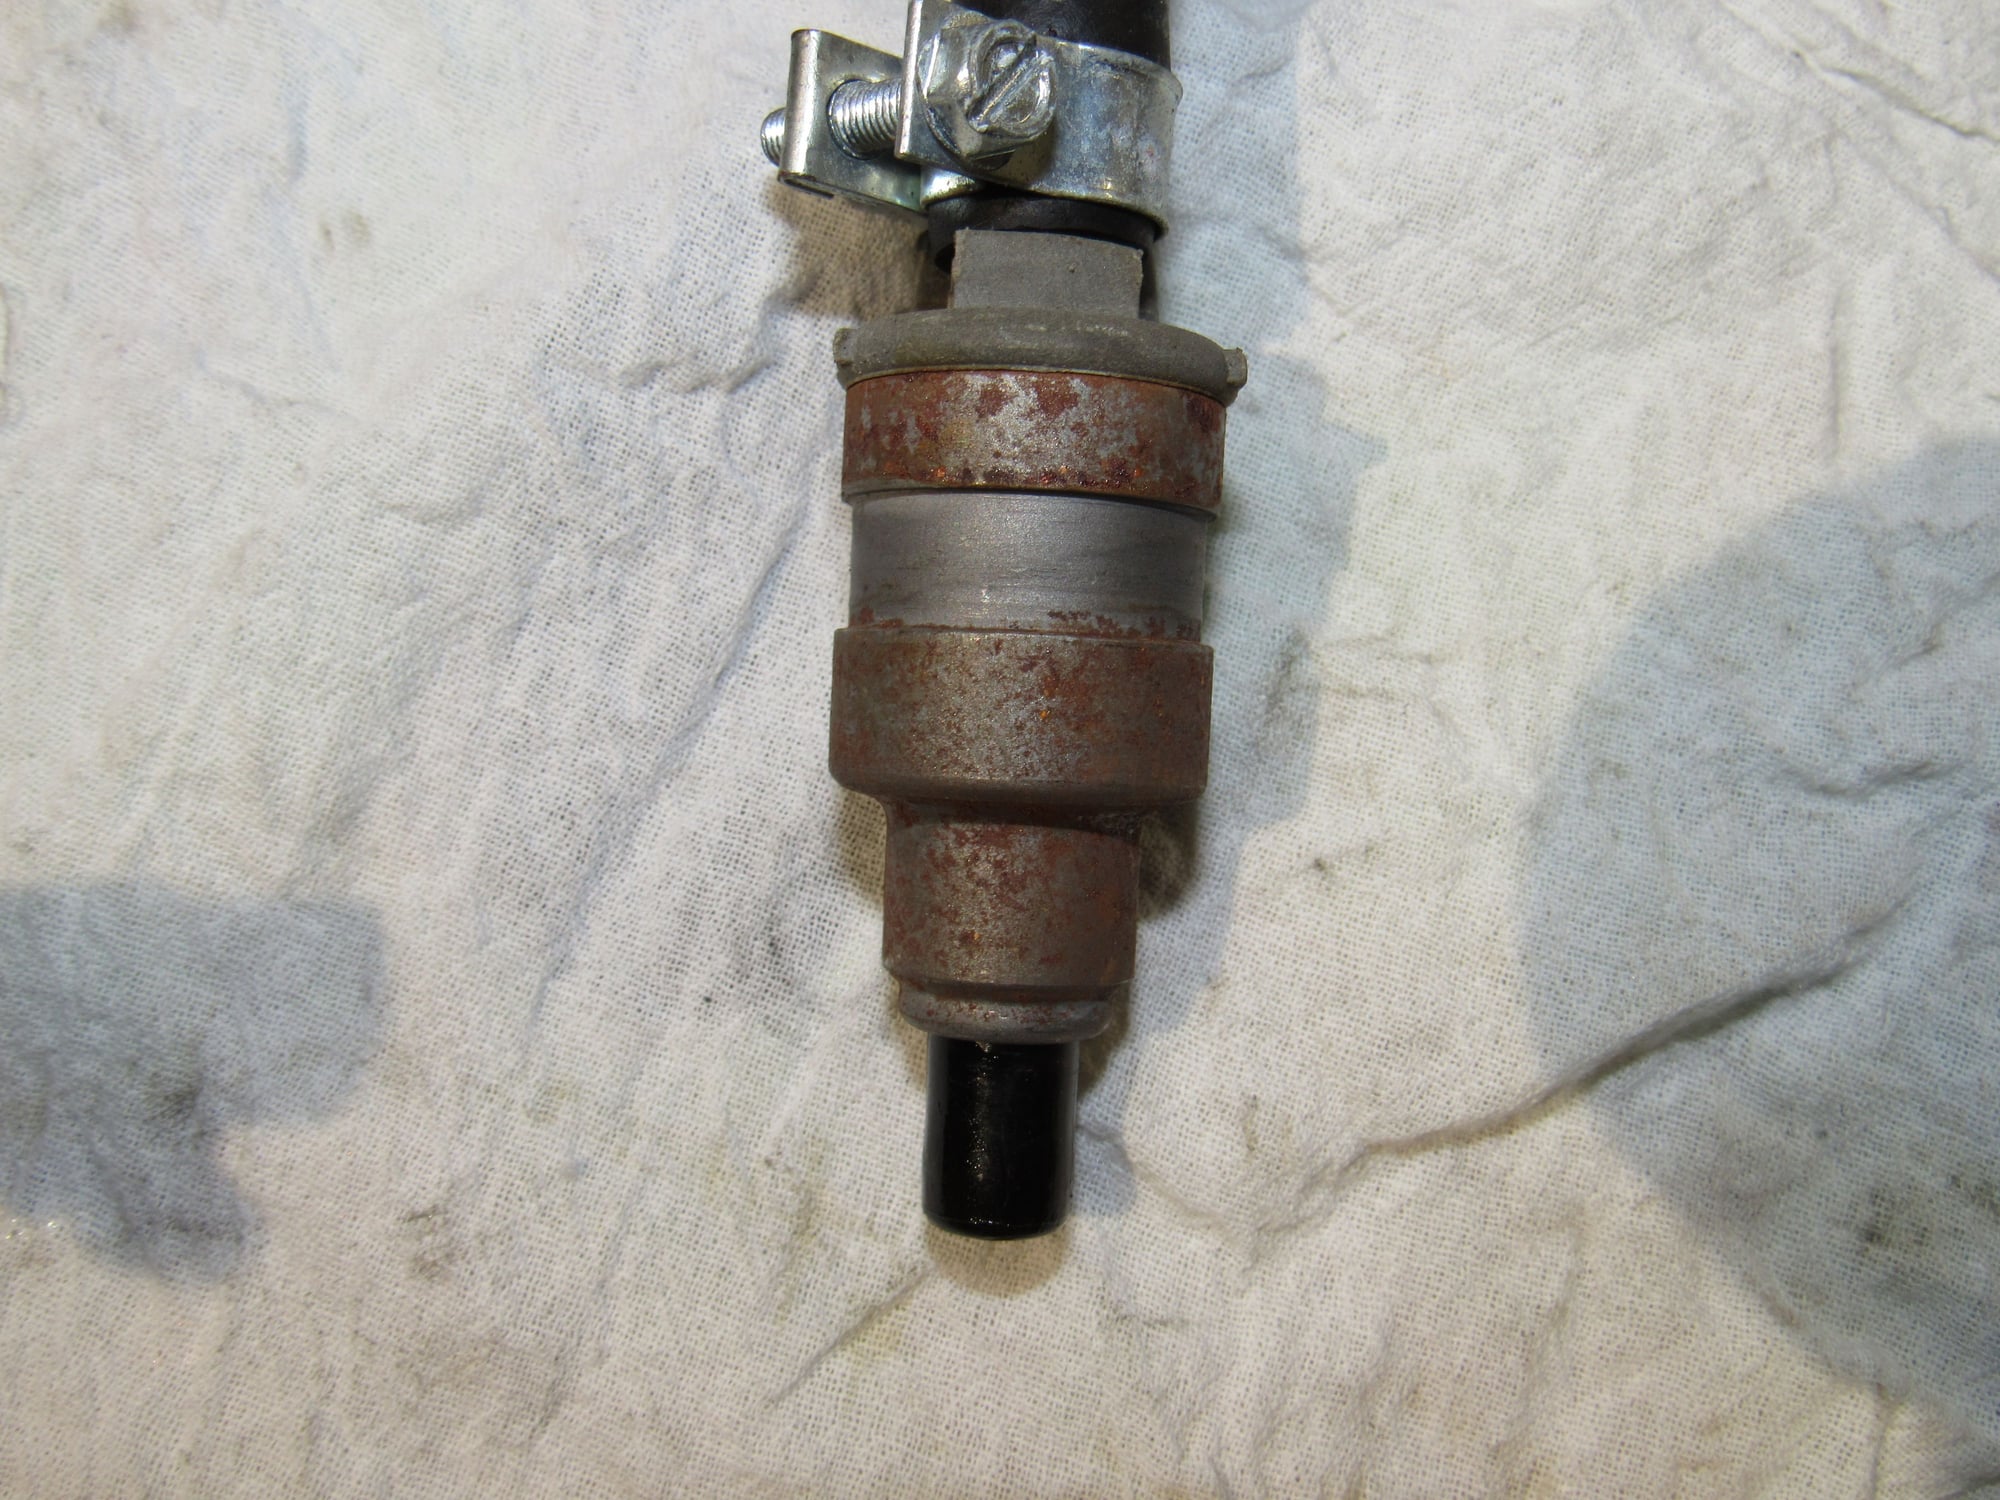
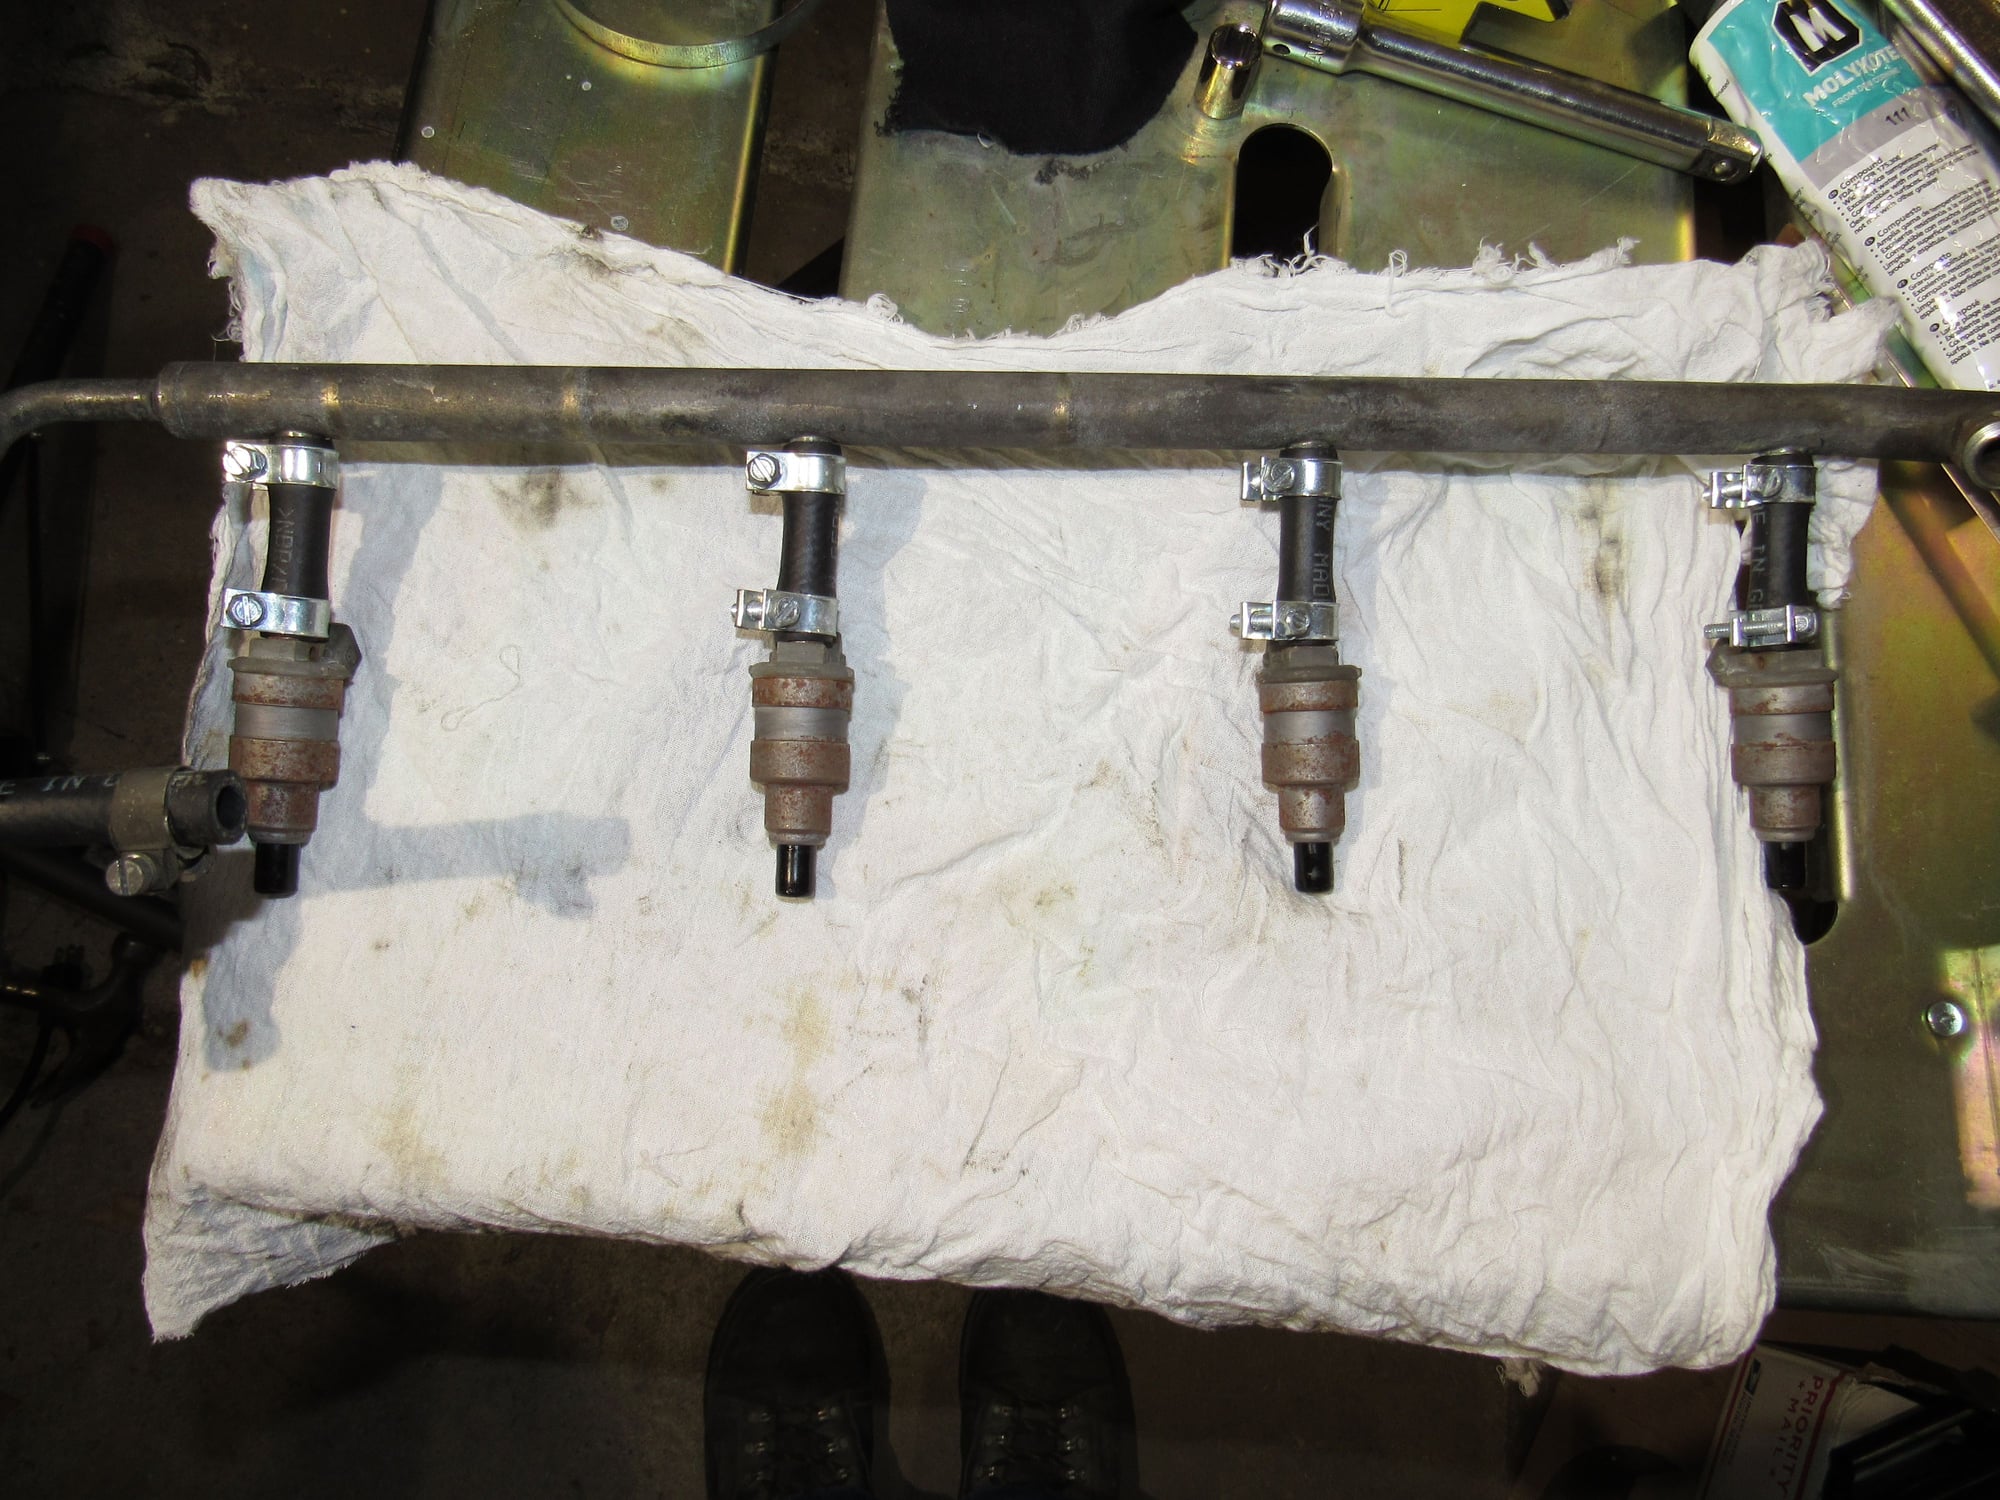
Something I did not realize at the time is that when injectors are sent out for cleaning they are sandblasted and left in bare steel. Mine were starting to rust so out comes the wire wheel.
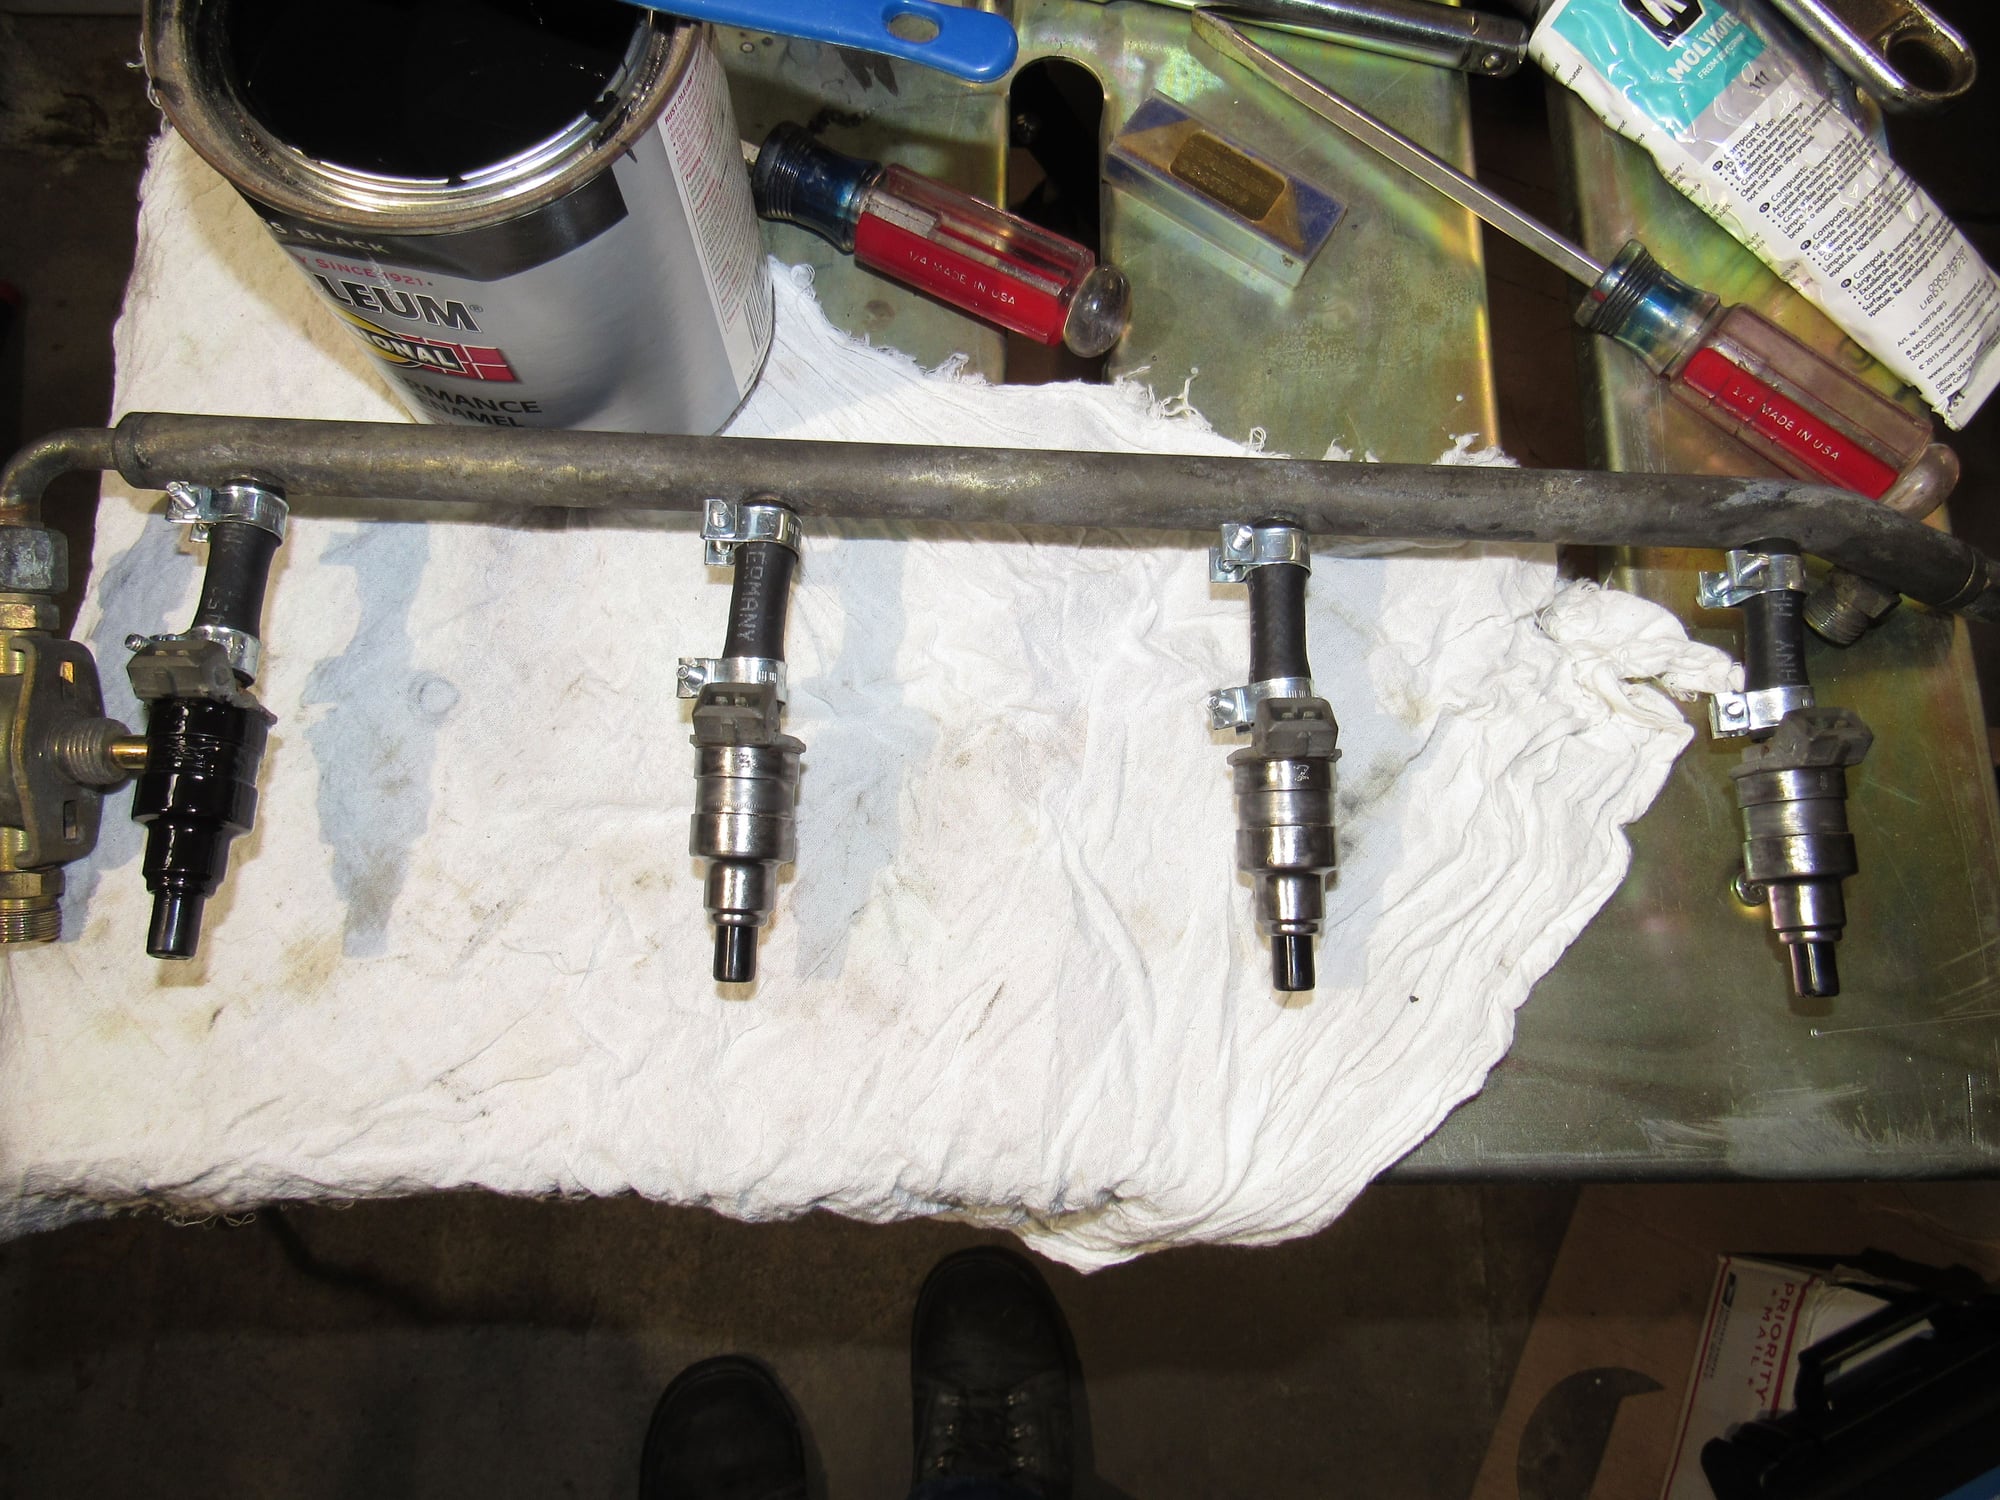
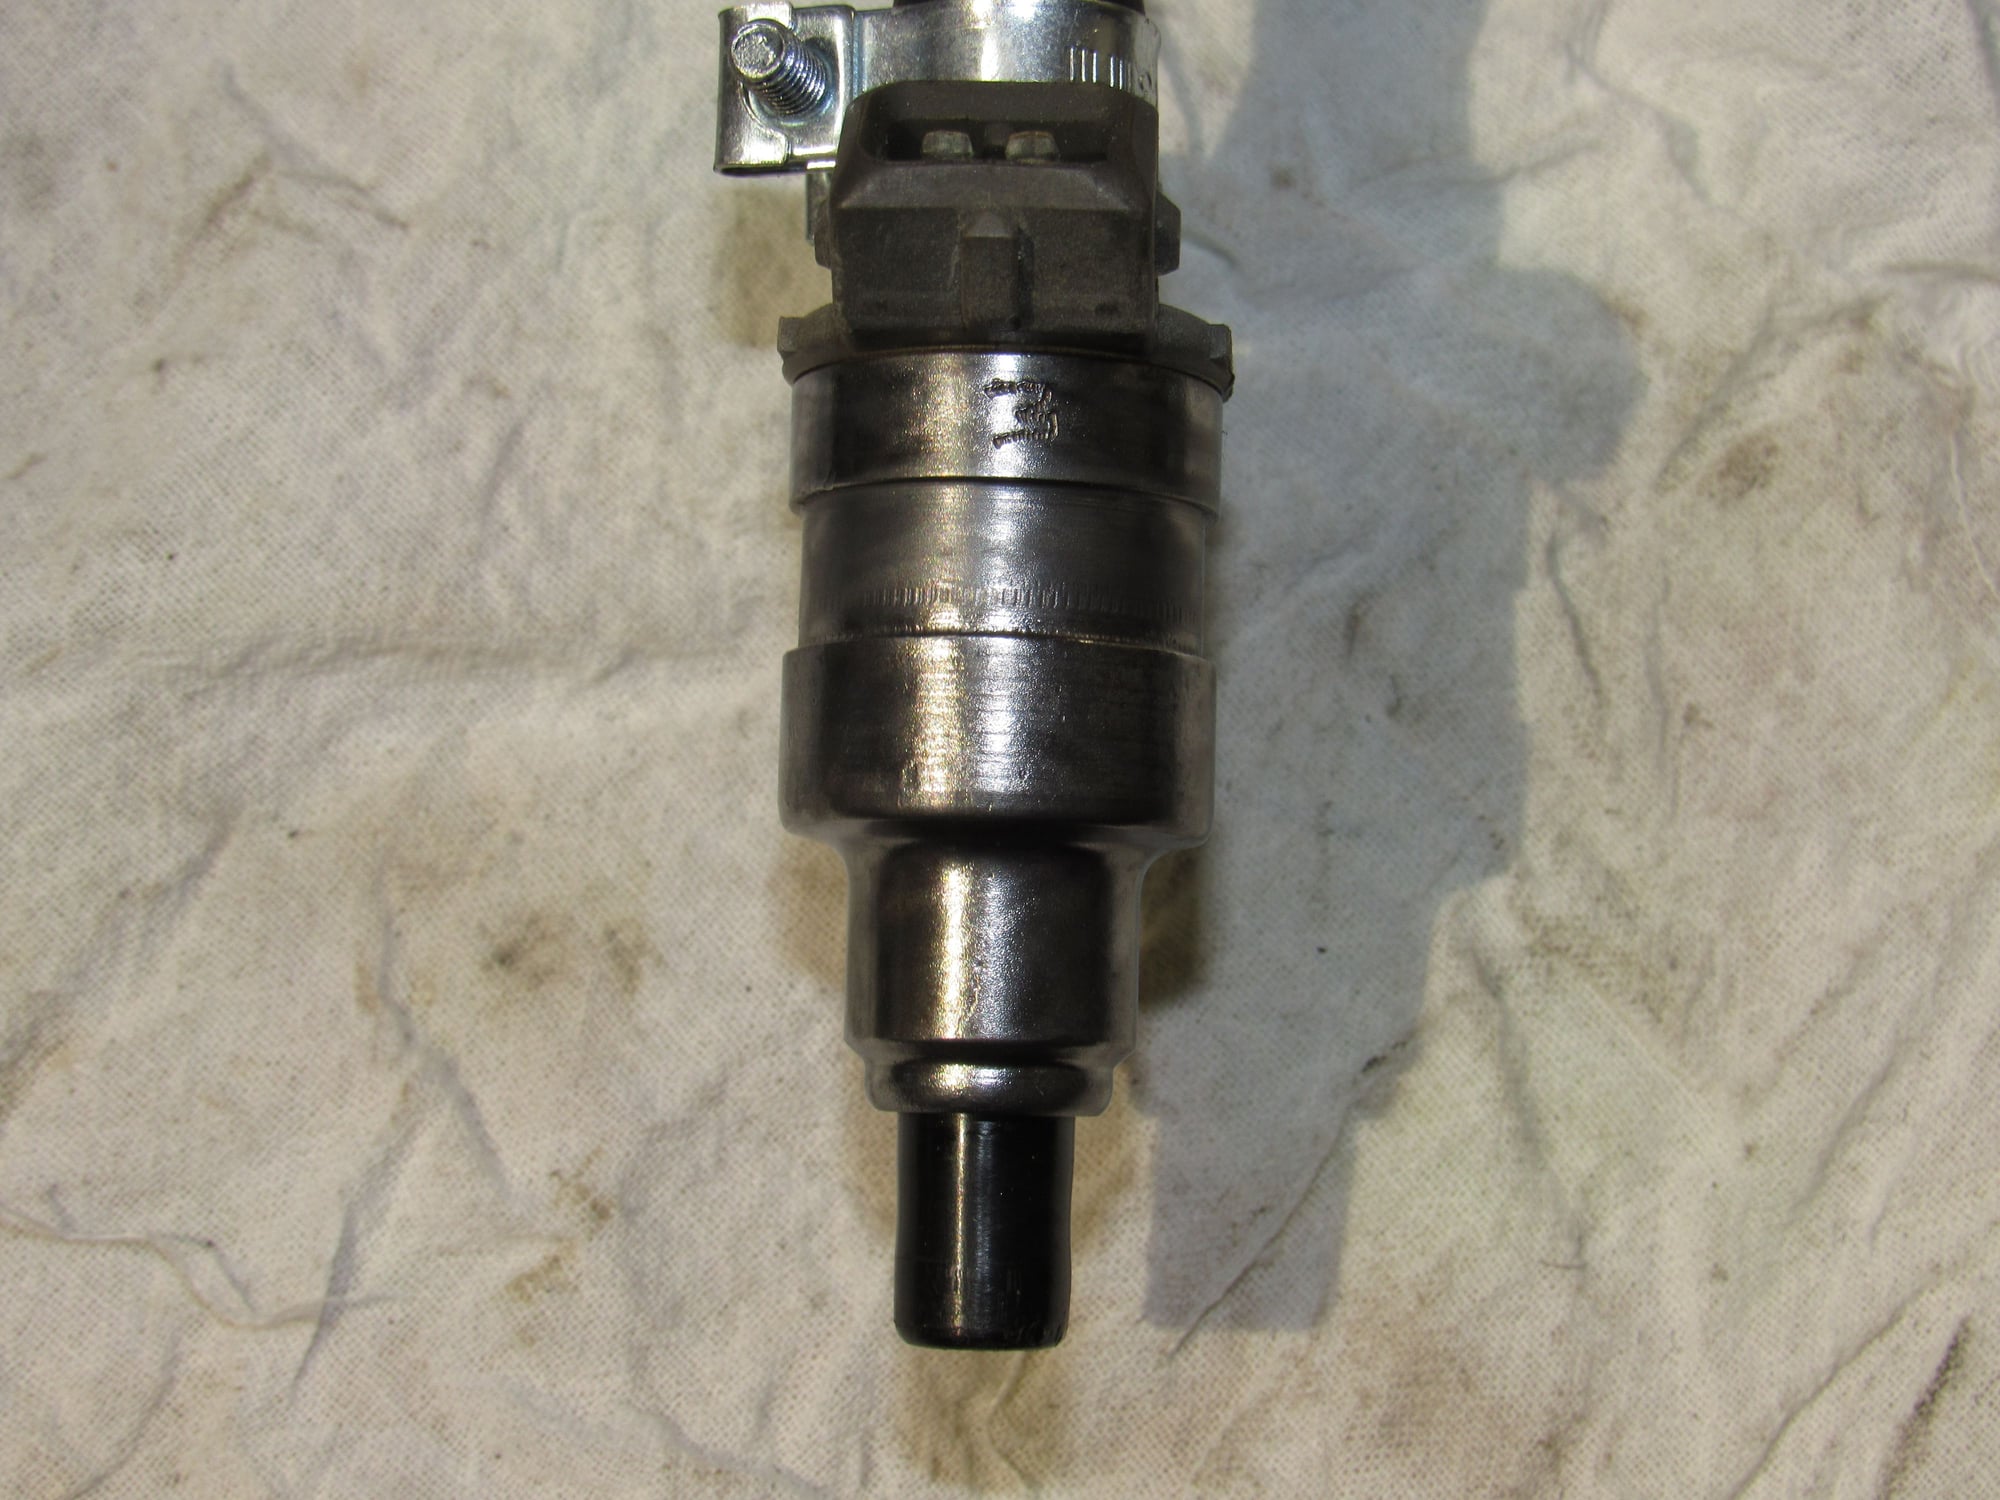
Almost forgot to take a photo of them cleaned. I am brushing on black rustoleum.
OMG you didn't have to struggle for hours like I did to get off those pesky heater hoses because you removed the wiper motor! UGH had I only known, good job on that!!!
Great news on the compression. Everything's looking fantastic. By the way, where was the crack in the tube you posted? Can you post a pic showing its location? I can't quite place it and want to check that on my car too.
I think removing/installing the wiper motor is the easiest component on the entire car. One nut and three little bolts.
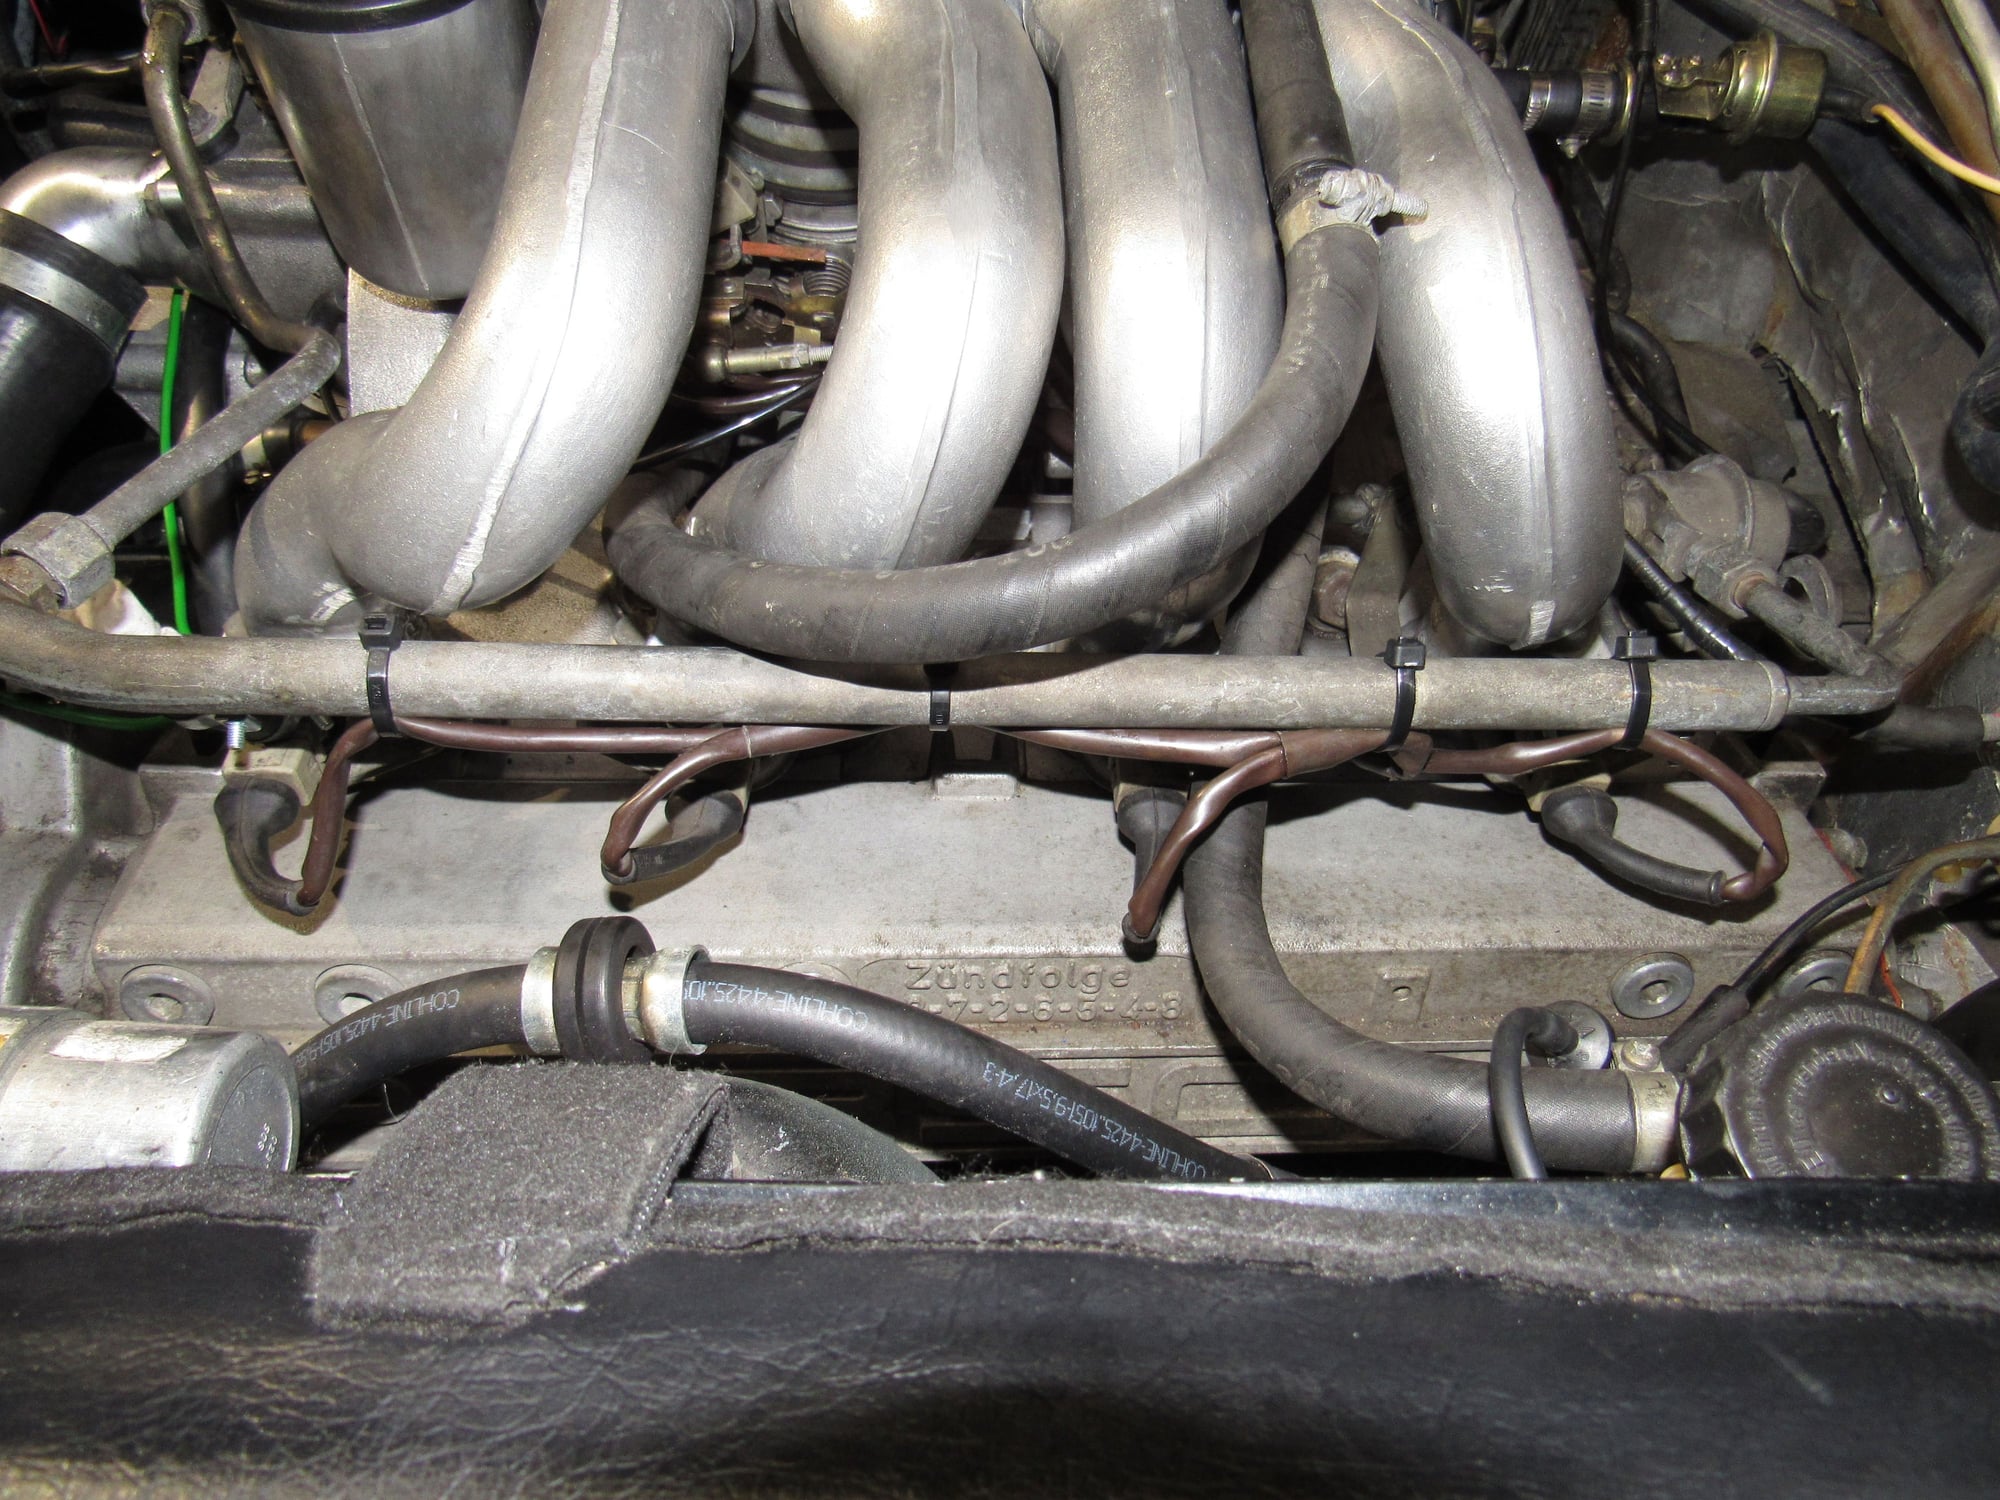
I am shining light in the hose visible through the crack which was under the hose clamp.
Good luck finding the correct hose for the AAV. Everytime I ordered one with the correct part number the hose didn't match. It's the only original hose I didn't replace on my intake refresh. My car is an early '84.
Wow, consider yourself very lucky on that cylinder #4 fix! One never hears of that sort of simple little thing.
Yes, though in this case I did not expect such a low reading since the engine ran strongly and smoothly, other than a slight irregular stumble at idle when hot. I will do a compression and leak down test once it is running again.
Originally Posted by h20quality
Good luck finding the correct hose for the AAV. Everytime I ordered one with the correct part number the hose didn't match. It's the only original hose I didn't replace on my intake refresh. My car is an early '84.
Indeed, the hose is NLA. Roger sent me a straight hose to cut to size. I am mildly concerned about the kink at the 90deg bend but if I have trouble with cold starts I will know where to look.
I haven't done an update in a few weeks, that is not because I stopped work, but rather I've worked so much that I haven't had time to post about it.
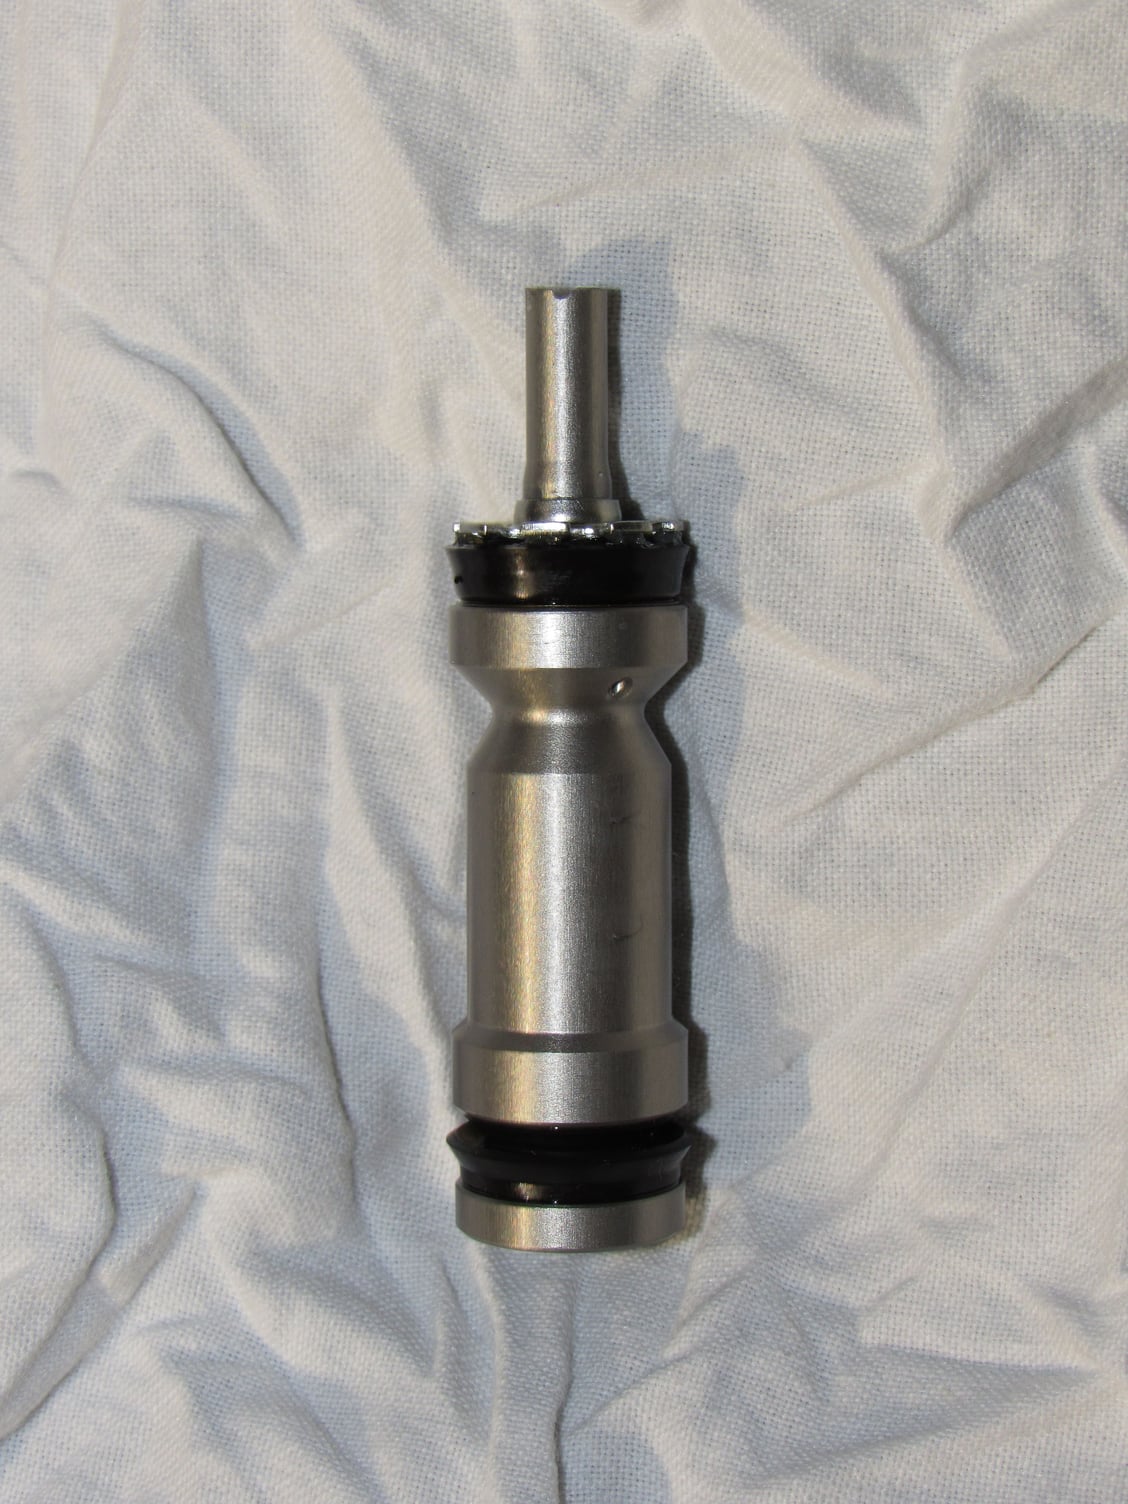
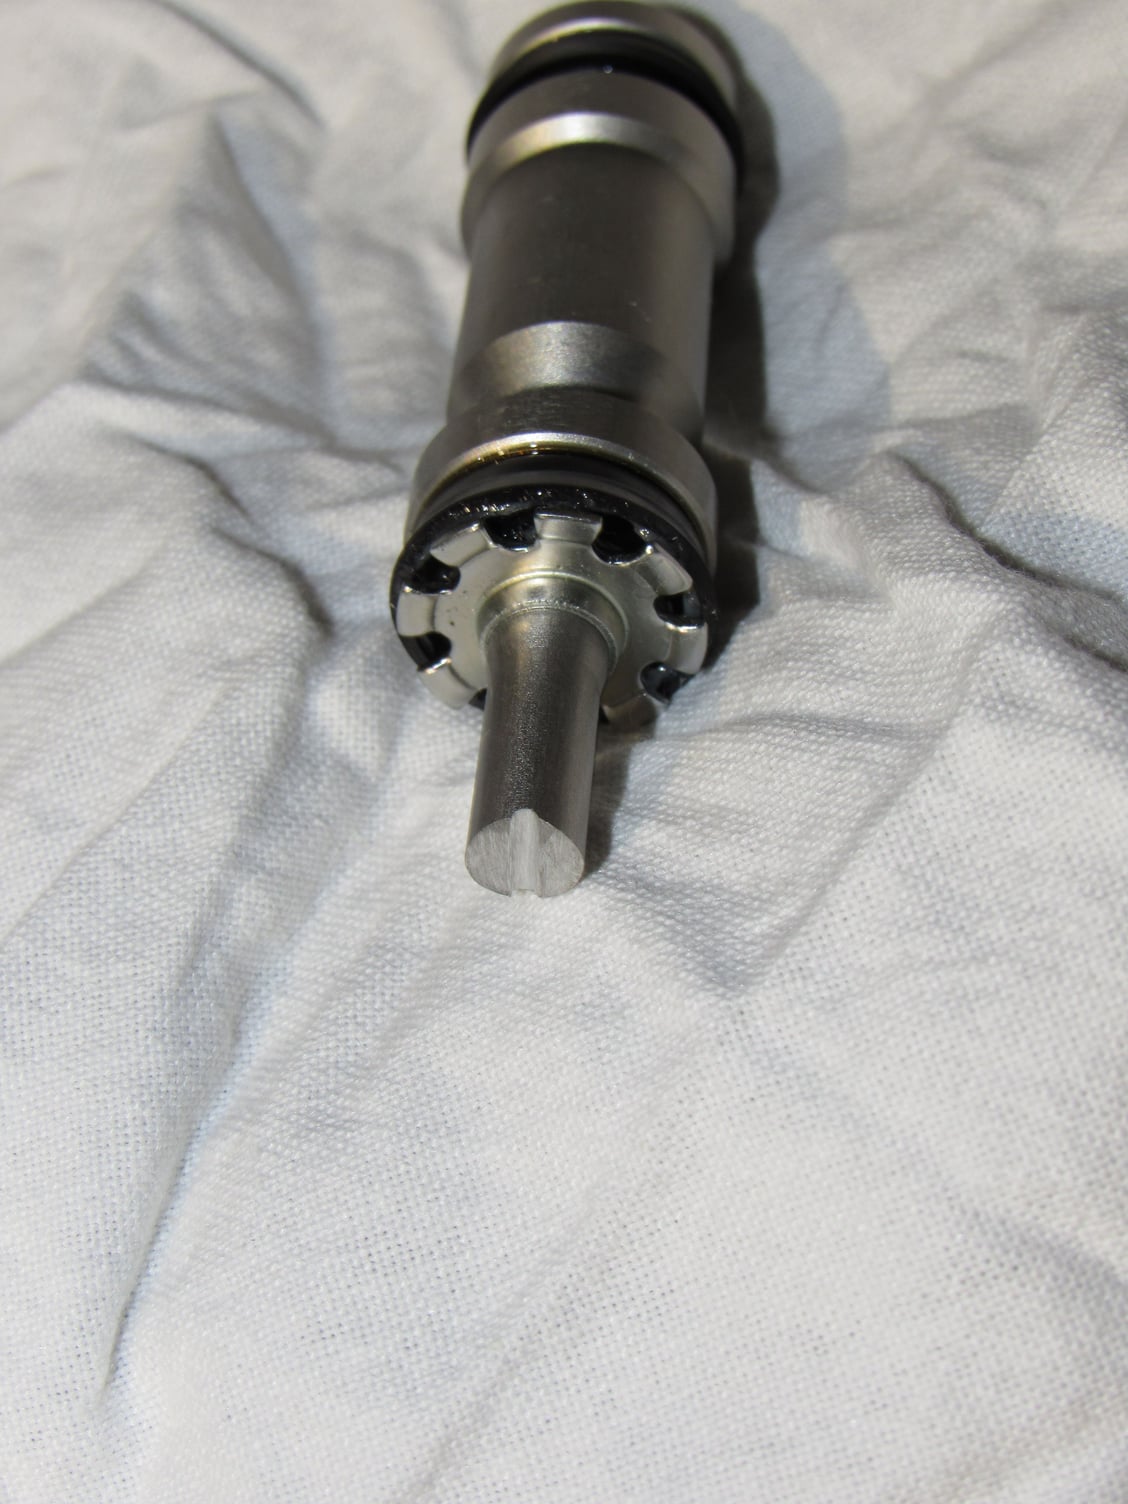
I decided to pull out the clutch master cylinder piston and trim it down as I have seen advised. I trimmed off a little more than 4.5mm and as it turns out I am really happy that I did. I never had a problem with clutch disengagement but it would only do so at the very end of the pedal stroke against the firewall. It now disengages sooner and feels a lot more like I think it should.
Since I had not bled the system yet, I pinched the blue hose from the reservoir and removed the piston from inside the car. No brake fluid had flowed down and it was clean and easy.
Trimmed down piston with notch cut at the end.
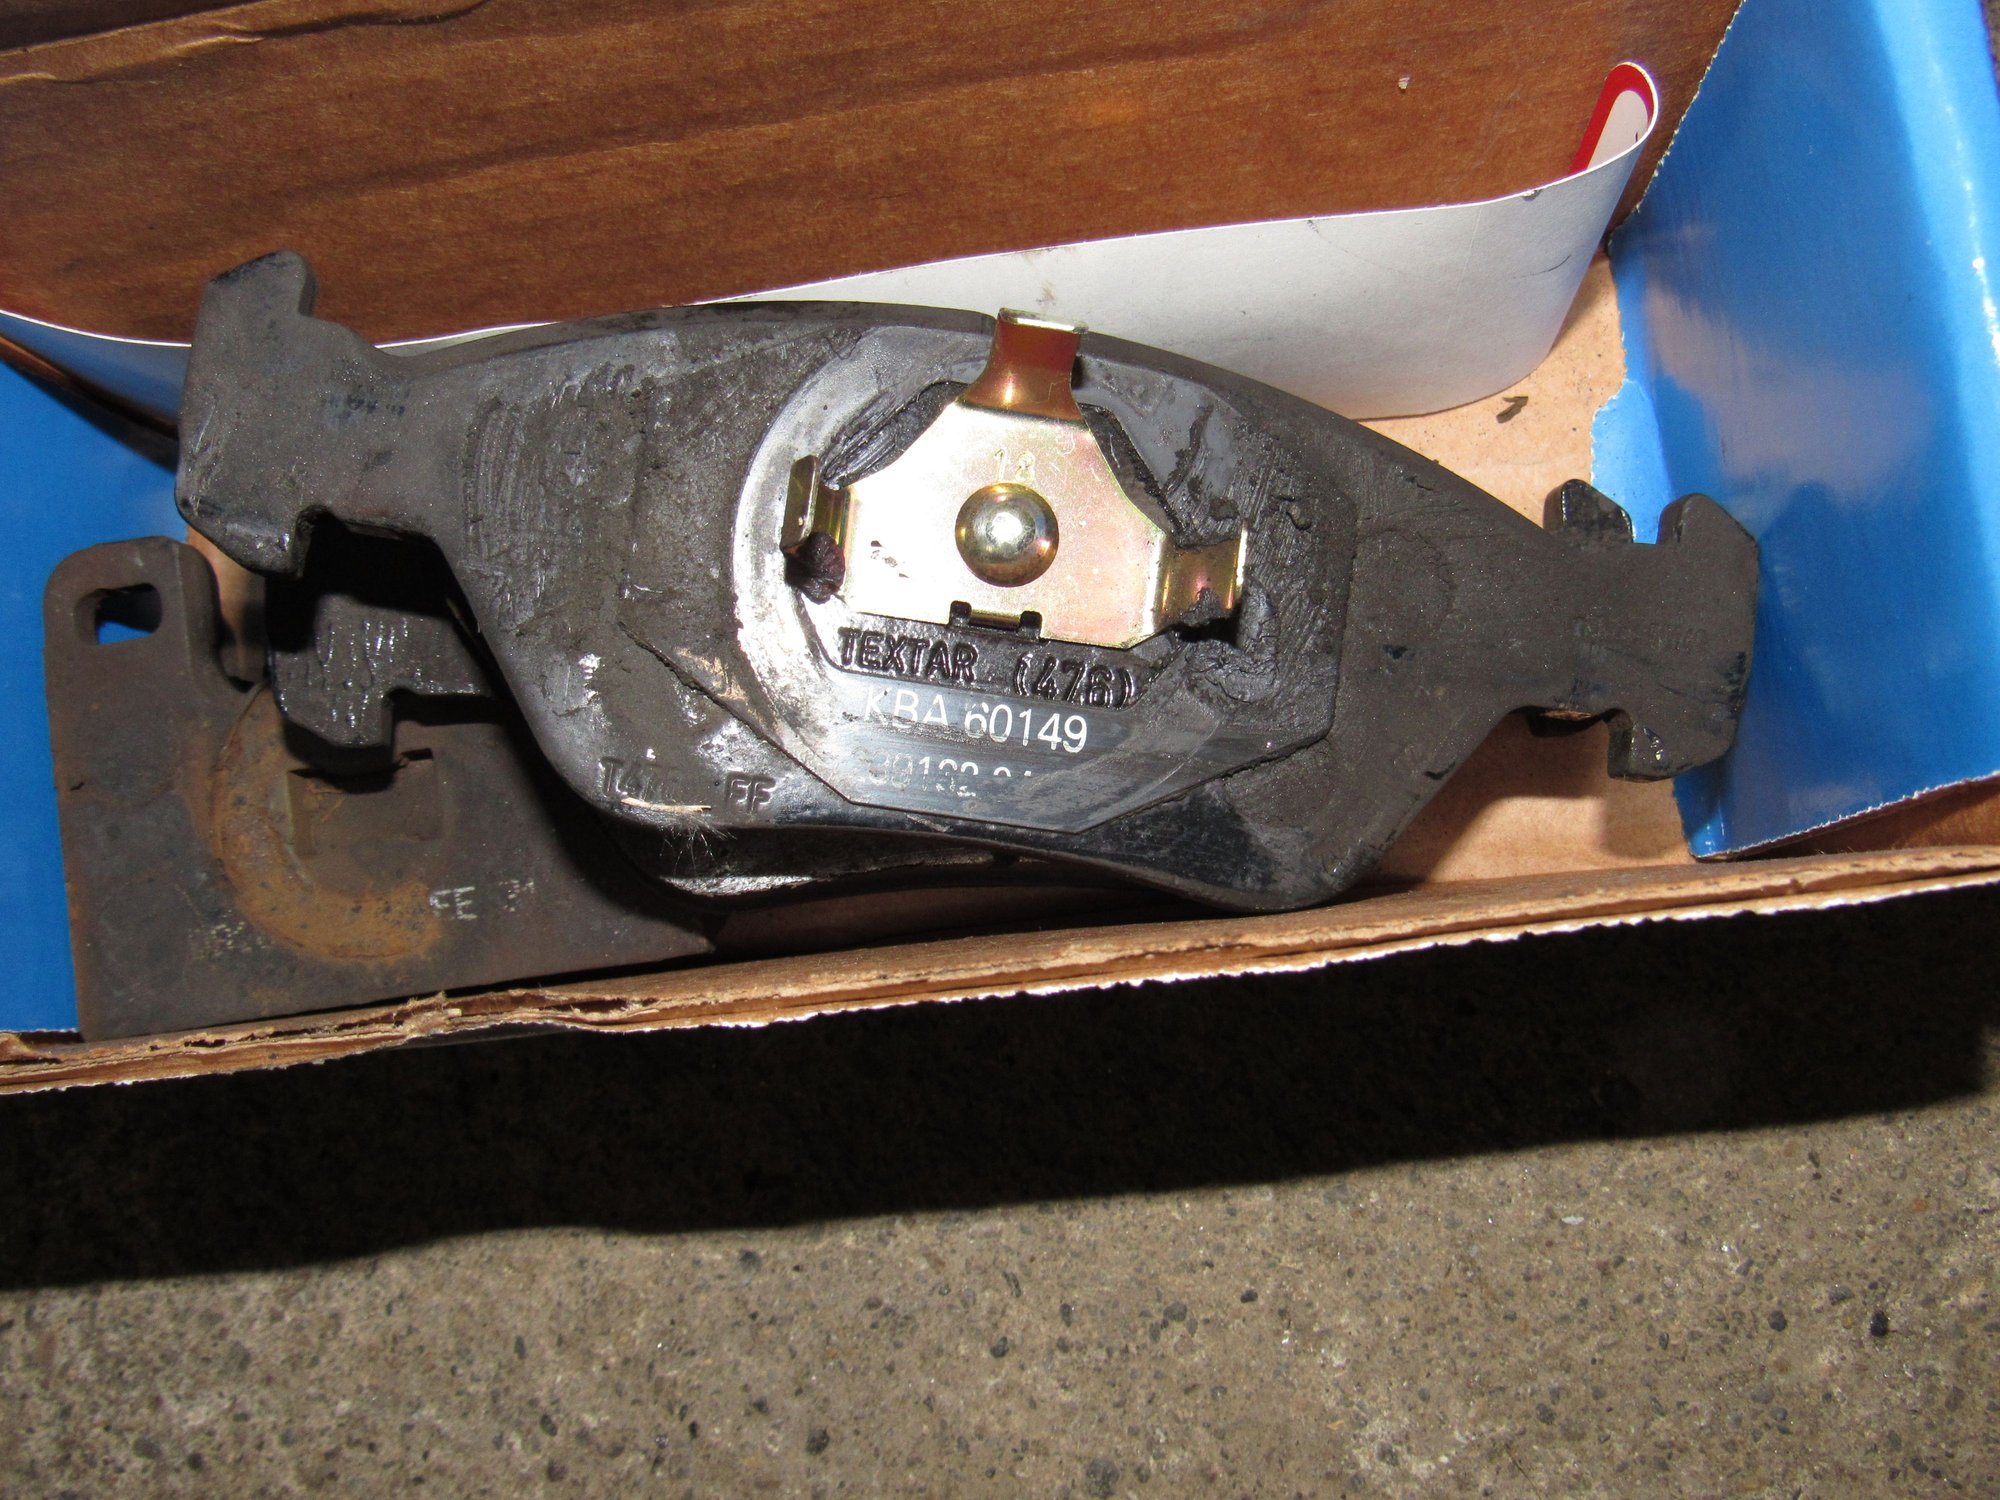
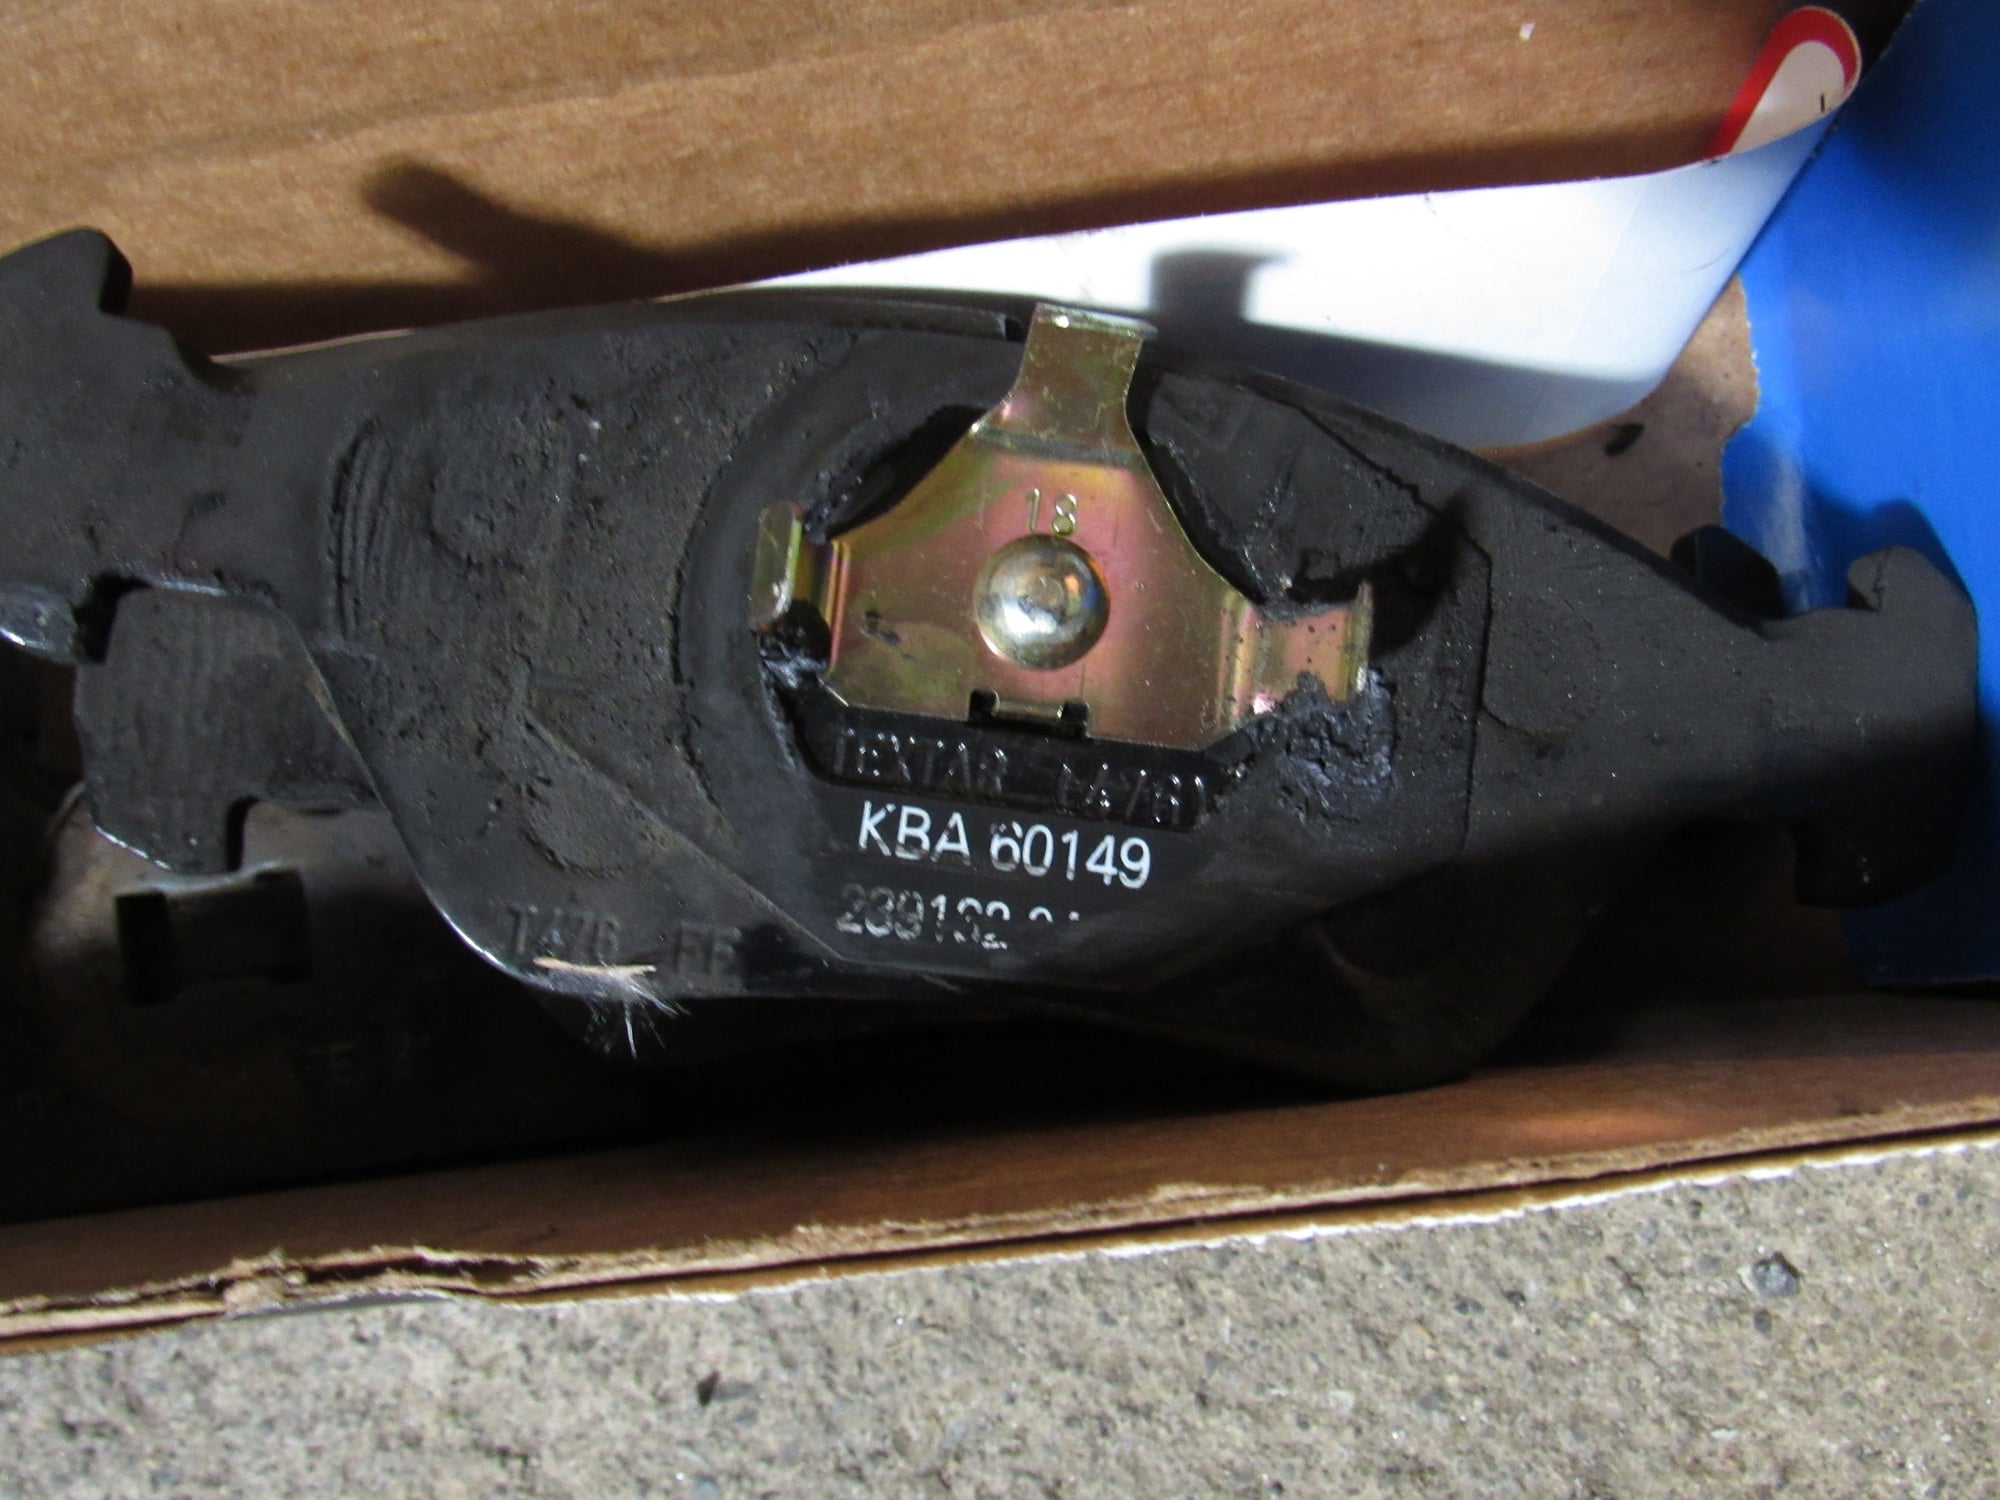
I then replaced all brake pads with Hawk street pads. I could not find any information on the old pads but they squeaked until warmed up and generated an unbelievable amount of dust.
I bled the clutch and brakes and went back to work on the engine.
I installed a Greg Brown oil baffle and 85-86 baffle on top then the oil filler. No gaskets, just dreibond between the layers.
I installed the water bridge with new bolts and dreibond on the gaskets.
I reconnected the rest of the cooling system and used my new coolant pressure tester and found leaks at the temp and temp II sensors on top of the waterbridge without ever starting the car. Doing this is really a necessity to track down the source of leaks.
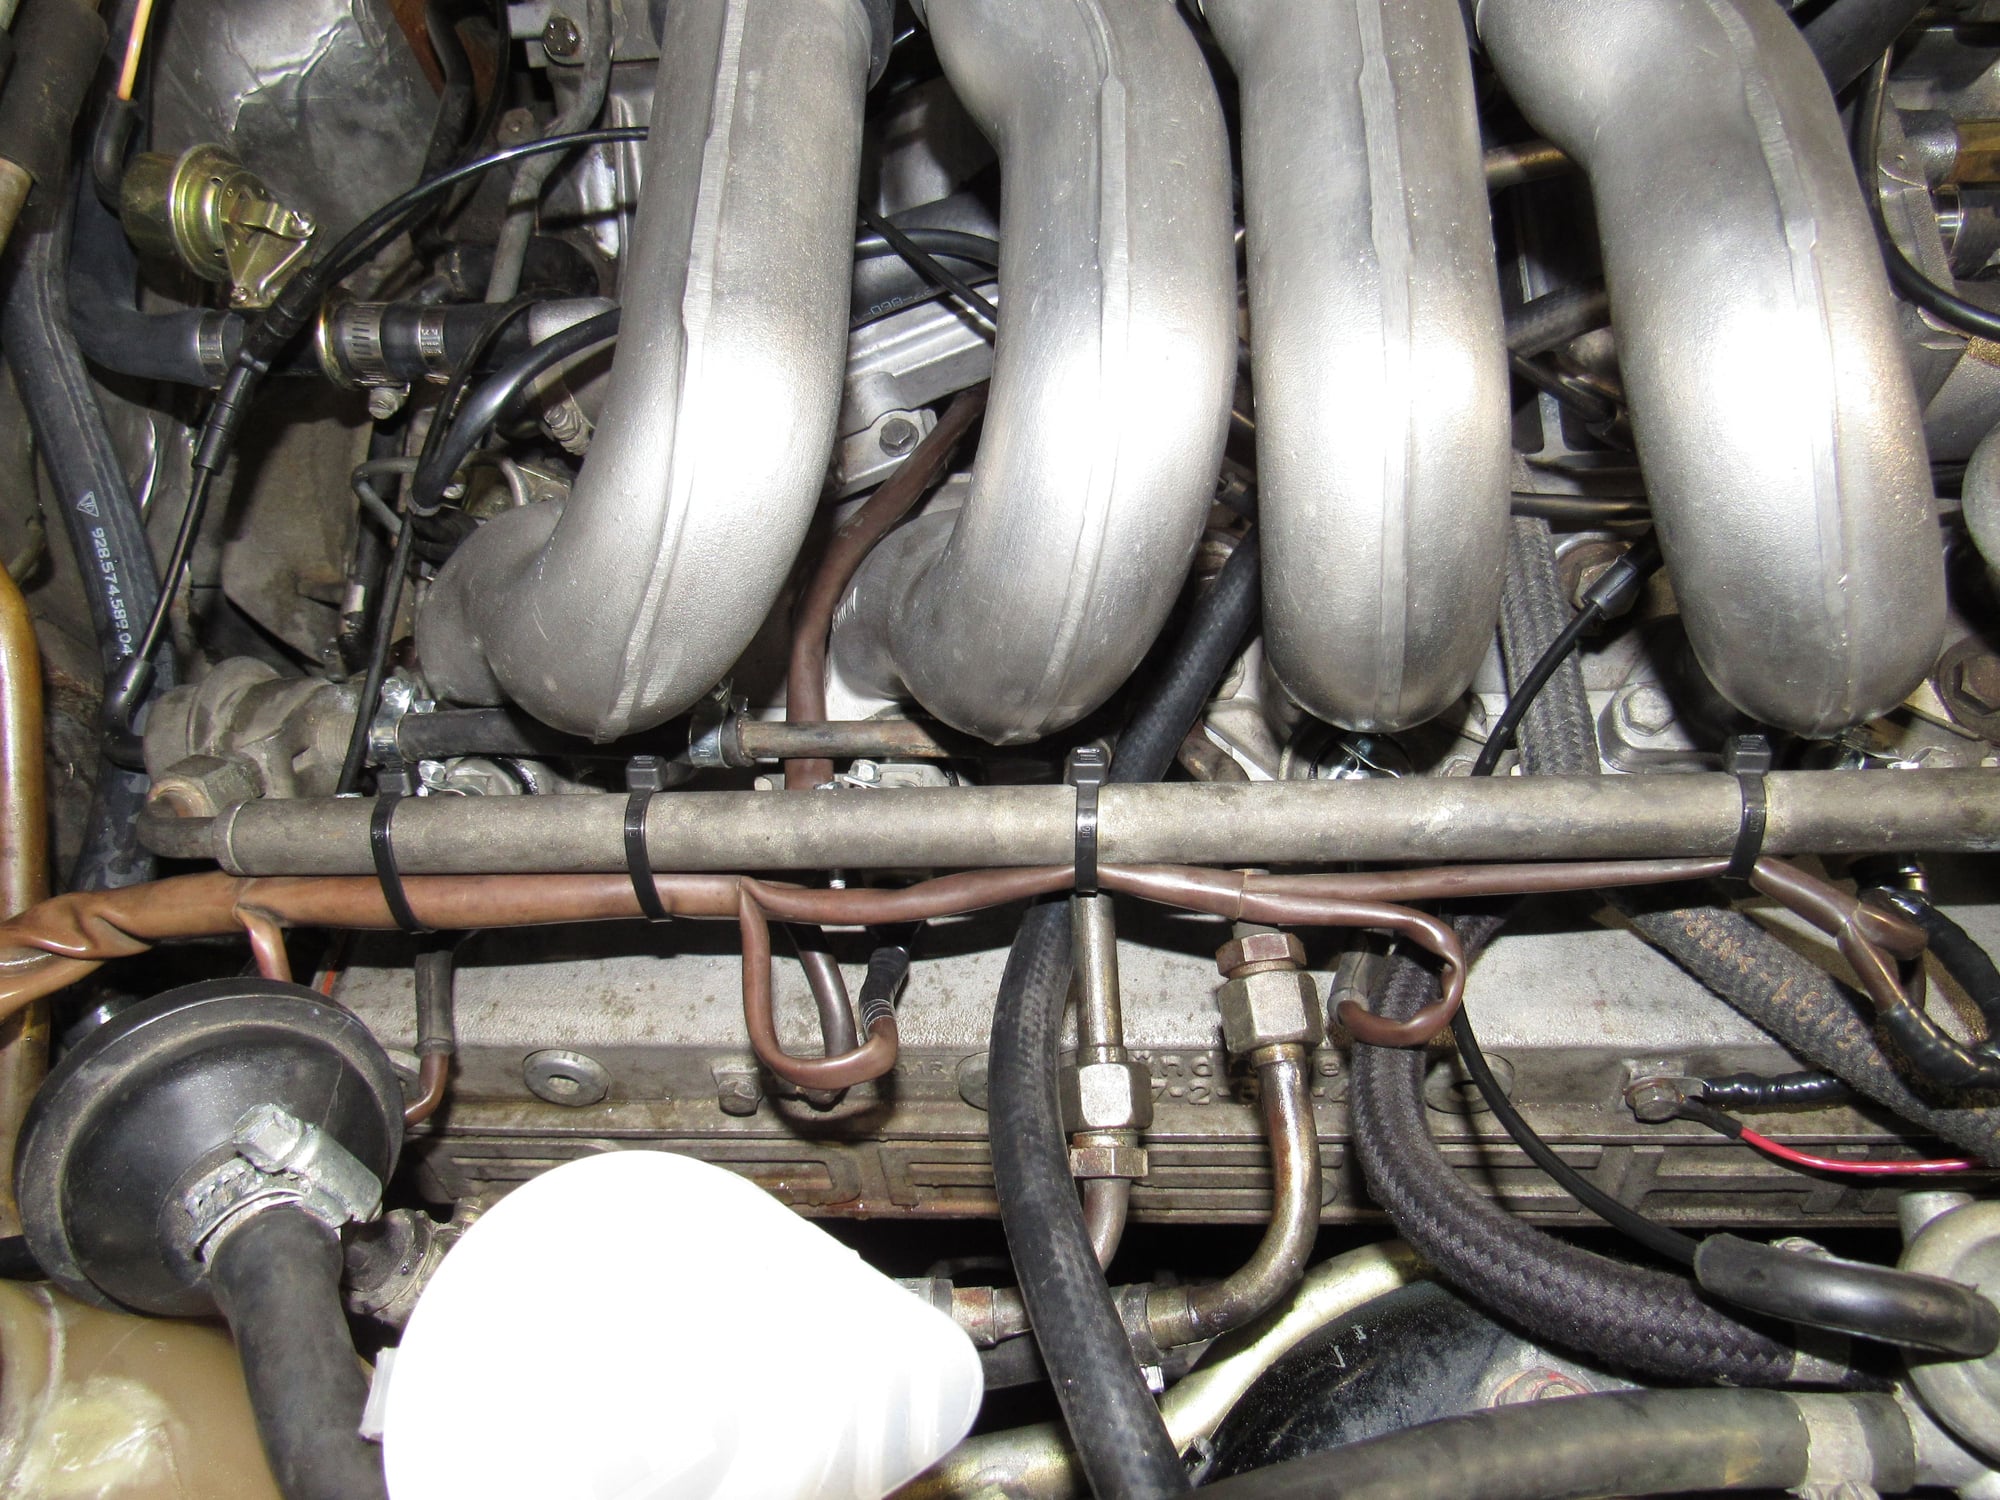
I finished installing the rest of the intake, vacuum lines, and wire harness.
I took it for a test drive last weekend and it is running good but no different. I still have a stumble at idle that most would probably not notice or care but I do. All week I have been smoke testing until I have everything perfectly sealed. One problem was that two of the AFM to airbox bolts were stripped out. On a whim I was at an ACE hardware store and looked for a heli-coil kit or similar and the only one they had was 6mm x 1 pitch, perfect! So I drilled out all four and installed the heli-coils then bolted the airbox and snorkel with dreibond between the layers.
The other was the plastic cover of the AFM. I had removed it last year to clean the contacts inside and adjust the tension of the "barn door" since I have read recommendations to loosen it by 10 notches to start with since they were calibrated to run lean. I had only duct taped the cover back on for ease of access for further tuning (I stopped at 15 notches) but it was in fact a minor leak without being sealed properly. That taken care of, I can now rule out any kind of intake leak.
I wish my garage time was as trouble-free and fruitful as yours, Alex. You're one of my heroes.
Ha definitely not trouble free but thanks. When I think I am approaching some level of competency this car seems to humble me. The engine valley did not stay clean for long. Though they did not leak with the coolant pressure tester, after a heat cycle the coolant block off plate and heater port both leak. Only a small amount leaked that dried by the time I looked but I can see a trail of dry coolant coming from the ports, I should have used sealant. I will have to drain most of the coolant for the redo.
The good news is that after driving it then diagnosing the minor stumble I retested the #4 cylinder for leak down and it is almost perfect.
This past week I also tried to repair my dead speedometer. The speed indicated was gradually reduced vs actual speed until it stopped altogether. I had already refreshed the instrument cluster and soldered the rivets in the circuit foil for the speedometer. My skills were not great but are a little better now so I re-soldered them and verified good continuity. The contacts on the speedometer that fit over the pins from the foil felt loose and I was able to close them together. I hoped this would fix it but made no difference.
When searching for a rebuild service I came across some posts about capacitors and resistors failing so took another look at mine. They were good but on the reverse I found burnt traces on the circuit board. With not much to lose I tried repairing them and was pretty successful, though in the end, it still did not work.
Circuit board repaired:
I sent the speedometer to a recommended place and am very curious as to what caused this damage.
So all afternoon I worked on the stumble/misfire. I performed the battery of tests in section 28 of the manual. I never really looked at the ignition resistors before so I removed them to test and clean. The wire from the starter that bypasses one of the resistors during cranking was cut and routed to bypass both. Not sure why but I repaired this and it made no improvement. The only out of spec measurement was term 1 at the coil to ground. it should be max 2v but I have full battery voltage.
How I found the ignition resistors (now fixed):
I have pretty much tested everything. I doubled checked the camshaft alignment, adjusted the distributor timing, fuel pressure regulators and damper hold vacuum, double and triple checked vacuum hose routing, no sparks from plug wires when misting water on them in the dark, new correct spark plugs installed, new green wire, all fuel injectors are firing, and the intake system is airtight. I'm not done fighting but there is not much else to check.
Originally Posted by Bertrand Daoust
Wow!
Great job Alex.
Great quality pics too.
Keep up the good work.
Thanks, I like this one I posted in the random picture thread:
One more:
Last edited by Majestic Moose; 05-26-2019 at 10:06 AM.
I redid the rear coolant ports and it turns out they were not leaking at all. I pressure tested the system again and coolant is coming out of the HVAC drain, must be the heater core. My best guess is that both cylinder heads are leaking into the valley. I know stop-leak products are a band-aid at best but I just don't have it in me to tear out the heater core, much less an engine rebuild, so that is probably my next step. Otherwise I will just drive it and monitor the coolant level since it never lost very much and it should be less now that the waterbridge is well sealed.
I sent my dead speedometer out for repair and it is just my luck, the guy has spent hours with it and has not figured it out yet.


 04-20-2019, 02:11 AM