When you click on links to various merchants on this site and make a purchase, this can result in this site earning a commission. Affiliate programs and affiliations include, but are not limited to, the eBay Partner Network.
Looking forward to meeting you in person, Nate. Was following along on your restoration closely, but lost track of things here...when my job consumed my life for the last year or so.
Brian.
Likewise. It'll be great to put a face to a name. Lots of folks I have corresponded with but haven't met yet will also be there. Not to mention all the variety of 928s!
Brian - what was the paint process for the lugs. Did you apply any anti rust coating after wheeling the hubs? Looks great!
Alex
Morning Alex,
Had a piece of thick foam, seat cushion off old chair, then cut up three inch lengths of old steel coat hanger, stuck those into the foam cushion so they stuck out about two inches, wiped the lug nuts down with pre-clean/mineral spirits, placed a lug nut on each hanger stud and hit them with rustolem flat black, very light coats, almost misting, letting each coat dry thoroughly in between. Heavy coats of paint tend to crack. Let them dry for a day in the sun before handling. Placed a small piece of blue shop towel in the lug sockets crown, since the lugs are long and touched the inner portion of the socket, and installed.
Used flat black just out of preference, no idea if that is the correct finish, but my eye likes slight differences in finish, example shiny rim, flat lug nut. Personally, l don't like everything all shiny in one area of detail.
Yes, I hand rubbed a mixture of WD40 and anti-seize onto the rotors hub face (portion the rim mounts too) and out rim, and will not wash the car until a day or so before the event.
Don't worry Brian. My '84 is coming with warts and all. Scratches, dings, dents, warped dash, effed up hood badge, overspray, mismatched panel paint, etc. You can park next to me
Nate, are you driving all the way cross country. ?
Makes me feel like a real light weight for not driving across the state
Had a piece of thick foam, seat cushion off old chair, then cut up three inch lengths of old steel coat hanger, stuck those into the foam cushion so they stuck out about two inches, wiped the lug nuts down with pre-clean/mineral spirits, placed a lug nut on each hanger stud and hit them with rustolem flat black, very light coats, almost misting, letting each coat dry thoroughly in between. Heavy coats of paint tend to crack. Let them dry for a day in the sun before handling. Placed a small piece of blue shop towel in the lug sockets crown, since the lugs are long and touched the inner portion of the socket, and installed.
Used flat black just out of preference, no idea if that is the correct finish, but my eye likes slight differences in finish, example shiny rim, flat lug nut. Personally, l don't like everything all shiny in one area of detail.
Yes, I hand rubbed a mixture of WD40 and anti-seize onto the rotors hub face (portion the rim mounts too) and out rim, and will not wash the car until a day or so before the event.
Brian.
Thanks for the info !
Can't wait to see it at PGVP
Painted some things l'd picked up from the master-blaster.
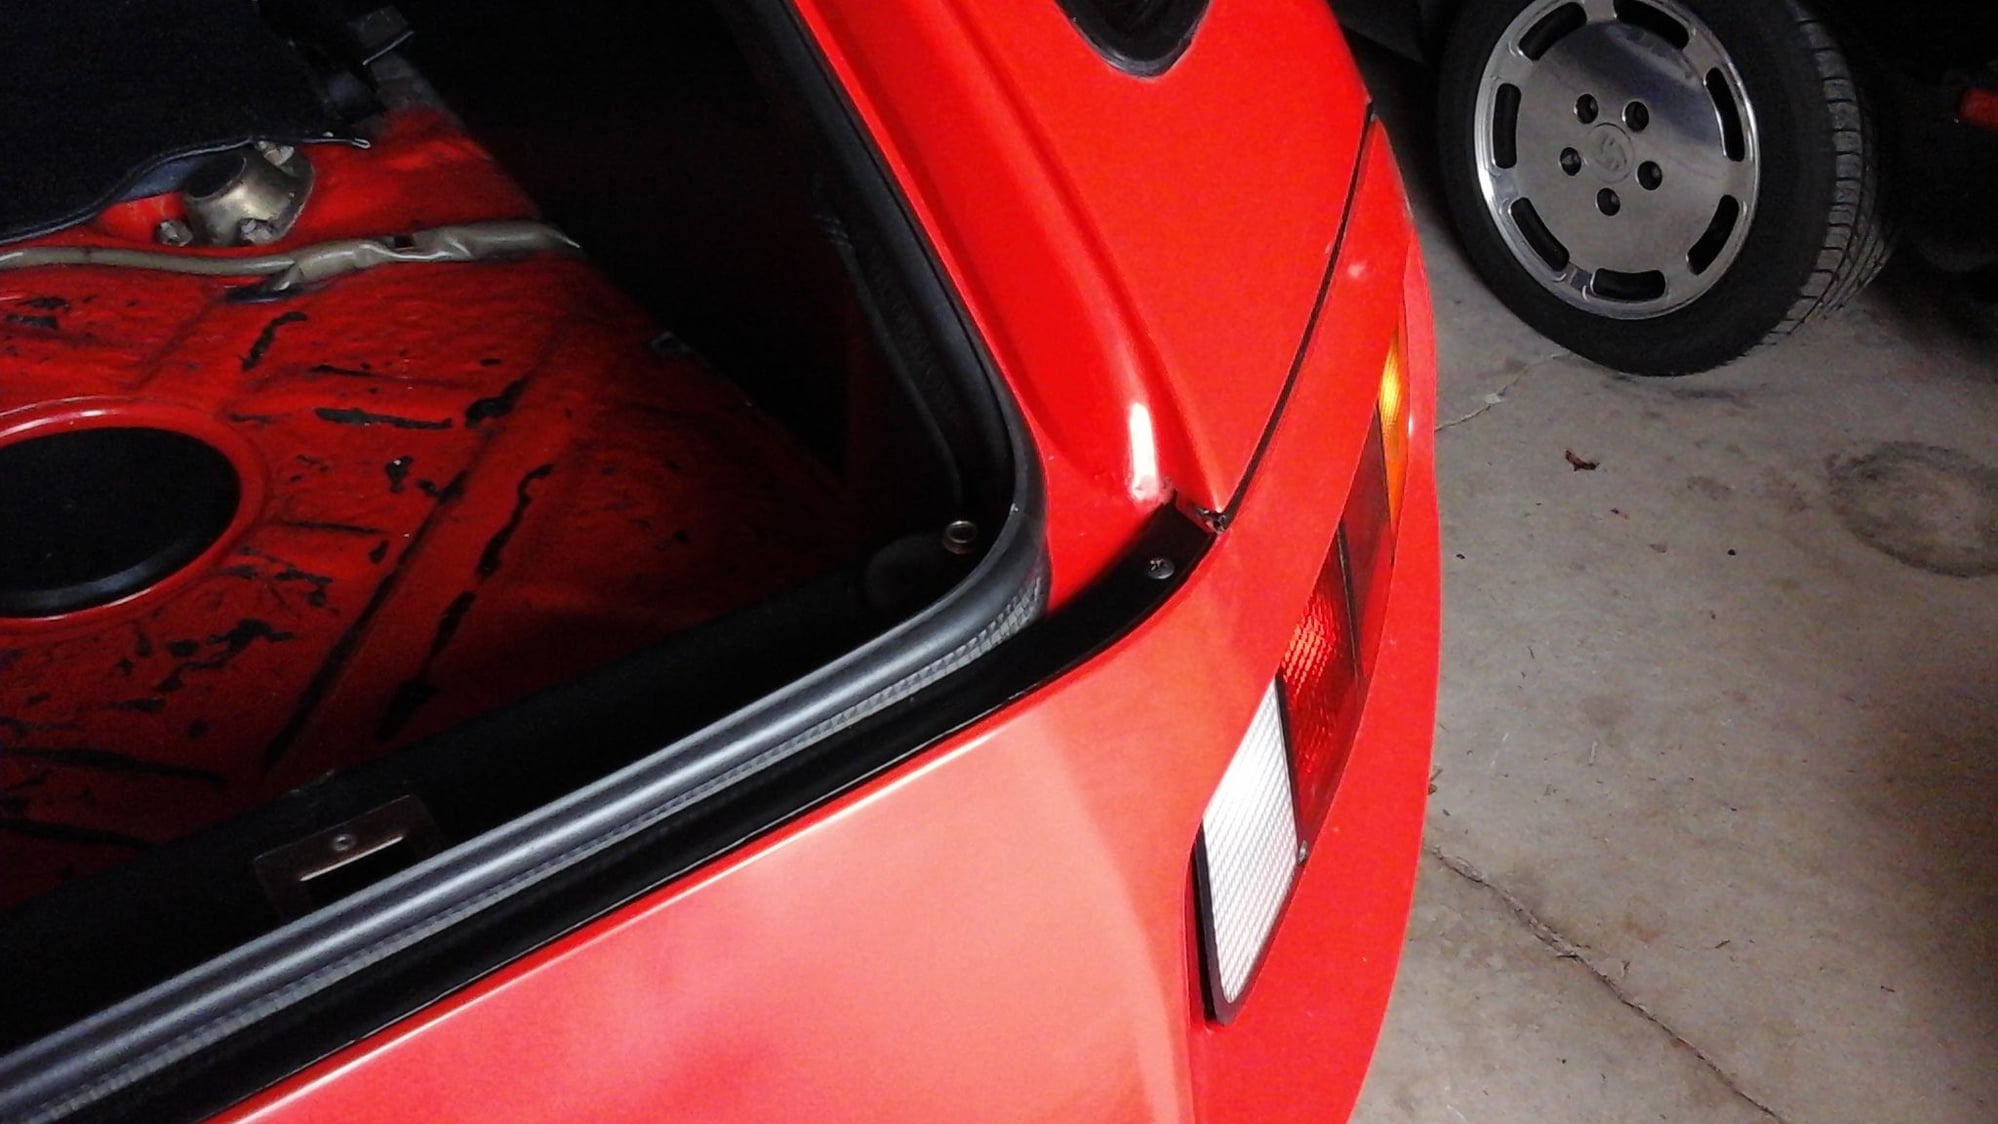
He even left the original finish on the license-plate light housing (inside left, outside right)
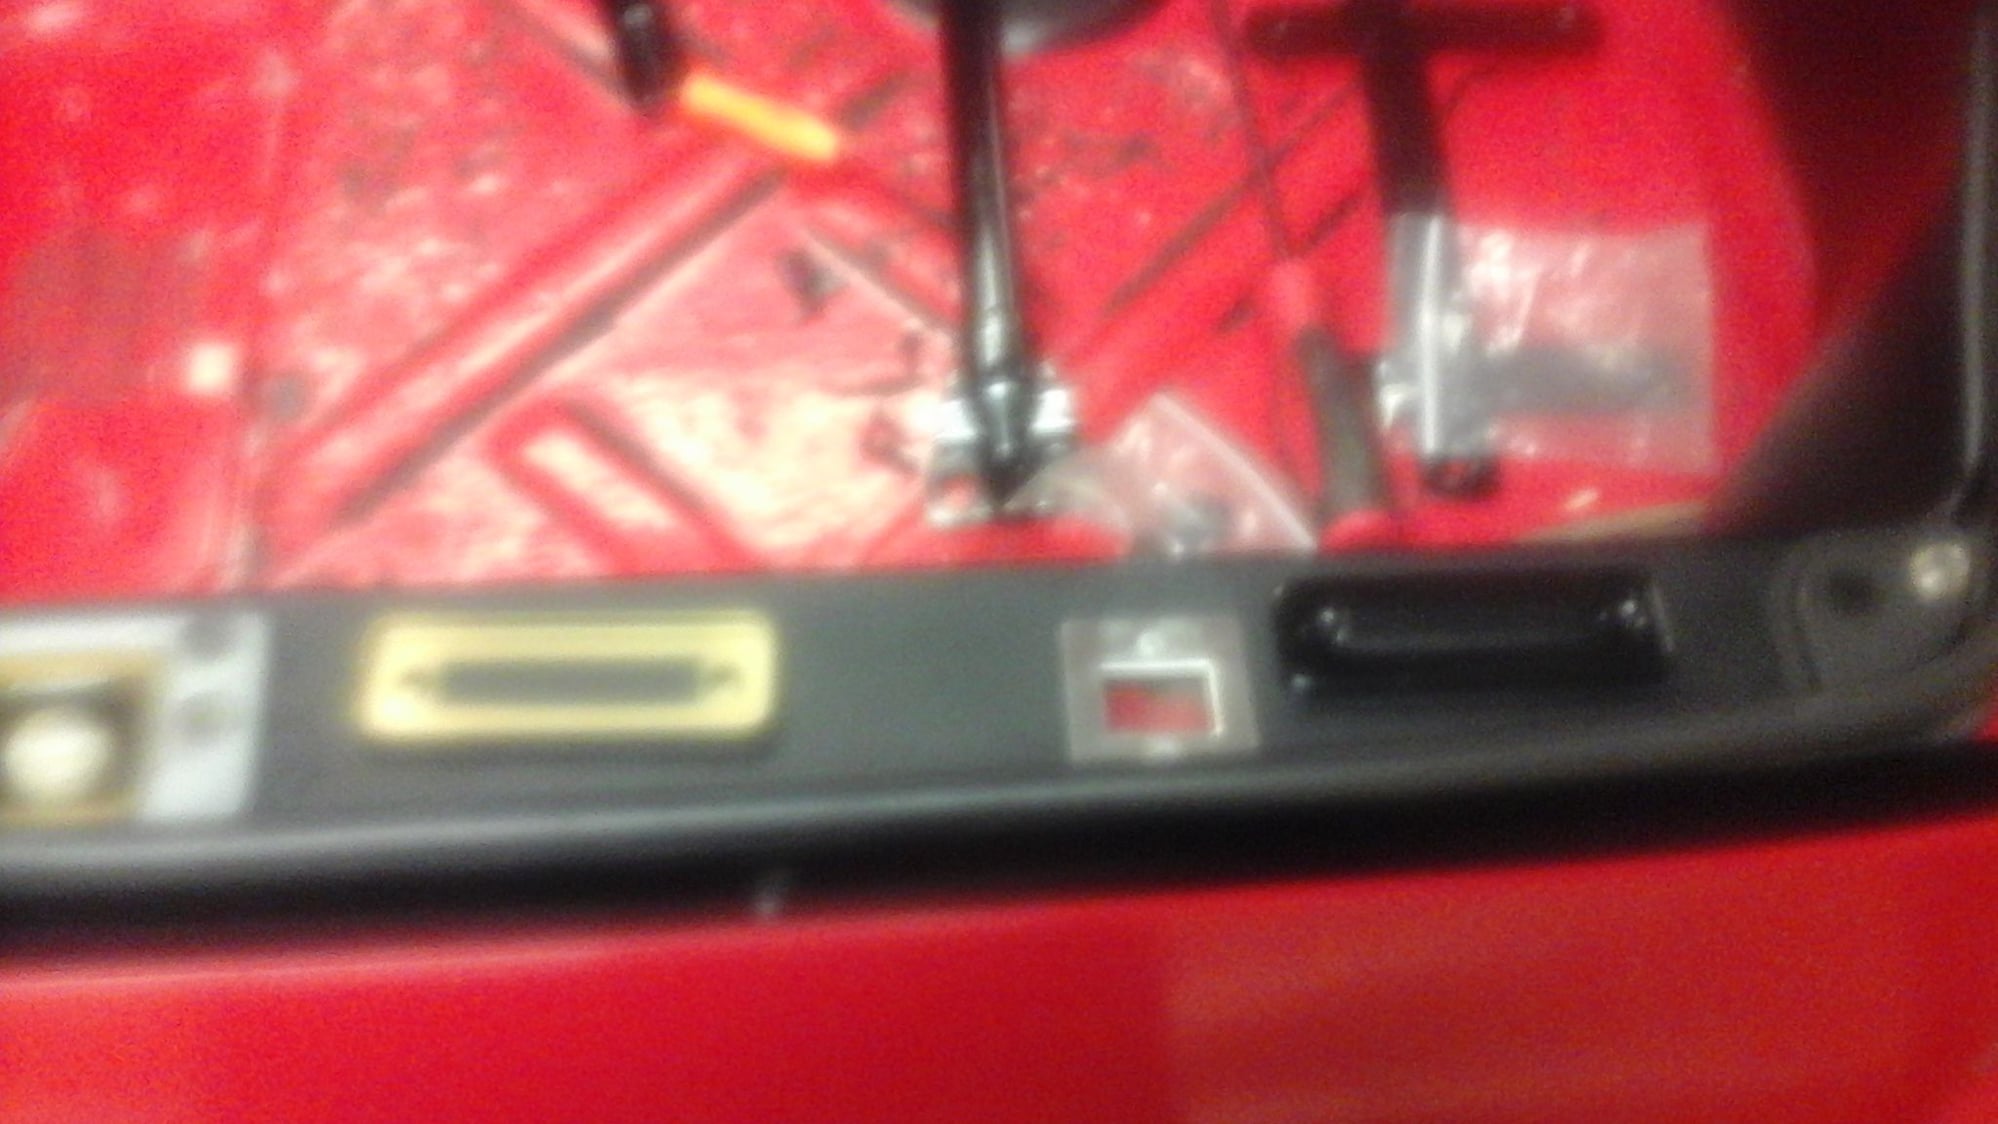
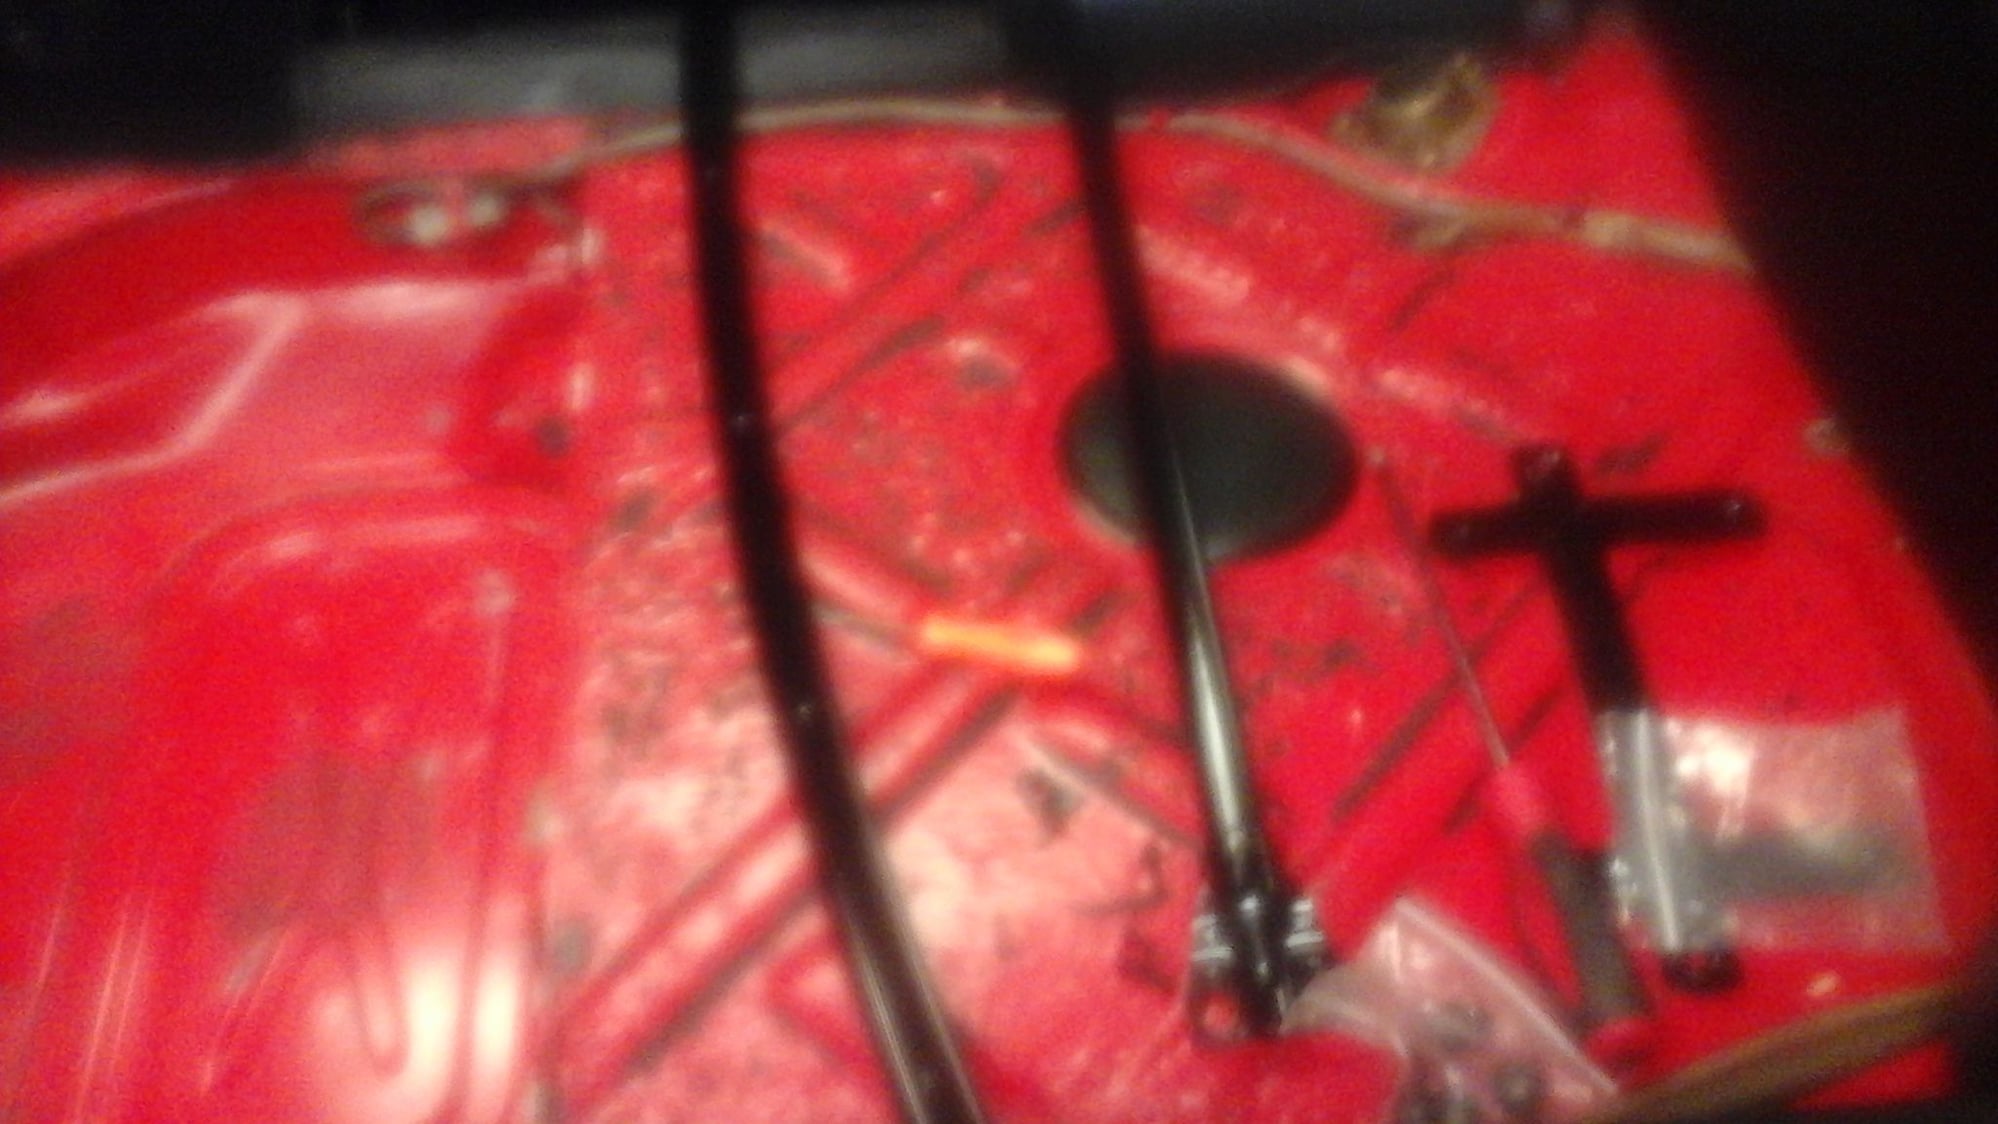
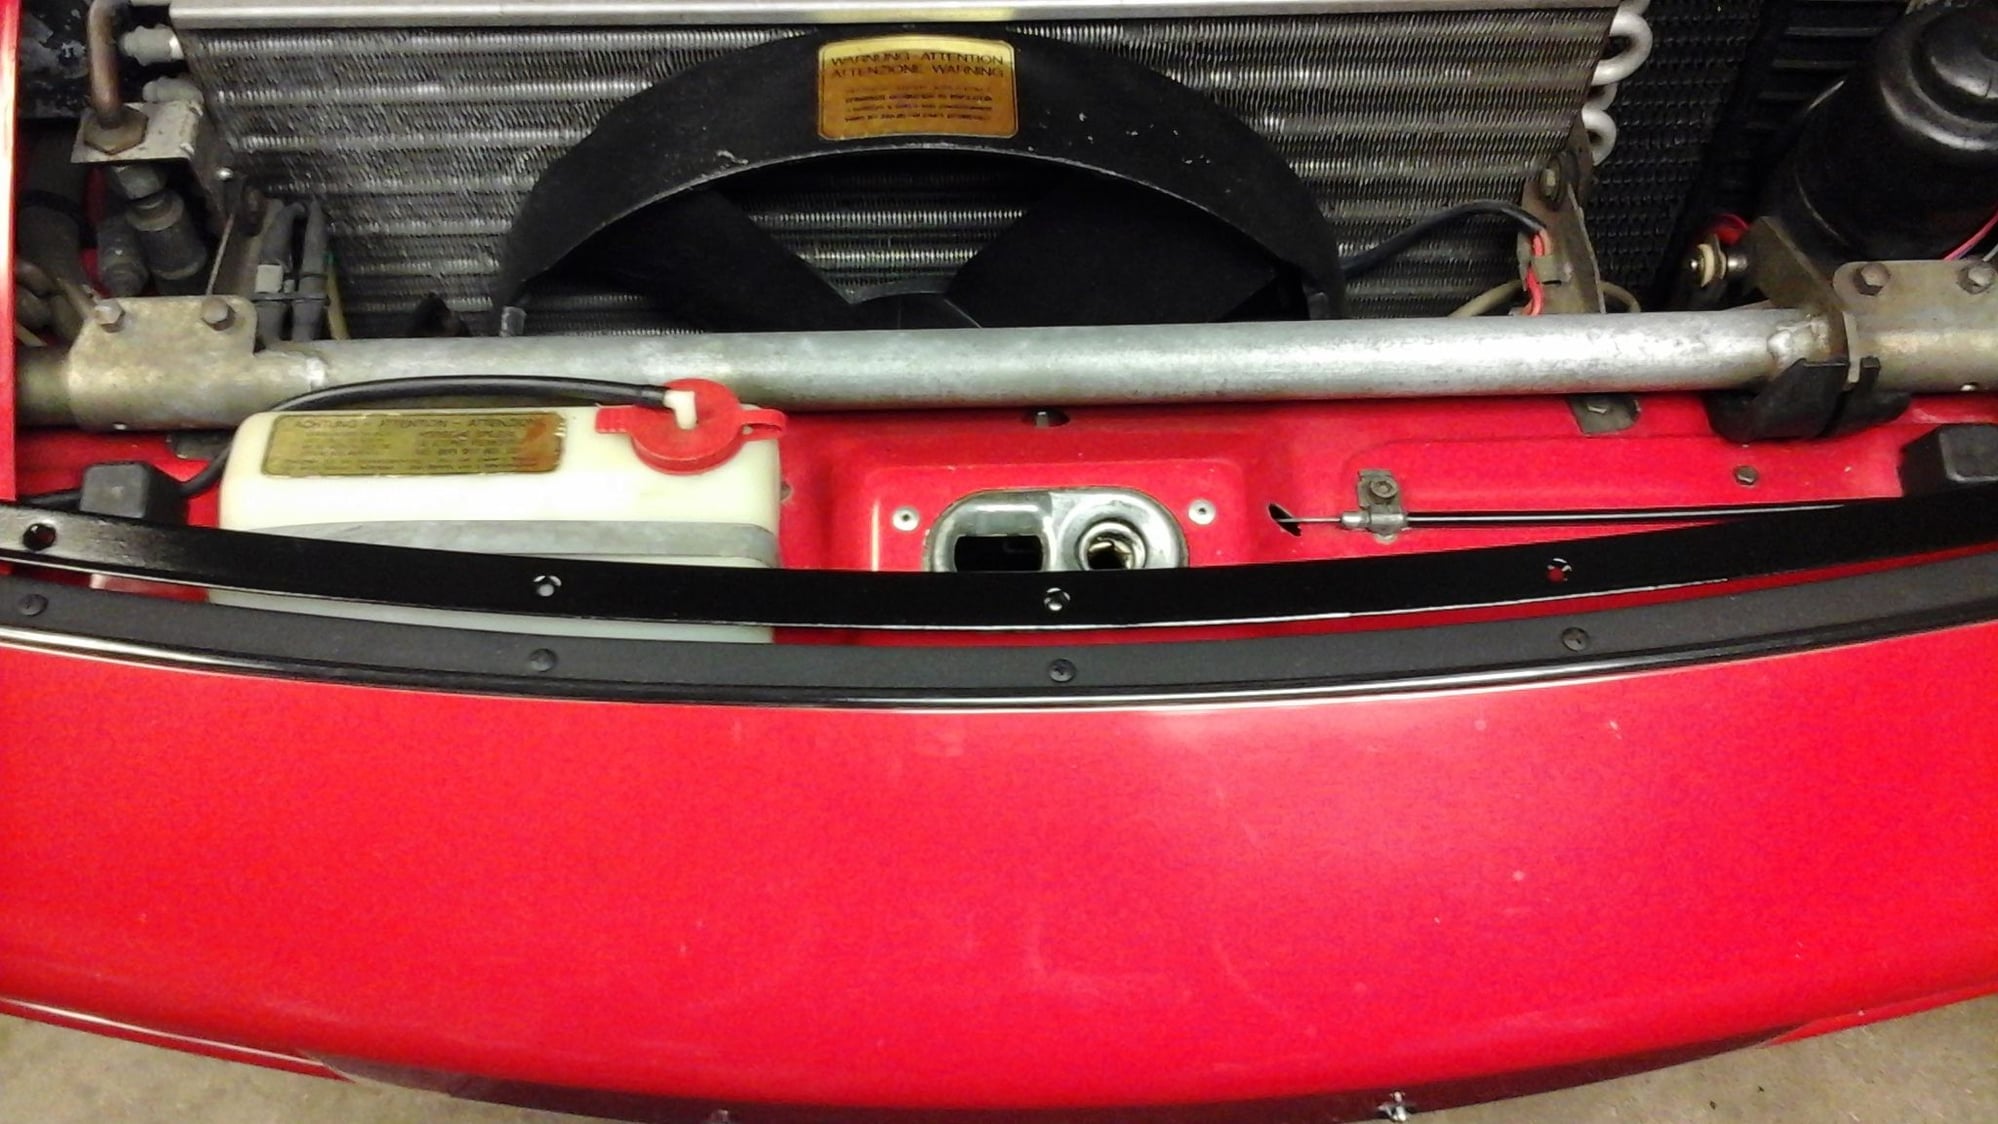
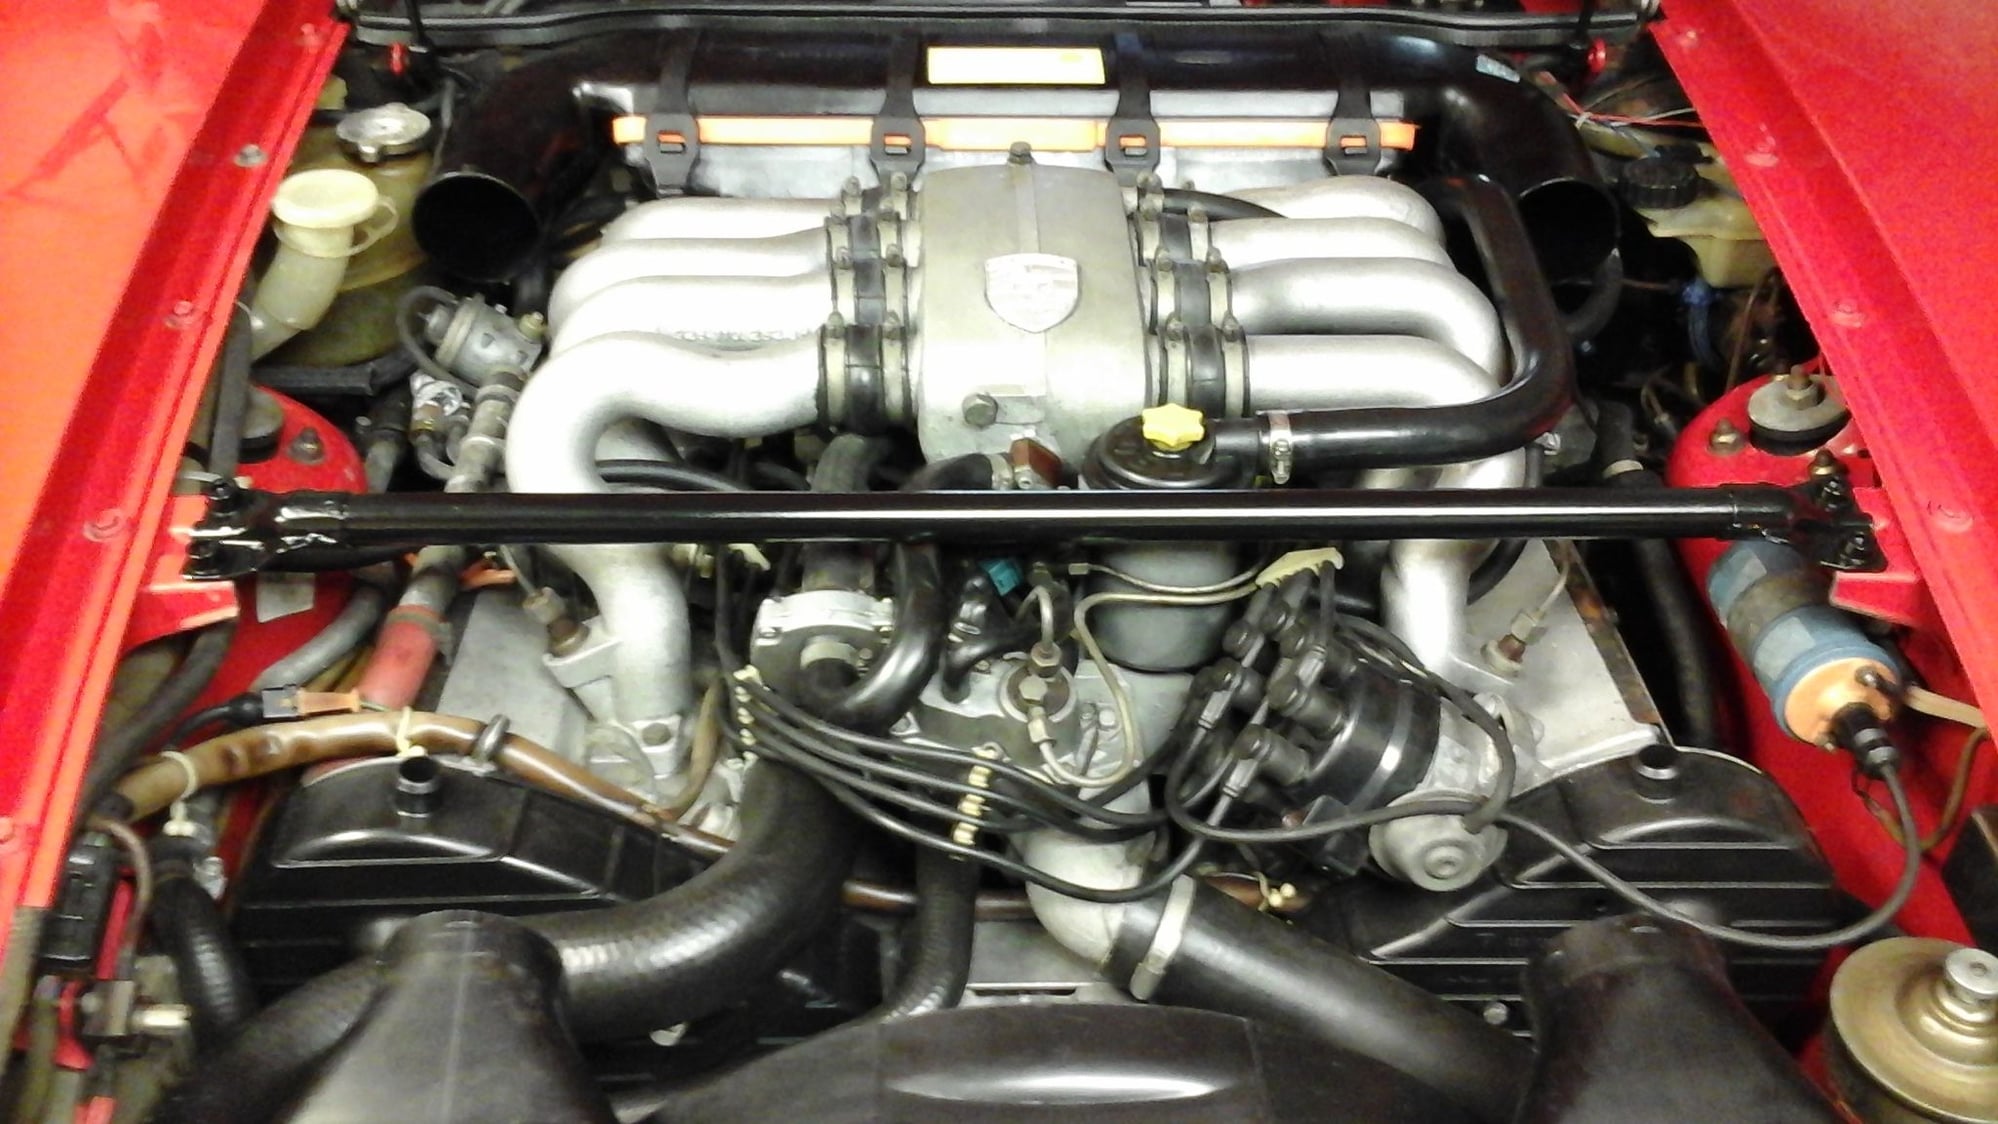
Engine compartment brace, front bumper-upper trim piece (this one in gloss, not sure if l like the matt or gloss better?), license plate bracket and some screws and bolts.
Lights and license plate bracket installed. Not sure if these bolts are the correct bolts for the license plate bracket, Allen head, but that's what came out. Any info regarding this would be appreciated.
And yes, l could not even get the light housings on without messing one up. Put some cardboard down, as l always do now (after my dropped the hamonic balancer incident), laid the screws and tools on top of cardboard, went to put first light bezel on and dropped it...right onto the pile of screws...and one freshly clean screw...chipped a small spot out of the paint. So, if everyone could avert their eyes from this area at the PA event...l would be truly greatful.
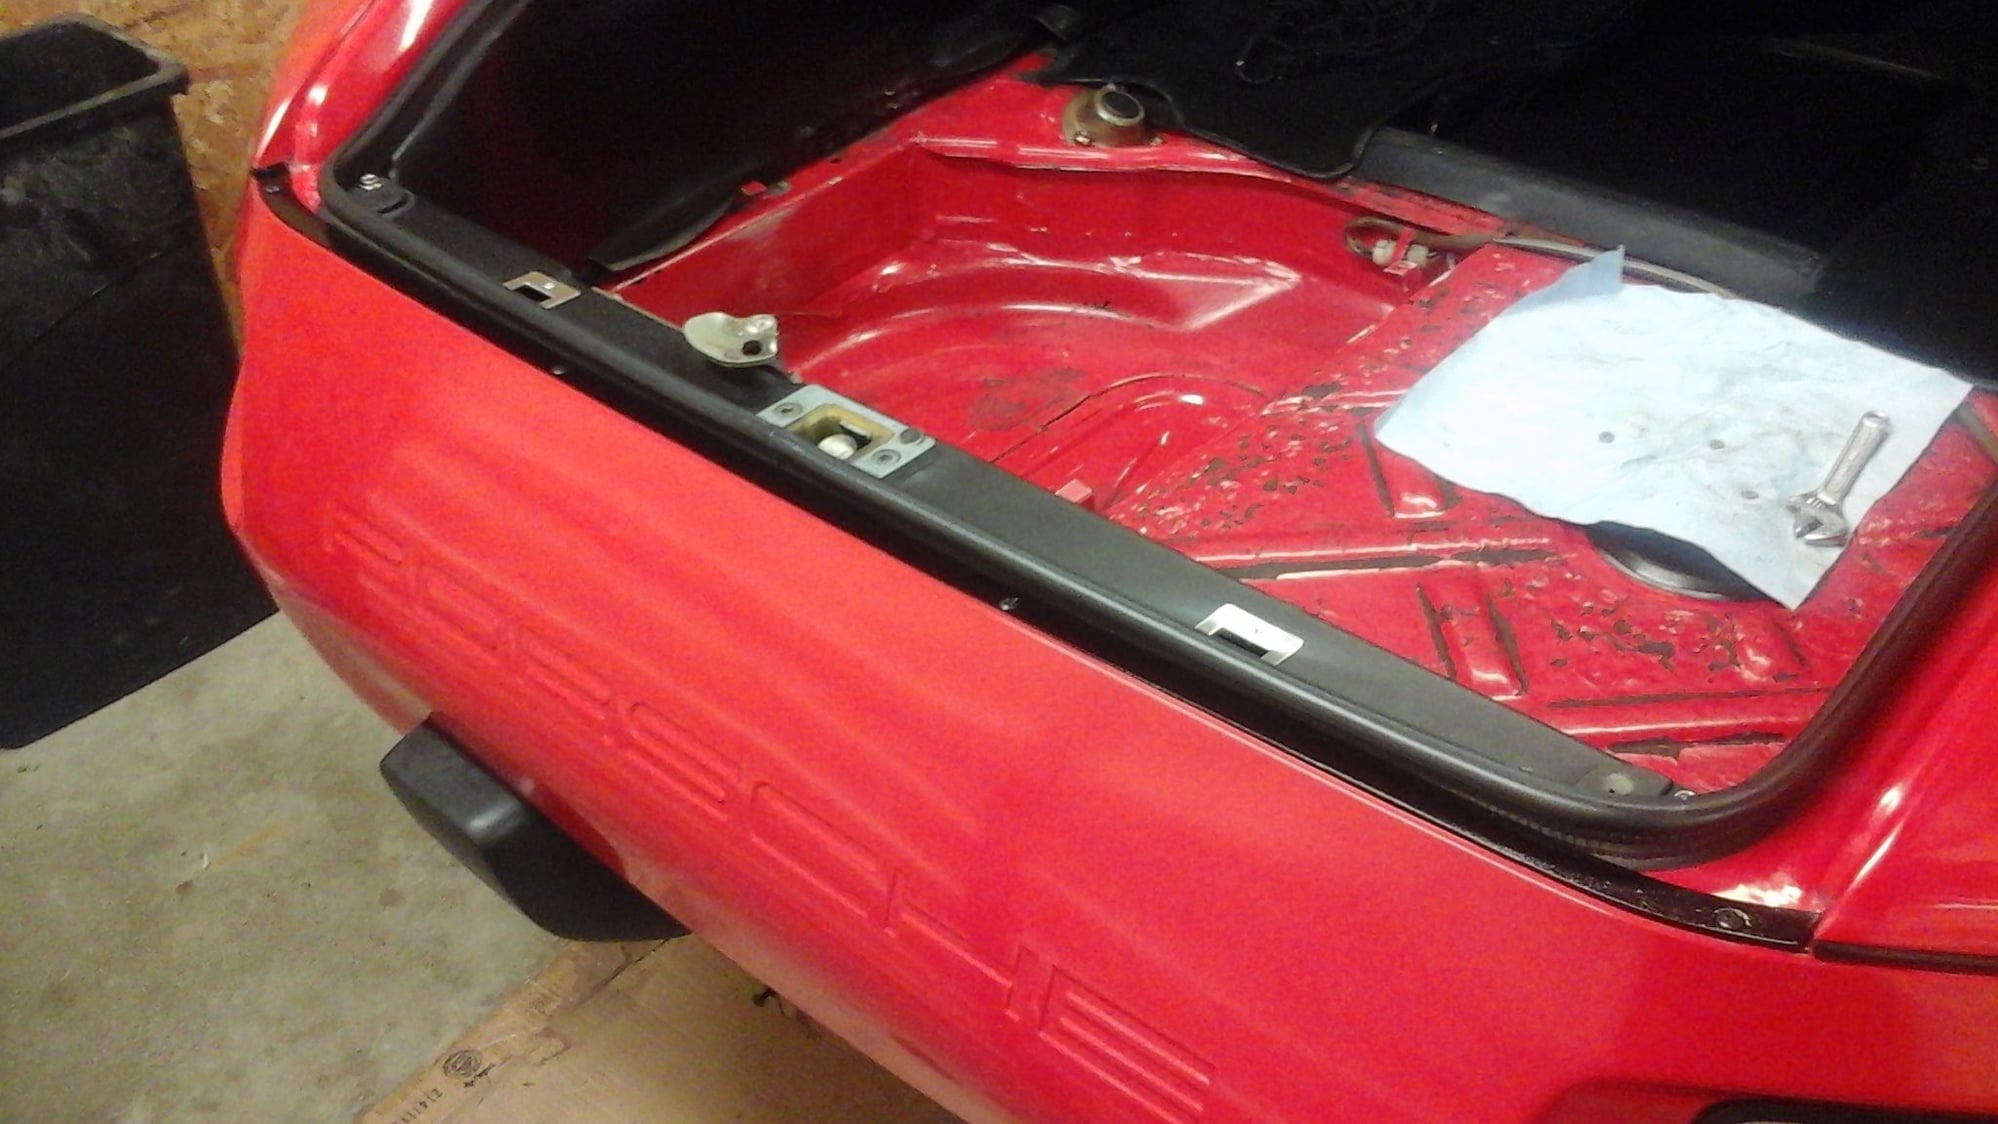
Rear bumper-upper trim piece in place. Originally, it had some sort of black chalk at each end, hard and brittle, so l'm unsure what type of filler l should use now?
Taking the rest of the night off...I know there is no rest for the wicked...but l'm making mental mistakes and this doesn't normally help things.
Brian.
Last edited by The Deputy; 06-29-2017 at 07:44 PM.
Reason: sorry about the blurry pictures...no idea what happen.
You worry about nothing!!! you could park that next to any show car and do it/you/us proud!!!
As for the poll...
I prefer the matt rail, however I think gloss would compliment the cross brace along with the somewhat glossy fan shroud etc...
Same here, love the matt if just looking at the installed trim piece alone...but if I step back and view entire engine bay...yep...it just looks wrong.
So...installed the gloss one...and l'm not loving it either.
So, both front and rear trim pieces are getting lightly sanded and re-painted in semi-gloss today...and we'll see where that takes me.
The lugs come black anodized. Semi-gloss is what I'd call it.
So yours are pretty close.
Yep, anodized would be correct finish. Went with flat paint, because it has no sheen and is less likely to crack under the pressure of tightening. Flat almost goes on like primer. A person might be able to get away with matt-finish, but once you get into the semi and gloss finishes...I believe...you risk damage to the paint while installing. No proof, for I did not try semi or gloss...but that's just my suspicions. And, l've already had to re-do enough things on this car...that re-doing twenty lug nuts did not interest me in the least...lol.
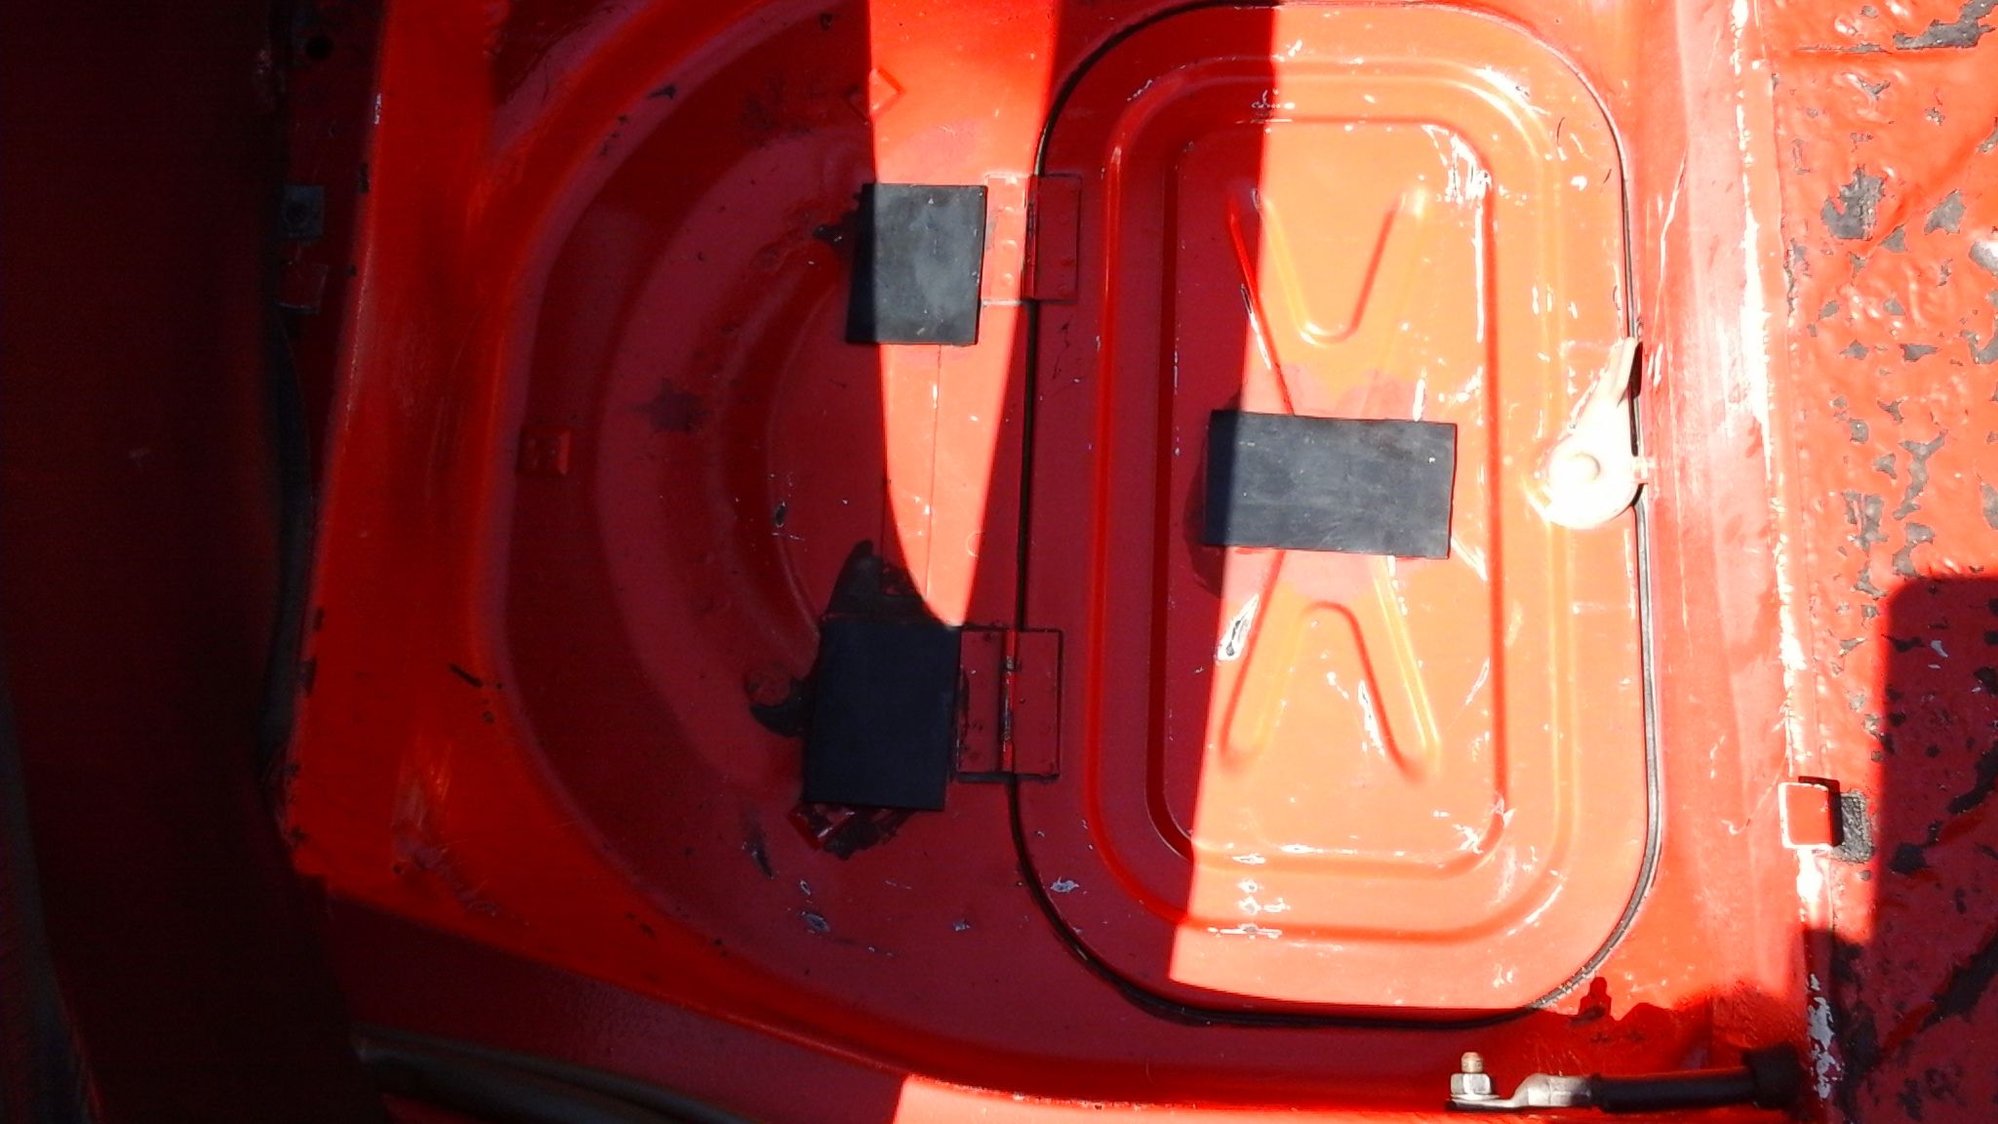
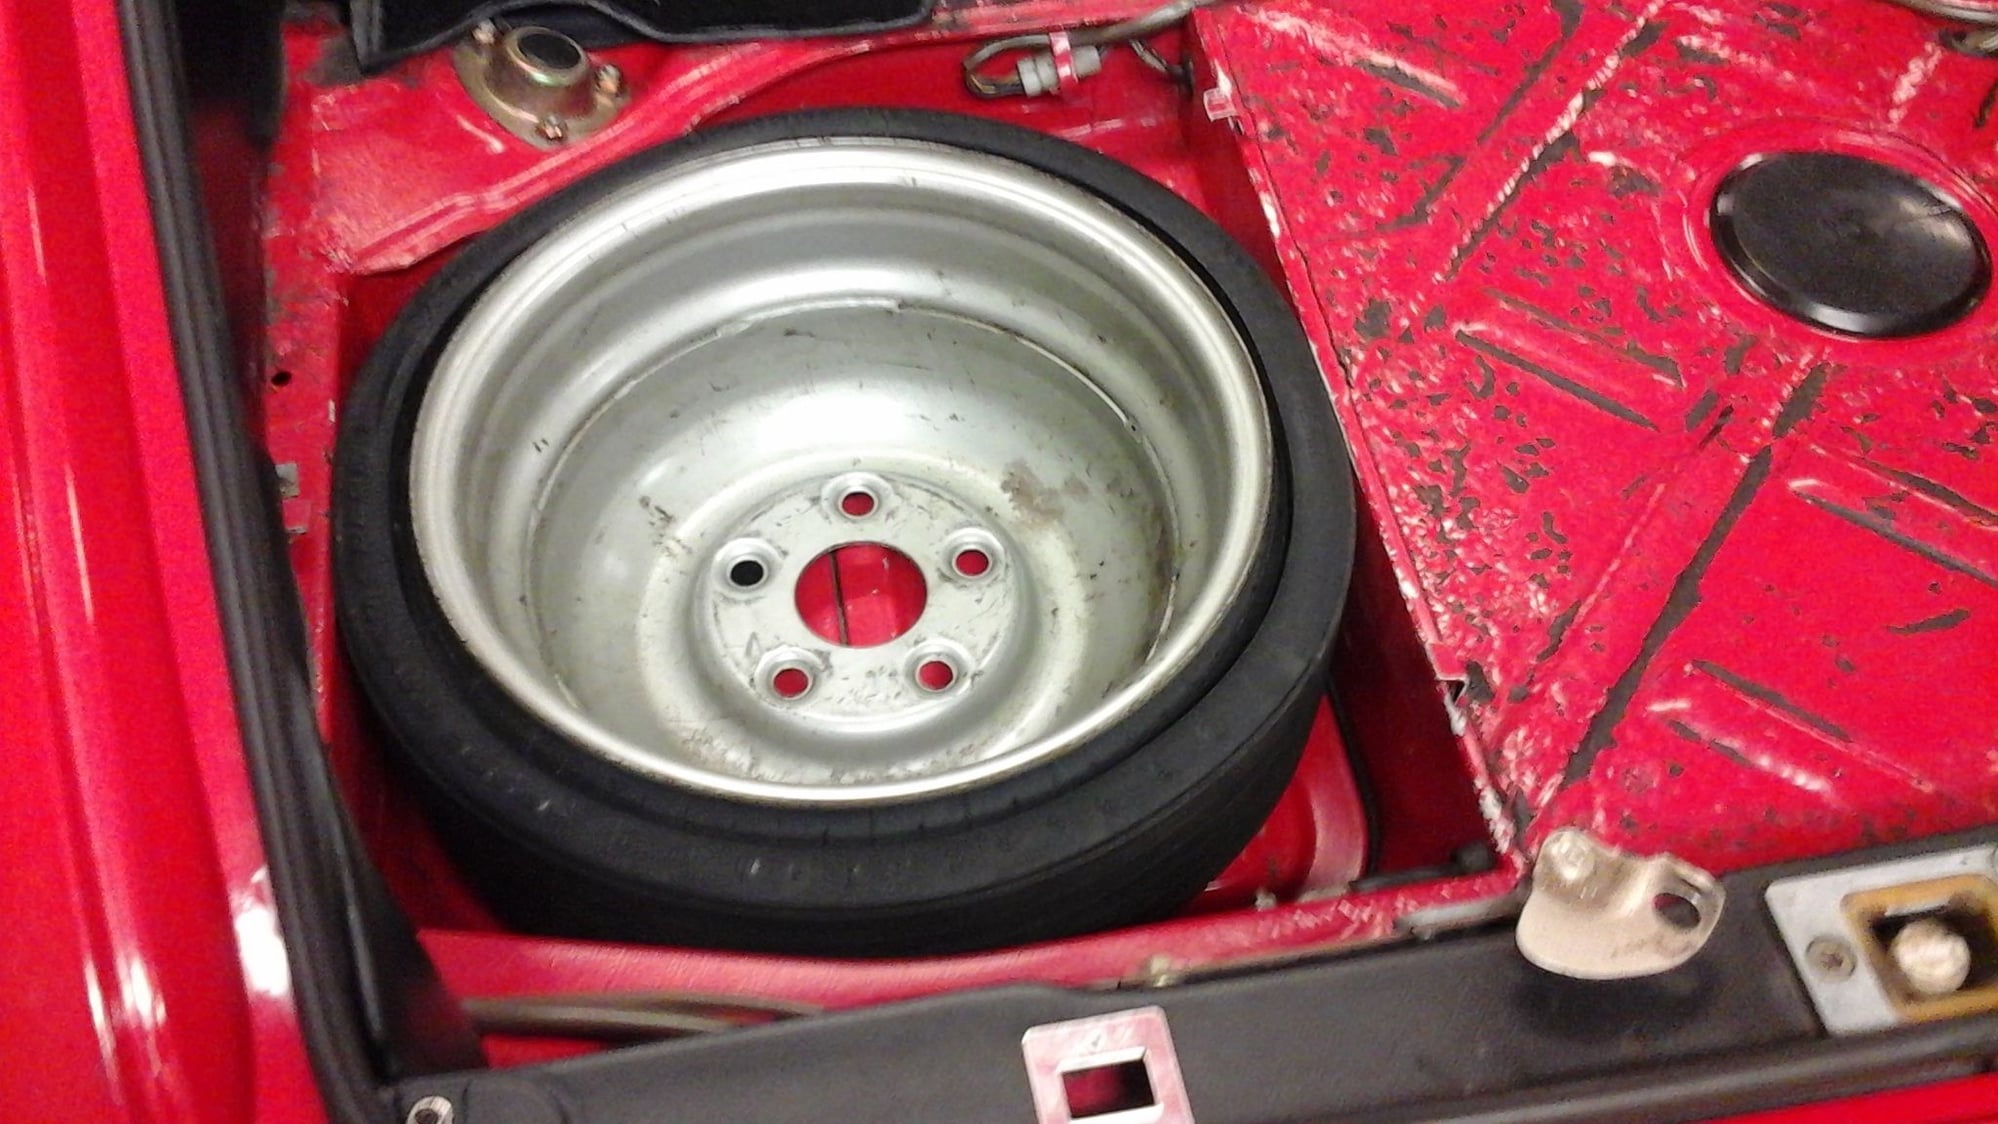
Added the three rubber pieces to spare compartment.
Spare rests nicely inside now, without any rattles.
I'd removed the radiator shroud to do some cleaning and belly pan for repaint (major stone chip, my word...can't anything last), and notice some nasty spots on the engine. So, l decided to take her to the car wash to degrease some areas underneath.
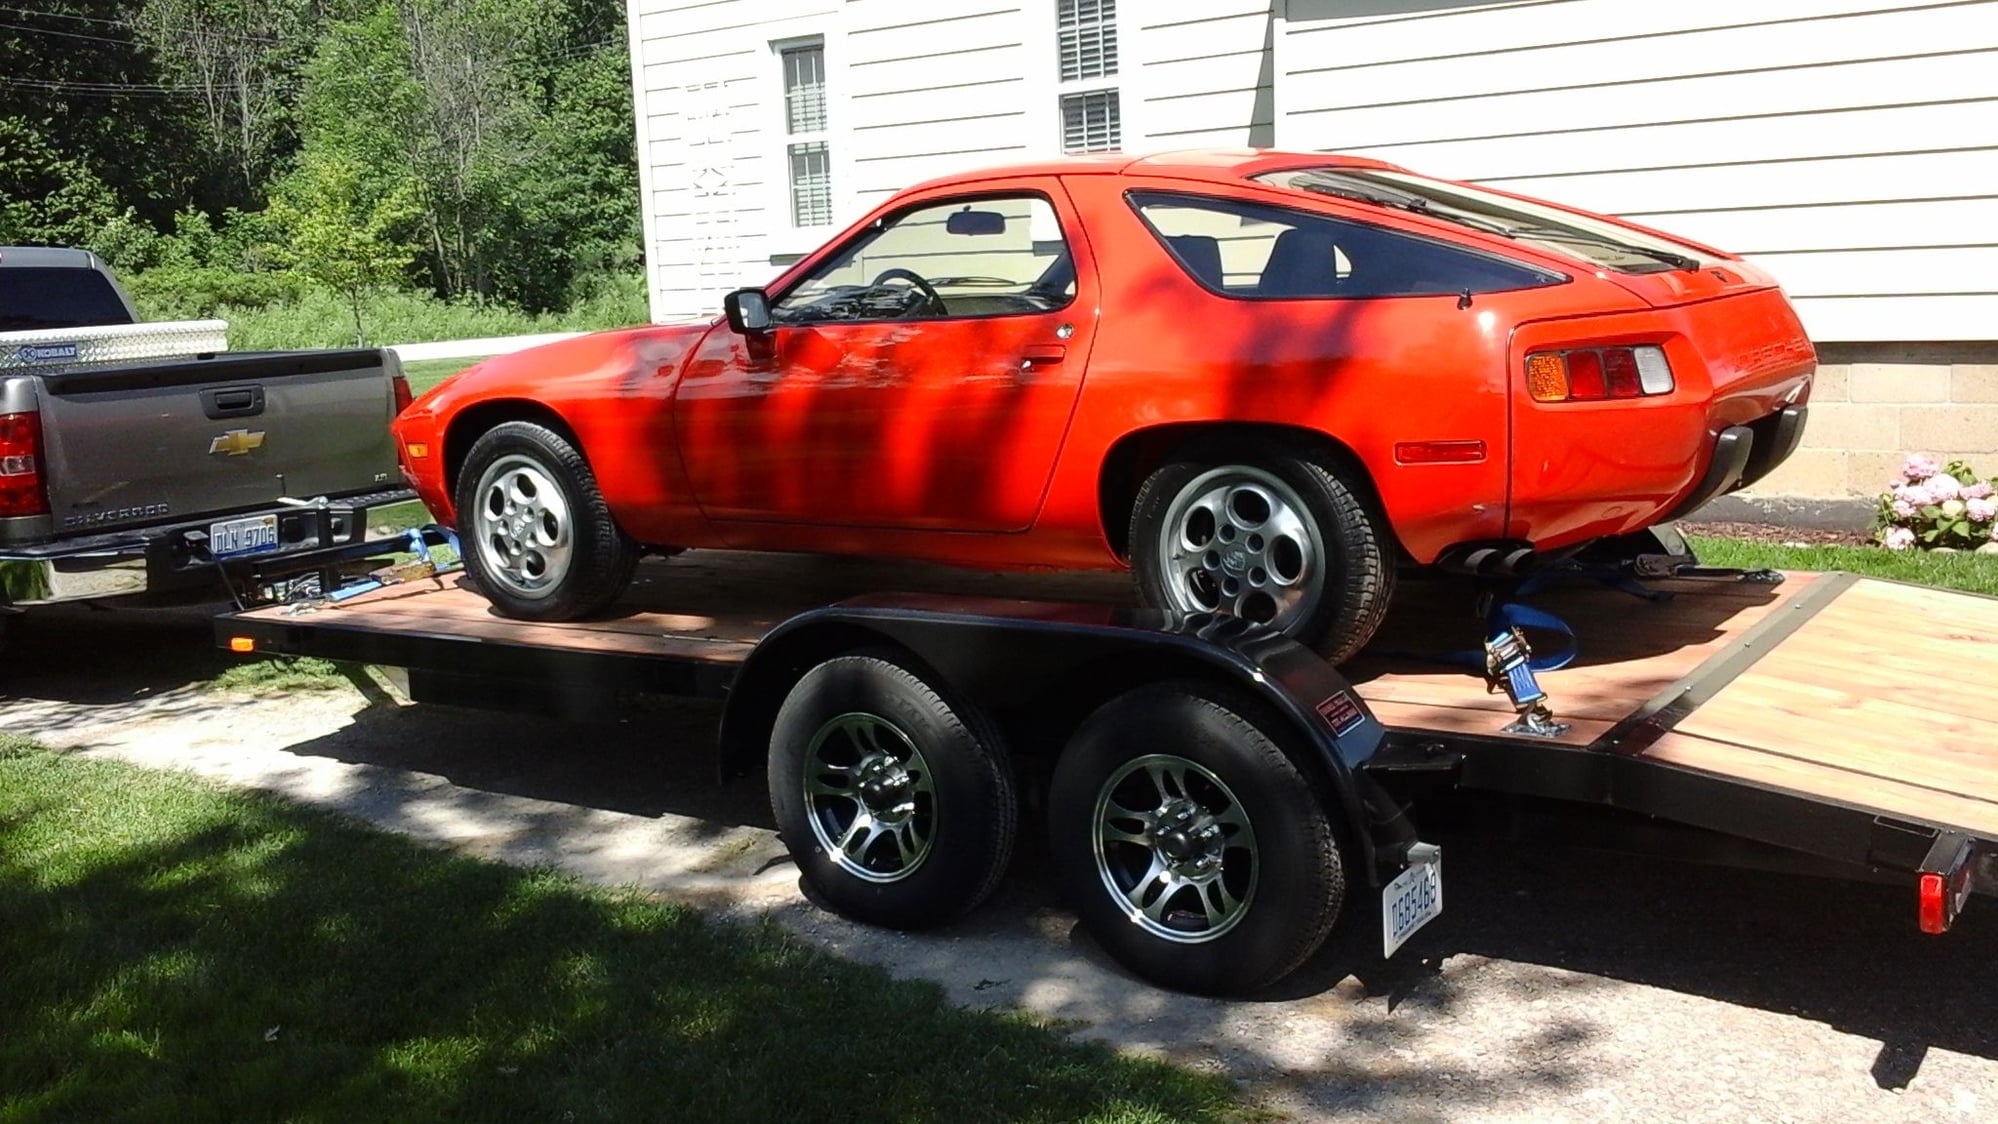
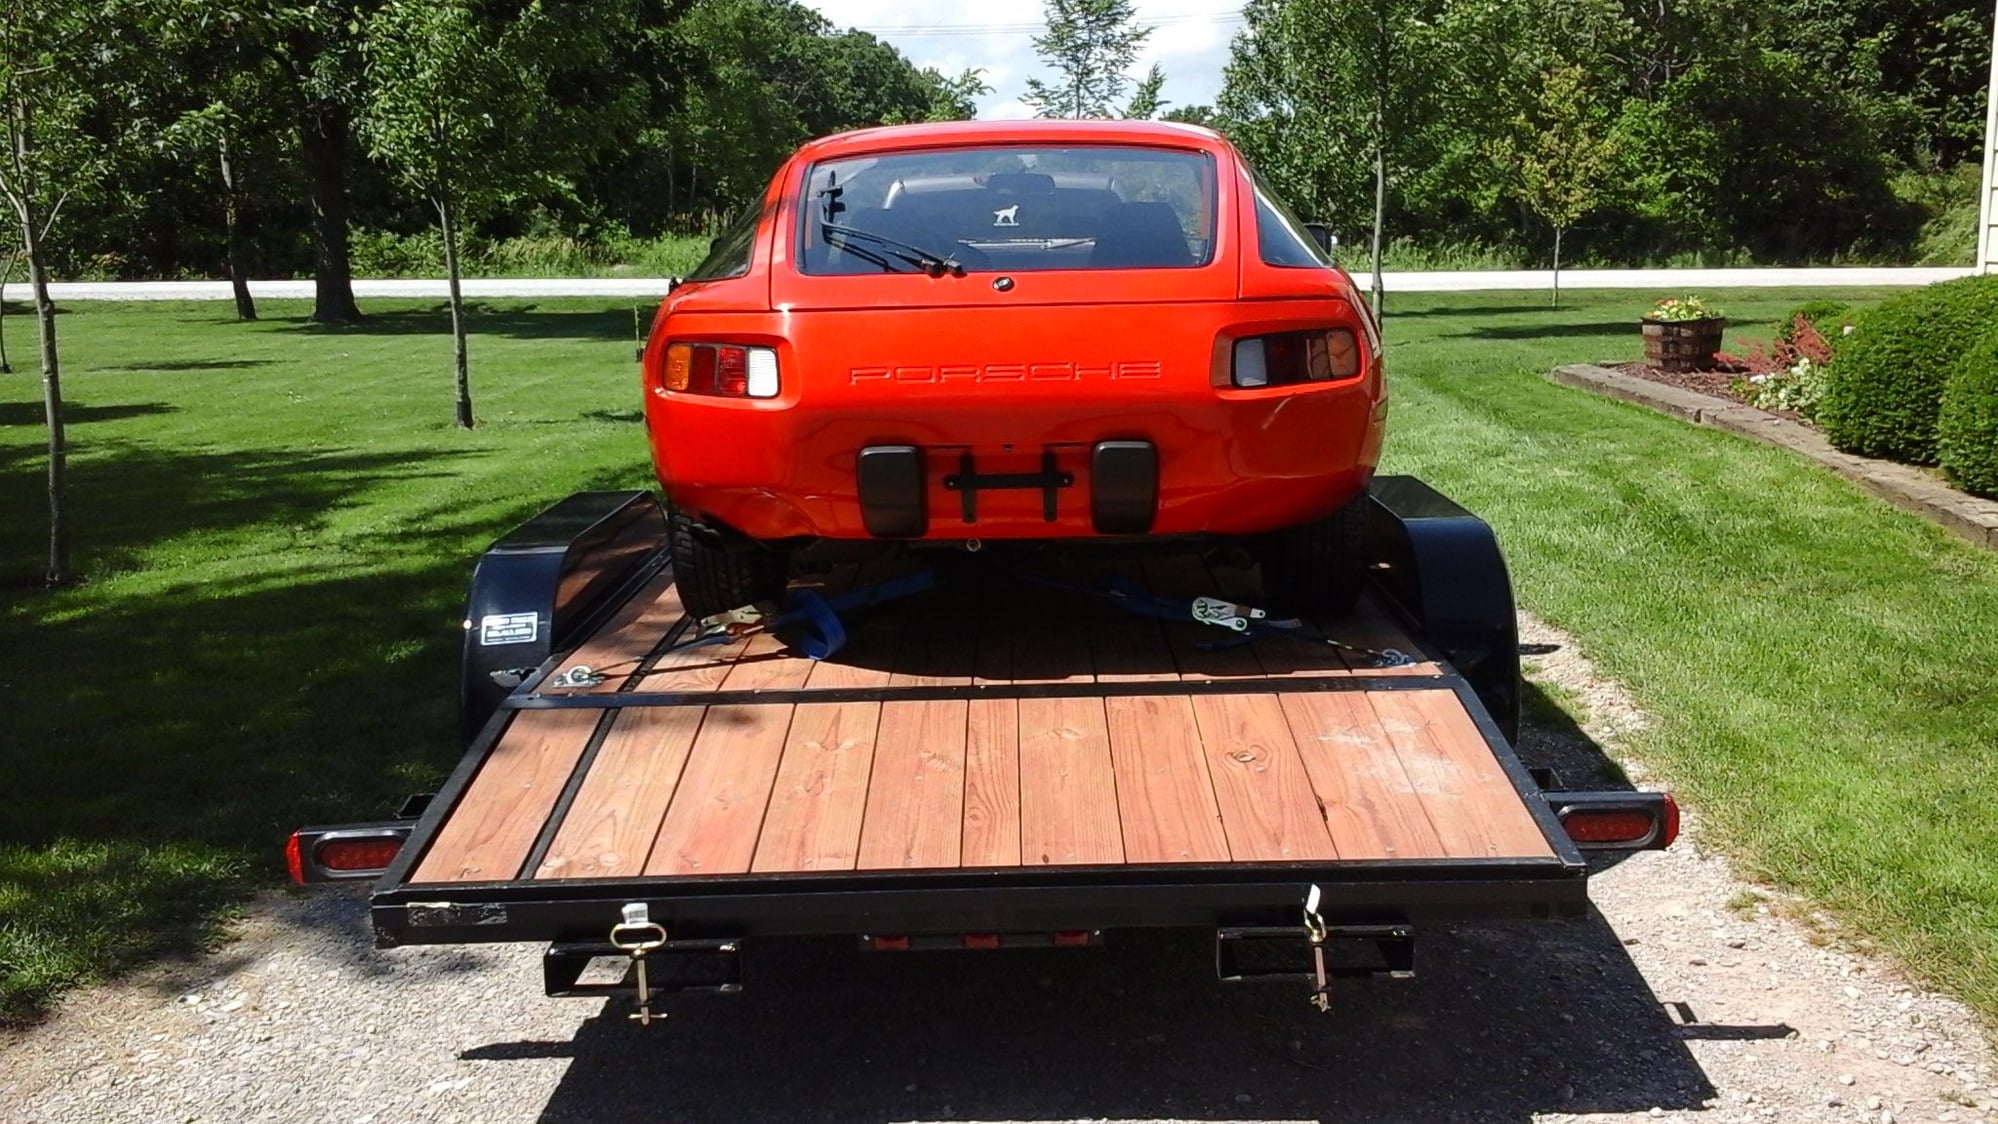
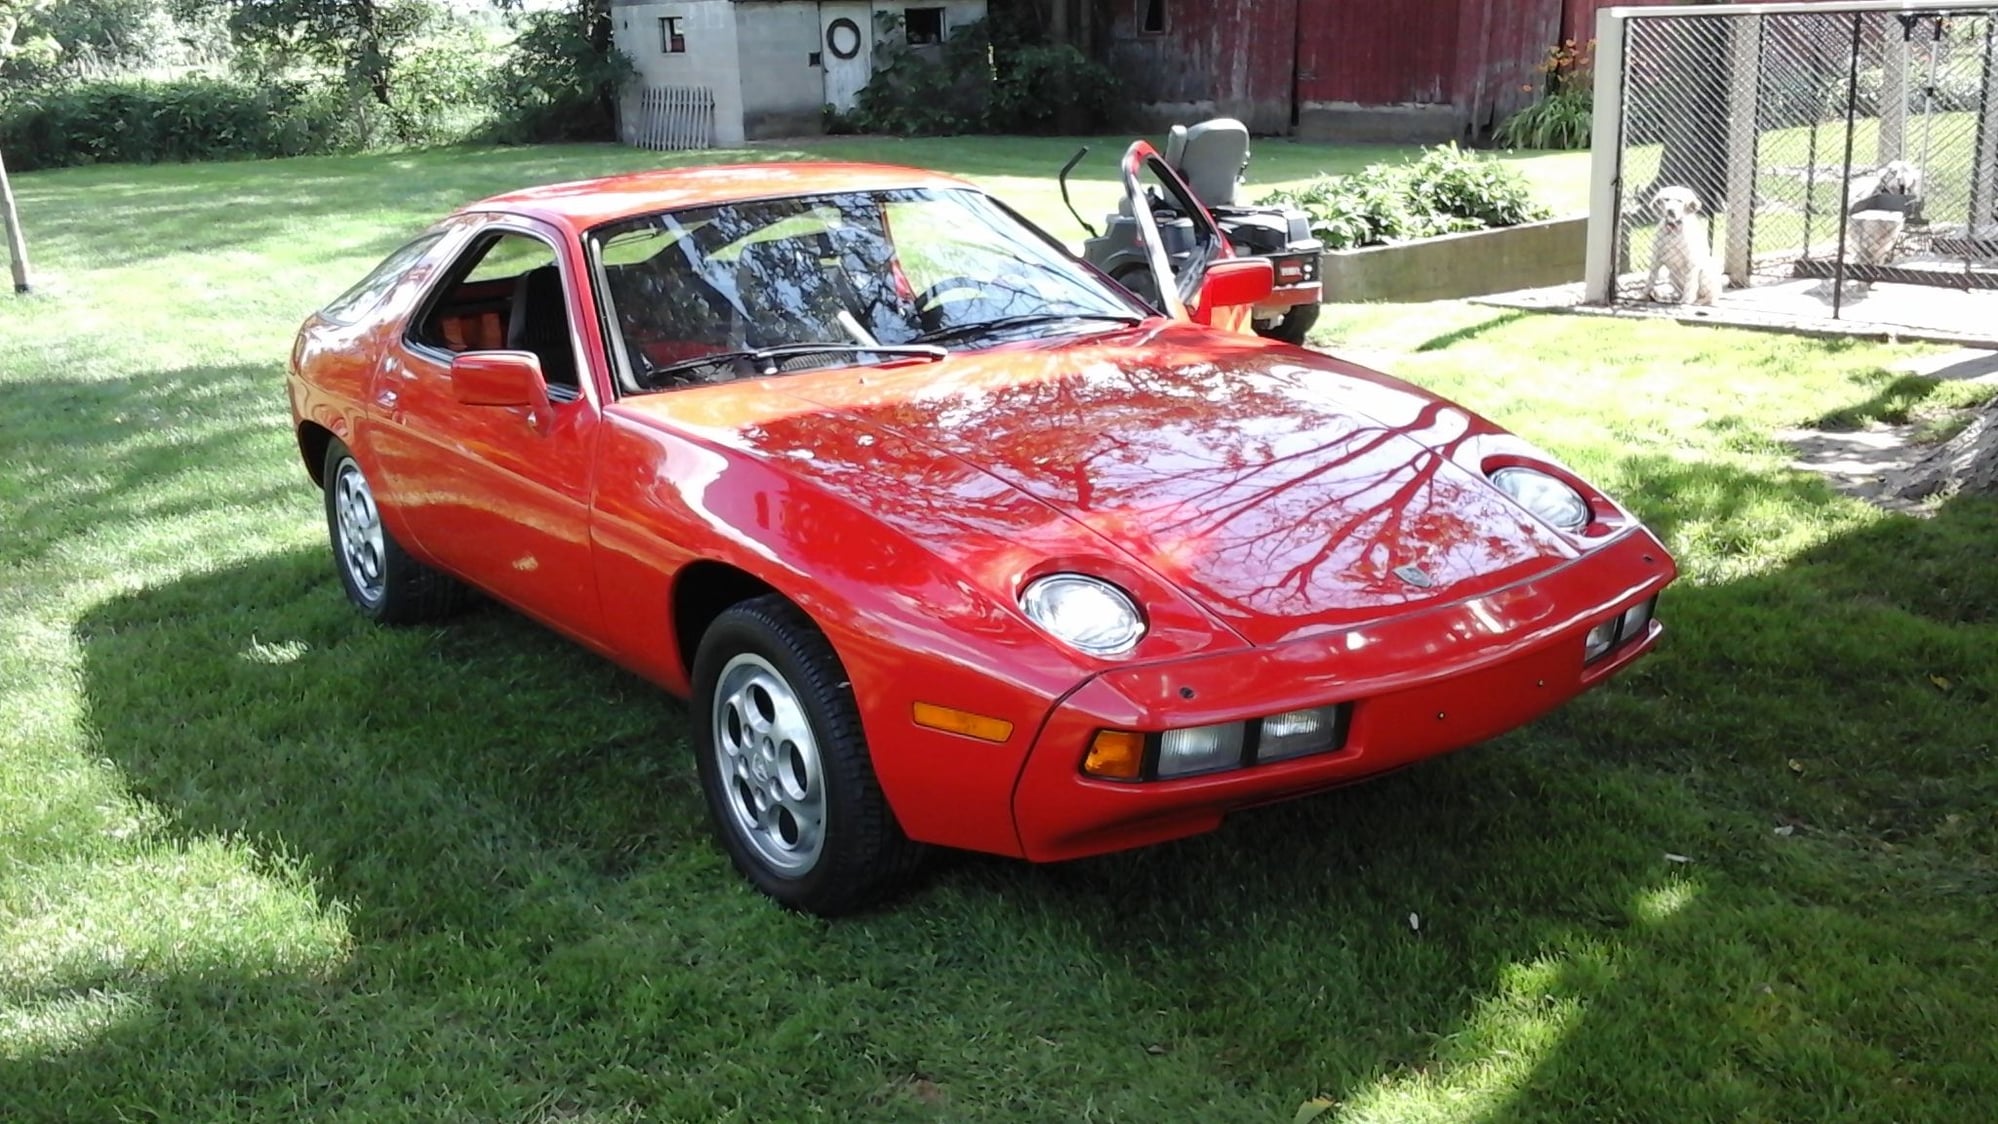
Maiden voyage for old red on new trailer.
All back safe and sound.
Already back on jack stands, wiped moisture off rotors and did a little more cleaning around the A/C compressor and oil pan. Belly pan, front and rear bumper trim pieces repainted in softer finish.


 06-29-2017, 01:07 AM