When you click on links to various merchants on this site and make a purchase, this can result in this site earning a commission. Affiliate programs and affiliations include, but are not limited to, the eBay Partner Network.
Can you guys sit through another thread on MM/OPG?
This is my first time doing it, and I had a few questions.
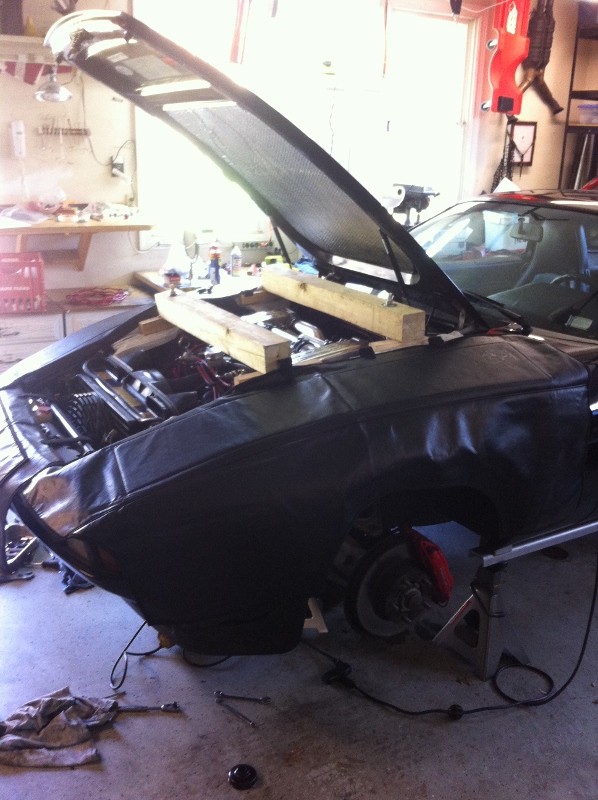
I got done wrestling the mounts off last night.
Big job, seems the scope of TB/WP but less technical and more grunt IMO.
I borrowed the wood brace, thanks Dadddio.
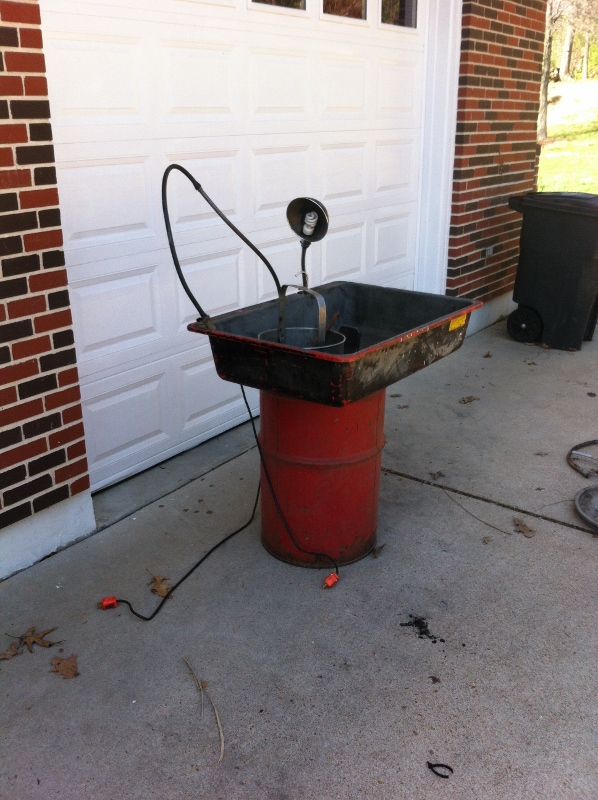
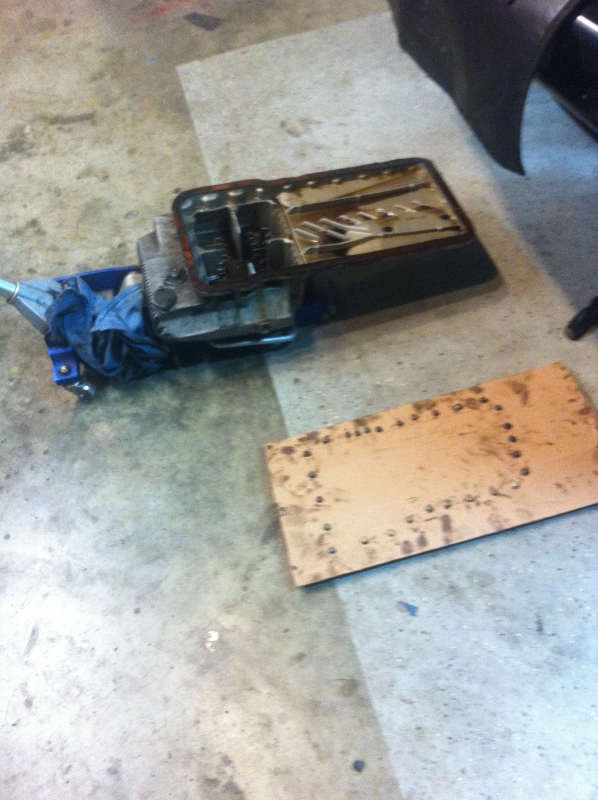
Then as luck would have it, a client of mine was cleaning out his shop and I inherited his parts washer. Have not seen one of these before: has a pump in the barrel to recirculate the cleaner. The price was right, I will see if it works.
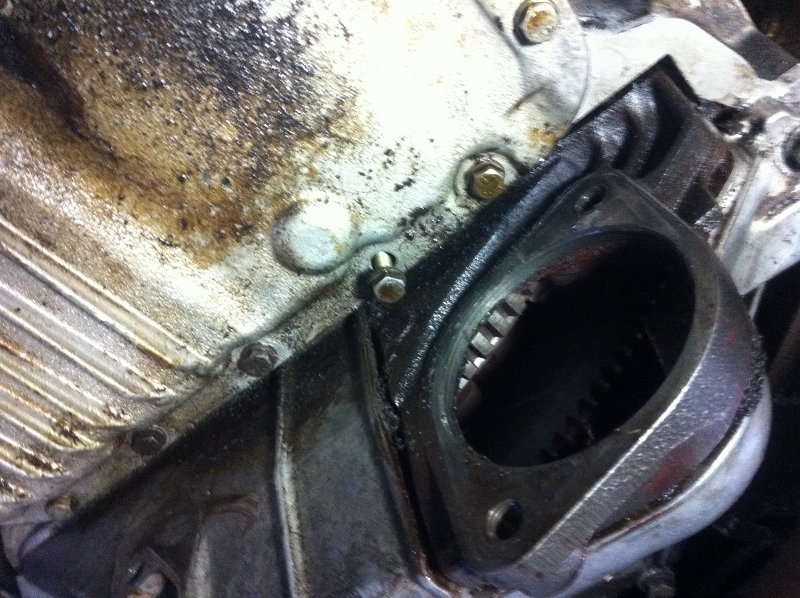
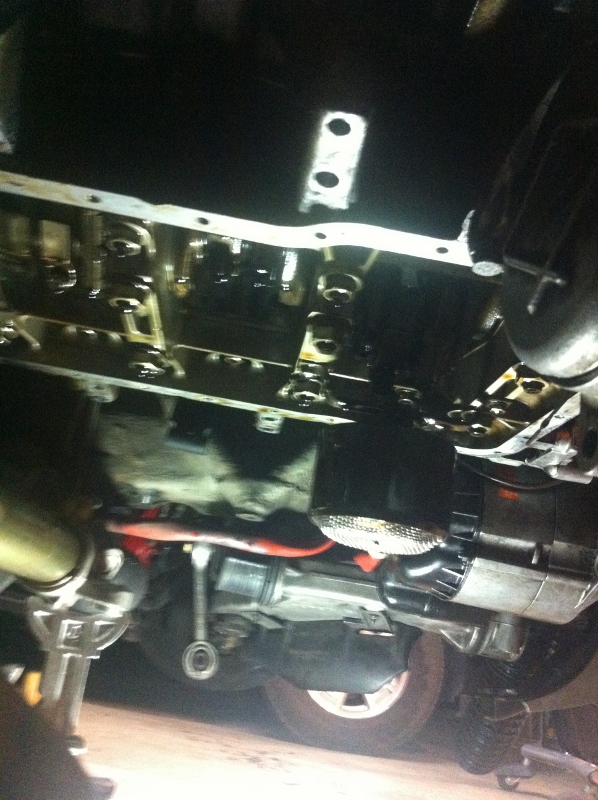
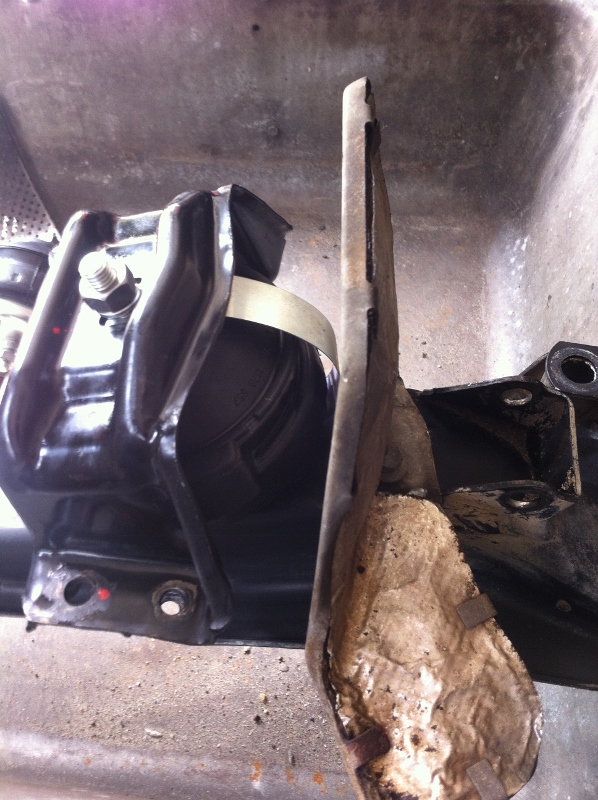
The third pic. shows why I always had a lot of oil on my starter... makes sense now. Is there any R/R I can do on the starter while it is off?
Yes, upper cross member bolts sucked, but not as bad as I thought.
So I was trying to get the cross member and mounts off with out dropping the rack off completely. That became pretty frustrating on the drivers side. Eventually I took off the banjo fittings on the rack and drained the PS fluid. This gave me more room, and I did not have to detach the rack from the steering column. But man, is there a better way to do this? As usual most of the walkthroughs I found were either early model or S4, thin on S3 content.
With the mounts off, I can appreciate the usual compression.
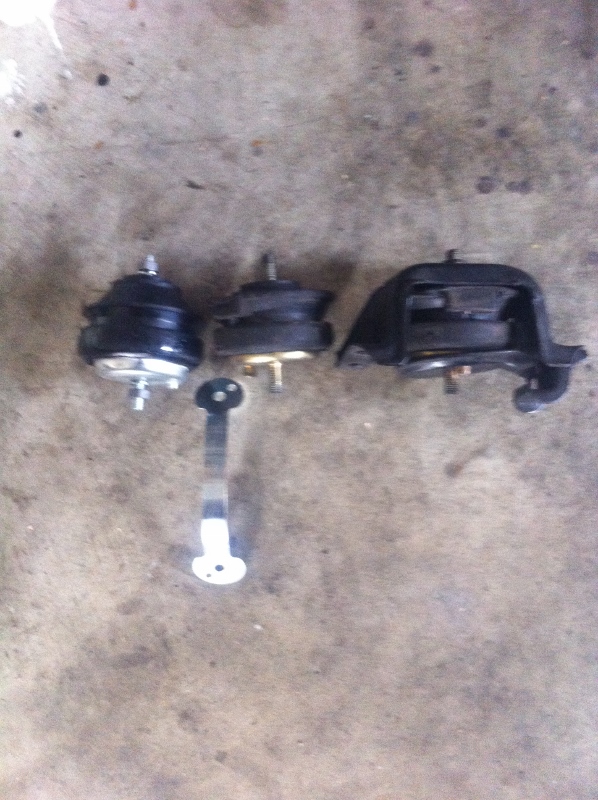
These are Volvo mounts from Roger.
He was explaining some of the mods., but I did not retain everything on the phone.
There is a 1-2mm difference, and we eliminate a washer I think?
Also if some body can explain the sheet metal wishbone, and help me visualize where to put it correctly going back on the car.
Also: loaded question. Bolts or studs on the OPG? I have both.
Defiantly studs on the OP. Just watch a couple that have no tops on them, and you can screw the stud in too far leaving you a short stud. I did that, and had to redo. Best advice there is to measure the studs once they are all in...
I went with the flow, and put studs in. I believe the theory is there is less trouble getting the gasket on nicely - that's certainly true, since the gasket will hang on the studs as you raise the pan (I went with silicone). But my dexterity was often challenged to add the nut and washer together on the studs. I had to stick the washer on first with grease in a few places. My torquing procedure was to get a sense of the correct torque where I could, then use that sense from then on, with lots of iterations to get them even. I think evenly squishing the gasket some moderate amount is the objective. I was just admiring my work while refitting my chin spoiler - no leaks.
I had no extra washers to worry about. I needed help getting the cross member back in, with the lower control arms. The upper bolts go in easy once you realize the frame member can be muscled around more easily than the cross member. The engine was pretty high when it was all over. The air inlet tubes look a little uncomfortable under the cross brace.
Studs. I use red thread blocker. Makes the whole process much easier. I use a screw gun with the torque way backed off to put mine on. Then torque to spec.
Also, since the engine was lower pre-MM installation, make sure to raise the engine up prior to trying to install the cross member, else you will be fighting the increased height of the MMs AND the cross member while trying to put it in.
I cleaned and reused the bolts with the silicone OPG. When installing bolts I applied blue loctite. I've put about 500 miles on it since the gasket and oil change (Mobil 1 15W-50) No leaks...fingers crossed. I thought I had a leak, but that turned out to be the tensioner leaking oil.
I was working alone and had struggled with installing the cross member. After living Einstein's definition of insanity (trying same thing over an over) I got an idea. Temporarily installing the LCA caps (leave the LCA's hanging) presses the cross member in to proper position and makes it easy to install the bolts in the holes for the frame braces.
How are you getting on?
I had to wiggle to the steering rack with the wheel and edge it down. Though I'm not dropping the cross member. Got the drivers side in so far. Feel like I've been the gym...
How are you getting on?
I had to wiggle to the steering rack with the wheel and edge it down. Though I'm not dropping the cross member. Got the drivers side in so far. Feel like I've been the gym...
Thanks for checking on me JB., yea, I felt like I had been smacked around a little bit afterwards with a few dings to show for it.
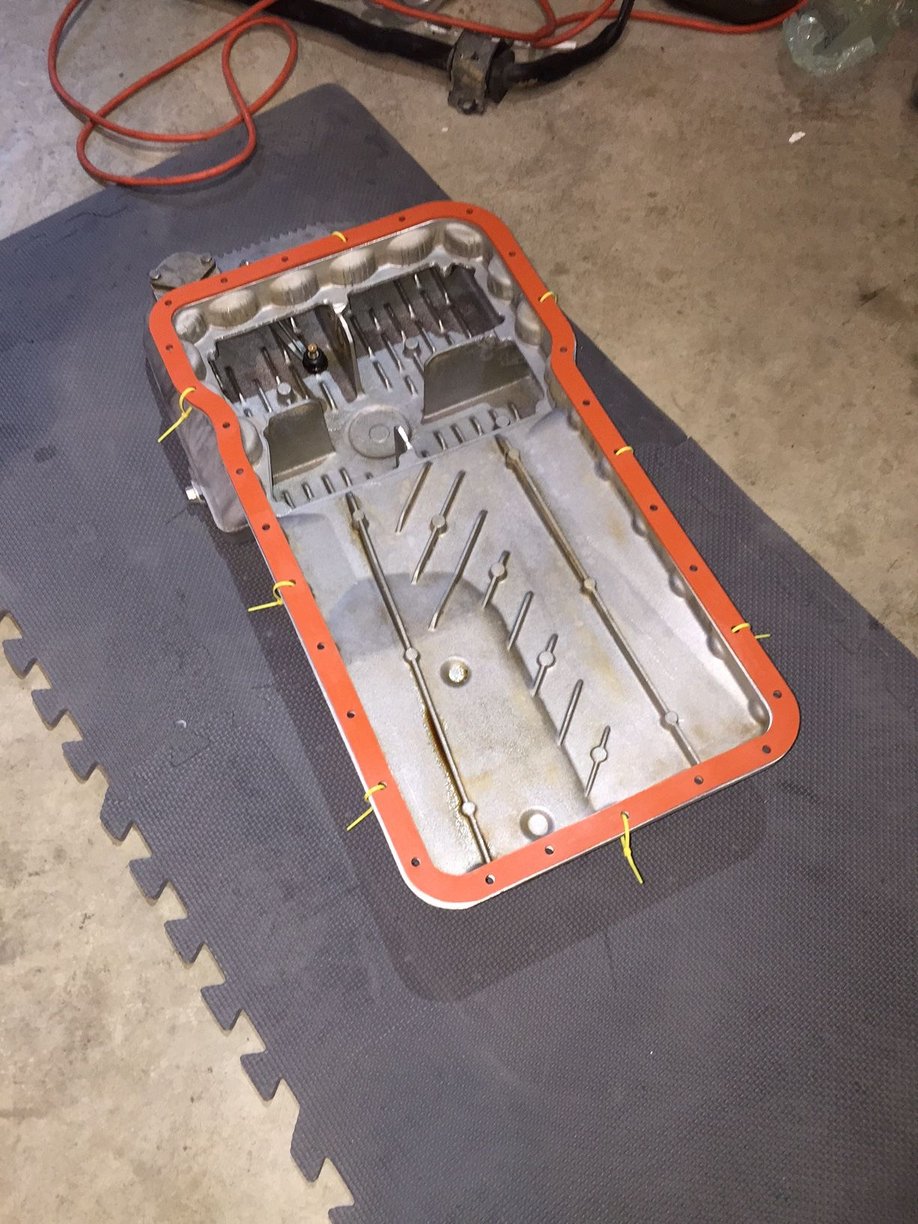
I got out into the garage tonight and got my OP off. I placed the screws in order around a diagram of the pan, just to remember which studs will need to be longer vs. shorter.
DrWho, Curt, John, and Jon: thanks for the feedback.
Regards.
I remember that moment. Lovely sight. If you are reusing the bolts, here's a trick to hold the gasket to the pan while you get a few bolts started. Snip the ties when you are ready to go around tightening to flush and then torquing them. Do you have a tiny torque wrench? It's a good idea. Even if you have a larger one that has the low values at the bottom of the scale, they tend to be inaccurate at the low end. Better to have a wrench that is dedicated to torques that are just a bit higher than finger tight.
FWIW there should be 5 short bolts that attach the pan,
look carefully these are near where the crossmember passes ,
and the top of the starter.
the pan has indentations ,
so it has a thinner section thus a shorter bolt is required.
Instead of using the zip ties to hold the gasket,
copper wire is also easy to use and its thinner,
so you can put a bolt into the hole with it still in place.
I was working alone and had struggled with installing the cross member. After living Einstein's definition of insanity (trying same thing over an over) I got an idea. Temporarily installing the LCA caps (leave the LCA's hanging) presses the cross member in to proper position and makes it easy to install the bolts in the holes for the frame braces.
That's an excellent idea on using the LCA caps to press the crossmember into position for the upper support bolts. Not seen this mentioned before - would have saved me a lot of frustration when I did it (at least on RHS which was harder to line up)
Thanks Stratford -
Bolting up the caps to hold and align everything came after hours of wrestling and overnight soreness. Next morning while sipping my coffee and cleaning the caps and sway bar links (makes one feel like making progress, but not really) it just hit me... I was done in less than 40 minutes. The feeling was a strange mix of victory and kicking myself for not thinking of it sooner. It's a really easy way for someone working alone to get those tough to reach bolts aligned.
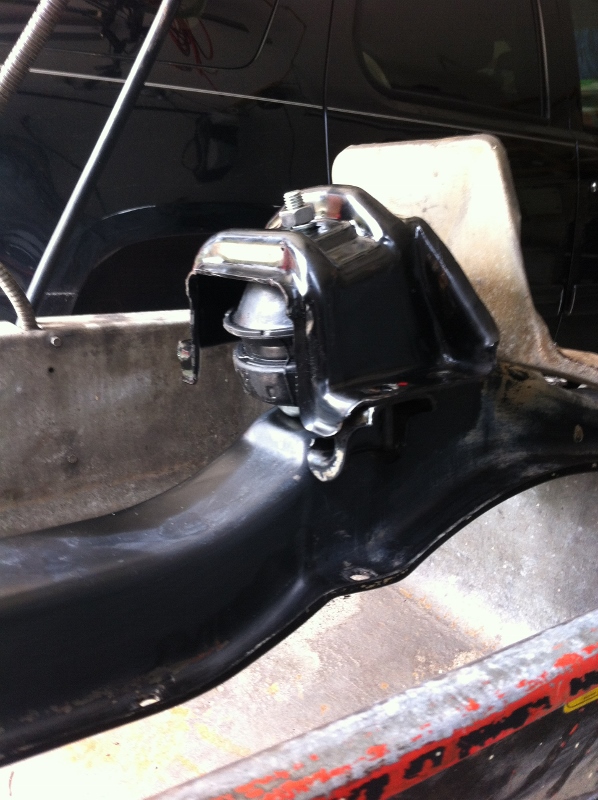
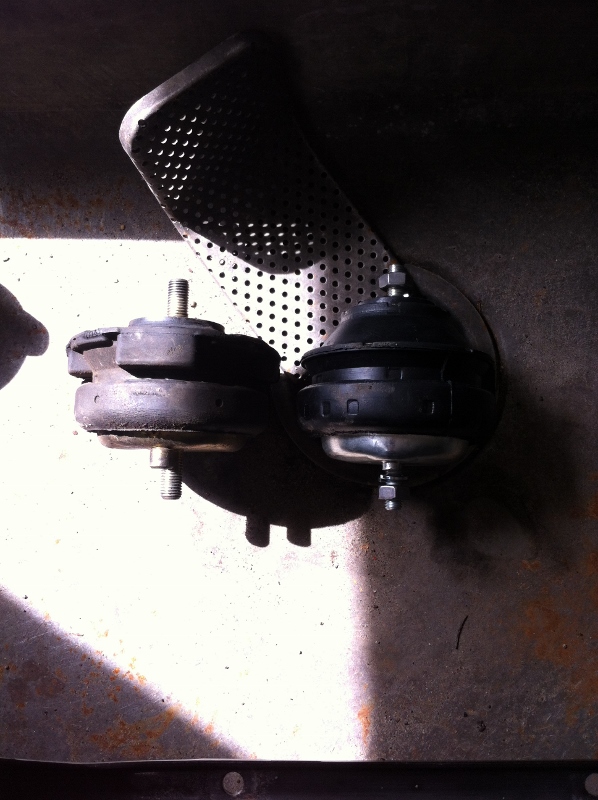
Hey you guys, I got he pan back on and wanted to confirm the orientation of these new mounts on the hop.
Just in case.....
Pictured is the new mount on the passenger's side, with the sheet metal wishbone replacing the lower stock "washer" plate. Wishbone pointed out made the most sense?
The square face on the side of the new mount does not have the same orientation to the bottom "pin" that sets into the cross member, as the stock mount.
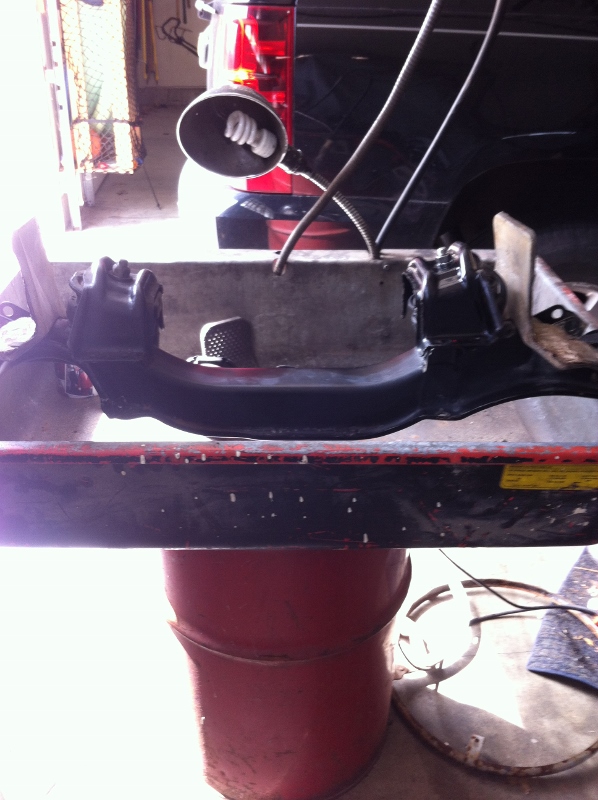
Old and new pictured side by side, and then old set up on drivers side and new on passenger's side on the crossmember. Non-issue?
Thanks ahead of time.
Letting the support down, I was surprised how much height I got, almost an inch improvement overall.
I took her out and ran her hard. Either the throttle snaps better or I just haven't driven the beast for so long...
Woke up to a small coolant leak this morning, however.
I can't isolate where it is. Stuffed paper towels everywhere.
Hoping it is just a hose that shifted with the difference in engine height, but man, I can't rule out the bridge or pump yet.


 04-05-2015, 12:21 PM