When you click on links to various merchants on this site and make a purchase, this can result in this site earning a commission. Affiliate programs and affiliations include, but are not limited to, the eBay Partner Network.
Up to '81 MY there were two different size batteries available. Std version was shorter than what fits into long box. M197 option added full size battery. On '78 MY non M197 option cars (+)-cable was longer to reach directly to battery (+)-terminal. Later MY used short M197 cable and separate extension. Only '78 MY has separate gearbox mounted battery box.
So, been a while since my last update.
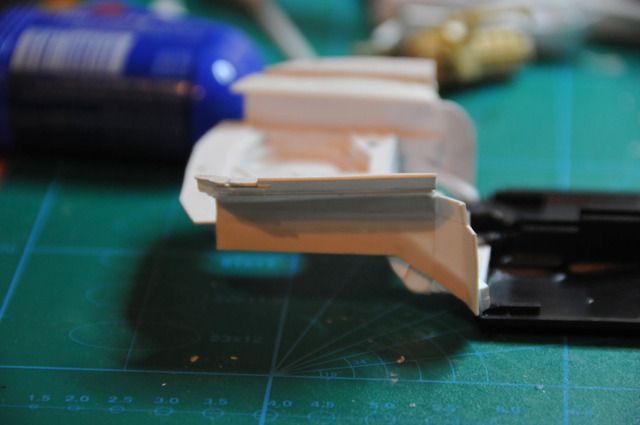
I came to realize that the rear seat area (bulge under car) and front wheel well should be better represented.
Also the trunk side panels where too straight, where the 1:1 has a curved appearance.
So far I am almost done with one side, and I think it is starting to look better. Sufficient for my taste at least.
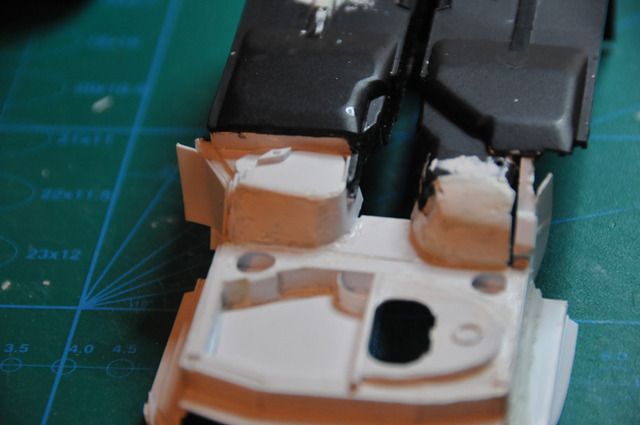
How it looks inside the body. Still left to add filler to the small gaps.
Sooooooo.
It�s been a few years. I haven�t done any work since the last post, as a result of extensive work on the house and having gotten divorced in the meantime.
But now that I have managed to get a new desk, and re-found all the equipment, I am slowly restarting the project.
My already weak skills are even worse, but I am still wanting to do this car justice and get a result that is as detailed and realistic as possible.
I see that photobucket has rewritten their terms of use, so that I need to re-issue the images from past updates.
I will try to show my progress as I move along, and hopefully you still enjoy and support me on the way.
Sadly it�s more about persistence than skills on my part, so please bear with me.
The main purpose is actually killing time until my new girlfriend (which currently resides in New York) moves in with me
So this is where I am at now. Finalising the sides of the trunk. Progress is slow as I am not experienced with scratch building, however it doesn't seem too off.
But then again I do not own a 928, so I have to eyeball all from a few not too good images I have located online.
Please give notice if something seems off or opportunity for improvement is found
So, no picture update as I had to undo some of my previous work. Attempting to fit the chassis into the body, I realized things where a bt off center.
So I will take my time and try to do a better job aligning it.
What can I say...? I�m an amateur way over my head
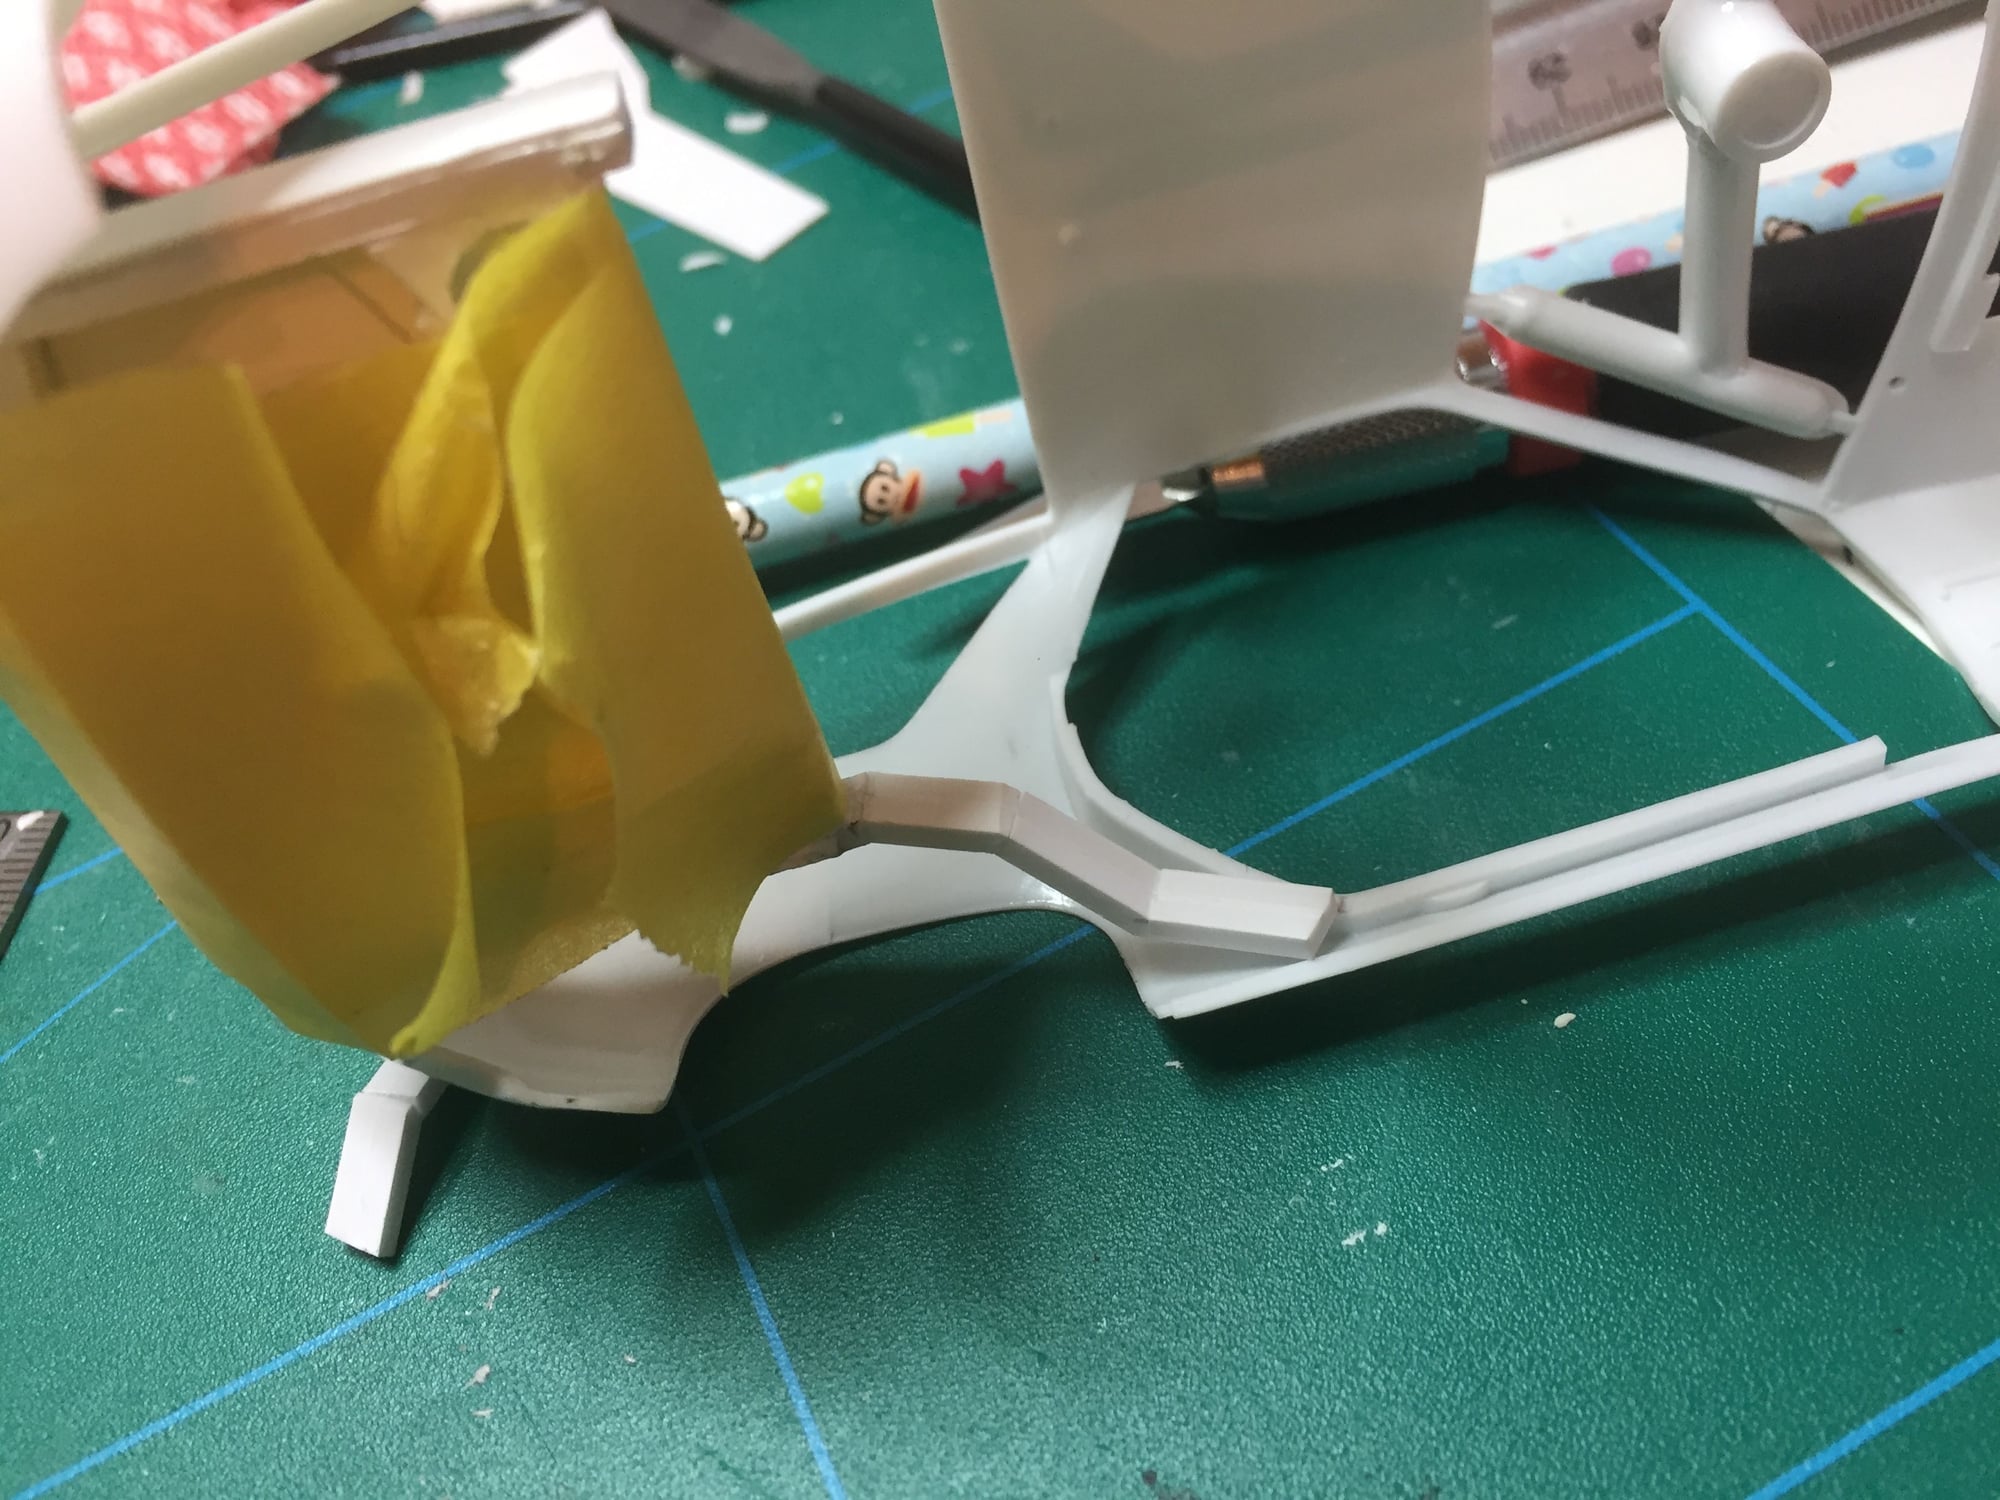
So, I basically cut everything apart (except the trunk area which I think is quite accurate) and have stared at pictures and tried to make a plan.
It seems to me (please confirm) that the rail that connects the trunk area to the door has the same slope from the door opening to the front of the trunk?
i have created rails that fit this profile, which I have attached one side of.
Does this look like a fairly good representation, or have I gotten it wrong once again?
I care more about it looking correct than having to do over once again

 03-12-2015, 05:21 PM