When you click on links to various merchants on this site and make a purchase, this can result in this site earning a commission. Affiliate programs and affiliations include, but are not limited to, the eBay Partner Network.
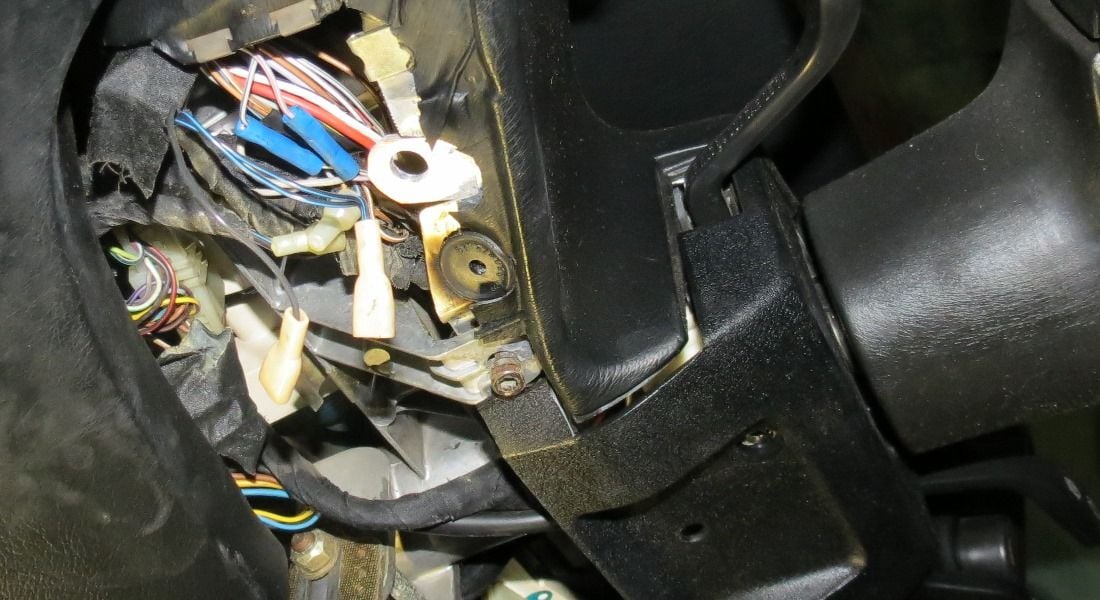
So I previously posted the stock dimmer had taken a dump and would only operate in max mode so I decided to look for a new one. Apparently the dimmers are gold plated, which would explain why they cost $70 for a new one and from the reviews I have seen new ones don't necessarily work like "new." I decided to take another approach and make my own dimmer.
I started by trying to understand the resistance range of the stock dimmer, which I measured to be in the 16ohm range. I then went to Shadio Rack and purchased a 25ohm 3W dimmer and hooked it up to the car to start taking measurements. I turned the dimmer down to a point that represented as low as I felt I needed the dash dimmed, which was less than halve of the rotation of the rheostat. I then measured both resistance (lights off) and voltage across the rheostat (lights on & engine running). I measured ~7V and 6ohms, which is about 8W (V^2/R) and explains why the rheostat was getting hot.
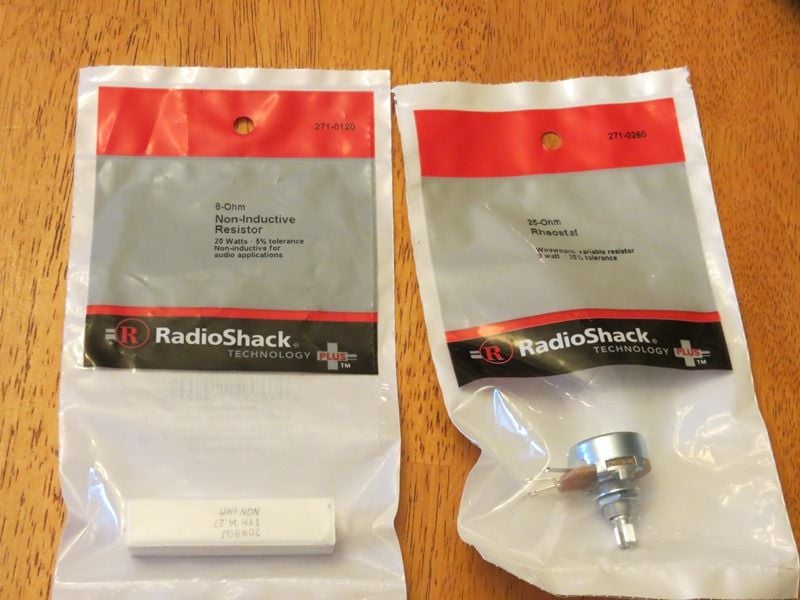
Based on this data, calculations showed that I needed to shunt the rheostat with ~8ohm resistor with a 10W capability. Now on to Shadio Rack to purchase a fresh rheostat and resistor. Unfortunately, they did not have an 8ohm/10W, but did have an 8ohm/20W so I was good to go.
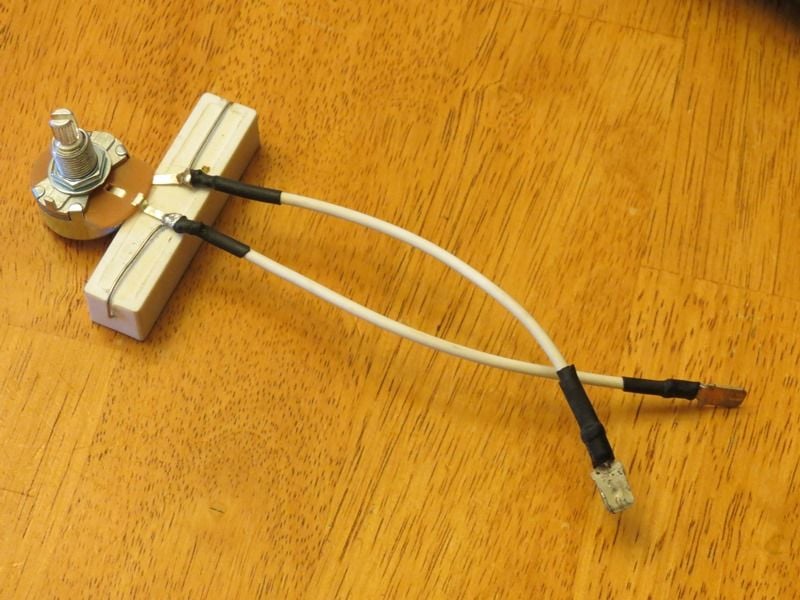
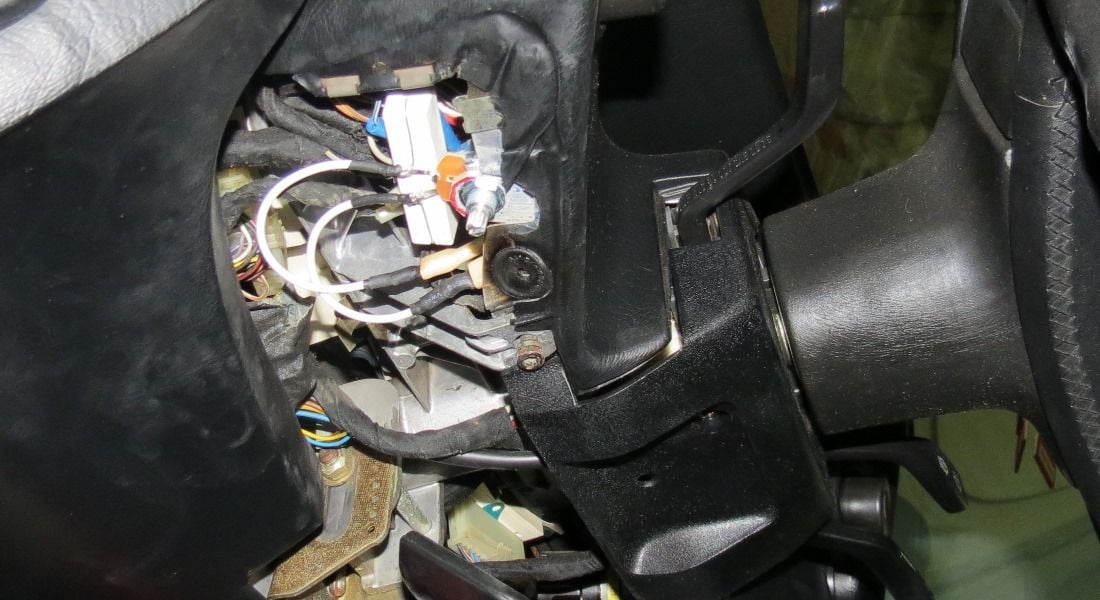
I ran the resistor in parallel with the rheostat to get the finished setup, which is shown below.
I then hooked up the new setup and took measurements and calculated the resistor is seeing a bit over 5W and the rheostat about 1.5W so I am good on the rheostat power rating. Also, adding the shunt resistor gives me more range of motion on the rheostat for dimming.
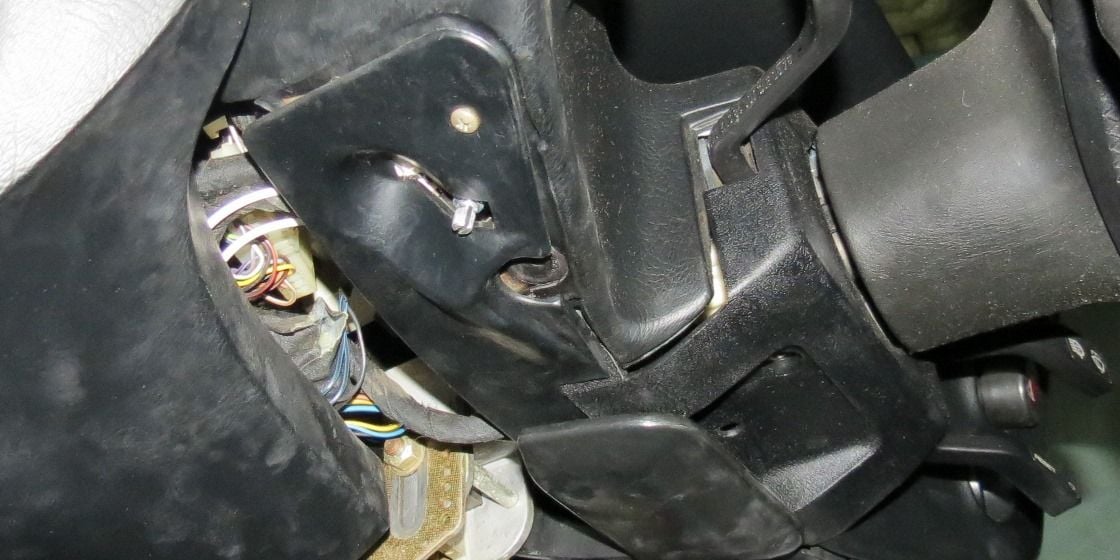
The next step is to use the old mounting screw and make a bracket to hold the new rheostat, which I will post pictures. The intent is the **** will be in the same location as the old dial and I won't have to cut or modify the car.
Last edited by 240Z TwinTurbo; 01-13-2015 at 09:16 AM.
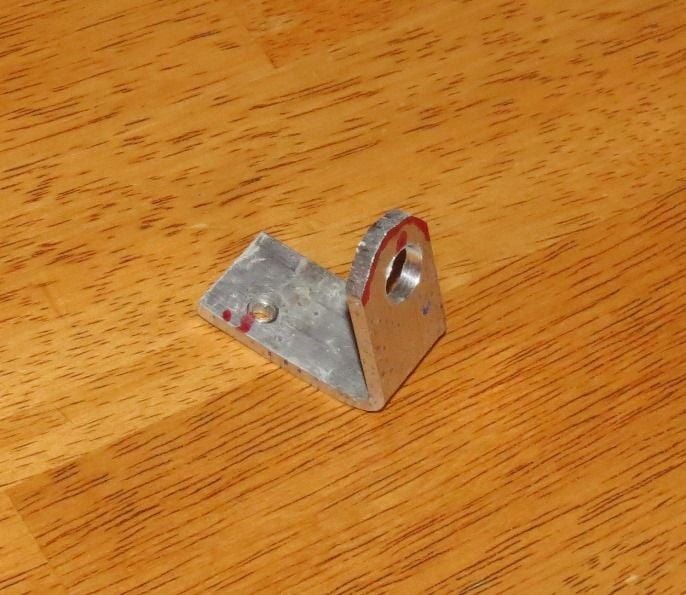
I was able to fab a cheesy bracket for the new dimmer out of some 1.0" x 1/8" aluminum bar. The first step was to bend the bracket and then drill the mounting holes.
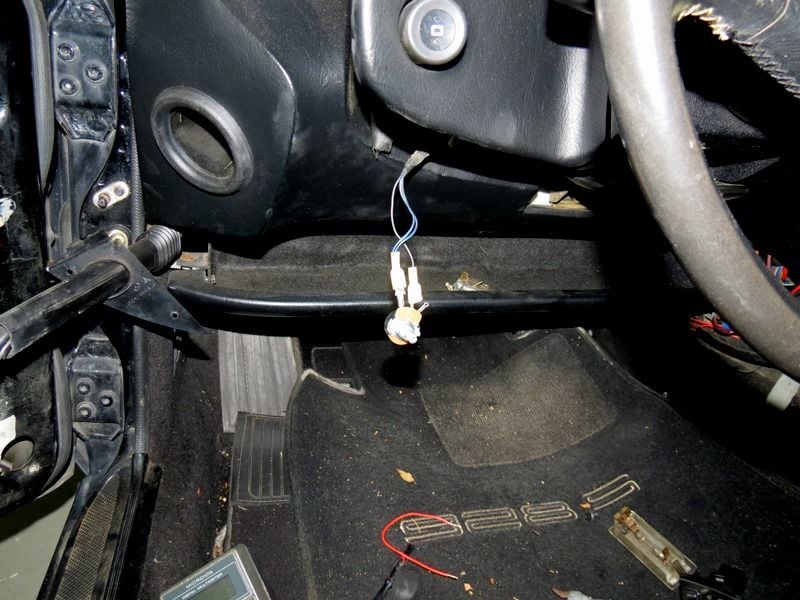
The next step was to mount the high tech bracket in the dash in anticipation of the rheostat. I was able to get the hole in the proper location by first putting the lower dash back on and then making a mark on the bracket where I wanted the **** to locate.
I then mounted the rheostat.
The final step was to attach the lower pod cover.
The only thing remaining is to find a **** that fits the rheostat, but I am able to adjust with just my fingers without a ****. Shunting with an 8ohm resistor does not get you full blackout so if you want the bulbs to completely disappear you will need to do your own tests to determine the necessary resistance as well as voltage across the rheostat at that resistance. You can then use those calculations to determine the requirements of your rheostat (power/resistance).
Shunting with an 8ohm resistor does not get you full blackout so if you want the bulbs to completely disappear you will need to do your own tests to determine the necessary resistance as well as voltage across the rheostat at that resistance.
I think the original dimmer is a rheostat/switch, in the extreme position it turns the dash lights off, it doesn't dim them to zero.
I think the original dimmer is a rheostat/switch, in the extreme position it turns the dash lights off, it doesn't dim them to zero.
You are correct that it is a rheostat and switch, but it turns into a switch at max illumination by creating a mechanical connection across the terminals.
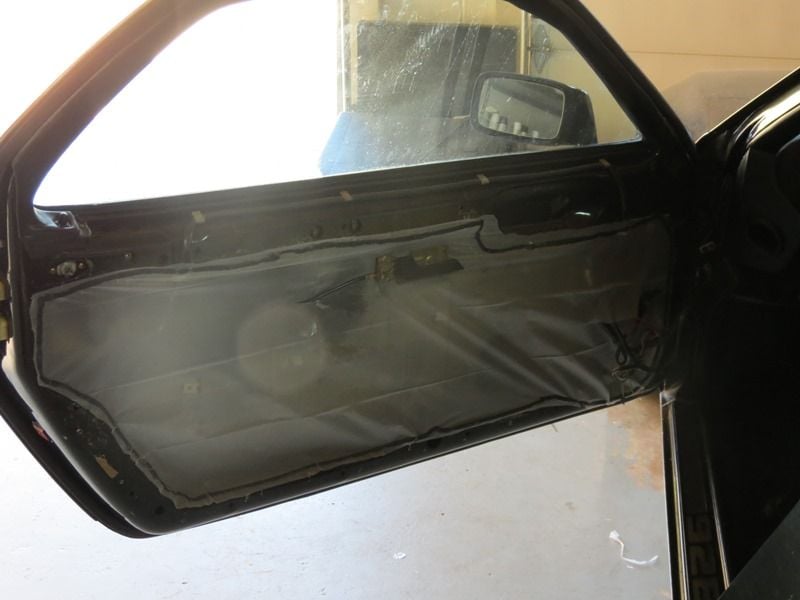
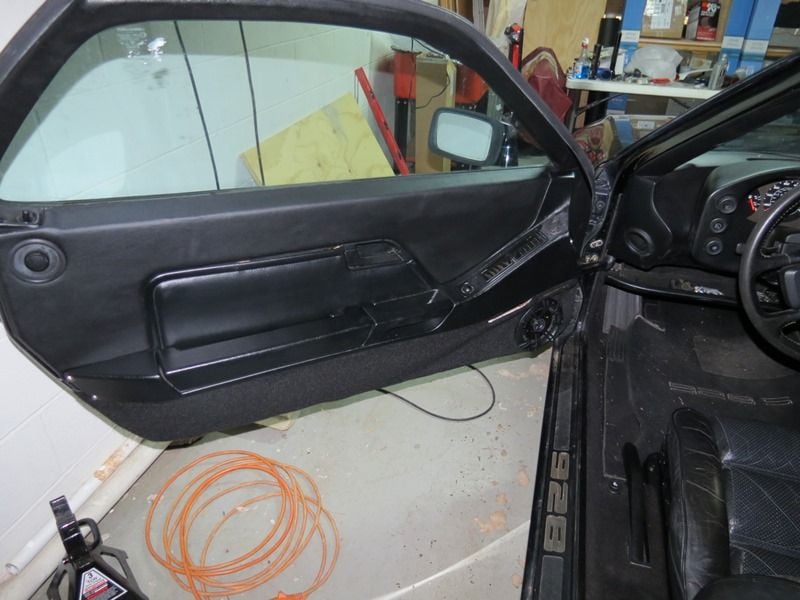
The carpet arrived today so I took time to apply it to the bottom side of the door. I am impressed with how the door came out so I should be in a good position to do the passenger side more quickly. I ordered some new door clips since the panel was missing a few and they should arrive tomorrow. I can then reassemble the door and move on to the other side.
The new door clips arrived today so I installed new clips where others were missing and replaced some that were worn. Looking back I would recommend that you replace all the clips because it is hard to tell whether the clip is functional until you install on the door.
I used a shower curtain for the new door liner and used the 3M caulk strips I had to adhere the liner to the door.
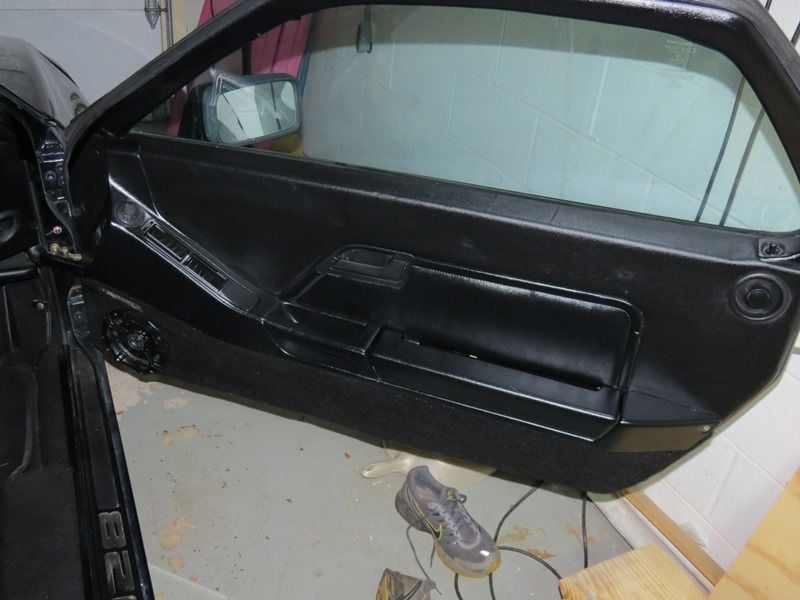
I then installed the new door panel and put back all of the parts except the change holder, which needs some attention. Tomorrow I will start on the passenger side and should complete this weekend.
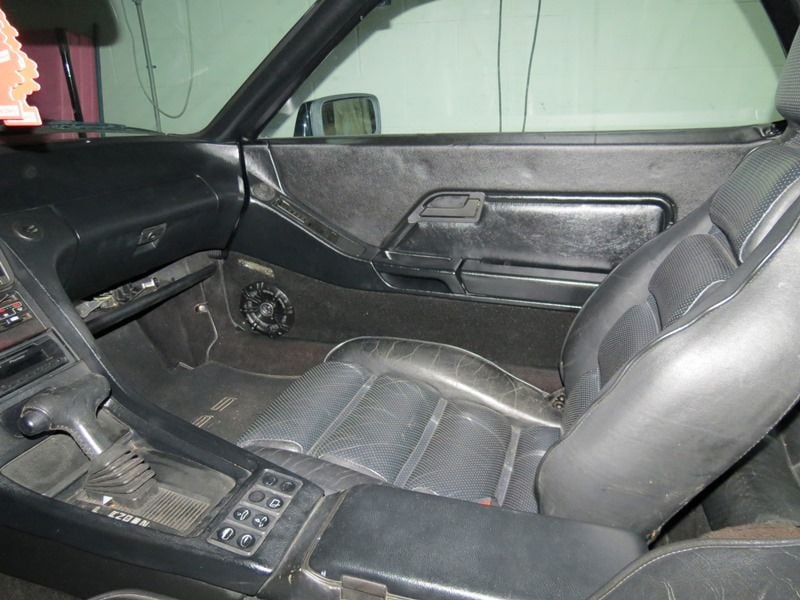
I finished the passenger side door panel this week, which took about 10hrs total and included removing the window regulator and cleaning it up. I also recovered the drivers side panel below the center console.
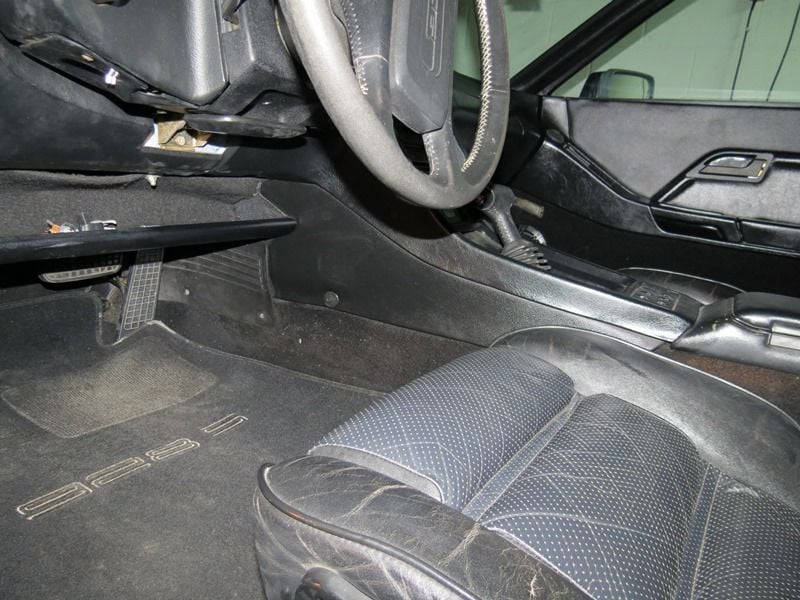
The next step in this project is to remove the gauge pod and replace the little plastic gear. I will also upgrade to LEDs since the stock lighting sucks. I will also be running a large gauge ground wire from the starter to the battery along with a signal wire to the B+ on the battery for the alternator signal.
Also, my mats looked just like yours. I put them in the washing machine and then used my carpet shampooed to suck the water out, then air dry to finish. They look new!
Also, wipe your black plastic down with lemon pledge, it will look like new, and will last a very long time! I did all rubber and plastic on the inside and out on mine. It doesn't leave an oily residue like most plastic restorers
What are the three indents at the top of the door panel?
I meant to block those off when spraying the adhesive, but forgot. Those are the indents for the door clips, which I am hoping will disappear. They showed up when I pressed them to snap the clips.

 01-12-2015, 05:53 PM


 Those are the indents for the door clips, which I am hoping will disappear. They showed up when I pressed them to snap the clips.