When you click on links to various merchants on this site and make a purchase, this can result in this site earning a commission. Affiliate programs and affiliations include, but are not limited to, the eBay Partner Network.
I have a question about the cam gear alignment when re-installing a camtower on a 16V (M28/19). I couldnt find anything on a search, so it must be an easy answer, just want to get some clarification before I move forward. Ive been using Douglas Brownridge's TB/WP & Misc WYAIT Procedures, WSM and of course Rennlist as guides through this project of engine disassembly, cleaning, re-assembly. Ive had to stray slightly from DB's procedures because I also disassembled the heads and had them repaired/rebuilt.
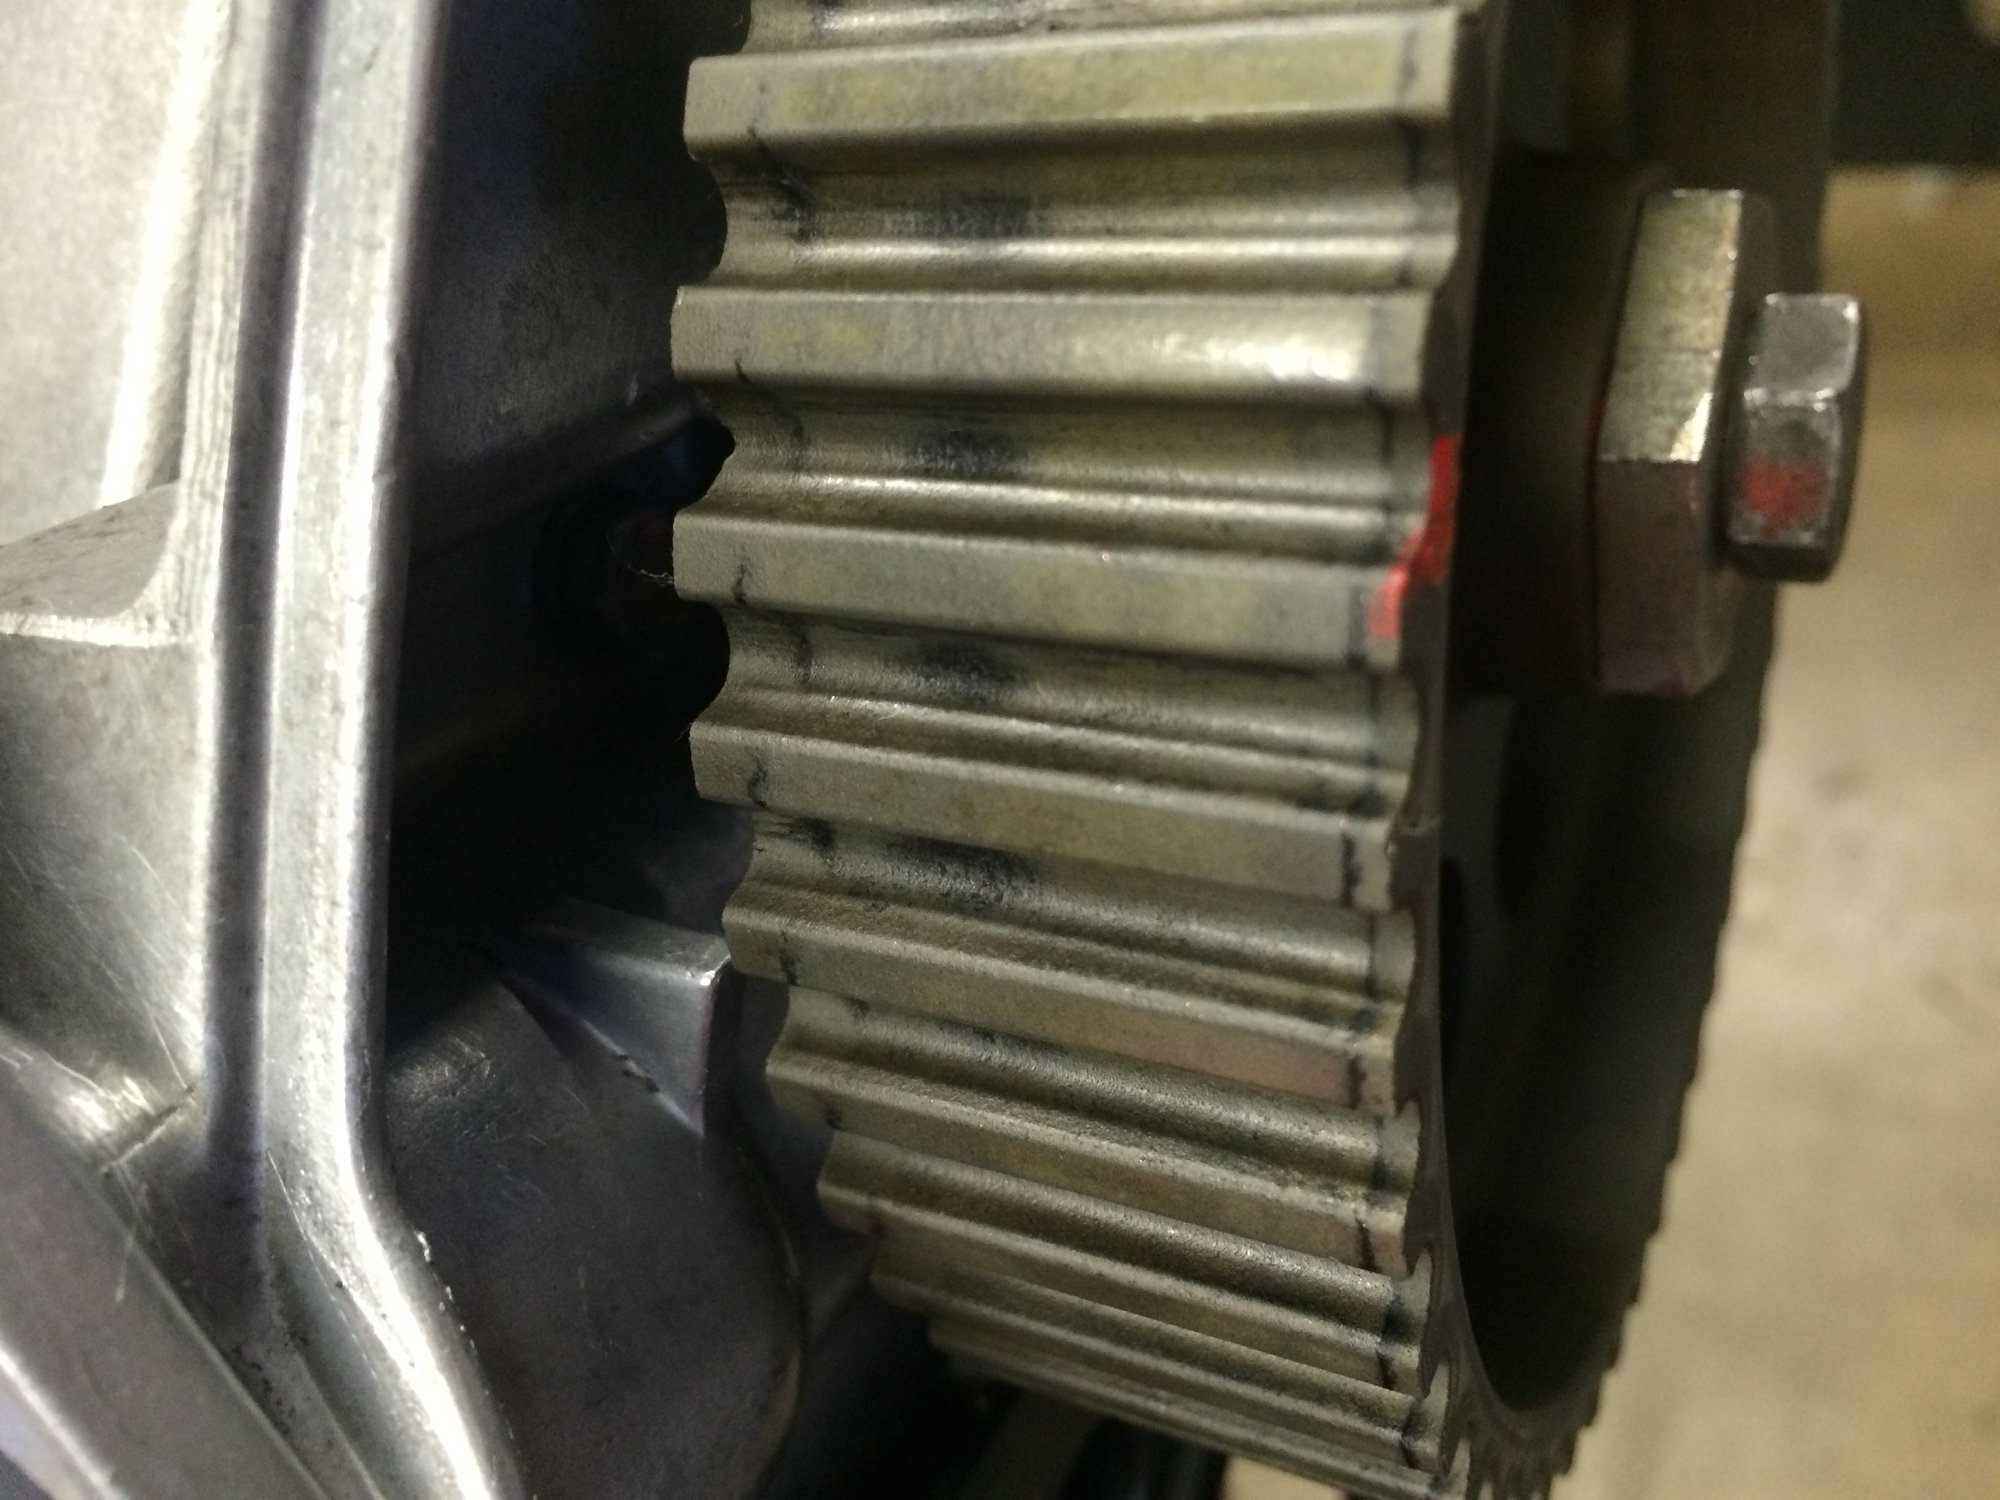
So I just finished installing the left camtower after cleaning and new seals and gaskets. prior to installing, I aligned the notch on the cam gear with the V on the distributor housing. Installed Greg Browns gasket, dry, put in the four corner bolts a couple threads to hold everything in place. Then I installed all of the camtower bolts and snugged them all to finger tight. Then I started in the middle and torqued them all to 16lbsft working my way out from the middle, per G. Browns advise. Then I installed the camtower plugs with new washers and Im looking pretty good. Till oops, the cam gear turned a bit clockwise and is now about three teeth too far to the right (see pic).
The cam gear turns by hand an inch or so in either direction but I cant get it closer to the V in the distributor housing than is shown in the picture, by hand. Until I know it's ok to do, I don't want to put a wrench on anything for fear of binding something, damage, etc. Wondering if I need to dis-assemble and re-do with different alignment strategy.
I guess while Im embarrassing myself with confession. I didn't align my crankshaft paint marks before installing the heads. Do I need to uninstall the heads to turn the crankshaft? I guess I thought I'd be aligning all these gears/shafts before installing the timing belt, but now Im wondering if these all have to be aligned, at least in gross terms, prior to the head and cam installation.
If so, not a big deal. Ill have to replace the head and camtower gaskets with new but its worth the price for a job correctly done. Im really having fun with this engine work. I probably read about it more than I actually work on it. I have spent way mor eon tools than parts, but I think thats why everything is going well so far. No real screw-ups yet, but stay tuned :0
Any advise or input would be much appreciated and thanks in advance.
It's always best to have the crank aligned with the cam when you put it together but in this case it's not a problem. The engine is a "non-interference" model and you can turn the crank to TDC and then the cams to their notches. Near their notches, actually, as the valve springs push the cam off-mark a bit. Get the belt on with everything lined up as usual and you'll be fine. You don't need to take anything apart.
I just finished up a WP/TB job and ran into the same problem with my 82.
For my car at least, I had to advance the cam gears one tooth to the right of the pointer and put a 32mm or 1 1/4 wrench or socket on both cam gears. This will keep them from moving while putting belt on.
Make sure your harmonic balancer is at 0TDC under the red pointer on the WP.
Neither the cam gear or the harmonic balancer can be installed incorrectly as they must fit in the key insert. I wouldn't turn the engine counter clockwise, but moving the cams a little one way or the other on a 16V won't hurt anything.
After the belt is on and you tighten the tensioner, the belt will pull the cam gears into the proper position. My left gear was positioned exactly correct and the right was off maybe a 1/8 in off the mark but within the proper tooth. I dont think you can get it any better as the belt tooth spacing would preclude any further movement.
I just fired mine up and it started within 2 secs with no timing issues at all. Although I am checking the timing tomorrow to ensure everything is within specs.
I just (temporarily) reinstalled balancer and crankshaft bolt, then turned clockwise (about 90*) to align with water pump red pointer and my paint marks ( which are lined up with the shaft key). During this maneuver the cam didn't move. So I rotated the cam a full turn to be right back to where I started (3 teeth off to the right) which sounds like the spot I need to be. So now I'm back on track. Crankshaft is lined up properly and I'll install right side cam tower Monday after I get another gasket ( accidentally ripped one, don't ask) :-/
Gonna work on the idler rollers in the meantime. Happy holidays and thanks again
Since you just installed your harmonic balancer and crank bolt, I take it your belt is not installed.
The cams won't move without the belt installed. From my recent experience, three teeth off from the mark is too much before your tighten the belt.
I found that one tooth to the right is about right. Of course you may have to experiment a little, but after a couple of tries I found this to be a good advance.
Put a wrench on the cam bolts and rotate the shortest distance so the slot in the cam gear is one tooth off to the right. Put the belt on and before tensioning ensure the cam gears have not moved. Use a wrench to keep them from moving while installing the belt.
Install the roller, tighten the tensioner and all marks should line up nicely. Use a Kempf tool to ensure proper belt tension. Then pull the engine through twice to check belt alignment and check tension again.
Yup, belt is off still. I was going to get to work on the tensioner arm and idler roller, but then realized that stuff gets put on with the belt. Still learning the process but Im in good shape. Gotta get another camtower gasket, then I can move forward with rollers, distributor, belt, etc. In the meantime, Im cleaning little bits, bolts and doodads.
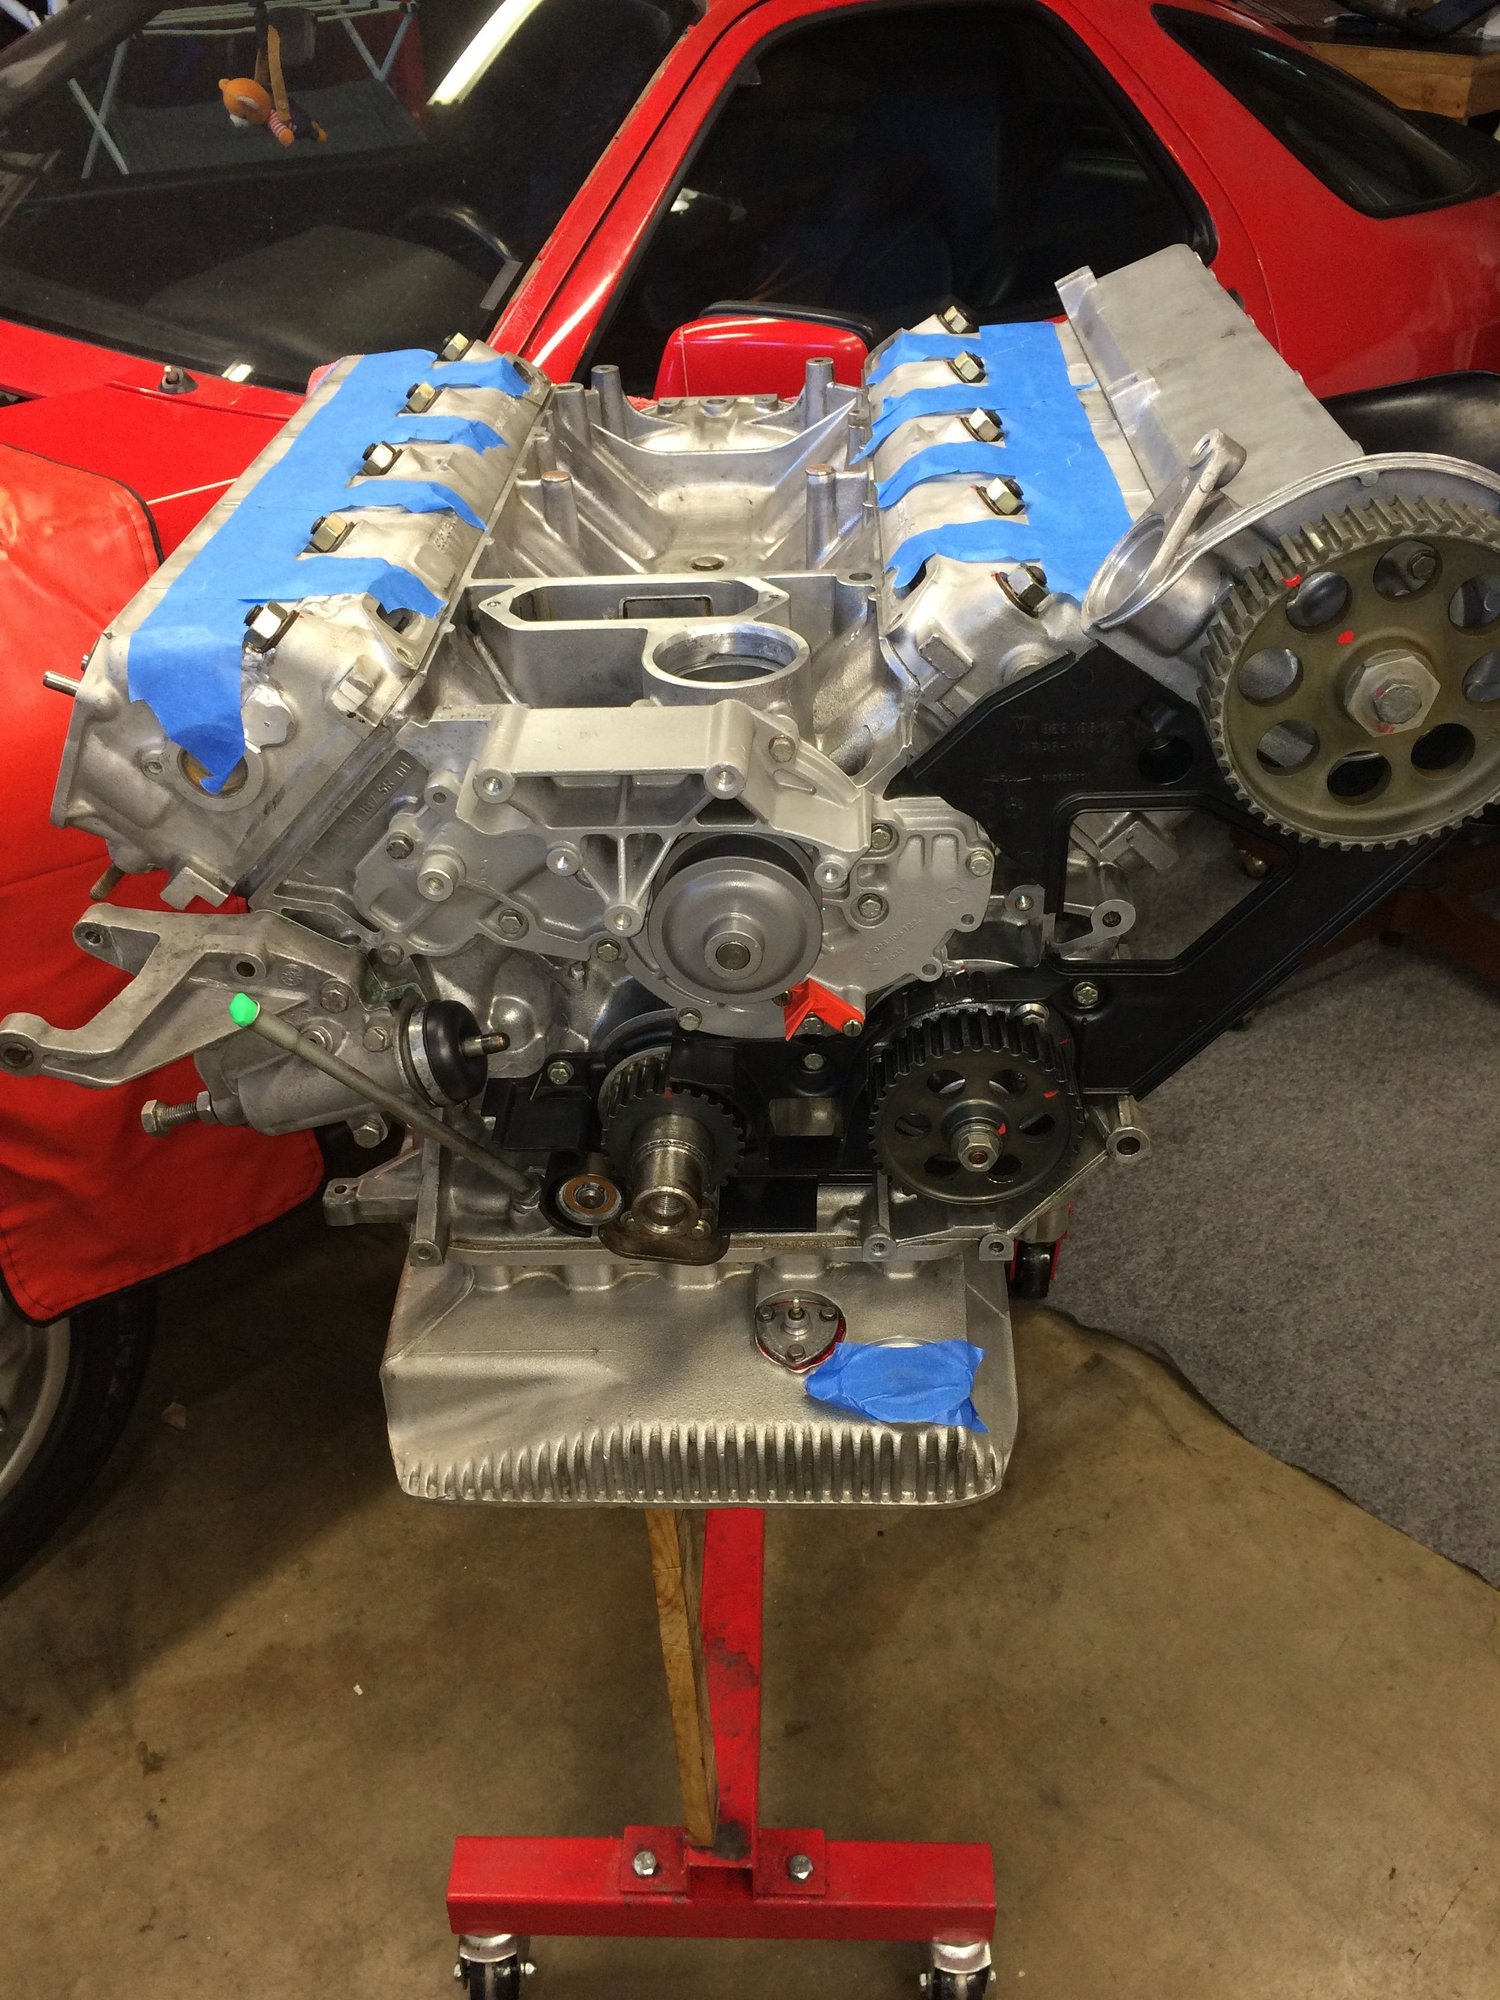
Thanks for the tips JD69. I am having fun. Mark Ill put some clean rags in those big holes, the tape didnt stick well in those locations, but your right, its kind stupid to leave it open. When Im not working on it, the engine gets covered with a towel.
Thanks for the tips JD69. I am having fun. Mark Ill put some clean rags in those big holes, the tape didnt stick well in those locations, but your right, its kind stupid to leave it open. When Im not working on it, the engine gets covered with a towel.
I was just kidding.. im sure you are taking the best of care.. looks great! ive always wished to have the patience to really clean up the engines before I put them back together...
I was just kidding.. im sure you are taking the best of care.. looks great! ive always wished to have the patience to really clean up the engines before I put them back together...
Thanks for the encouragement Mark. Means a lot. Being a noob myself, cleaning the parts is a good way for me to learn the parts, how they fit and work. Like a minimum wage parts washing kid at a shop I guess. I am taking care as much as possible. Trying to move slowly and deliberately. I'm bound to make some mistakes during the course of this project, hopefully my patience will minimize those errs and maybe I'll even know how to correct them when the time comes.
The 16 valve cars sometimes blow out the cam cover gaskets. Greg Brown makes an improved one that he sells stupid cheap. Likely, you do not need it, but if you are replacing one anyway I would go that way instead of stock.


 12-27-2014, 07:11 PM


 !
!