When you click on links to various merchants on this site and make a purchase, this can result in this site earning a commission. Affiliate programs and affiliations include, but are not limited to, the eBay Partner Network.
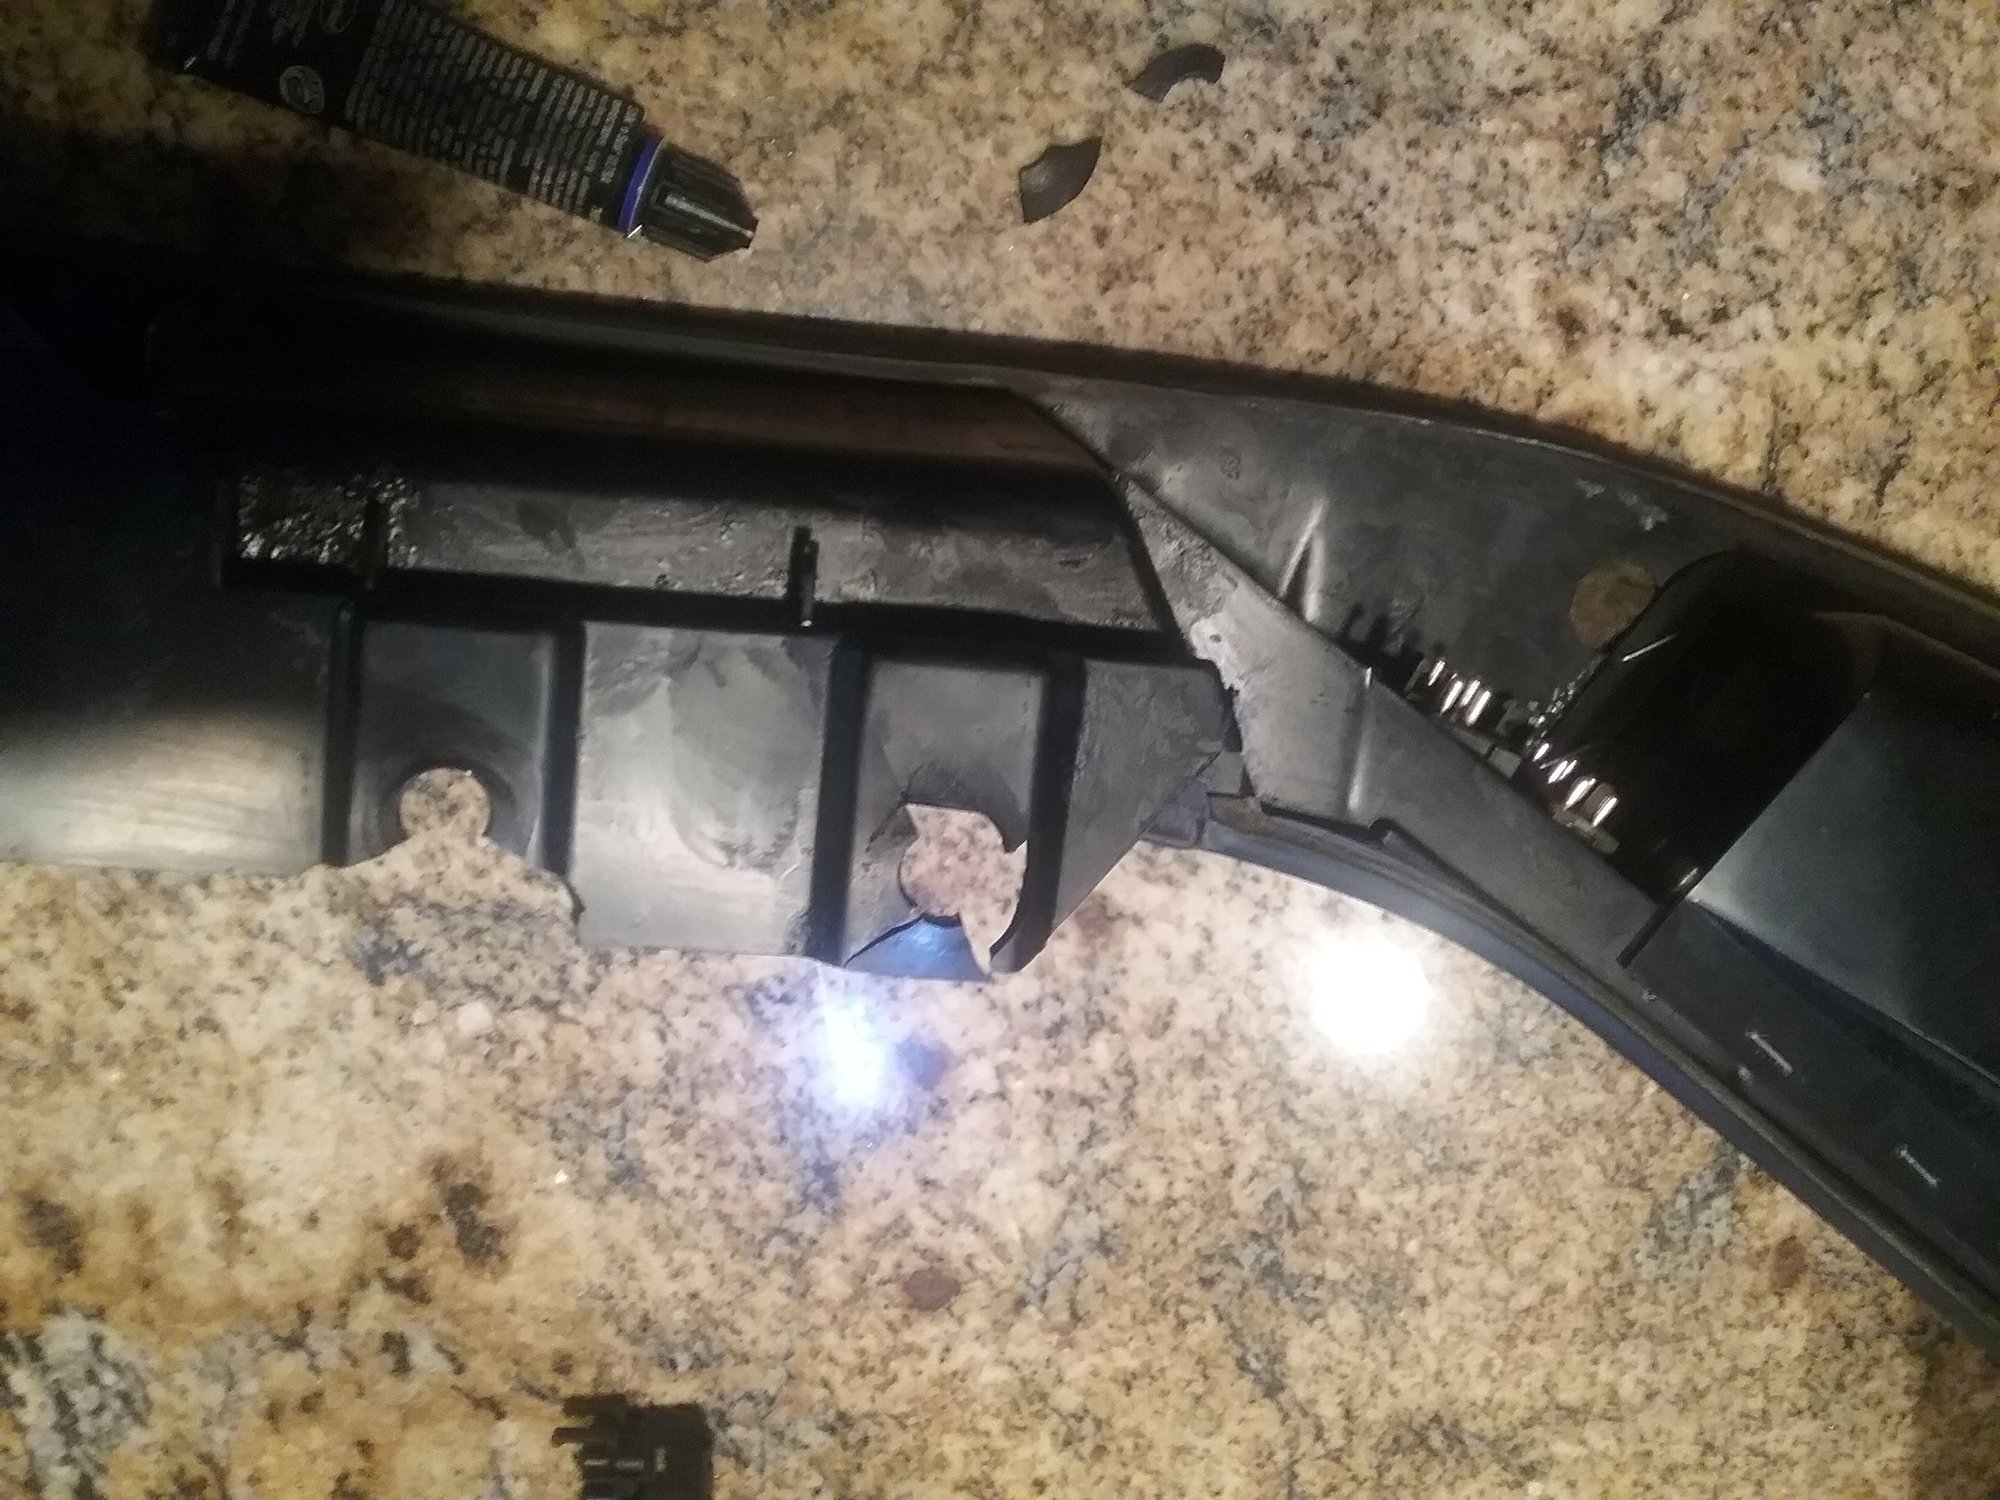
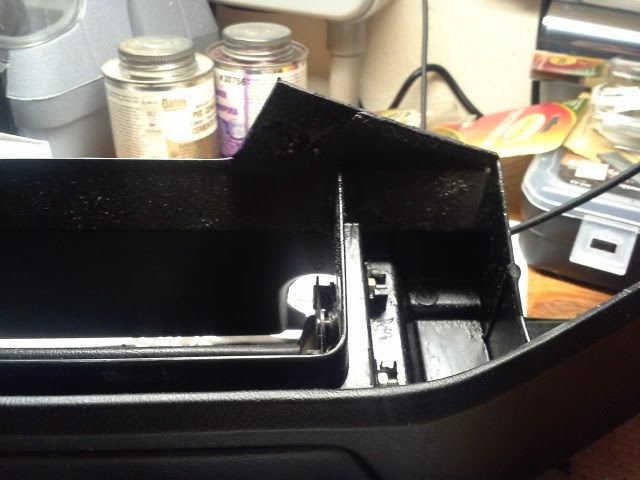
I took off my driver side door panel getting ready to replace the door hinge helper and add sound proofing. I found the plastic door panels thrashed by the PO or other mechanics. One old repair has white glue and chunks of a castrol can! This is my first try posting photos so bear with me.
Does anybody have a way to repair these bits, or is there a place to replace them?
Recently took my drivers door apart and found cracks and broken plastic on the door panel. I've tried a few fixes but still not satisfied. Has anyone tried using ABS plastic with plumber's glue.
Also, if someone purchased the metal brackets from Classic9, could you pls post photos of the install and your opinion.
Here is my before and after:
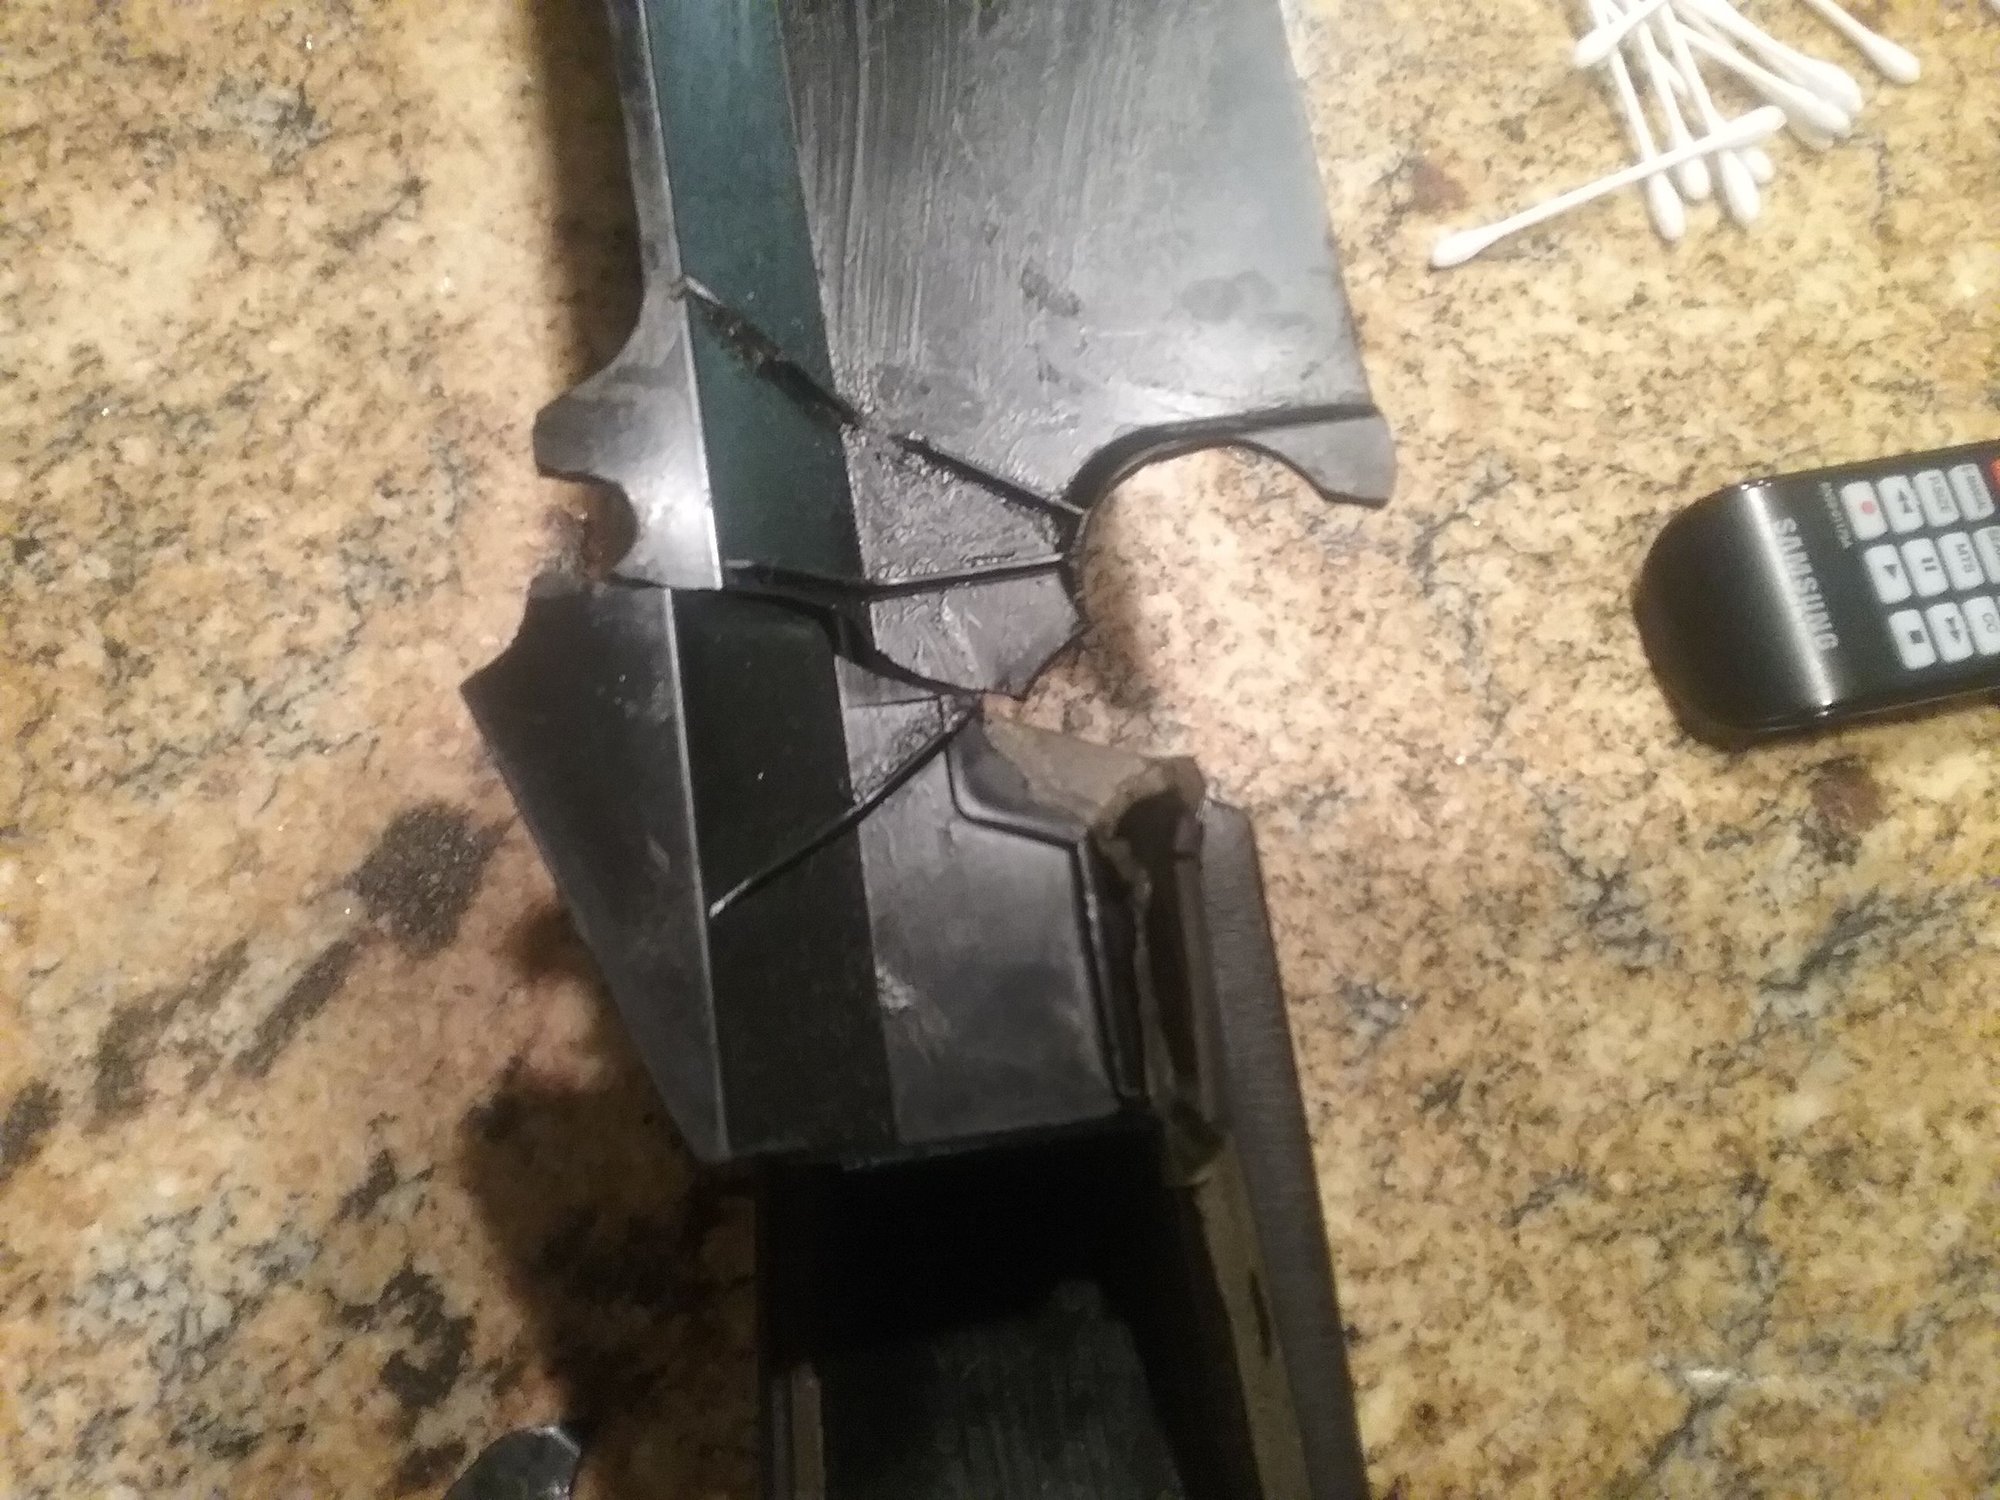
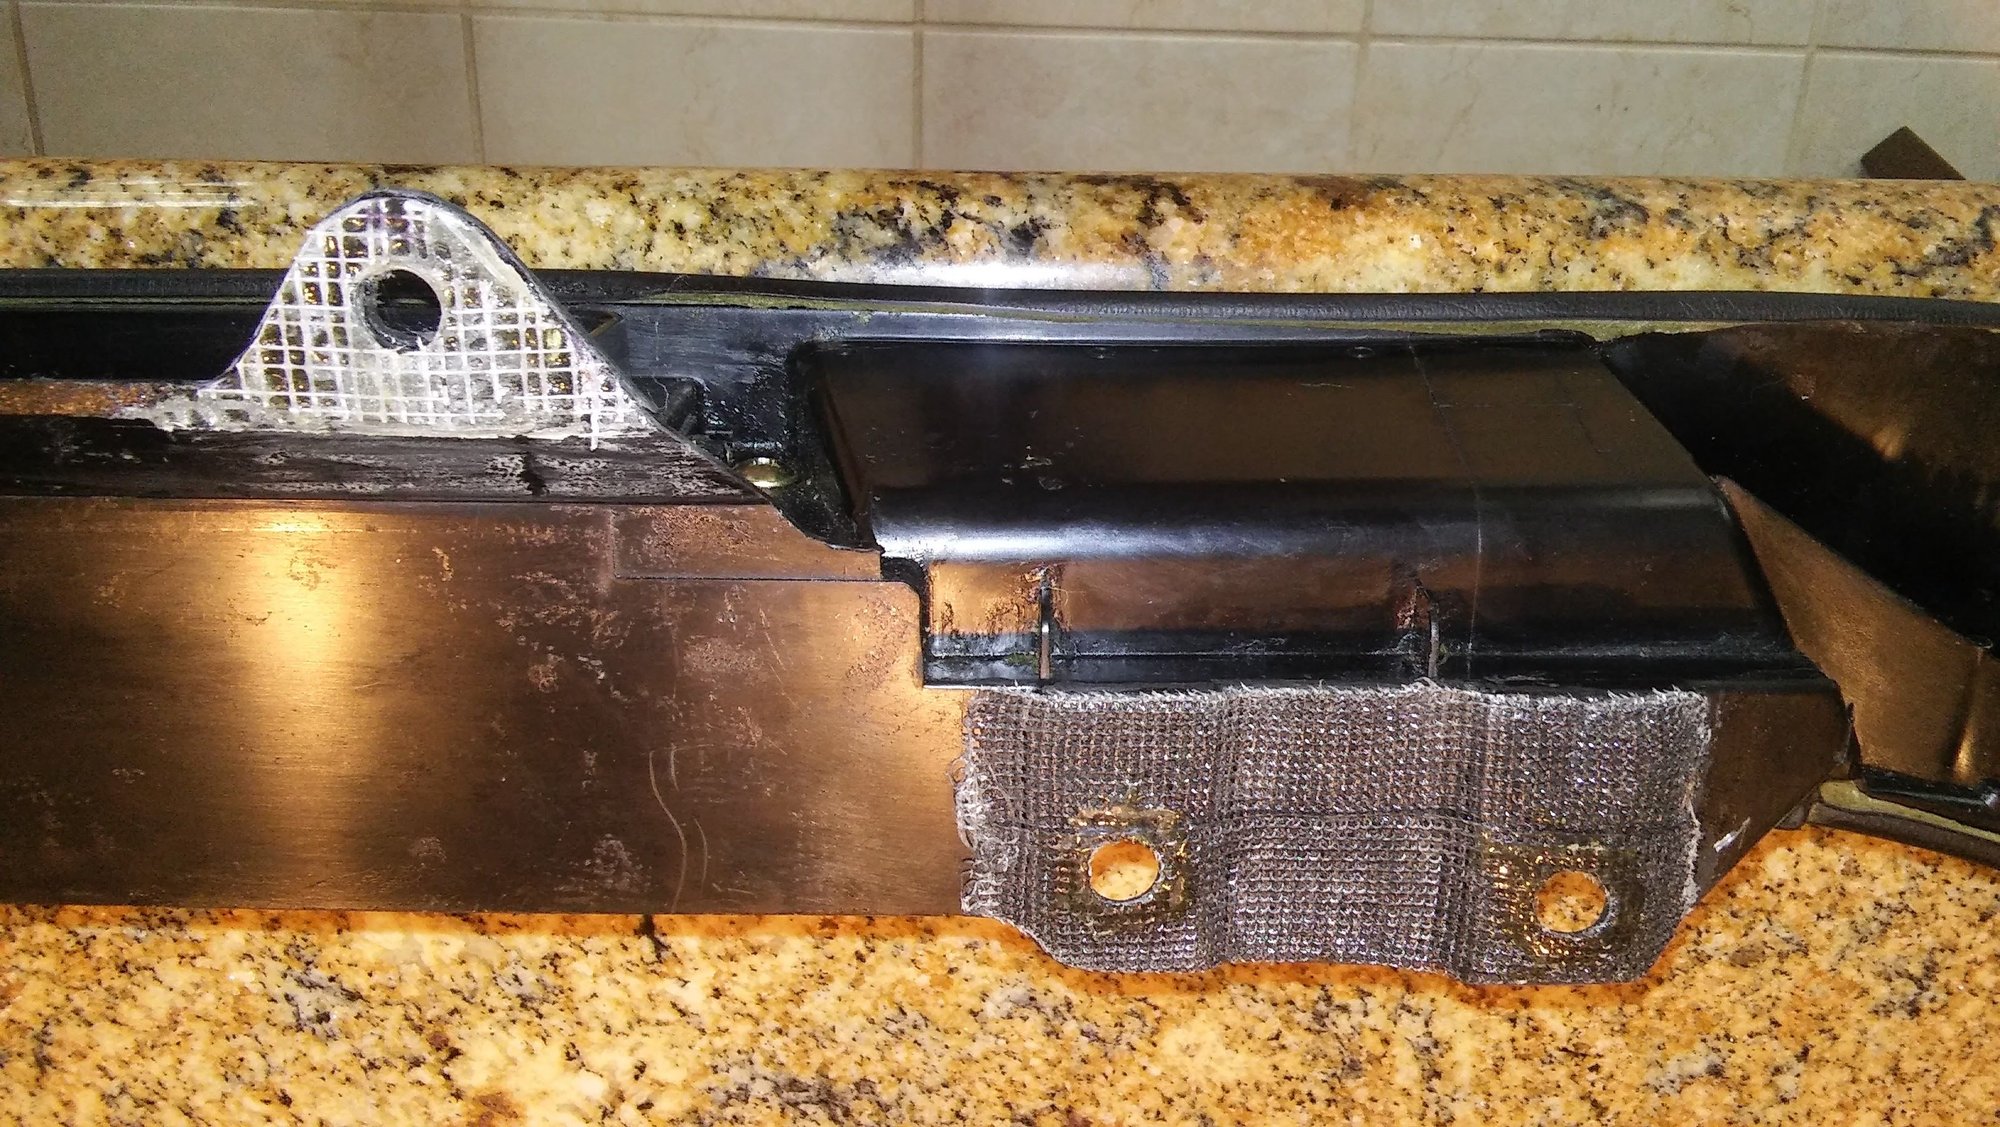
Fwd bolt sections nearly gone.
Back section with major crack and missing section.
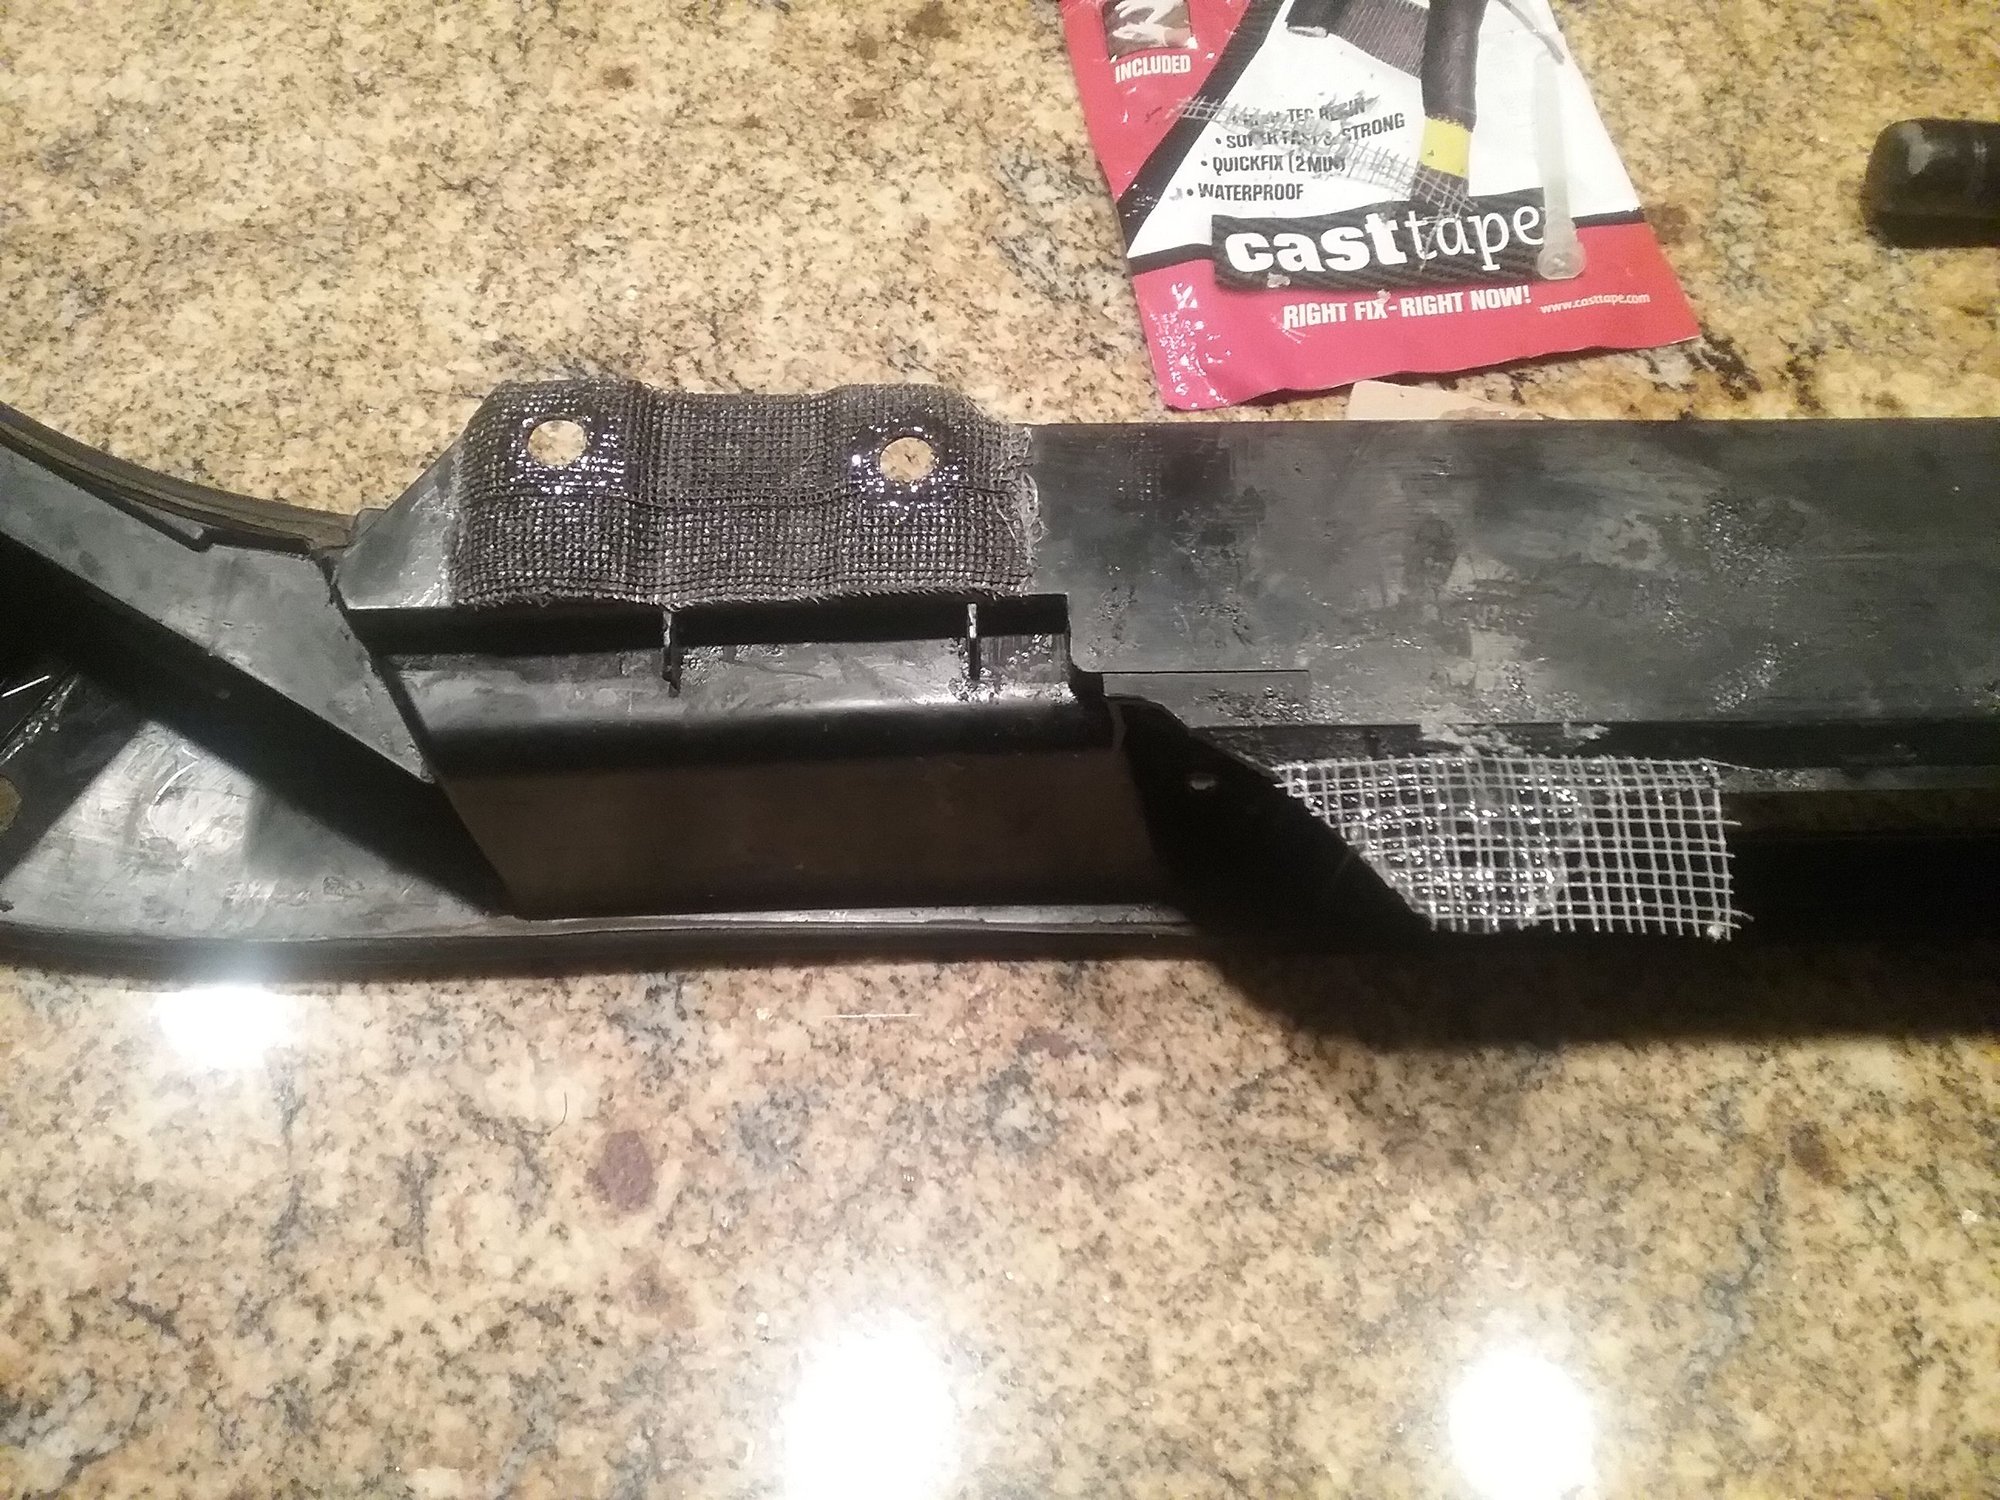
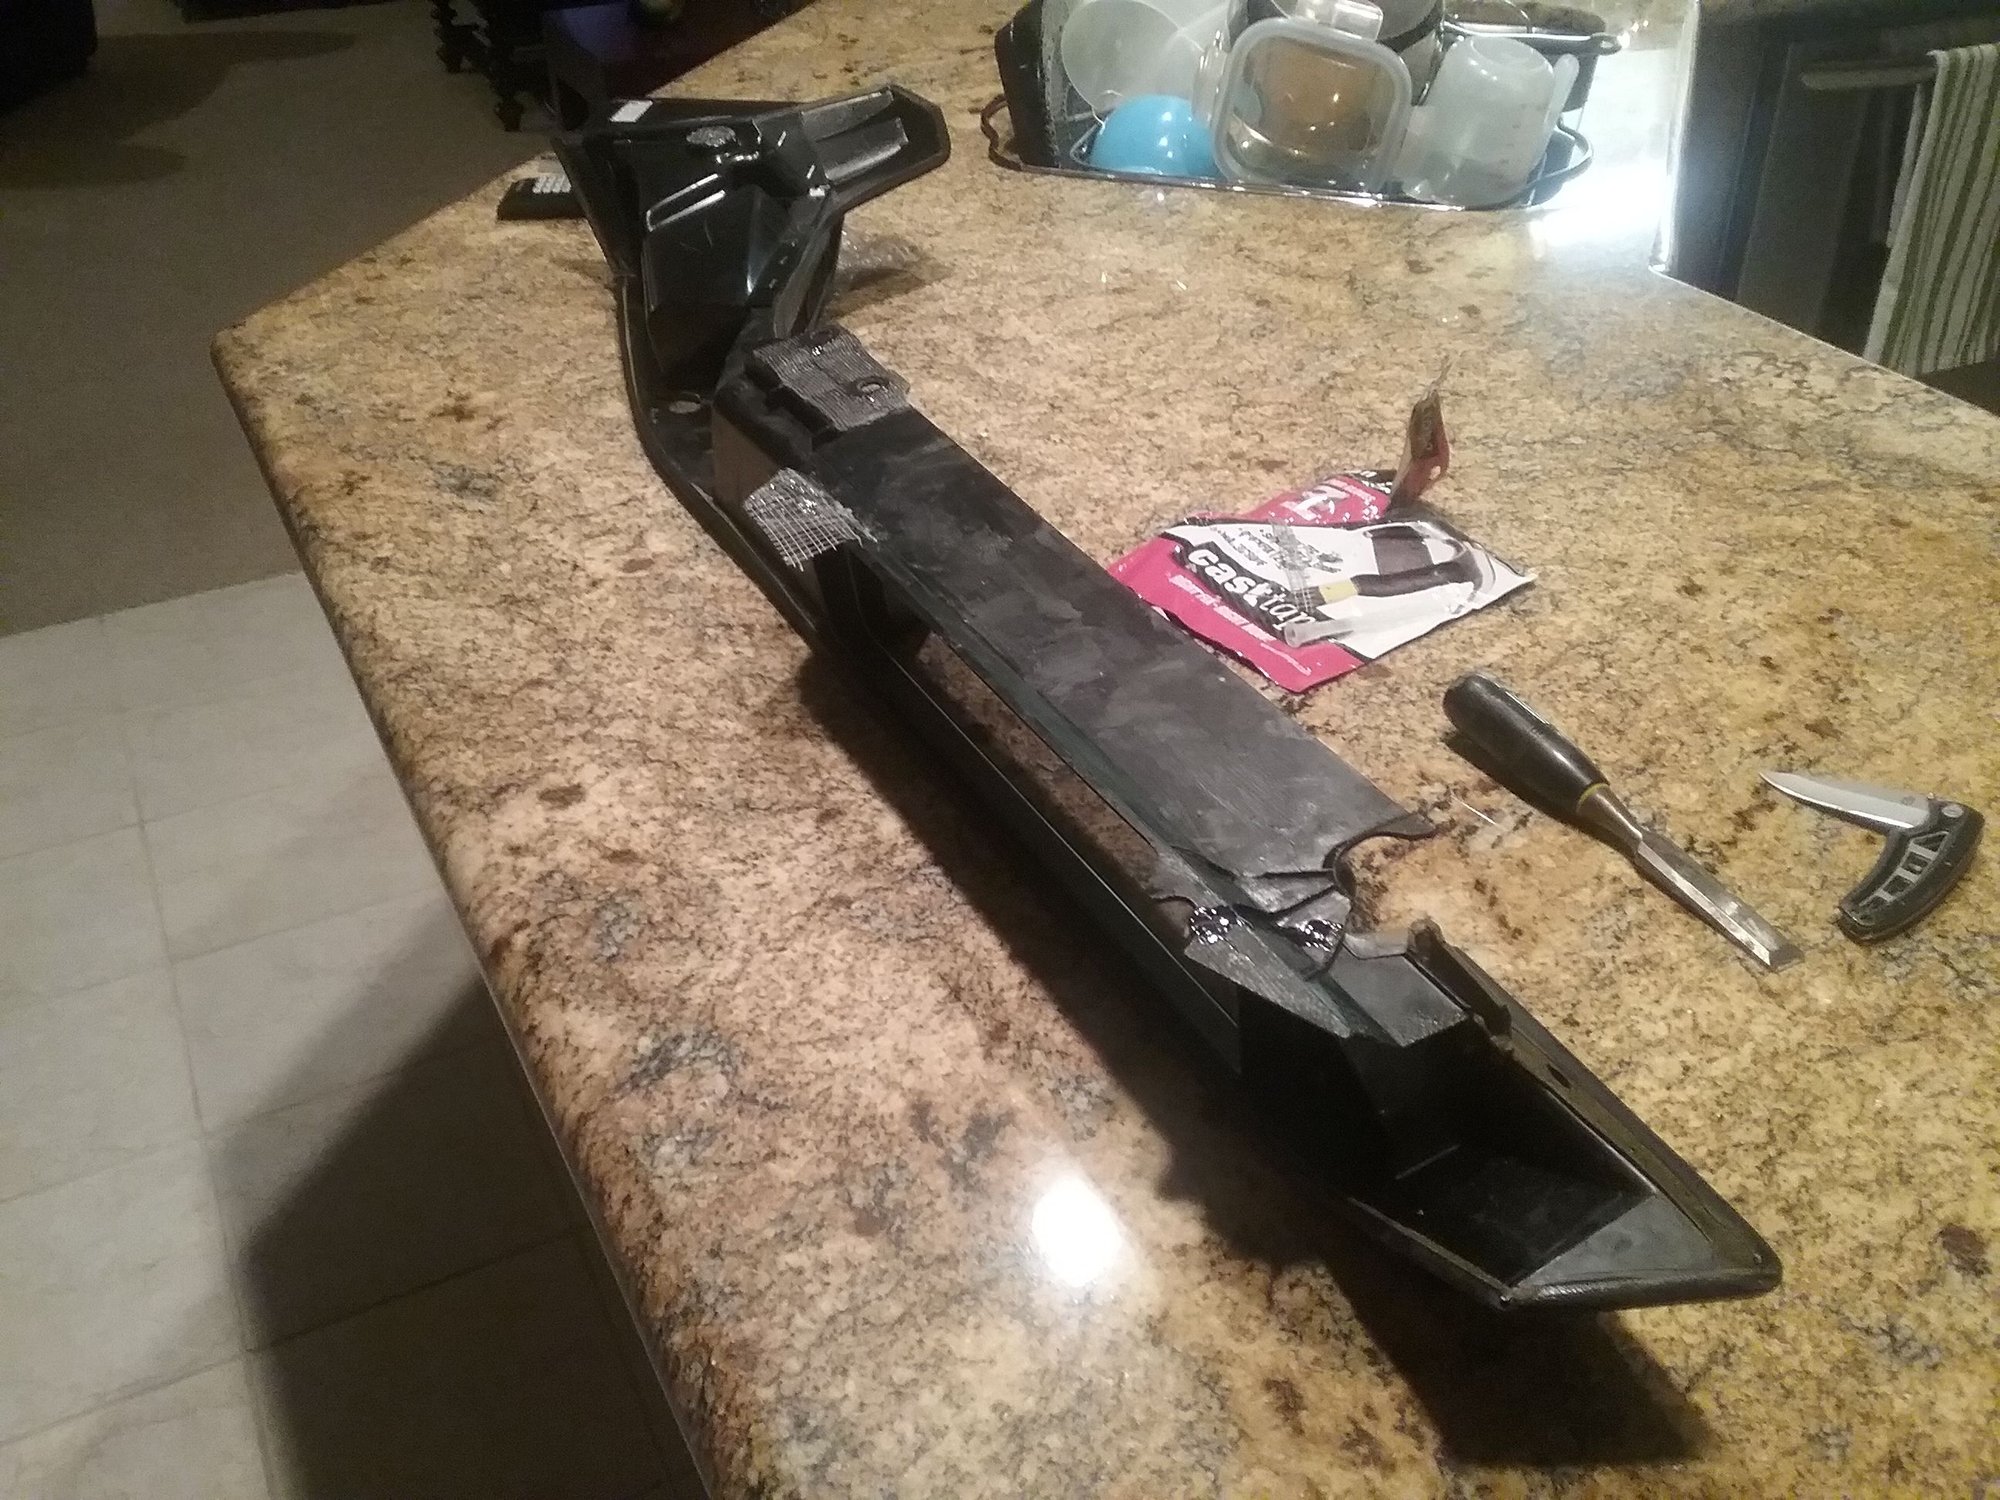
Post repair using the CastTape (carbon fiber tape with epoxy), epoxy over mesh tape.
Final product. Cleaning it up and testing its rigidness, the back crack reopened.
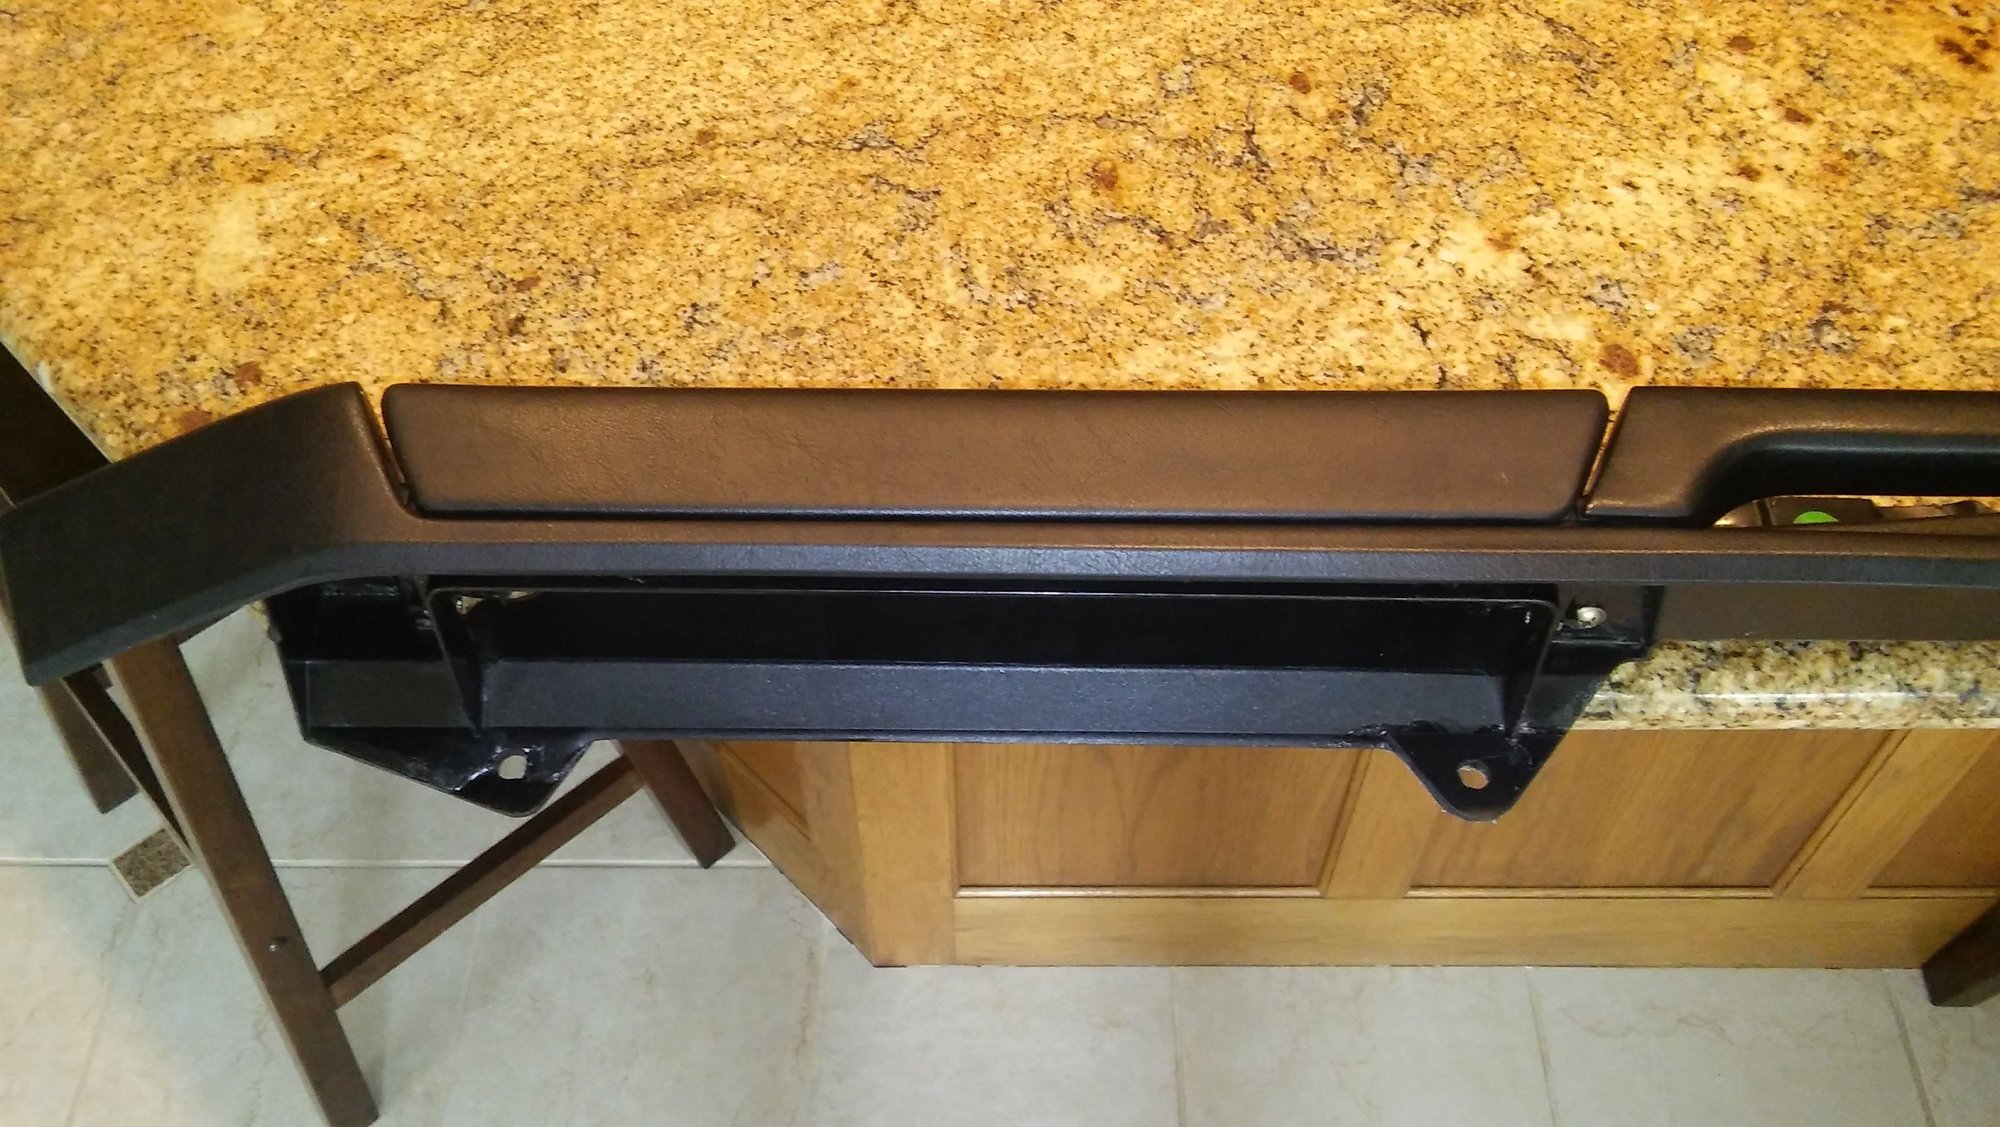
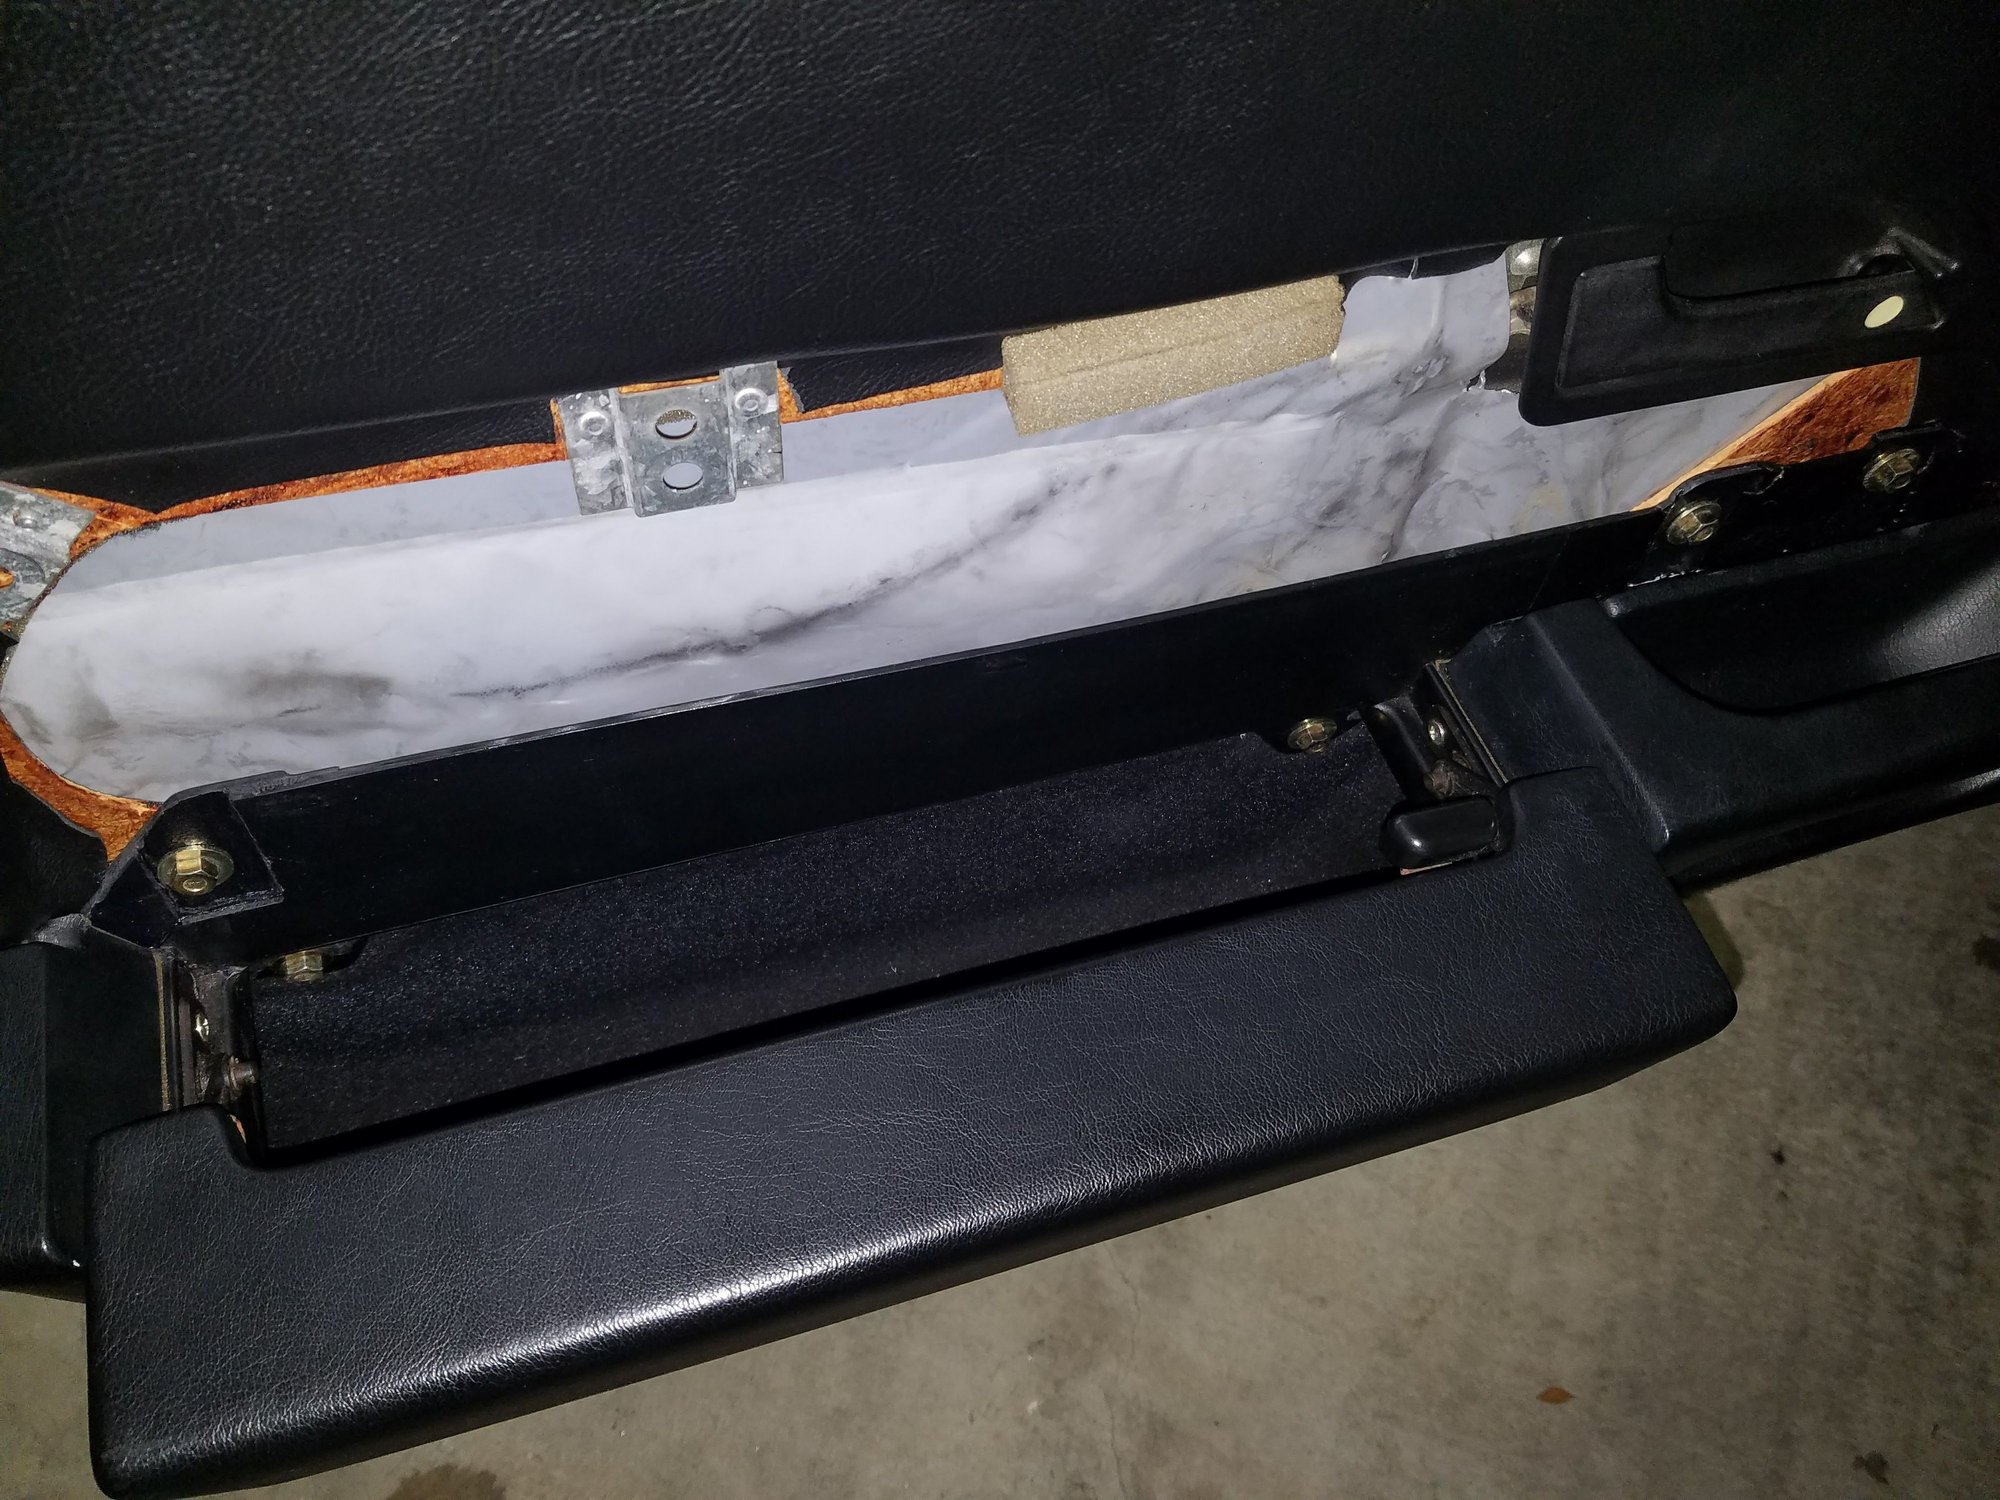
Installed the left side 928 International "Armrest Backing Support Kit," as I said I would a couple of posts back. That armrest was pretty floppy before; the left-most fastener wasn't really doing much, as the plastic part of the armrest at that mounting point was completely broken. The backing supports make a huge difference. The armrests are nice and firmly attached now. Highly recommended. I wish I would have installed these back when I first got them! Budget about an hour a side for these if it's the first time you've ever installed any.
Last edited by Ed Scherer; Oct 13, 2016 at 02:15 AM.
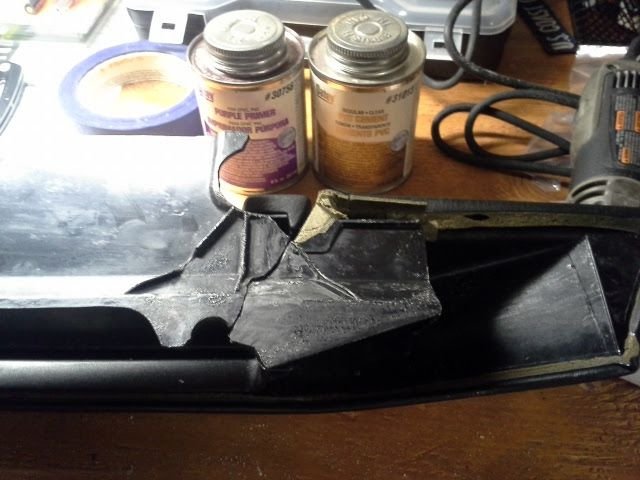
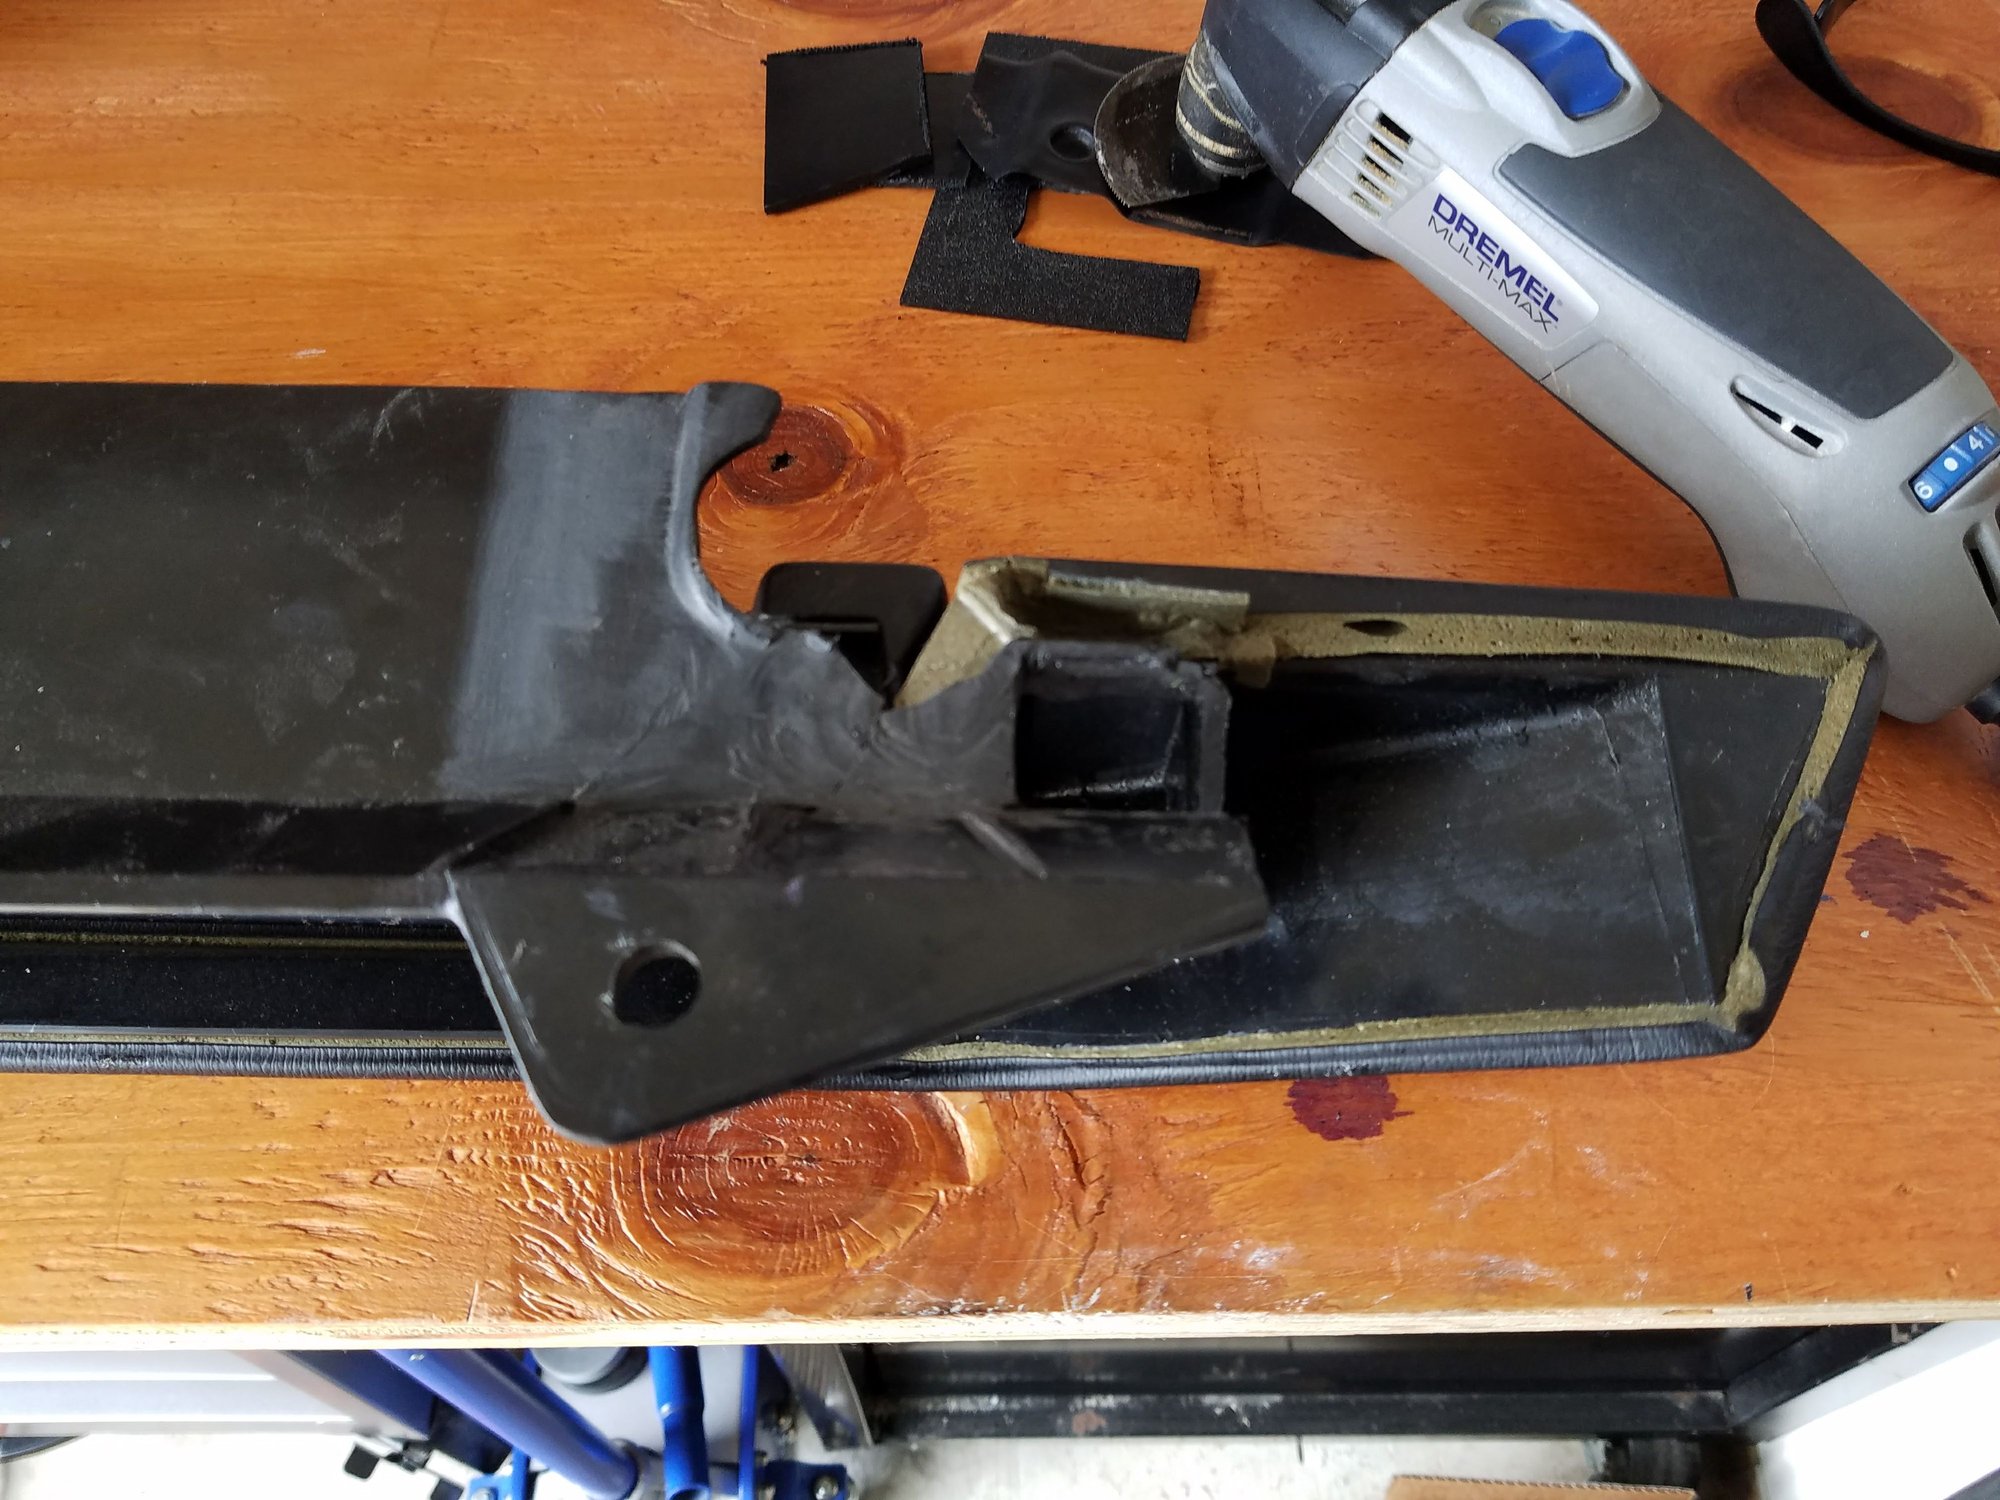
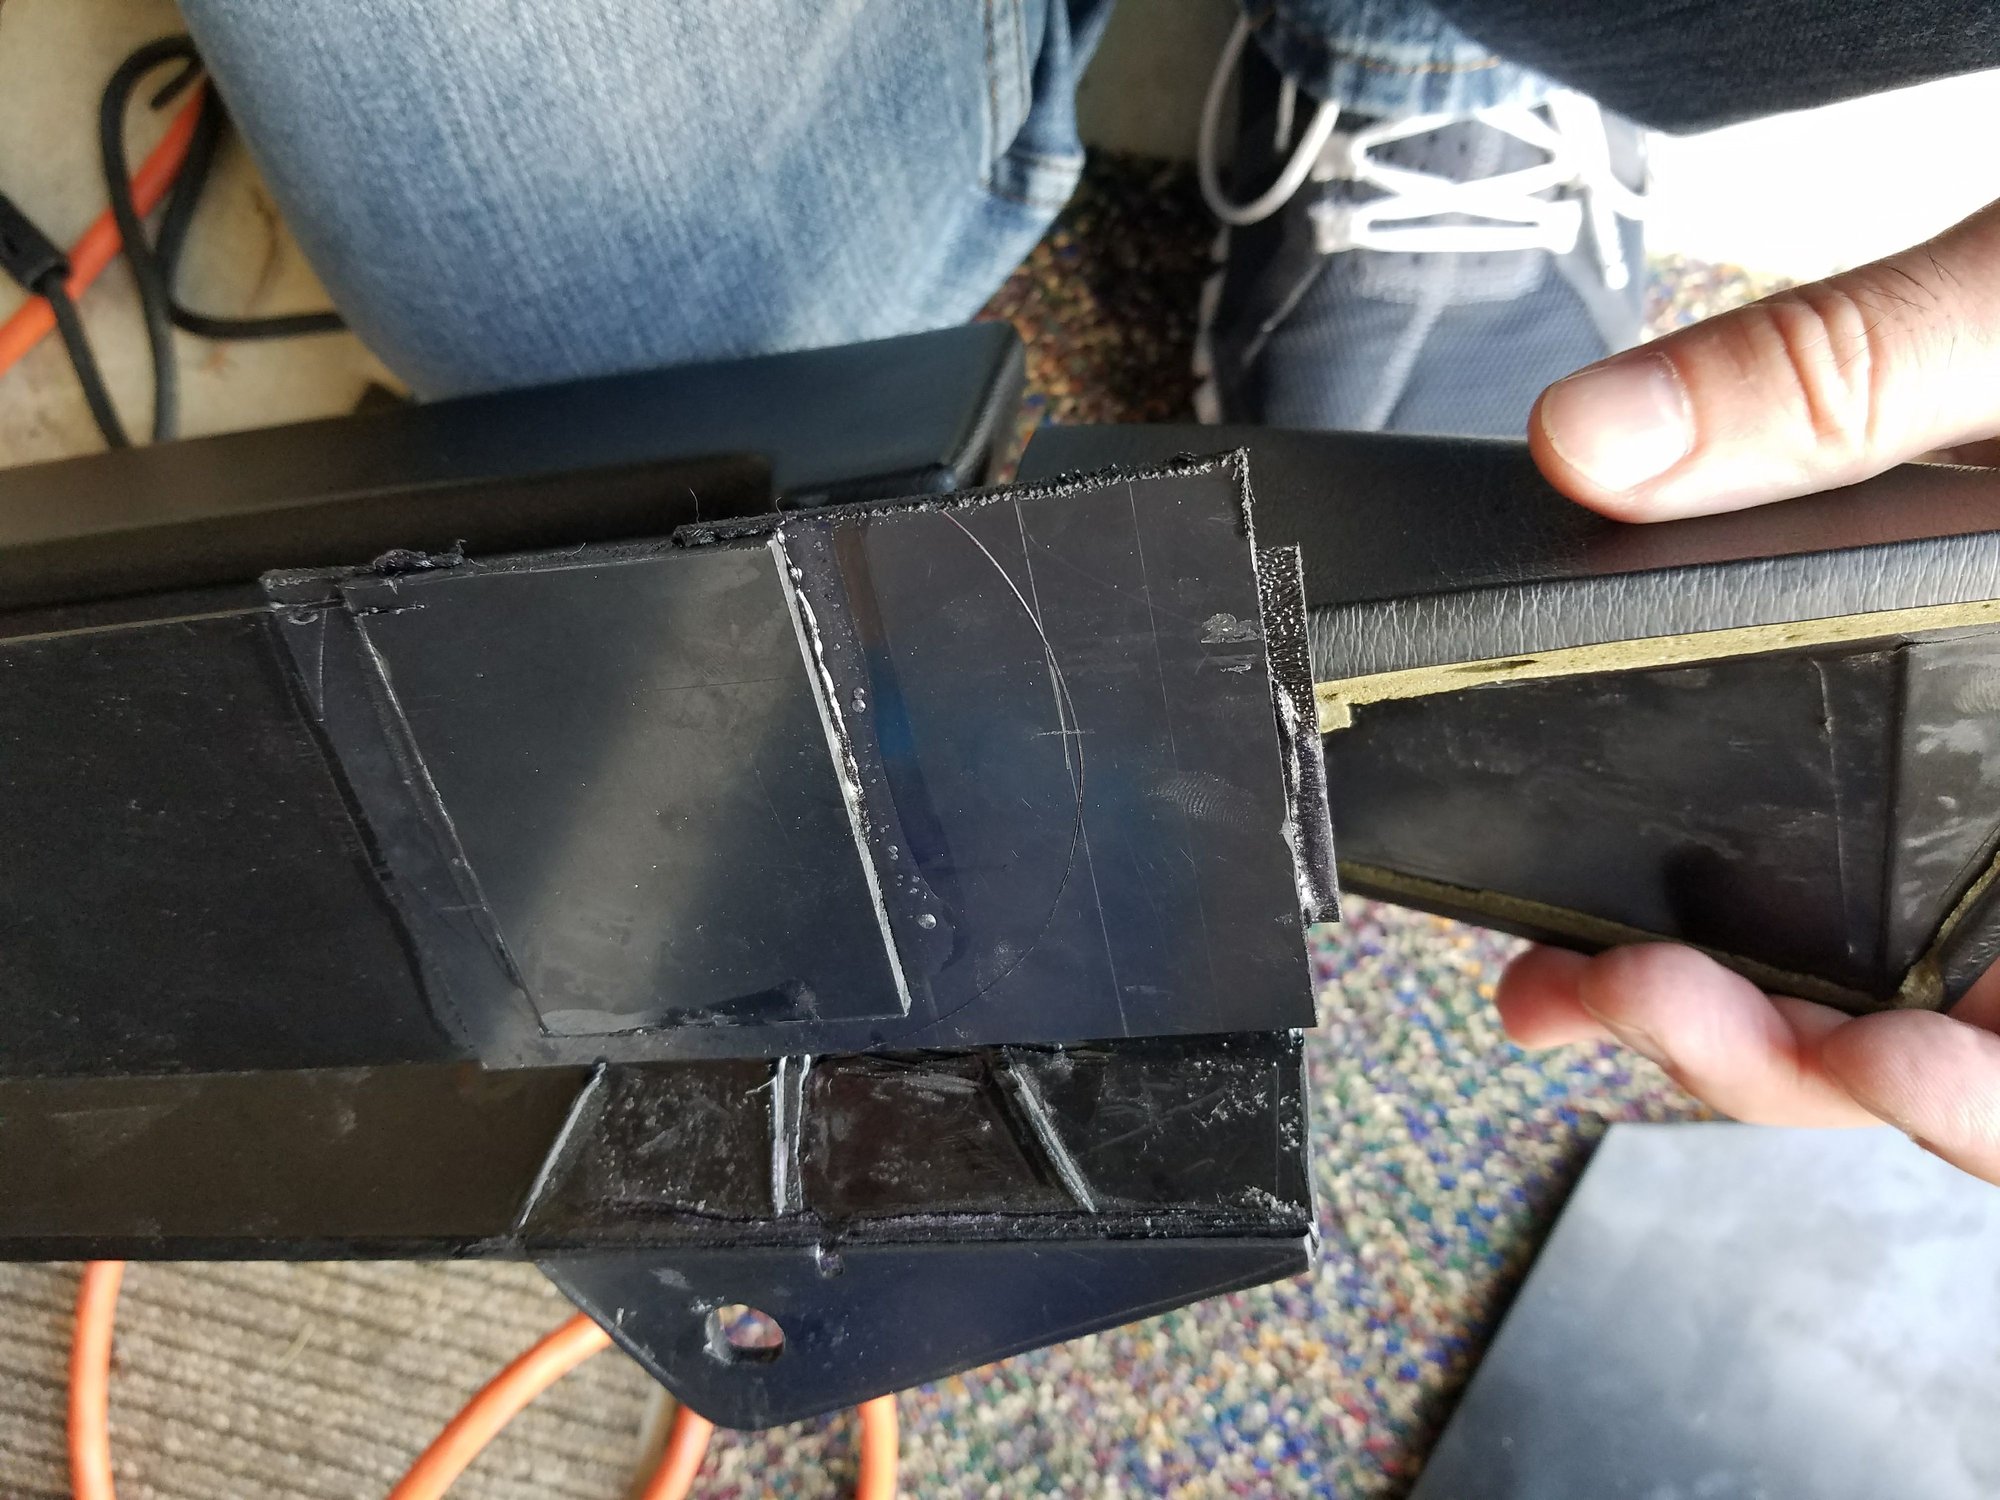
So, quick update: as posted above, I experimented with a few different techniques that left me unimpressed. I ordered the metal support bracket but kept experimenting with different products after some research on various forums, I may have stumbled onto the holy grail of ABS repair: ABS sheet with plumbers primer/glue. Now, keep in mind, what I'm about to show you was a poorly planned execution. Had I thoroughly thought it out, the end results would have been much better. But, I'll keep tweaking
Lightly sanded and ready for gluing using plumber's primer and glue.
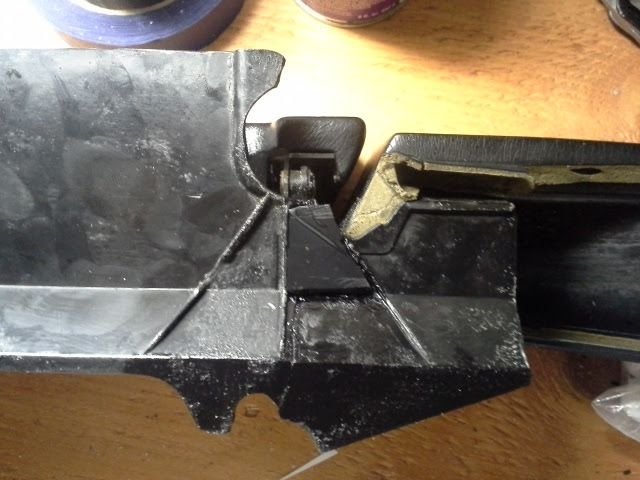
Crack glued. Added a small piece of ABS plastic to help reinforce while I worked on the rest.
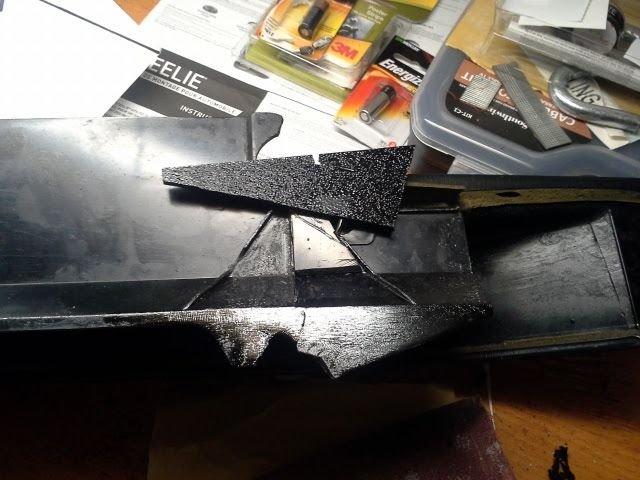
Made a paper template for the missing section and traced it onto the sheet of 1/8" ABS plastic.
Glued and setting overnight.
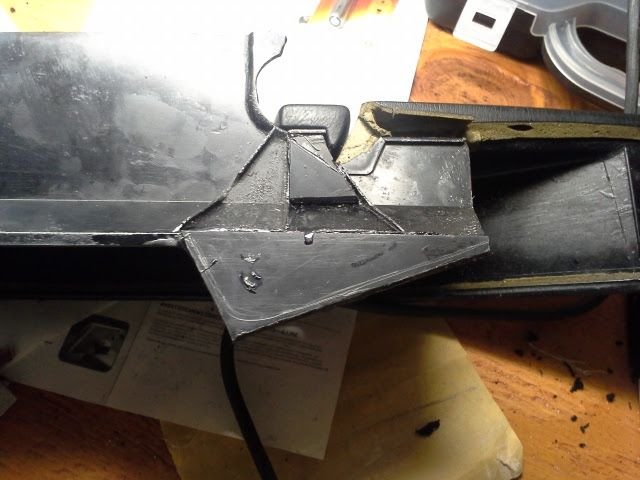
The front prior to shaping and drilling.
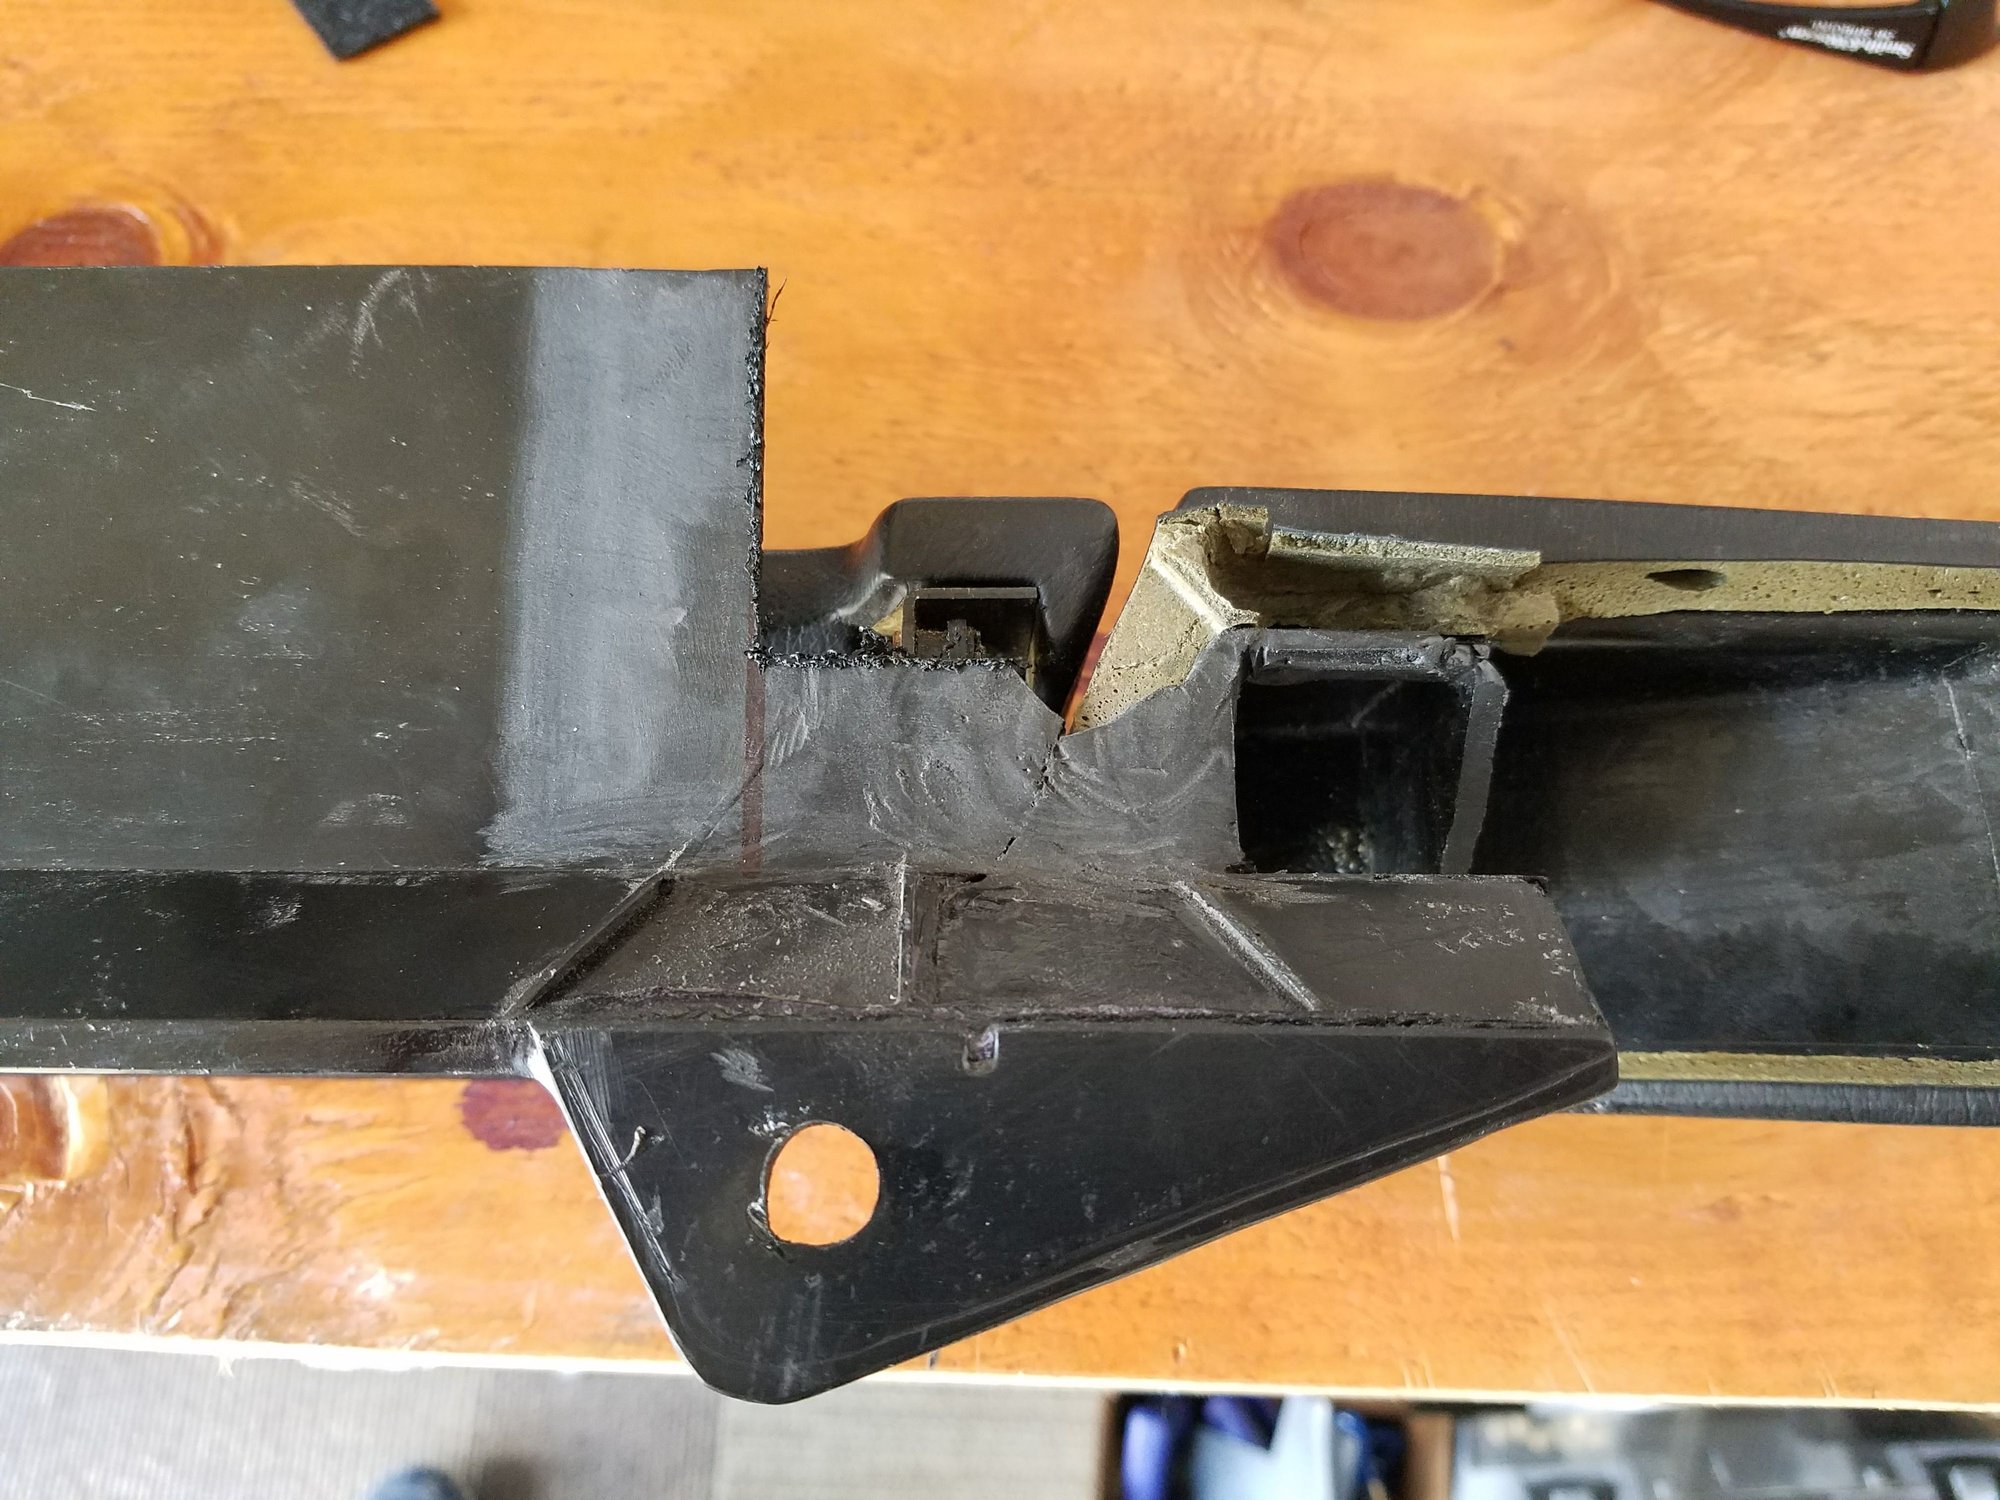
Drilled and shaped.
Same technique for the other side except this was on the front.
Back side.
Other side: notice the various techniques I used. Top left has the ABS on the front, fiber mess with epoxy on the back. Bottom right has epoxy tape with additional epoxy around the holes.
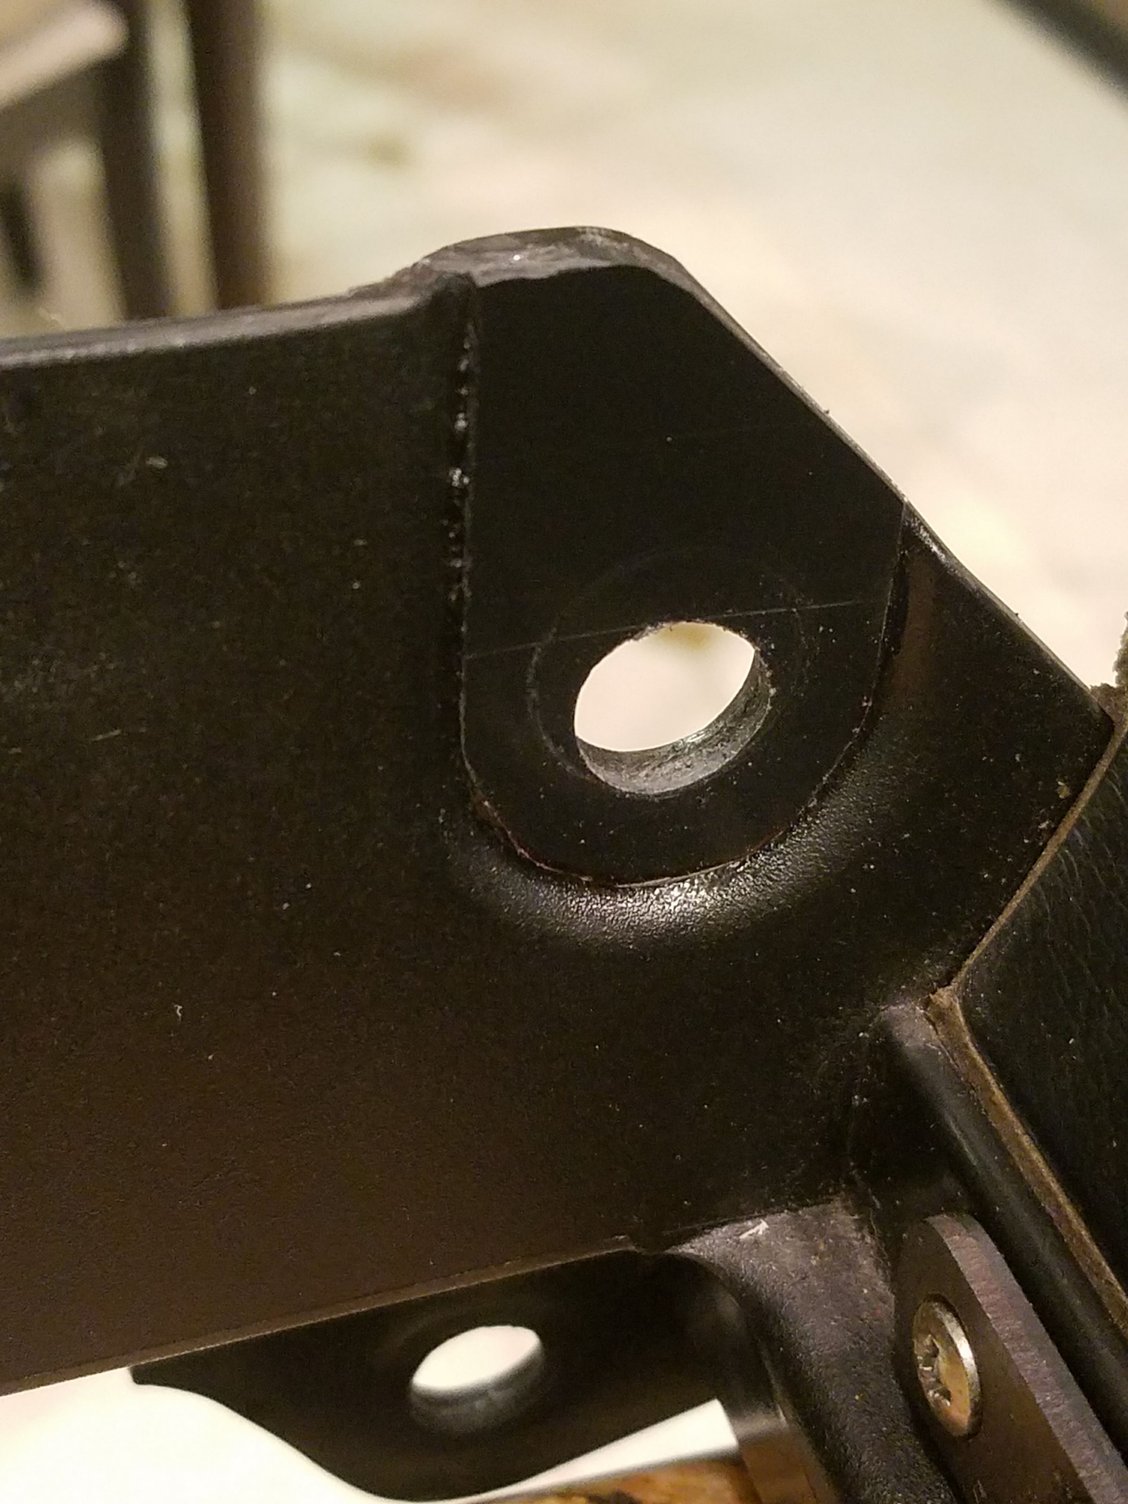
Recently I had to remove my driver's door panel to troubleshoot and then grease the window mechanism. In the process, I discovered that some of anchoring spots for the metal bracket had literary shattered. Kind of interesting to see plastic shatter like glass but I guess almost 30 years does some damage.
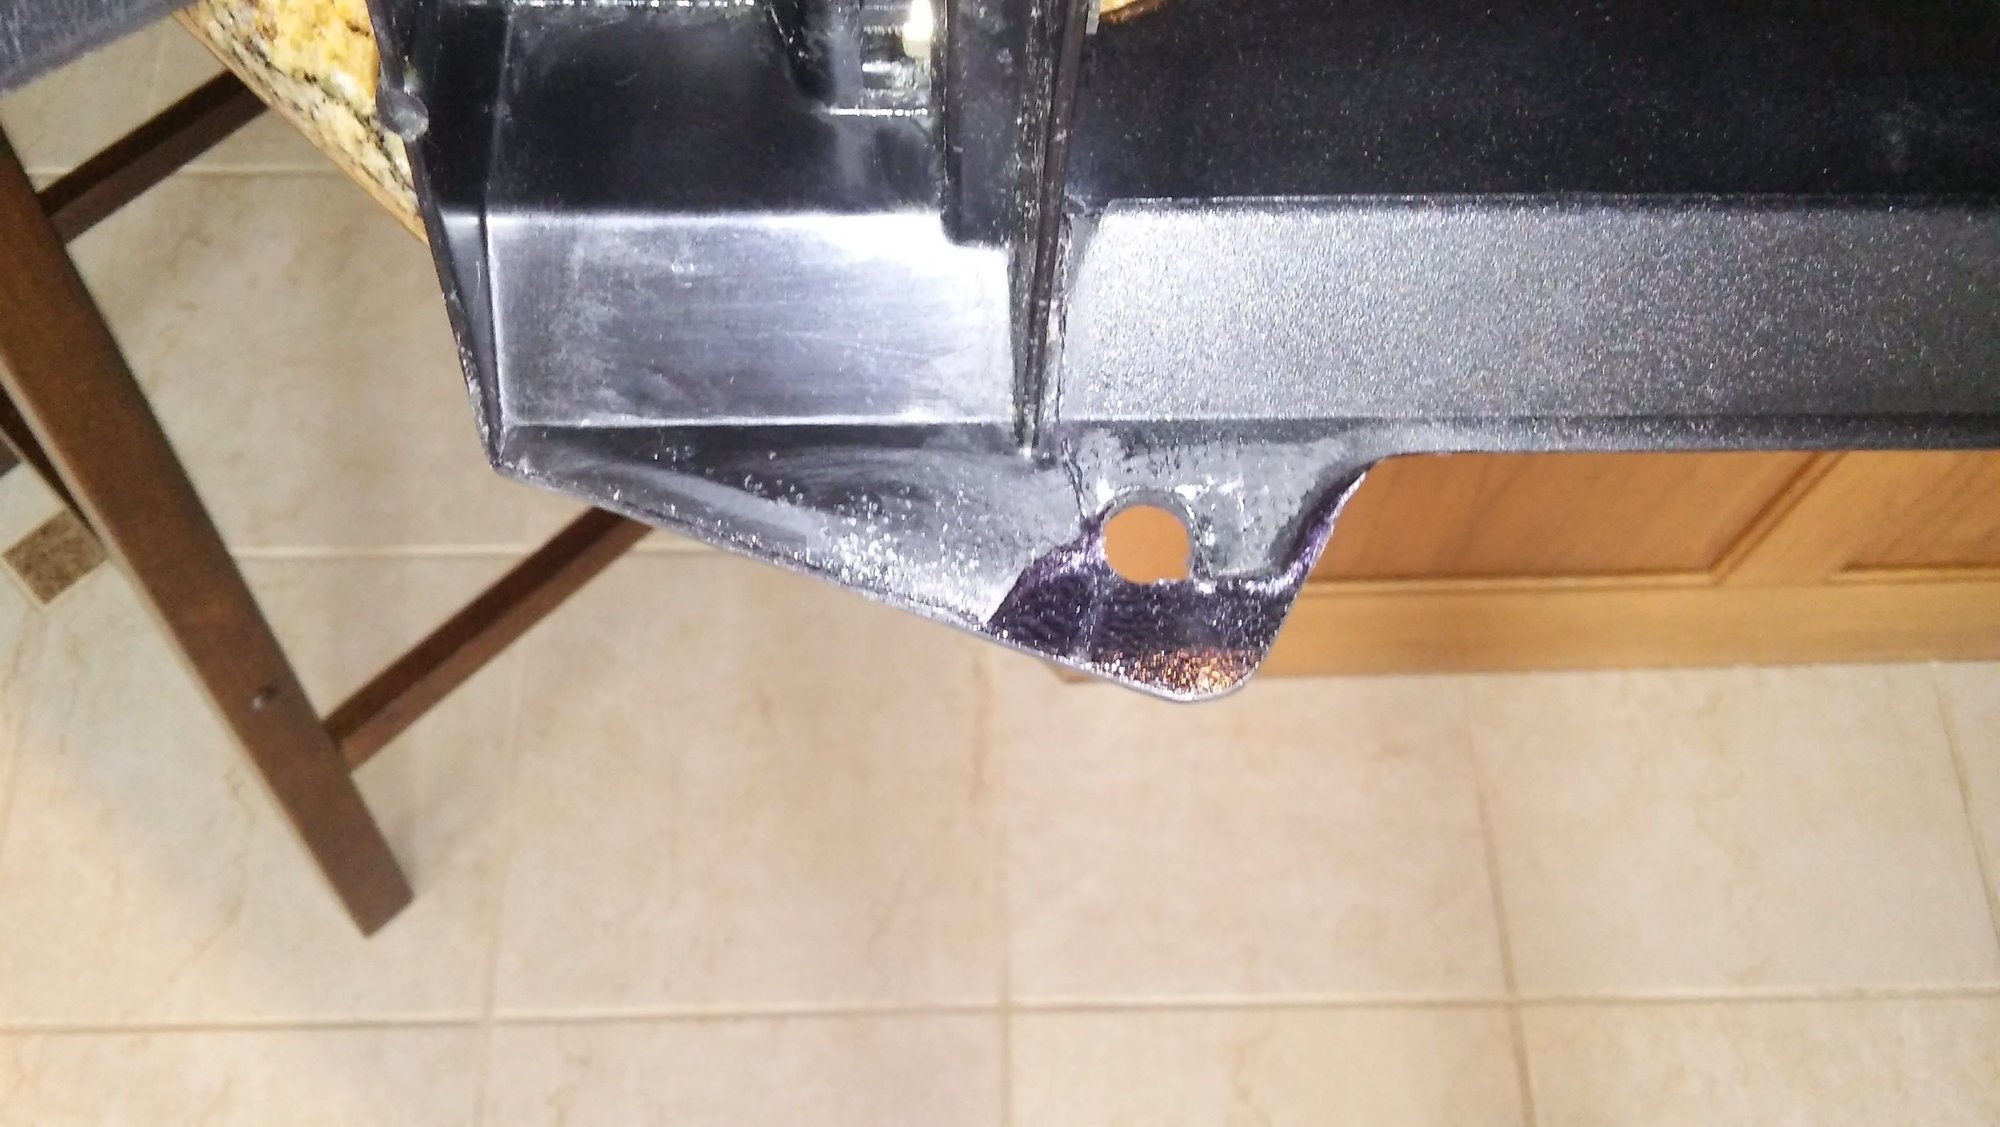
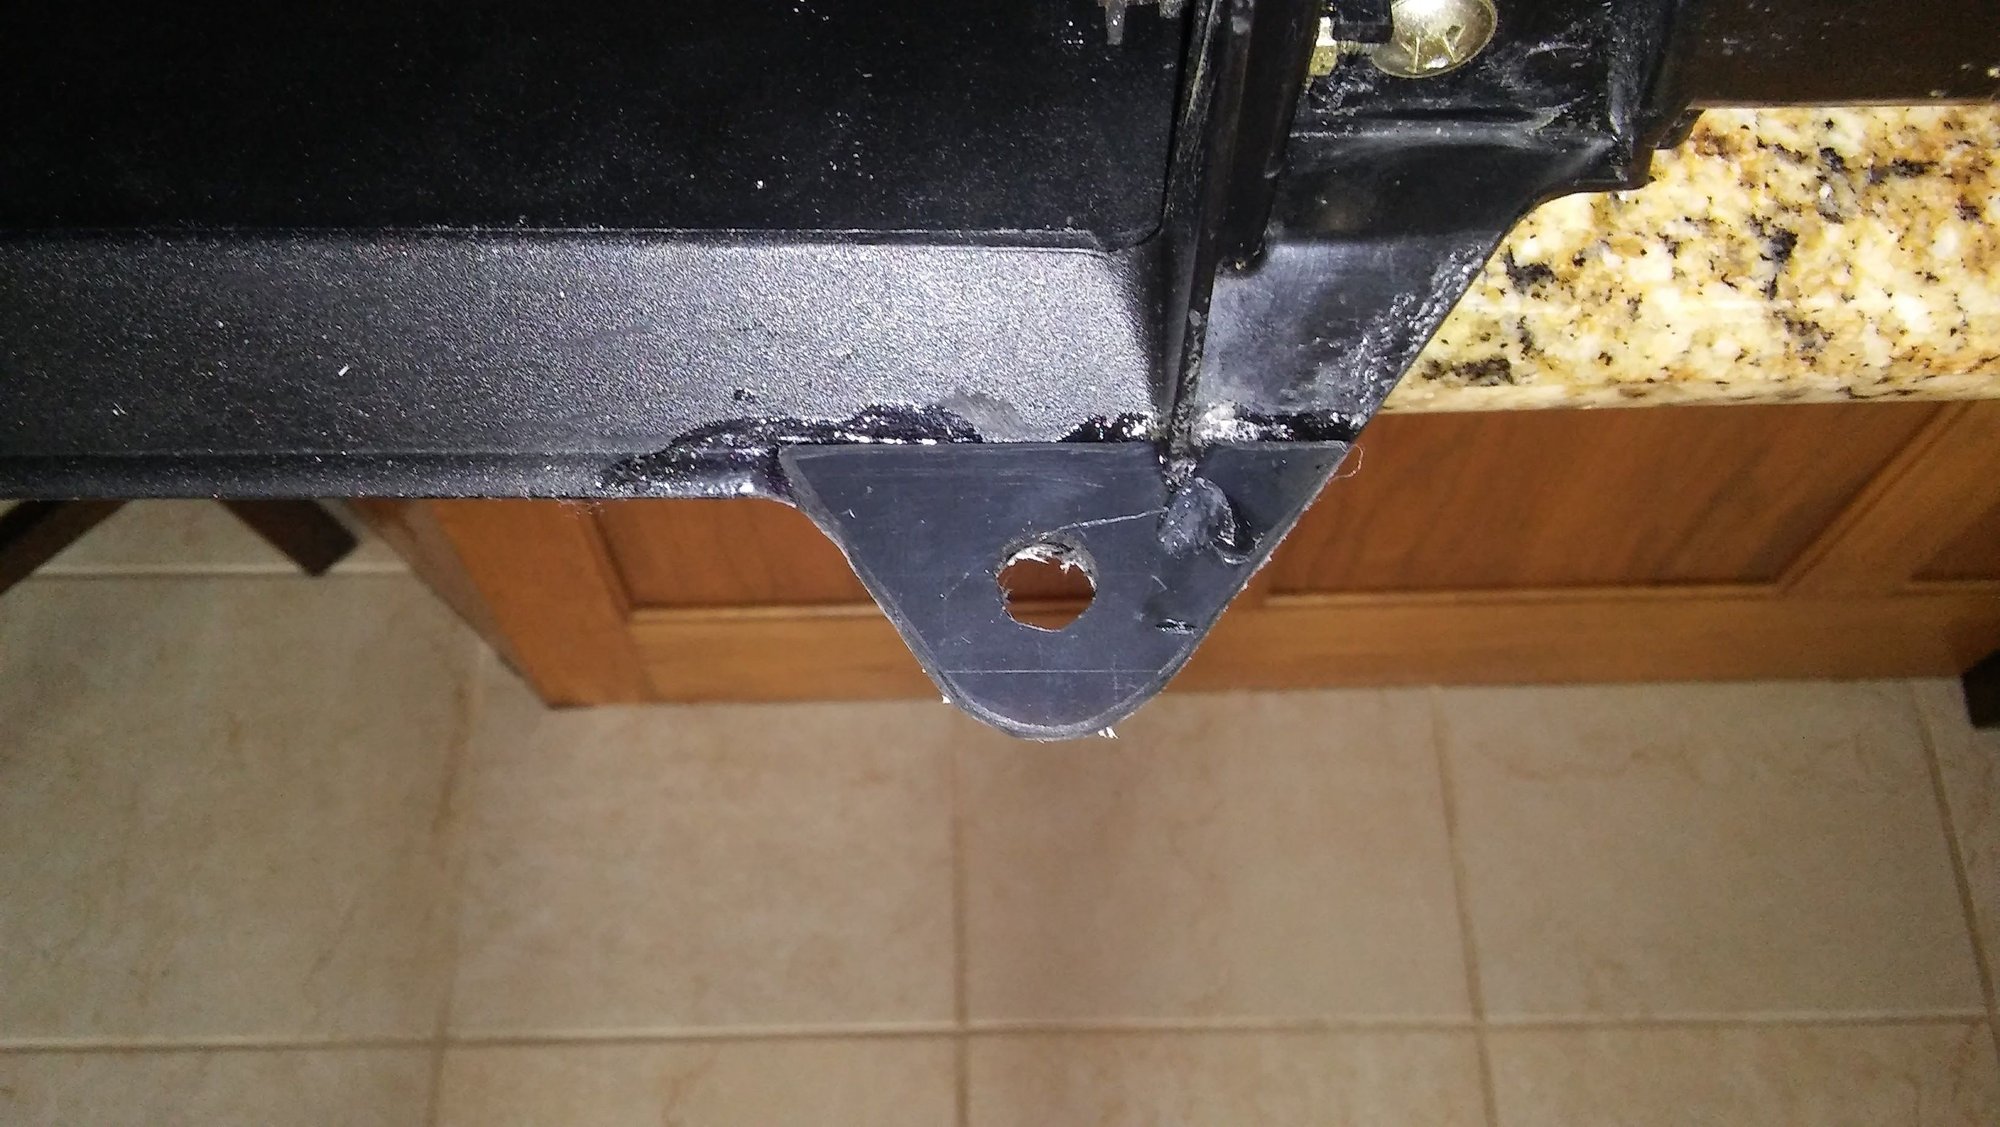
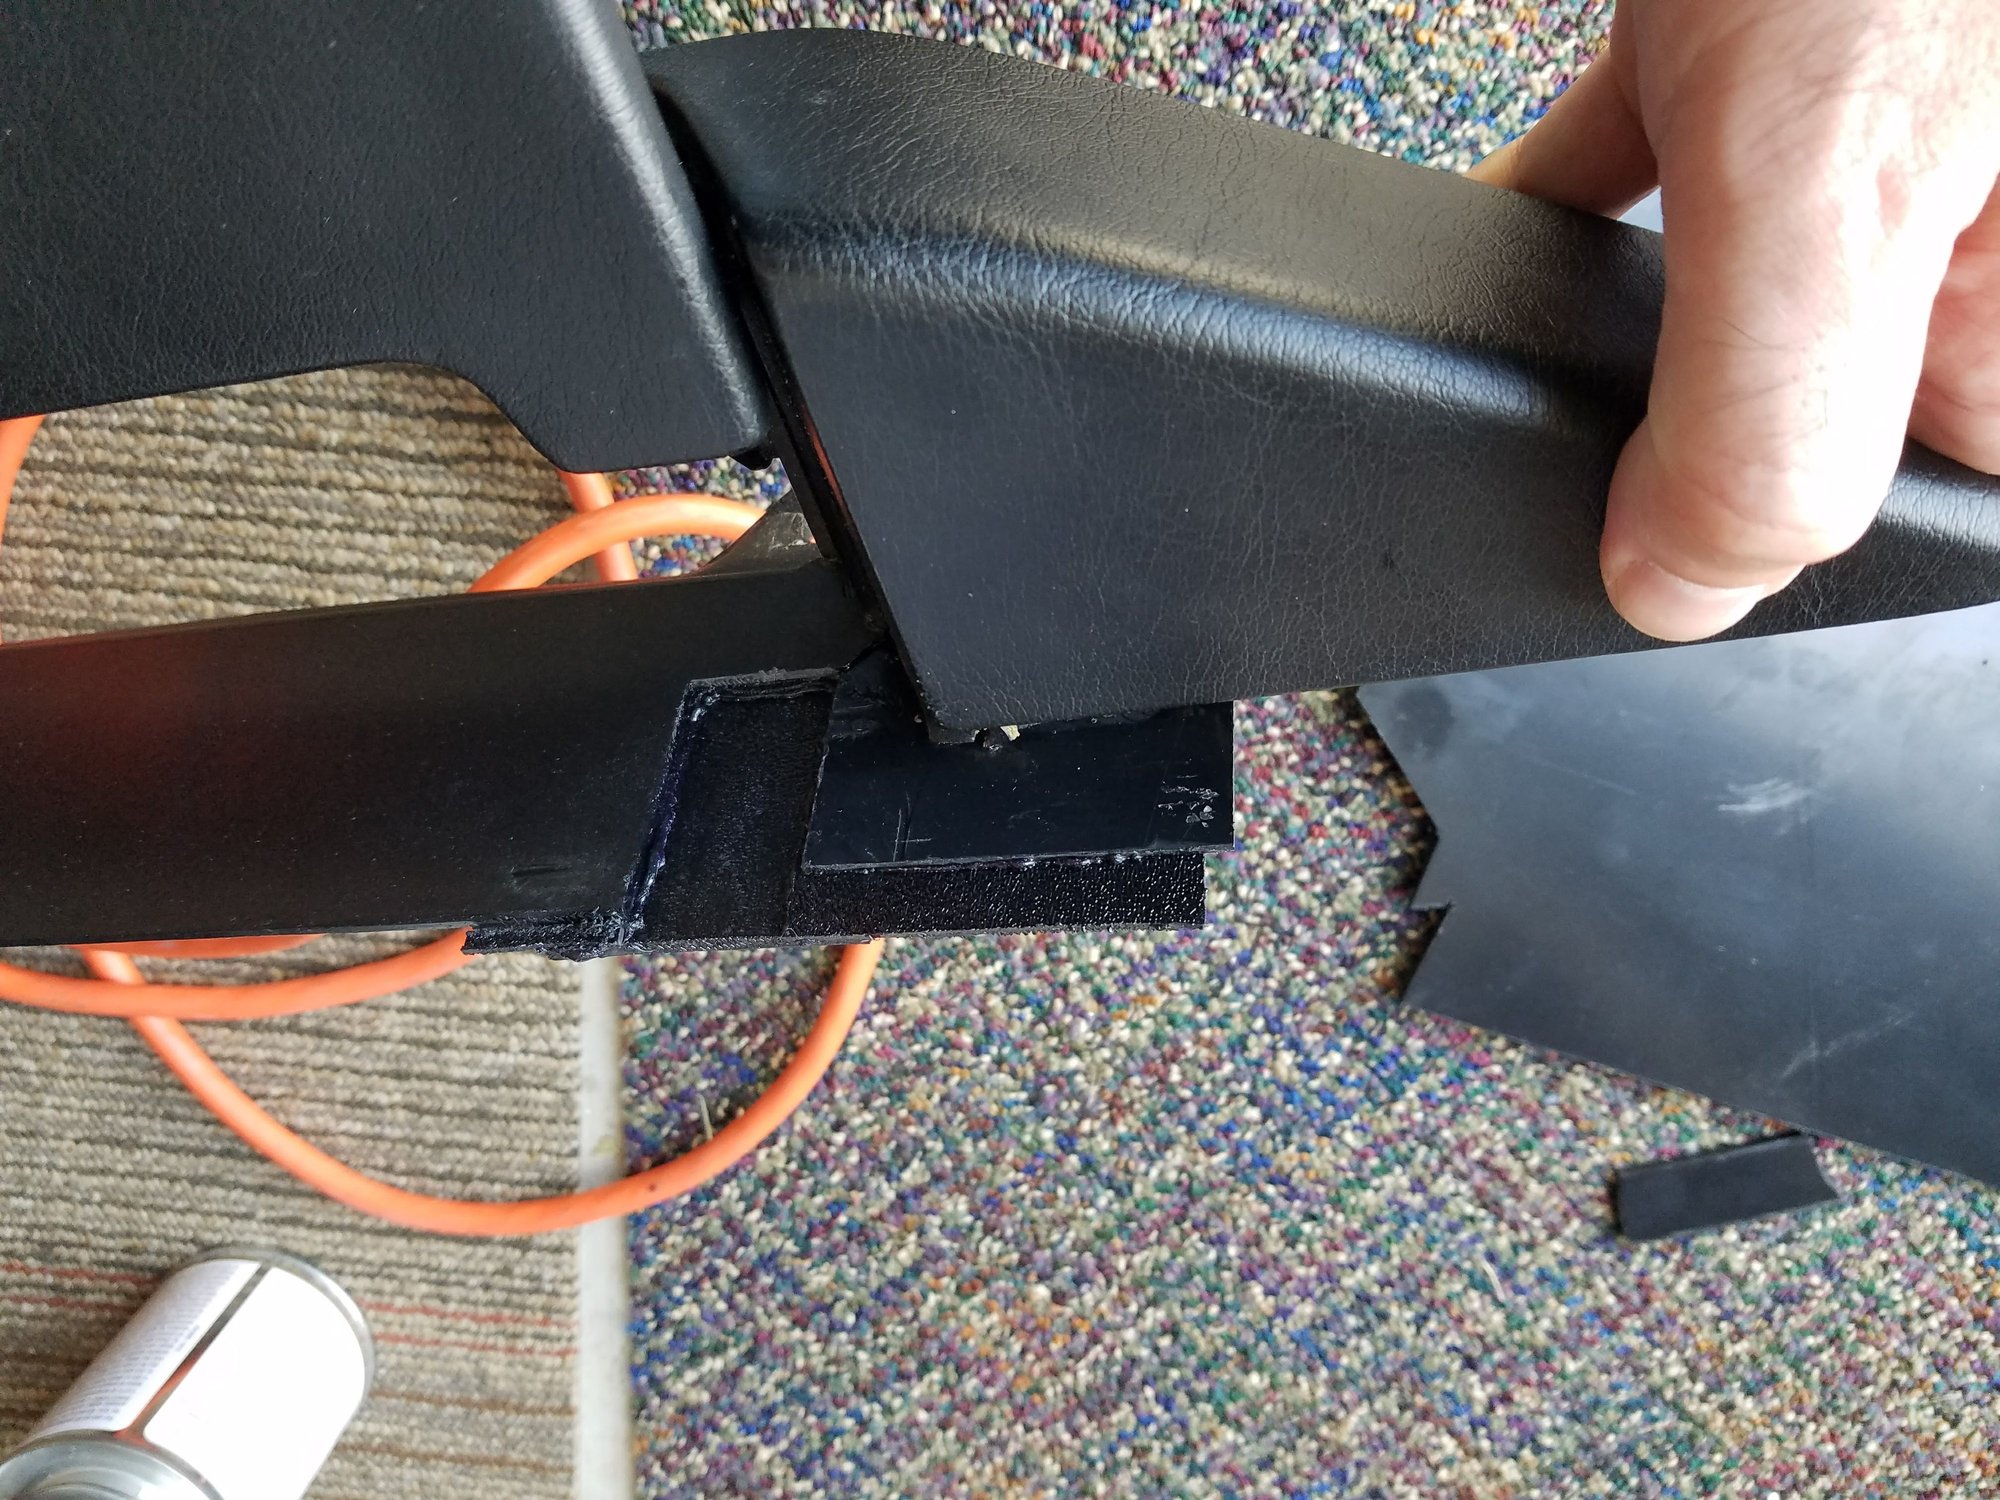
Since I couldn't simply install the bracket back in, I proceeded to try my ABS repairs again. Below some photos of the repair using sheets of ABS and plumber's primer and glue. I'm petty pleased with the results.
Lightly sanded damaged area.
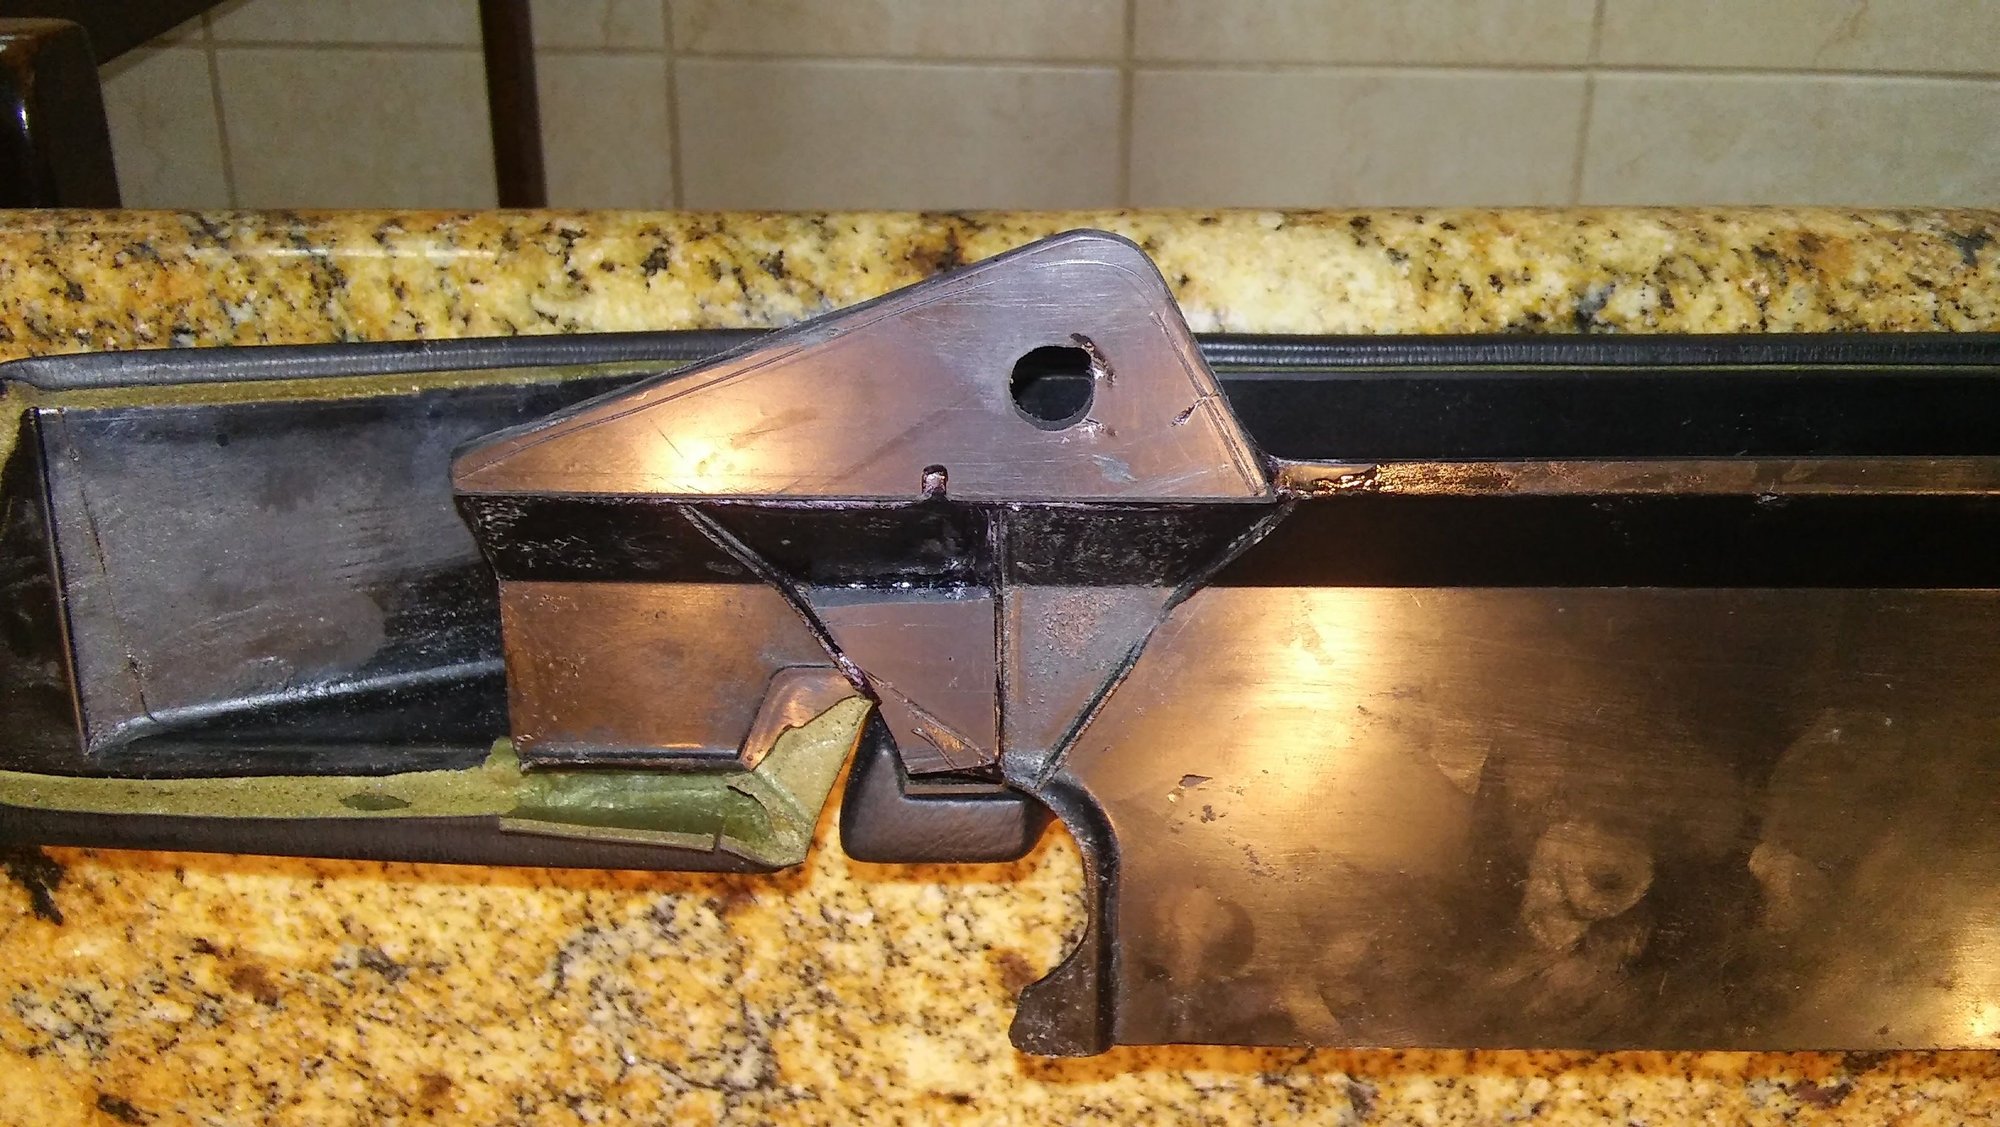
Cut out the cancer.
Multiple cuts and layers.
The front.
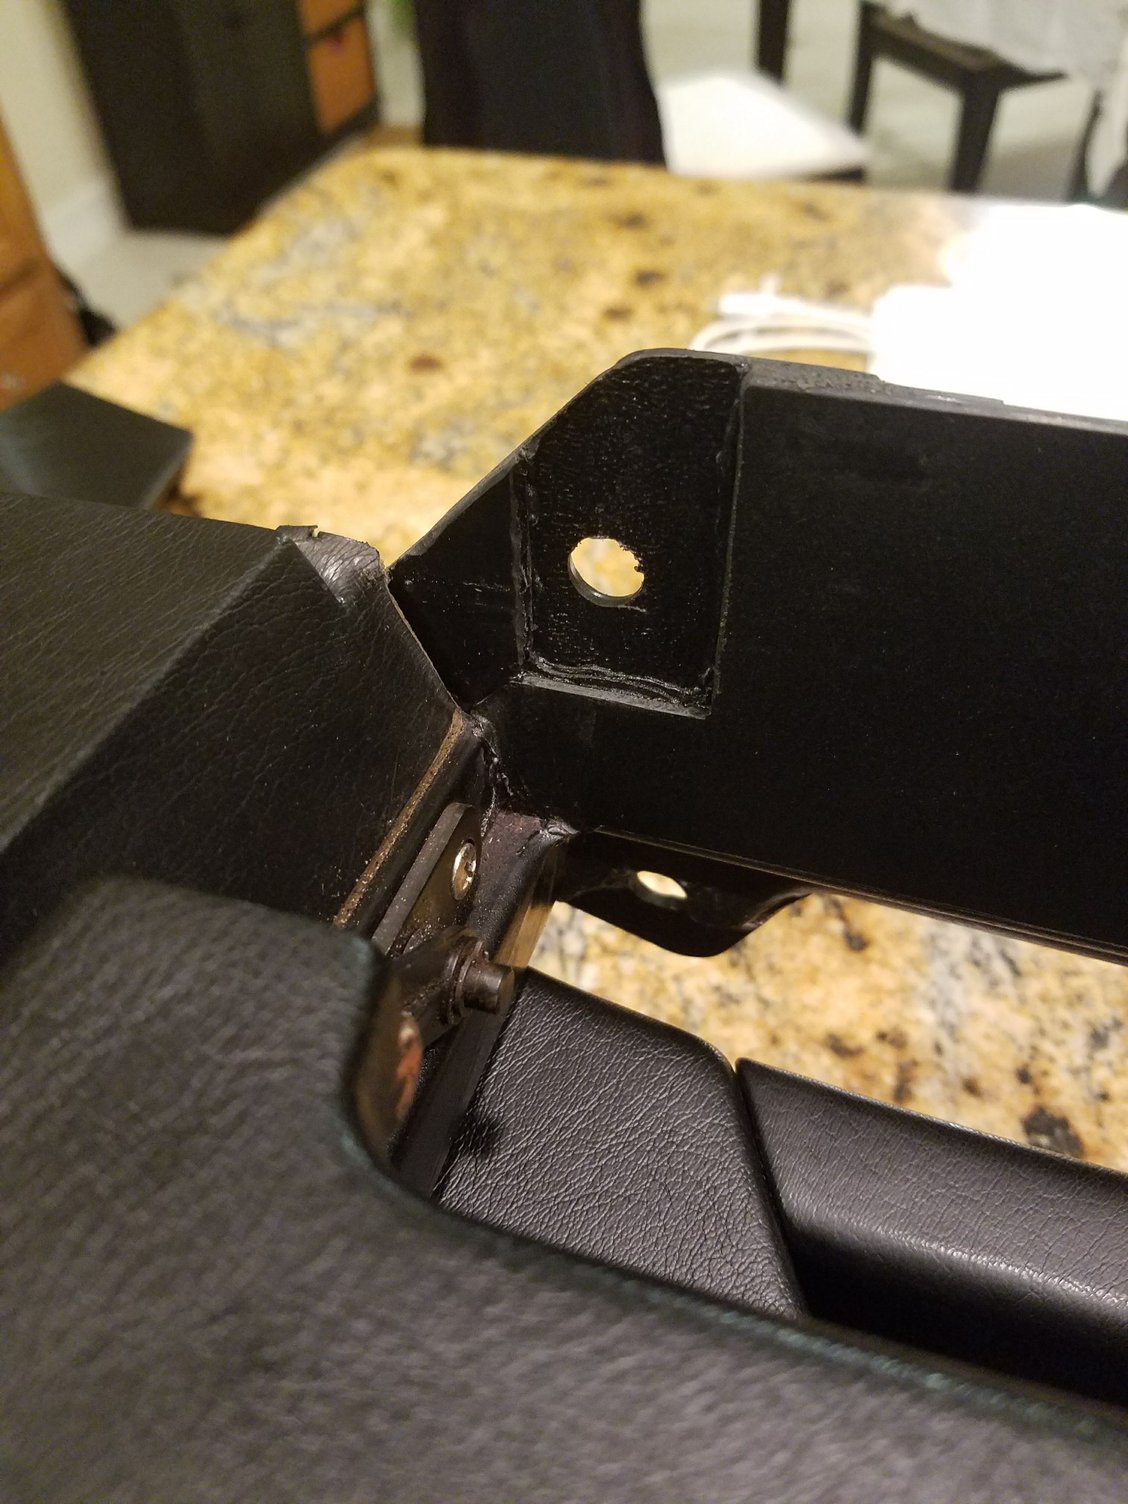
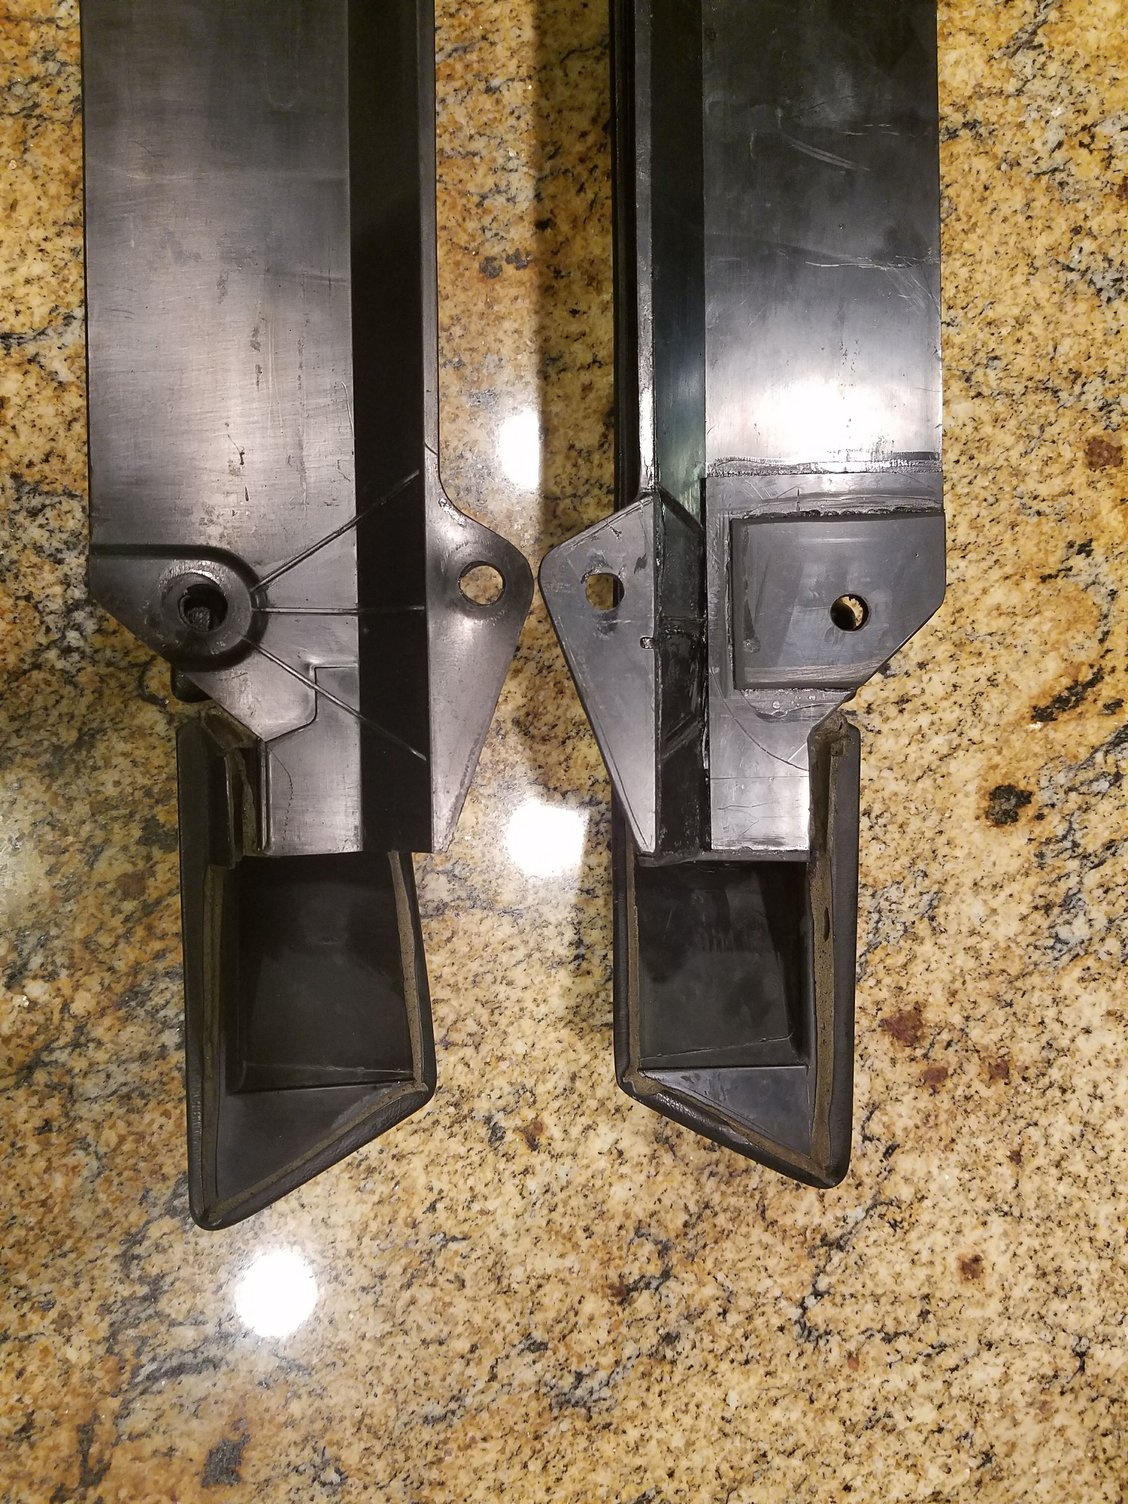
Shaped and drilled.
Side by side comparison.
FInal product installed.
Last edited by Sagres74; Oct 27, 2017 at 02:00 AM.
Reason: added photos...again.
I had a lot less damage but it is obvious that plastic panel is not very strong. I'm not proud of it but was able to shore the one ruptured hole with JB Weld. It held very well but looks exactly as terrible you'd expect.
After experimenting a bunch, I am pretty sure the parts are nylon rather than ABS. That means that pretty much no bonding solution will really work, or if it does work it will rely on surface adhesion rather than really bonding. I did have some success with cutting material out of doner part and welding it in with a soldering iron, but even that was very marginal. Also keep in mind that the material is failing not just because of age, but because it was never strong enough in the first place. My '82 door pockets were trash in '85. So you really need more strength than stock, and the steel panels get that for you.
Whatever material it is, this ABS/plumber's glue combo and the chemical reaction it creates works like a charm! In looing at some of my scrap pieces, the bond is inseparable. Last year's repair had held so strong thatI've beefed-up the other anchor points as well.
Originally Posted by karl ruiter
After experimenting a bunch, I am pretty sure the parts are nylon rather than ABS. That means that pretty much no bonding solution will really work, or if it does work it will rely on surface adhesion rather than really bonding. I did have some success with cutting material out of doner part and welding it in with a soldering iron, but even that was very marginal. Also keep in mind that the material is failing not just because of age, but because it was never strong enough in the first place. My '82 door pockets were trash in '85. So you really need more strength than stock, and the steel panels get that for you.
9 Vehicles Porsche Helped Engineer that Aren't Porsches
Slideshow: Long before engineering consulting became trendy, Porsche was quietly helping other automakers build everything from supercars to economy hatchbacks.
9 Features and Characteristics That Only Porsche People Understand
Slideshow: Some brands build cars. Porsche builds traditions, obsessions, and a few habits that stopped making sense decades ago but somehow became part of the charm.
This Builder Is Turning Heads With Its Slantnose 911 Creation
Slideshow: A small Polish tuner has reimagined the Porsche 911 Slantnose for the modern era, blending 1980s nostalgia with widebody tuning culture and serious performance upgrades.
Porsche 911 GT3 Artisan Edition Pays Homage to Japanese Culture
Slideshow: Porsche has created a Japan-only 911 GT3 Artisan Edition that blends track-ready hardware with design cues inspired by traditional Japanese craftsmanship.
Porsche Reveals Coupe Variant of the Electric Cayenne With a Fresh Look
Slideshow: Porsche's latest electric Cayenne Coupe blends dramatic styling with supercar acceleration, turning the brand's midsize SUV into a 1,139-horsepower flagship.