
Building a carbon fiber front bumper cover


 05-28-2014, 01:56 AM
#17
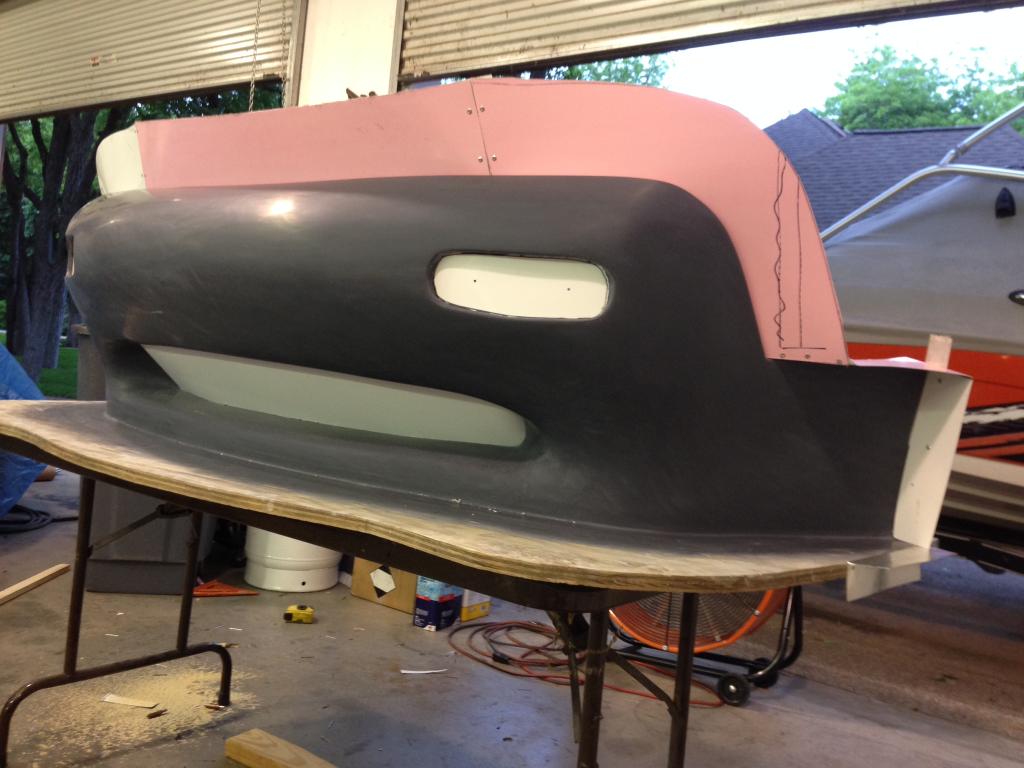
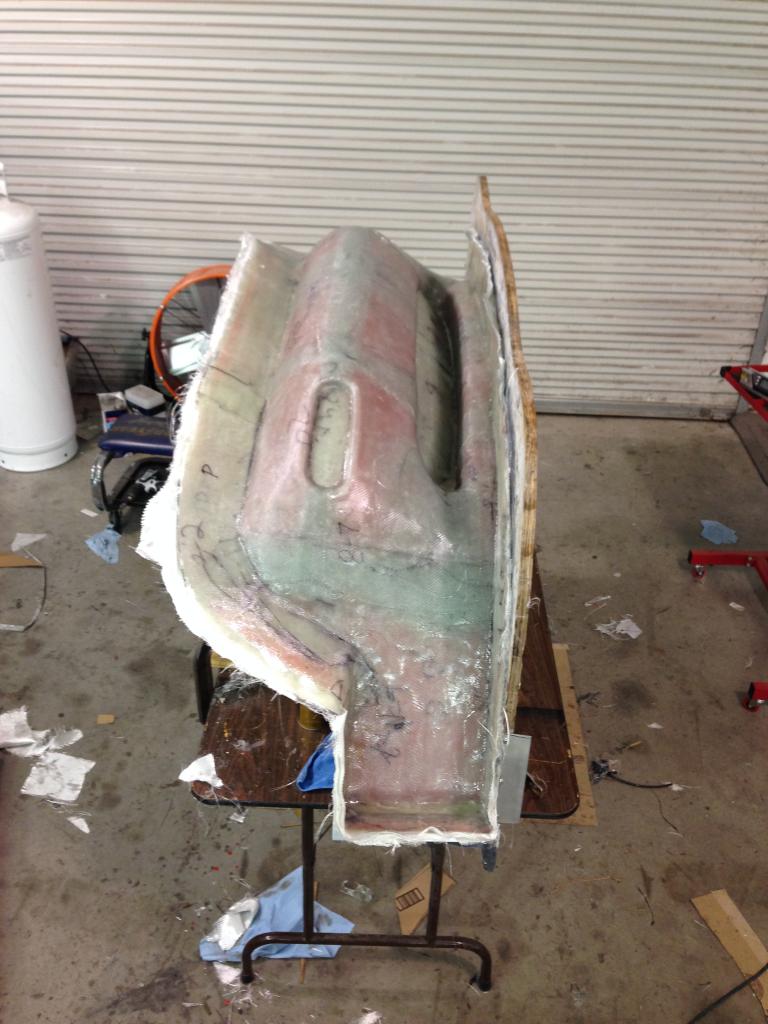
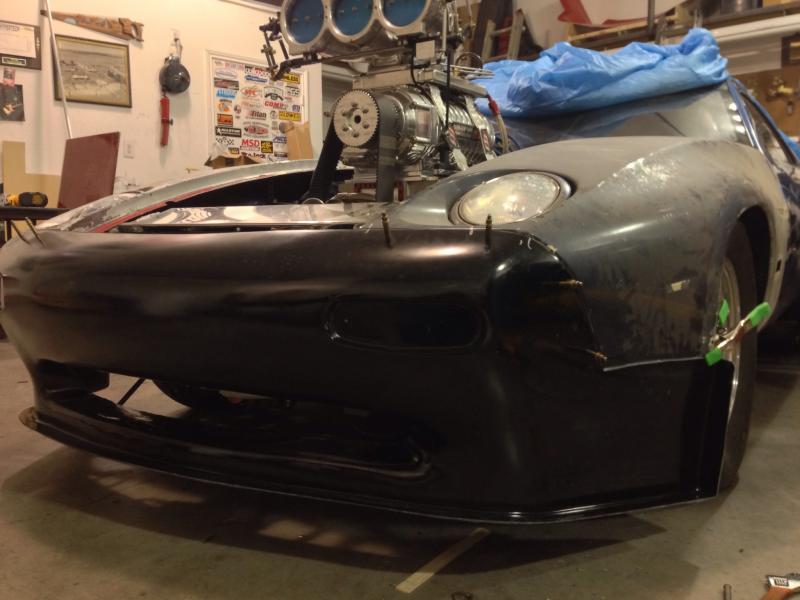
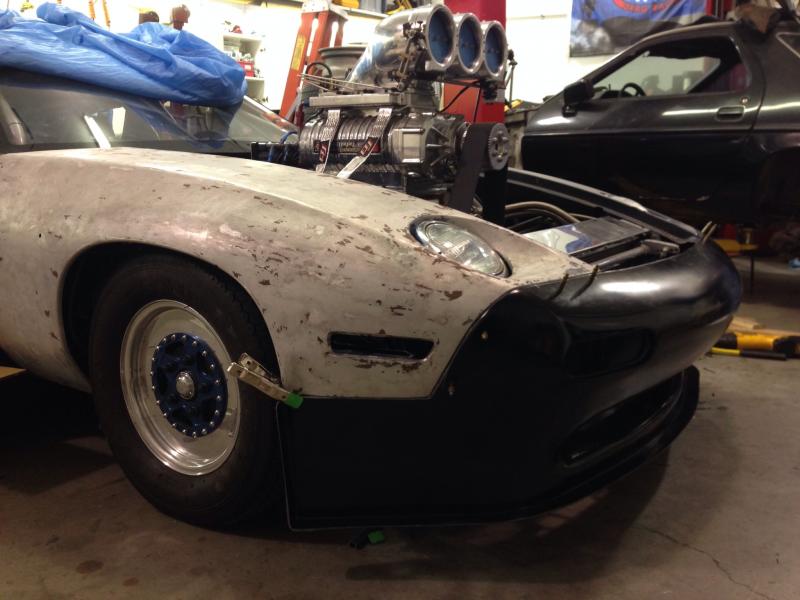
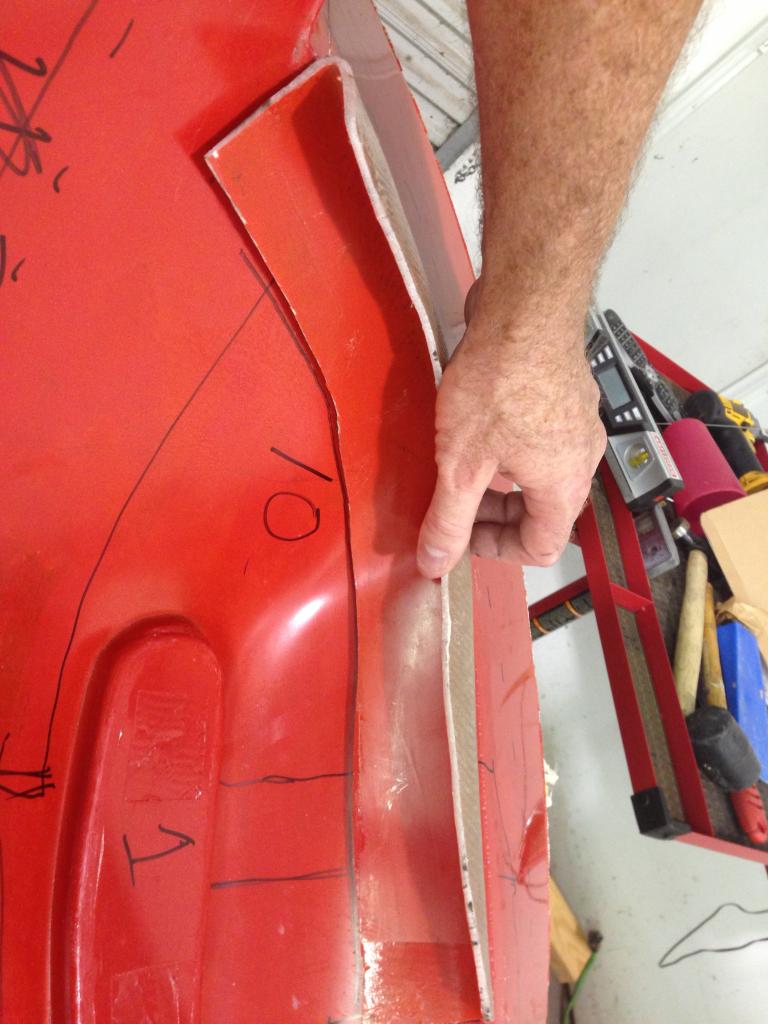
Finally got my bumper out of body shop jail. Here's a few pix of what it looks like.
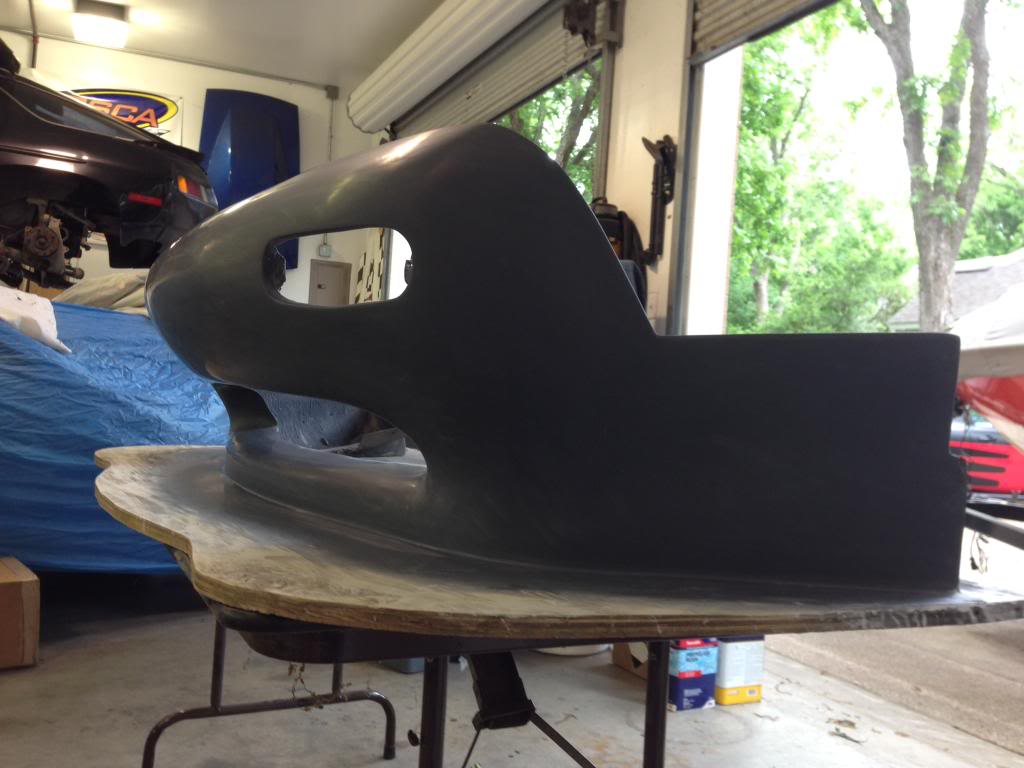
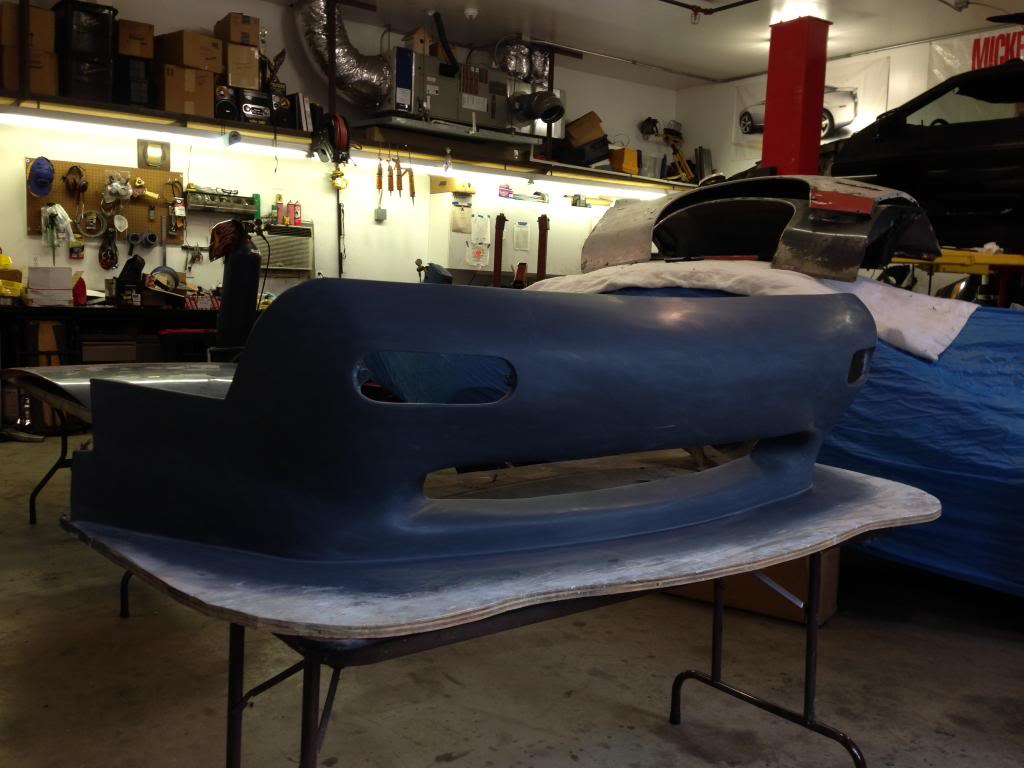
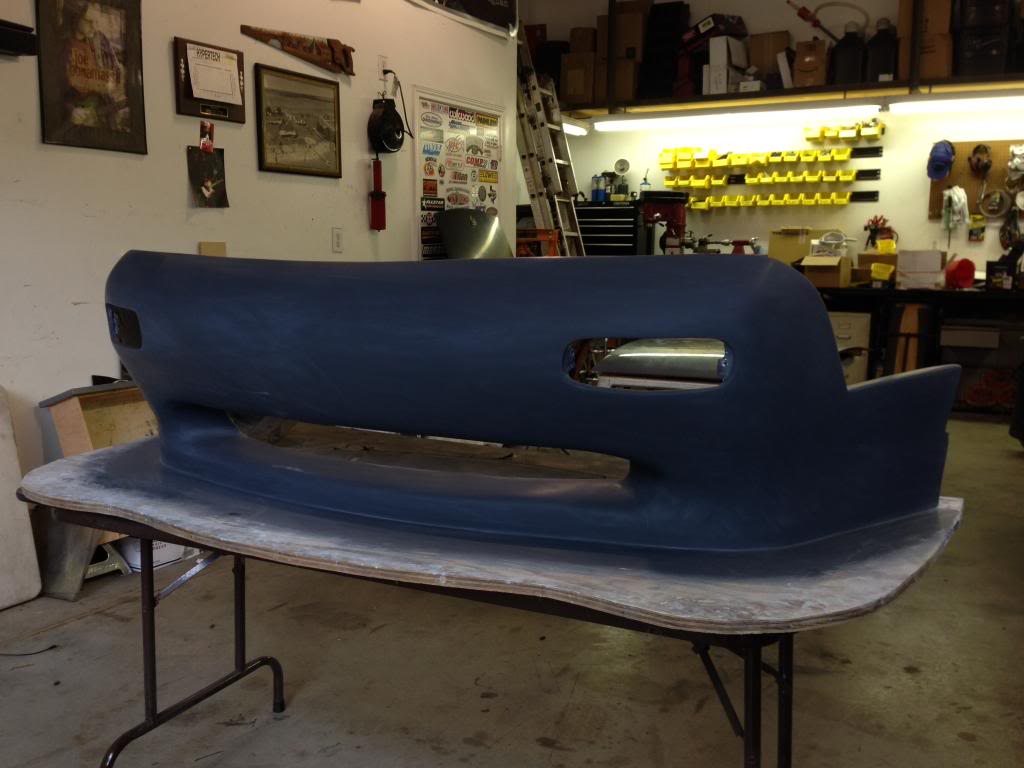
Next step is to get ready to pull a mold by adding flanges, filling gaps, etc.
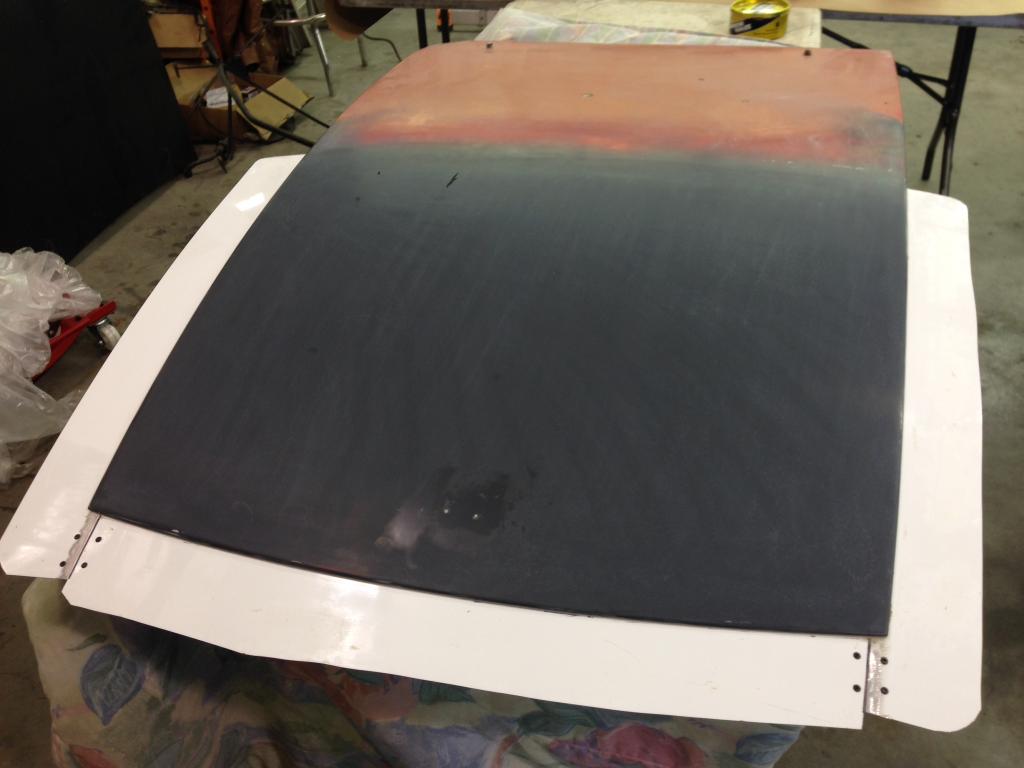

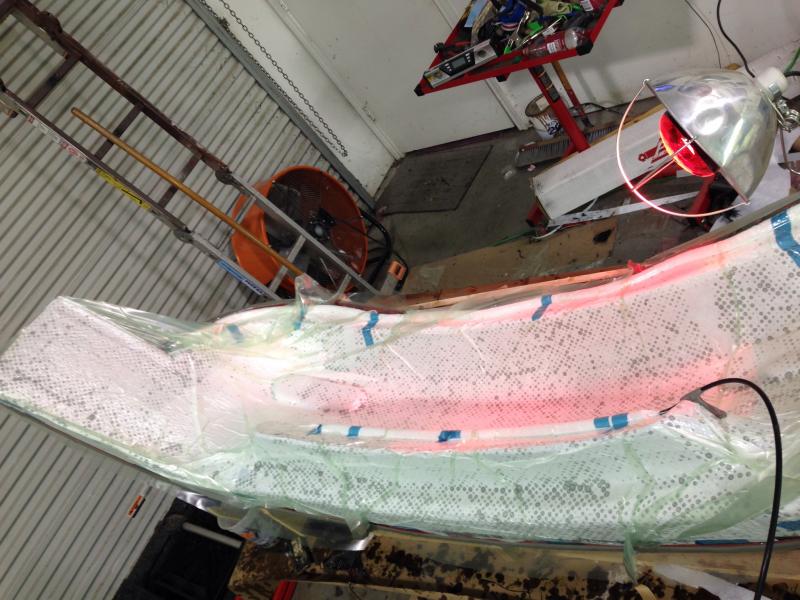
I decided to start simple and pull a mold off the hood first.that resulted in a big fail. Pretty sure I didn't have the gelcoat thick enough and over saturated a few areas by pouring the resin on instead of brushing it on which resulted in this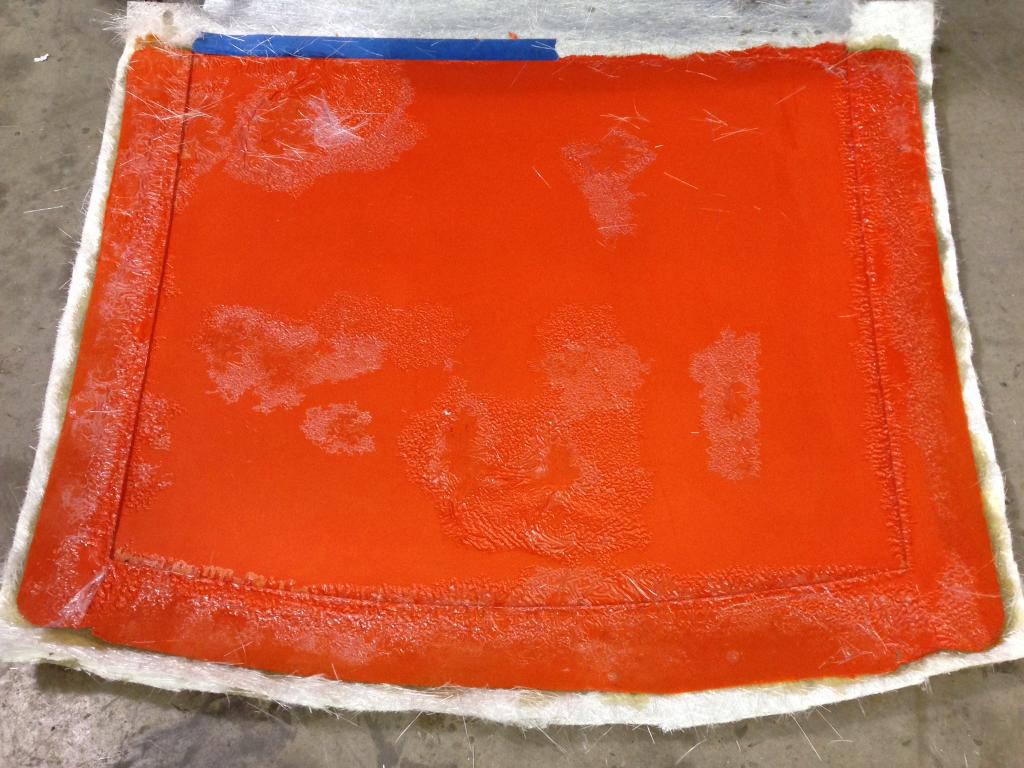
Fortunately, I was able to figure this out before I put too many layers on and only wasted 3 layers...
So now I'll be switching to epoxy resin because I'm more familiar with it, it's more precise, doesn't have the fumes, etc. stay tuned
Next step is to get ready to pull a mold by adding flanges, filling gaps, etc.
I decided to start simple and pull a mold off the hood first.that resulted in a big fail. Pretty sure I didn't have the gelcoat thick enough and over saturated a few areas by pouring the resin on instead of brushing it on which resulted in this
Fortunately, I was able to figure this out before I put too many layers on and only wasted 3 layers...
So now I'll be switching to epoxy resin because I'm more familiar with it, it's more precise, doesn't have the fumes, etc. stay tuned
05-28-2014, 02:11 PM
#18
I watched my Hayabusa CF fender and custom saddle being Vacuum formed. The guy did it with a reversed shop-vac as he called it and thick cellophane.
BTW the 928 hood is the lightest factory hood I've ever held. I've also seen a 944 hood where the inner skeleton was removed and hood pins added. It was lightweight after that. What would be your weight savings there after hardware is installed?
BTW the 928 hood is the lightest factory hood I've ever held. I've also seen a 944 hood where the inner skeleton was removed and hood pins added. It was lightweight after that. What would be your weight savings there after hardware is installed?
05-28-2014, 03:05 PM
#19
The hood will be attached via dzus fastners and will probably weigh less than a pound, if you can tell from pictures it's only the front half of the hood, cause its got a big blower sticking out of it. I have a vacuum pump set up i've used for doing some flat parts before with a foam core. It's crazy how stiff/strong this crap is once its set up. Besides, I obviously need the practice before doing the front bumper 
05-28-2014, 03:25 PM
#20

I have a CF hood for the 928 and it is lighter. Noticeably. The weight in the 928, body panel wise, is in the bumpers, rear hatch, and sunroof area. Everything else is just small add-up details and the driveline.

 06-24-2014, 07:14 PM
#23
OK, so I made the hood first and it turned out great. Super stiff and weighs less than 2 pounds. Keep in mind this is only the front half of the hood (don't ask, I'll post pictures once the cars done and you'll understand)
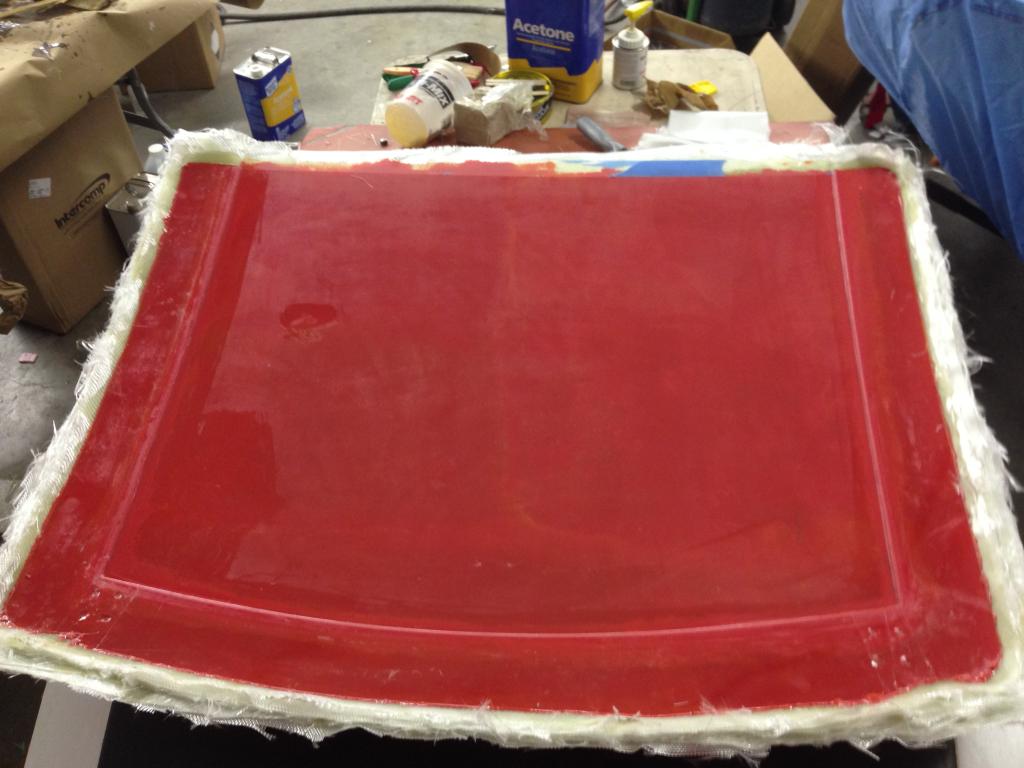
Here's the hood with the vacuum process under way
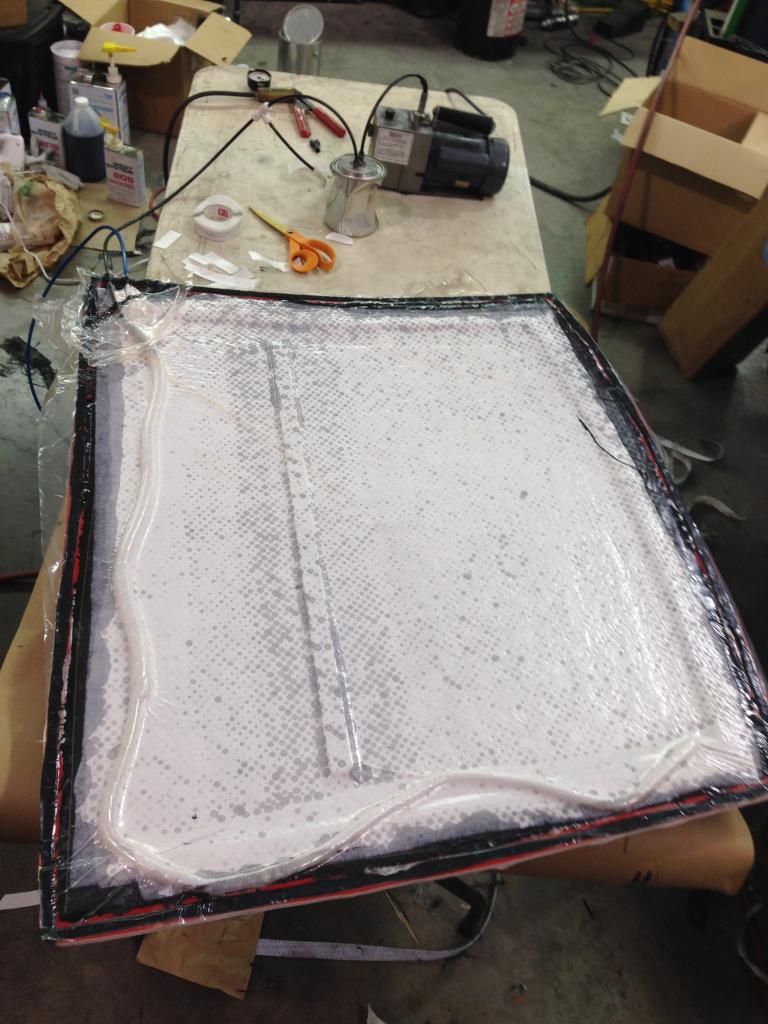
And the finished product

So now onto making the mold for the bumper. I got it finished and popped it off the plug yesterday. It turned out great and the good news is that it actually came off the plug!! I have about 25 hours in the bumper at this point (yes 25, believe me I would never have thought it would take as much as it has. VERY time consuming!!) I will probably have 40 hours in it by the time it's all said and done.
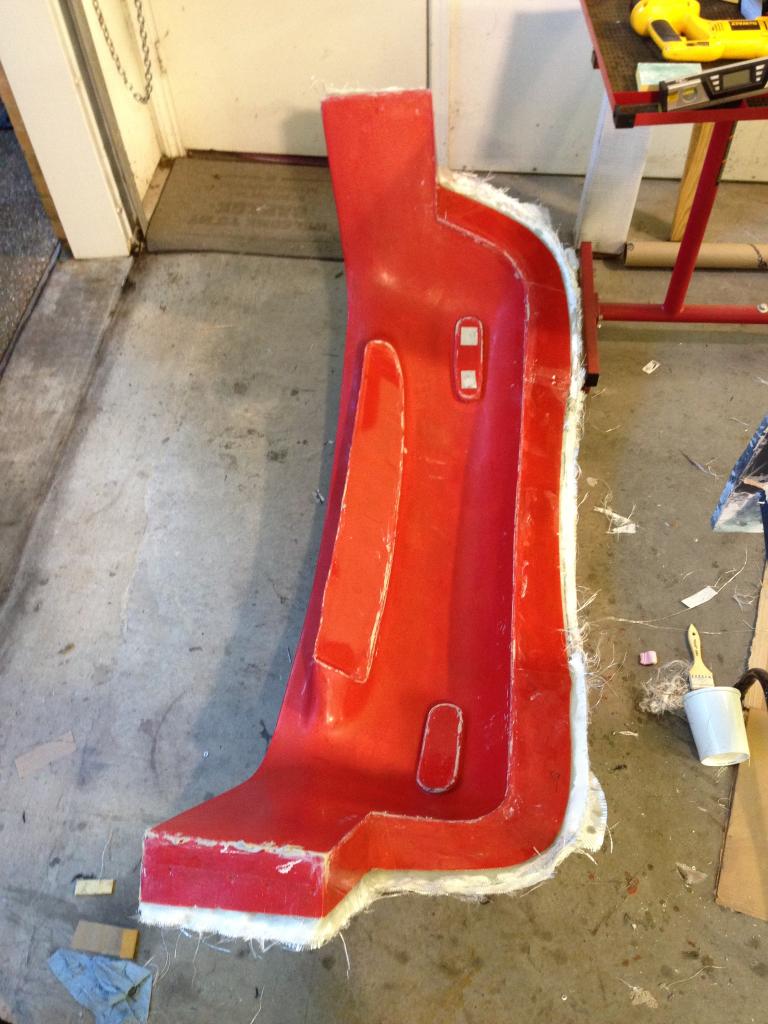
Once it came off, I cleaned it up and put it back on the plug to build bracing to keep it from moving around during the layup of the bumper itself.
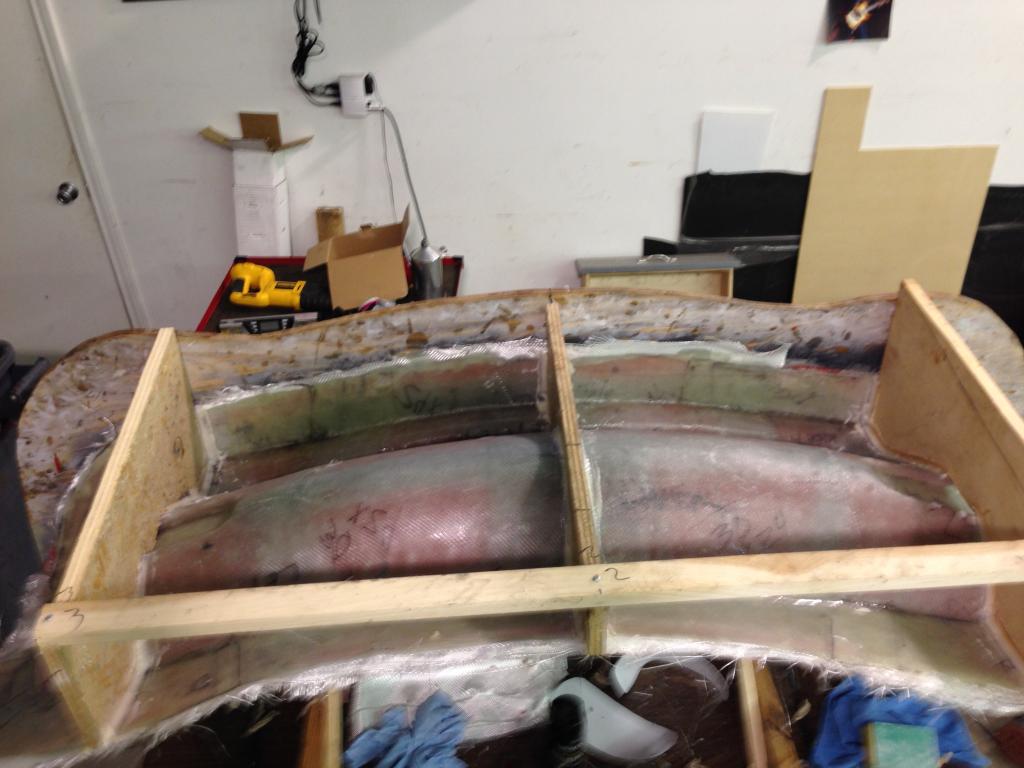
So the next step is waxing the mold and laying up the bumper itself.
Here's the hood with the vacuum process under way
And the finished product
So now onto making the mold for the bumper. I got it finished and popped it off the plug yesterday. It turned out great and the good news is that it actually came off the plug!! I have about 25 hours in the bumper at this point (yes 25, believe me I would never have thought it would take as much as it has. VERY time consuming!!) I will probably have 40 hours in it by the time it's all said and done.
Once it came off, I cleaned it up and put it back on the plug to build bracing to keep it from moving around during the layup of the bumper itself.
So the next step is waxing the mold and laying up the bumper itself.
07-21-2014, 04:23 PM
#25
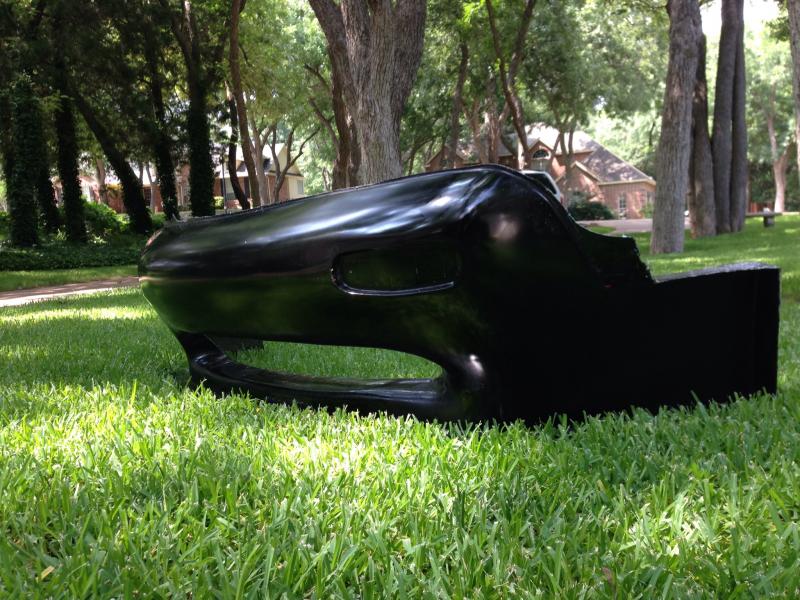
Well, It's finally finished. Approx 50 hours later (yes it really took that long)
Here is the bumper once the carbon is layed in and wet out with epoxy. I used very slow hardener because it took so long to layup. I actually did it in 2 stages. Laid up the first 3 layers and then came back and did the final 3. Had to wait 24 hours each time to allow it to cure completely. Like waiting on Christmas morning or the last day at work before vacation when time stands still.
If I had to do it over again, I would have probably only done 3 layers. The final weight is 12 lbs, (about 1 lb less than factory cover) but it is incredible stout. I could probably stand on it and it wouldnt break. Since this was my first go round, I went a little overkill.
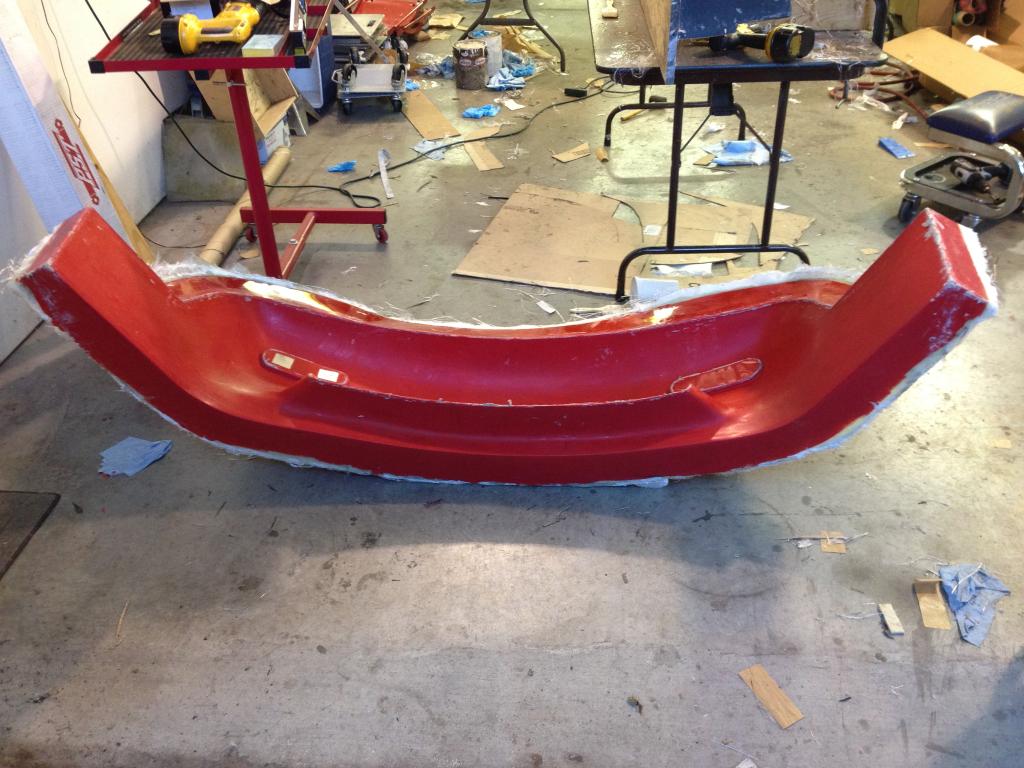
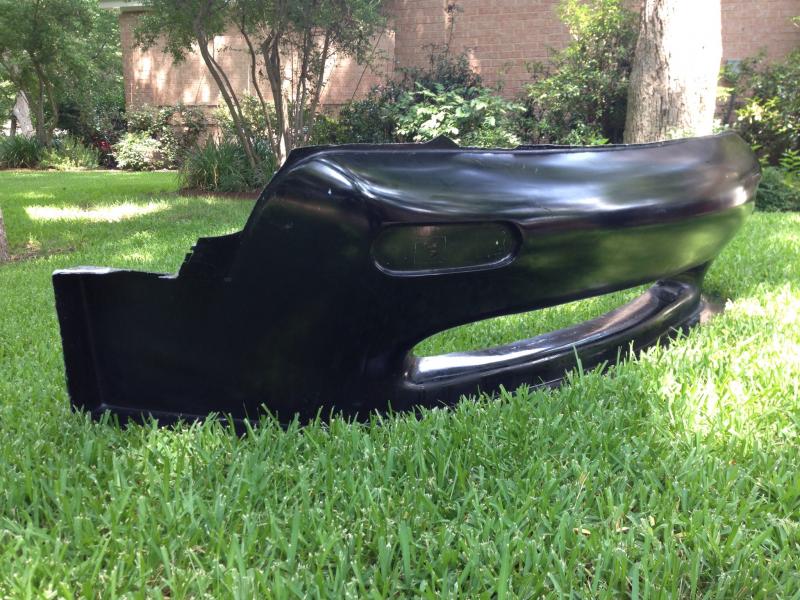
Here's the finished product. After 2 hours of wrestling it out of the mold, it turned out great. One blemish about the size of a nickel.
Here is the bumper once the carbon is layed in and wet out with epoxy. I used very slow hardener because it took so long to layup. I actually did it in 2 stages. Laid up the first 3 layers and then came back and did the final 3. Had to wait 24 hours each time to allow it to cure completely. Like waiting on Christmas morning or the last day at work before vacation when time stands still.
If I had to do it over again, I would have probably only done 3 layers. The final weight is 12 lbs, (about 1 lb less than factory cover) but it is incredible stout. I could probably stand on it and it wouldnt break. Since this was my first go round, I went a little overkill.
Here's the finished product. After 2 hours of wrestling it out of the mold, it turned out great. One blemish about the size of a nickel.
Last edited by Danny Humphreys; 07-23-2014 at 05:37 PM.

 07-23-2014, 03:43 PM
#27
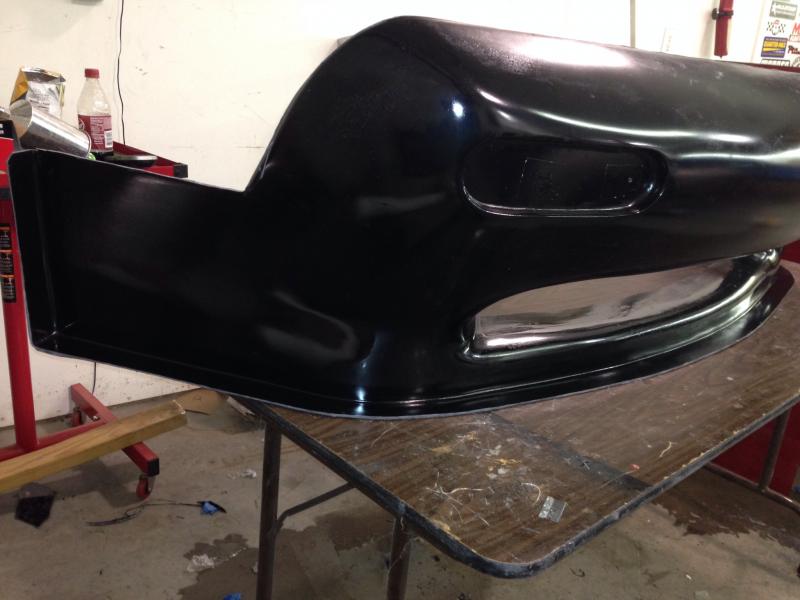
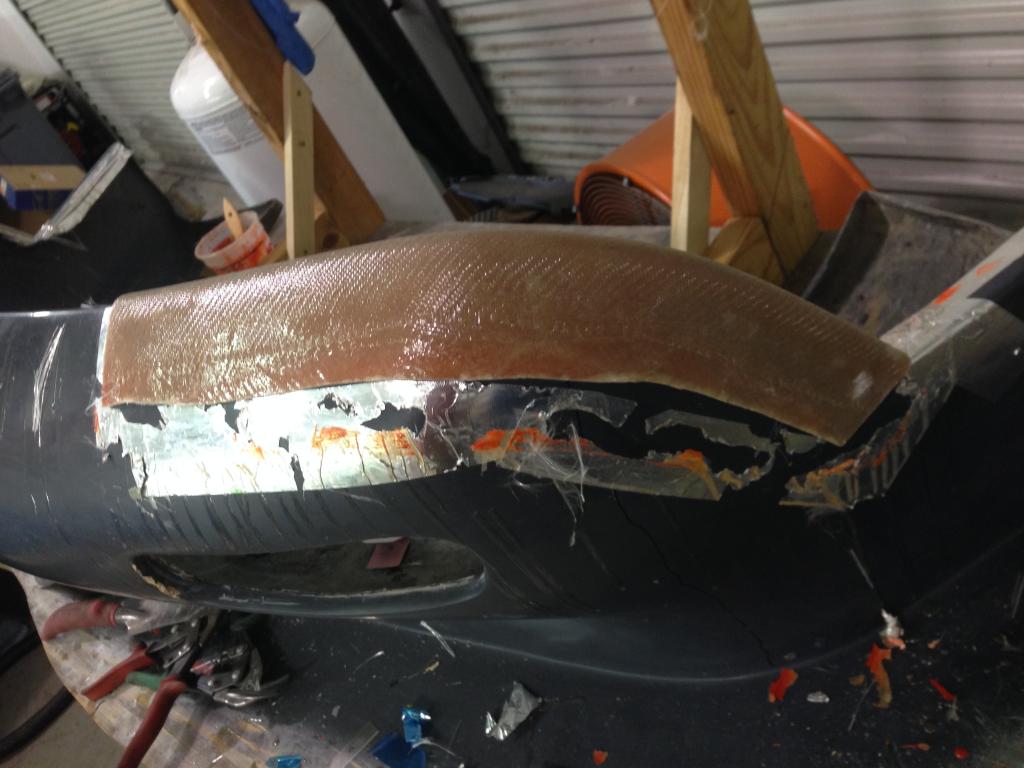
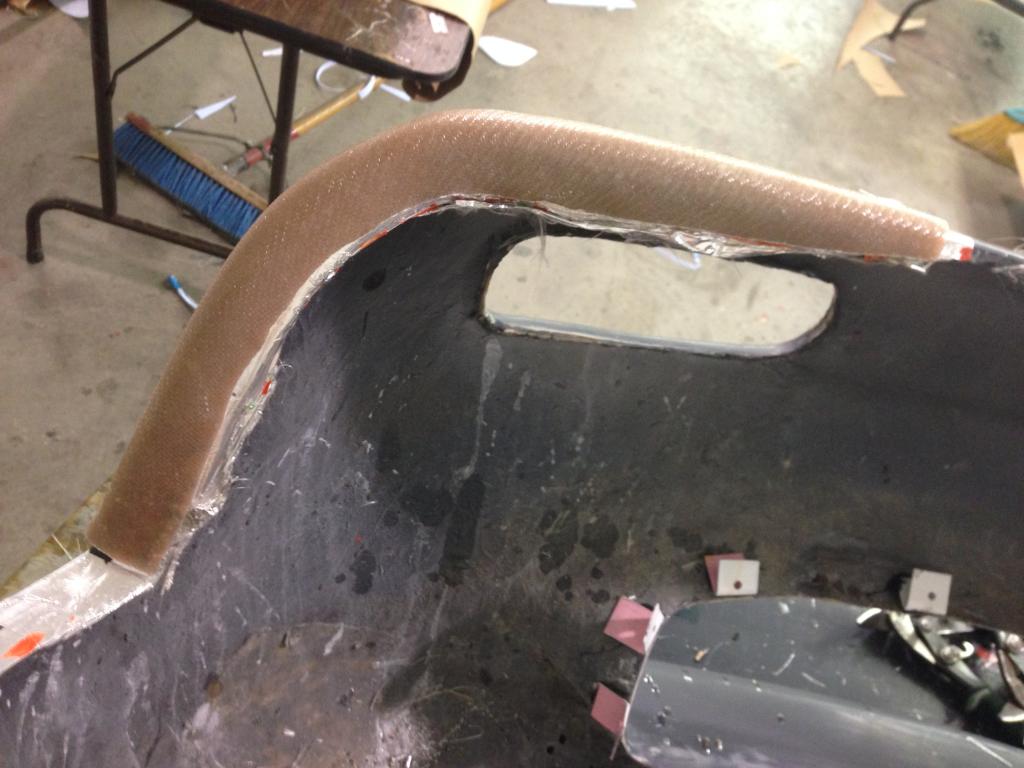
Forgot to throw in one of the other steps that was required to mount it. I laid fiberlass over the outside edges of the plug to form a mold for the mounting flanges. Once those are made from carbon, they will be glued to the indside of the bumper itself. I glued them in last night and will try to snap some pix of the finished product in the next day or so. Here are a few pix of this step so you can see how they will work.
10-28-2014, 06:00 PM
#28

Not a great angle, but here's the car with the new bumper and hood painted. I'll post more photos once the car is finished.
Close up of the shark tattoo also.
