When you click on links to various merchants on this site and make a purchase, this can result in this site earning a commission. Affiliate programs and affiliations include, but are not limited to, the eBay Partner Network.
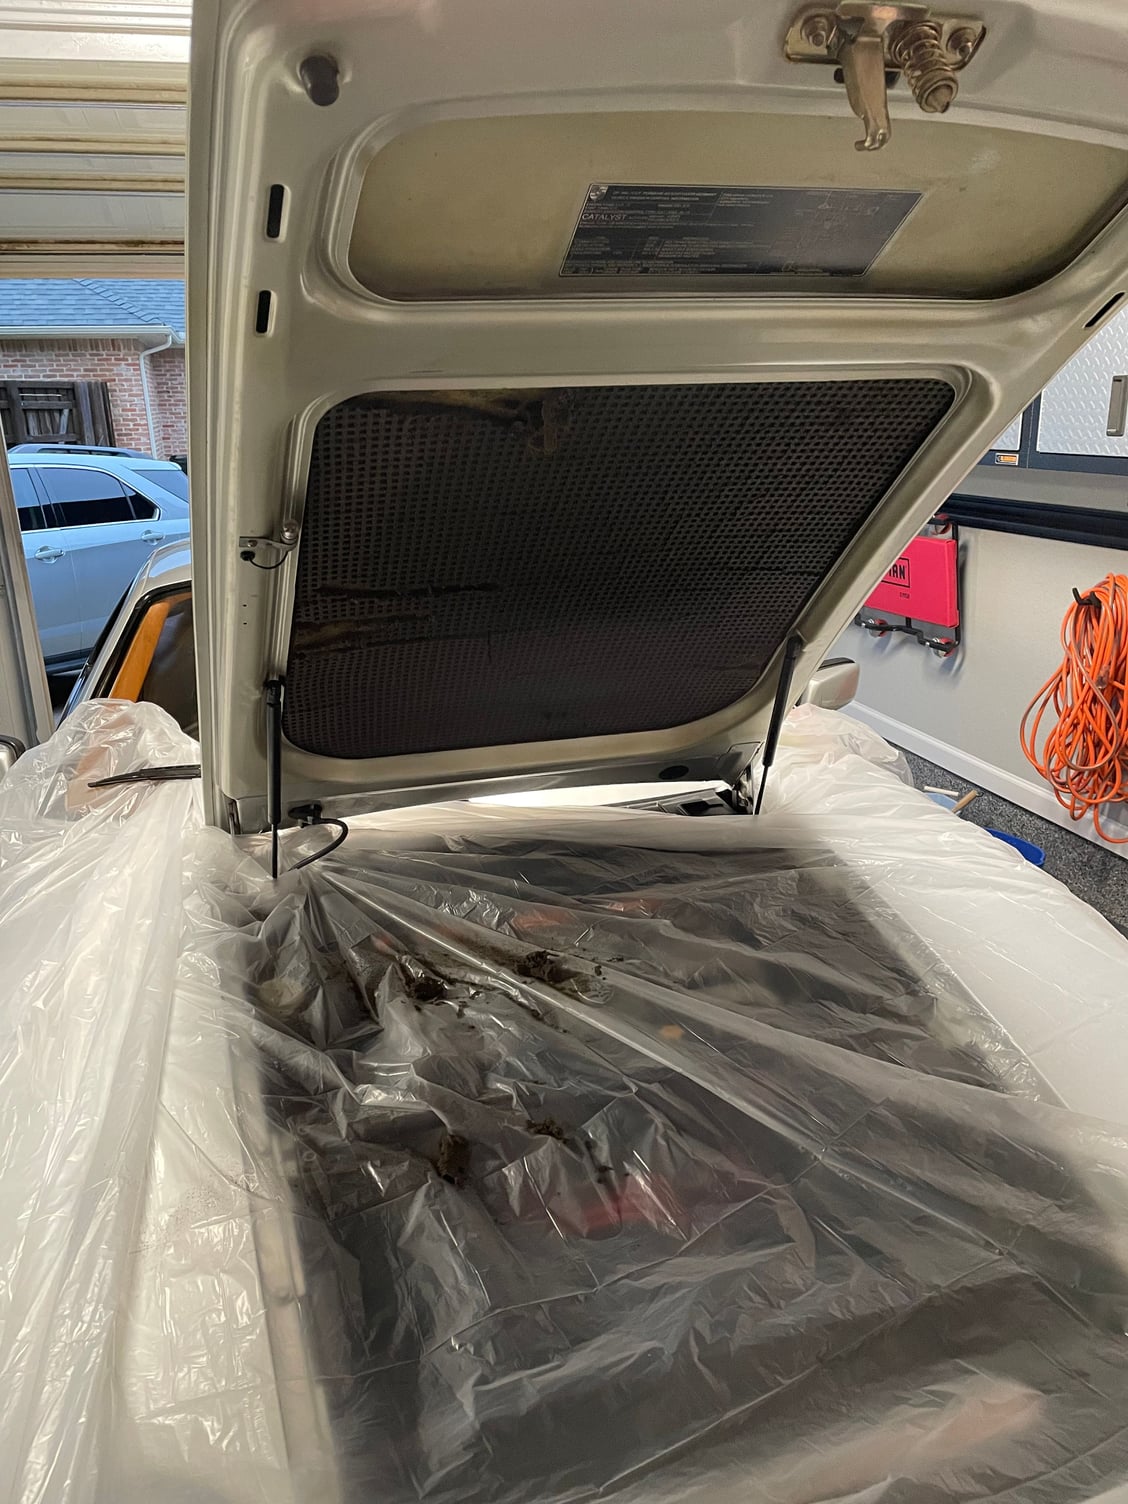
The original hood liner on my 1988 S4 has deteriorating and is soaked in spots with oil. I order a 928 "Bonnet" liner replacement from Classic 9 and I'm planning to install it this weekend.
The question is; Are there any good products out there that I can use to remove the glue and the old liner?
I removed the hood with hinges at the fender bolts rather than at the hinge to hood location. Little bit toughter to get to one of the bolts but no hood alignment issues on reinstall.
I had read about using PB blaster to get old glue off and used that method with good results. My old liner was gone so all i had was old glue and left over liner bits.
Any solvent should work on removing the adhesive, i used acetone, it dissolved the adhesive completely, although the only problem with it is that it softens paint quite a bit, especially when you leave great big puddles on there. I used one 12 sq ft roll of 1/4" thick Dynaliner. It is adhesive backed and recommended for use on firewalls and other heat affected areas, or as a base material for sound deadening, like on the chassis. It looks fantastic, just measure it to length then trim and tuck it underneath the lip, always trimming away so you have more than you need, if it doesn't tuck under the lip, or bunches up under it just trim a little more off till it tucks in like the fit of a glove.
Because of that lip overlap, i don't recommend the method of making a template on paper then transferring it, just start at the center, then work your way out to the edges, using a roller to ensure it has adhered properly.
My hood looks fantastic with the Dynaliner, and it should be better than the original insulation.
Had to do this again right before 3rd Coast.
I�ve had the car long enough now (since 95) that this is the second time I�ve done it. Looks like i did it last in 2005. The glue never failed, but the liner started turning to dust just like the original did.
I did this just like I did the last one.
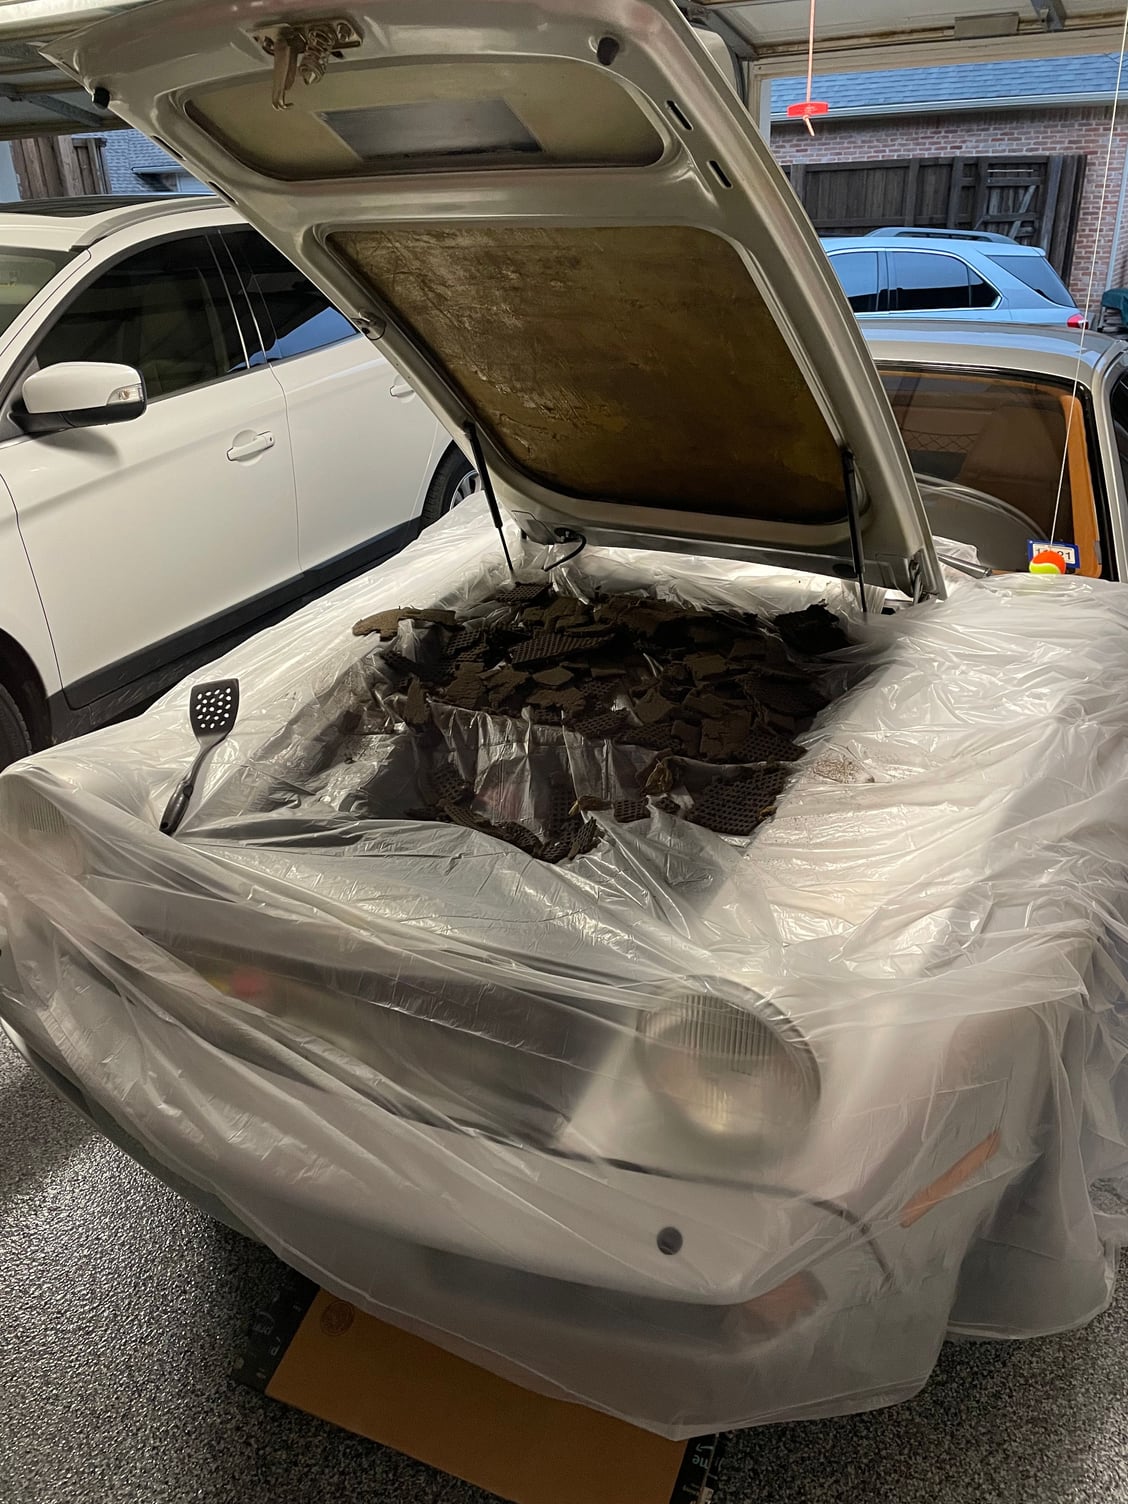
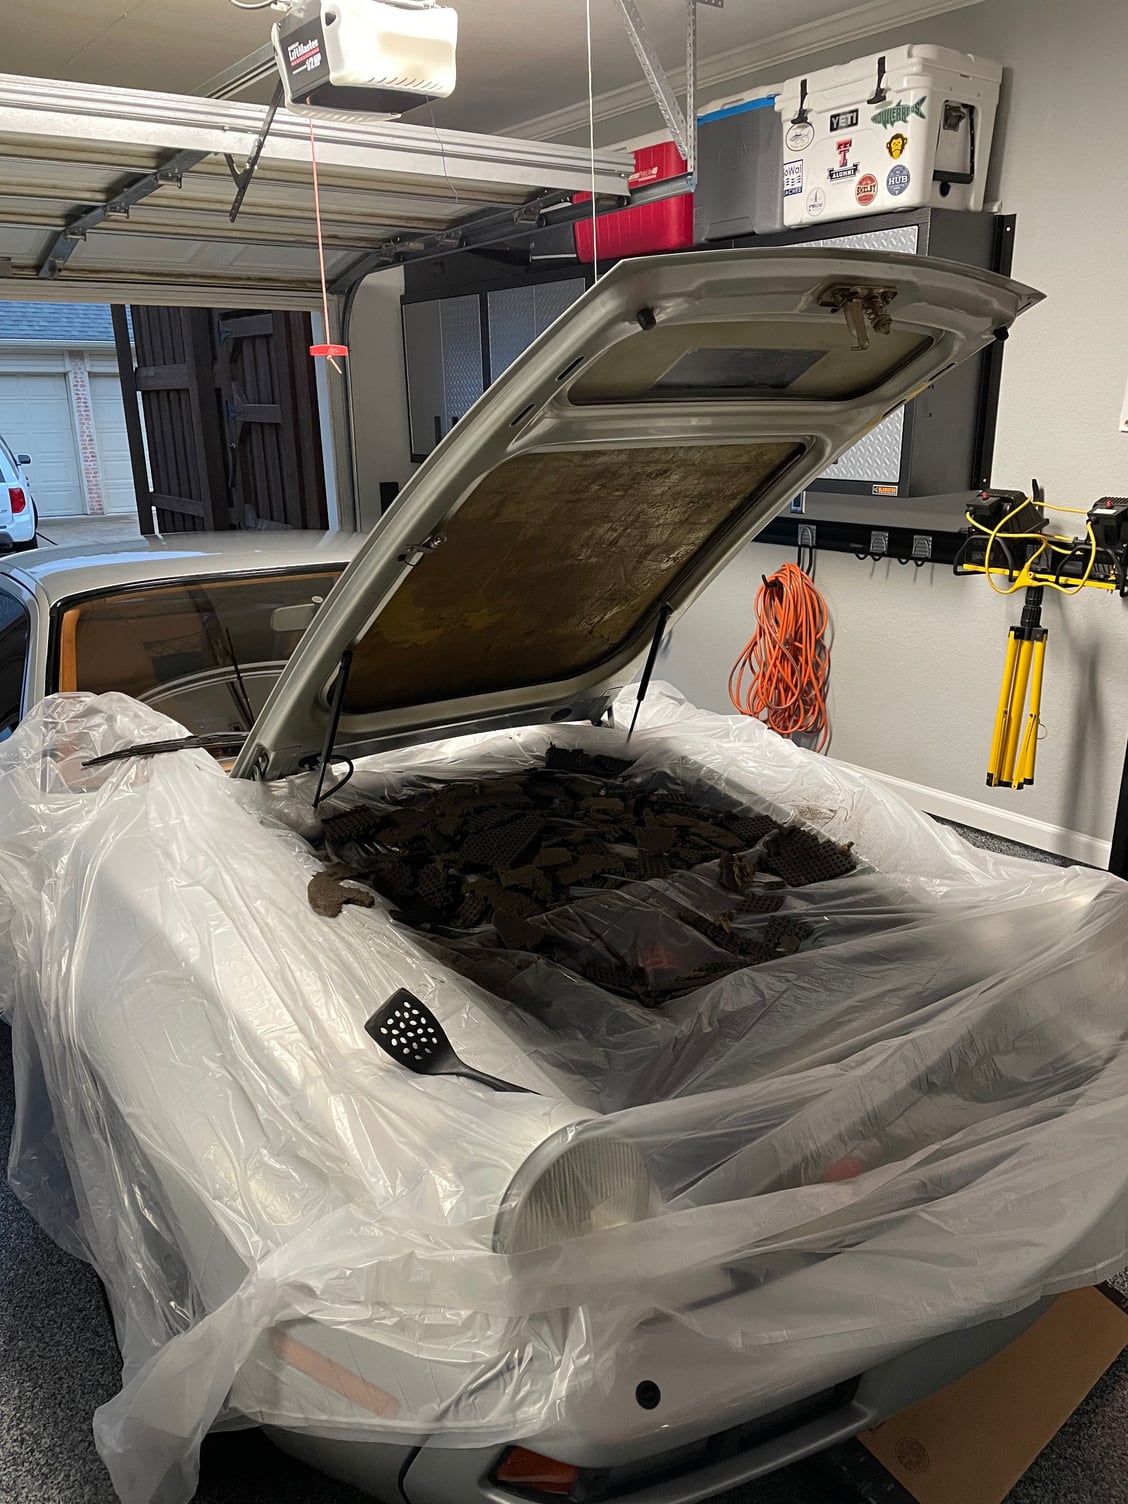
DID NOT TAKE HOOD OFF
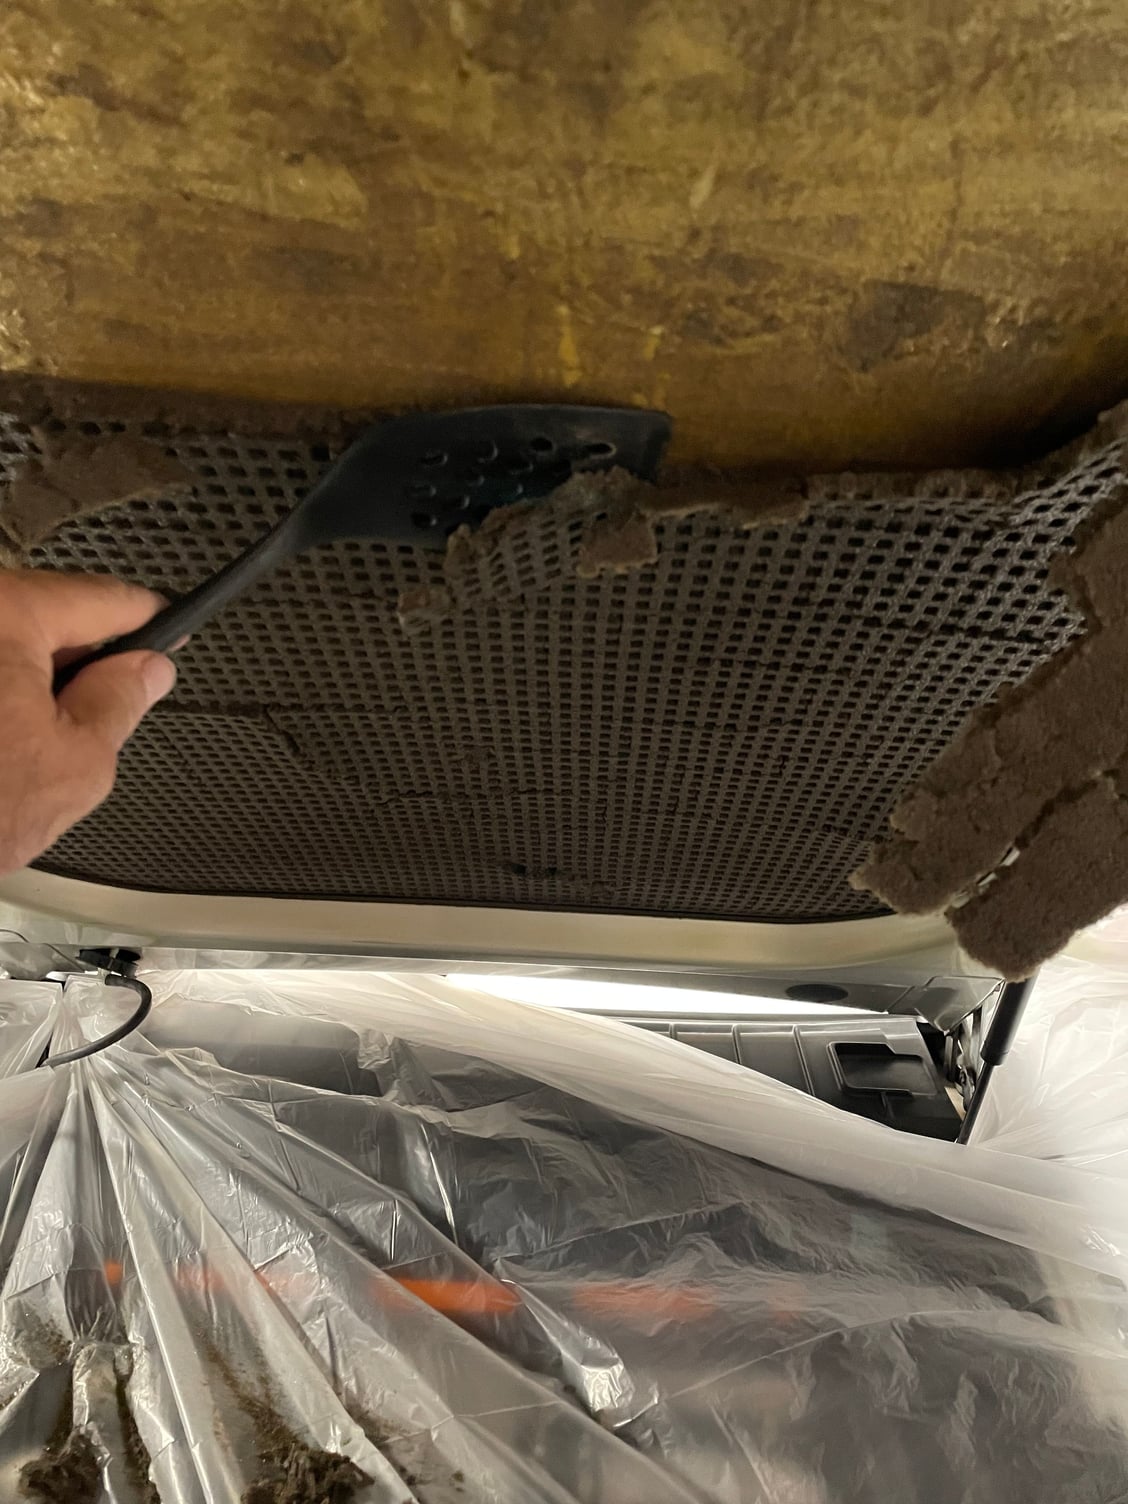
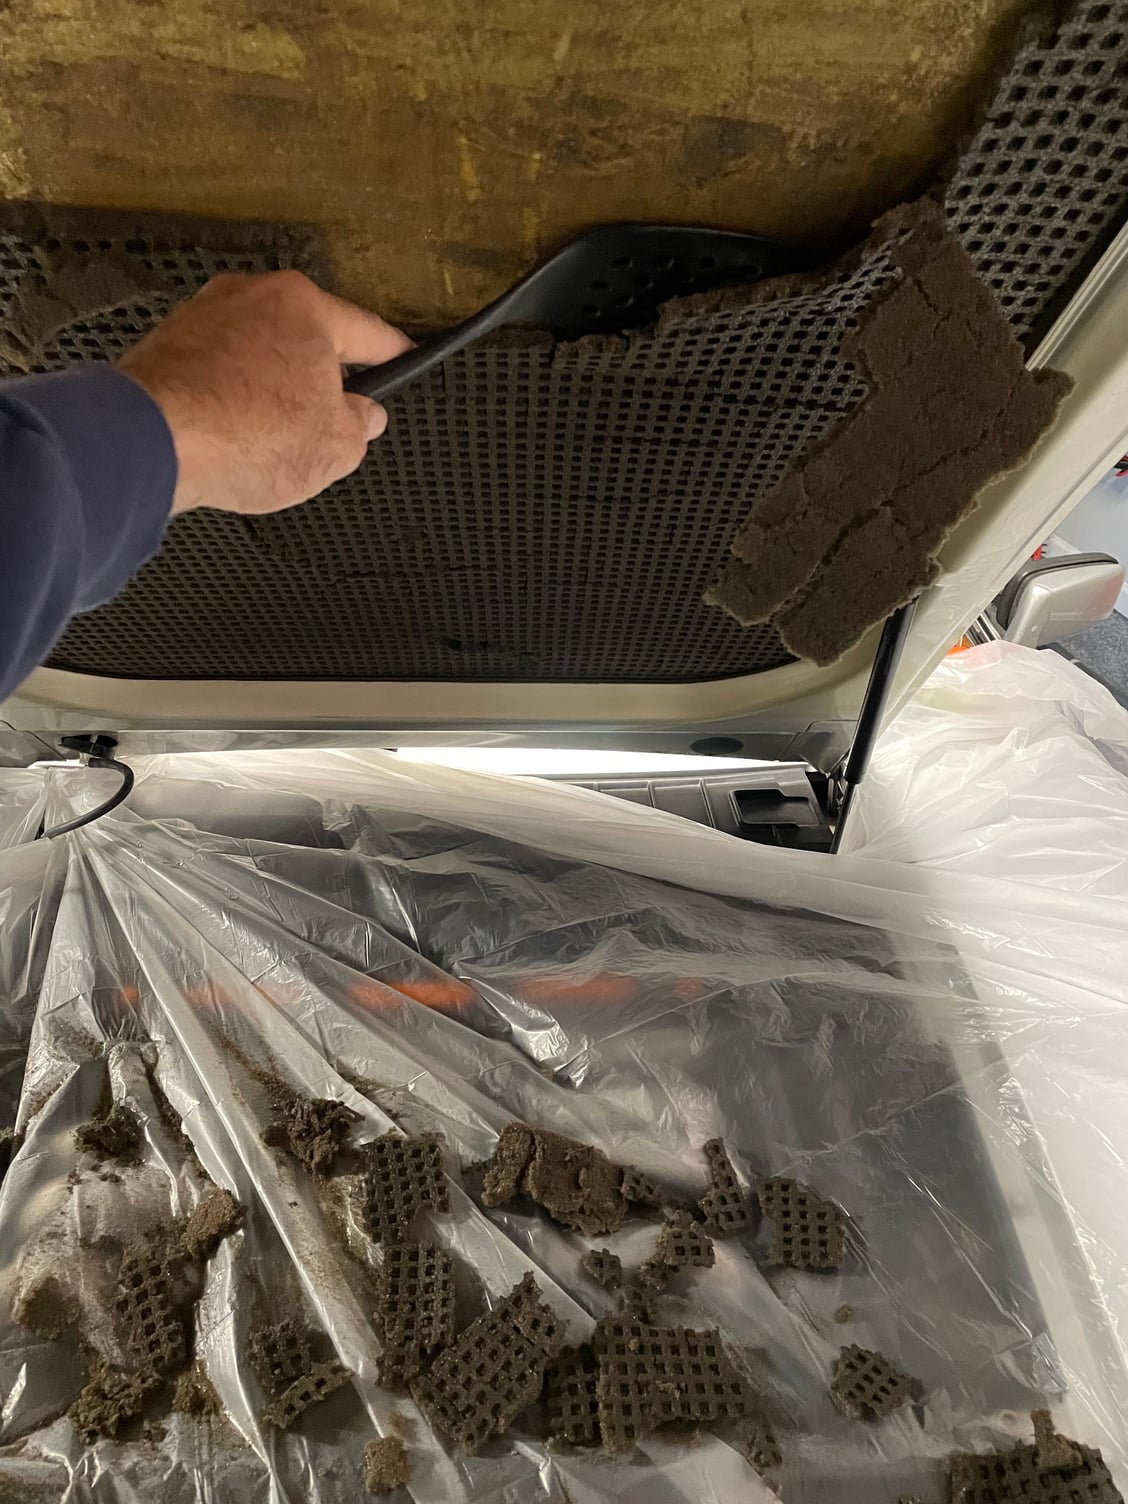
Put down a plastic drop cloth from Home Depot. Scraped off old one w an old plastic spatula, wiped down with lacquer thinner and let dry.
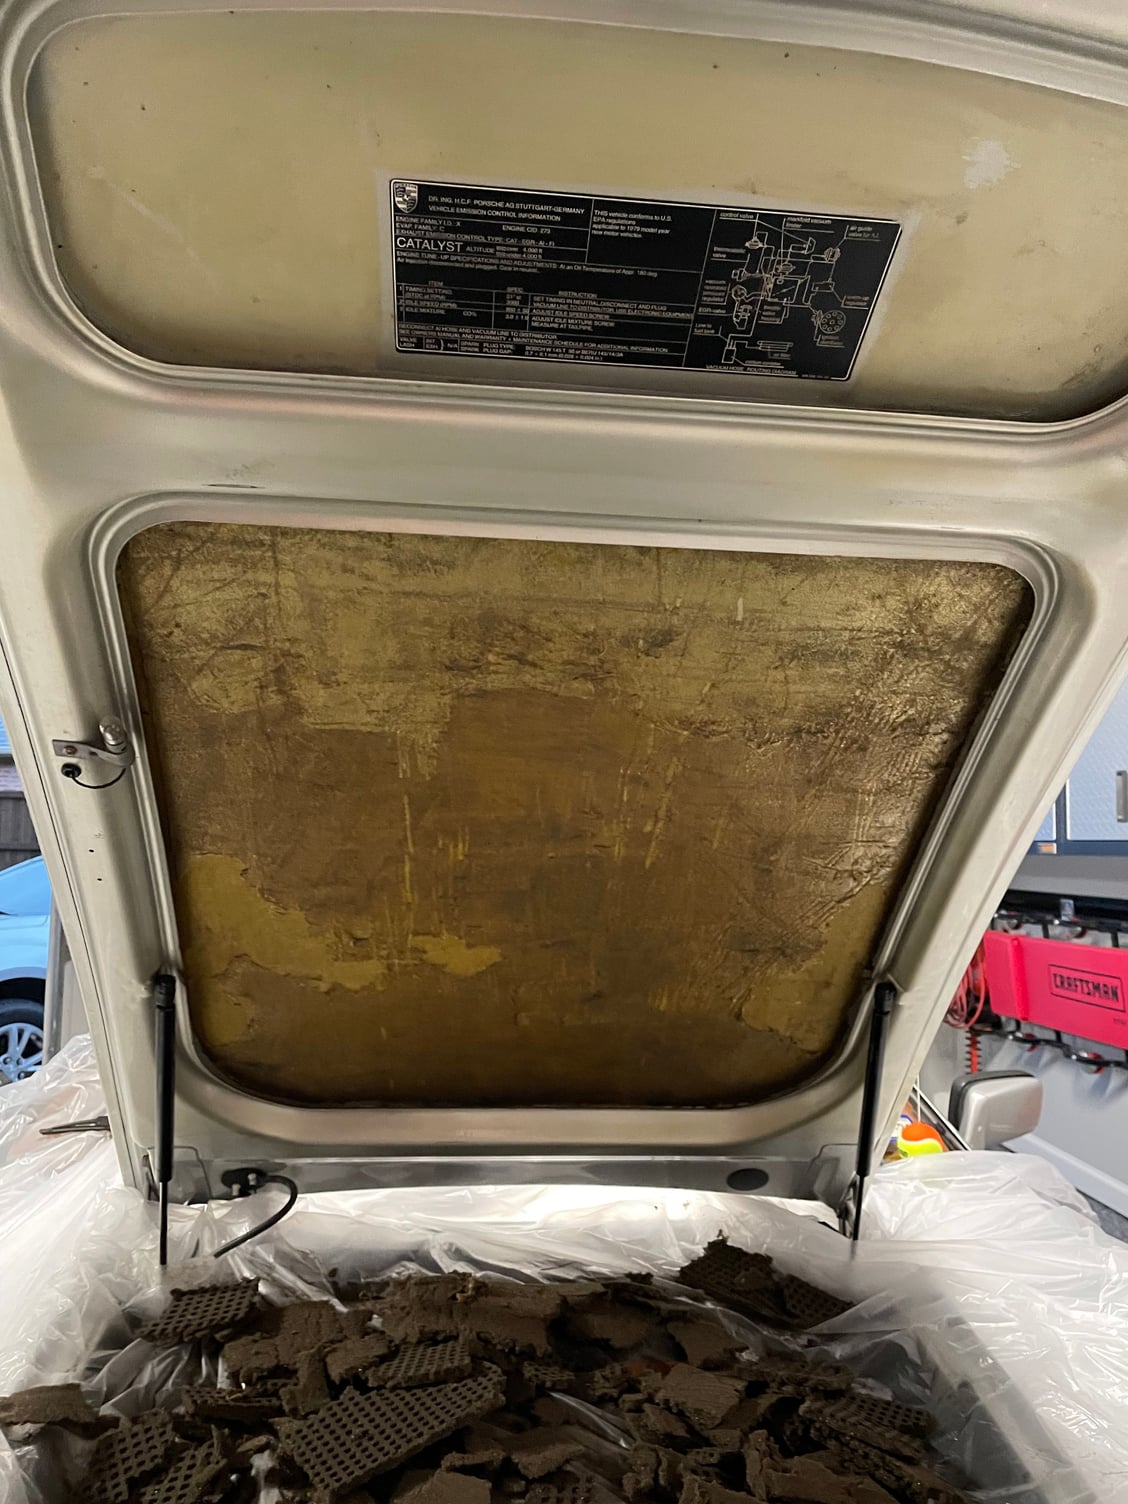
Wrapped up the drop cloth with the crumbled mess in it and disposed. This part goes quick.
For the new hood liner I got, it was factory style from roger that came in 2 pieces. I put the first in place and cut out the middle area for the emissions sticker. Used the �grid� to make sure my cuts were straight. This one I peeled back the right edge about 2-3 inches and then pushed it into place. Pulled the backing off right to left after getting lined up. A little tricky and you gotta go slow as I cut the big square out of the center and it can move around with nothing to hold it straight (if that makes sense). Working slow making sure �grid� is straight - peel, stick, peel, stick and �stuff� in under edge.
Done with first part.
For the �big� area, it only goes in one way as it is bigger towards the windshield and tapers smaller toward the front of the car. My wife and I did this together, a great bonding experience�
PUN INTENDED. 😂😂
Peeled back about 6 inches and started furthest from the windshield so you could call it the �top�.
Tucked in lined up, pressed in place and continued down. Line up grid, Peel, stick, repeat and make sure to press out any area that may �bubble out�. When we got to the bottom, we pressed into place all the way to the �lip� where it tucks in. Now, you�re gonna have more material than you need as it stretches as you stick into place. Had my better half work her magic and trim along the bottom. (A little tricky w the hood shocks in place- she did way better than I could have. Once it was trimmed, carefully tucked the last inch or 2 into place and under the �lip�.
Done!
Happy w the results, hopefully will last another 15 years ..
Clean up: Plastic down Doesn�t take much to turn to powder Super easy to scrape off w spatula
Chuck, I meant to tell you how good your hood liner looked at Third Coast. That almost swayed my people's choice vote, but then I saw your brake ducts.
Nice write up.
And with pictures too!!
Last edited by soontobered84; 11-16-2021 at 03:23 PM.
My "quality standards" for hood pads is the same as the factory's standards.
The little squares must all line up....no waviness looking down them is allowed.
If it fails that test, I make my guys rip it off and install another one.
We've found that this is virtually impossible upside down, standing on our heads.
So we pull the hood 100% of the time.

 07-05-2013, 04:36 PM