
1984 Euro S Progress


 11-24-2012, 09:40 AM
#92
Rennlist Member
wow. after looking at these pics, I am feeling pretty lucky. The 84 Euro I just picked up is in really good shape when compared to yours. The inside was totally gutted, and had a colony of red ants living in it (florida), but the motor compartment (aside from a few spiders and some poop on the manifold) is in realy good shape. The lines and even hoses look great. I guess I got lucky.
11-24-2012, 09:49 AM
#93
Rennlist Member
wow. after looking at these pics, I am feeling pretty lucky. The 84 Euro I just picked up is in really good shape when compared to yours. The inside was totally gutted, and had a colony of red ants living in it (florida), but the motor compartment (aside from a few spiders and some poop on the manifold) is in realy good shape. The lines and even hoses look great. I guess I got lucky.
 08-01-2013, 02:26 AM
#94
Racer
Thread Starter
Update!
Sorry for not making a post sooner, however progress has been slow due to lack of time (damn you, 6 days of work a week!) and having to fix another car (my '77 924 which is my daily driver) before getting back to the 928. What the focus is right now is fixing the bodywork, as that is really the last frontier to getting this car back into service.

Beginning to remove paint: As you can see, this is not the first time this quarter panel has been repaired. There are two differing layers of bondo on this car, and on other parts of the panel you can clearly see that the panel was repaired a while ago as some of the quartz silver metallic respray is still there.

Sanding more off. So much bondo, I don't know why they put so much on where the metal was straight (such as the b and c pillars).

Signs of previous repair. This quarter panel has seen some ****...

And this is currently where I am. Been honing my bondo-ing skills and recently put a layer of primer on top of it to get a better look at where I am as to straightness of the panel. There is by far less bondo now on the car than there has been for probably 15 years. Getting close, and if I had a whole day I could probably start getting it ready to paint. Hopefully body filling will be done this weekend.
Sorry for not making a post sooner, however progress has been slow due to lack of time (damn you, 6 days of work a week!) and having to fix another car (my '77 924 which is my daily driver) before getting back to the 928. What the focus is right now is fixing the bodywork, as that is really the last frontier to getting this car back into service.
Beginning to remove paint: As you can see, this is not the first time this quarter panel has been repaired. There are two differing layers of bondo on this car, and on other parts of the panel you can clearly see that the panel was repaired a while ago as some of the quartz silver metallic respray is still there.
Sanding more off. So much bondo, I don't know why they put so much on where the metal was straight (such as the b and c pillars).
Signs of previous repair. This quarter panel has seen some ****...
And this is currently where I am. Been honing my bondo-ing skills and recently put a layer of primer on top of it to get a better look at where I am as to straightness of the panel. There is by far less bondo now on the car than there has been for probably 15 years. Getting close, and if I had a whole day I could probably start getting it ready to paint. Hopefully body filling will be done this weekend.
The following users liked this post:
fatmanontwowheels (11-11-2020)
08-01-2013, 03:38 AM
#95
Nordschleife Master
thanks for the update. Yours is one of the more interesting saves, thanks to you documenting the bodywork stuff  (which is a new frontier for most of us!).
(which is a new frontier for most of us!).
03-31-2014, 10:38 PM
#97
Racer
Thread Starter
Hey, everyone!
I know it's been a long time since I've done an update, but that's mainly been because there hasn't been much to update about! I was abroad this past fall semester from August until December, studying at Copenhagen Business School in Denmark. It was an awesome experience and wish I could have stayed there for another semester. Alas, my funding would not permit such a thing...
Anywho, because it was such a gorgeous weekend, I did a little cleaning on the car - specifically the passenger's side. The seats work kind of intermittently, and there was bondo dust everywhere and who knows how many years of dirt inside, so I pulled out the seat and cleaned the carpets.

A previous owner packed all the gears and bearings with grease. Tried to remove most of it and then sprayed a little lubricating oil.

I guess the most interesting piece is what I found underneath the seat:


This tells us a few things:
- A previous owner installed a security system at some point (and removed it). This explains all the repaired splices into the LH computer wires.
- This previous owner also was probably in his teens or twenties in the nineties, and was really into grunge.
I will post the after pics when I do the drivers side next weekend.
Oh, and the AC still works almost two years after recharging the system. Who'd have guessed?
I know it's been a long time since I've done an update, but that's mainly been because there hasn't been much to update about! I was abroad this past fall semester from August until December, studying at Copenhagen Business School in Denmark. It was an awesome experience and wish I could have stayed there for another semester. Alas, my funding would not permit such a thing...
Anywho, because it was such a gorgeous weekend, I did a little cleaning on the car - specifically the passenger's side. The seats work kind of intermittently, and there was bondo dust everywhere and who knows how many years of dirt inside, so I pulled out the seat and cleaned the carpets.
A previous owner packed all the gears and bearings with grease. Tried to remove most of it and then sprayed a little lubricating oil.
I guess the most interesting piece is what I found underneath the seat:
This tells us a few things:
- A previous owner installed a security system at some point (and removed it). This explains all the repaired splices into the LH computer wires.
- This previous owner also was probably in his teens or twenties in the nineties, and was really into grunge.
I will post the after pics when I do the drivers side next weekend.
Oh, and the AC still works almost two years after recharging the system. Who'd have guessed?
04-07-2014, 10:40 PM
#98
Racer
Thread Starter
As you may recall, my 928 has a button where most do not:

If you look closely, you can see a button on the front end of the handbrake shroud. We weren't sure what it was or if it was even hooked to anything. You'd push it and nothing would happen. Well, I finally got around to pulling the seat and got to figure out what it was for:

As you could see, there appears to be an addition to the wiring harness for the seat...

As well as an extra black box on the underside of the seat!

Looking around I found the source of why nothing happened when you pushed the switch.

I replaced all the connections on the connectors, put the seat back in and viola, HEATED SEAT!

It works great! Now my *** can keep toasty warm while I blast AC in my face!
If you look closely, you can see a button on the front end of the handbrake shroud. We weren't sure what it was or if it was even hooked to anything. You'd push it and nothing would happen. Well, I finally got around to pulling the seat and got to figure out what it was for:
As you could see, there appears to be an addition to the wiring harness for the seat...
As well as an extra black box on the underside of the seat!
Looking around I found the source of why nothing happened when you pushed the switch.
I replaced all the connections on the connectors, put the seat back in and viola, HEATED SEAT!
It works great! Now my *** can keep toasty warm while I blast AC in my face!
06-15-2014, 10:53 PM
#99
Racer
Thread Starter
Money's been tight, so progress has been slow:
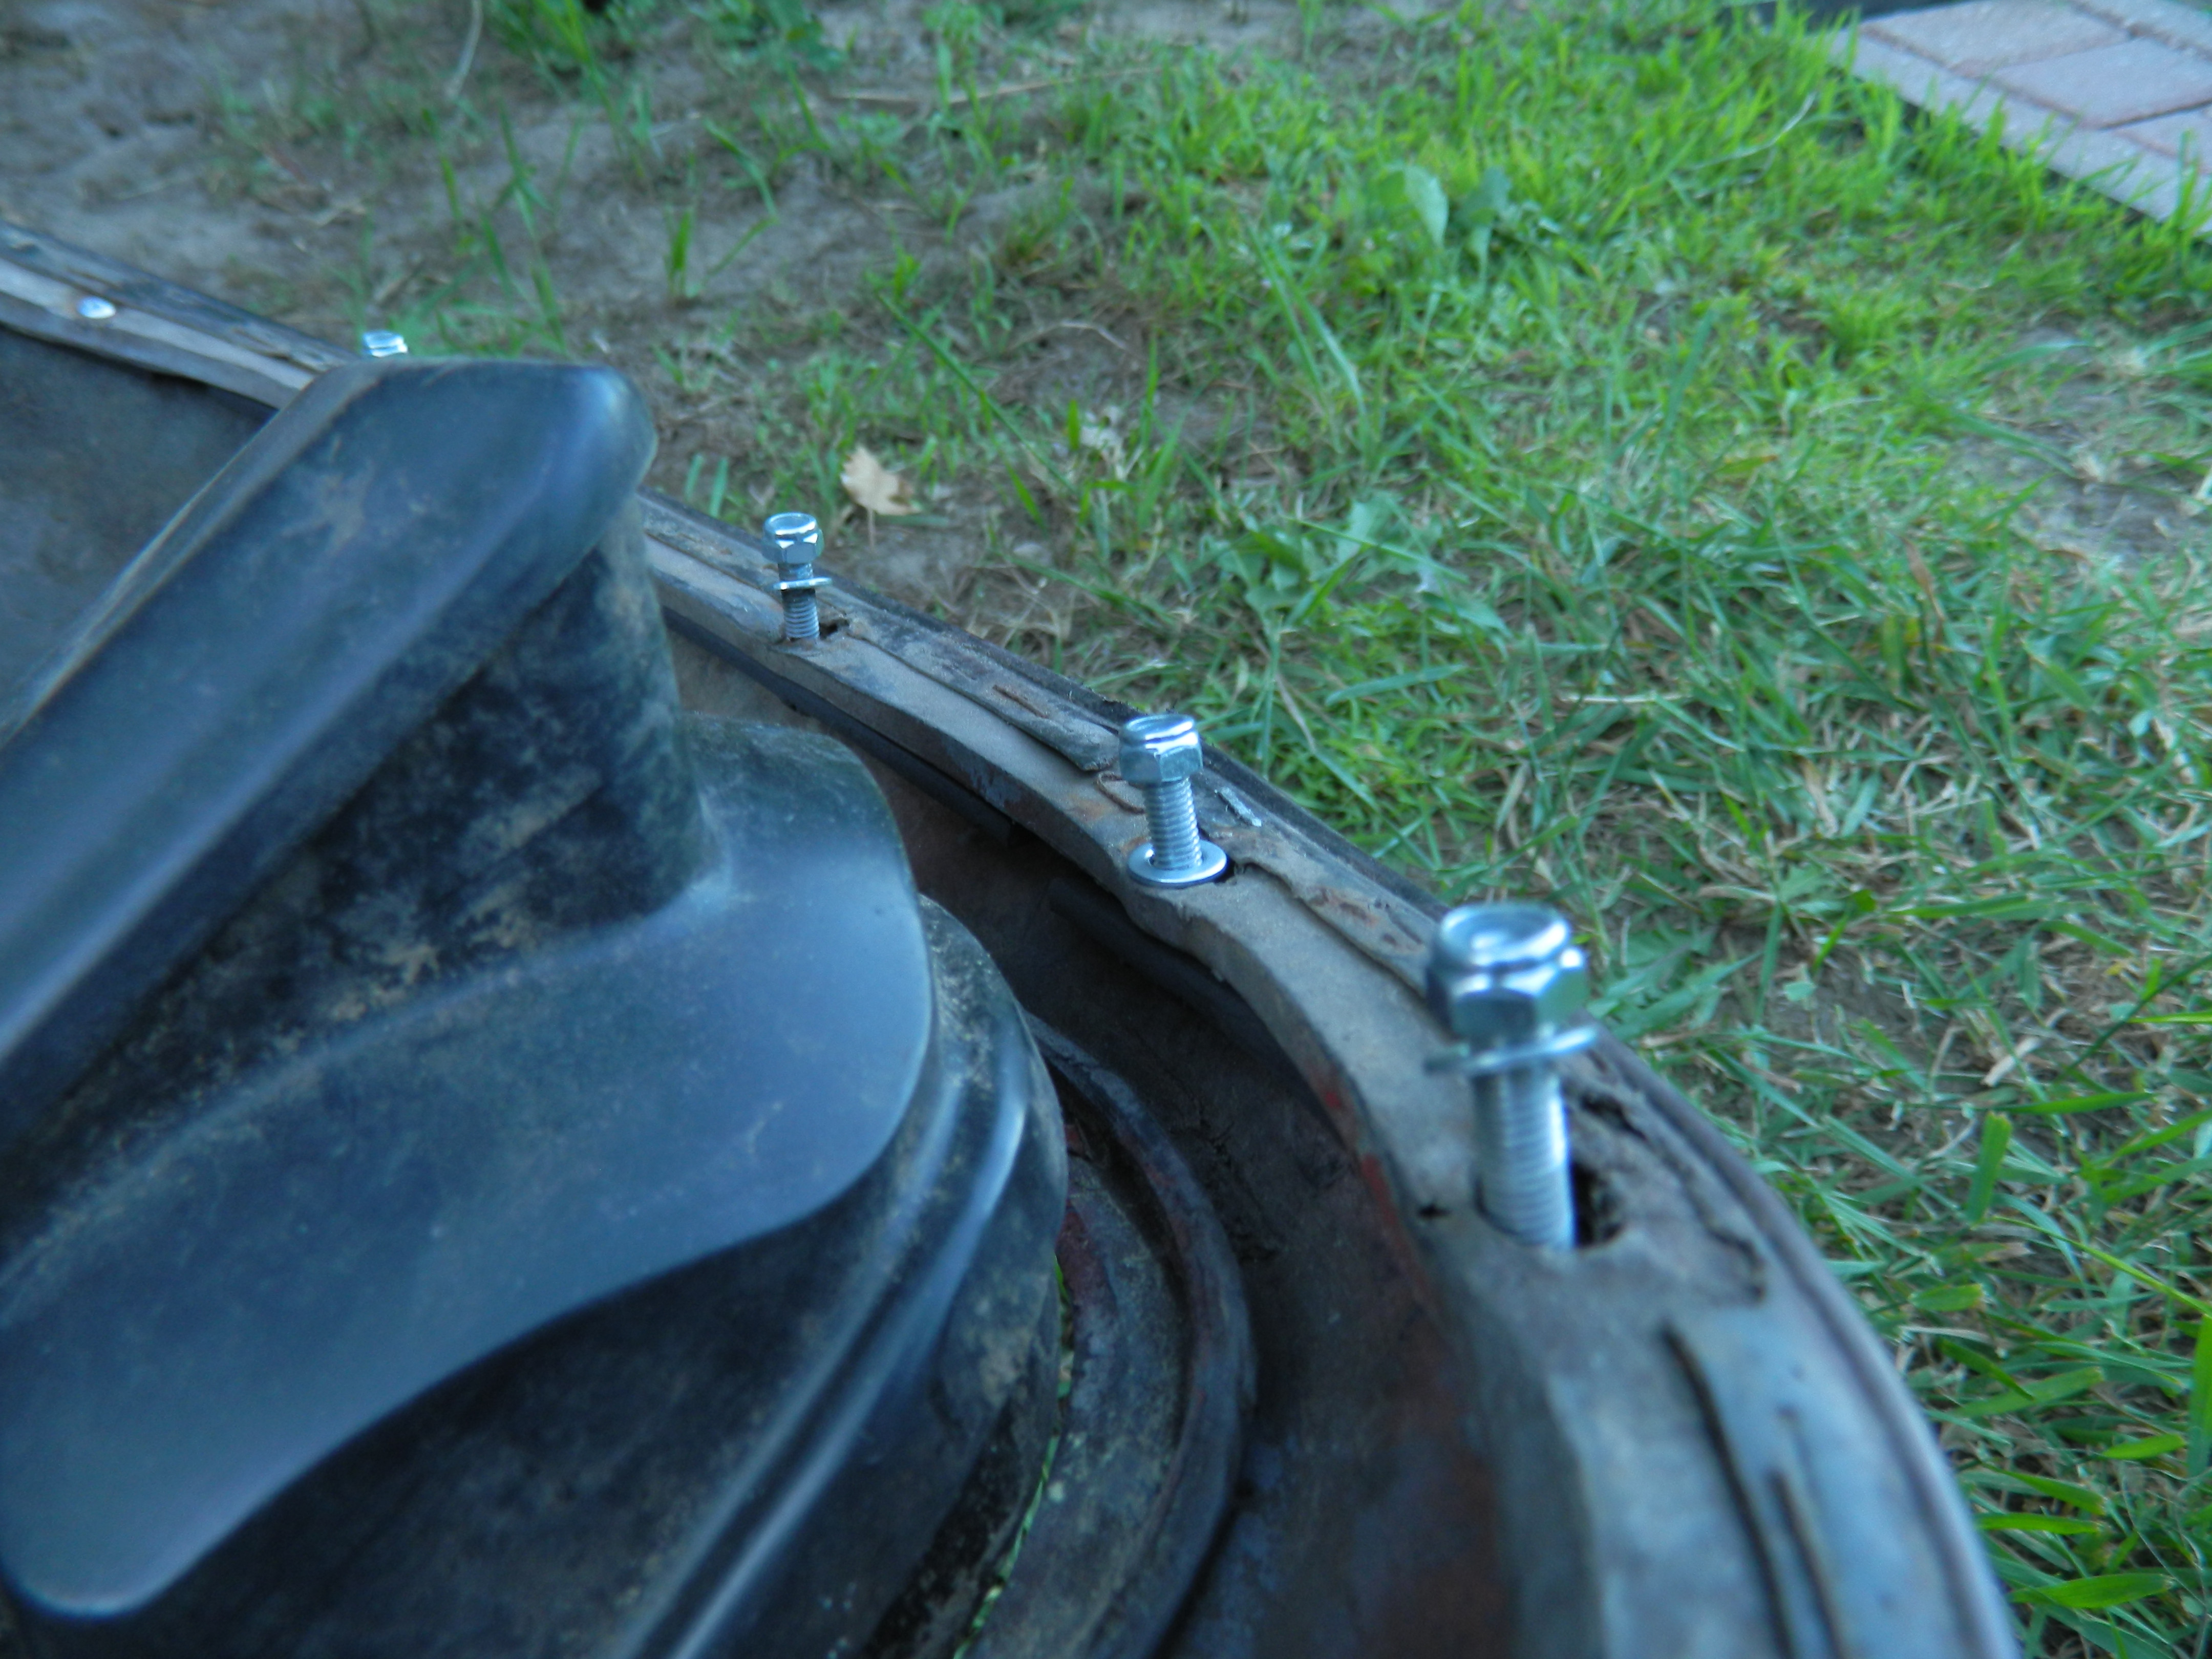
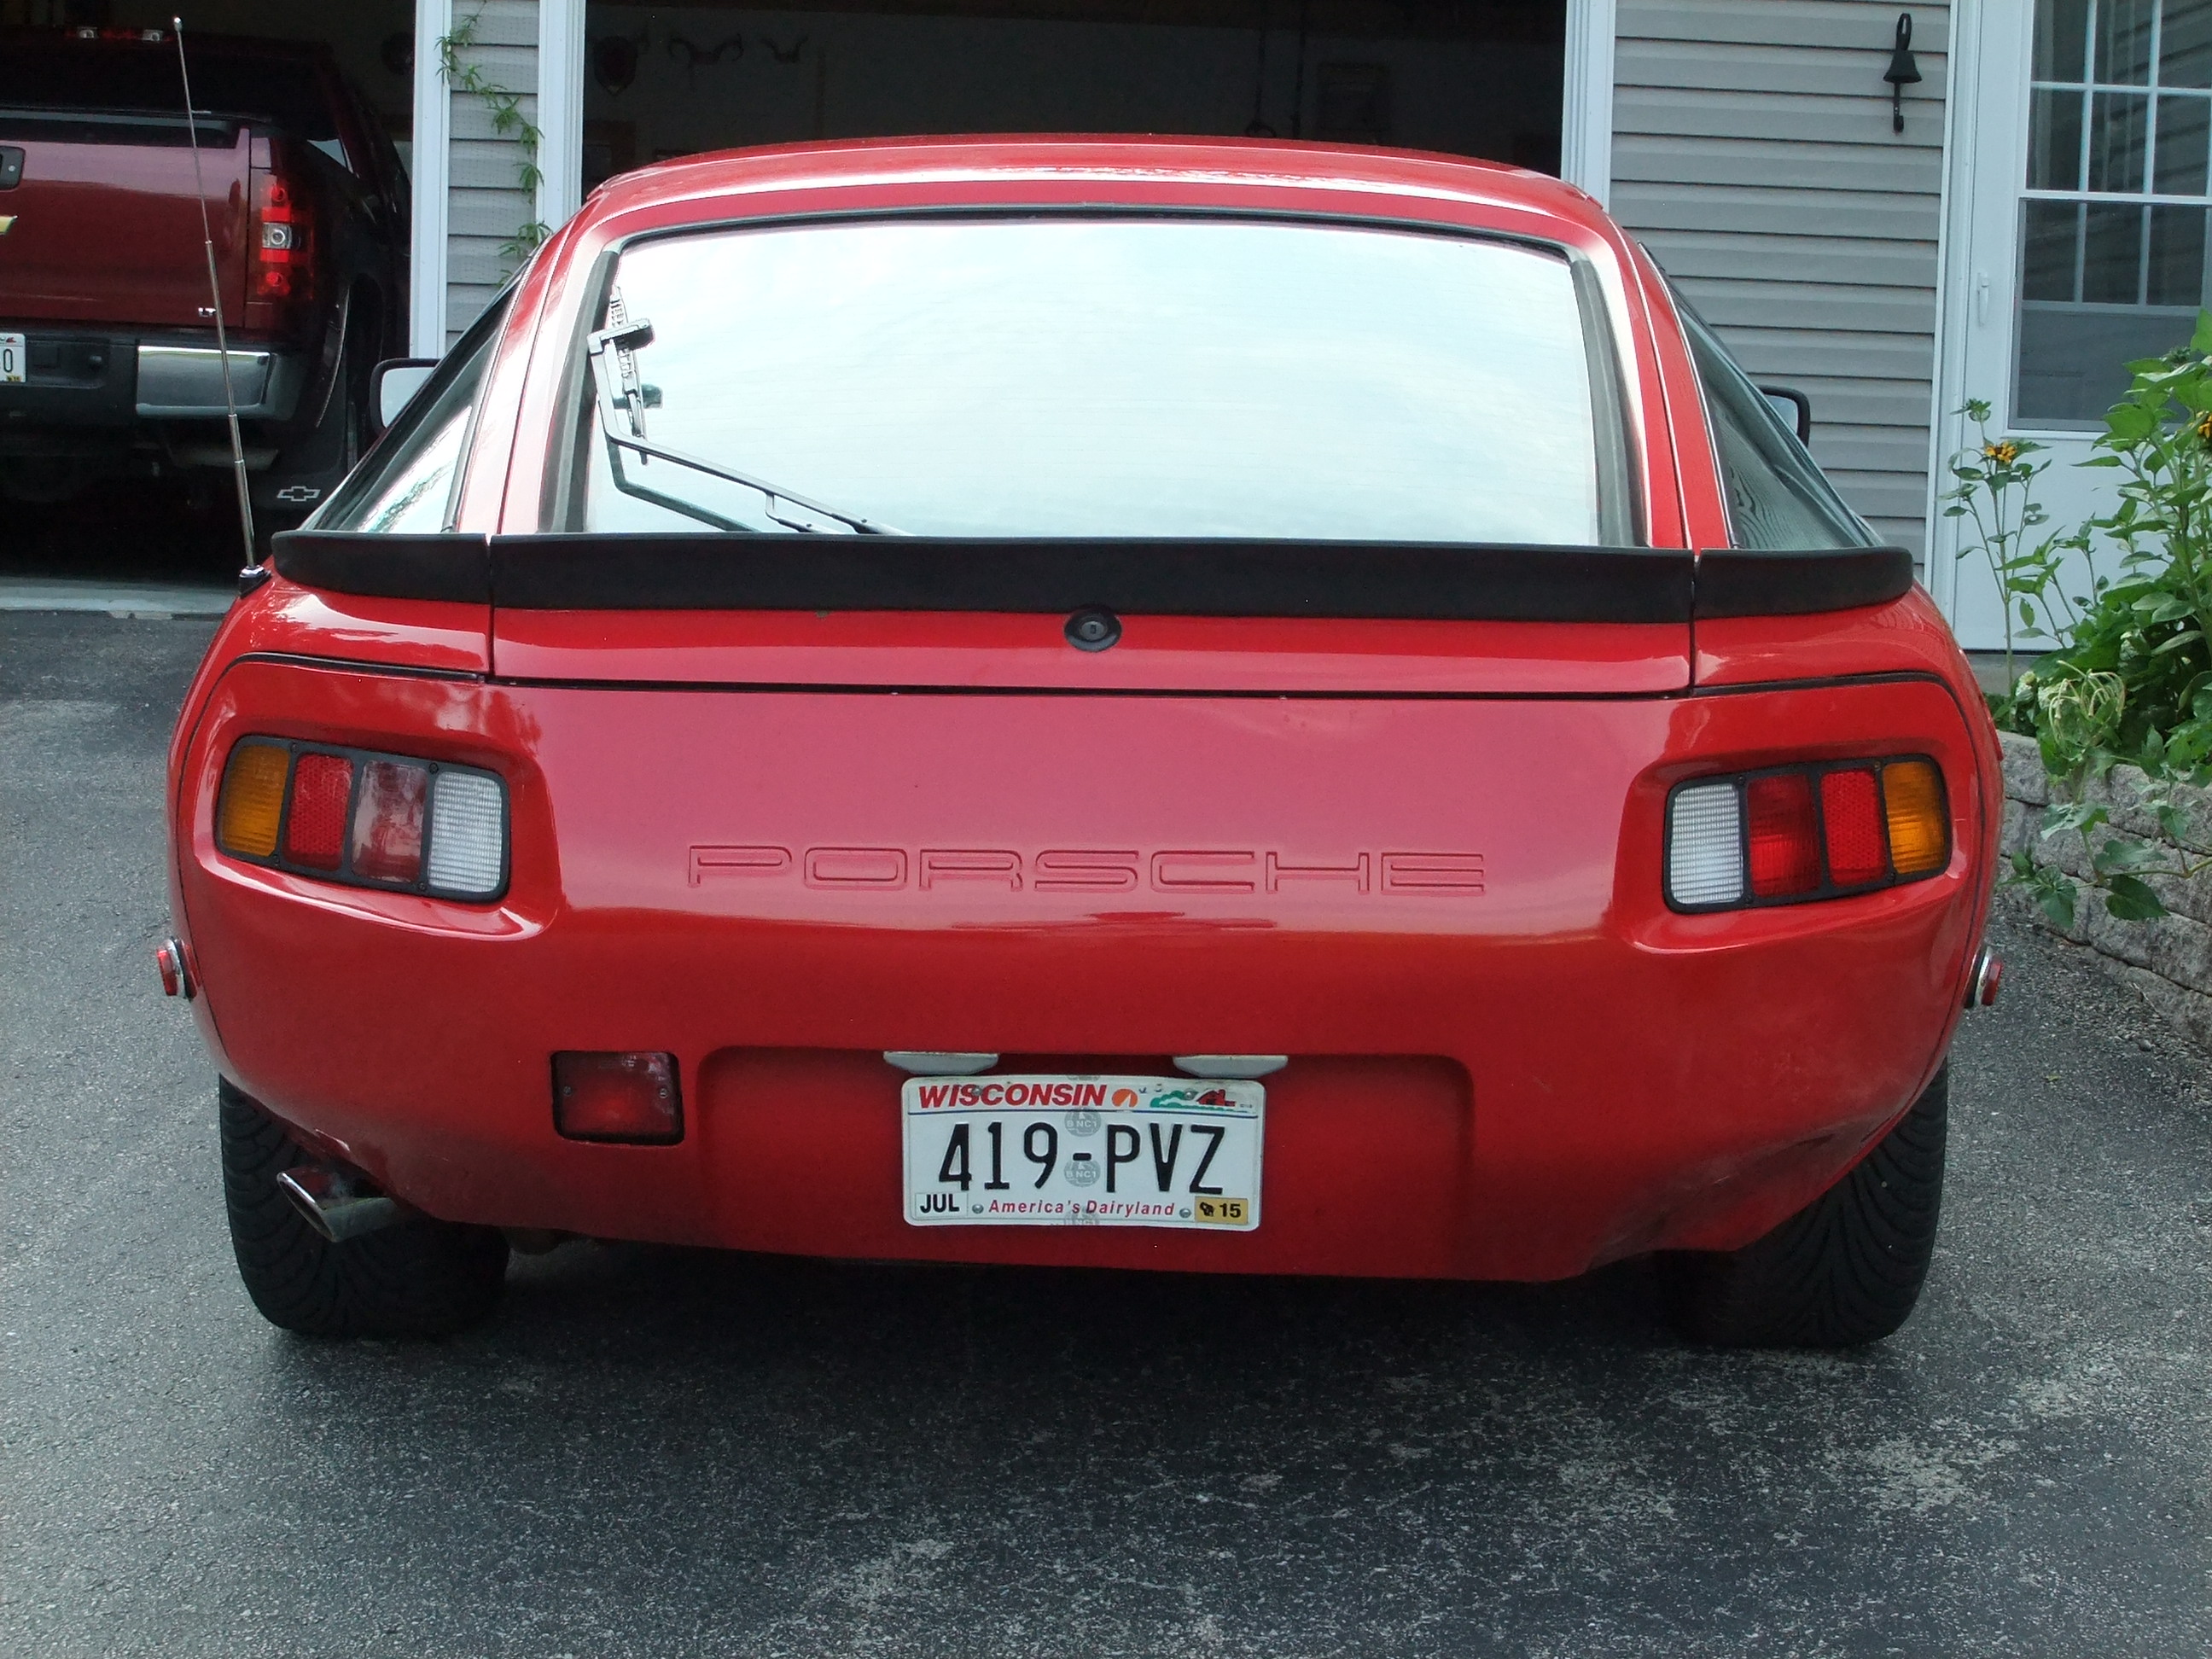
Progress on repairing the bumper. Most of the studs used to hold the bumper on broke off or were bent, so I removed them from their holes and replaced with new bolts. Welded them in place, ground them a little thinner, painted and are now ready to bolt back up:
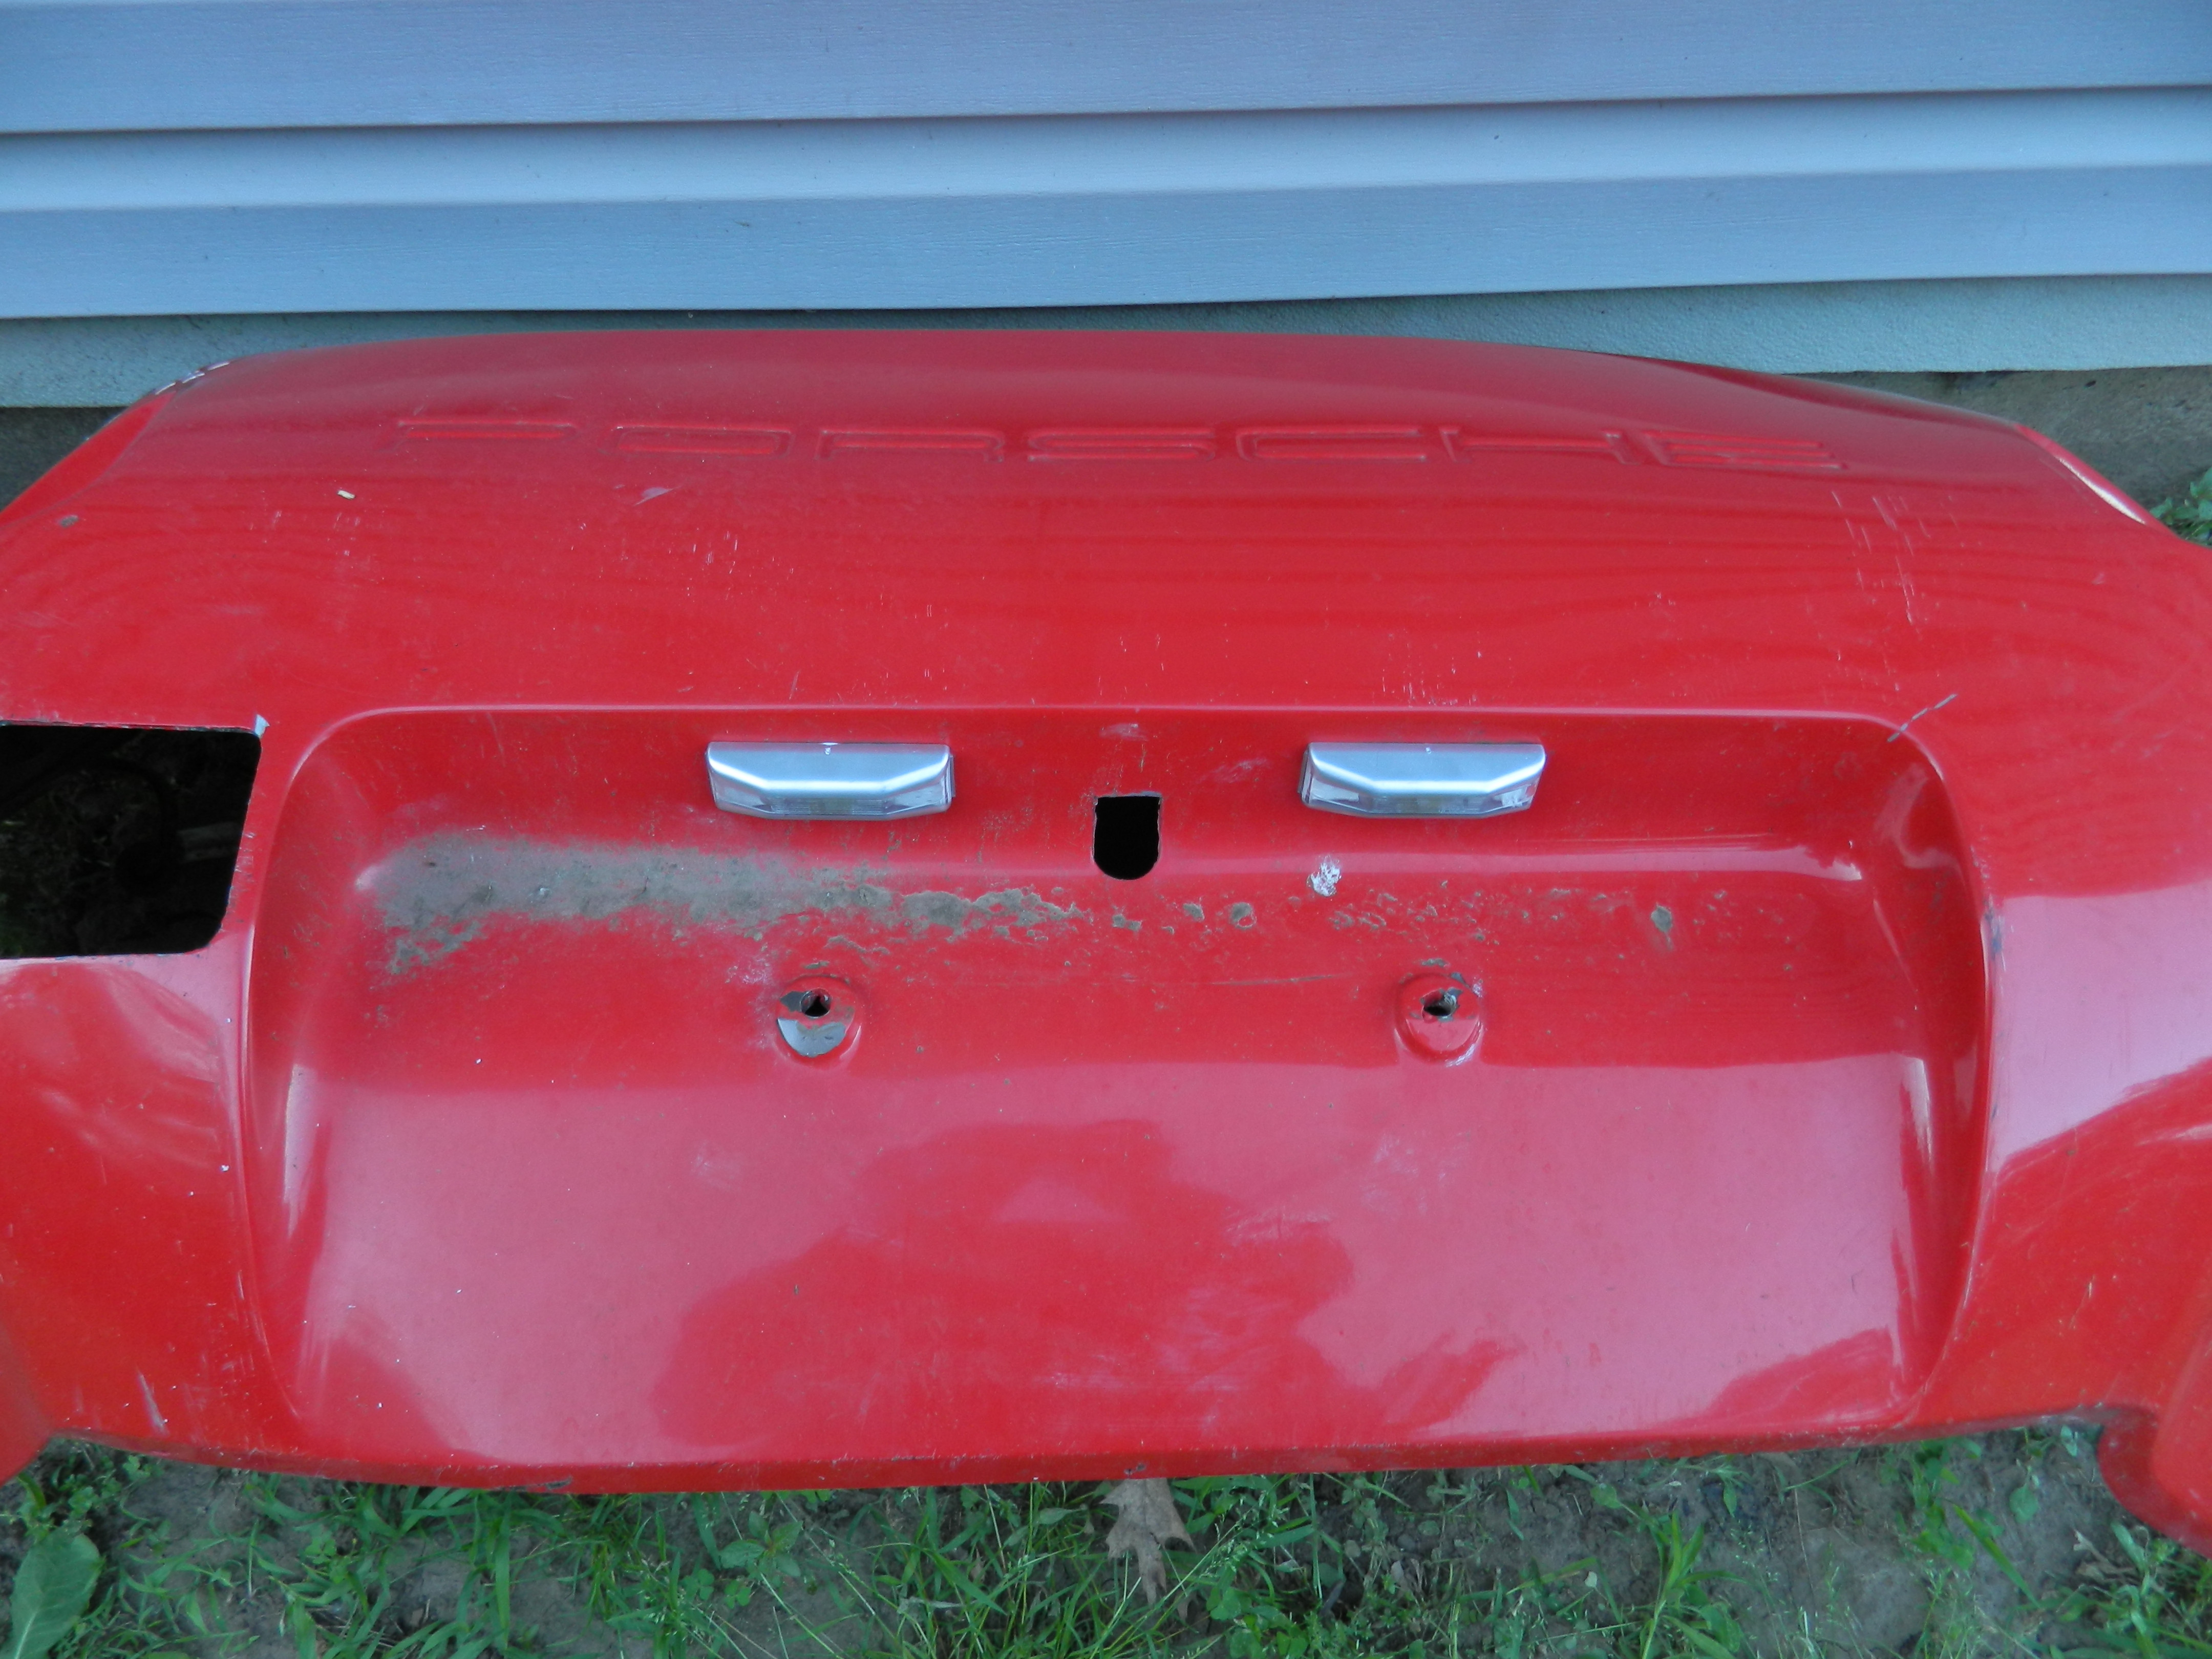
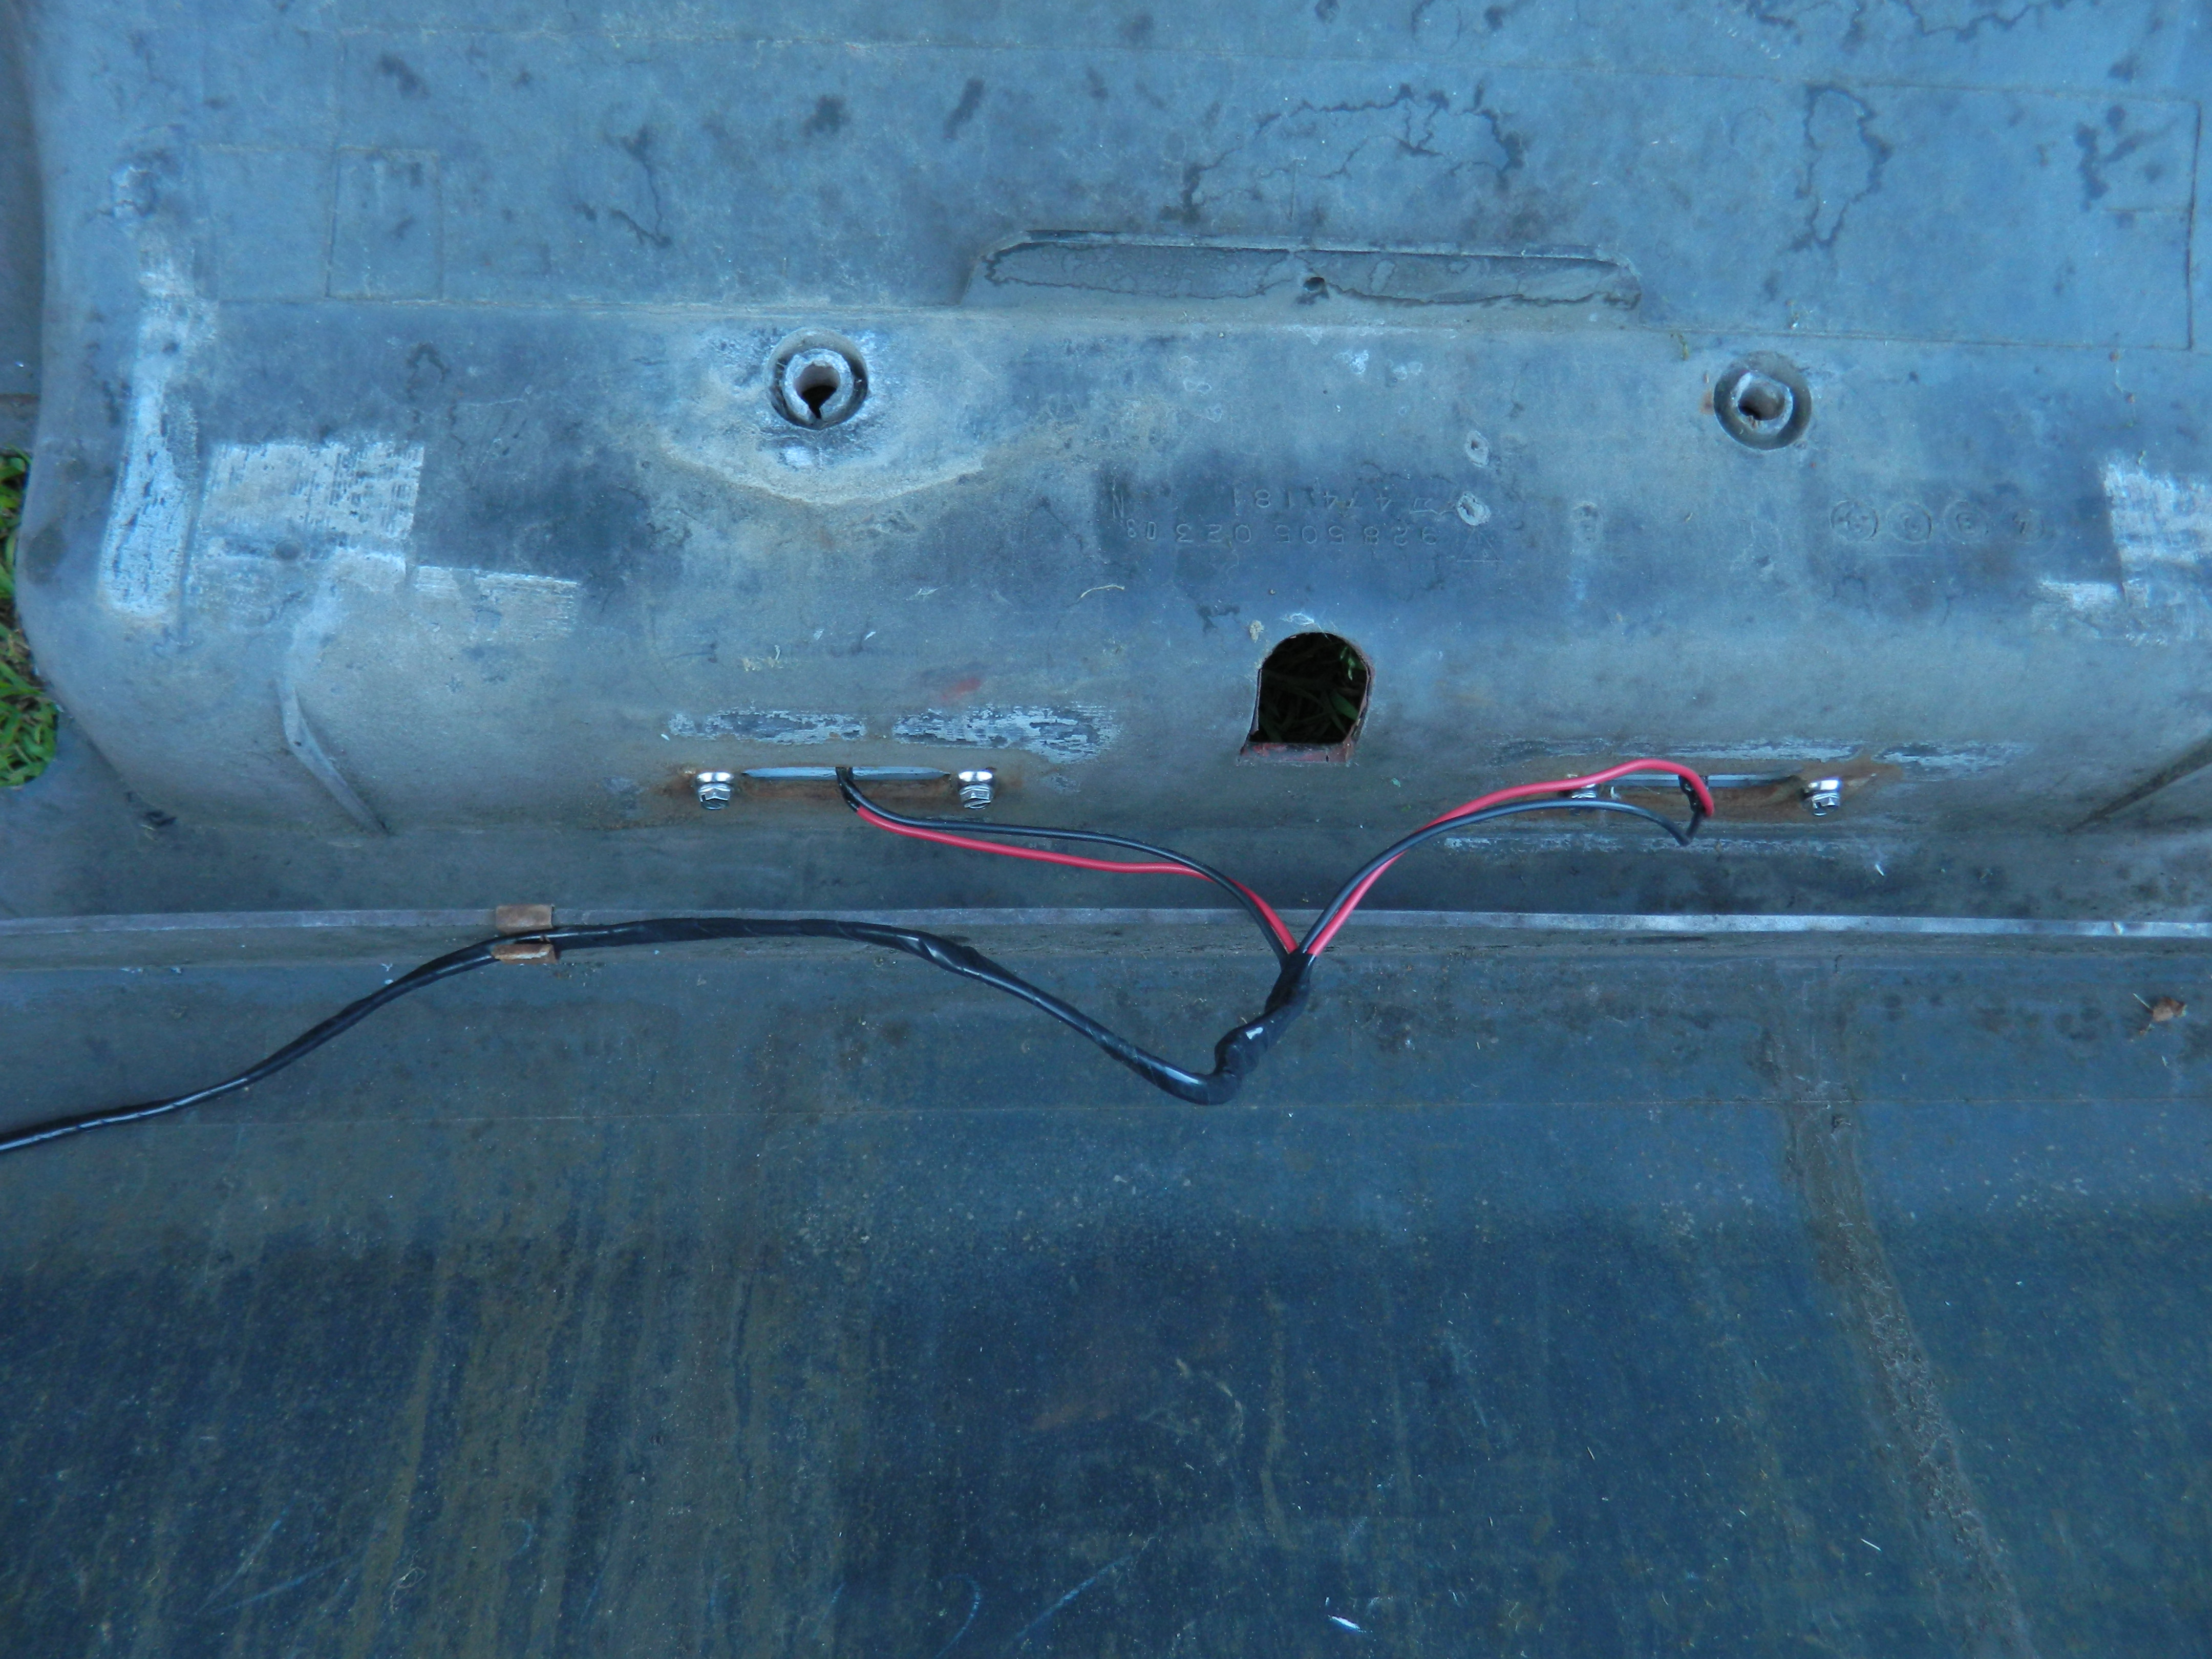
The license plate lights were rusted through and non-functioning when I got the car. Some of you are going to hate this, but I bought some cheap lights from United Auto Supply, used the existing holes and installed them in the bumper. Soldered some extra wire onto them, and will be connected to the existing wiring when the bumper is installed:
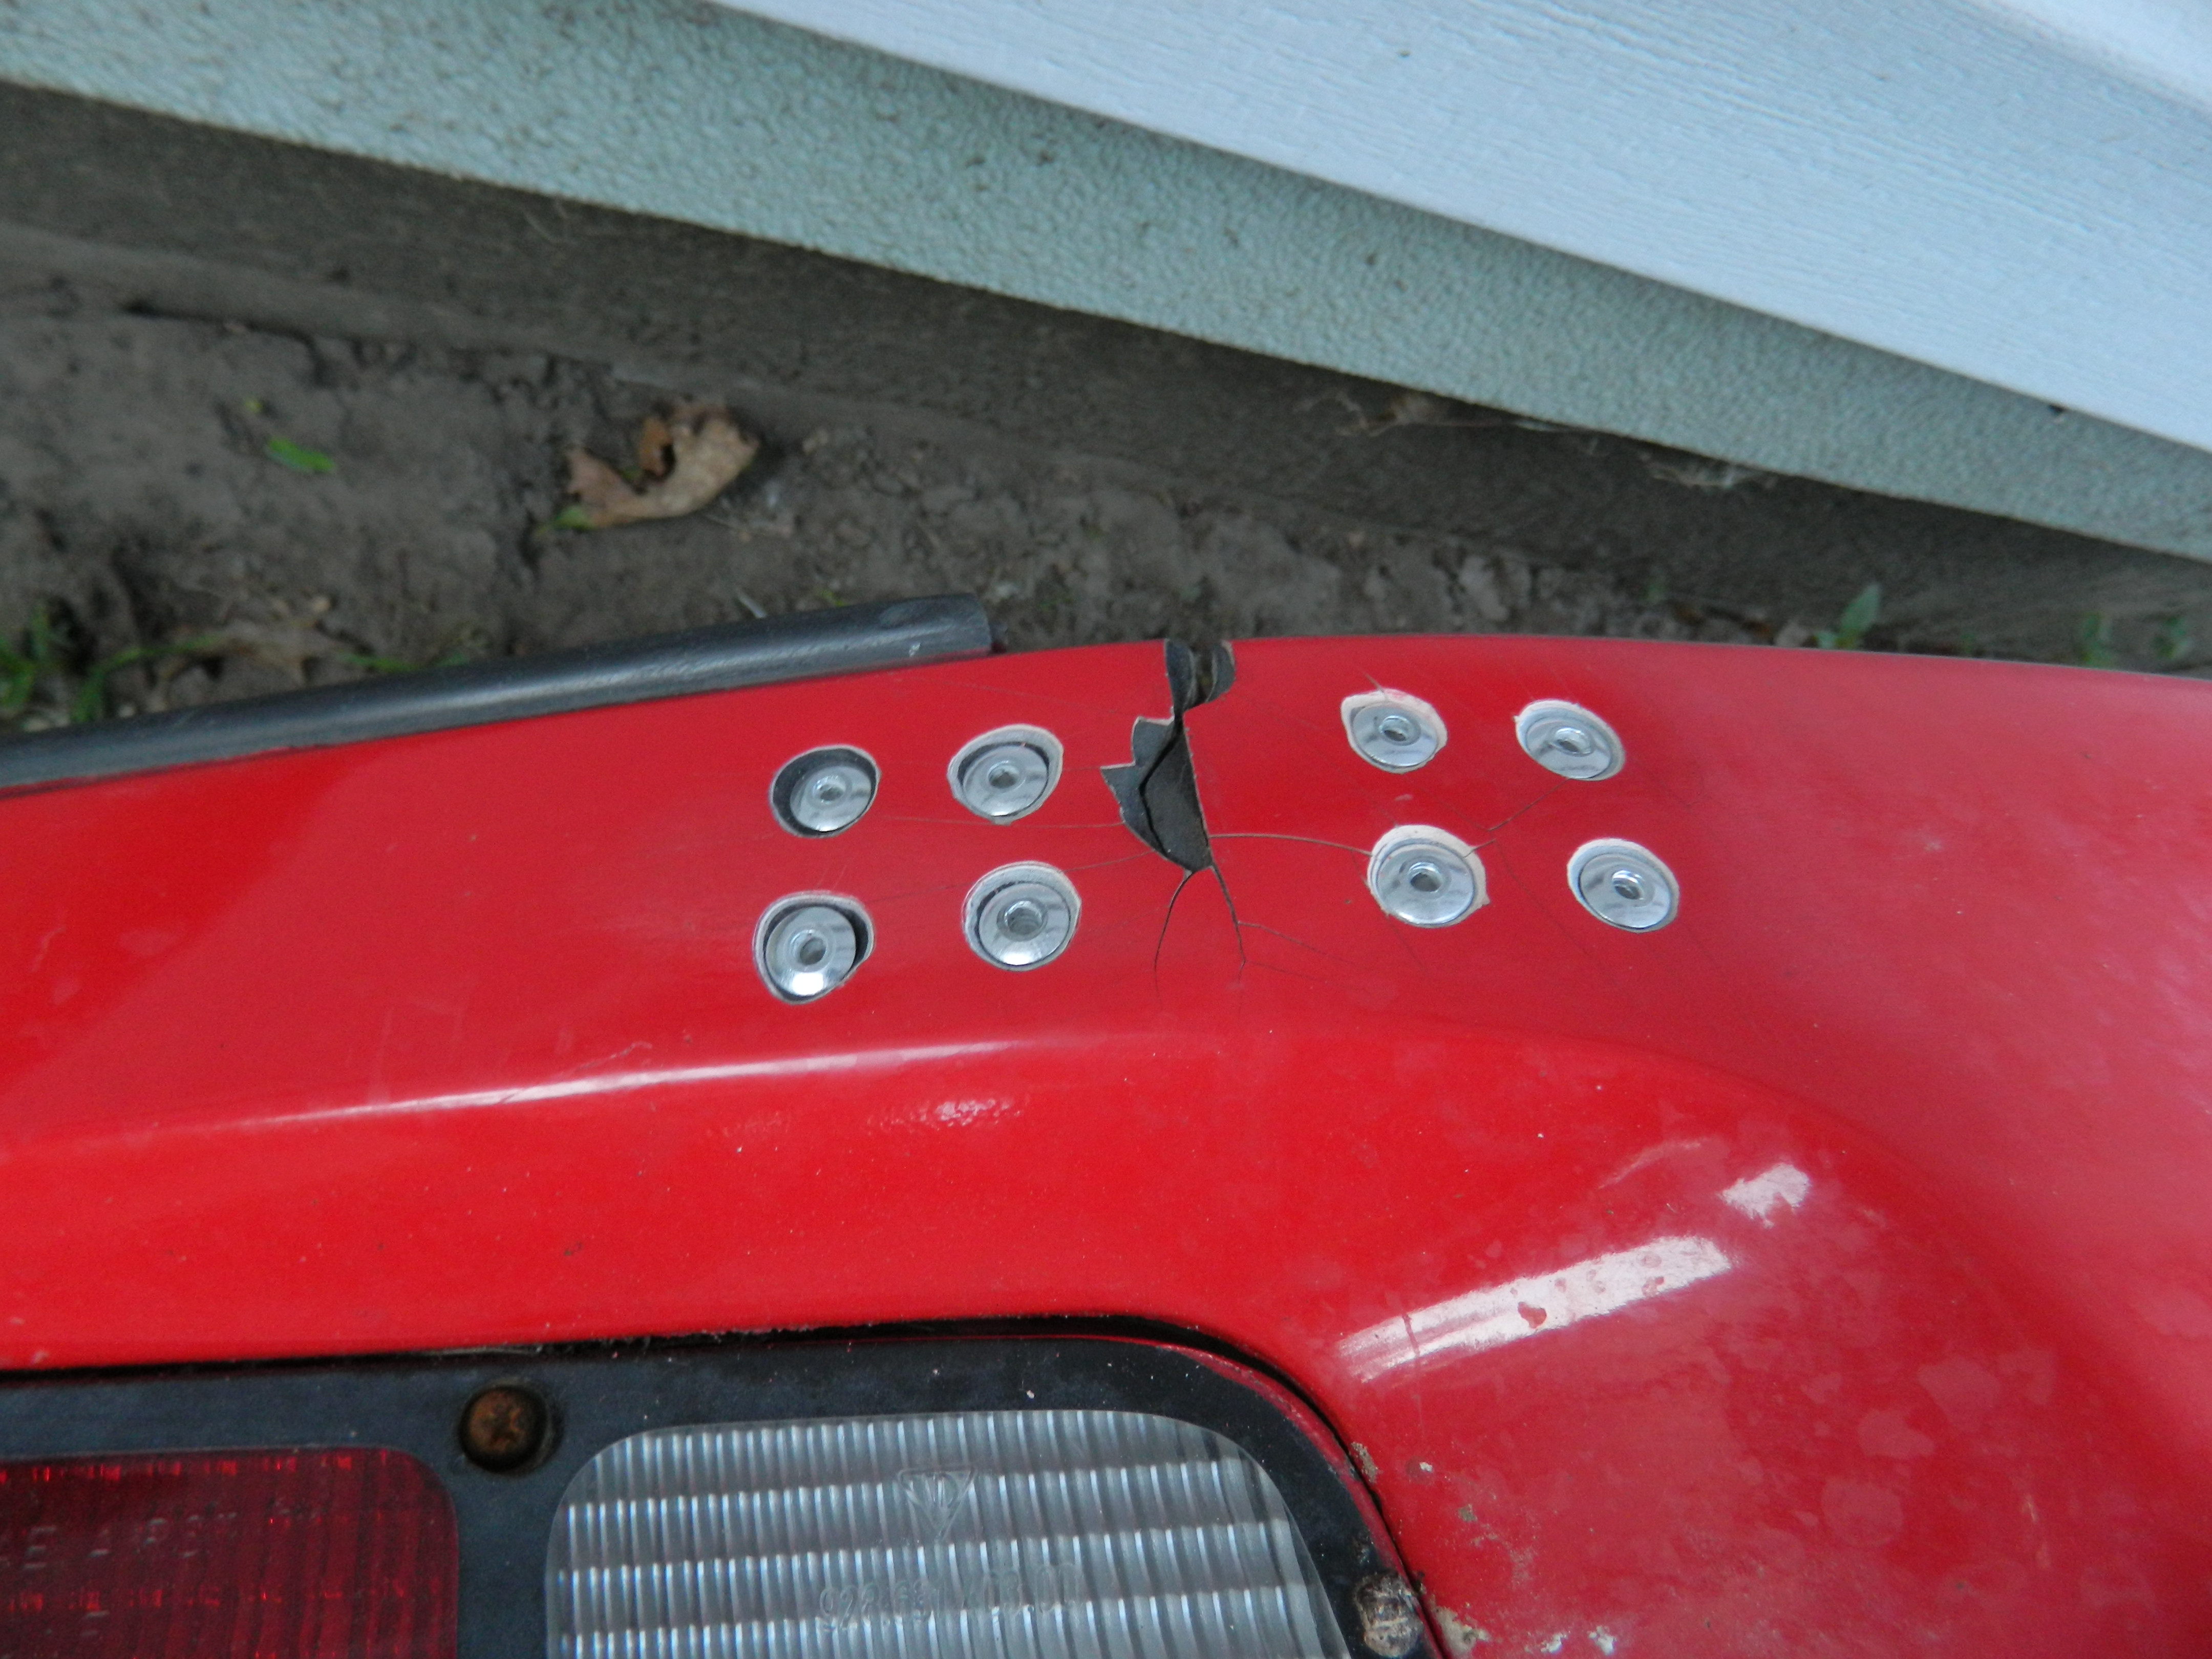
There was a stress fracture above and to the right of the left tail light. It was evident this was formerly properly repaired, but broke again anyways. I went with a more aggressive route - I fashioned an eighth inch thick plate of aluminum to go inside the bumper on this spot, and riveted it in place. The rivets were countersunk so when the bumper is repainted, they will lie below the surface:

Next step is to remove the gas tank once again so as to repair a major leak coming from the hose that goes to the overflow tank. After that, the bumper will be installed and hopefully the rest of the paint and body work will be fixed by a local body shop.
Progress on repairing the bumper. Most of the studs used to hold the bumper on broke off or were bent, so I removed them from their holes and replaced with new bolts. Welded them in place, ground them a little thinner, painted and are now ready to bolt back up:
The license plate lights were rusted through and non-functioning when I got the car. Some of you are going to hate this, but I bought some cheap lights from United Auto Supply, used the existing holes and installed them in the bumper. Soldered some extra wire onto them, and will be connected to the existing wiring when the bumper is installed:
There was a stress fracture above and to the right of the left tail light. It was evident this was formerly properly repaired, but broke again anyways. I went with a more aggressive route - I fashioned an eighth inch thick plate of aluminum to go inside the bumper on this spot, and riveted it in place. The rivets were countersunk so when the bumper is repainted, they will lie below the surface:
Next step is to remove the gas tank once again so as to repair a major leak coming from the hose that goes to the overflow tank. After that, the bumper will be installed and hopefully the rest of the paint and body work will be fixed by a local body shop.
07-05-2014, 11:58 AM
#100
Racer
Thread Starter
I've been getting close to putting the bumper back on (yay!) and am going for the goal of driving this baby to Road America on the weekend of august 9th and 10th.
I was looking at the bumper the other day, and noticed that now that rain has washed away years of dirt, that I think I've found some writing done by someone who made the car!
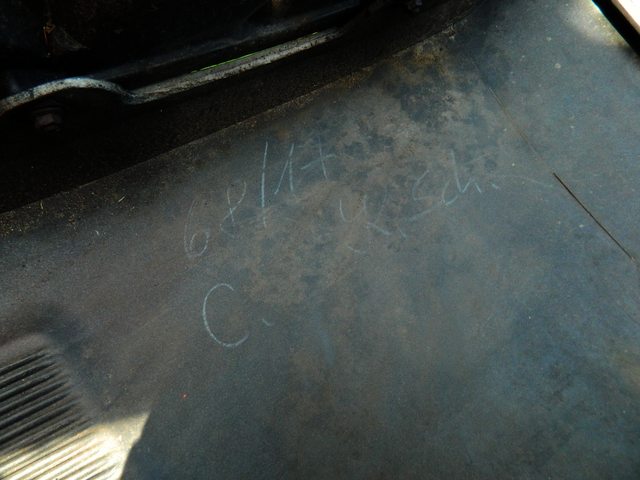
The reason I think this is because you sure don't see ones that look like that around the states!
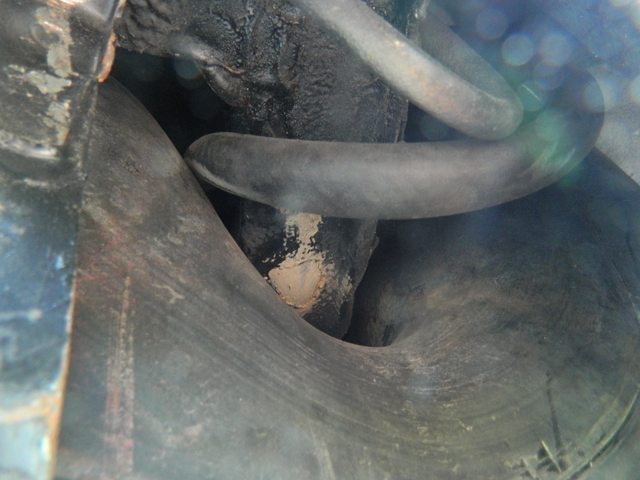
I replaced the hose for the overflow tank. A PO routed the hose underneath the firewall instead of thru the hole, and the hose got old and brittle and puked gasoline everywhere making it impossible to fill the tank. I decided to go the same route (underneath instead of through the hole) and will have to report back on whether or not there are any negative side effects of this.
I was looking at the bumper the other day, and noticed that now that rain has washed away years of dirt, that I think I've found some writing done by someone who made the car!
The reason I think this is because you sure don't see ones that look like that around the states!
I replaced the hose for the overflow tank. A PO routed the hose underneath the firewall instead of thru the hole, and the hose got old and brittle and puked gasoline everywhere making it impossible to fill the tank. I decided to go the same route (underneath instead of through the hole) and will have to report back on whether or not there are any negative side effects of this.
08-03-2014, 09:17 PM
#101
Racer
Thread Starter
Just as a refresher, here is a before shot:

Front Fender:
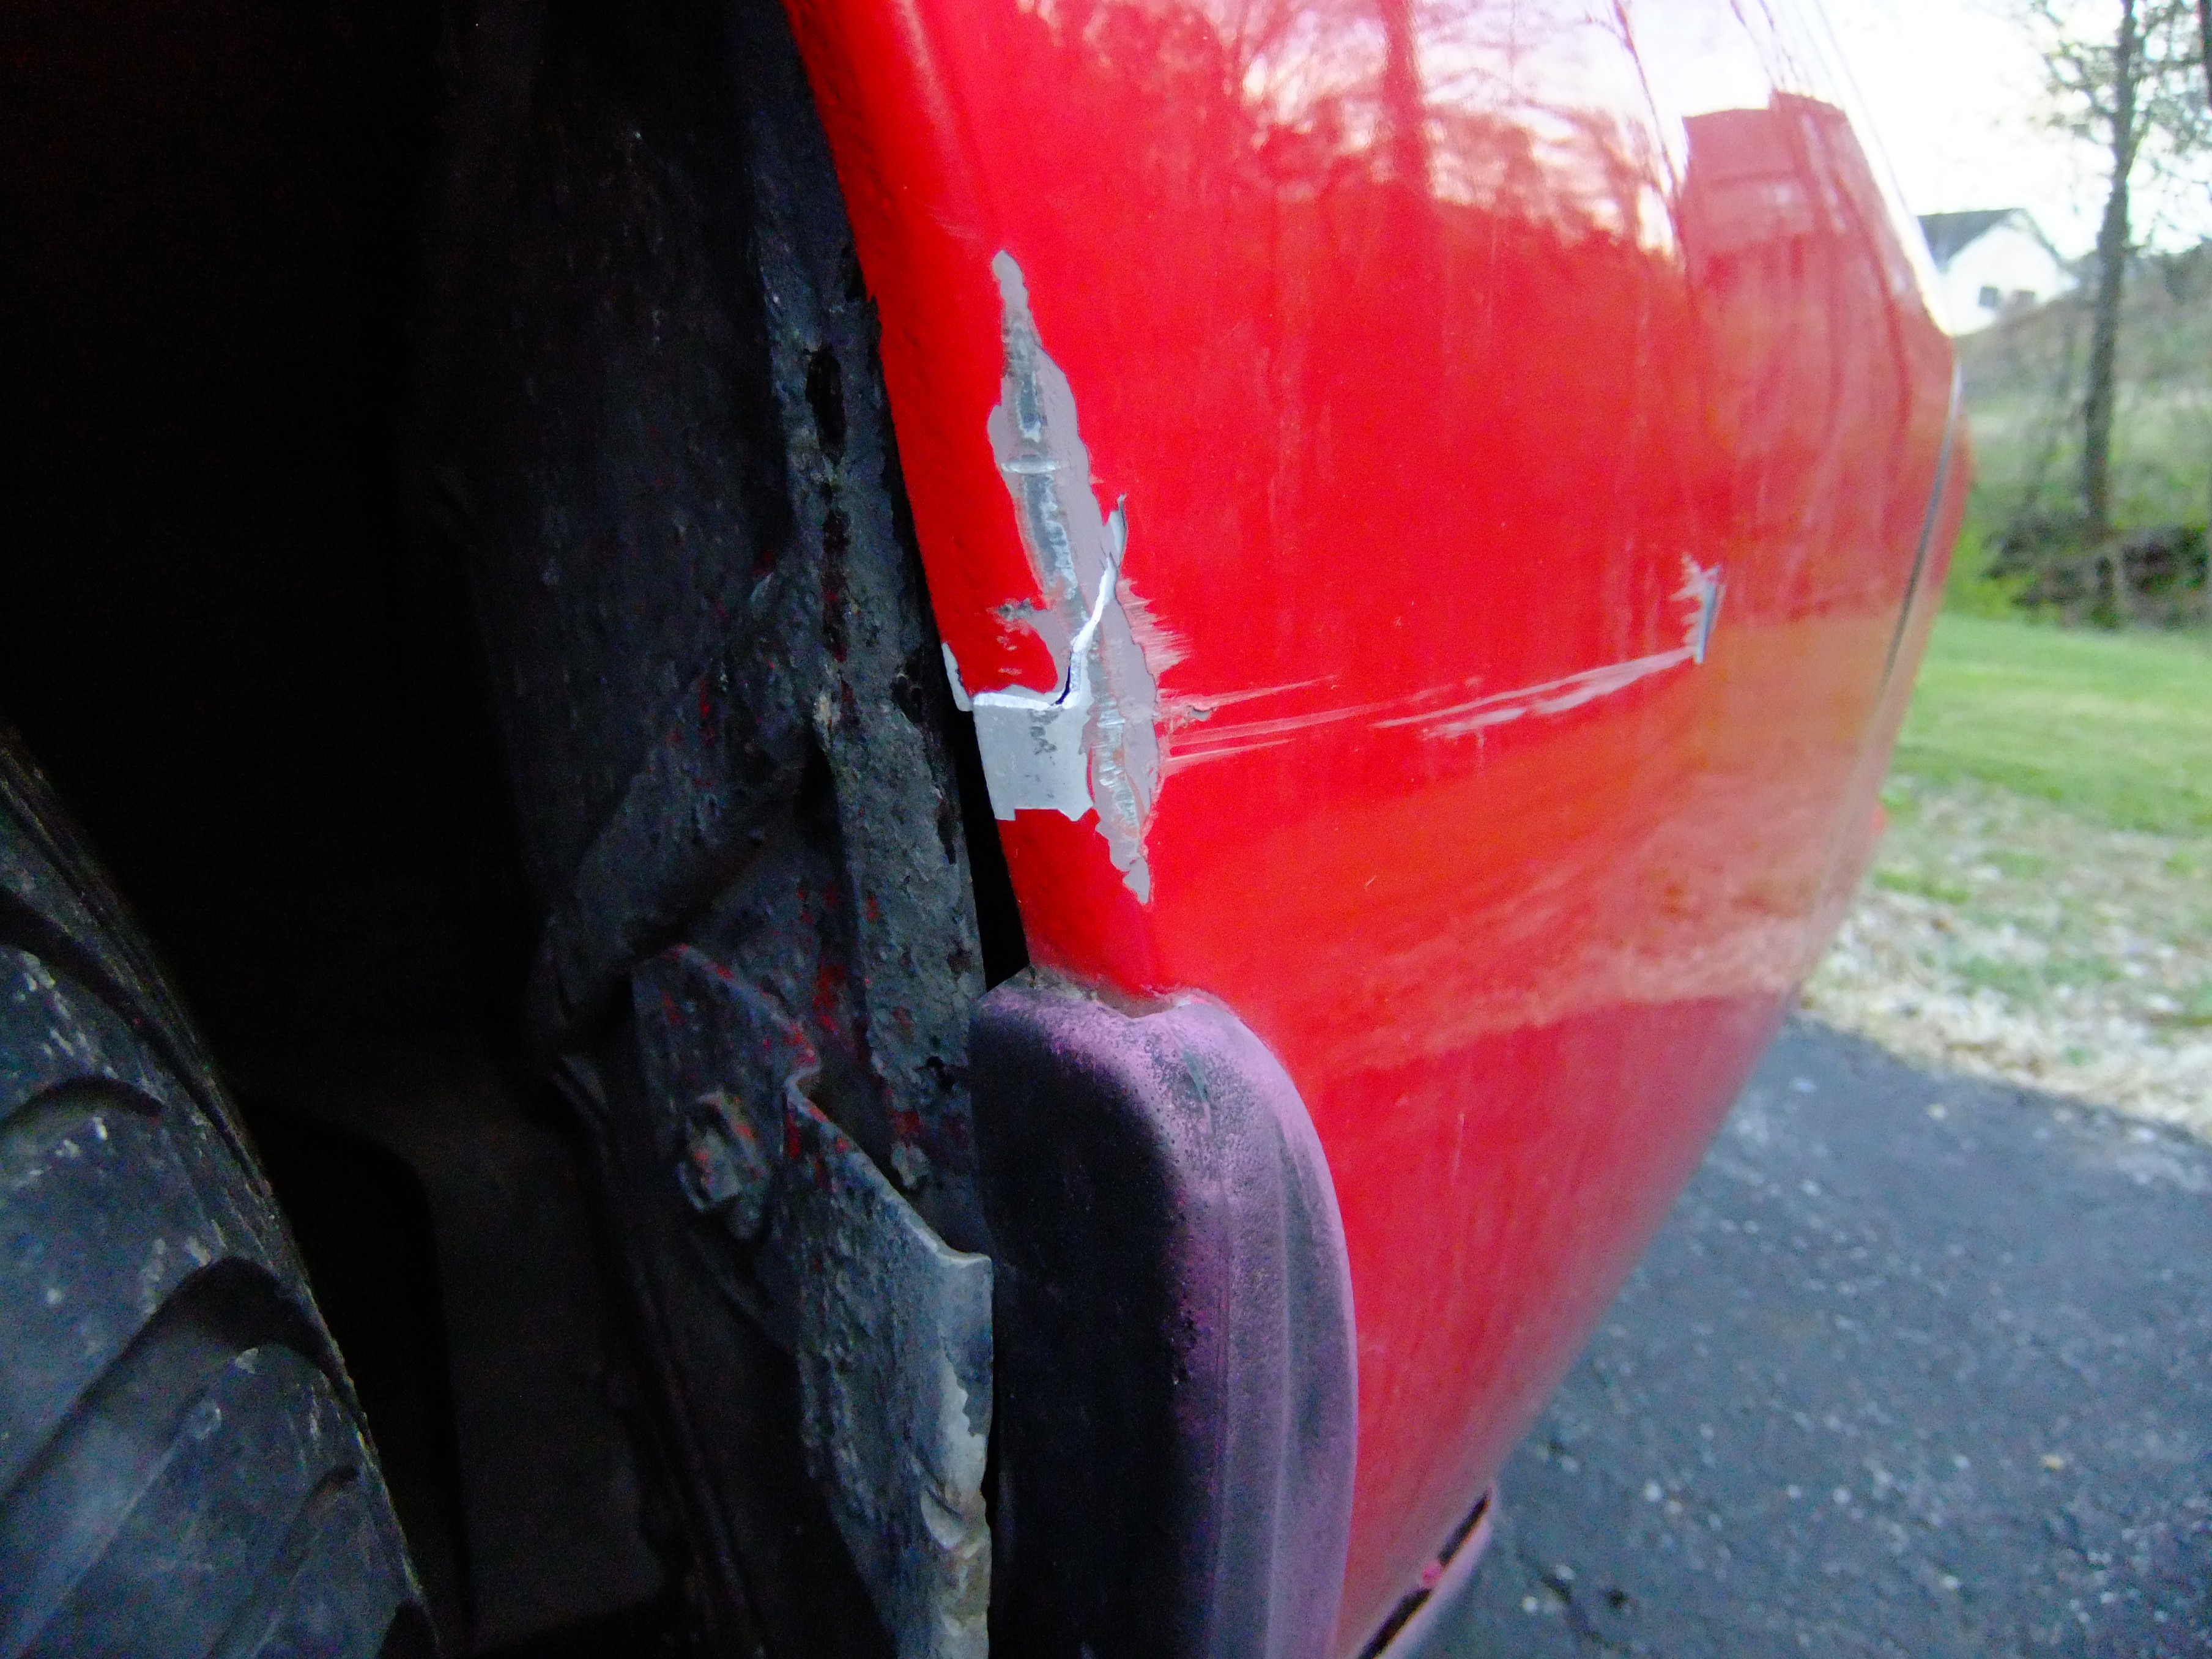
And now, after two years and approximately $1000 with countless hours spent working on it!
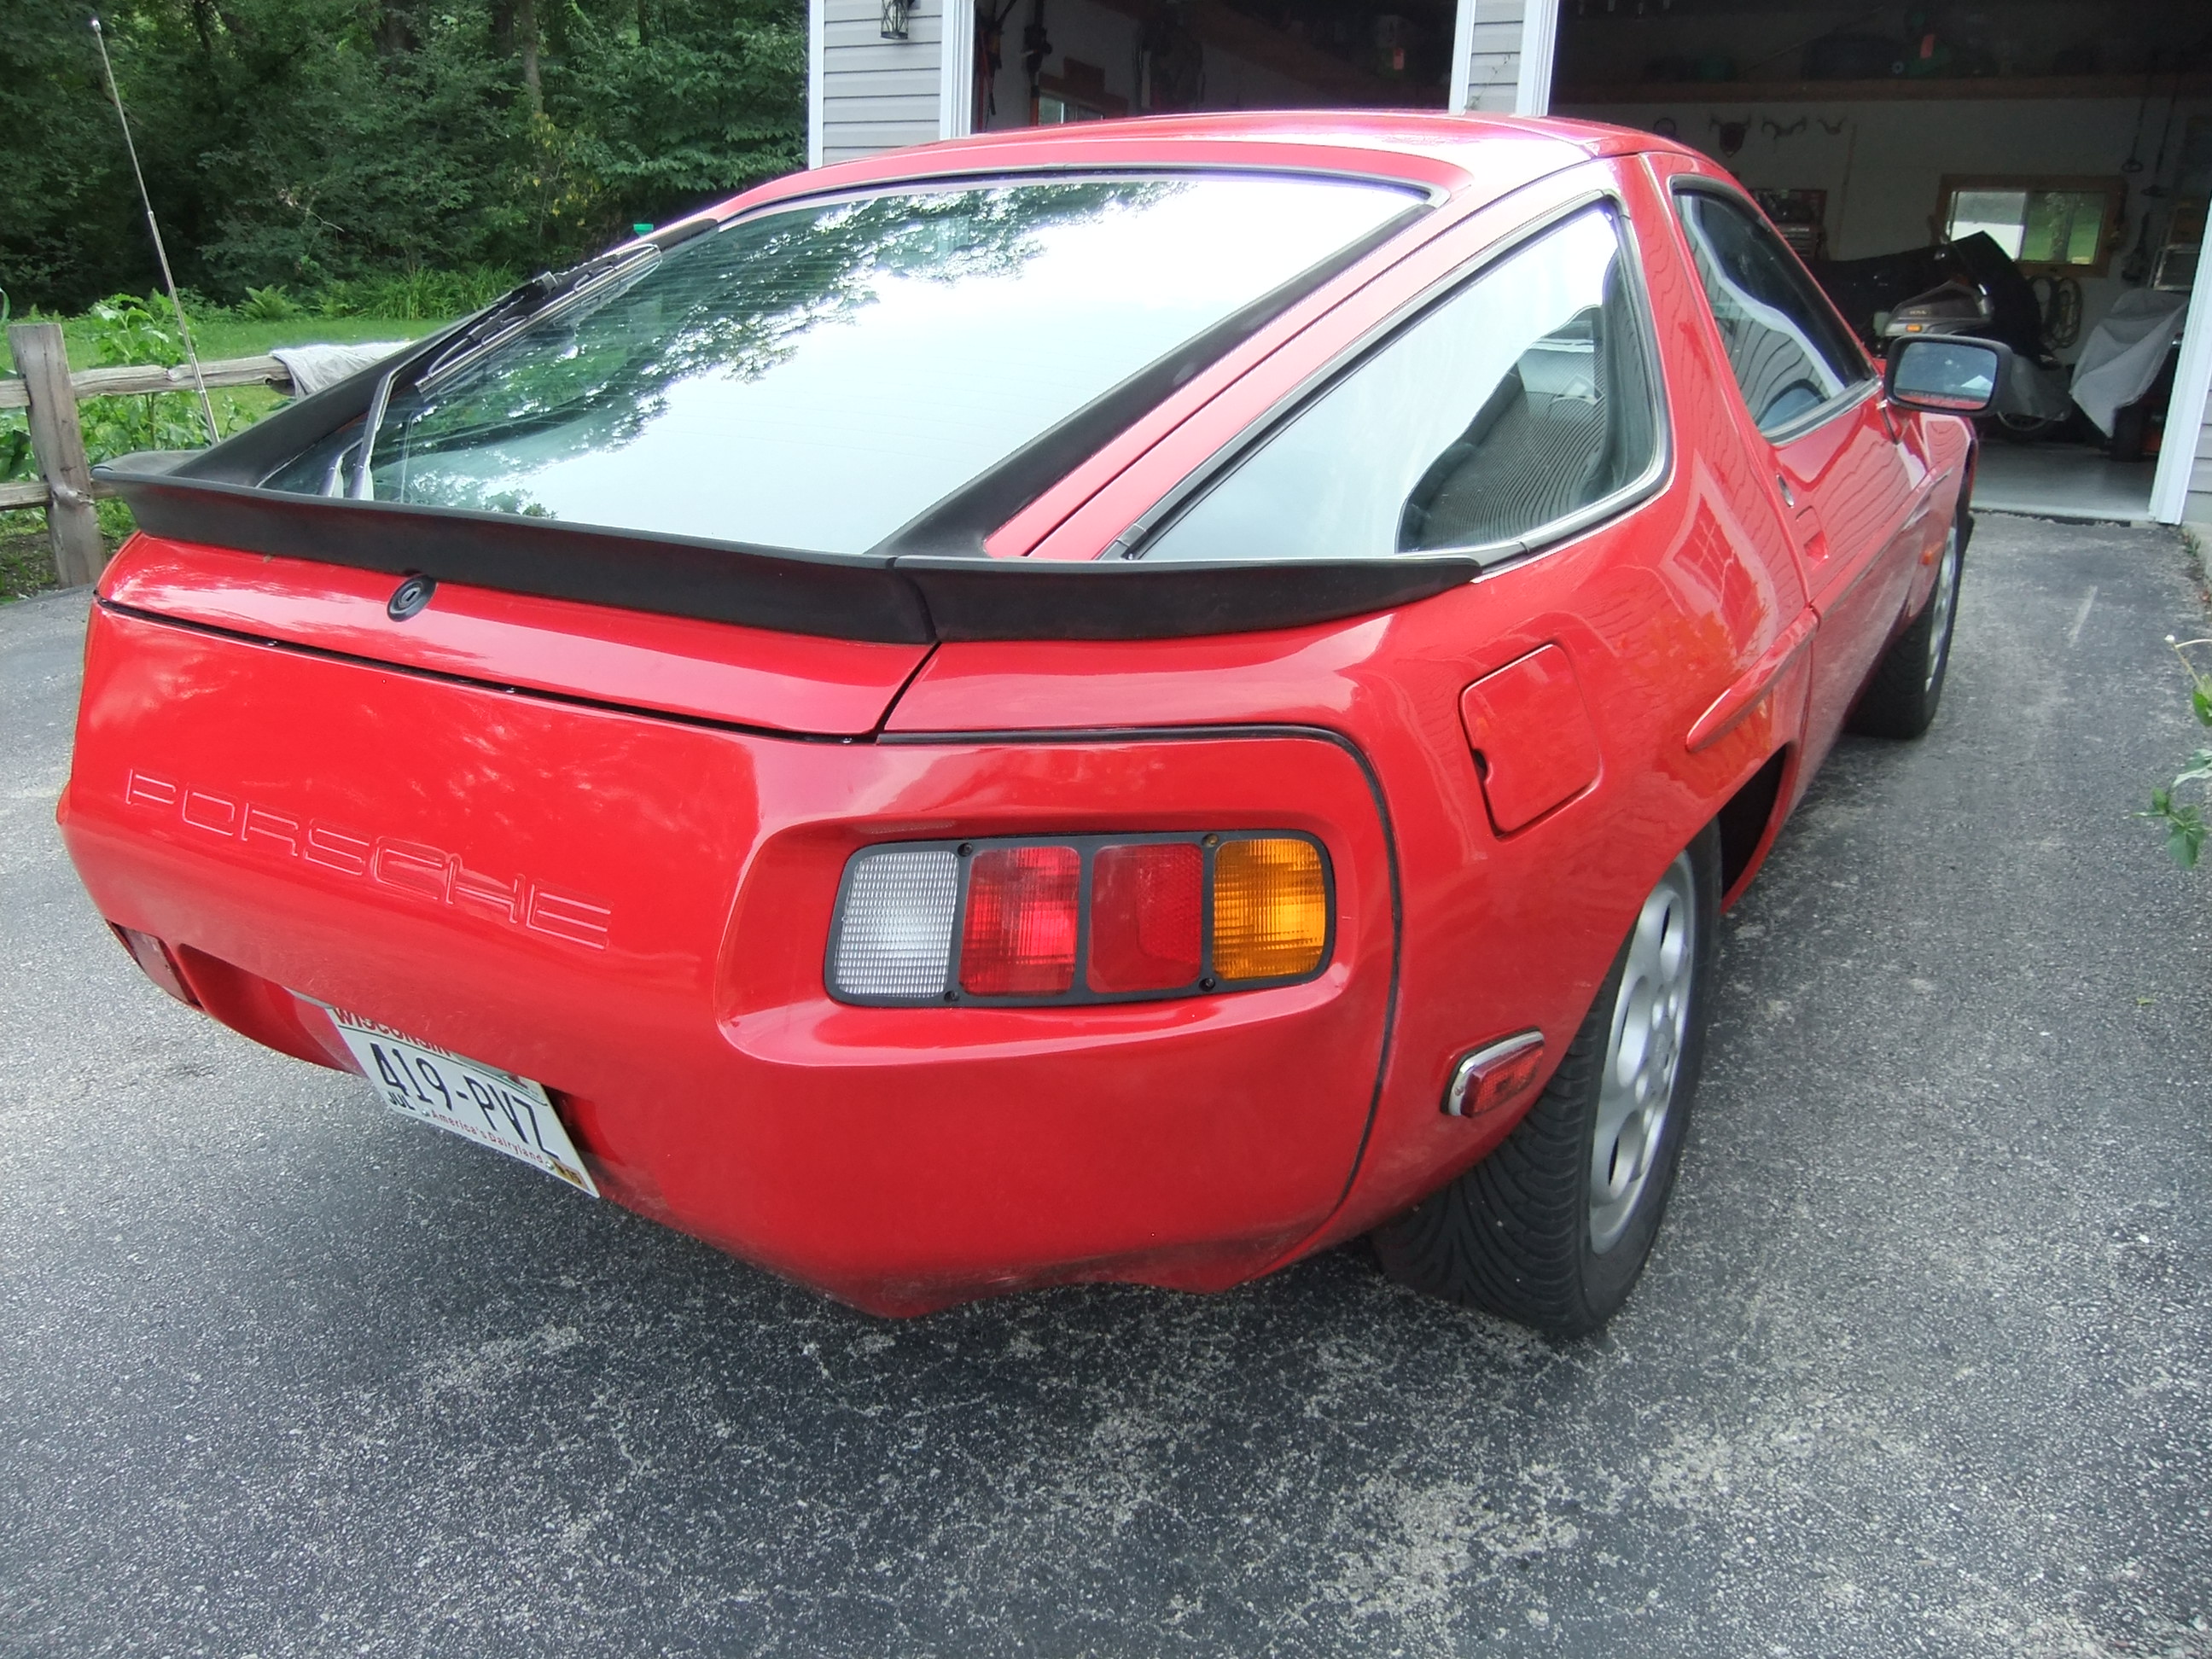
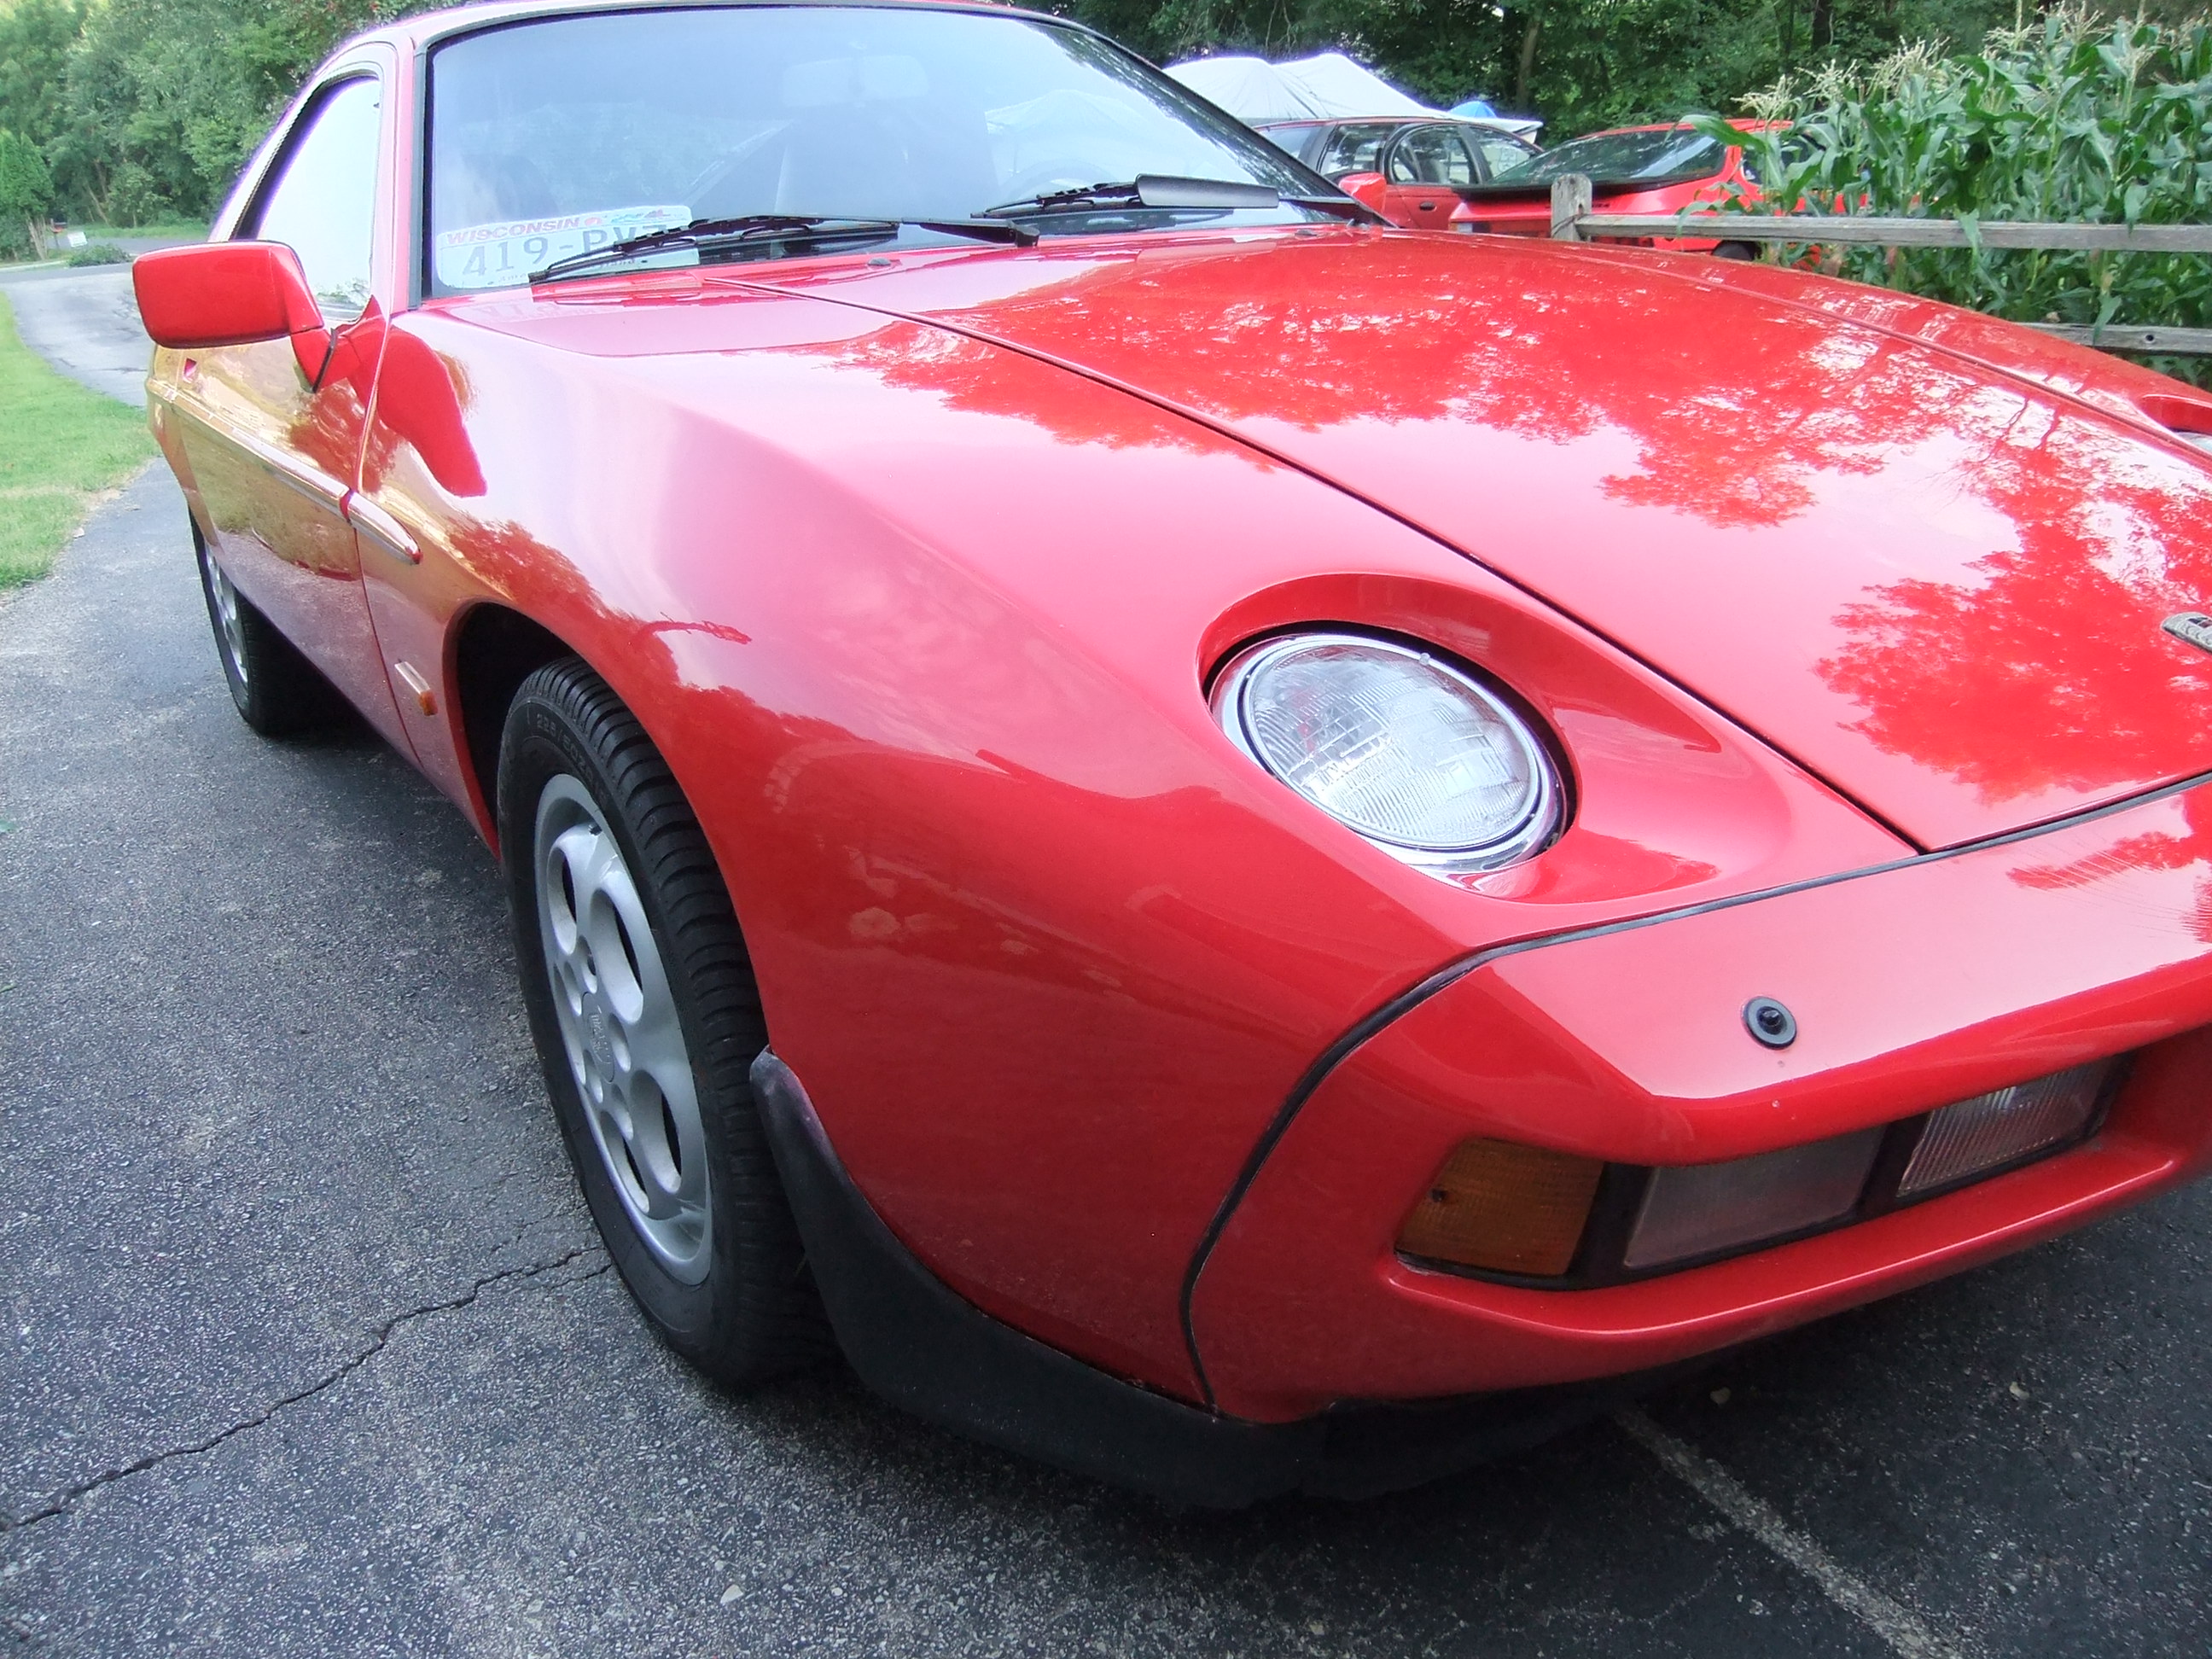
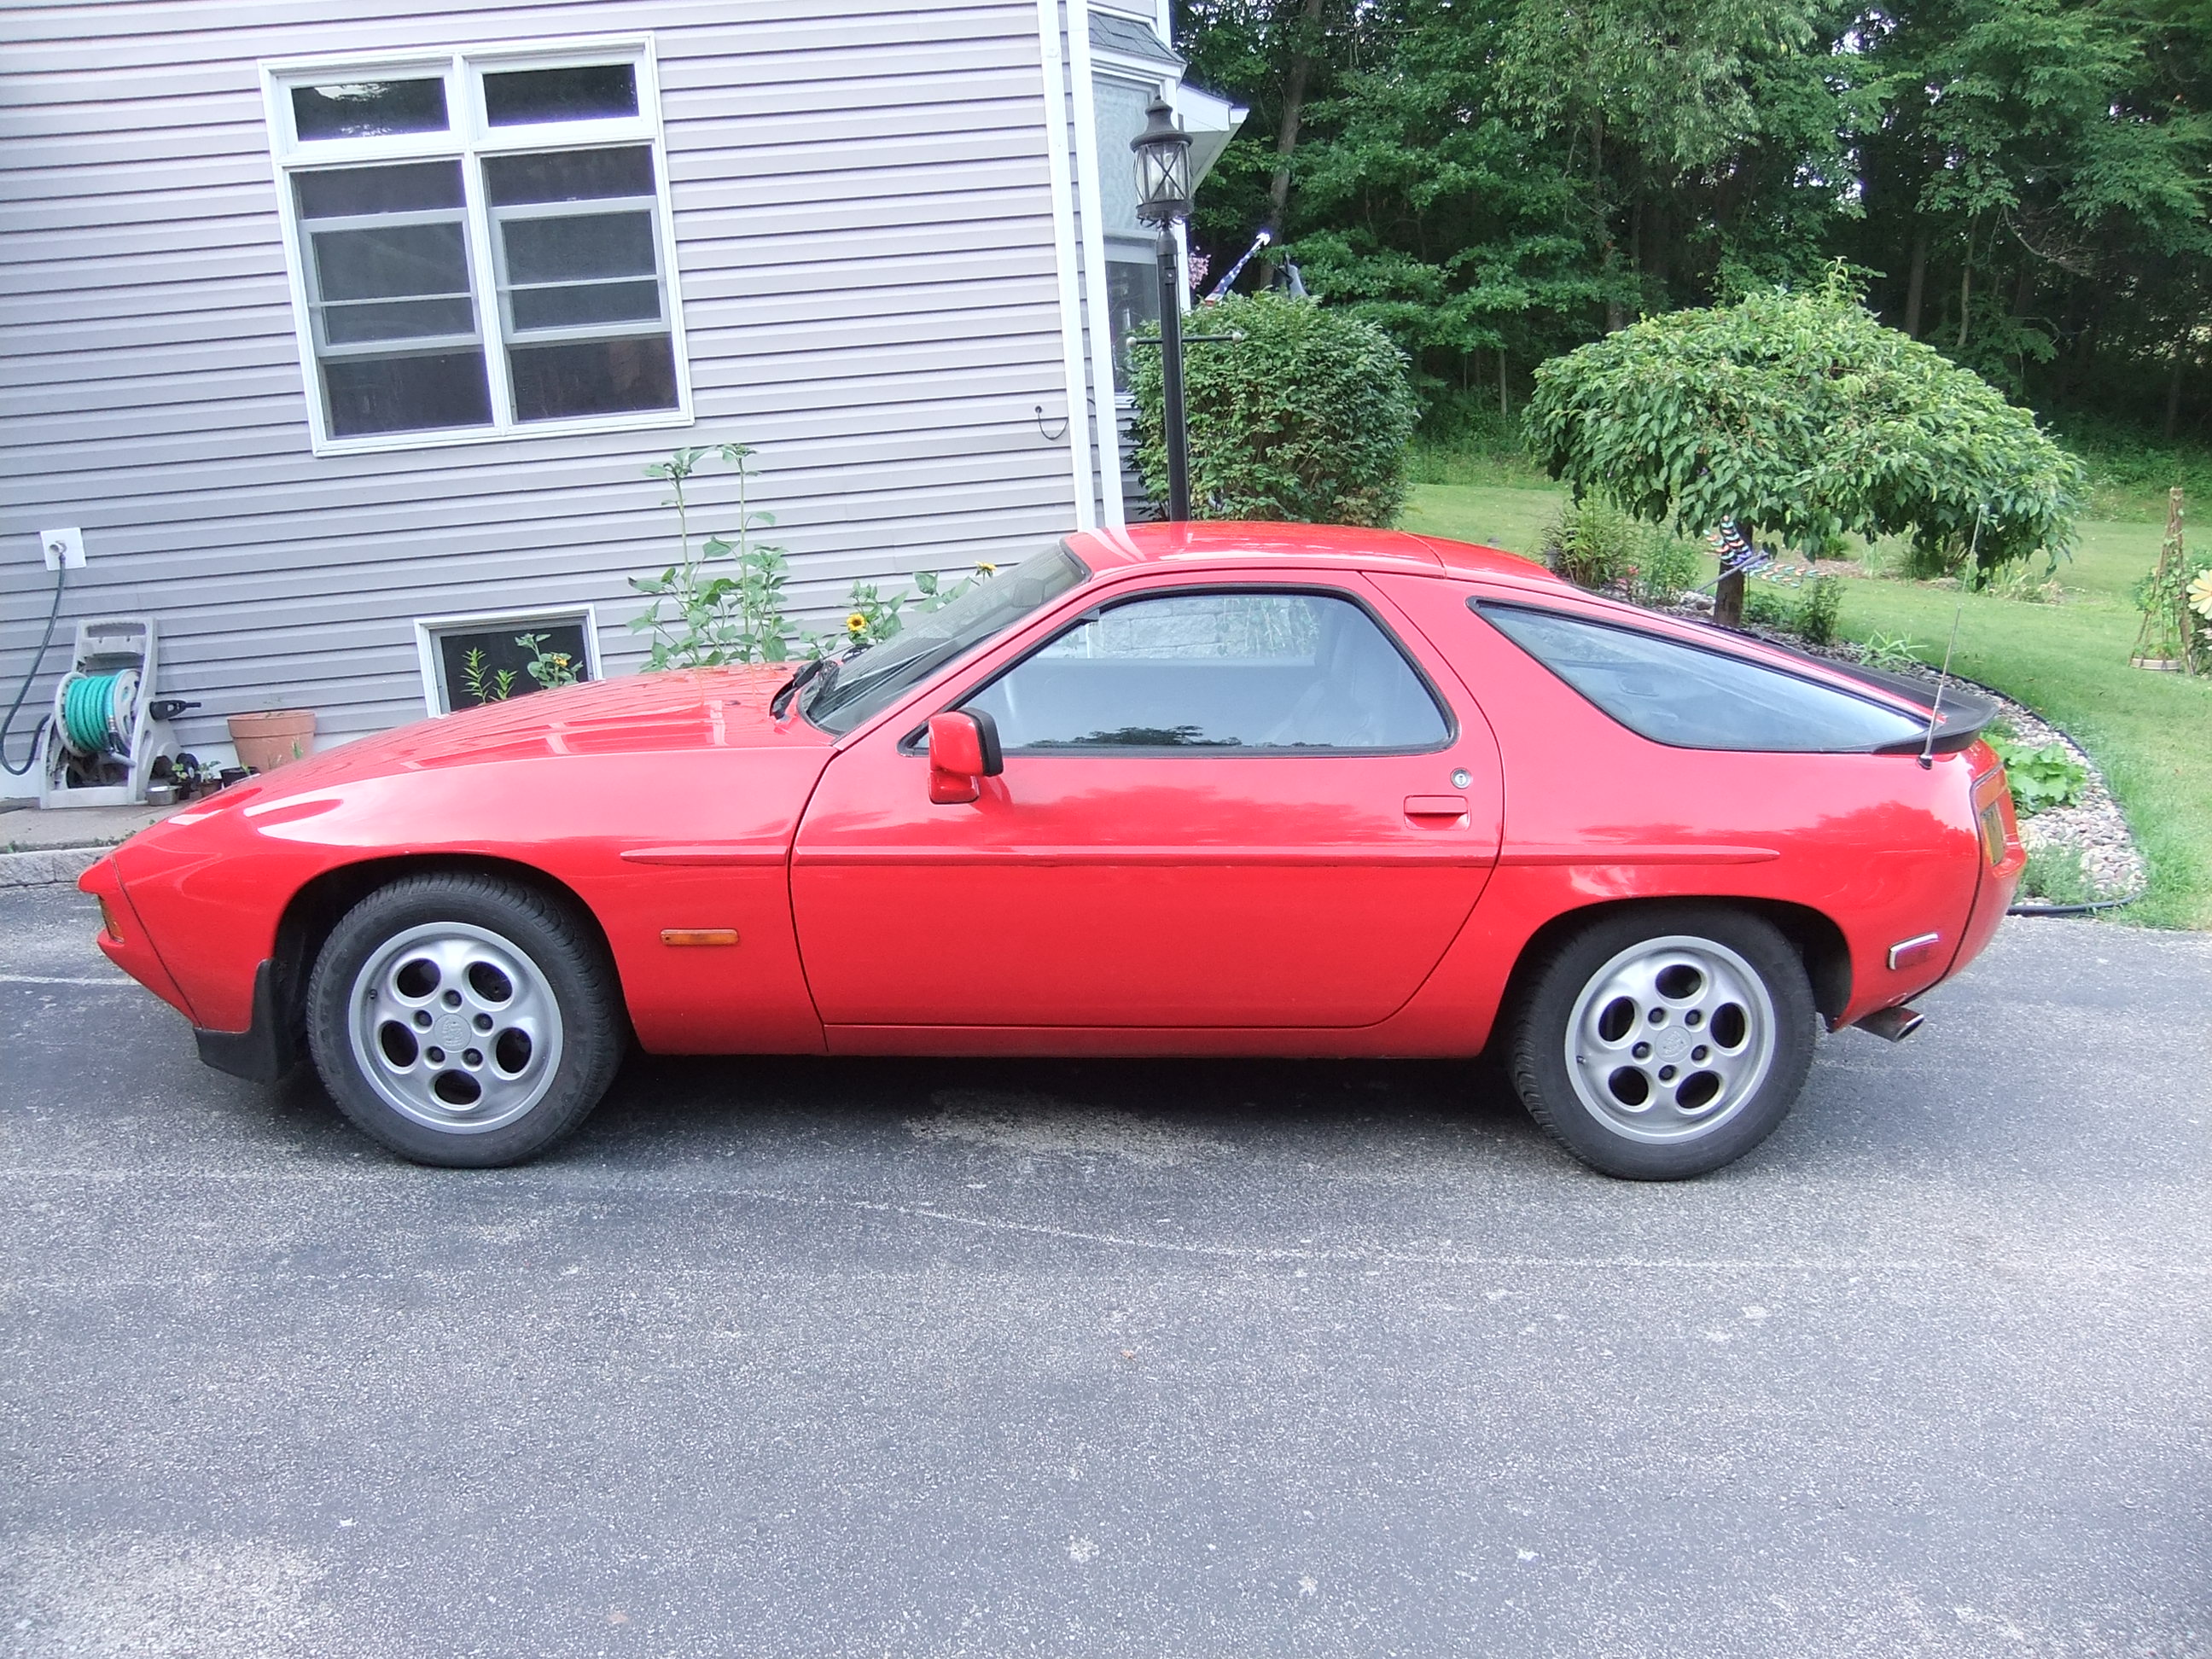
Front Fender:
And now, after two years and approximately $1000 with countless hours spent working on it!
The following users liked this post:
fatmanontwowheels (11-11-2020)
08-04-2014, 12:27 AM
#103
Racer
Thread Starter
I will have to confess, not all of it is my work! The very final stages of the bodywork were done by a professional who basically added the finishing touches and painted the fender, quarter panel, and rear bumper cover. I then proceeded to wet sand and buff the hood and roof as they have been horribly scratched and oxidized ever since I have owned the vehicle. Now it looks quite presentable.
08-04-2014, 12:01 PM
#105
Rennlist Member
I am super surprised that you re-installed the rear marker lights into the rear quarter panel and didn't just delete them since they weren't installed at the factory but were installed during federalization.
But great job on the save!!
But great job on the save!!