When you click on links to various merchants on this site and make a purchase, this can result in this site earning a commission. Affiliate programs and affiliations include, but are not limited to, the eBay Partner Network.
Here are some pictures of the tooling I made to form some of these vents. Also there is a picture of the Canopy Latch Assembly I made for the Navion Aircraft. The reason it is shown is because that is an example of the type of forming I thought I was going to go to with this, using stainless steel. Those latch bodies I had to anneal three or four times to get them to form without tearing the steel.
Holy cow- If I send you a Cobalt Blue GTS, can you make a mold that will pop out another one?
I am sure that is a rhetorical question, Rob. However, if I could do that, or anything like that, I am sure it would come out changed. In fact, my own thoughts, somewhat along those lines, would likely result in a 928 something like the one Stearling used to show in his avatar, that I think was photo-shopped.
I have a cut and taped drawing around here somewhare of a 928 that I have reconfigured into my own concept of such a 928 that would involve chopping it 3 inches, sectioning it 2 inches and shortening it, in the rear, about 5 and 1/2 inches. That will involve cutting the car into about 26 major pieces, and several minor ones, I think, and then welding it back together. That would not all happen at once because it will come in stages since the car itself will need to be the jig for much of the work. The wheel base will need to be shortened about 2 1/4 inchs to accomodate the chop and the tail an additional about 3 1/2 inches to also accomodate the chop.
There will need to be some major work done to the hatch because it will need to be wider and shorter, but I would plan to use the original window, moving it up into the hatch quite a bit and then widening the hatch part of the C posts to fill in the gaps. The rest of it will be pretty much as derived from the series of articles from the past about the Rod And Custom Dream Truck Project. Remember that?
The section of 2 inches will be pretty straight foreward, but the major problem there will be the need to reduce the height of the induction about the same 2 inches so there wont have to be a hump in the hood.
There is room in back of the baggage area to accomodate the shortening of the rear, and the spare tire and fuel tank areas will not be changed except for the need to cut 2 inches out of the top of the tank.
And on and on, but unless I live a very long time, this is likely to remain only a figment of my imagination, and the drawing.
The University's webserver here goes on a coffebreak every morning for an hour or so. Not sure why but pics often don't load between 6 and 7 here.
Random (and a late post) but they may have it set to do something during that time that takes its attention away from main tasks. Maybe a secondary backup.
I was writing an extensive post to this thread, but it somehow simply went away, in spite of the notations that is was being auto saved. DUH I'll try again later.
As with your other work, Jerry, I am very interested to see what comes of this. As my car is missing a belly pan, and there is a new offering available, but without the ducts, it's good to know that this is on your list.
What I remember about the dies shown in this thread is that when I got them to the point shown and tried to form the rear of one of the upright vents the aluminum ruptured. I can't remember just how long my discouragement about that lasted, but at some point later I think is when Joe Polcat announced that he was going to make these vents and distribute them for free. Then I apparently got involved in some other project. I don' t even remember reading about Joe's abandonment of his project.
Nevertheless, the late model belly pan has been on my radar now since just about the time i began thinking about and developing the tooling for my version of the early pan.
I still have not figured out why the vent on the passenger side is larger and has an opening at the top facing forward for some reason. My current thought is to make these vents both the same and eliminate the forward opening on the right side. If there is some reason for that I suspect it is more general in nature than something like the motor mounts, and if so I think it can be delt with in a different manner. That means that both of the upright vents can be the same except for the openings at their tops which are simply cut into the formed shells. I'm also going to refine the NACA duct a little bit making them closer to the NACA design and making them a bit longer on each side. AS to the smaller NACA-like vent in the center rear of this pan I think that one simply needs to be eliminated. If it actually has a purpose I think that too can be dealt with in some other way.
I actually have three versions of this late pan in mind, but some of that will come into play much later.
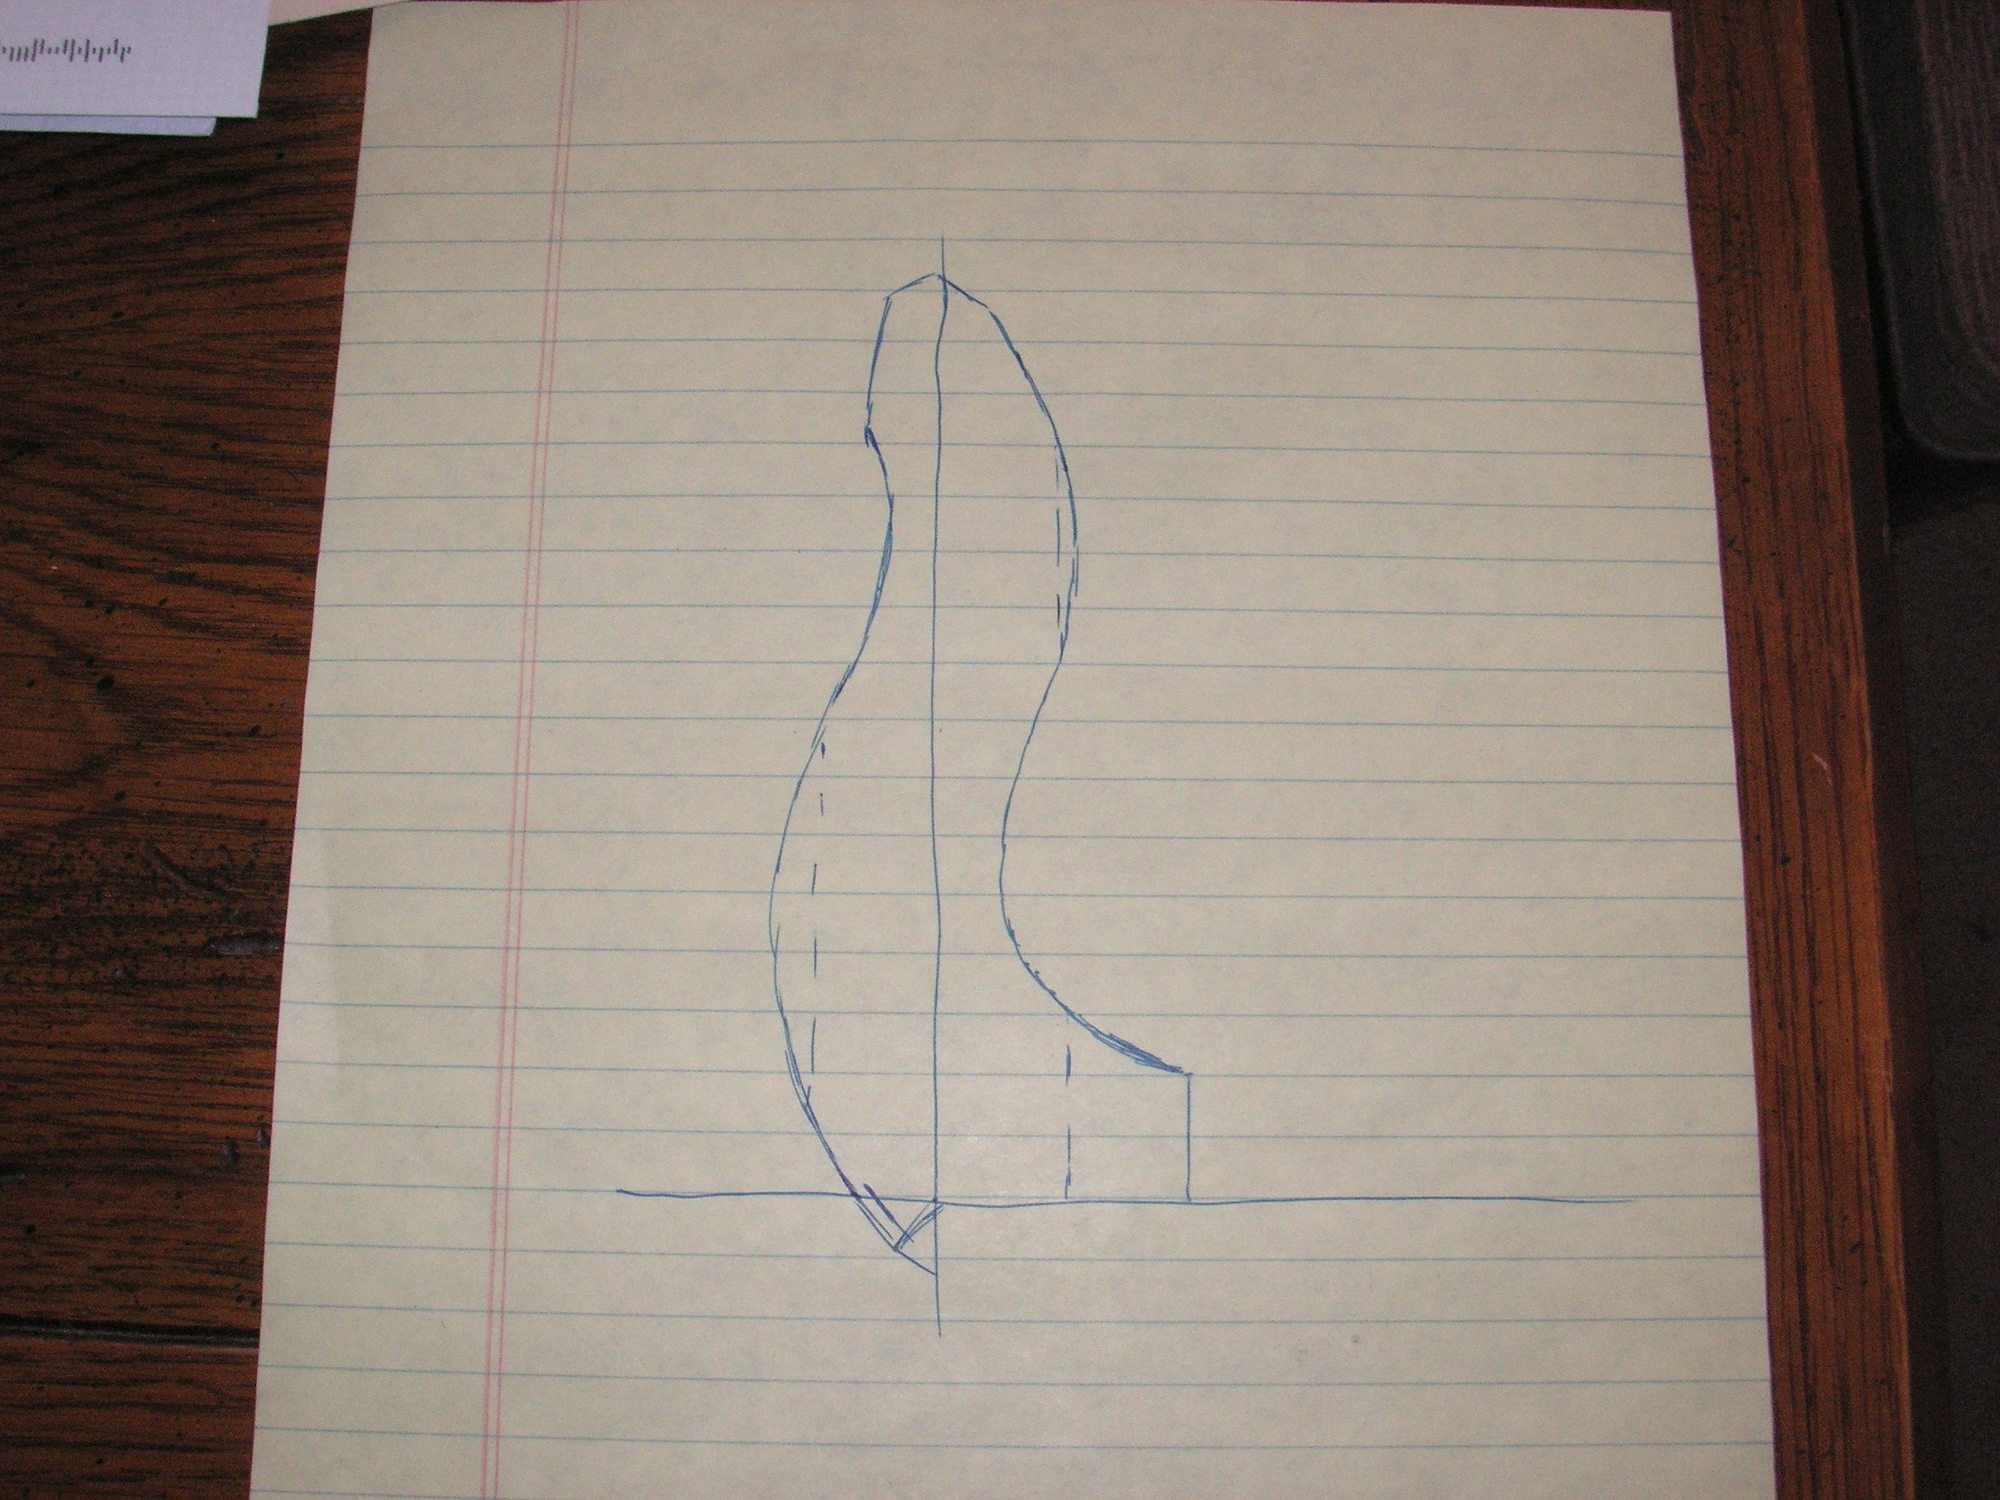
My redesign of the NACA ducts and vents continues to develop, but mostly in my mind with only a sketch or two on paper. I have found the dies for the front part of what was going to be the narrower of the two original vents, but cannot find the dies for the back part. That probably doesn't matter since I have the back significantly redesigned anyway and I can probably use the female die for the front for the back, and for the NACA duct itself for that matter.
I am going to soften the shape of the vents quite a bit, mainly because of the difficulty I had before pressing the more angular rear part of the vent. Too, I think the more rounded corners will lend themselves to better air flow, even though I think with the actual design of the ducts they are very angular. I think that is only important at the surface and not so much inside. I am also planning to weld the three pieces of the duct and vent together to then be riveted to the panels that will be mounted in the pan.
Last edited by Jerry Feather; 02-18-2021 at 12:13 PM.
My redesign of the NACA ducts and vents continues to develop, but mostly in my mind with only a sketch or two on paper. I have found the dies for the front part of what was going to be the narrower of the two original vents, but cannot find the dies for the back part. That probably doesn't matter since I have the back significantly redesigned anyway and I can probably use the female die for the front for the back, and for the NACA duct itself for that matter.
I am going to soften the shape of the vents quite a bit, mainly because of the difficulty I had before pressing the more angular rear part of the vent. Too, I think the more rounded corners will lend themselves to better air flow, even though I think with the actual design of the ducts they are very angular. I think that is only important at the surface and not so much inside. I am also planning to weld the three pieces of the duct and vent together to then be riveted to the panels that will be mounted in the pan.
Have you been watching the "Witches of Eastwick" by any chance?
I often wonder if there is firm evidence that these vent towers actually do what they are purported to be designed to do in terms of getting more life out of the mounts..


 03-06-2014, 10:27 PM