

Empty shell to finished car

Thread Starter
Rennlist Member

Joined: Feb 2010
Posts: 1,350
Likes: 79
From: Tucson,AZ
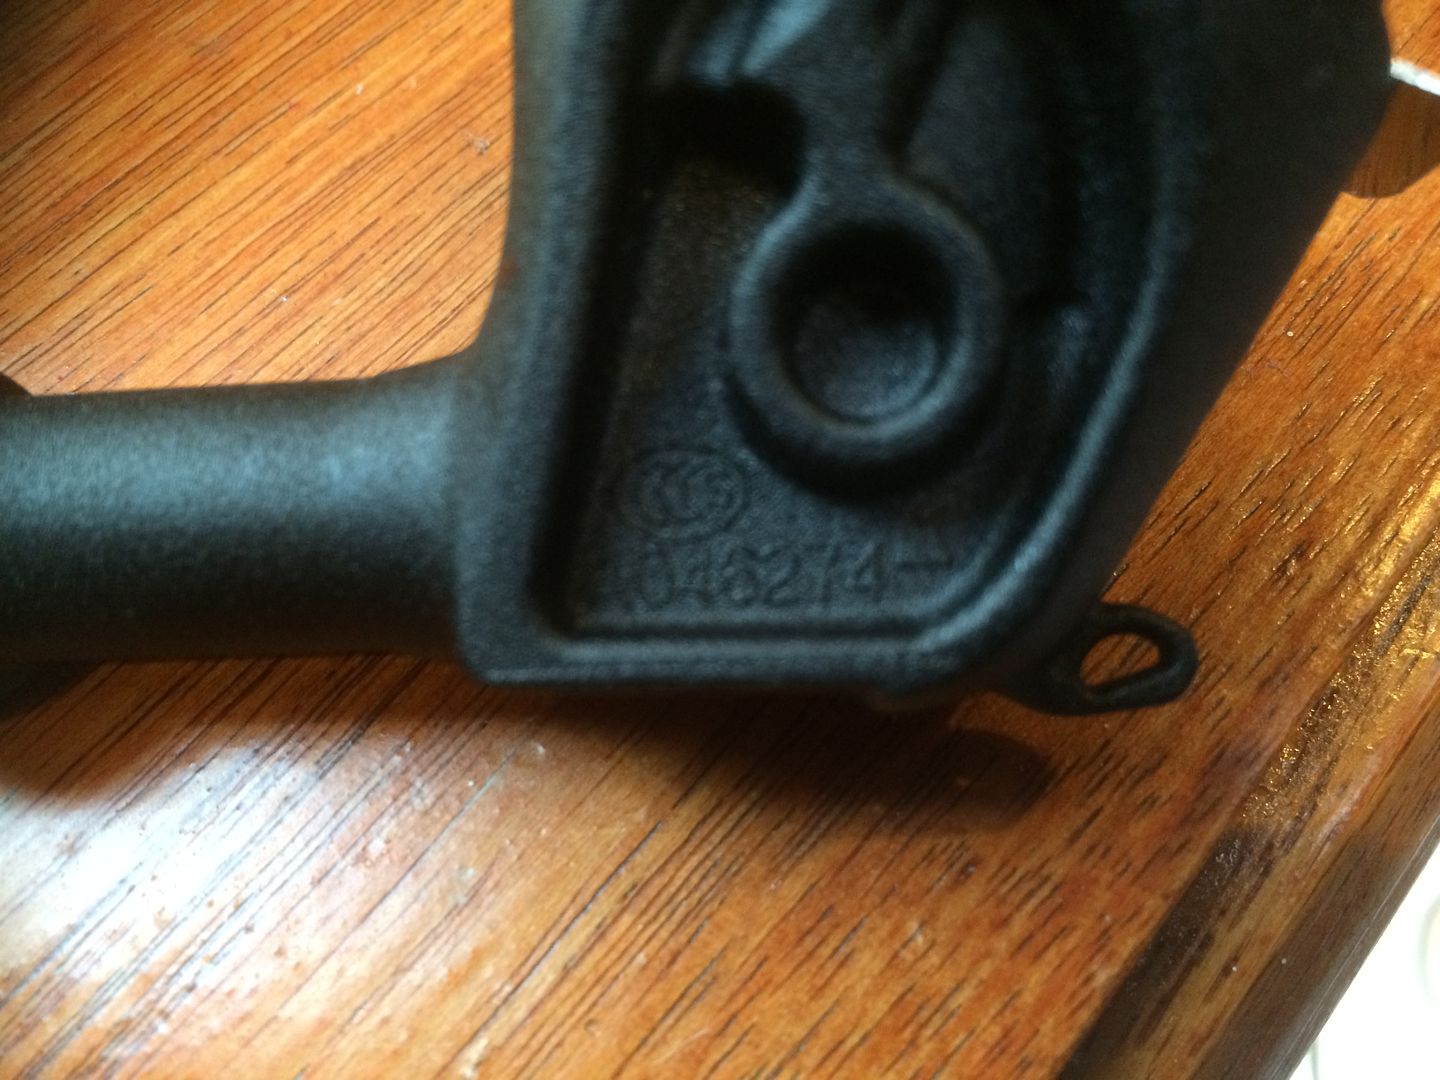
Here are 2 pictures of the Audi mirror markings, and a fairly decent view of the ball that won't pop out.
Cheers!
Carl
Addict
Rennlist Member
Rennlist Member

Joined: Jun 2002
Posts: 3,322
Likes: 32
Thanks for those pics Carl, from the looks of it they are the same brand. Your mirror has the same looking clip around the ball retainer. I will now go for it. I will also go back and look at your wiring regarding the radar detector. I can't remember that you detailed anything specific?
Thread Starter
Rennlist Member
Joined: Feb 2010
Posts: 1,350
Likes: 79
From: Tucson,AZ
Thanks for those pics Carl, from the looks of it they are the same brand. Your mirror has the same looking clip around the ball retainer. I will now go for it. I will also go back and look at your wiring regarding the radar detector. I can't remember that you detailed anything specific?
The radar detector wiring is not shown in any pictures yet. The Valentine One I am using has a "phone line" style connector and it will be routed inside the Audi mirror trim piece, and then (somehow) exit at the bottom to the radar detector, which will be mounted below the mirror on a custom mount from Blendmount: https://store.blendmount.com/blendmo...005-p2081.aspx
Cheers!
Carl
Thread Starter
Rennlist Member
Joined: Feb 2010
Posts: 1,350
Likes: 79
From: Tucson,AZ
I finally got all the foam off the headliner, and went ahead with the repair process. This headliner has a stamp of "22 jun 1979" and had numerous cracks in the particle board. I used West Marine's resin and hardener as per Herman's recommendations, and while it may not look great in the picture, the repairs turned out great. I glassed each of the four sides to add some protection and stiffness to the unit. I also cut out space for a second fold down vanity mirror, as this headliner only had one.
I also filled in the rear wiper cutout in the rear hatch trim piece with a piece of balsa wood, cut to shape, and then used the same epoxy/glass to seal it, picture is of work in progress. After that was done, the trim piece was covered in Volara foam and glued in place. The trick to make this foam stick to the plastic trim piece was to sand both the plastic, and with 320 grit paper gently rough up the foam surface, which allows the adhesive to create a solid bond. Without roughing the foam surface, I had problems getting the foam to adhere properly. In the picture, the Audi light fixture is test installed. The trim piece along with headliner and A-pillars will have a Volara foam substrate and then covered in black suede/Alcantara style fabric.
Finally I repaired my missing defroster tab with the kit from Permatex. It works great, and the defroster tab is now securely re-attached.
Cheers!
Carl

Rennlist Member
Joined: Jul 2002
Posts: 3,269
Likes: 5
From: Deep in the Heart of Texas!
Will probably be awhile before you use that defroster but curious how well the conductive epoxy works electrically ... recall people having mixed results after gluing one back on.
Thread Starter
Rennlist Member
Joined: Feb 2010
Posts: 1,350
Likes: 79
From: Tucson,AZ
Hopefully I can report back this winter on how it works

Cheers!
Carl
Thread Starter
Rennlist Member
Joined: Feb 2010
Posts: 1,350
Likes: 79
From: Tucson,AZ
I got the replacement evaporator installed today, along with a new expansion valve and new R134 compatible O-rings. O-ring locations are marked with green circles. They were soaked in refrigerant oil before install to prevent drying out.
The cleaned fuel cooler was also installed with fresh O-rings. I decided to go with the earlier style cooler as it has a larger body, larger internal area and should theoretically provide better cooling due to the larger surface are compared to the later coolers.
The Thermotion electrical heater valve was test fitted and will attach to a bracket next to the coolant reservoir. This is a 4-port valve for the LS style heater loop, for a 928 compatible Thermotion valve, one would need their 2-port version.
The LED headlight bulbs arrived, and were installed into the H4 lights. These are the 4,000 lumen, 6,000K color version from Woodypeck.com. Thanks Steve! Some pictures of the low/high beam sides.
Finally I repaired/replaced the passenger side, center console side panel as the original was very warped and damaged. The replacement is a plastic version, and the curved plastic part (very brittle, caution!!) from the original side panel was glued onto the new side panel. I then applied some plastic filler to even out any uneven edges.
The headliners (main and hatch) is at the upholstery shop, hoping to have them back by Monday, will post the results then.
Cheers!
Carl
Thread Starter
Rennlist Member
Joined: Feb 2010
Posts: 1,350
Likes: 79
From: Tucson,AZ
The headliner is delayed at the upholstery shop so I had to make do with finishing (nearly) the cabin pollen filter modification. It requires cutting the engine side HVAC box plastic to make a slot for the pollen filter to slide into. As the pre-GTS HVAC boxes are shaped slightly different, it also requires two plastic tabs to be made and glued inside the box to allow a proper seal between the filter edges and the box itself. Without these two "tabs", air will flow around the filter edges and enter the cabin unfiltered.
As I did not have a GTS HVAC box to swap with, I had to estimate, based on pictures online, how big and where the filter opening would have to be. The picture below is trial #3, where I arrived at the minimum opening required to be able to install and remove the filter. The cut edges have been smoothed after the picture was taken and the filter "lid" is being made at this point. Will post the result once the fiberglass cures.
I also finished the installation of the heater core, and finally, the cabin side HVAC box cover. It should be noted that for those that do this modification, it is HIGHLY recommended to move the blower resistor as it will otherwise sit very close to the filter, and can pose a fire hazard. I believe it was moved on the filter equipped GTS. In my case, I will be using PWM fan blower control, so the blower resistor has been removed and the opening for that resistor will be sealed. The freeze switch tube will also have to be moved (not the body itself) further to the driver's side so to clear the pollen filter.
It is not a difficult modification, the most time consuming being the fabrication of a suitable "lid" that seals properly, made a bit difficult due to the irregular shape of the HVAC box.
Cheers!
Carl

Thread Starter
Rennlist Member
Joined: Feb 2010
Posts: 1,350
Likes: 79
From: Tucson,AZ
Yes and no. It is a new evaporator, aftermarket. It is slightly larger (depth wise) than the stock evaporator, which gives it more cooling area, but it also means the interior of the HVAC box needs some minor trimming to make it fit. I had it tested prior to install to make sure I wouldn't have any surprises later on. Next is pulling some vacuum on the evaporator, expansion valve and fuel cooler as a whole system to check that no o-rings so far are leaking.
Griffiths sells another aftermarket evaporator, although that one is different from the one I have.
Cheers!
Carl
Griffiths sells another aftermarket evaporator, although that one is different from the one I have.
Cheers!
Carl
Thread Starter
Rennlist Member
Joined: Feb 2010
Posts: 1,350
Likes: 79
From: Tucson,AZ
Cheers!
Carl

Former Vendor
Joined: Mar 2010
Posts: 1,784
Likes: 14
From: Naperville, IL
Part of the project was to improve the rearview mirror and the "look" from the inside, giving it a more modern look, yet making it look like the mirror belongs there. I had previously used an aftermarket auto dimming mirror, with reading lights and compass, but it was a bit too big, and I never liked the green display.
The stock mirror is way too small, and the previous auto dimming mirror I had was a bit bulky. This one seems just right
So I purchased an auto dimming mirror from a 2000 Audi A6 (1997 to 2002 works) since it used a "regular" windshield mounted attachment point. Later models require the ceramic fritline to be already present on the windshield (baked on at the factory). It has a nice cover that hides the mirror wiring (and radar detector wiring) within the mirror body. And it comes with compass readout in red which matches my nighttime instrument lighting and is easier on the eyes.
Wiring can be done 2 ways, either get the matching male connector (6-pins) from Audi or simply remove the mirror side connector and solder some extension wires on the required wires, which is the way I went.
Only 2 wires are the minimum needed (+12V, GND), but I chose to use a 3rd wire which turns off the auto dimming when the car is put in reverse. The remaining wires are for connection to auto dimming sideview mirrors, which I am not using so they were sealed off with heat shrink. So the pins that need to be used (they are marked on the connector) are:
Pin #1 - White (+12V)
Pin #2 - Black (Gnd)
Pin #3 - Grey (connect to reverse lights for no-dim during reverse)
Also needed is the windshield attachment button ($7.95 new online) available at http://glasswarepro.com
It took about 20 minutes to solder on the extension cables and I chose to use red for +12V, black for GND, and white for the reverse connection. Hoping to have the garage cool tomorrow morning (max temp for glue application is 75 F) and will post pictures once installed.
Cheers!
Carl