

Illuminated Window Switch Project ** MAILING AND GUIDE UPDATE **


 01-22-2012, 06:52 PM
#407
Drifting
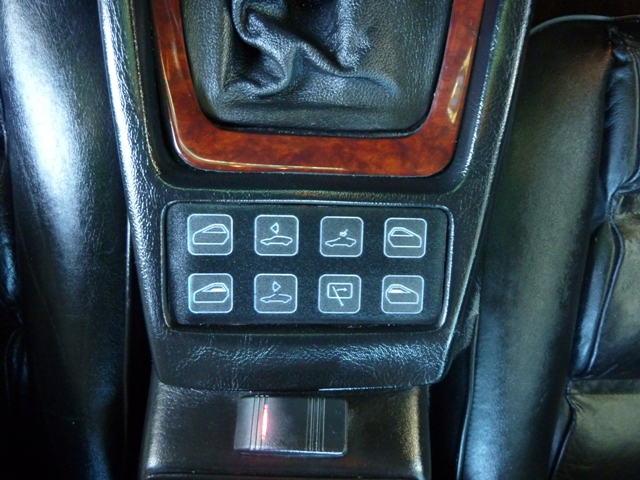
So I repeat, is it the (spare) switch, which is on top of my rear wiper switch? [see below]

I think the images are mirrored which would explain it, or my icon is in the wrong spot.
Edit: my icon is on top which is pin#2 which it my green extra wire as it should be; sorry for the confusion

Last edited by 928mac; 01-22-2012 at 08:27 PM.
01-22-2012, 07:15 PM
#408
Drifting
Hans I did a quick pin check and from left to right in the pic below it is 0987654321
correct?
pin #9 operates with the rear wiper icon switch well using 5&6 for continuity

correct?
pin #9 operates with the rear wiper icon switch well using 5&6 for continuity
01-22-2012, 08:22 PM
#409
Drifting
Hans, I'm bad.
I didn't verify the position of the green break out wire before I spoke.
The green wire is #2 so that means everything is as it should be.
Sorry for the confusion.
I didn't verify the position of the green break out wire before I spoke.
The green wire is #2 so that means everything is as it should be.
Sorry for the confusion.
01-22-2012, 08:25 PM
#410
Rennlist Member
Brad,
Probably best to switch over to PM to keep the thread clean. Please test and see if you have coninuity between pin 5/6 and the spare green wire when your missile button is pressed. If so, everything is wired properly. I made lots of custom harnesses for people who moved buttons around, so your may be fine as is. However, if there is no continuity between the missile button and the spare lead (I assume you only have one spare), the wires for the wiper and the missile are easily changed (that is why i picked that style connector. Pull the wire for pin2 and pin9 and swap them. The wires will pull up, and then press them back down with a small/precision screw driver. There are blades inside the connector that will strip and crimp the wire automatically.
Look for a PM/email, I will provide my contact number.
Thanks
Hans
 04-10-2012, 01:43 PM
#412
Former Vendor
Thread Starter
I will respond with a form where you will be able to make your choices for your panel.
Thanks
Paul
04-23-2012, 11:59 AM
#413
Well, I tackled my button replacement this weekend.
First off, I want to mention that the whole process of inquiry, ordering, receiving was outstanding! Paul's e-mails were prompt and patient. The unit arrived quickly. The workmanship was very professional. You can tell everyone involved thought this item out very well and has a passion for it.
Here is a shot during mock up and 50% done:
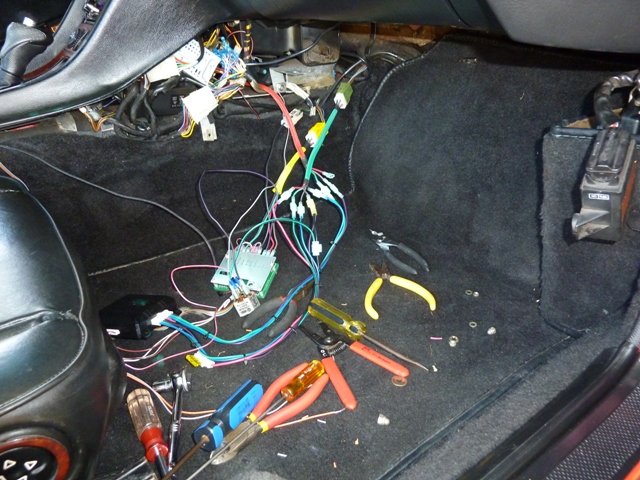
You'll note a #53 relay for mock up purposes for my bonus button which is "express" for both windows "down"
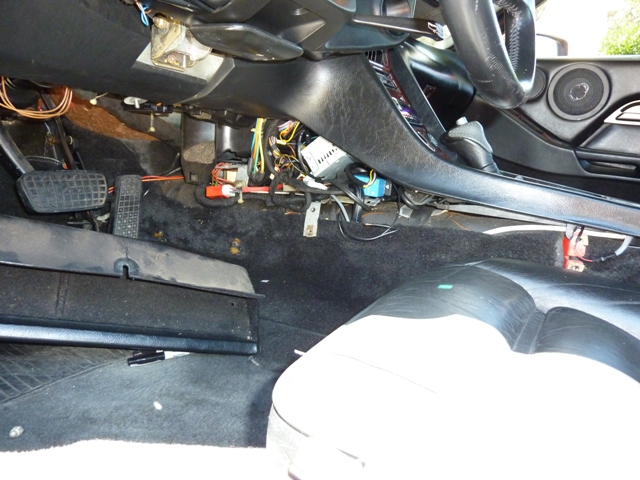
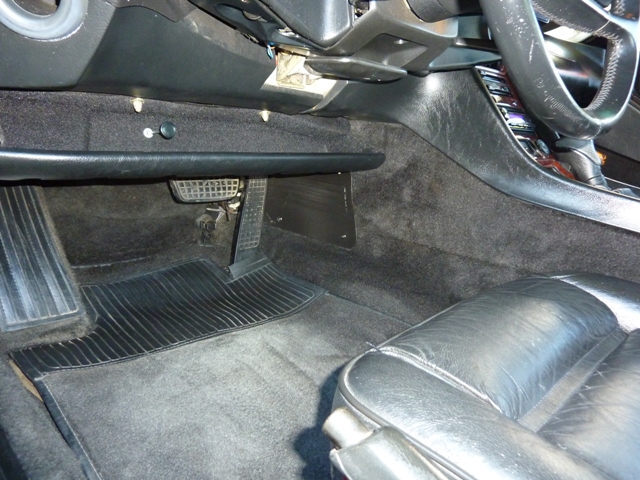
Here is the left side:
Here is the right after wire ties:
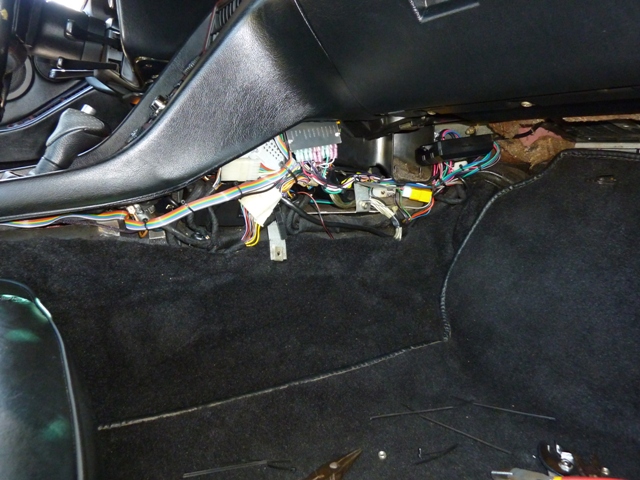
If you look above the 530T module (above storage shelf) there is a nut above for a metal strap. I ran a wire tie thru the back mounting hole on the 530T and the metal strap to hold the 530T in place during install.
Here is a shot of the right side finished from far away:
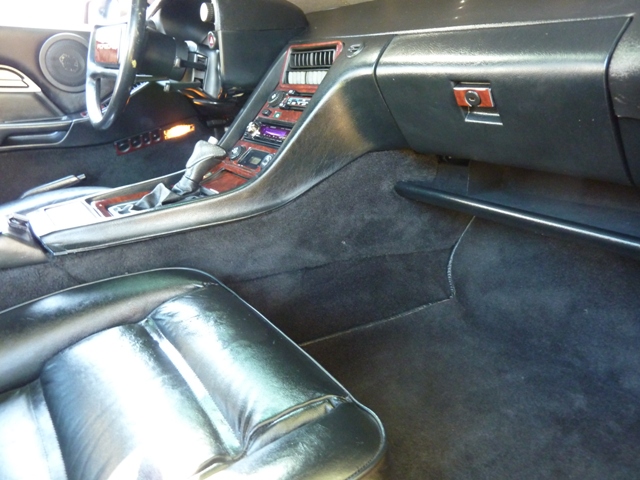
Here is a shot better showing how the 530T sits in the unused space (not as visible as these pictures suggests:
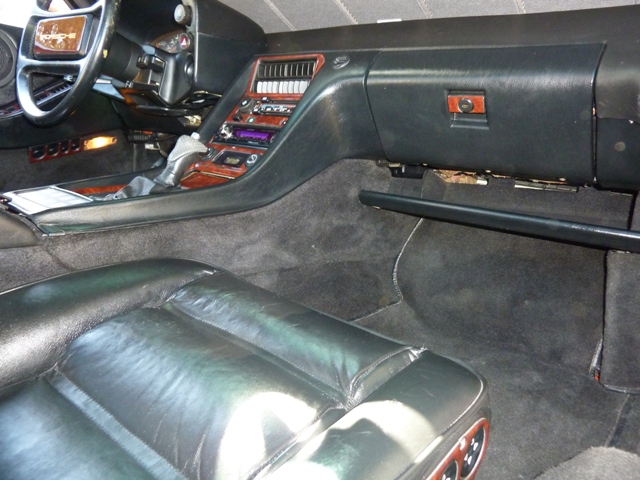
...and closer

Here is the left side done:
Far angled shot after completion:
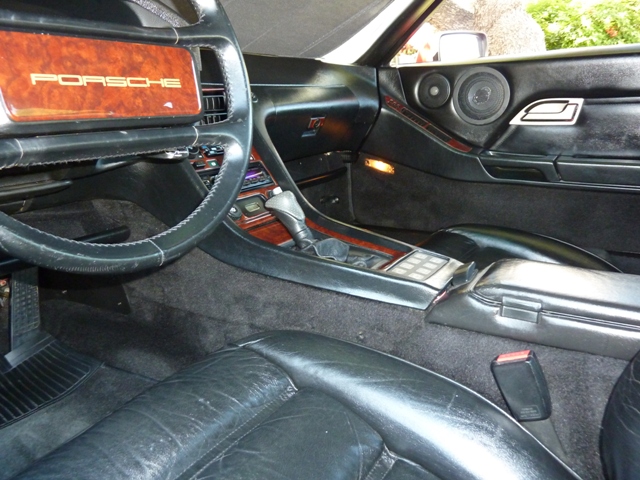
Medium far shot:
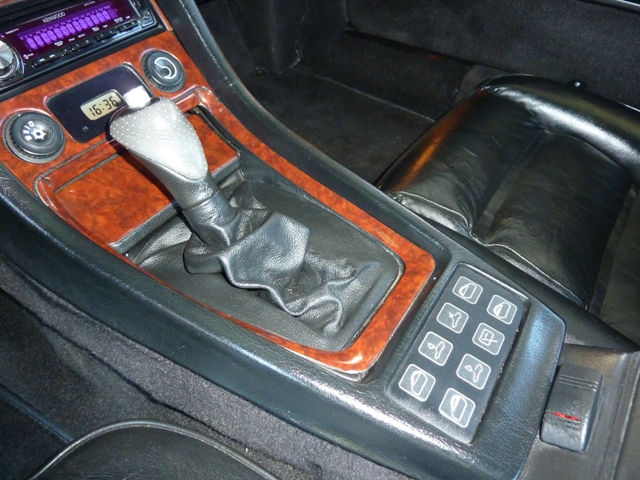
...and really close:
The install took me about 6 hours (yes I admit it took me longer than most people will take), which includes reading the paperwork again, talking to my neighbor for 20 minutes who walked over, running to the parts store for a sealed generic relay and cleaning the interior for the pictures...so actual time was probably 4 hours.
If you just replace the switches and have them operate "factory" and you can visualize instructions well (not me), I think this install can be done in 1.5 to 2 hours. The 530T kicked me in the hind quarters because I didn't quite grasp a couple of items. One was that I needed a relay to to use the negative input on the 530T from the positive output (bonus button) of the switch module. After figuring this out, I reread the instructions & it became more clear what I didn't get earlier when I first read the instructions. I also didn't quite get the whole LED light thing until I noticed it never went off, then I removed the jumper on the switch module and ran a (+) wire to a "switched" fuse on my fuse panel. Again, once I figured this out and reread the instructions, it became clear.
All in all I can't really report anything negative about the project. if I had suggestions, it would be:
1) Slightly more length on "exposed" conductors for one of the windows so that it can more easily reach the widow inputs on the module and the (+) / (-) contacts on the module (you can just run separate +/-). I hated to cut a little of the beautiful heat shrink and wire loom to get more length.
2) A few more pictures for guys like me that can't visualize what they read very well.
Thing I would encourage:
1) Make sure you have knee pads or an old pillow to kneel on...lots of kneeling.
Note: The bonus button "express" going into the 530T gives you an added function over "both windows down". A quick button push brings both windows down about 1.5 to 2" per press. A "press & hold" for couple of seconds is all the way down. I didn't realize this during initial reading of features.
The 530T has 2 more unused wires. One of them could be used for "both windows up" by simply putting in a small switch somewhere to provide ground to the wire.
Last, the kit is a bargain for what you get in service/product and features!!!
Very satisfied customer!
First off, I want to mention that the whole process of inquiry, ordering, receiving was outstanding! Paul's e-mails were prompt and patient. The unit arrived quickly. The workmanship was very professional. You can tell everyone involved thought this item out very well and has a passion for it.
Here is a shot during mock up and 50% done:
You'll note a #53 relay for mock up purposes for my bonus button which is "express" for both windows "down"
Here is the left side:
Here is the right after wire ties:
If you look above the 530T module (above storage shelf) there is a nut above for a metal strap. I ran a wire tie thru the back mounting hole on the 530T and the metal strap to hold the 530T in place during install.
Here is a shot of the right side finished from far away:
Here is a shot better showing how the 530T sits in the unused space (not as visible as these pictures suggests:
...and closer
Here is the left side done:
Far angled shot after completion:
Medium far shot:
...and really close:
The install took me about 6 hours (yes I admit it took me longer than most people will take), which includes reading the paperwork again, talking to my neighbor for 20 minutes who walked over, running to the parts store for a sealed generic relay and cleaning the interior for the pictures...so actual time was probably 4 hours.
If you just replace the switches and have them operate "factory" and you can visualize instructions well (not me), I think this install can be done in 1.5 to 2 hours. The 530T kicked me in the hind quarters because I didn't quite grasp a couple of items. One was that I needed a relay to to use the negative input on the 530T from the positive output (bonus button) of the switch module. After figuring this out, I reread the instructions & it became more clear what I didn't get earlier when I first read the instructions. I also didn't quite get the whole LED light thing until I noticed it never went off, then I removed the jumper on the switch module and ran a (+) wire to a "switched" fuse on my fuse panel. Again, once I figured this out and reread the instructions, it became clear.
All in all I can't really report anything negative about the project. if I had suggestions, it would be:
1) Slightly more length on "exposed" conductors for one of the windows so that it can more easily reach the widow inputs on the module and the (+) / (-) contacts on the module (you can just run separate +/-). I hated to cut a little of the beautiful heat shrink and wire loom to get more length.
2) A few more pictures for guys like me that can't visualize what they read very well.
Thing I would encourage:
1) Make sure you have knee pads or an old pillow to kneel on...lots of kneeling.
Note: The bonus button "express" going into the 530T gives you an added function over "both windows down". A quick button push brings both windows down about 1.5 to 2" per press. A "press & hold" for couple of seconds is all the way down. I didn't realize this during initial reading of features.
The 530T has 2 more unused wires. One of them could be used for "both windows up" by simply putting in a small switch somewhere to provide ground to the wire.
Last, the kit is a bargain for what you get in service/product and features!!!
Very satisfied customer!
04-23-2012, 02:03 PM
#415
Your welcome Paul...it was a pleasure. Thank goodness for people like you and your company to make 928 ownership even more fun and enjoyable.
I think I made this clear in my post, but I want to make sure...any comments about the "instructions", are all "me". In no way am I trying to suggest anything negative about them. You know us "guys"...first we hate to read instructions (or even admit we do) and second, anything more than 2 sentences without an accompanying photo, and some of us have brain freeze. Heck, the kit even color codes the wires with colored loom and gives you the factory connectors (with purchase of "plug-n-play")...couldn't be much easier! The instructions are very detailed. If you don't get every single detail (like me), you just need to dive in and it will make sense as you mock the system up.
Oli
06-11-2012, 02:25 PM
#416

What are people controlling with their extra buttons on this mod? I have two extra after controlling the windows and sun roof. Since I don't have any missiles or other weapons installed, nor do I have an ejection seat although it might come in handy sometimes. I want to pick my icons for my order.
Possibilities:
1. Parallel kick down
2. Open rear hatch
3. Operate both windows at once
Please add to the list
Thanks
Patrick Strenk
1989 S4 auto
Possibilities:
1. Parallel kick down
2. Open rear hatch
3. Operate both windows at once
Please add to the list
Thanks
Patrick Strenk
1989 S4 auto
06-11-2012, 02:39 PM
#417
Advanced

Join Date: Apr 2012
Posts: 98
Likes: 0
Received 0 Likes
on
0 Posts
It would've been nice to stumble upon this last month. I just bought two OEM replacement switches formy son's '84.
I've been reading threads daily since my purchase in April, and am still seeing new stuff. Is there perhaps TOO much good info on this board?!
I've been reading threads daily since my purchase in April, and am still seeing new stuff. Is there perhaps TOO much good info on this board?!
06-11-2012, 02:42 PM
#418
Rennlist Member
4. Aux fan switch (AC fan switch) to manually turn the fan on for people who live in Hot areas and want it running 99% of the time (thanks Tampa 928 for the tip, it helps a lot)
 06-16-2012, 12:34 PM
#420
Burning Brakes
Join Date: Mar 2008
Location: At the foot of Pikes Peak
Posts: 930
Likes: 0
Received 0 Likes
on
0 Posts
I used my extra switch for both windows down. I use it all the time and adds such a modern touch to the car. This has been one of my favorite mods.