When you click on links to various merchants on this site and make a purchase, this can result in this site earning a commission. Affiliate programs and affiliations include, but are not limited to, the eBay Partner Network.
Joe,
It is definitely wrong. There was no gap to install any shims in before I loosened any screws, and the arm would not come off of the ball with any amount of prying. That is how I ended up removing the PP screws - hoping that that would allow the arm to slide off of the ball. I'm sure if I could rewind back a few days knowing what I know now I could find a way to get the arm off of the ball, but I need to move forward.
Moving the bell housing back would give me an inch or so of clearance, but the two upper bolt heads are harder to get to than the ball. I bent a 19mm wrench so that I could get on them, but due to the bend in the wrench, it will not stay on the bolt head when I apply torque.
Reinstalling the PP back on the flywheel was equally as difficult. After fiddling with it for an hour and getting covered once again with what I hope is non-asbestos clutch dust, I got one screw in and the whole assembly is locked up I don't know why, but it is.
After laying under the car with a fairly clear mind and weighing my options, I believe that a clean surgical strike on the ball is the best option. I think I can limit the collateral damage and the PP should just fall out. A new ball is $40. I could fiddle with reinstalling the PP for another few days, or spend an equivalent amount of time working on the two upper bolts to the bell housing, but I think this route is the best chance of success.
The question now is: If there is a deformed ball shaft remaining, how hard will it be to get on it and unscrew it? I think I read that it is loctited in, so I will need to heat it before removal.
I'd be really reluctant to encourage you to attempt your current plan...
My guess is that the aluminum bell housing will break, long before that forged ball breaks off.
At this point, and for less money than a new ball (though 928Intl will happily sell you used *****) I'd take a 2 day break while Amazon delivers one of these 19 mm ratcheting wrenches for the upper bellhousing bolts:
Loosen the upper and lower bellhousing bolts as Stan suggests, and then remove the transmission mount bolts from the crossmember (may have to loosen the e-brake pipes from the front of the rear crossmember) and pry the bellhousing back a ways to give you clearance.
Either that or remove that one PP bolt you got started, make sure the nose of the short shaft is inserted in the pilot bearing, and then try to get the pressure plate centered and bolt it back in place so you can shim it as Stan describes. Of course there are 9 PP bolts, in three groups of 3- helps to rotate the engine so you have one group of three threaded holes in the flywheel 'exposed' below the bellhousing so you can make sure you have them lined up with the bolt holes in the PP. You can tell those by the marks the cap screw bolt heads leave about 2 mm outside of each hole.
Greg, after reading your reply I realized that my post was confusing. The "Strike" that I am planning is a cut, not an impact.
One again, I appreciate the advice from you guys. I will take a day off and think about it. There is a feller down in Charlotte who has a set of Turbo Twist wheels for sale with 55mm offsets that hopefully aren't as bent as the replica cup 1s I have now. I'm going to try to slip down there and check them for runout.
But.....If I can make a surgical cut on the old ball through the engine bay, and the 19mm ratcheting wrench from Amazon is about the same price as a new ball, I still don't see the upside of struggling to do this the "right" way.
While I have your attention, part of my frustration while under the car is the "rotate the engine by hand" bit. I am not a weak man, but this isn't a job that an be done by hand, or quickly. It is more of a "use a flat head screwdriver to pry the gear teeth one by one to slowly rotate the engine." task. I'm just curious if this is normal or if it is a sign of some other problem.
While I have your attention, part of my frustration while under the car is the "rotate the engine by hand" bit. I am not a weak man, but this isn't a job that an be done by hand, or quickly. It is more of a "use a flat head screwdriver to pry the gear teeth one by one to slowly rotate the engine." task. I'm just curious if this is normal or if it is a sign of some other problem.
For clutch work I'm usually on my creeper on my back, and I'm (barely) strong enough that a 27 mm socket on a 3 inch extension on a typical 1/2" drive ratchet will turn the motor by hand at the crank bolt, particularly with the plugs out/loose.
I just finished a session where I had to R&R a bellhousing that was incorrect for an '89 (the car came with an 85/86 bellhousing and I didn't recognize it until the drivetrain was all in), so while I could get the pressure plate assembly bolted to the flywheel, the release arm wouldn't seat all the way on the ball, and the clutch would not operate. I was unable to get shims back in, so loosening the bellhousing bolts and prying the transmission/TT back was enough to get the clutch pack out.
So one can R&R the entire bellhousing without removing anything else besides clutch and cats.
Clutch is finally out. I weighed, and re-weighed my options, discussed them with a coworker, and finally decided to to the plasma cut on the ball. After it was done( it took 10 minutes) and the clutch and ball remnants were out and disassembled, I had the chance to look back using the glasses of hindsight (I am Captain Hindsight), and that was by far the easiest way to recover from my screw-up. The torch fit right past the AC tubing down to the ball, With a few triggers of the switch the ball was severed. Nothing caught fire - but I had a fire extinguisher ready just in case. After the clutch was out, I used a wrench and unscrewed the ball remnant using the hex on the ball shank. A new ball for $32 is on order.
I took pics along the way, and will post them later. Not that this is a recommended method, but just to document a way to recover from a similar situation. Everyone needs a plasma cutter. It is the closest thing to a Jedi light saber that you can get.
Once again, thanks for all of the suggestions and input. Over the past 4 years of owning this car, this community has been a saving grace. I have taken this car from ragged running to a daily driver by reading the relevant posts and replacing/recalibrating what was recommended by the members who had previously experienced the same issues.
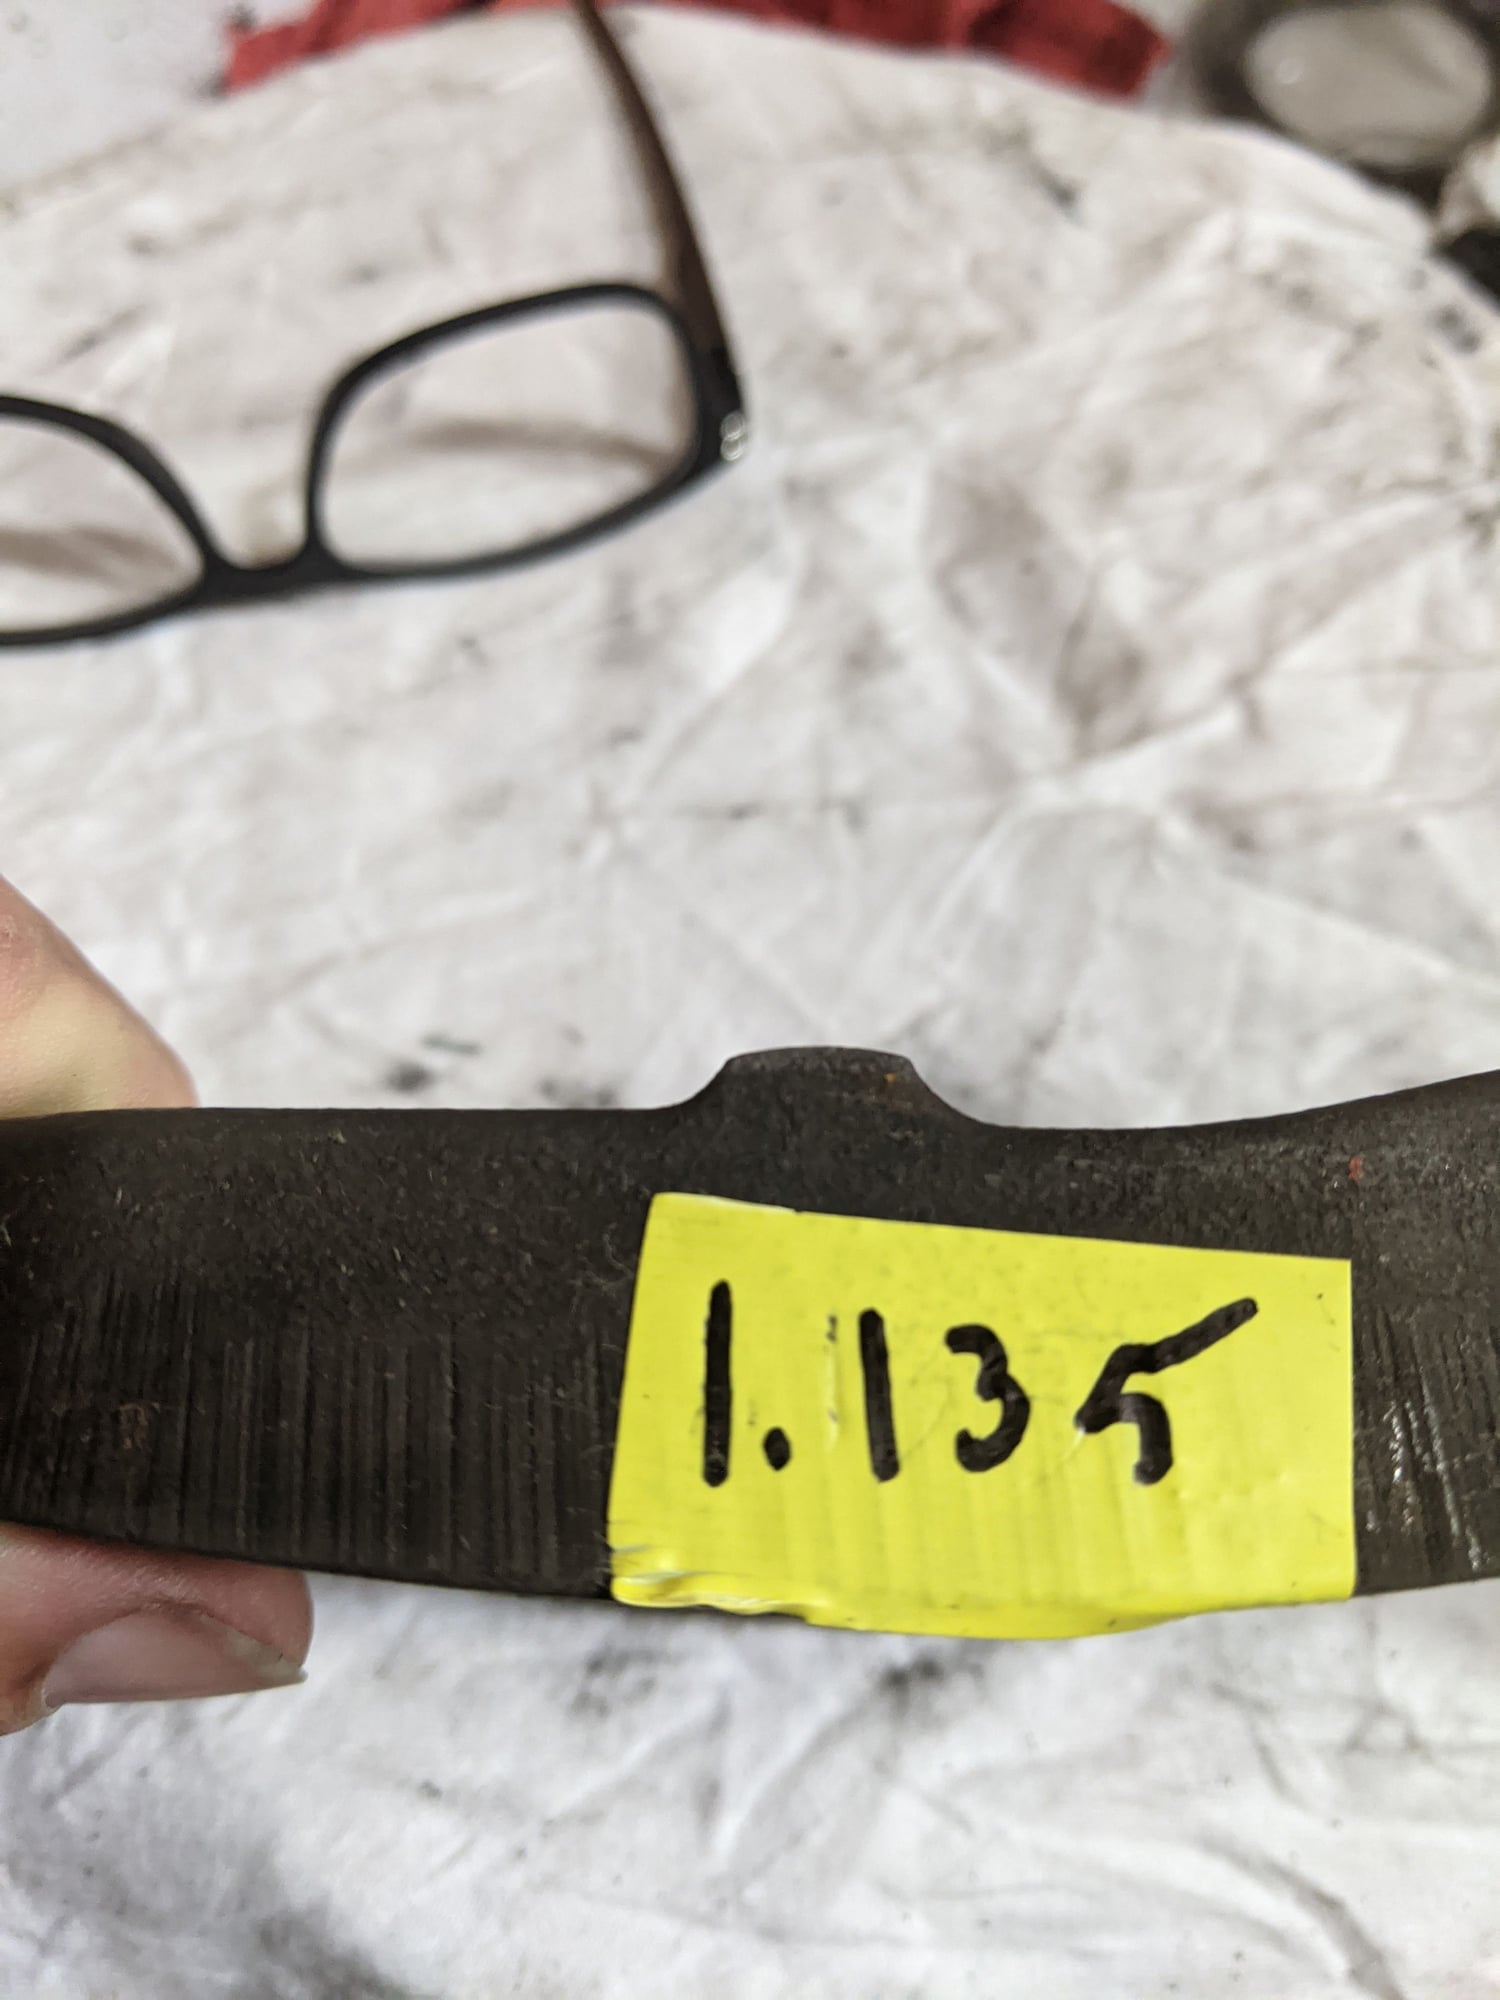
I used a GTS clutch from a 93 and newer car on mine. You have to grind off the little tabs on the arm.
That little bump sticking up needs to be ground off because the gts throw out bearing has it on the bearing.
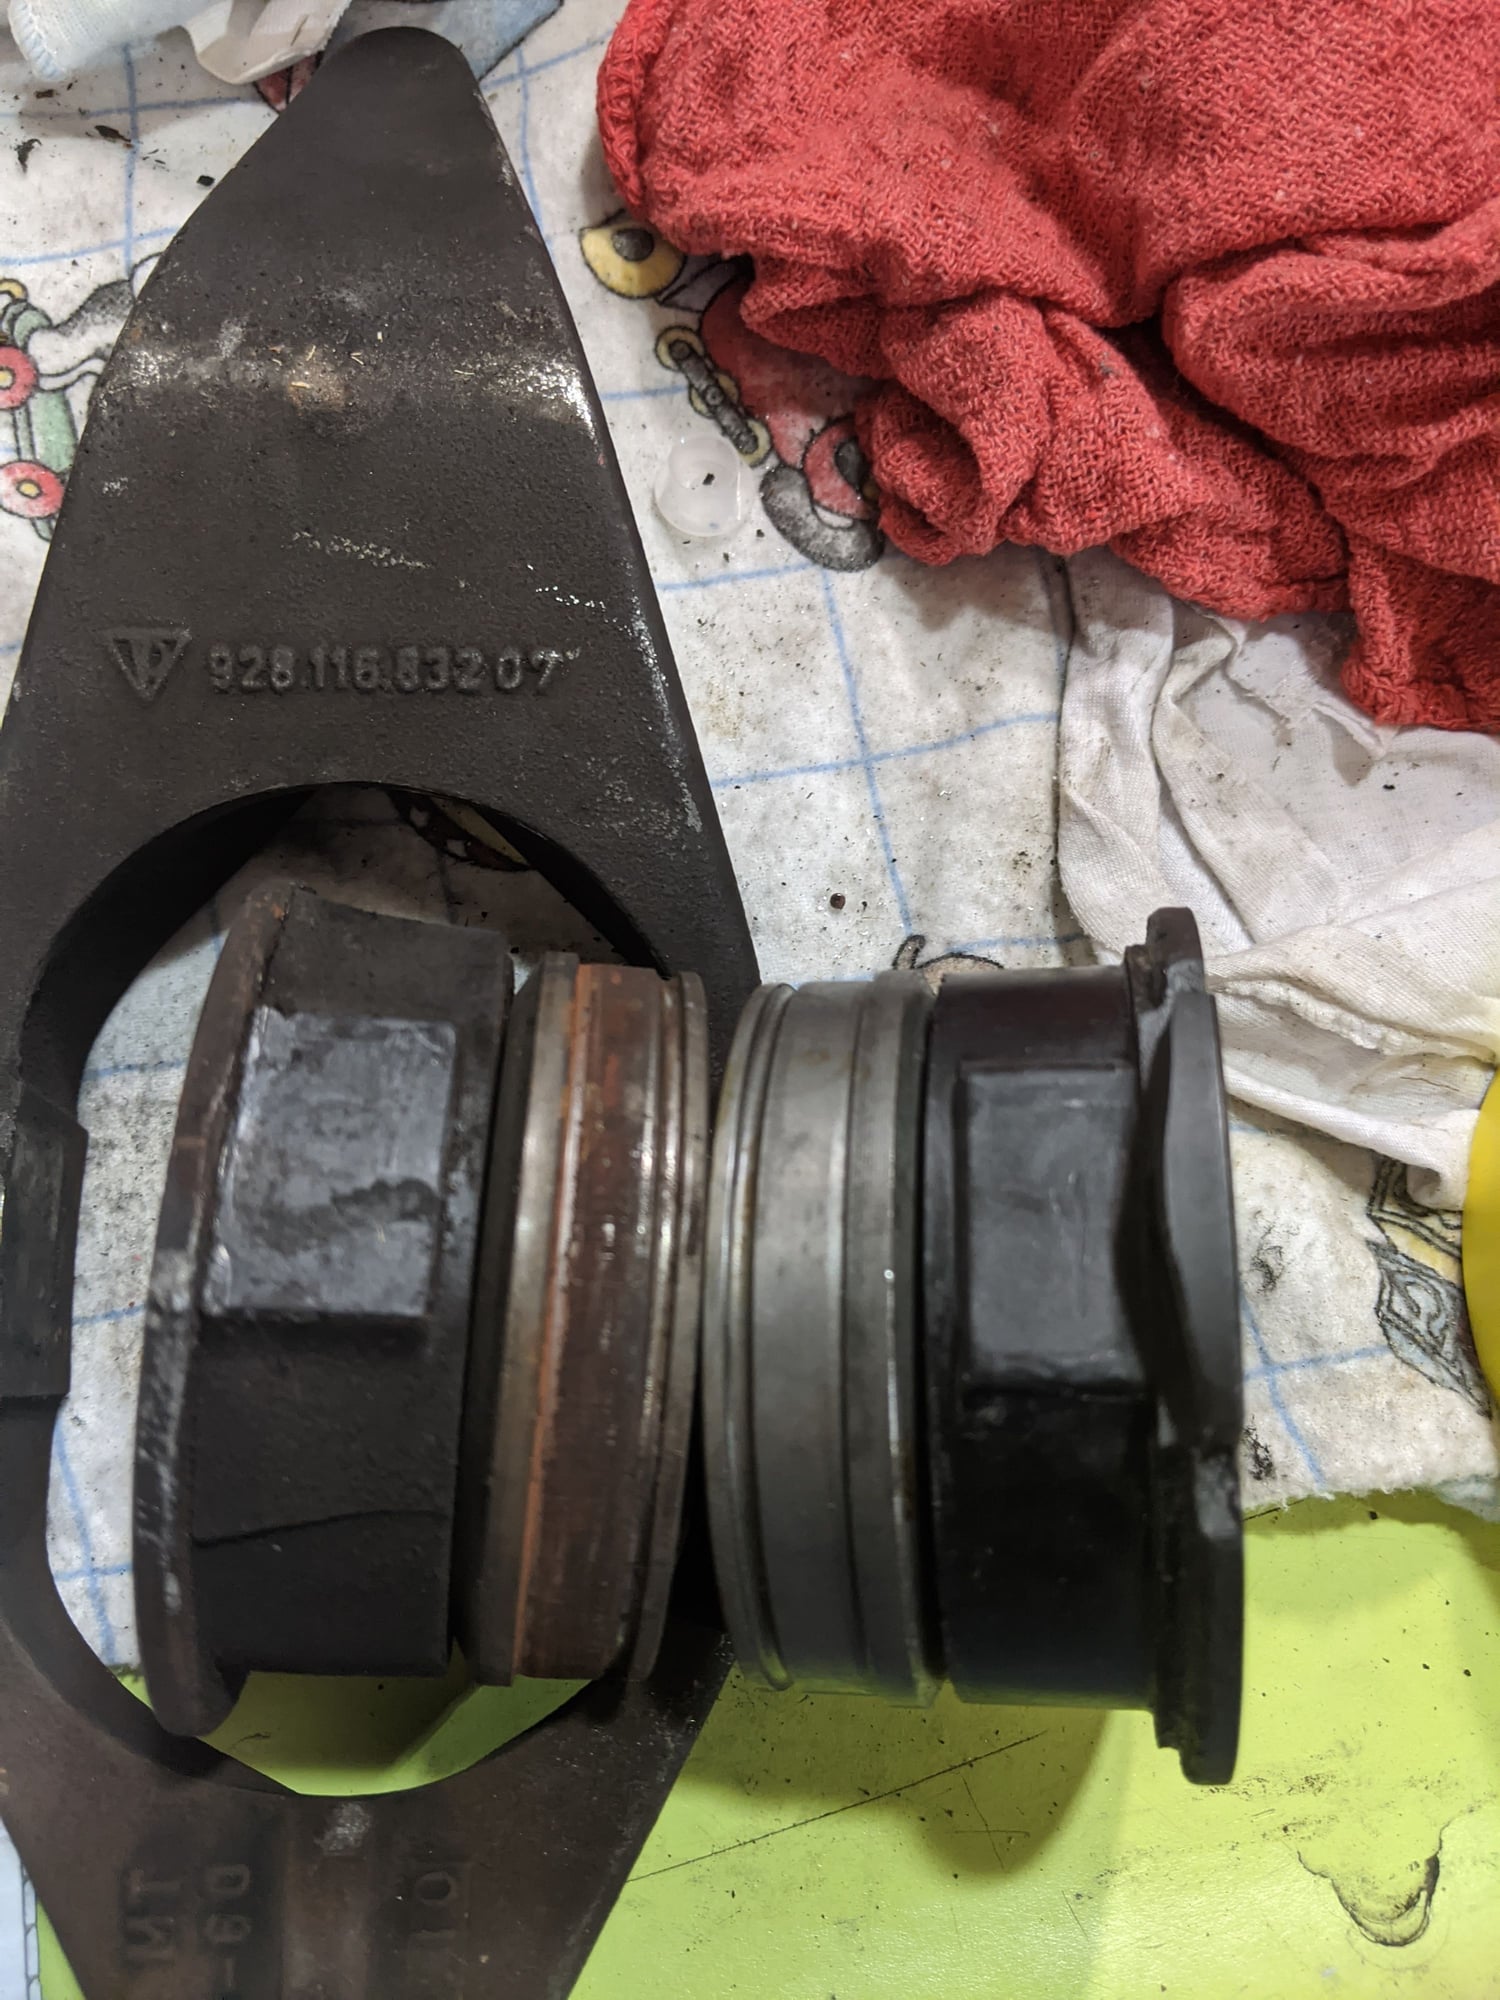
Like this, Here is the gts and the s4 throw out bearing side by side
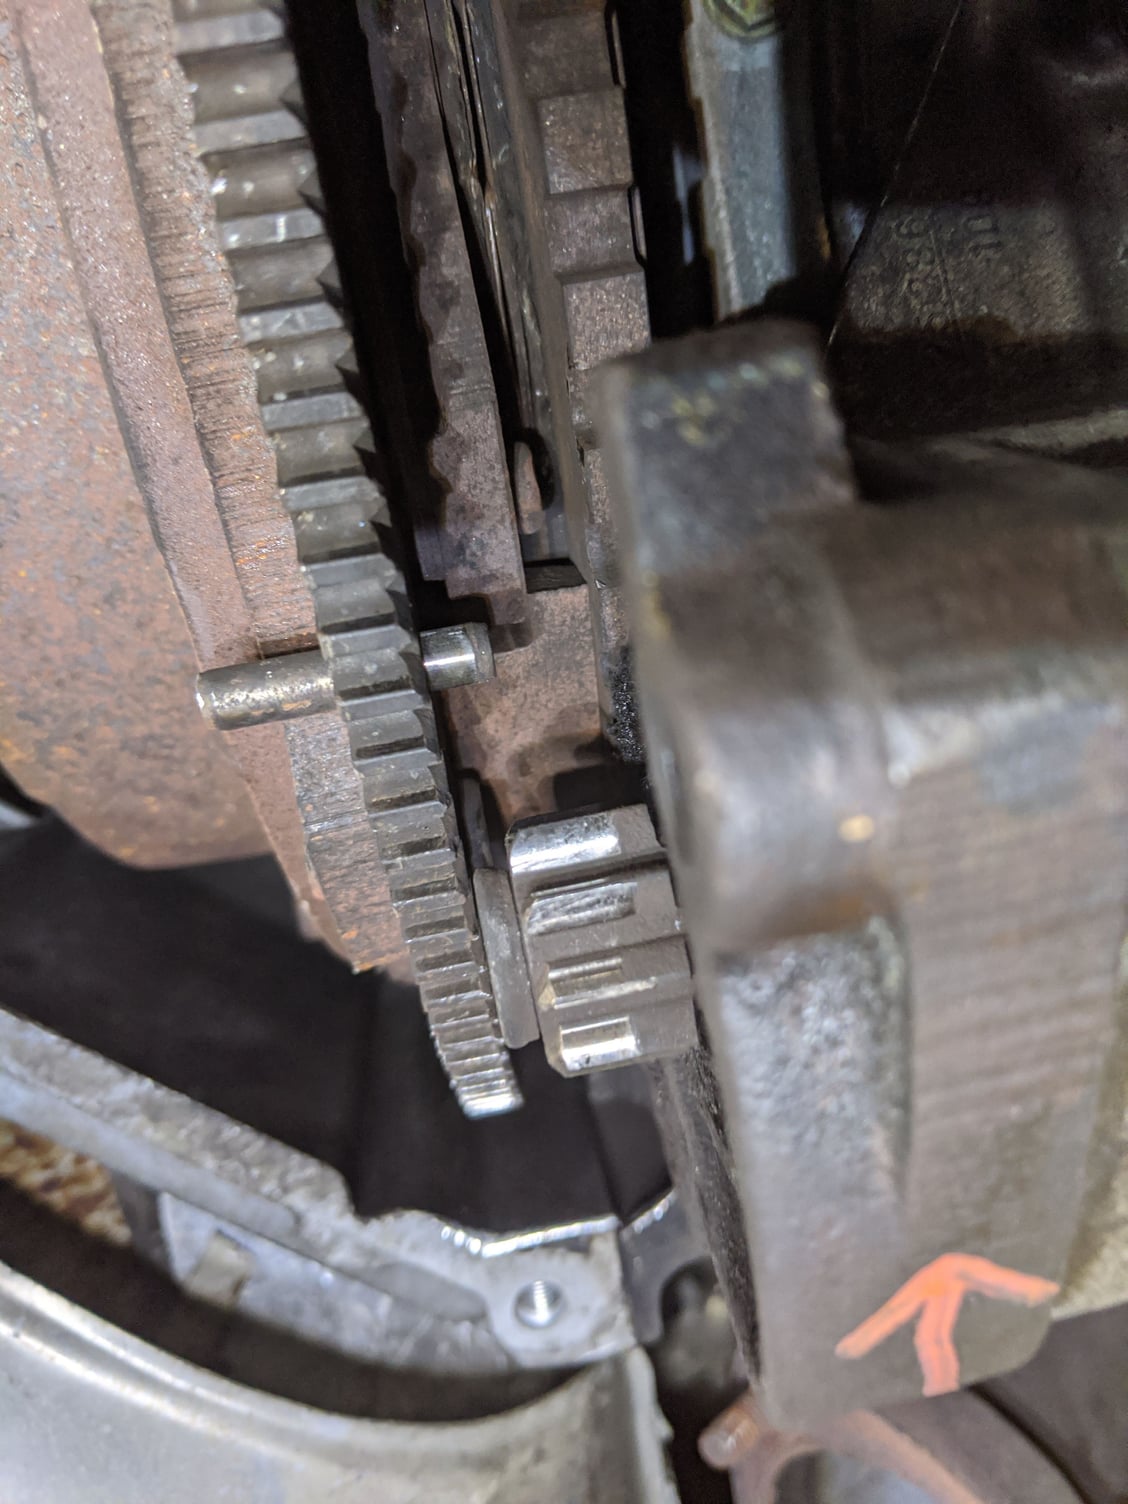
Next, I put a little arrow on the belhousing so I wouldn't forget which way to turn the engine.
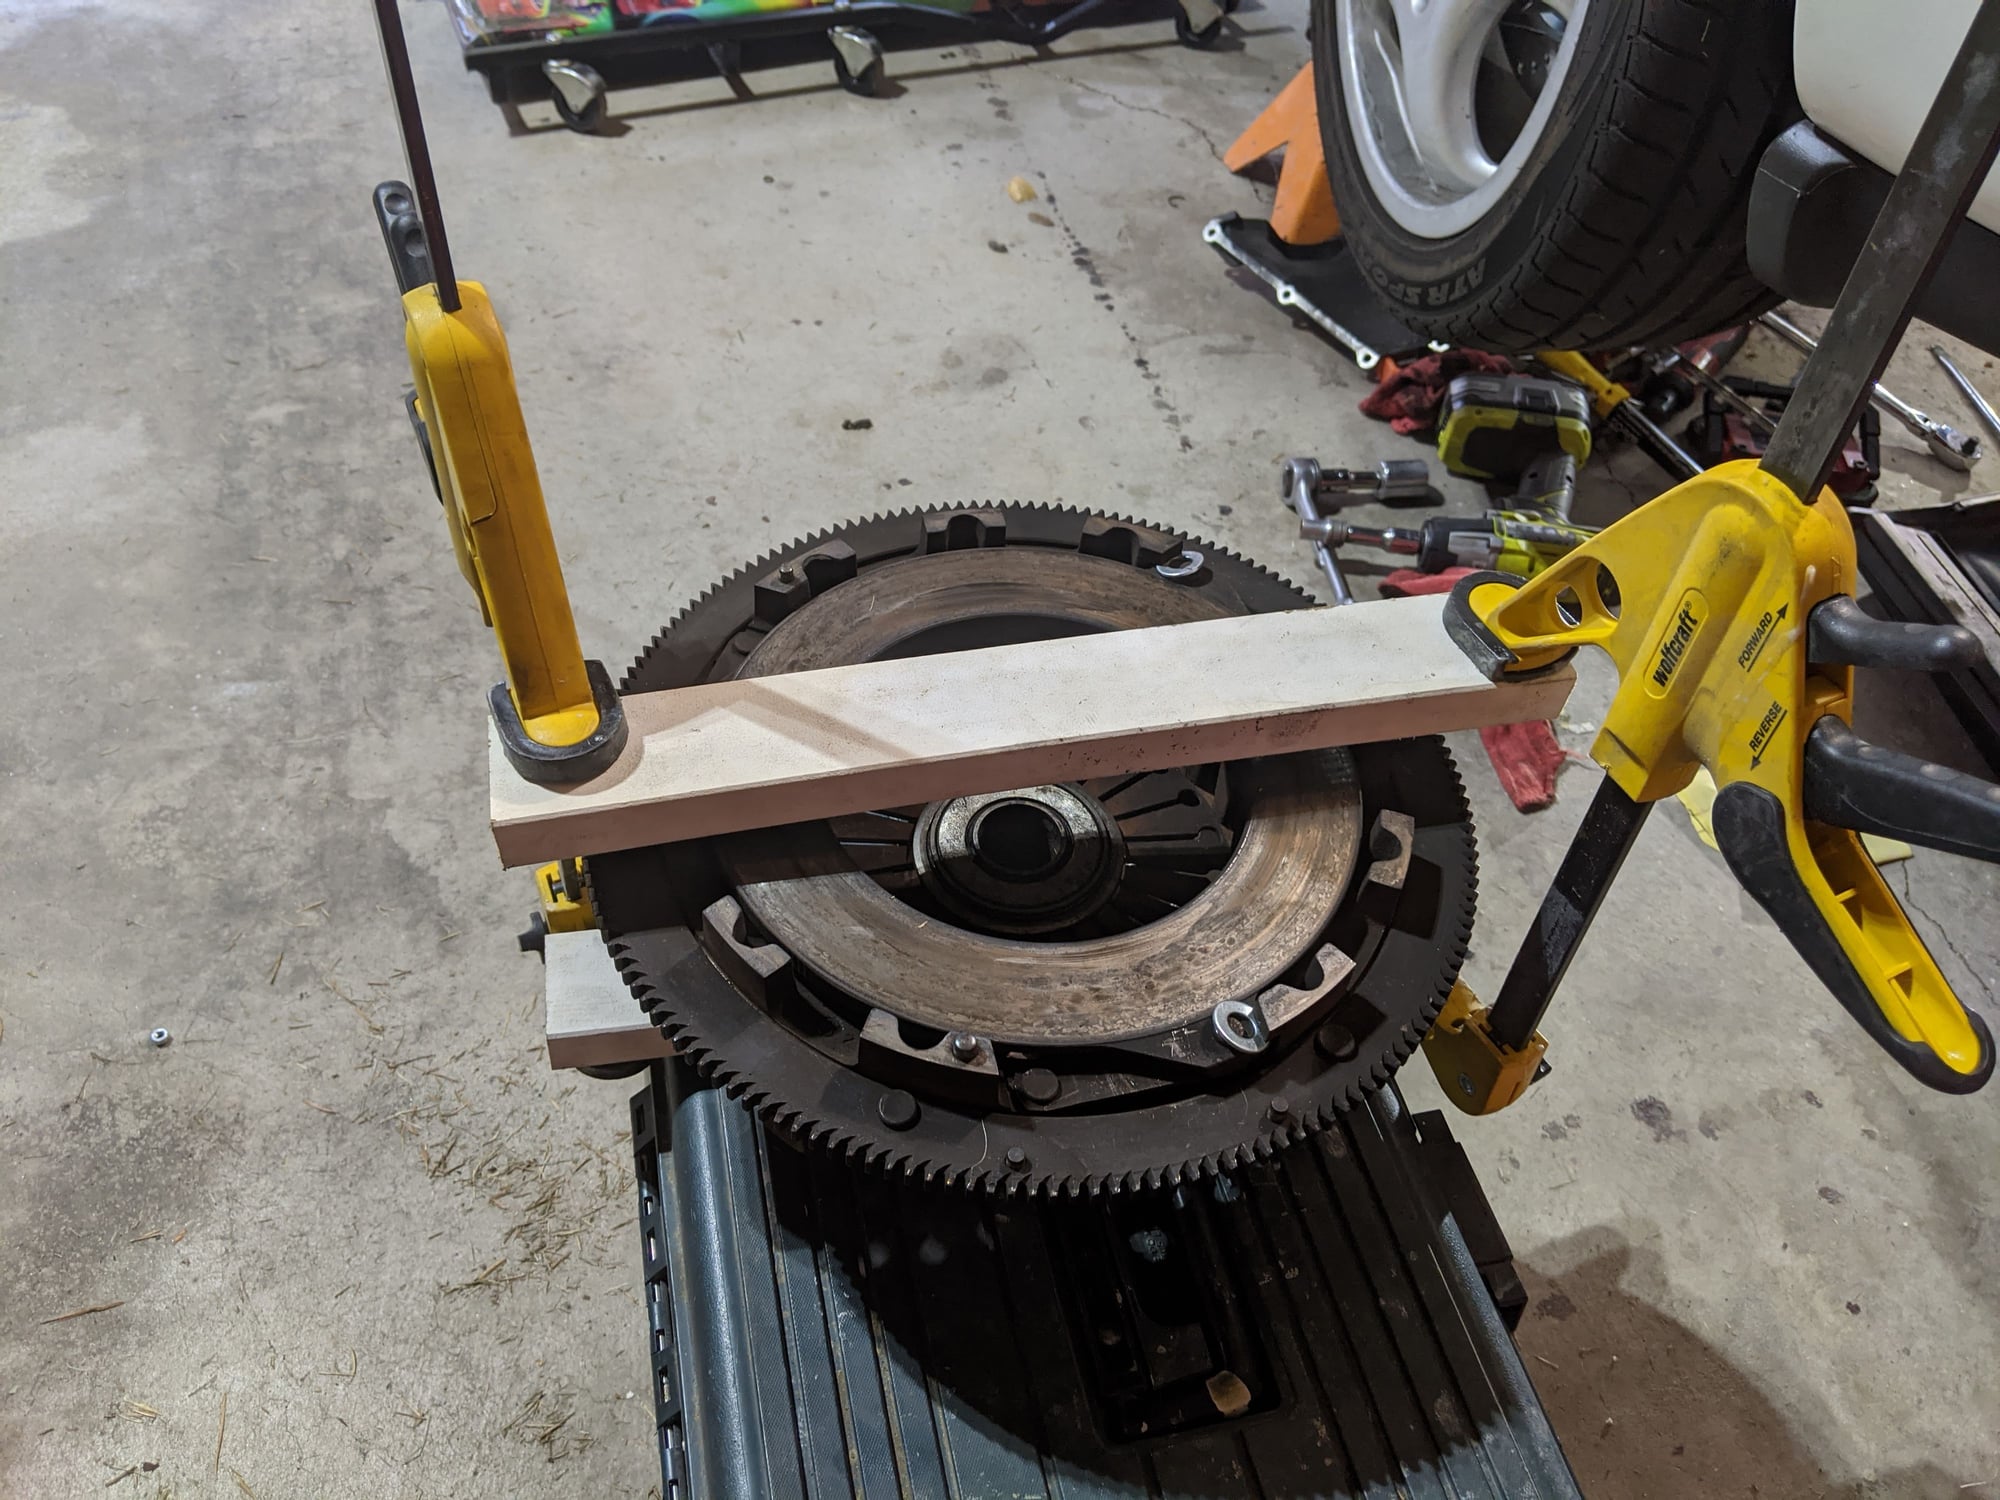
Here is how I got the snap ring out with two pieces of wood and some clamps
I used a piece of wood on the floor to keep the engine from turning the "wrong" way when installing everything.
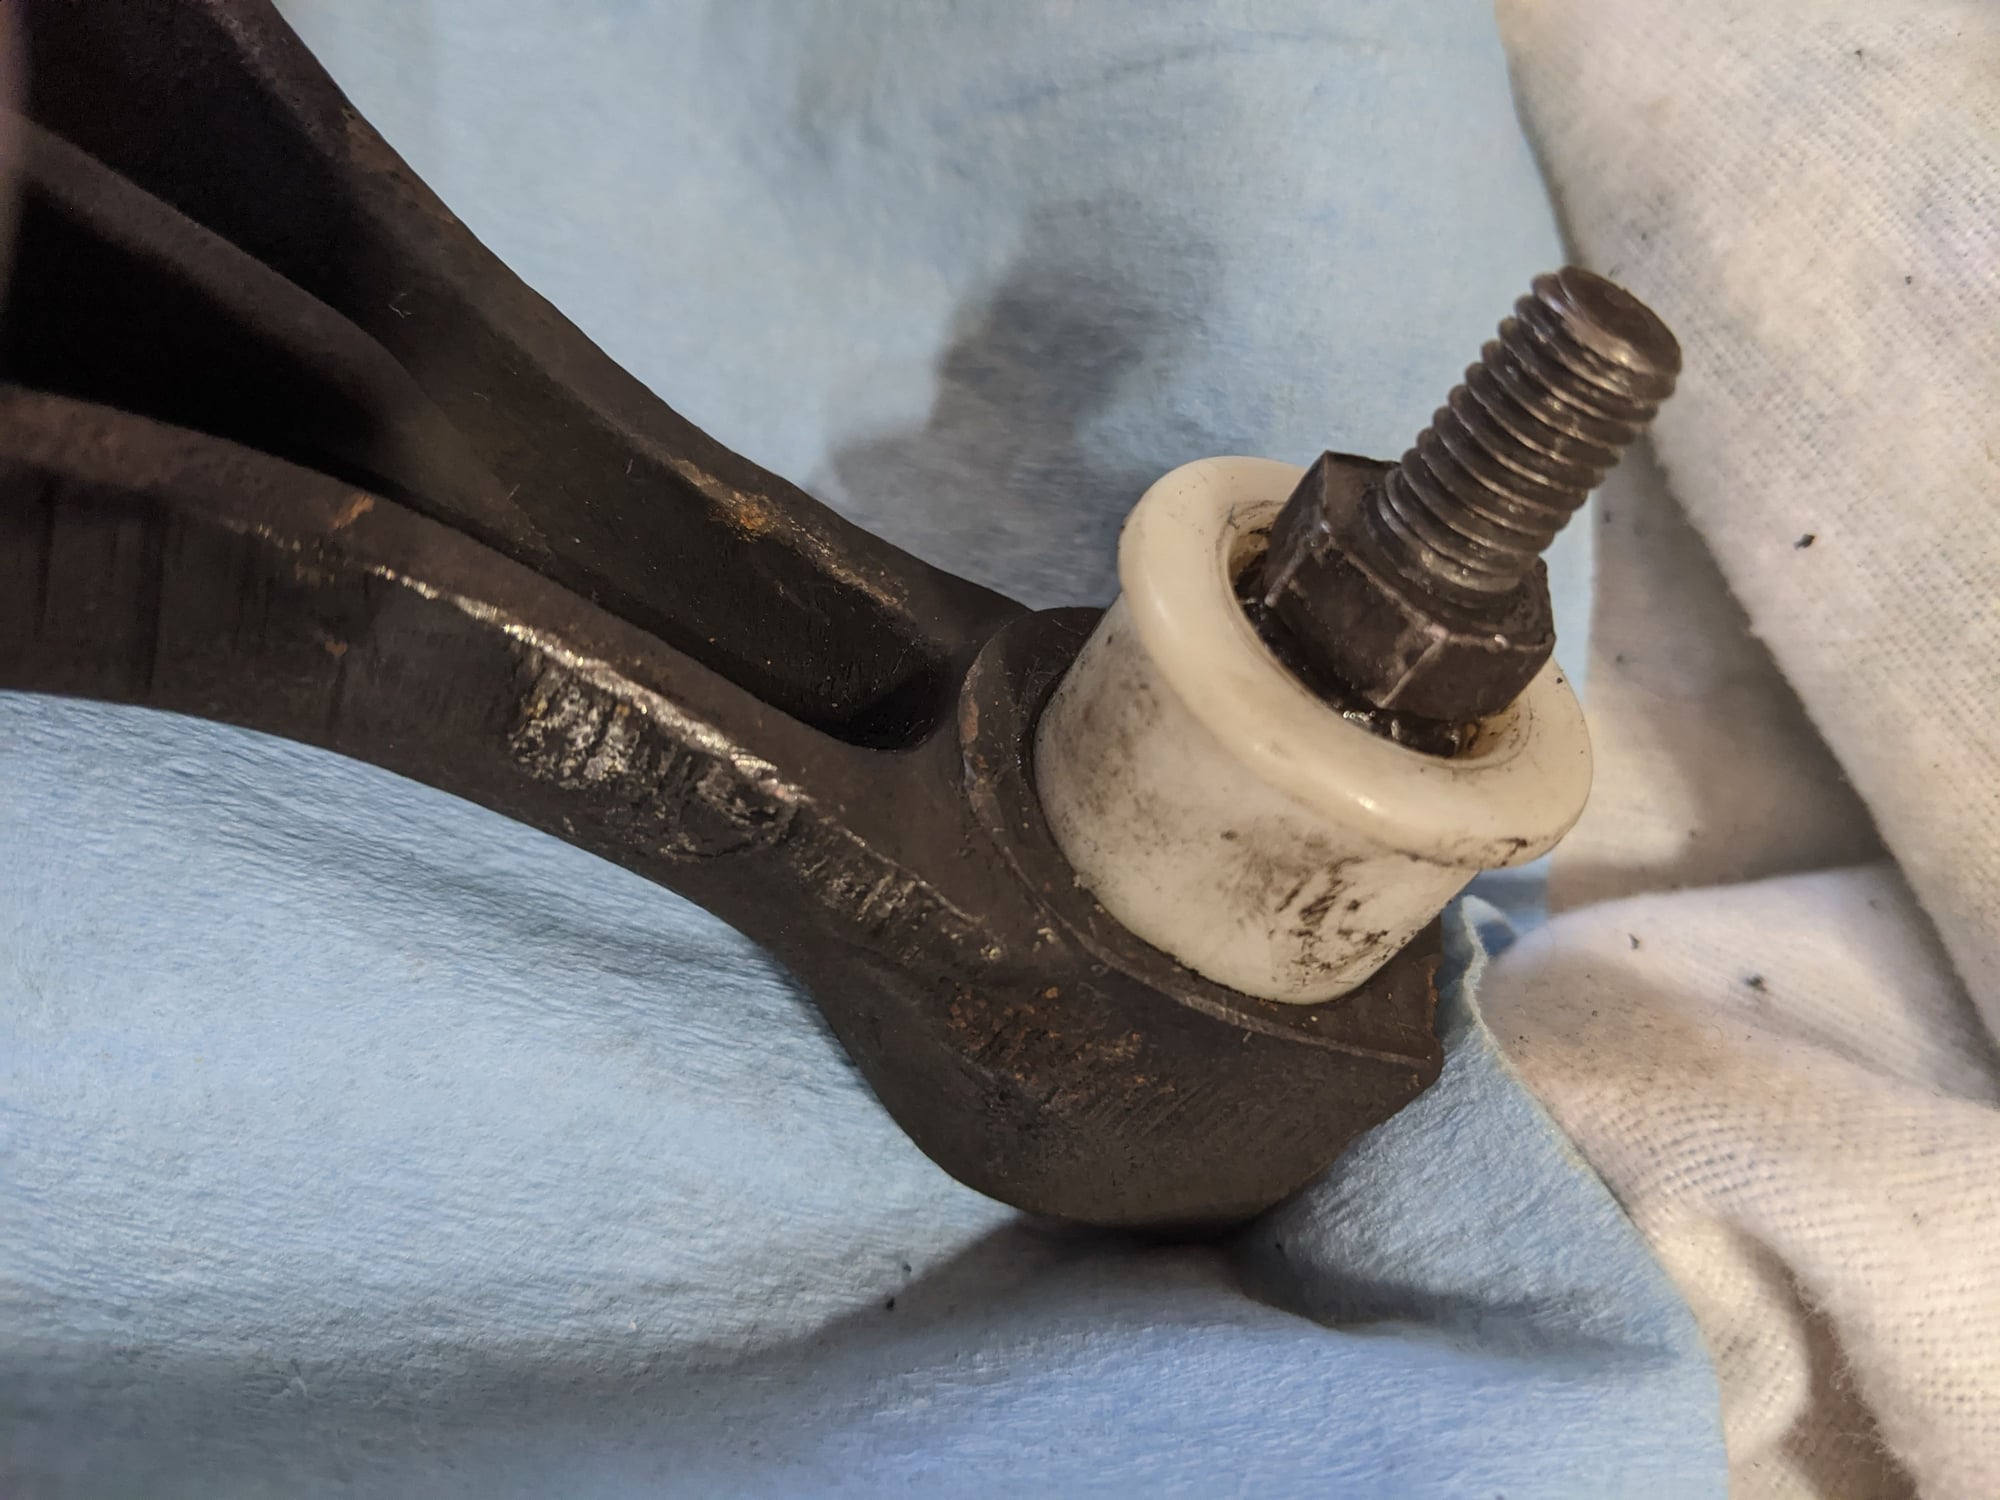
When installing the ball cup on the release arm I found it was WAYY!!! easier to put the plastic part on the ball first. I just unscrewed the ball after I had the old clutch out, cleaned it up and put some MD111 on the inside of the plastic cup then put the ball in it and screwed it back in the car. Then I installed the new clutch and it was fairly easy to push the arm onto the plastic than the other way around. I tried seeing how hard it would be to put the plastic in the arm then push the ball into it on the bench, Almost impossible. I don't know who you could do it.
That's just a couple of things I found when doing a clutch.
I also used a paint marker to mark the location of the pin and hole I wanted to line up with on the clutch and on the flywheel, that way when I'm pushing it up in the car I know where the alignment pin is I want to line up with the hole it goes in. There are two small pins and one big pin and the clutch has to line up and be turned exactly where the pins fit into the flywheel.
Good Luck.
Scott

 11-29-2018, 01:53 AM