When you click on links to various merchants on this site and make a purchase, this can result in this site earning a commission. Affiliate programs and affiliations include, but are not limited to, the eBay Partner Network.
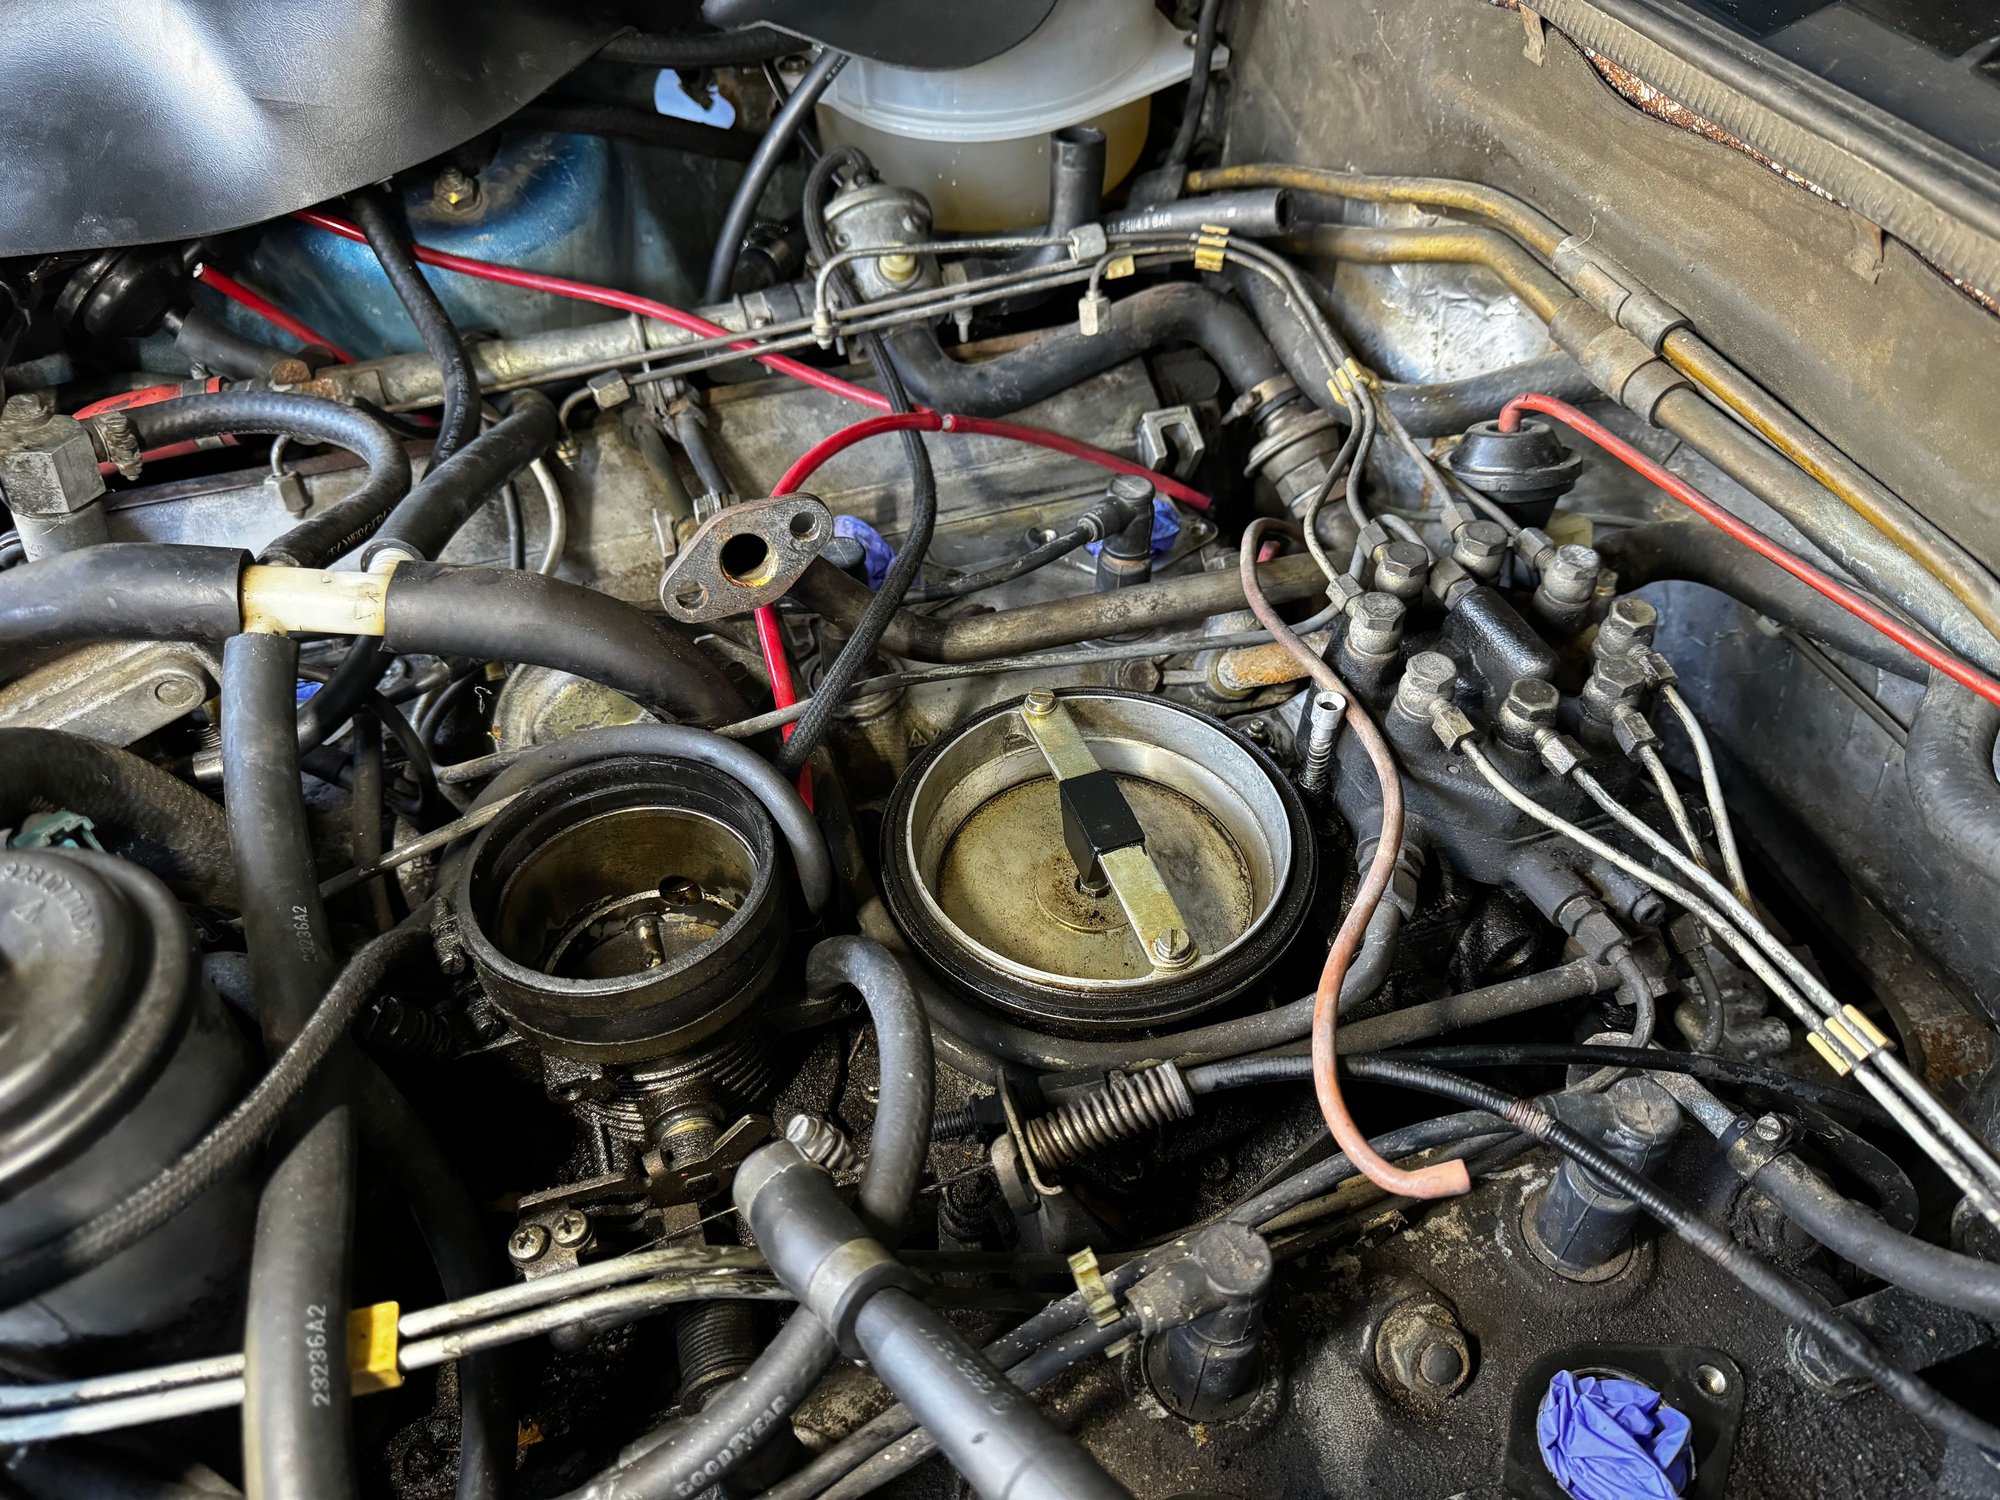
Getting deeper and deeper into my intake refresh, and need to clean the V below the FD and air guide. Is removal as simple as it looks, ie undo the fuel lines and the for mounting bolts? Anything I should be worried about?
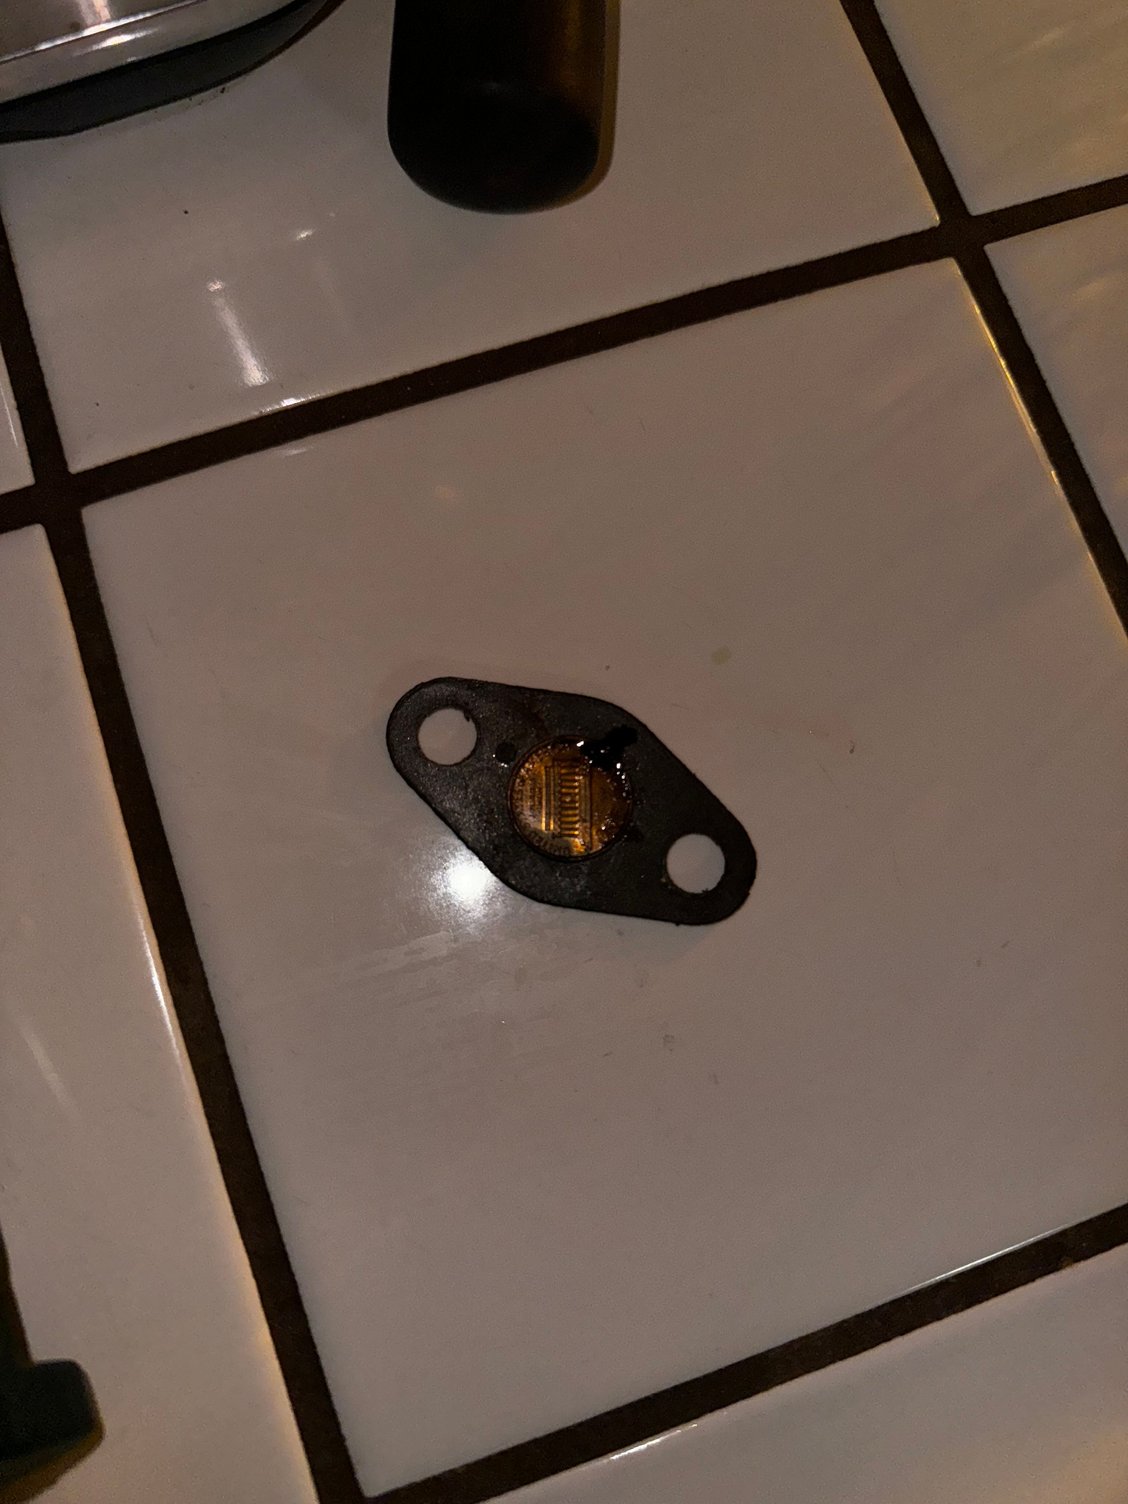
Also, found a very strange object in my plenum. Where the exhaust pipe mounts into the side, somebody had fitted a penny at some point to block off the pipe. I can't figure out why they would do this, given that the cat is in my place and as is the EGR system. Any ideas?
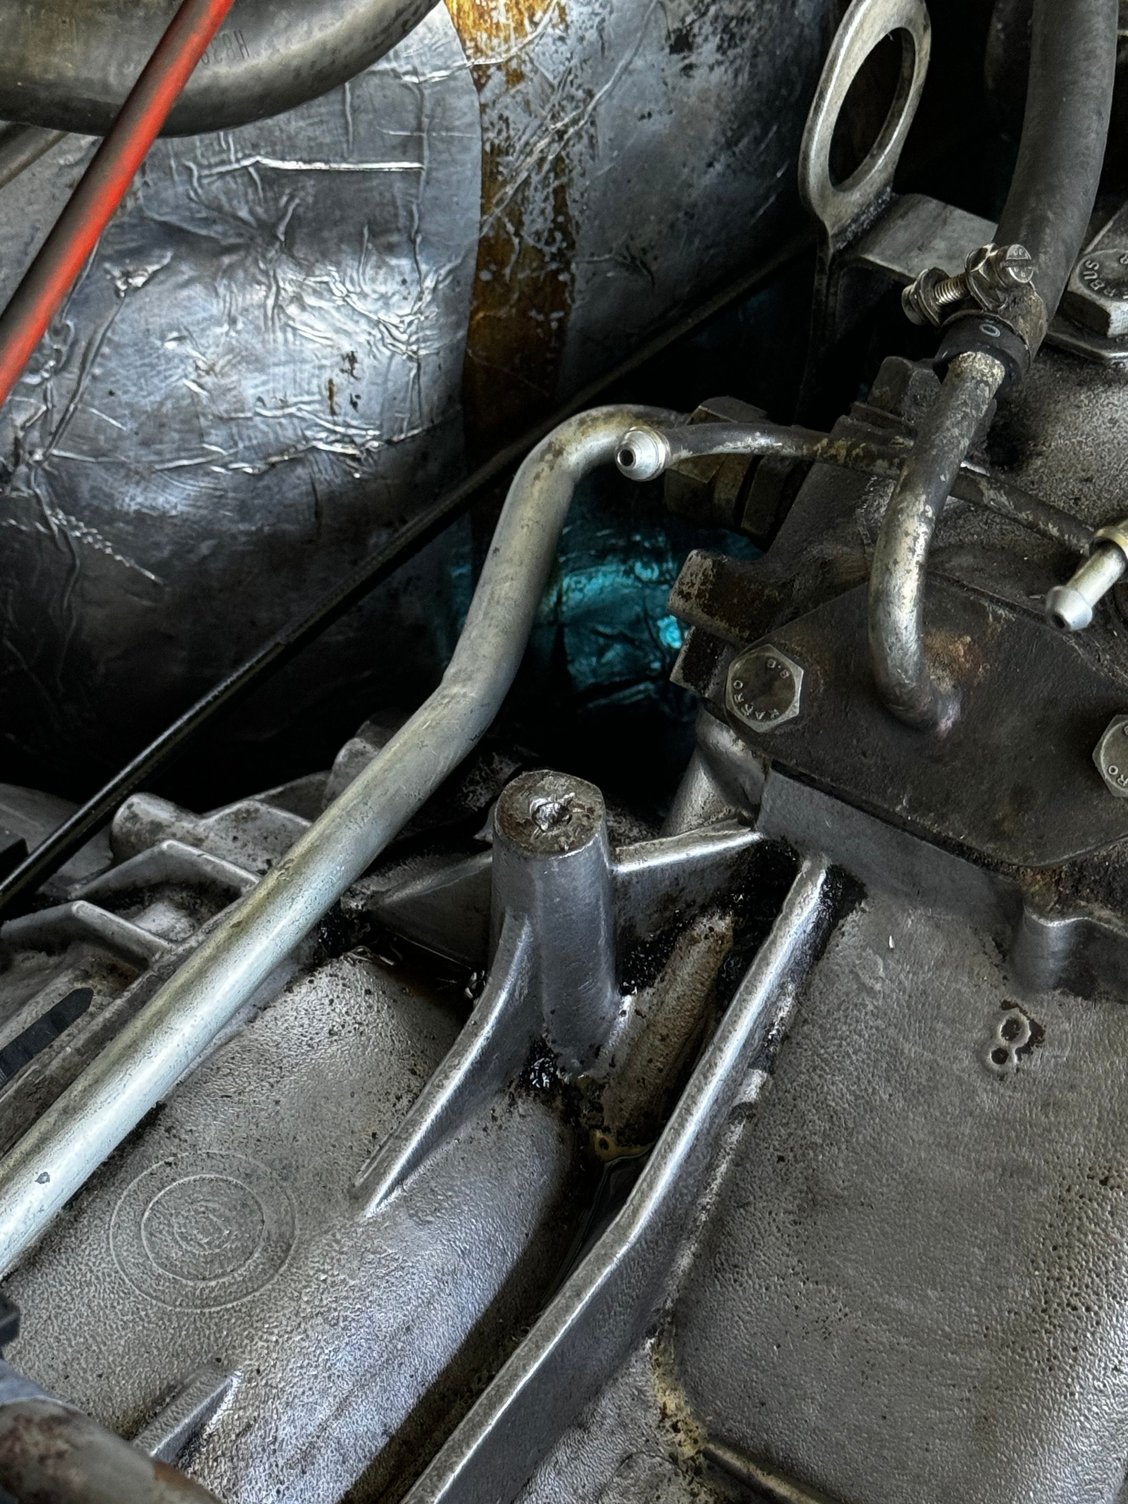
Well, I went at it somewhat blind and it was mostly straight forward. Unfortunately, all four of the rubber bushings that the air guide mounts to split as soon as it was lifted, so I had to Dremel and slowly coax them out. 3 of 4 are out, but one is absolutely done for. The top snapped off, and then I attempted to use a bolt extractor and the drill bit snapped off inside the bolt... anyone have any clever ideas outside of just JB welding most of the new mount in that place? (The other three should hold it steady...)
Also, with the air guide out, is it opening yet another can of worms to replace the gasket between the sensor plate and the air guide? I think I'm going to remove the throttle body and replace that seal also. Or should I just let sleeping dogs lie?
A talented welder can build up that broken off stud enough to extract it. But, it's not a job for the faint of heart. I think you are correct, 3 mounts will likely work just fine. Good luck!
A talented welder can build up that broken off stud enough to extract it. But, it's not a job for the faint of heart. I think you are correct, 3 mounts will likely work just fine. Good luck!
Neither talented nor a welder so I'll leave it for when the engine comes out some day! Thank you.
.. anyone have any clever ideas outside of just JB welding most of the new mount in that place?
If you are willing to go with just three mounts for a while, you could grind the last one flat with an angle grinder and then try to grind a decent sized flat blade screwdriver slot on the flattened stud and with your choice of penetrating oil and heat, try to unscrew it. At least that won't interfere with the bolt to prevent a machine shop from extracting it later if it won't unscrew.
If you are willing to go with just three mounts for a while, you could grind the last one flat with an angle grinder and then try to grind a decent sized flat blade screwdriver slot on the flattened stud and with your choice of penetrating oil and heat, try to unscrew it. At least that won't interfere with the bolt to prevent a machine shop from extracting it later if it won't unscrew.
Unfortunately the last one is missing the top all the way down into the mount, what's left of the bolt is about a mm recessed with half of a drill bit snapped off inside...
use a center punch and a small drill to start a fresh hole in that broken bolt,
once you have that going,
then use a slightly larger drill to open up the bolt so you can retap that hole,
note you could also put in a threadcert if you have things centered.
or last resort JB weld a new standoff into the hole.
I would make sure you have all the standoffs installed so to keep the airguide centered.
NOTE that penny was used to stop extra air from being ingested this should result in a steady idle and mixture,
usually people use a sheet of aluminum to block off that port.
Use a left handed drill bit after using the punch. Normally once you get those started turning, they will turn out easily.
If the rubber breaks off the flat piece and I can't turn it out by hand, I use a chisel to start it turning and so far they have always just unscrewed from that point.
Use a left handed drill bit after using the punch. Normally once you get those started turning, they will turn out easily.
If the rubber breaks off the flat piece and I can't turn it out by hand, I use a chisel to start it turning and so far they have always just unscrewed from that point.
Unfortunately all four rubber stand offs separated upon removal of the air guide, and so I used a Dremel to cut lines in each. Three of the four turned out after some coaxing with a punch and a flathead, but the fourth wouldn't move a millimeter. Eventually after too many tapping attempts the head broke in half and then fully separated, leaving me with just what was left of the threads inside the mount. I drilled a pilot hole to use a left handed extractor, but the extractor wasn't doing the trick. When I tried to go up a size in the bit it broke off clean inside the bolt. So now I have nothing left of the head and a drill bit stuck inside the bolt in the mount... I'm slightly infuriated.
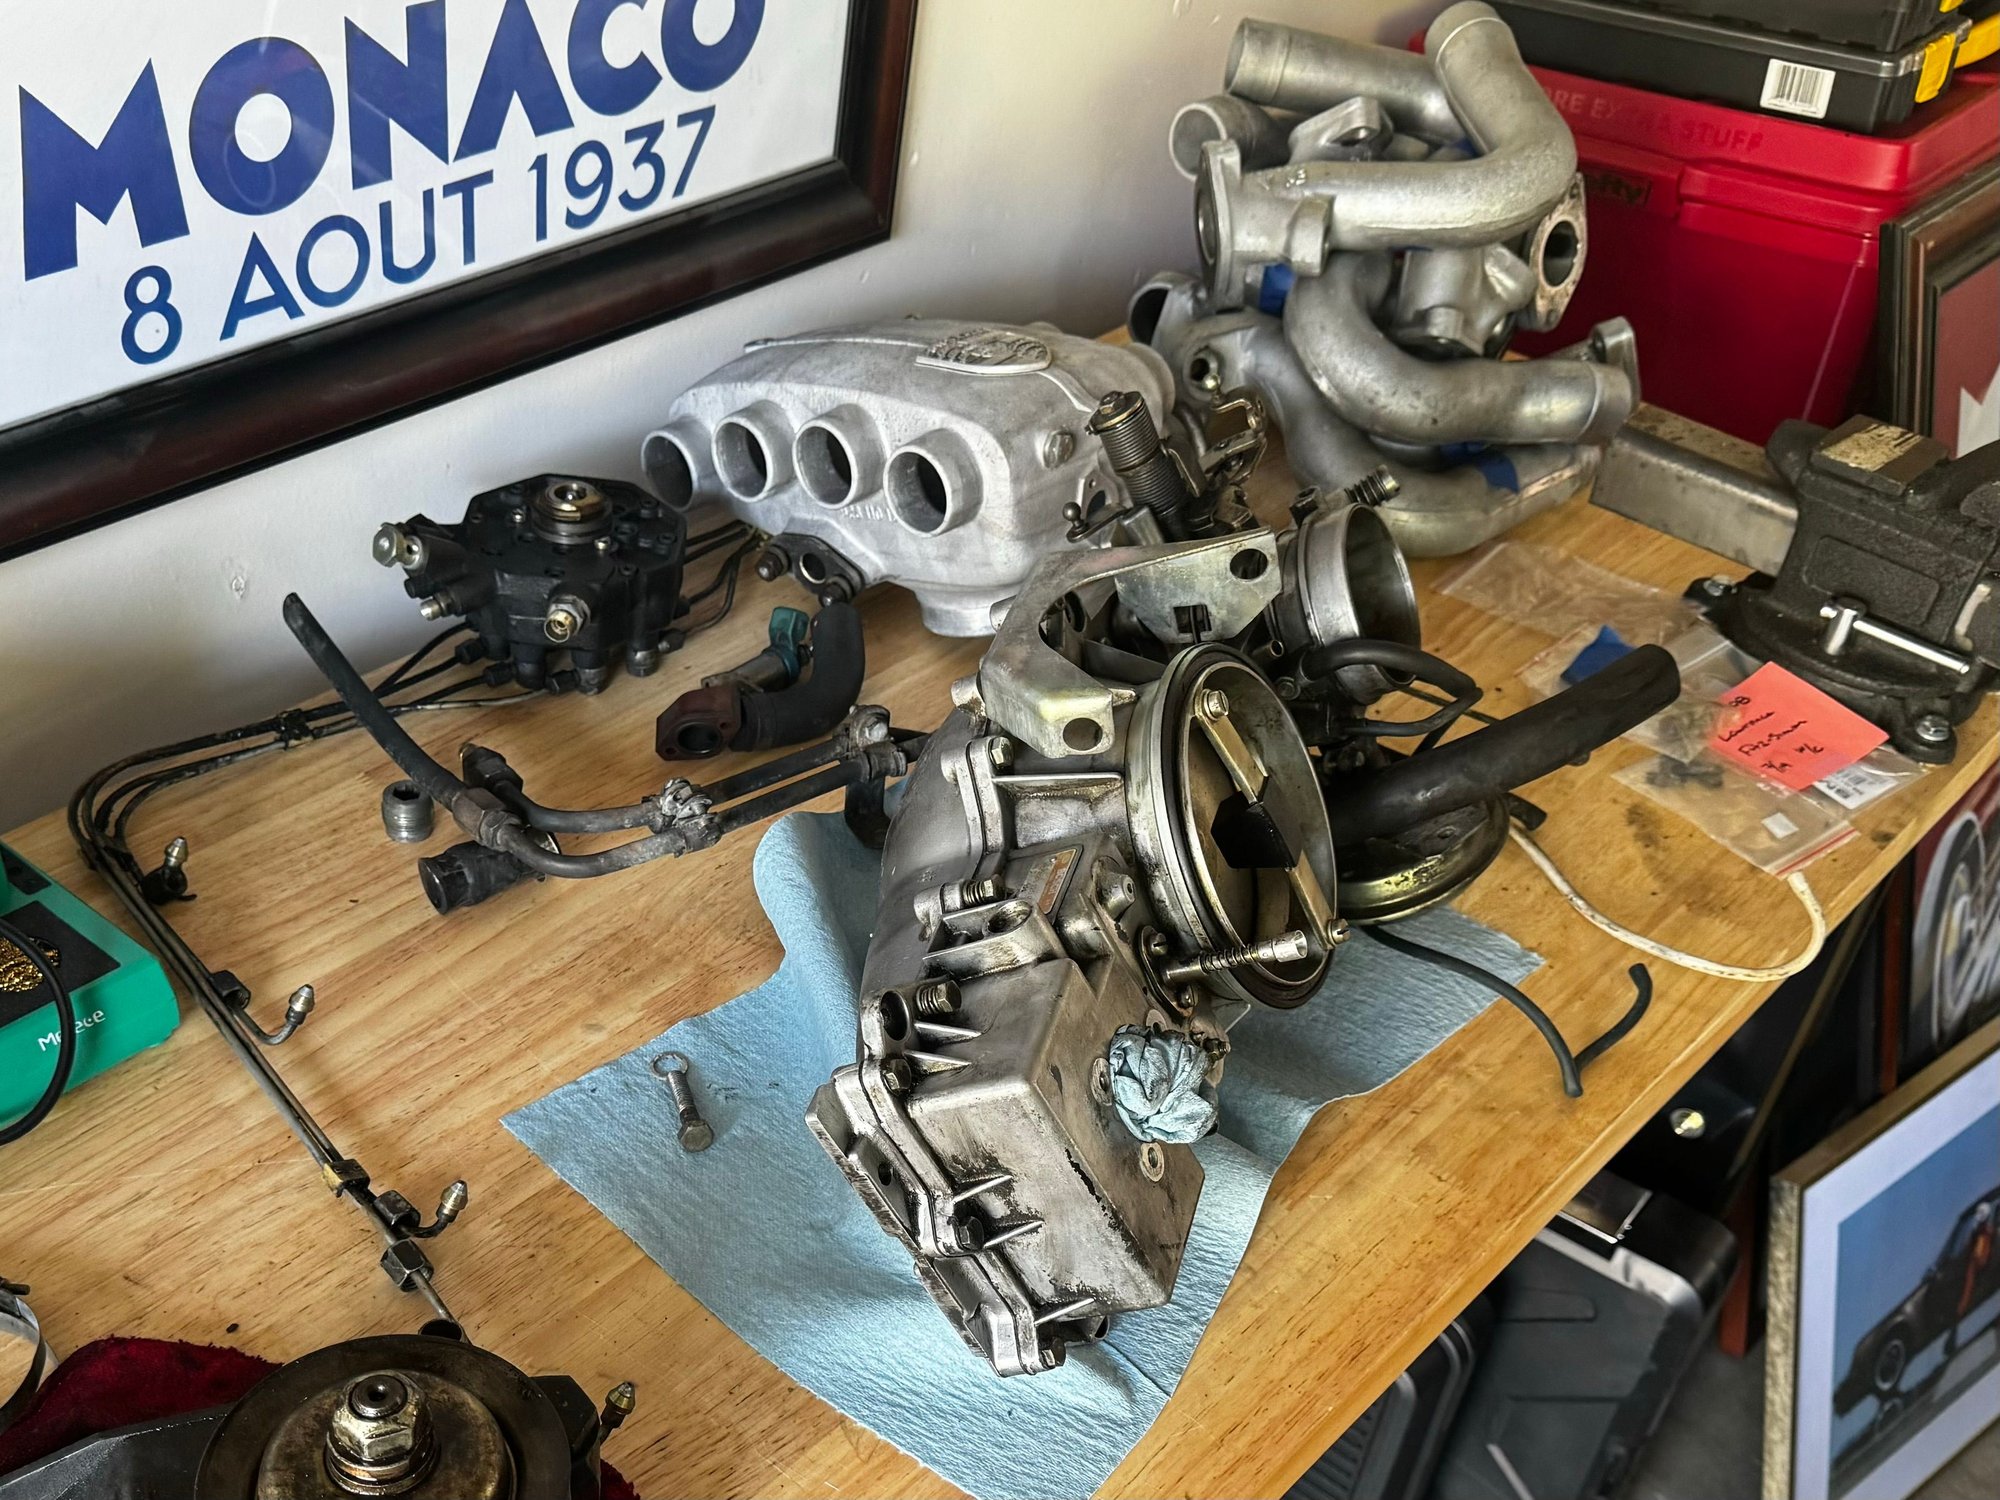
On the plus side, the air guide / throttle body cleaned up beautifully and I managed to drop my rack and power steering pump today, I'm just trying to ignore the broken mount at this point.
I went from a viciously dirty top end with every rubber bit falling apart to something that's starting to look quite good.


 07-23-2024, 01:34 PM